01. Build Your Dream Storage Bed and Bedroom Oasis
 Create a stylish and practical storage bed using IKEA cabinets. Opt for drawer cabinets from the METOD series for ample storage space. The 60cm and 80cm wide cabinets are perfect for the bed length. Mount them together securely for stability. Add furniture boards as floor panels to support the cabinets and allow for future movement.
- The base for slatted frames.
Construct a sturdy bed frame using glued squared timber. Ensure the frame is the right size for your mattresses, leaving a buffer for slatted frames. Mount a central beam supported by furniture feet for additional strength. - Build headboard.
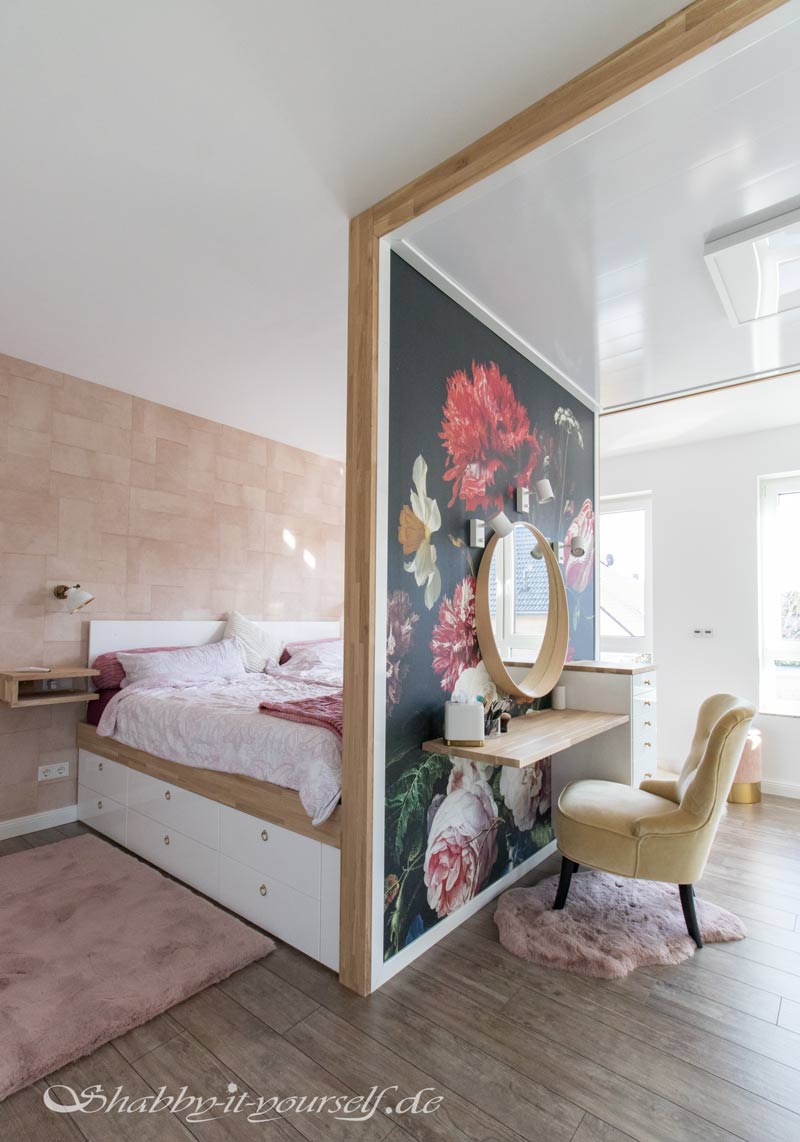
Use an IKEA RINGHULT kitchen door turned around with vertically mounted slats for a sleek headboard that matches the bed’s aesthetics. Secure the headboard to the wall for stability. - Frame for slatted frames and mattresses.
Build a frame using thick oak wood, ensuring it is sturdy and prevents movement of the slatted frames and mattresses. Install support beams and a top plank for added strength. - Oiling wood.
Treat the oak wood with Osmo TopOil for a beautiful, whitewashed effect. - Insert slatted frames and mattresses.
Place the slatted frames and mattresses onto the bed frame for a restful sleep. - Build scaffolding.
Construct a timber frame wall covered with plasterboard. Mount the wall to the bed and the ceiling for stability. Consider the balance and ensure proper alignment during construction. - Wall design on the inside.
Enhance the appearance of the wall with vinyl flooring for durability. Mount the TV and lamps inside the bed for functional lighting. - Substructure for ceiling suspension.
Create a suspended ceiling to hide wires and reposition the ceiling light. Use oak wood slats for the sides and install crossbars for stability. - Wall design on the outside.
Close the outer wall with plasterboard, filling gaps and screw holes with putty. Apply wallpaper for a stylish look. - Covering the ceiling with panels.
Attach high-gloss panels to the ceiling substructure using tongue and groove installation. Mount the ceiling lamp and decorative strips for a finished look.
Complete your bedroom with wardrobes, a dressing table, and bedside tables. Ensure proper reinforcement for heavy objects and consider smart bulbs for a customized lighting experience.
While this DIY project can transform your bedroom, it requires careful planning and carpentry skills. It’s essential to measure and align everything precisely for stability. Additionally, the electrical and smart bulb installations may require technical knowledge. Consider seeking assistance or professional guidance if needed. Enjoy creating your dream bedroom oasis!
More detail by Shabby-it-yourself.de | The Video is here.