If you’re trying to add some life to your kitchen by storing items, consider using a large basket made of colorful fabric. This way, you’ll not only get to add color but also get extra storage space inside, where needed. When placing utensils and items back inside, you can place this basket on the kitchen island or anywhere inside the room for easy access.
More than just a place for cooking and eating, the kitchen is where all the activities in the home take place.
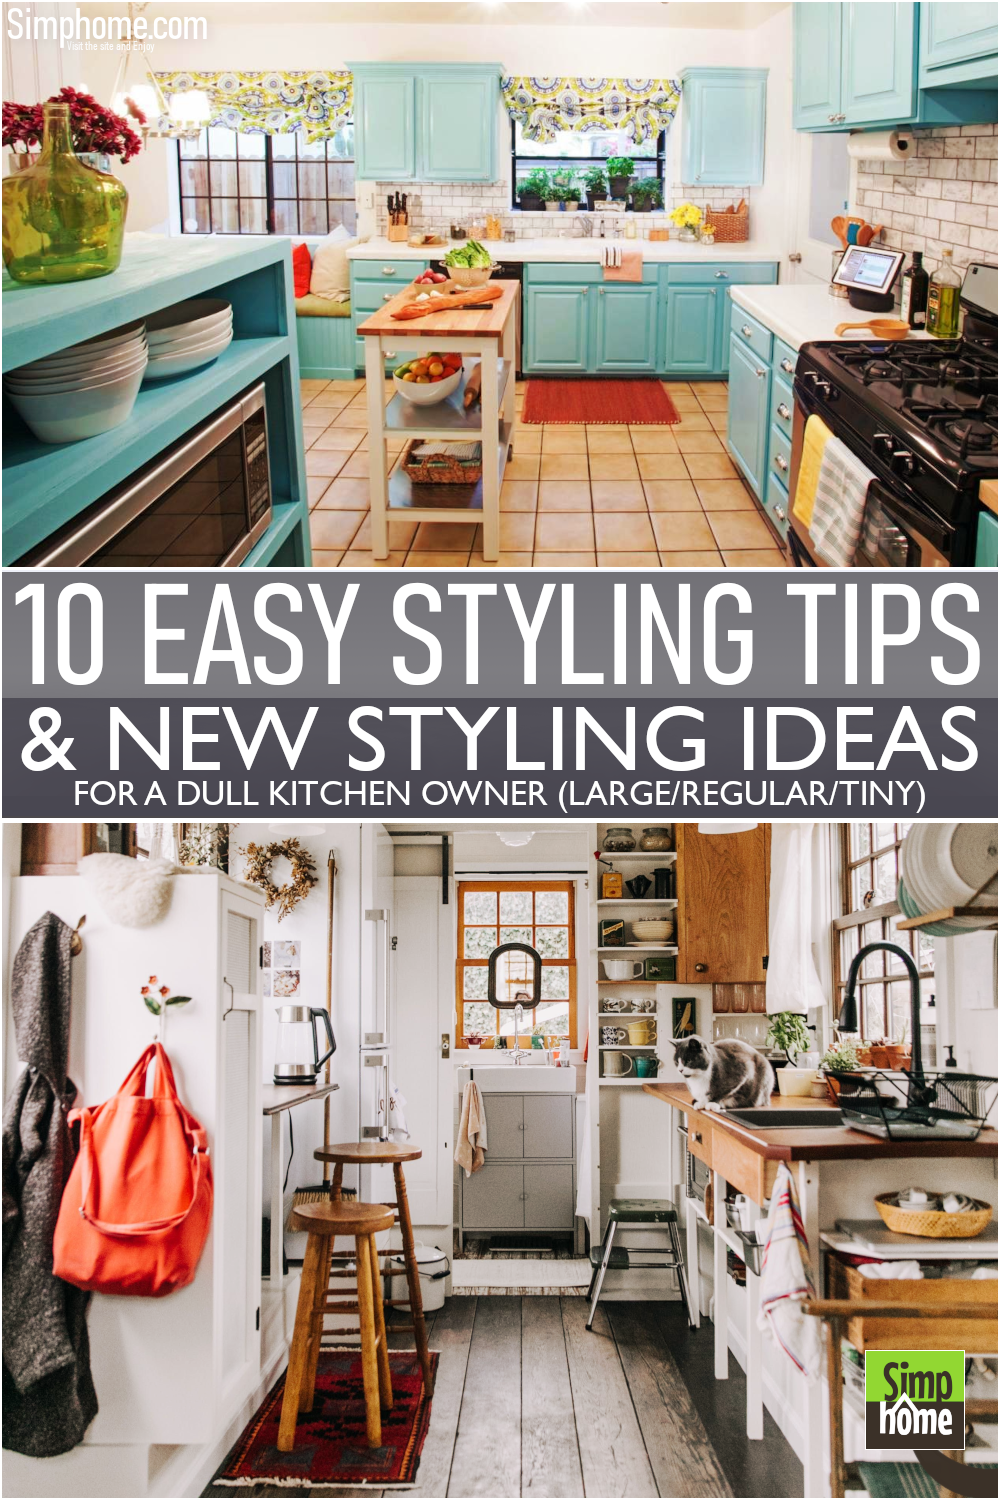
We stay in our kitchen. From hosting guests to getting together on Saturday mornings as a family, this is the true-hearted of home. Whether you’re redecorating, renovating, or simply updating this space, consider your way of life before making any changes.
Get inspired to style this area with these 10 easy styling ideas for a dull kitchen below. Keep scrolling for further explanation. Following previous kitchen improvement videos, this list and the following video are also presented for you by Simphome.com.
🔊10 Easy Styling Ideas for a Dull Kitchen Video:
List Entries:
333 Small Kitchen Ideas, Organization, and Kitchen Designs
12 Space Saving Furniture for Kitchen Ideas
12 Small Kitchen Renovation Ideas On-A-Budget
12 DIY Storage Boxes for the Bedroom, Kitchen, and Living Room
10 Kitchen Storage Transformation ideas
10. Facelift your Faucet
 The faucet is one of the most complex working parts of the kitchen, so opt for quality and comfort. It means that you need to pick a premium brand and one-handle operation.
If your sink is right in front of a window, be sure to check the faucet and handle clearances to make sure they fit, and you won’t be banging your knuckles on the windowsill. When choosing a sink to pair with, simple is best. Choose one basin, as large as you can fit. It has to be no deeper than 10 inches, so you’re not forced to bend over to wash dishes.
Other details:
- For the countertop, marble is perhaps the most popular one. But in some cases, it does not match the style of the kitchen, so consider using granite or wood.
- When it comes to color or design, make sure that you go for something unique and stylish to match your personality.
- Choose a faucet with a complete water system, so you can rest assured of the water quality coming from the tap.
- Know how much hot water you’ll need for your daily dishes and how long it takes to fill your containers.
9. Repaint it if necessary with better preparation this time
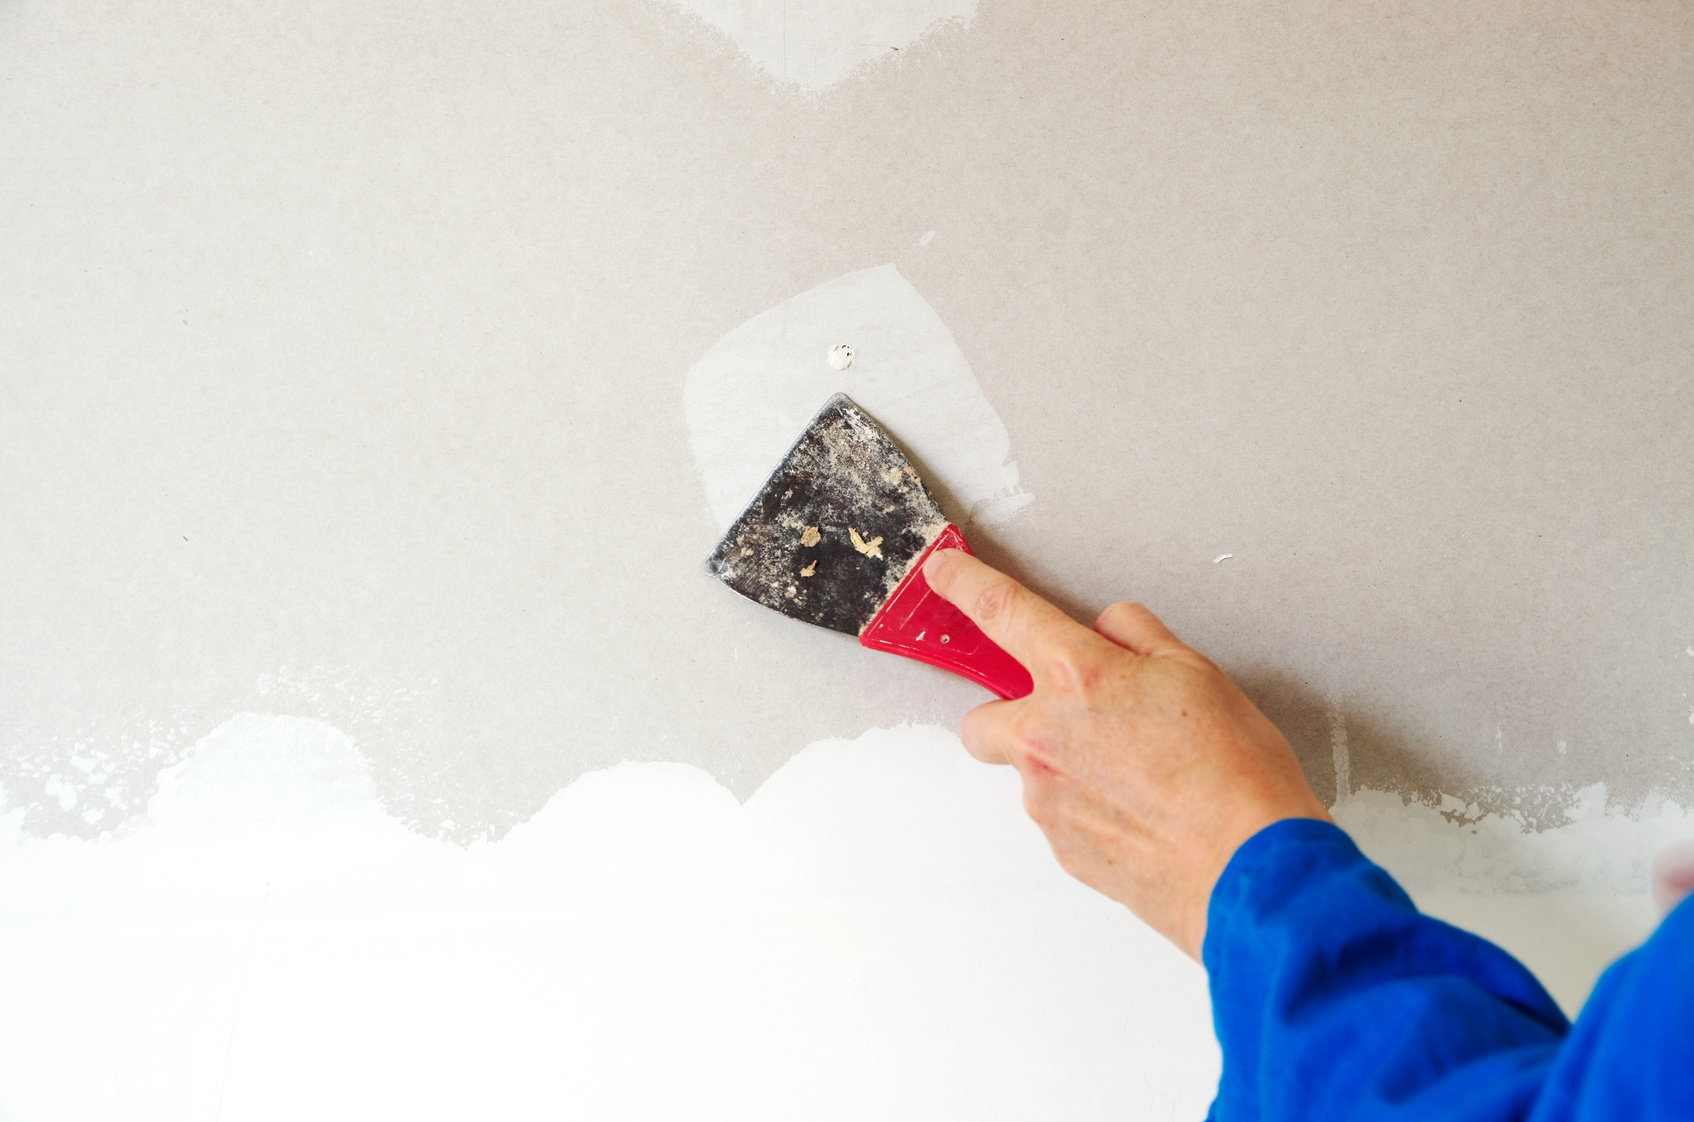
The essential part of this process is making sure you let everything dry completely. Applying a primer or paint to walls that are still damp can cause several problems, including blistering.
Make sure you tackle the mildew. Never paint mildew because it will grow through the new paint, making cleaning and subsequent maintenance more difficult. You may clean the mildew with a sponge.
Choose a primer to get the most out of your paint, especially if your walls are porous or have surface stains that need covering up. Primer covers imperfections, creates a smooth surface to lock in your paint, and ensures a consistent finish, regardless of which room you are painting.
Other details you need to know before repainting your kitchen wall:
- Sanding is essential for applying a new coat of paint. You can sand your walls with 120-grit sandpaper to smooth the surface at least 24 hours before priming and painting.
- Start by taping off any areas that are still clean, making sure you are using painter’s tape, not ordinary masking tape. You can use painter’s tape if you need to cover many surfaces or work with fine details, but make sure you use scissors, not your hands, to remove it.
- You need to choose high-quality paint that has the same color as the existing paint on your walls is essential for achieving a seamless look that is virtually undetectable.
- After you are done with the taping, you can apply paint if the surface is even. If you are taping off multiple surfaces, make sure each one is painted separately—this will save time if one area needs repainting.
- After painting the walls, wait for them to dry completely before putting up anything on top of them since this new material might have different needs than the old wall coverings did.
- Give your kitchen a good inspection before moving around or installing cabinets or appliances to ensure any areas that need touching up are adequately mended.
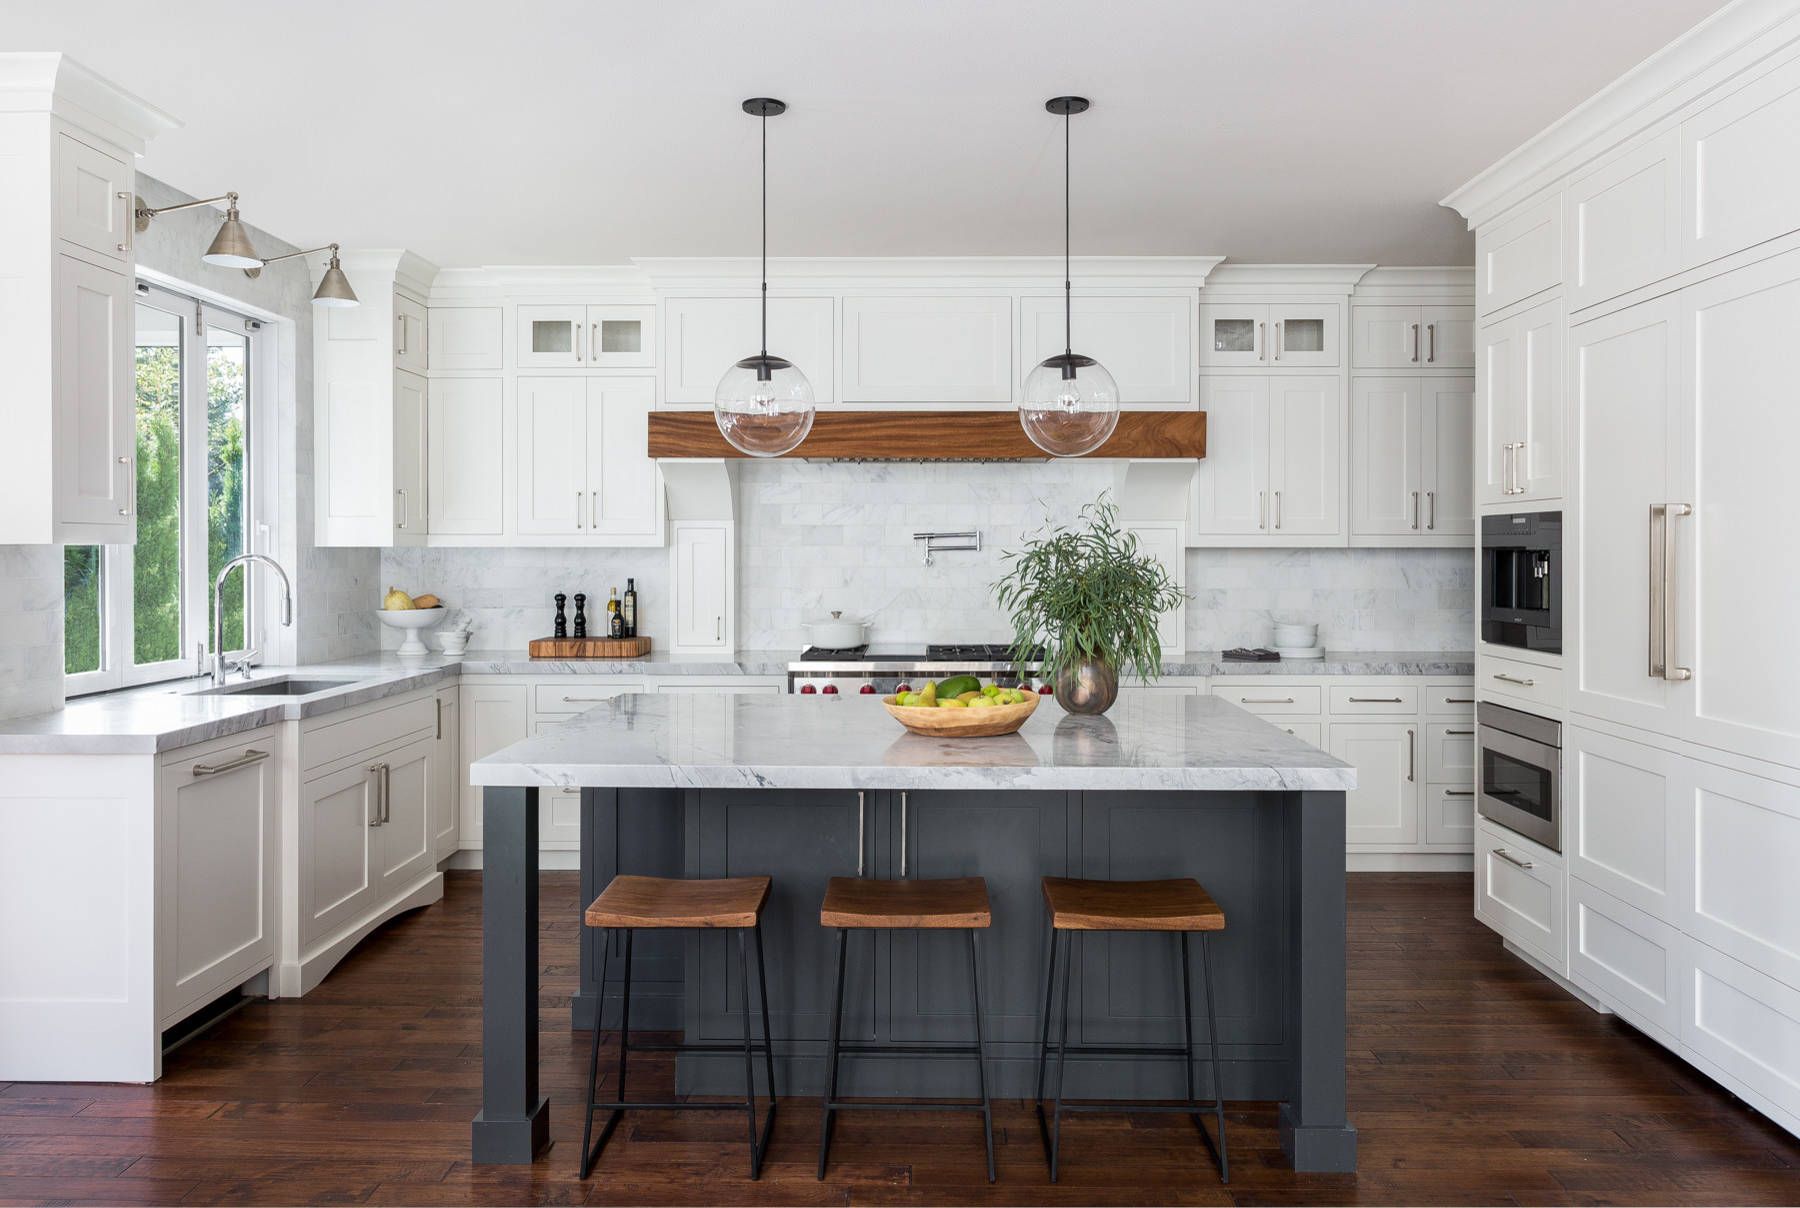
8. Consider Quartz Countertop for a fresher look
 Quartz is an artificial countertop material that looks like stone. It has overtaken granite as the most popular countertop choice because quartz is practically stain-resistant, scratch-resistant, and shatter-resistant; it never needs sealing.
Quartz comes in an enormous variety of looks, many of which convincingly mimic the natural variations of marble and limestone. The first version may be a very high-maintenance option for kitchen countertops.
Other reasons to choose quartz countertop is:
- The material is durable and has a natural appearance. It is stain- and scratch-resistant whether you use stainless steel or porcelain.
- Quartz is an environmentally friendly product that requires no sealing or maintenance, meaning that it will never chip, crack, or stain.
- The quartz countertops install neatly with no preparation needed—just set it down and start cooking!
- Quartz has a modern look that can be used in all environments, including the kitchen, bathroom, patio, and living room—pretty much anywhere that you don’t want to show dirt but still want something functional for your guests to use while they are visiting your home.
- Countertops are a significant investment – quartz is designed to look as good as new for as long as you own it.
Additional ideas,
- You can buy a round or square wood table on top of the kitchen countertop.
- You might want to choose a countertop made of solid wood instead of laminate because it will be much more natural.
- Use the same table as you used for your dinner table to hold all types of objects or storage
You can purchase an extra folding kitchen island for additional workspace for extra cooking space. This way, you’ll have room for food preparation, storage, and cookware, but leave plenty of floor space for walking around doing other things in the kitchen without tripping over something unnecessary!
Next,
Pick the right storage accessories for your kitchen
The right storage accessories will help you unclutter your kitchen and create a convenient and organized workspace. For instance, if you have everything in one place, that makes it much easier to find what you want instead of having to dig through a bunch of different cabinets and drawers.
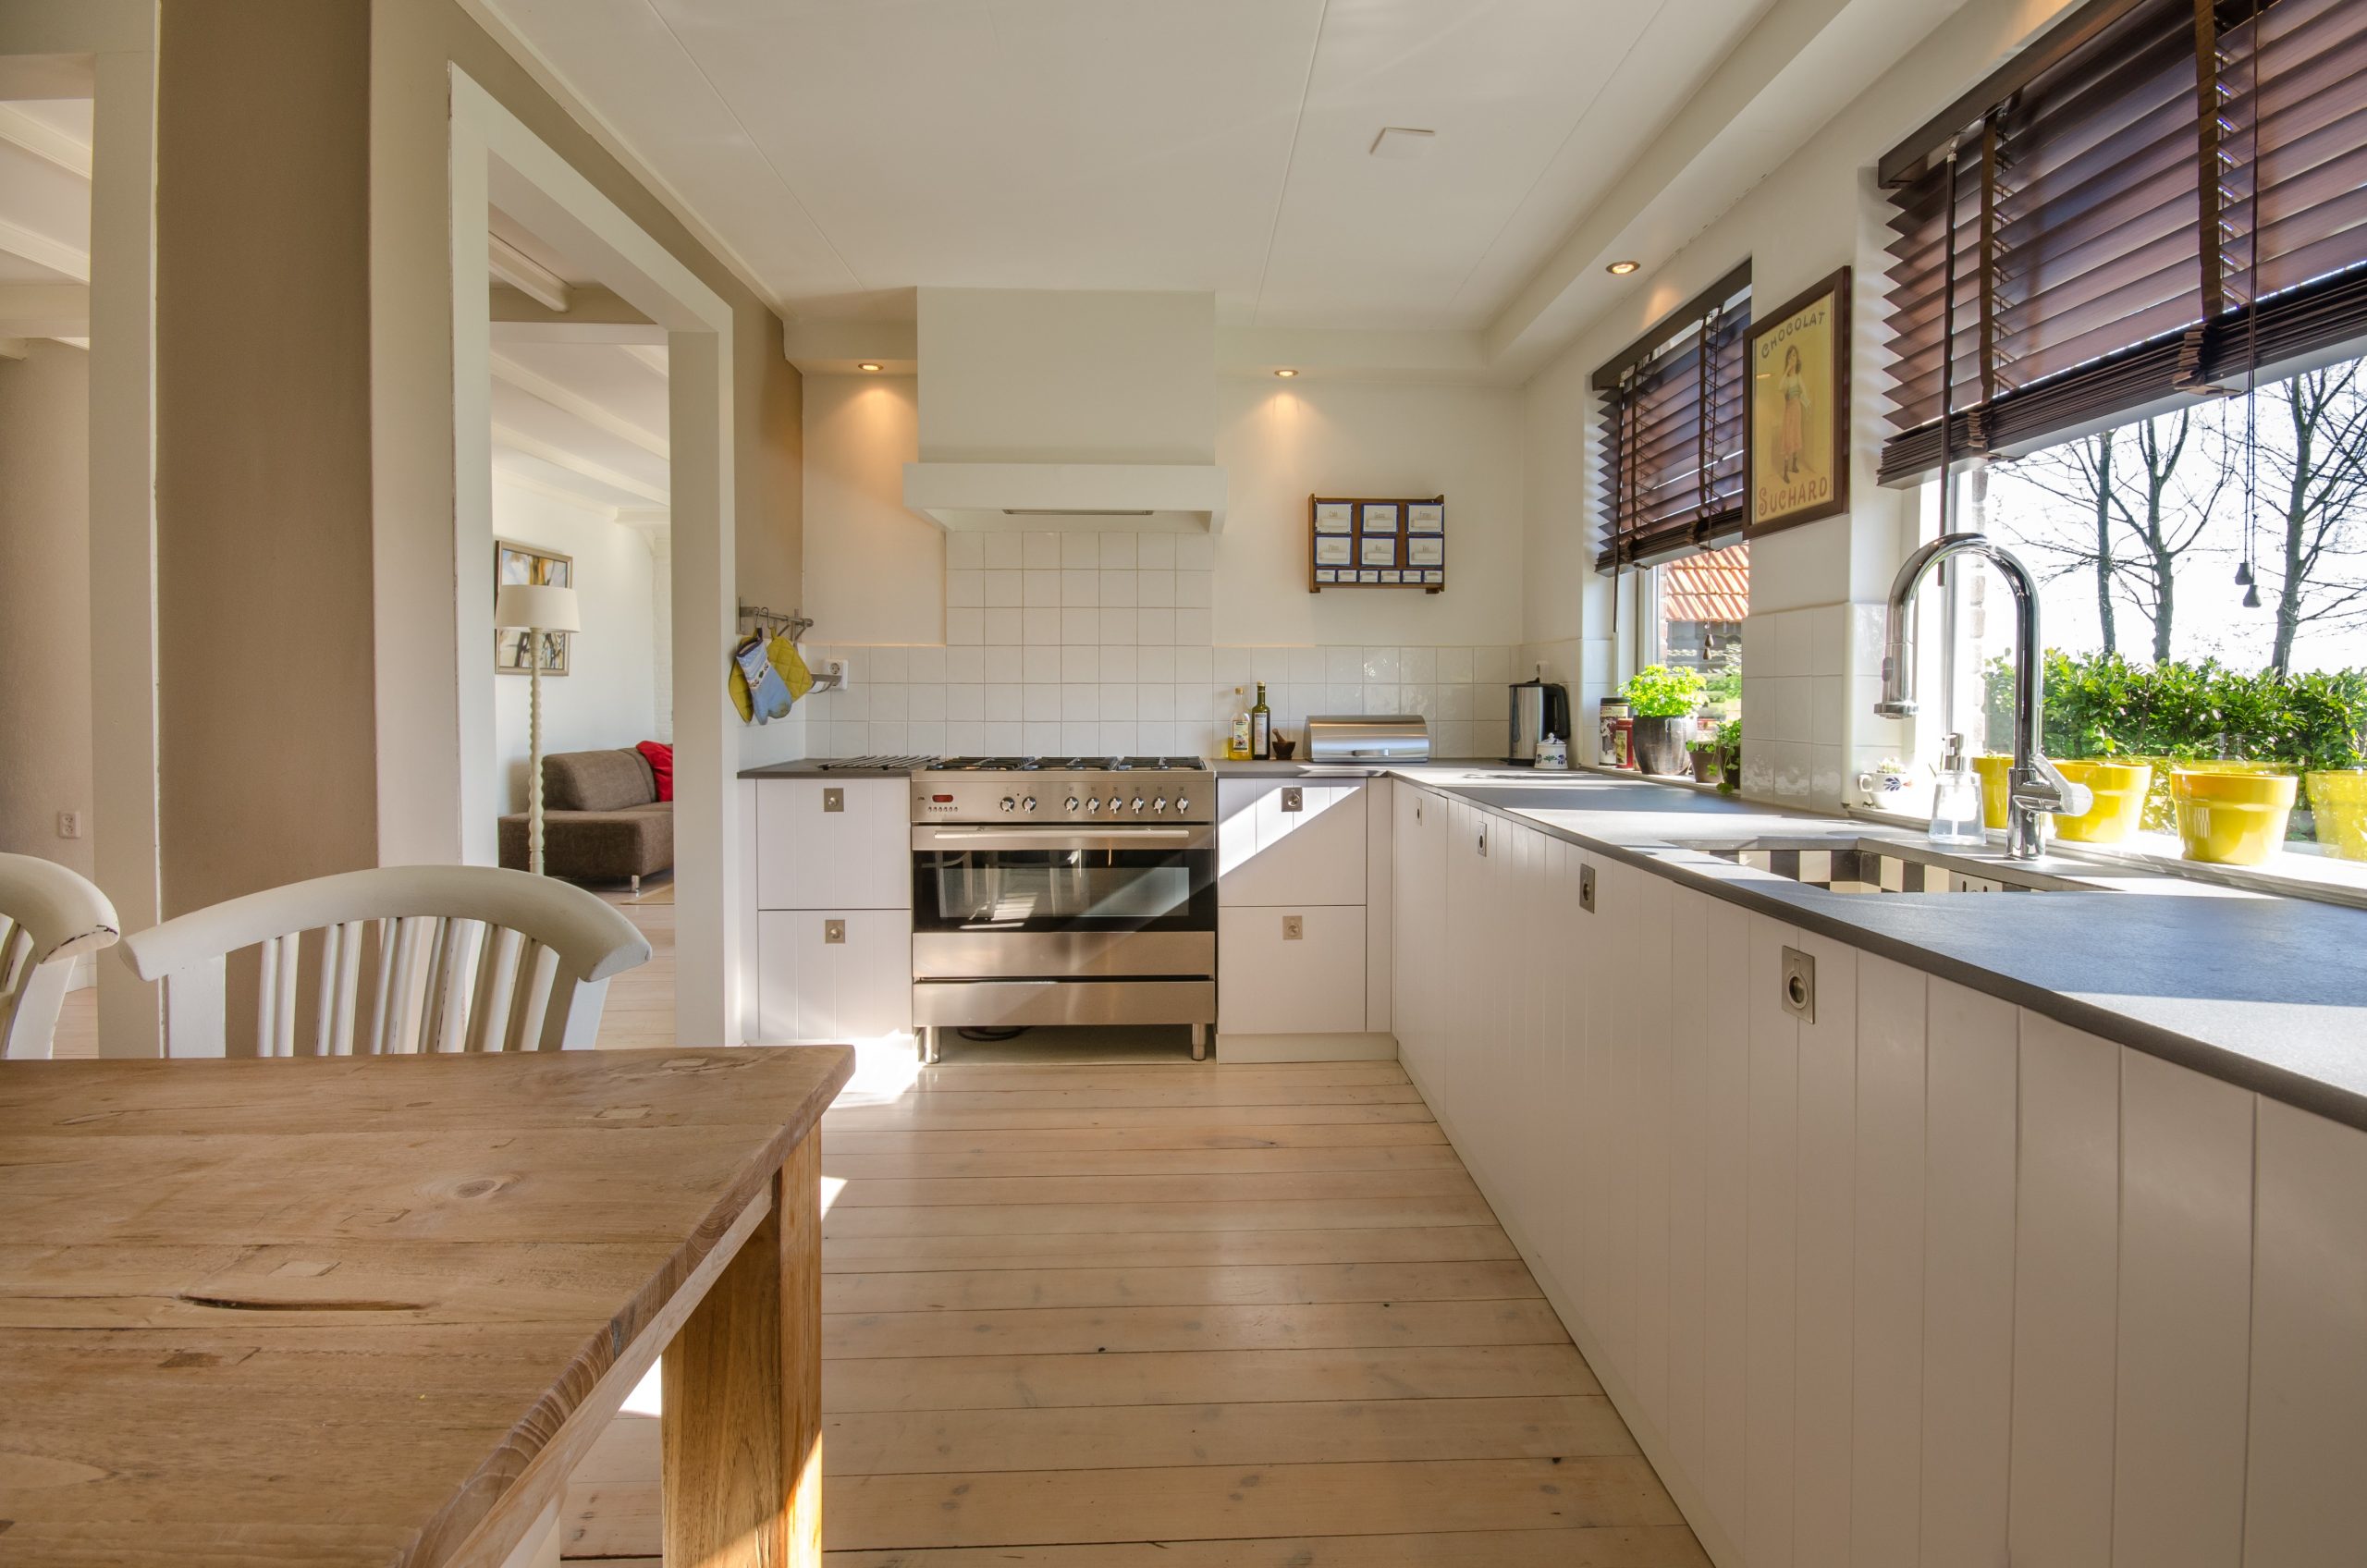
7. Think about Flooring Wood
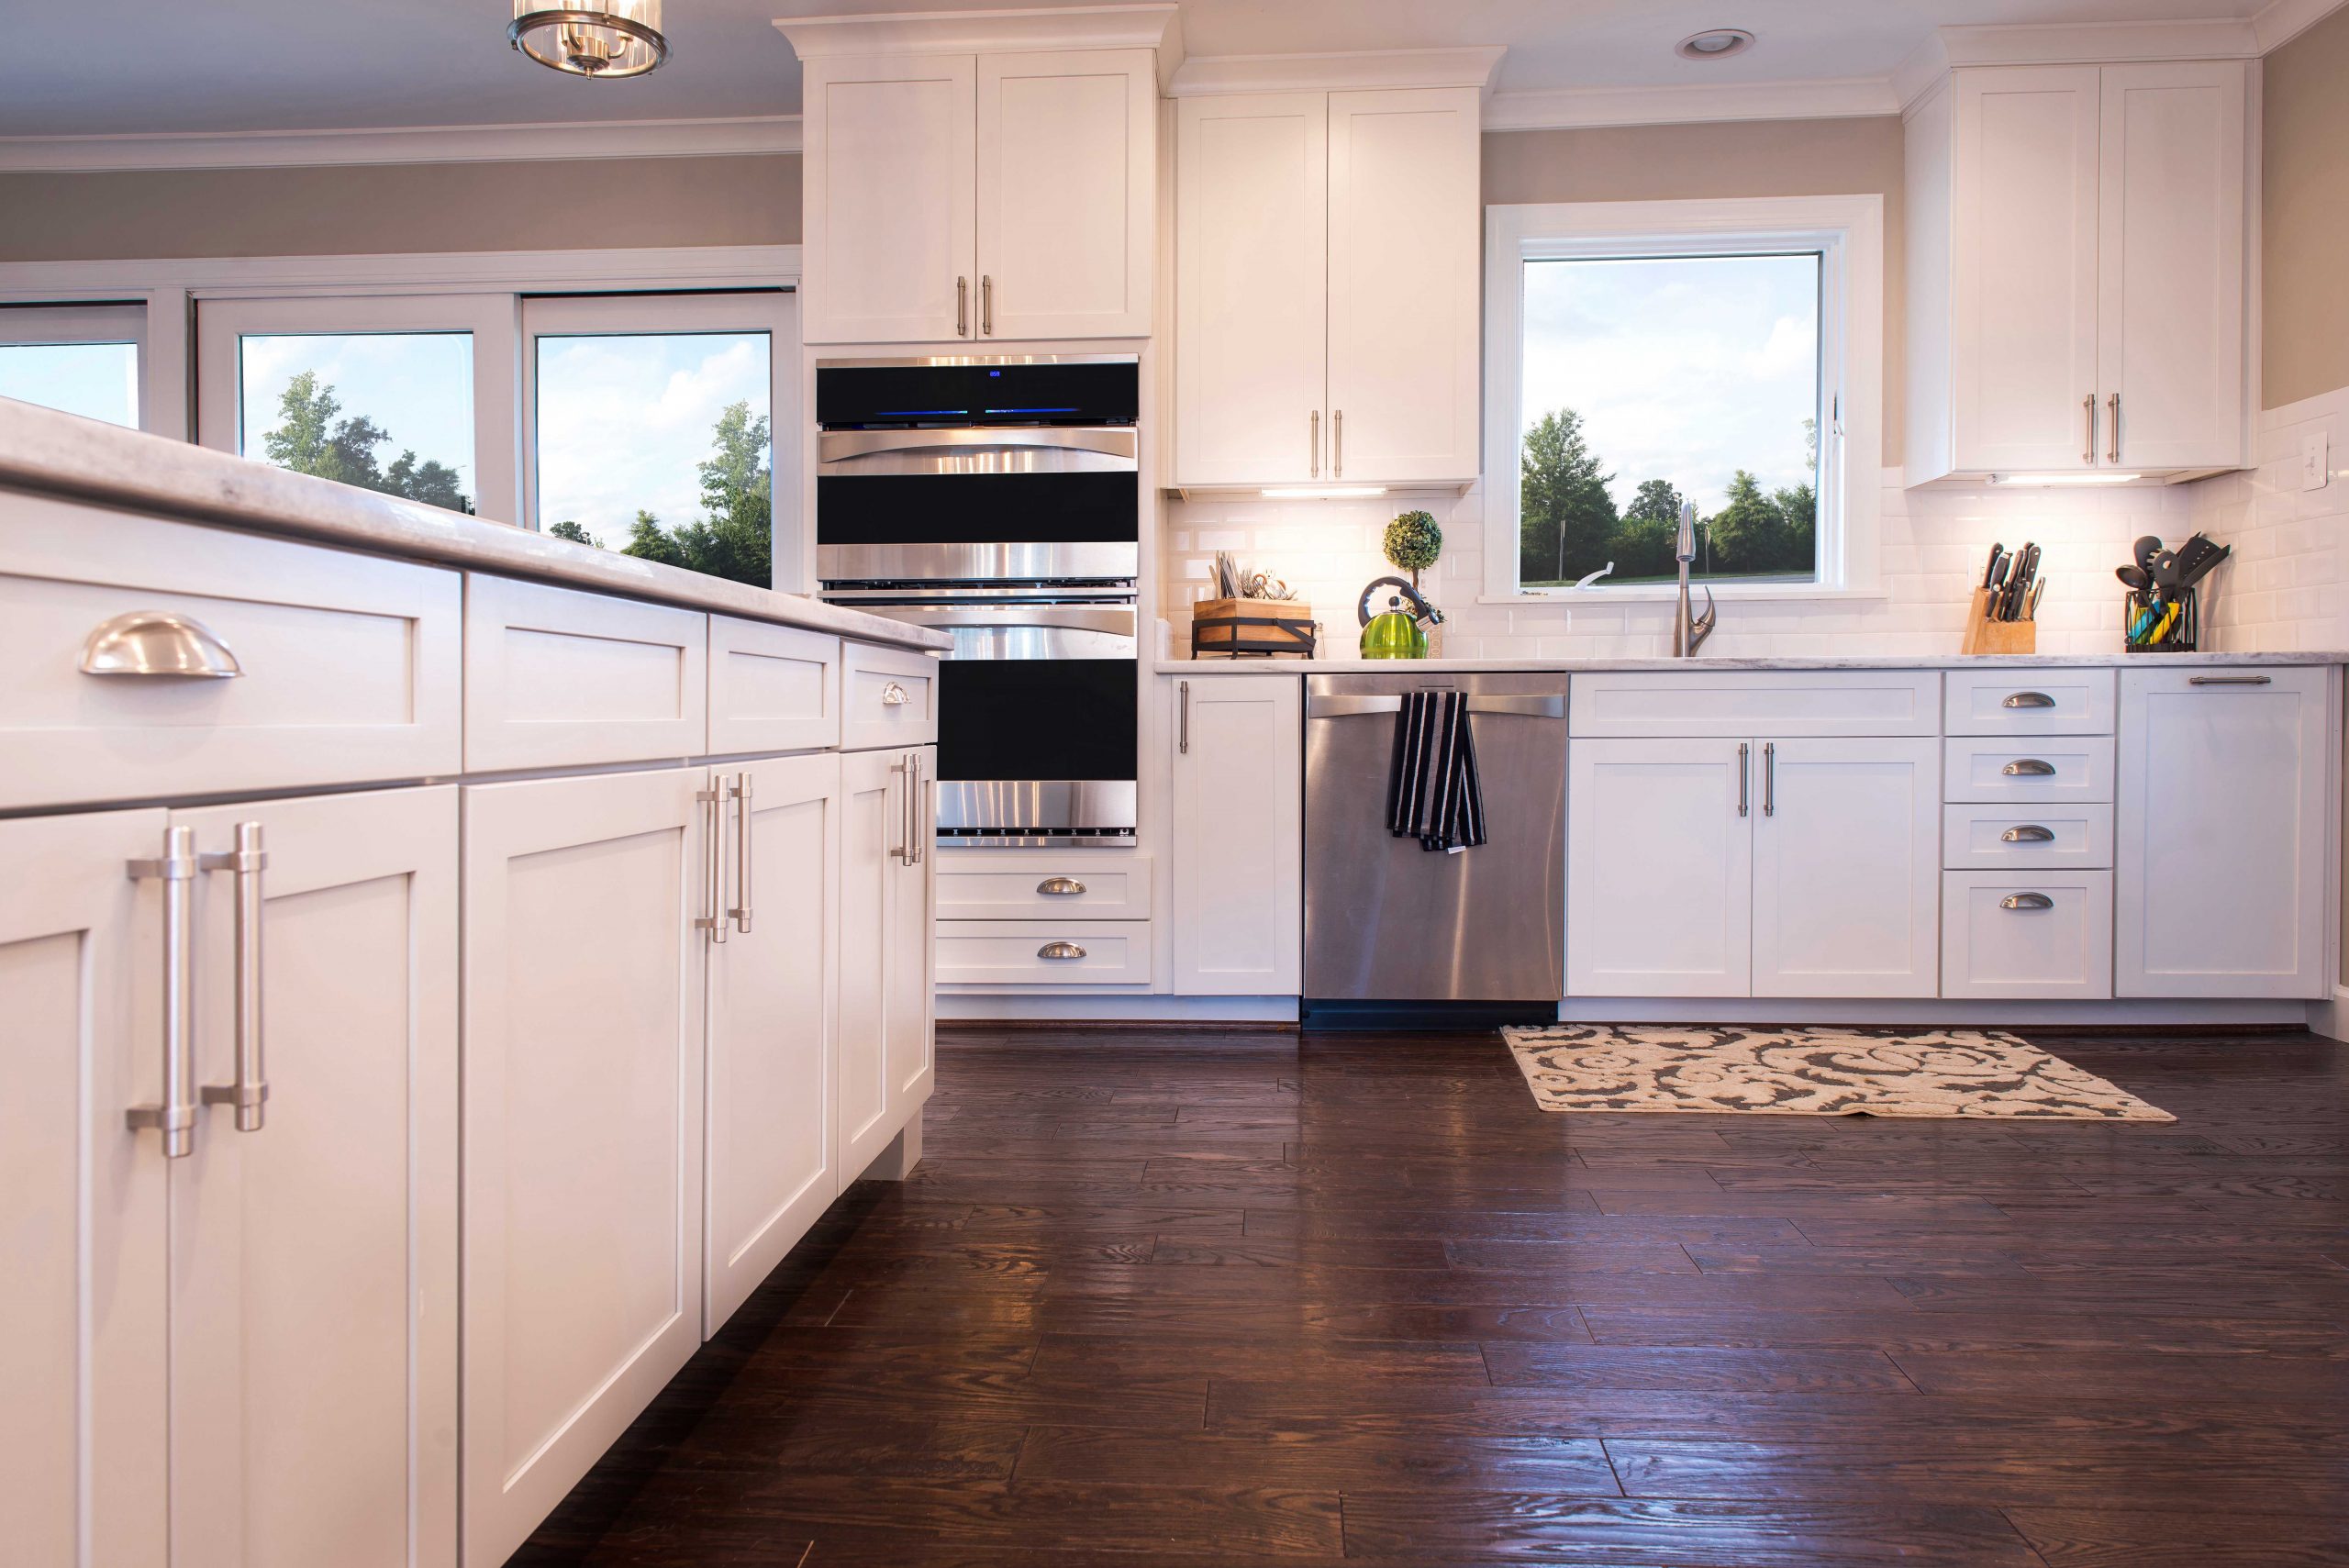 Wood offers both natural and traditional beauty but is scratched, dented, and worn under kitchen conditions. Easy-to-clean porcelain tiles come in various designs, including the convincing look of stone and wood, but most objects that fall on porcelain will shatter.
So it’s worth considering these softer alternatives: Luxury vinyl and laminate flooring shown in the picture is durable, relatively soft and forgiving, and comes in a variety of wood looks that most people think are real things.
Next, here are cheap ways to floor your kitchen with a wood surface:
- Use an inexpensive laminate flooring
Laminate flooring is easy to sweep up or vacuum. You’ll love the look of real wood that you can’t tell is fake. - Go with hardwood flooring
They are not as expensive as you might think.
Hardwood flooring comes with a lifetime warranty if it ever gets scratched, dented, or worn in a kitchen. - Consider a vinyl flooring that looks like natural wood
Vinyl flooring is both hard and soft, which makes it a good choice for kitchens where you might drop food from the countertops over time. Inexpensive vinyl tiles are relatively easy to find at any home improvement store. Use them to make your kitchen look more luxurious and sophisticated with veneers of wood grain-like patterns for an even more authentic look. There are also faux slate tiles or fake marble tiles that look like natural stones.
Relevant details:
- Wear a good pair of rubber boots and avoid splinters
- Install a wide strip of carpet in one area, along with rubber mats
- Put down carpet tape or glue the flooring to carpet tape
- On hard floors, use carpet underlay to protect your floor from scratches, and pads soften the sound of footsteps.
- Keep an eye out for scratches and chips on your floors so you can repair them immediately when they occur. Or you can take advantage of this opportunity to add a little character with nailheads or other designs using porcelain tiles that mimic natural wood and different types and sizes of porcelain sinks (such as Italian).
6. Re-Paint your Cabinets
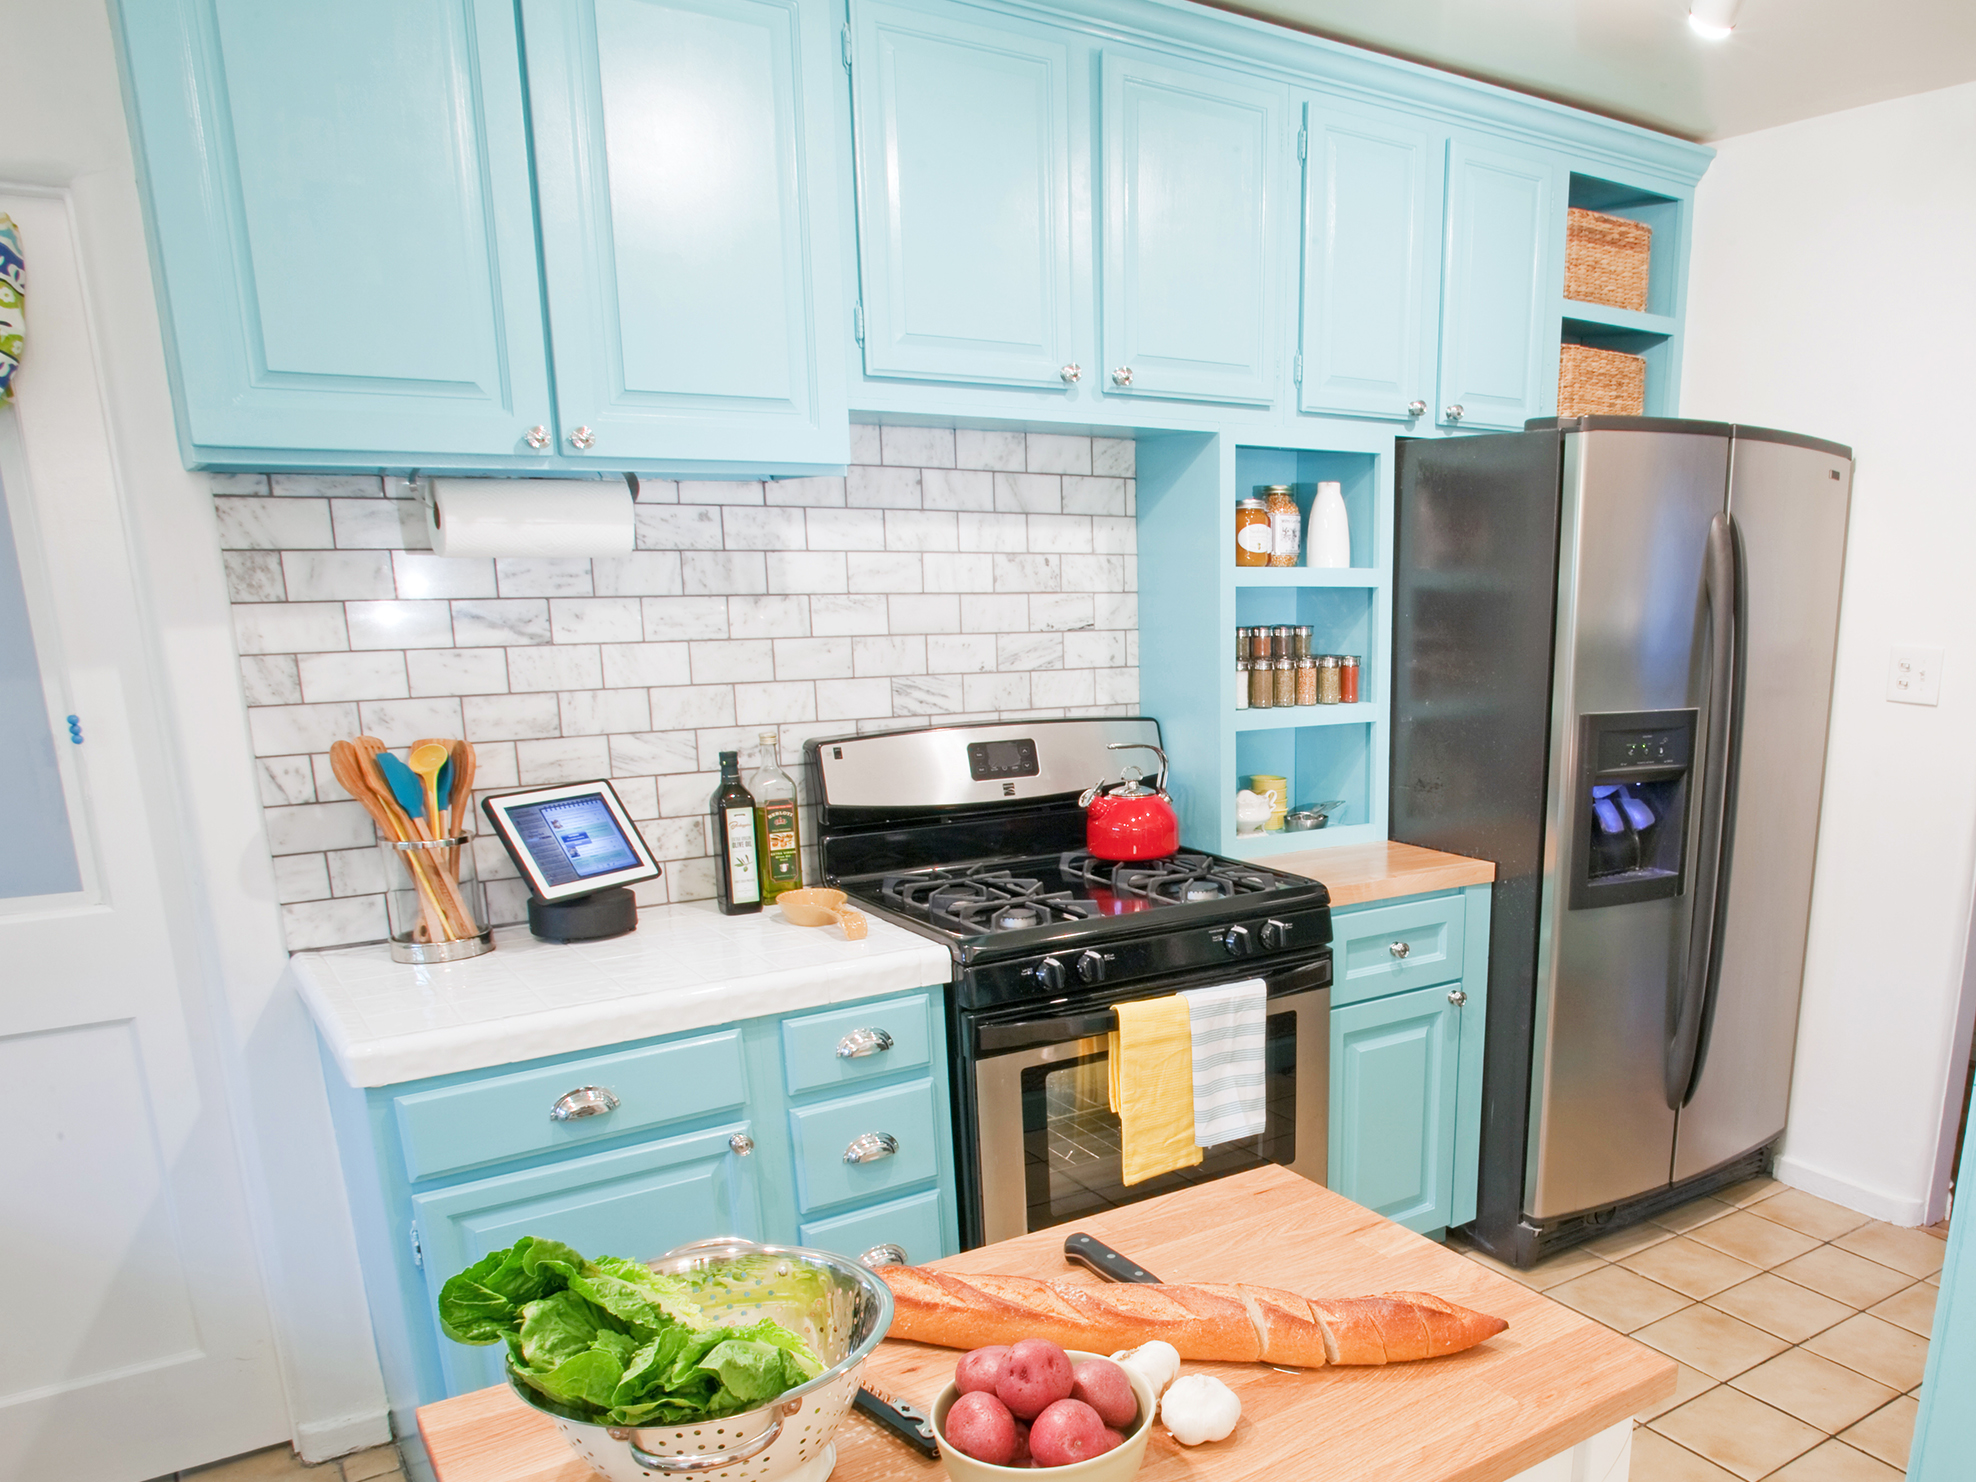
This simple kitchen-style hack is a fantastic way to transform your space on a low budget completely. Remove your cabinet doors and hardware, sand your cabinets, and add a fresh coat of paint to the cabinets and doors.
Opt for a paint color that complements the rest of your interior design and reflects your personality for an extraordinary touch.
Other important details you need to know before repainting your kitchen cabinets for the first time are:
- No 1. Choose the right paint
In detail, choose a paint that’s one shade lighter or darker than the wood. and then - No 2. Use primer before painting
Primer softens the paint and prevents chipping while it dries, so prime first while you paint. - No 3. Use a primer paintbrush
Use a paintbrush or roller to ensure a smooth application.
Relevant Questions, answers, and advises:
- How to clean cabinets before repainting?
Answer: Use a soft-bristled toothbrush to scrub the cabinets and remove food remnants. Afterward, towel dry and let it air dry. - How to paint over old cabinets?
Answer: Since many people don’t want to replace their old cabinets, they choose to repaint them instead. However, this is an option that you should avoid since it means you will have to do some prep work first. Look for a primer that is designed for wood surfaces before painting your cabinets. Follow the manufacturer’s instructions on how to apply primer paint evenly around your cabinet’s edges according to their directions - What are the ways to remove kitchen cabinet doors?
Answer: Remove one of the cabinet doors and move it out of the way to work on. Priming and painting are quicker, along with better quality paint, when you use a magnetic cabinet door holder to support your doors when you paint or repaint them. Afterward, this holder is removed, and the door will slide back in place and perfectly fit in with your decor. - How to seal my cabinets after they are painted?
Answer: Use a primer-sealer or furniture sealer found at most hardware stores or home stores for this purpose. If you use the wrong type of primer, it will not make good contact with your surface and will result in the chipping of paint over time. - Try New Appliances
Kitchen appliances are an easy way to bring some visual interest to your kitchen space without spending a ton of money. It’s no surprise that major brands like Samsung, LG, and KitchenAid are constantly pushing out new styles and colors of their products. However, you can also find affordable alternatives at Ikea or even local appliance stores that will still give your kitchen a facelift.
10 Simple Kitchen Interior With Big Impacts
10 Ideas on How to Turn Your Small Kitchen Cozier
10 Colorful Kitchen Decor Ideas that could Jazz Your Kitchen Up
10 Clever Kitchen Shelving Ideas for Living the Kitchen Up
The DIY Idea on How to Craft A Crate Open Pantry (For kitchen or living space)
Make Your Kitchen a Better Place for Cooking: Kitchen Remodel
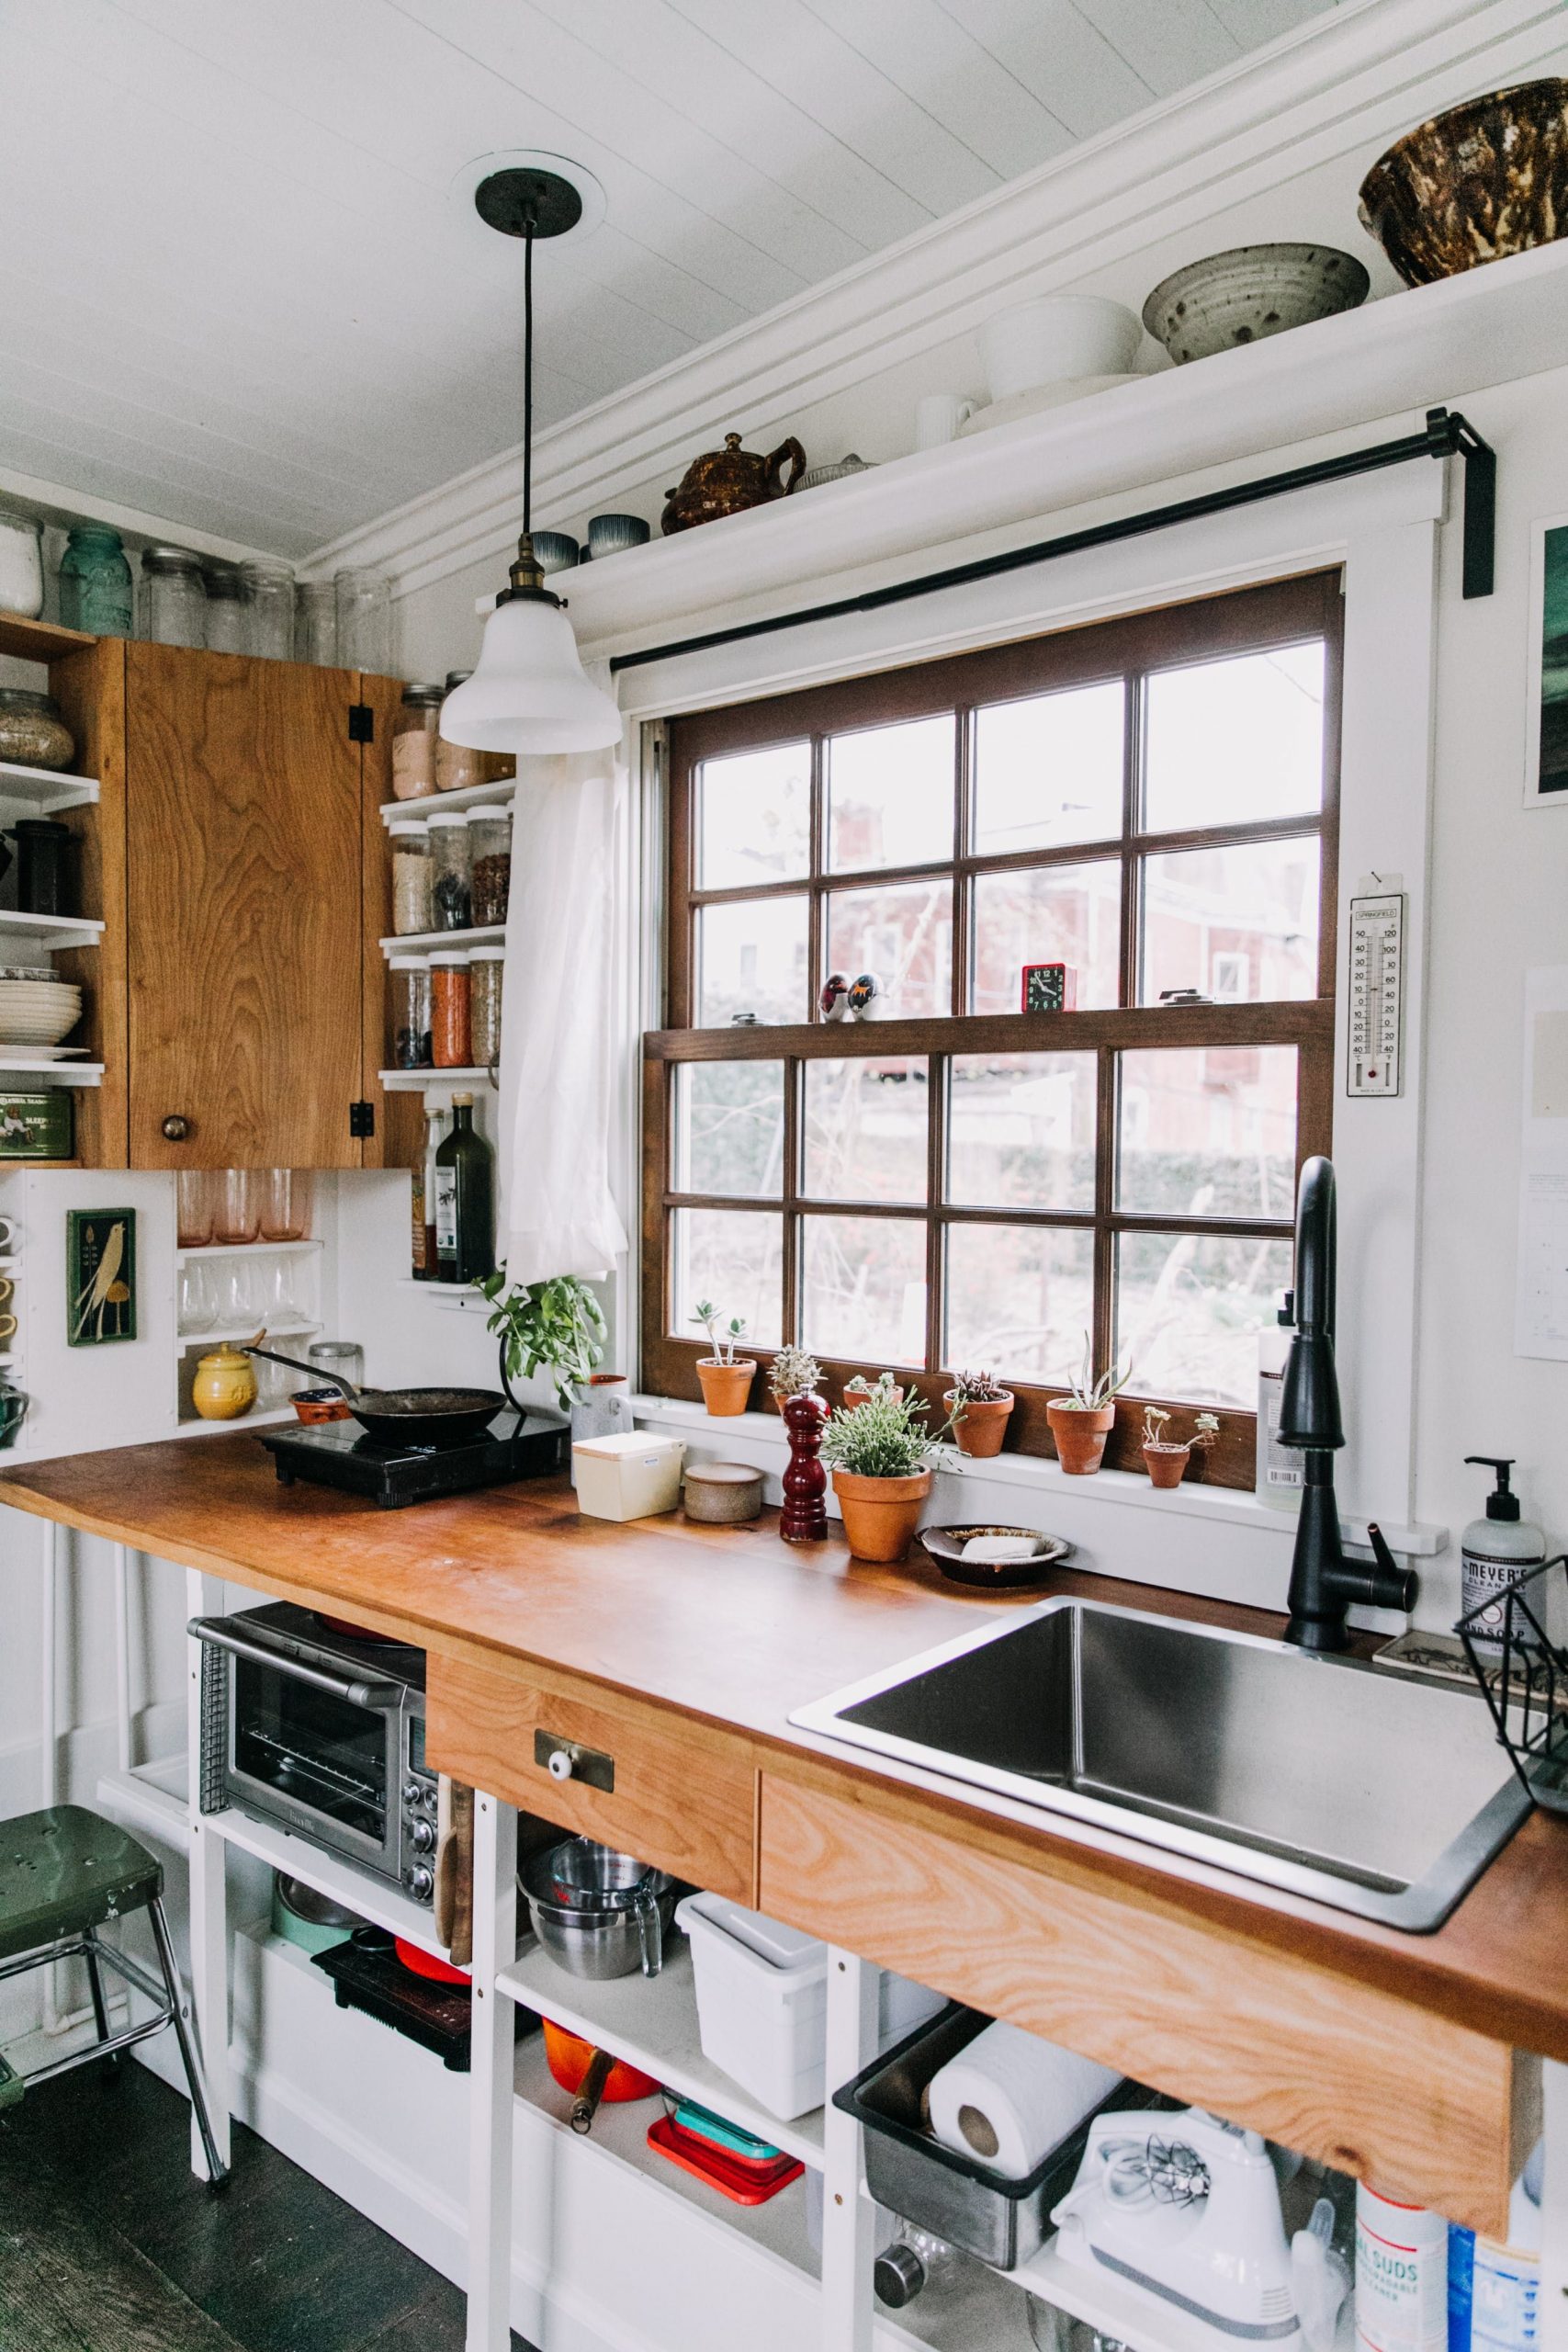
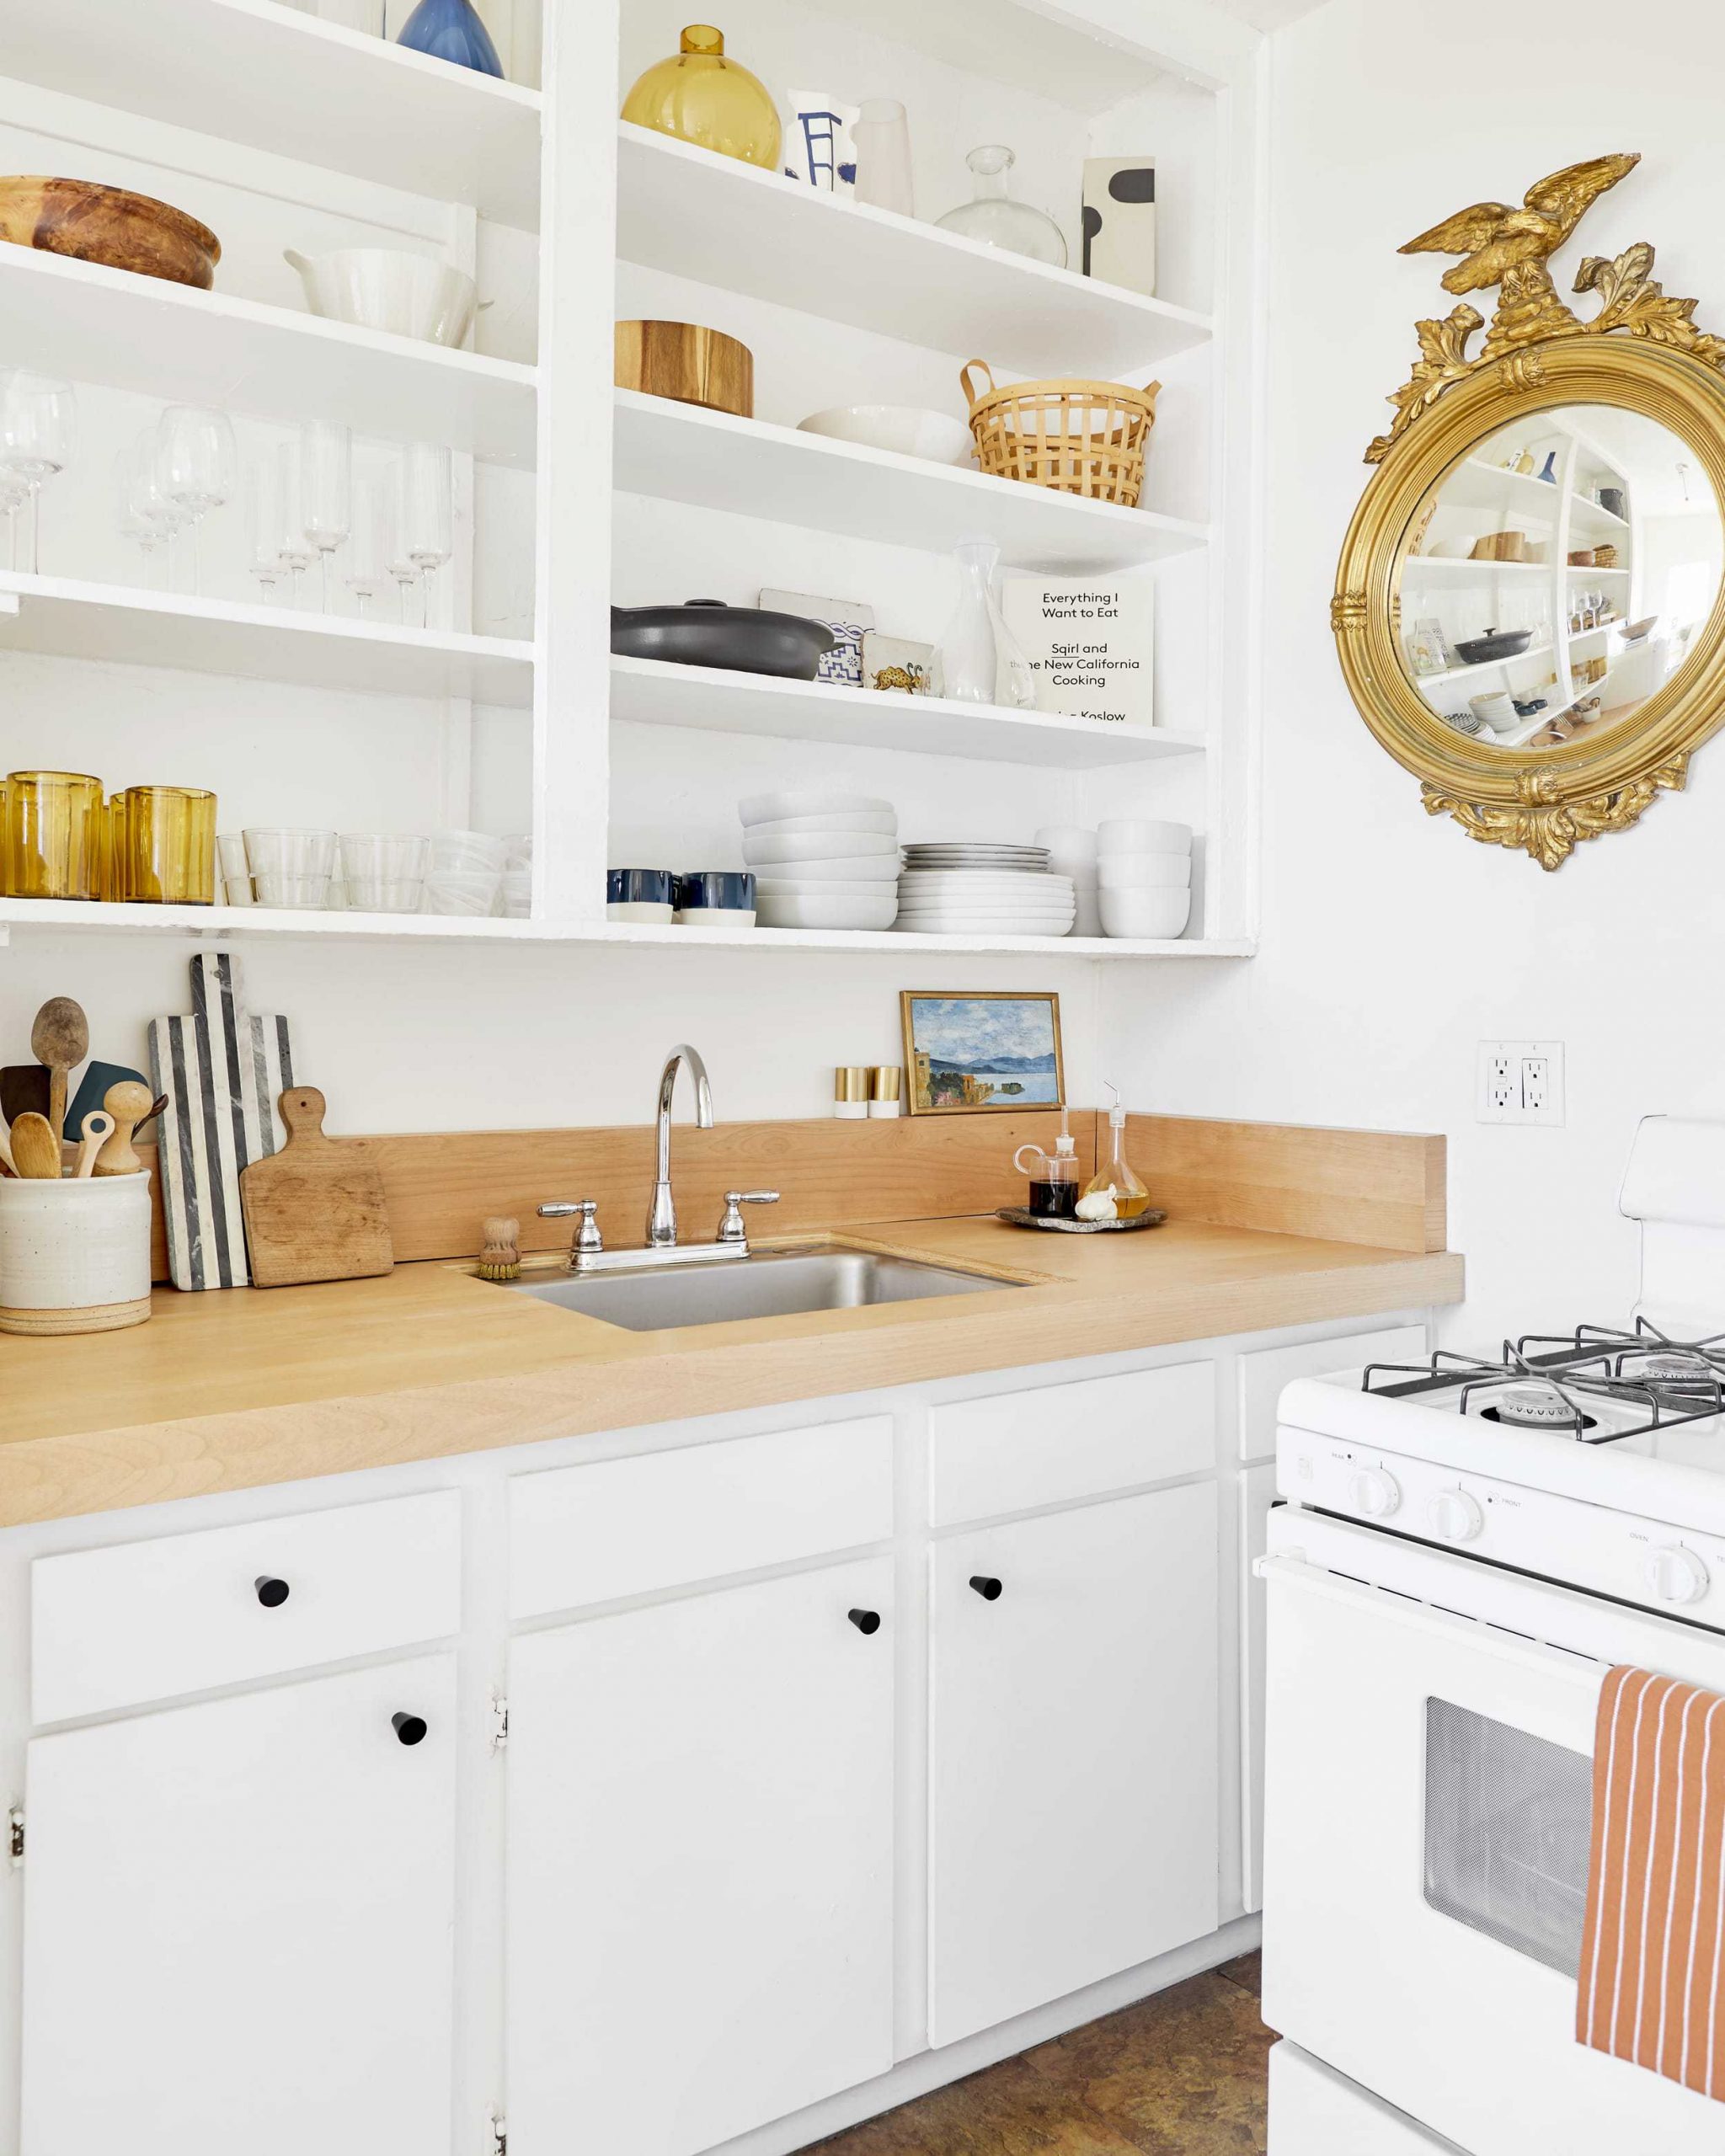
5. Add Open Shelving
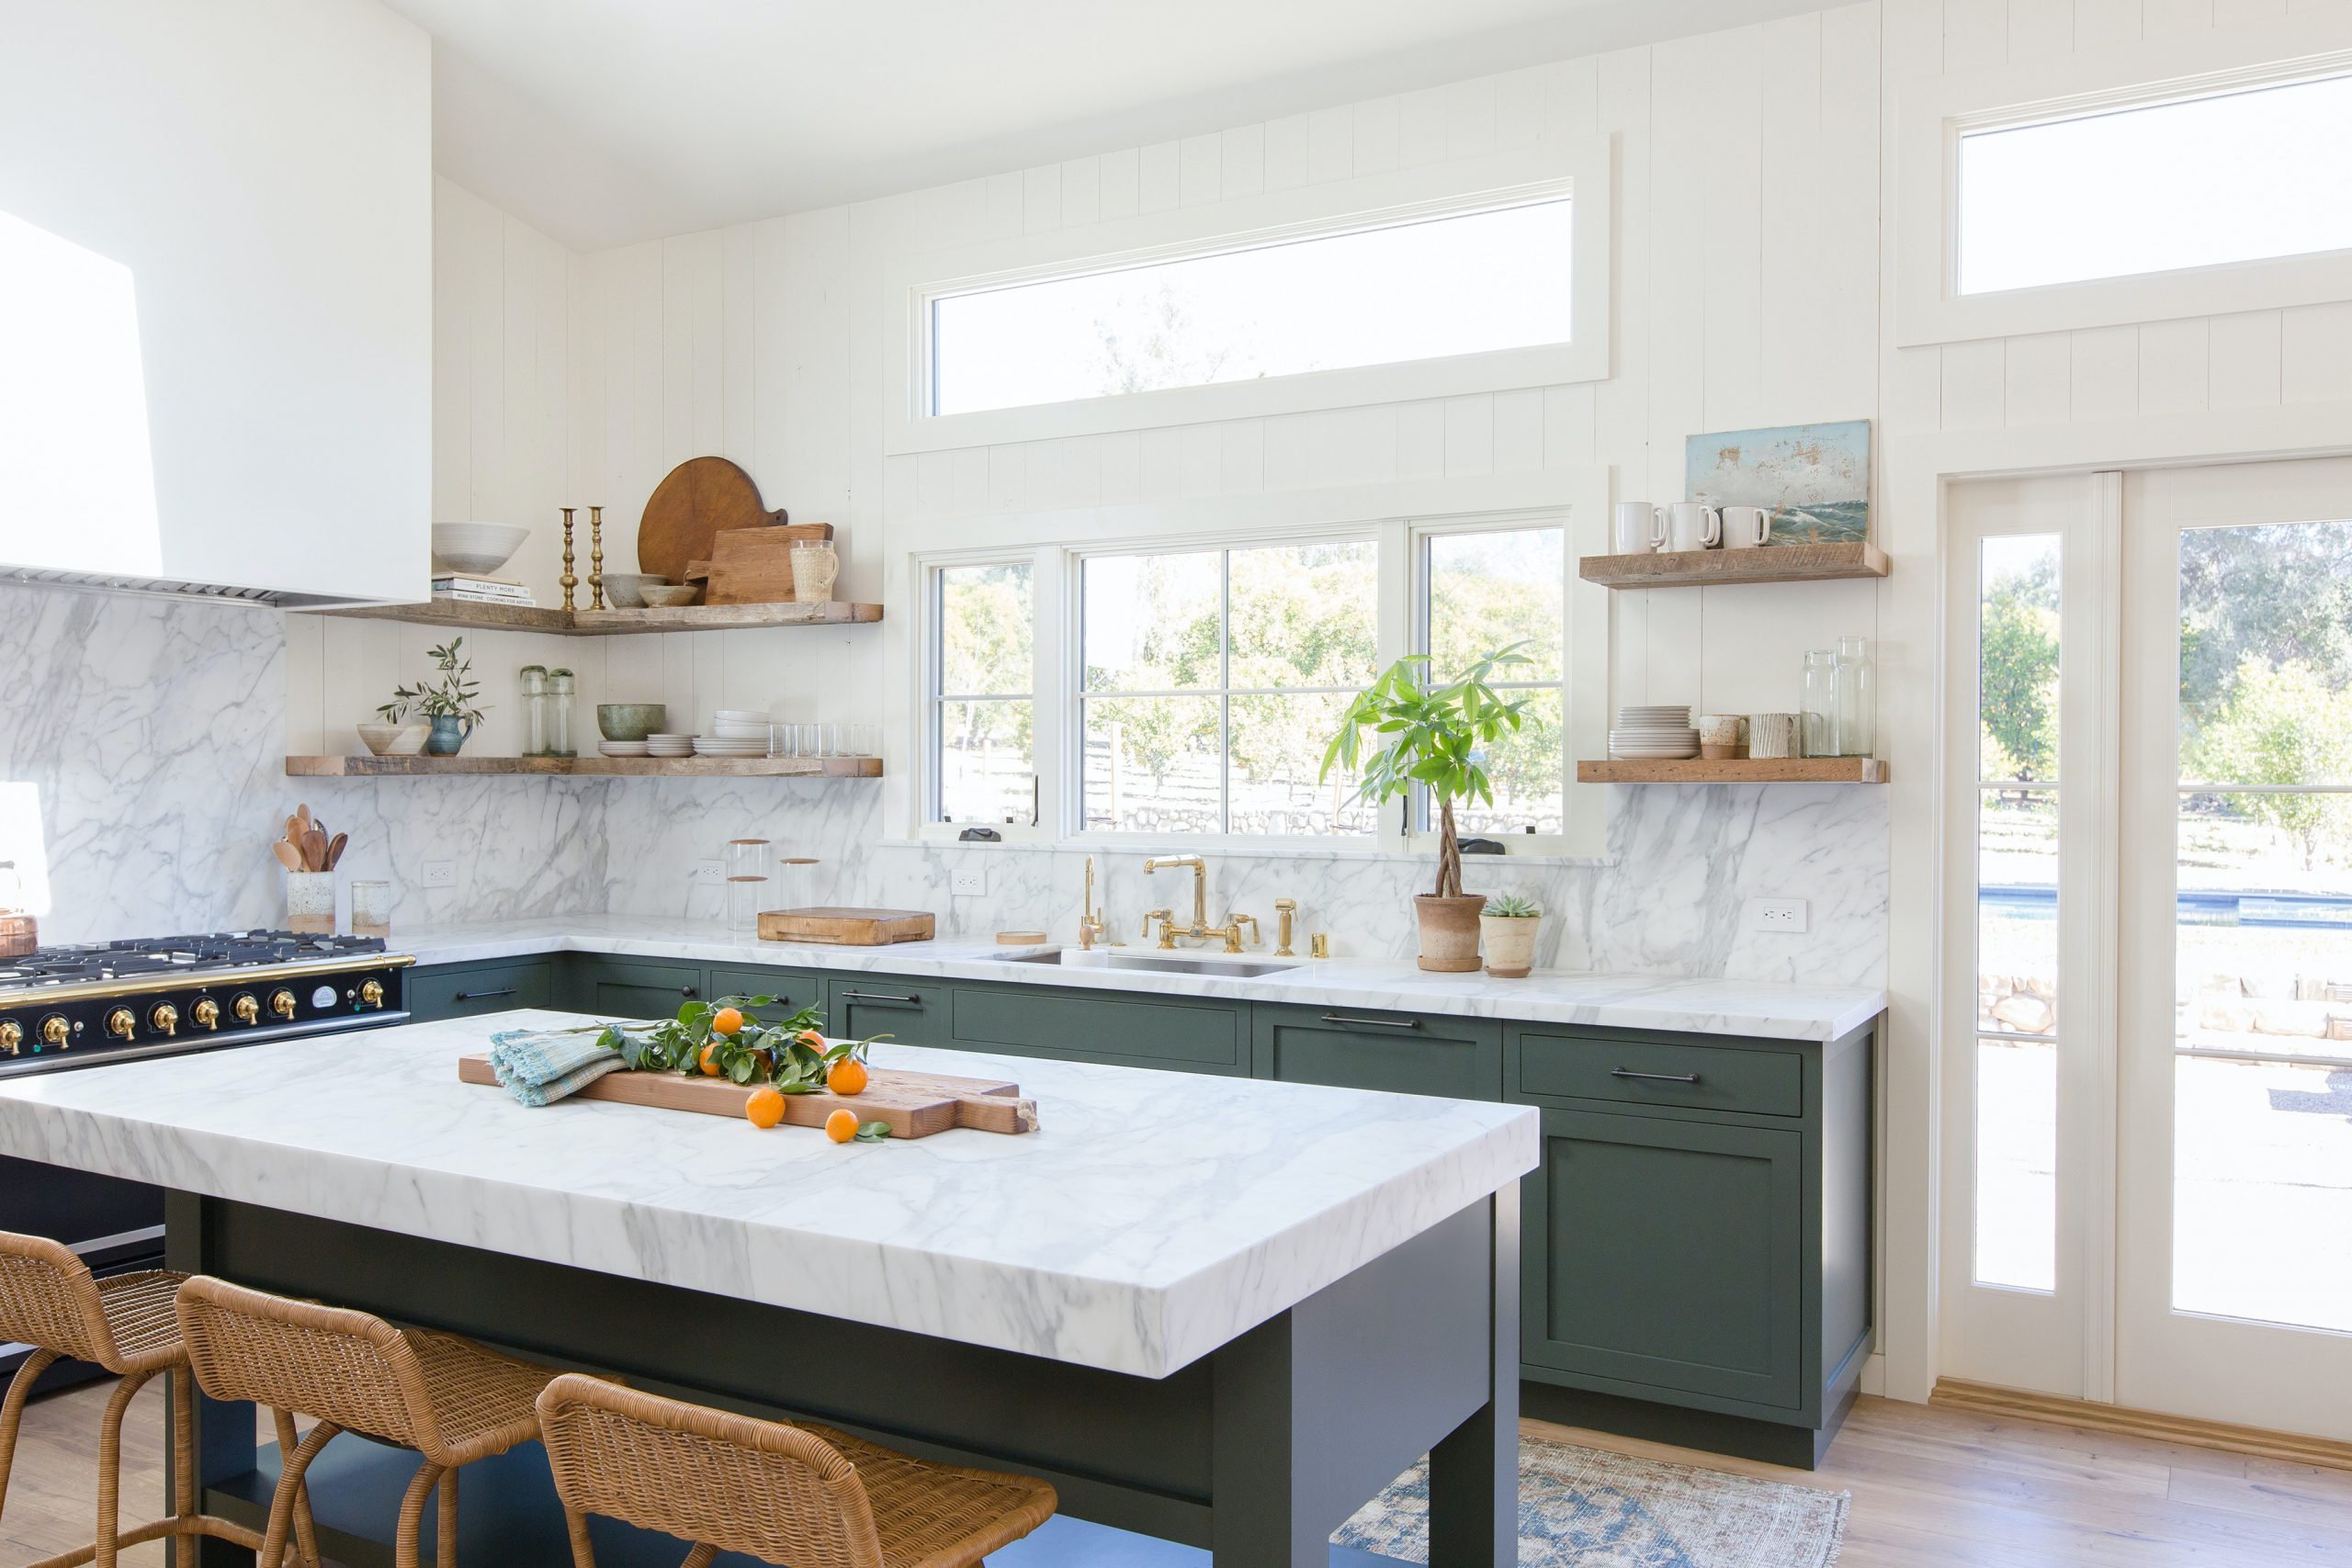 Open shelving is one of the staples of many high-end kitchens, and it’s very easy to install yourself. If you have unused walls that need attention, find an affordable shelving style that matches the design of your room to fill the space.
Suppose you have an extra cupboard stocked with lovely kitchen utensils and plate sets but don’t want to splurge out on new cabinets. In that case, open shelving is a much more budget-friendly option for enhancing the space and displaying your favorite items.
To add open shelving to your kitchen, your instructions are:
- Create a plan of the space that you want to open up.
- Measure your new shelving’s size on the wall, then measure your cabinets on the other side to see how much you’ll need to allow for each set of shelves.
- Now, measure how much more space is required for each cupboard.
- Choose the best designs for your cabinets, and always make sure you have enough room inside them to arrange everything effectively before buying them.
- Measure all the items you want to display in your cupboards and check whether they can fit in each designated area; if not, rearrange them accordingly until everything looks ready and perfect inside the cabinets.
- Then, purchase your shelves or cupboards.
- Finally, attach your new shelves to the wall with the help of brackets, screws, or glues.
Also, Add Pots and Pans Alongside Your Cabinets
Kitchen cooking is much more fun when you have access to a great set of utensils. So try giving your countertop a facelift by adding some fresh pots and pans alongside your cabinets to replace your dull kitchen utensils or simply for decorative purposes! You will be surprised at how simple it is to fix one dish at a time, but you will indeed find that you are cooking more often now that you have this space overhauled.
4. Upgrade your Storage Solution
 Instead of displaying snacks, flour, oats, pasta, coffee grounds, or other everyday foods on the counter in their original packaging, opt for a set of integrated storage containers. By standardizing the design in your kitchen, you will meet this need while enhancing the look of your space.
Many heavy plastic containers can also mimic the look of glass. The good thing is they are on a budget. Besides, you do not need to worry about breaking it if someone accidentally drops them.
Relevant details:
- Select the Perfect Size
Perfect size refers to the height of each drawer. Another thing that determines the height is the topmost or bottommost area of your kitchen cabinets or countertop. Therefore, measure both areas for a more accurate estimation of the perfect height of your storage system. - Choose The Right Color and Design
After deciding on what color goes with your kitchen’s design and color scheme, you still need to consider how well it will fit in with your existing furniture and decor, such as whether it will be too large for any specific item you want to store. - Understand how many drawers you need and where you want to place them inside your kitchen cabinets
- Consider The Type of Drawer
You should also know that each type of cabinet has its own perfect design and type of drawer. For example, if you want to place a drawer beside your sink, your kitchen cabinets must have a sink cutout that is the exact size of the drawer. - Fix Metal or Plastic Drawer Organizers
Drawer organizers are beneficial for keeping all your items neatly organized in each drawer without throwing any items out. They are available in metals or plastic materials, and they often come with built-in handles that make opening the drawers easier without damaging them or their content. - Choose Comfortable Handles
Handles are an essential part of your drawers. They determine how easy it is to open, close, and pull out the drawers. Handles made of wood, plastic, or stainless steel provide a better grip than ones made of metal or rubber. - Install Drawer Dividers
You can use drawer dividers, also known as drawer inserts, to divide each drawer into two sections for more organization and storage capabilities in your kitchen cabinets. These dividers will help you easily store small and large items at each drawer’s bottom and upper areas. - Narrow Down Your Space
Do not place too many materials in your cabinets because it will create difficulties accessing them when cooking or preparing food. Thus, try to narrow down your items to the most useful ones. If needed, put the other kitchen items in boxes and store them in the garage or basement for later use. - Enhance The Lighting Of Your Kitchen
To avoid bumping into your kitchen supplies when cooking or baking, choose well-lit areas that are safe for you to see your food while preparing it. You can easily install kitchen lights by unscrewing the old ones and screwing in new ones of different styles.
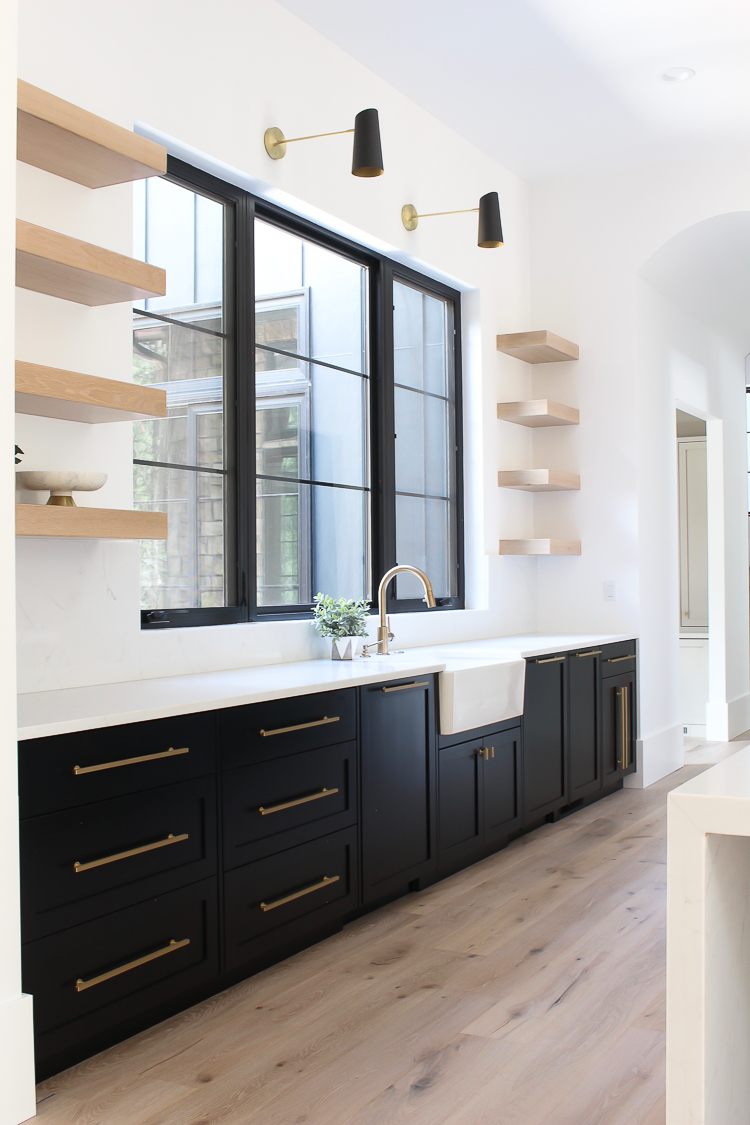
3. Upgrade your Hardware
 If your kitchen has large drawers and cupboards, consider using different hardware for each to bring additional detail into your interior design.
Use pulls and knobs, but keep the finish the same to prevent the displays from colliding. Upgrading to high-quality hardware can make your cabinets feel updated without spending lots of time on new installations.
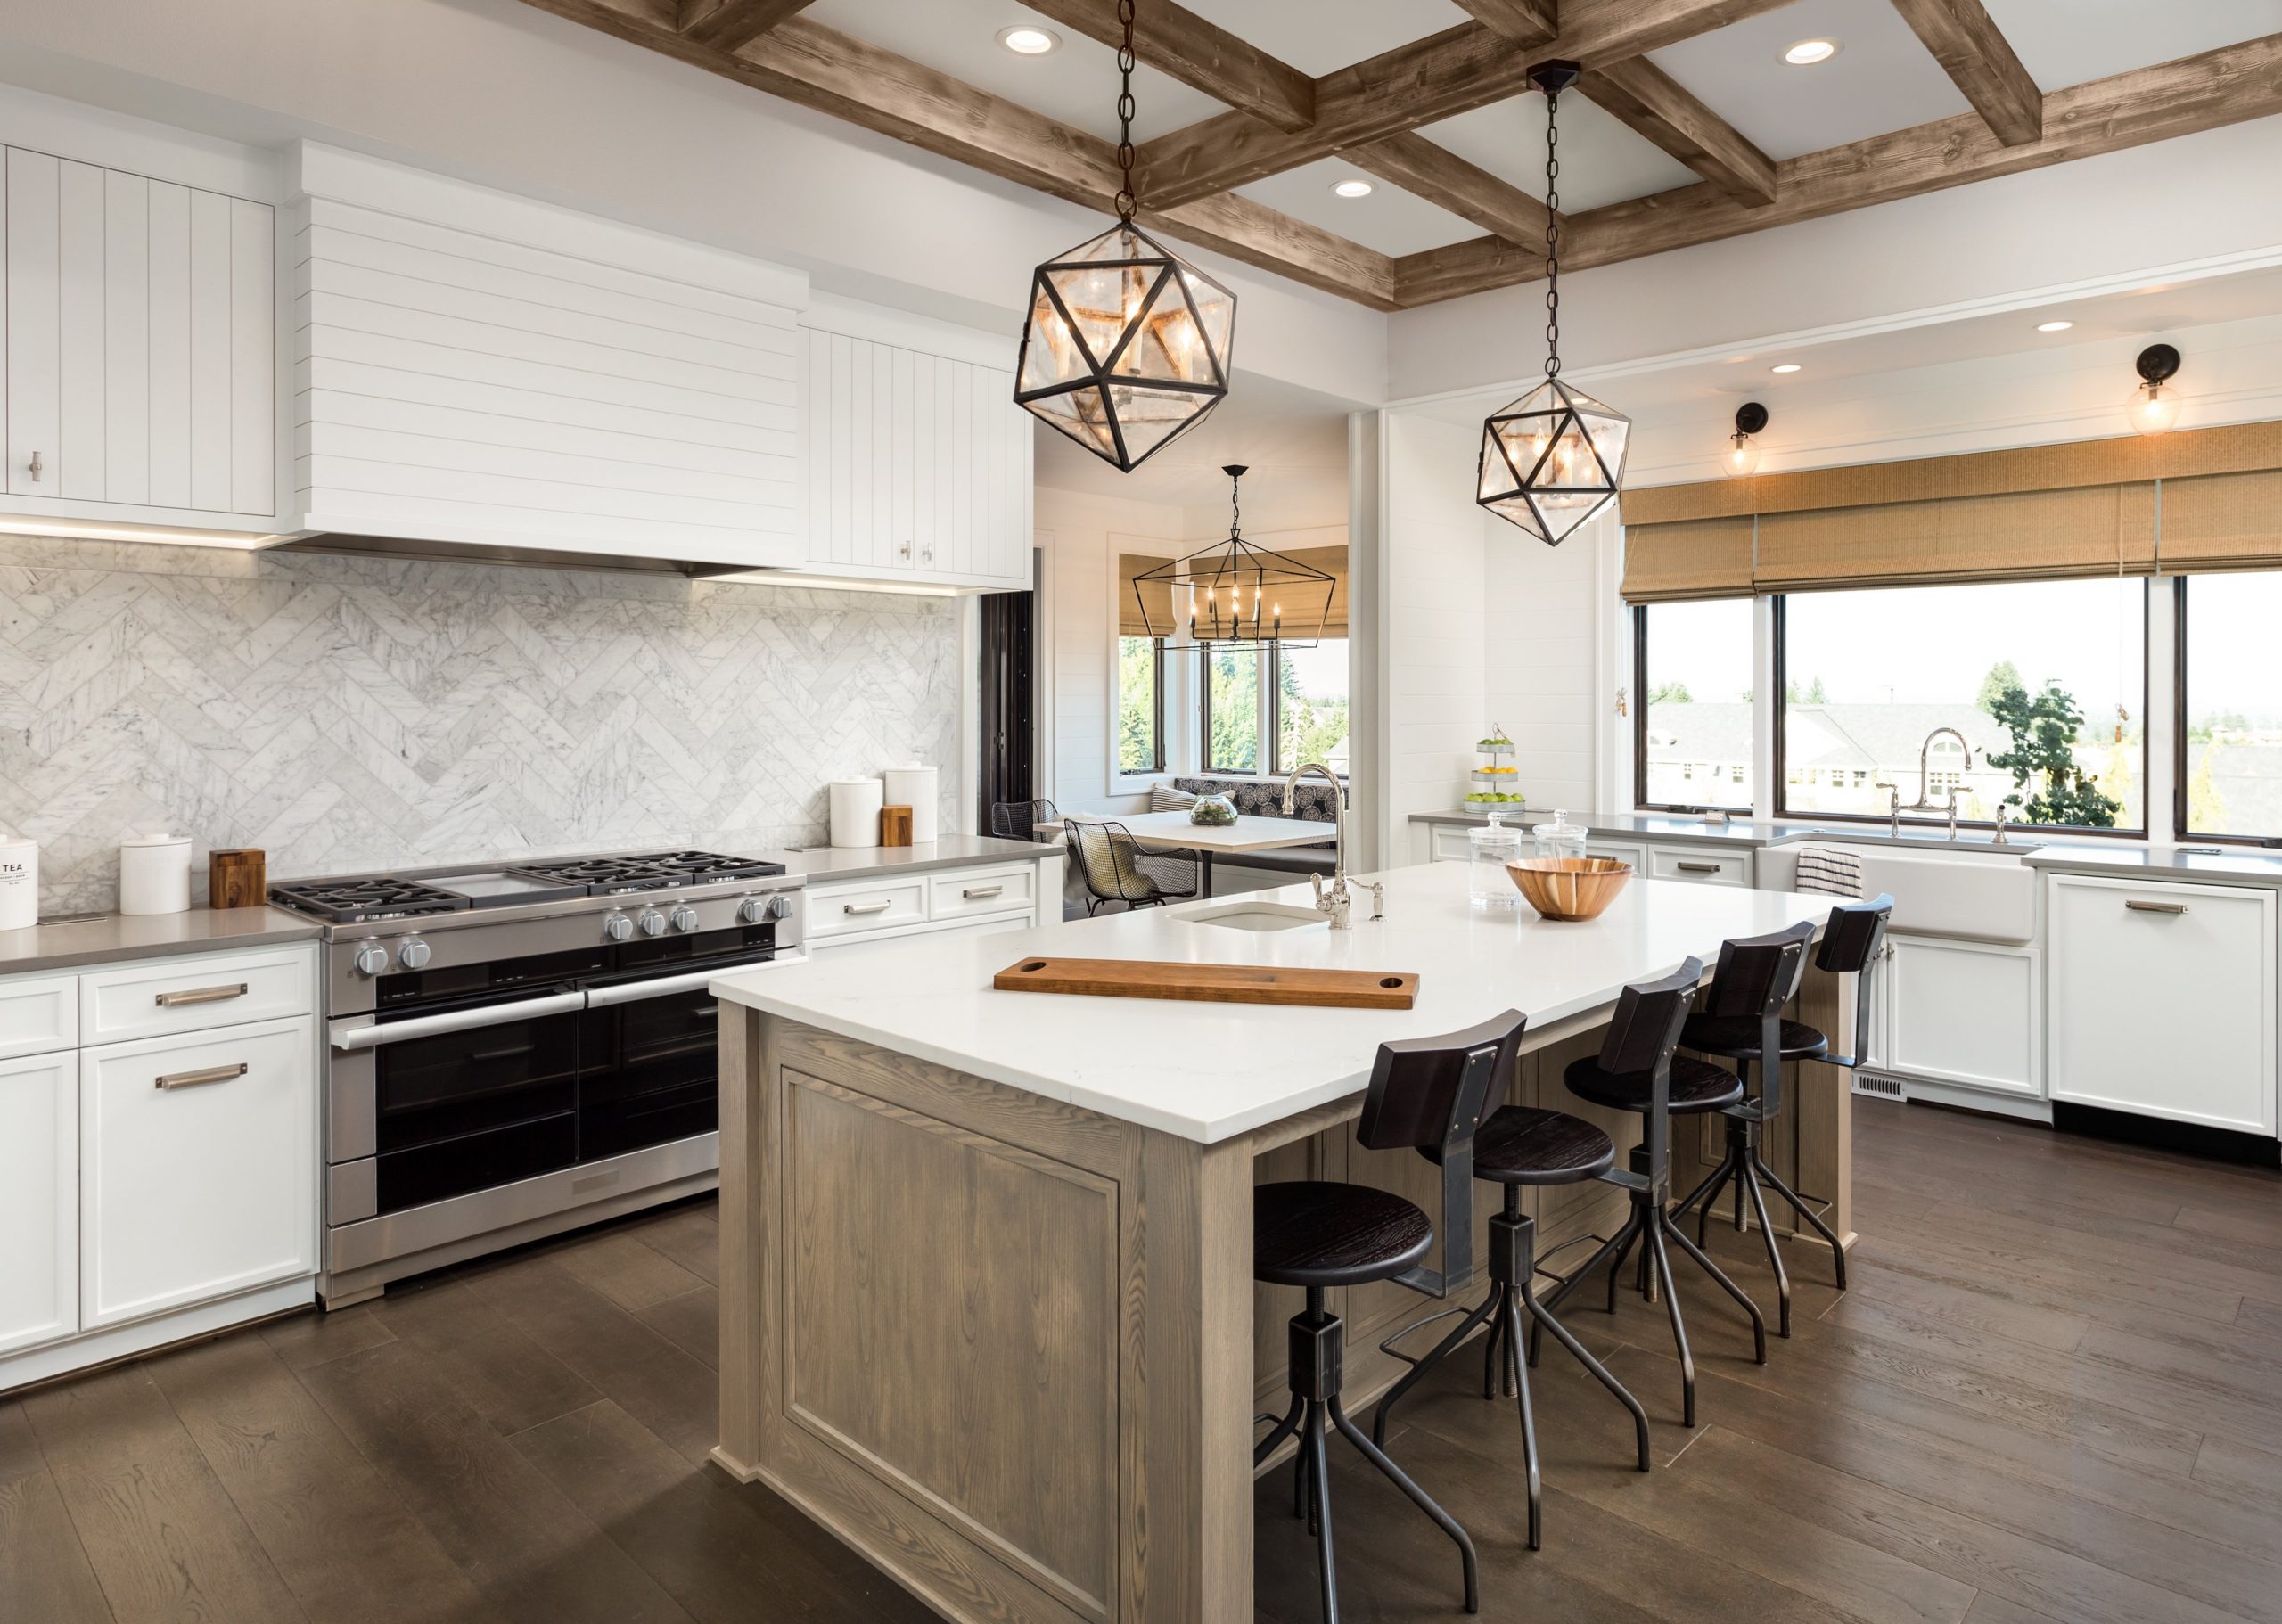
2. Update your Kitchen Lighting
 We often say that lighting is like a piece of jewelry in a design because it adds an excellent finishing touch to a room. With this in mind, turn off your light fixtures to enhance your kitchen. Opt for unexpected shapes and styles for items with a touch personality to supply your space with a special designer-inspired look.
Few essential things you need to pay attention to are:
- Choose upholstered furniture to match the design of your kitchen cabinets.
- Decorate your kitchen cabinets to complement the style of your kitchen.
- Use classic patterns and integrated hardware to create a distinctive look
- Use different lighting fixtures with varying levels of brightness
- Choosing specifically designed lighting fixtures for kitchens can dramatically impact the design of any space, so take good care in shopping for them.
- Bring the outdoors inside with canvas prints to help increase your space’s brightness.
- Use an area rug or a set of mats to give your floor a needed splash of color.
- Miscellaneous items can also contribute to creating a classy and luxurious look for your kitchen.
Lastly, Number 1. Get Your things More Organized
 Piles of mail, dirty toasters, and damp sponges are sure to make a kitchen feel less remarkable. Keep your counters organized by gathering necessities you can’t hide in cupboards, decorative trays, storages, and baskets.
Make room in cupboards or tall cabinets for small appliances you don’t use daily, and hide cleaning supplies in containers under the sink.
If it is possible, don’t start cooking until your kitchen is approximately clean. If you still keep cooking and your kitchen is already a disaster, you’re going to get depressed and eventually throw your hands up in despair after cooking the meal.
Other fantastic ideas to get your kitchen more organized and neat are:
- Make a habit of wiping countertops, tabletops, and other surfaces after each use.
- Keep a separate set of utensils for cooking and other tasks to help you save time searching for them.
- Organize your spices in cupboard organizers or drawer dividers to make choosing the ones you need easier.
- Store your cooking tools such as wooden spoons and spatulas in containers that can be hung on the wall or slid into drawers. This action will also keep the items within easy reach if you need them while cooking.
- Use a magnetic strip to hang the keys you don’t use often.
- Pinup your notes for those nights when you realize you don’t remember what you planned to make for dinner.
- Store leftover food in containers stored on the counter or in the fridge and use them as ingredients for another meal.
- Put a cute and crafty dish rack to store dish towels, and keeping them within reach will help prevent the housekeeper’s elbow from getting hurt.
- Keep a separate pile of trash bags for dirty ones that are getting thrown away to ensure that your housekeeping chores are not becoming even worse after you get busy cooking.
- Make sure to remove your leftovers from the table after dinner so that the housekeeper won’t get mad at you or your guests.
Traditionally, a kitchen is a rectangular space where food preparation and cooking occur at a sizeable fabric-covered table. Often called a worktop or countertop and in a sink and cooking appliances in the kitchen floor at one end, which is sometimes combined with the living room into a single room called the breakfast bar or eating area. The primary purpose of having a kitchen is to prepare food according to individual tastes and to serve household members’ needs for cooking throughout the day. However, as technology and tastes change, so does the kitchen’s layout as it adapts to accommodate new trends.
It is not unusual for some kitchen appliances to double as art pieces in today’s modern kitchens. For example, there are those whose tops resemble a traditional worktop with a sink and cooking appliances at one end and a breakfast bar at the other end. However, a growing trend in contemporary kitchens is even more open. It often features an open kitchen with uniquely shaped islands or bars that can be used as dining tables or dining counters and other updates that you can trace back to the list.
So there you have it: our recommended tips for keeping your kitchen clean and appealing. We hope these 10 easy styling ideas for a dull kitchen inspire you to try to keep your kitchen neat and clean. Should you have any tips of your own, be sure to drop them in the comments!
References:
10. Thehouseofsilverlining.com
9. Paintandsave.com
8. Kitchenmagic.com
7. Bobvila.com
6. Hgtv.com
5. Housebeautiful.com
4. Thekitchn.com
3. Stylebyemilyhenderson.com
2. Bobvila.com
1. Galathome.com