Are you tired of navigating through the chaos in your bedroom every day? Fret not because today, we’ve got something inspiring for you! We’re diving into the world of ’18 Space-Smart Dividers For An Unorganized Bedroom’ to transform your cluttered space into an oasis of order and style. Whether you’re dealing with a tiny room or just have way too much stuff, these genius solutions are here to save the day.
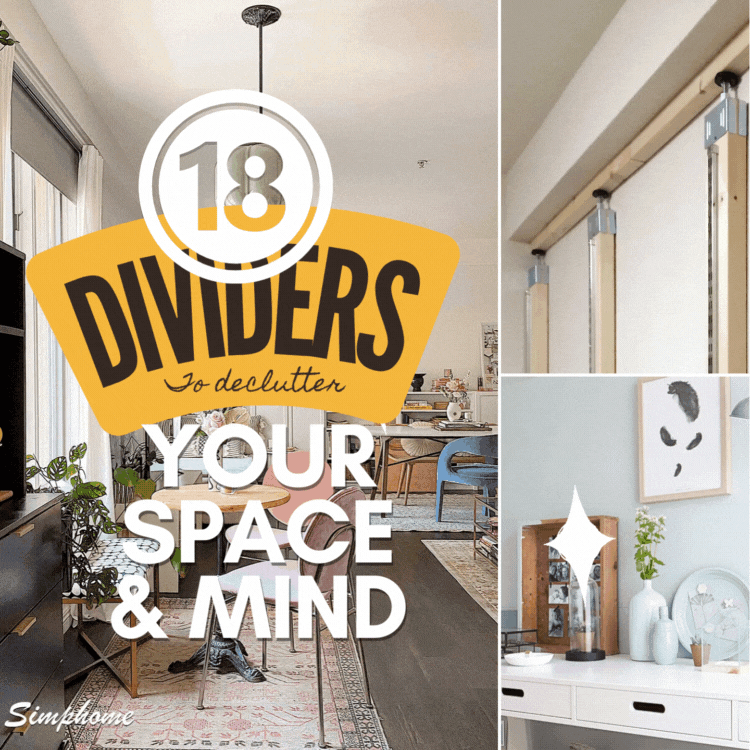
So, buckle up, get ready to take notes, and let’s turn that bedroom chaos into a masterpiece of organization. Let’s jump right in!
18. A Multi-Functional Wall Storage Hack Using Deer Wall!
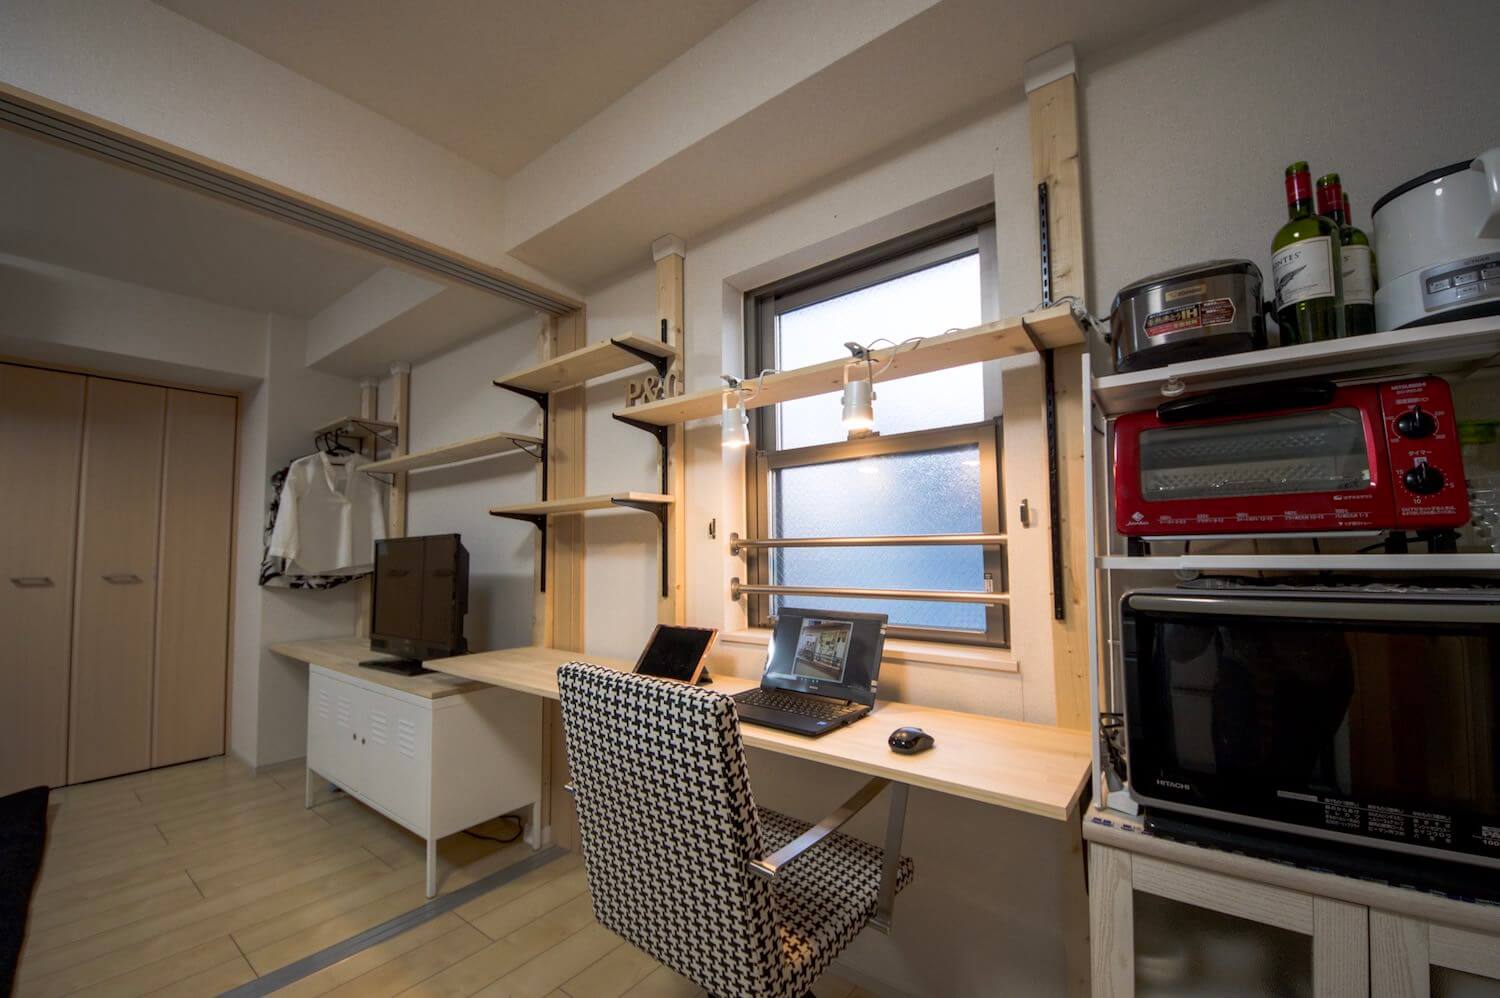
Dreaming of a sleek, organized room? With Deer Wall, you can build a wall storage unit that effortlessly merges a TV stand, desk, shelves, and hanger rack. Not only will this bring uniformity in color and material, but it also free up space, making your room feel expansive.
The Room’s Starting Point
You’ve got a 1DK room for two, and the furniture seems scattered without a cohesive theme. Before you took it off, that sliding door in the center was stifling the space. Removing it has added an instant ‘openness’ feel!
Your Vision
You’re aiming for a TV stand, desk, shelves, and coat rack. When crafting large DIY projects, it’s essential to note:
- Placement of each item.
- Dimensions.
- Quantity of required materials.
Building with Deer Wall
- Set the Base: Erect five pillars across the span of two rooms using Deer Wall. The placement is crucial; you want the pillars where your shelves will end.
- Integrate Existing Furniture: That white steel rack was bound for the trash, but why waste? Fit laminated wood cut to the rack’s depth and incorporate it into your design. Fasten the non-rack part to a pillar with an L-shaped shelf support.
- The Hanger Rack: Ideal for hanging several coats. Use metal fittings like the High Logic supports for stainless steel pipes. Ensure they’re fixed securely. Tip: For the shelf width, go for 1×8 material. This way, hangers will be about 25cm from the wall, perfect for winter coats.
- Shelving: Shelves can be anchored using L-shaped shelf supports. Always ensure they’re level before securing them.
- Crafting the Desk: Get a 2m long laminated wood piece. Using 35cm L-shaped shelf supports, attach the wood to the pillars. Remember, it’s easier with two people! The depth should be around 40cm for an optimal desk feel.
- Finishing Touches: Those sharp wood edges? Soften them! Round off the frequently touched areas, making it safer and more comfortable.
- Movable Shelves: Some shelves around the desk should be adjustable to keep things flexible. Install channel supports, also known as gacha pillars. This way, if you buy taller books, you can simply adjust the shelf height.
Spanning two rooms, your wall storage unit now boasts a desk, TV stand, shelves, and a closet. The room radiates in calming white and brown tones, and the desk is spacious enough for two. That clip light on the top shelf? Perfect for those late-night work sessions! And the hanger rack brings a chic vertical element, breaking the horizontal monotony.
Time & Budget:
All this beauty in just 10-11 hours, with shopping eating up half the time. If DIY is new for you, allow a bit more. Cost-wise, you’re looking at 30,000 to 40,000 yen—a bargain compared to buying pre-made furniture.
17. Ready to Reclaim Your Studio’s Space? Here’s How to Make Your Bed Disappear!
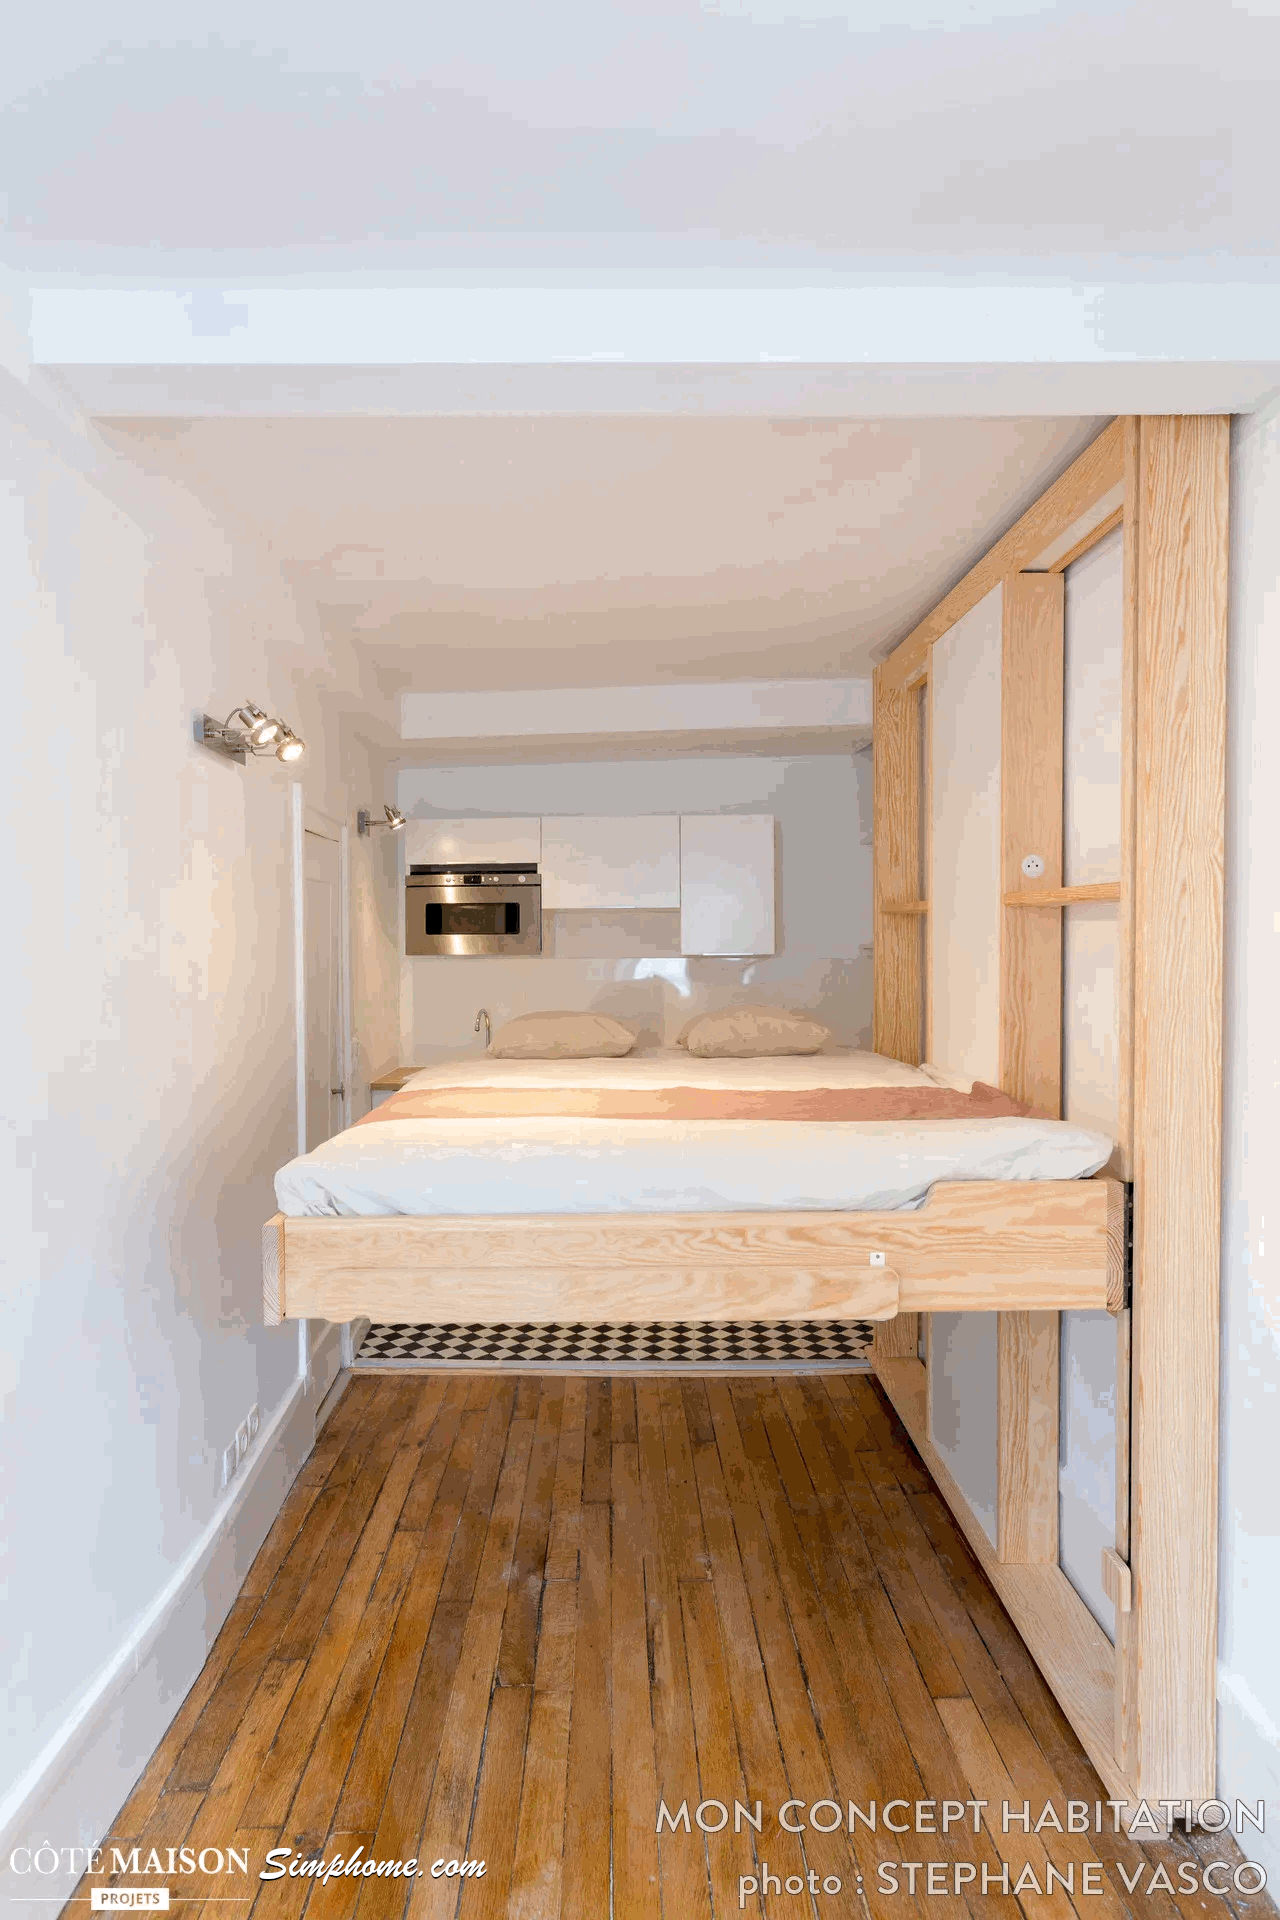
Hey, space-savvy friend! Got a 14m2 studio? Dream of a full kitchen, comfy bed, neat bathroom, and oh-so-needed storage? Let Eliott show you the way! All on a budget that doesn’t make your wallet weep—under 1000€/m2, windows included.
1. The Game-Changing Lifted Bedroom:
Imagine a bed that magically rises with a touch! Enter the Ana White elevator concept. This DIY guru turned a garage door lift into a genius bed-elevating system. Mount it on your ceiling, pair it with sliding door hardware on two walls, and poof! You’ve got a bed that dangles on pulleys.
2. Flexibility is Key:
Keep that bed hovering almost 7 feet up by day, freeing your floor and avoiding a dreaded low ceiling. But nighttime or naptime? Bring it down smoothly and easily. Even better, there’s a nifty mid-level setting. Perfect for… well, anything really!
3. More than Just a Loft Bed:
Ana wasn’t done! Under that lifted bed is a swanky sectional that’s not just for sitting. Give it a twist, and it’s bed number two! Got a friend crashing? Now you’ve got bunk-bed vibes.
4. Safety First, Sleep Tight:
Are you worried about your floating bed’s wobble? Fear not! The garage door lift supports up to 250 pounds, and there are sturdy pins to lock it securely at your chosen height. So, you’ll sleep like a baby without a single wobble.
5. The Spacious Feel and the Perfect View:
Ana’s DIY magic doesn’t just save space—it transforms it. Your tiny home feels bigger, brighter, and better. And if you position that lofted bed near some big windows? Trust us, the morning view is a game-changer.
16. Slide into Secrecy: Your Ultimate Guide to Building a Hidden Room Behind a Sliding Wall
Heads up, secret keepers and savvy DIYers! Have you ever considered hiding your entire Christmas tree (still decorated!) in a secret room? Sounds crazy, right? Yet, it’s possible. Here’s your comprehensive yet snazzy guide from Designdazzle:
Materials You’ll Need:
- Pine boards: 2″ x 6″ x 10′, 2″ x 4″ x 10′, 2″ x 3″ x 8′, 1″ x 6″ x 12′ (tongue and groove).
- 4-inch exterior wood screws.
- Nylon fixed caster wheel.
- Elmer’s wood glue.
- Trolley track door hanger (supporting up to 450 pounds!).
- Rail trolley wheel hanger (a set of two).
- Three box rail mounting brackets.
Tool Kit:
Level, stud finder, circular saw, pull saw, socket set, drill bits, drill, brad nailer, hammer, sawhorses, and speed square.
Let’s Get Building!
- Foundation First!
Attach a 2″ x 6″ x 10′ board to the top of the wall with lag bolts (use a stud finder!). This supports the trolley track door hanger. - Double Trouble: Construct TWO frames: the moving wall and the stationary. Use 2″ x 3″ and 2″x 4″ boards with 4″ screws and wood glue. The slider’s trolley wheel hanger goes into its door hanger.
- Brace Yourself: Add diagonal bracing (2″ x 4″) to both bottom corners for stability. Keep it square with a speed square!
- Stay Put: Construct a stationary frame on the wall’s right side, anchoring it to the fixed wall.
- Facing It: Nail tongue and groove 12-foot boards onto BOTH frames using a finish nailer. Remember to glue!
- Make It Move: Your 12-foot wall doesn’t slide yet! Use a chalk line for a guide, then a circular saw and pull saw to cut, separating the moving part from the stationary.
- Top It Off: Glue the last tongue and groove board to the wall’s top.
- Introducing the wedge! It ensures your sliding wall aligns perfectly every time. You’ll need TWO, one on each wall, made with a 60-degree cut angle.
- Finishing Touch: Polish the sliding wall’s edge using the tongue and groove. Chop off the tongue part to create the edge.
Your wall, spanning 12 feet with about 9 feet sliding, doesn’t just serve as a partition but an entrance to your secret realm. It’s not just a DIY project; it’s a magical portal to hidden spaces. Now, go slide into your secret world!
15. Hide Your TV Behind a Rotating Door!
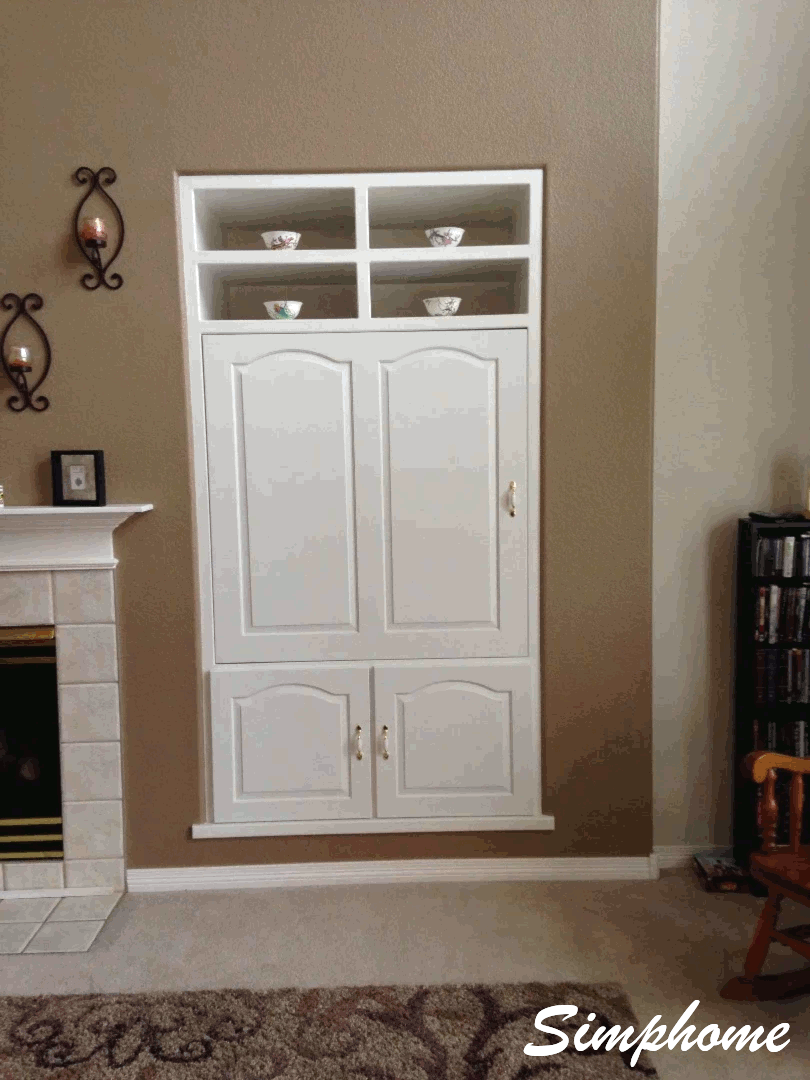
You’ve got an old-style TV cabinet just screaming for an upgrade. Not only does it protect your TV from that pesky morning sun, but it also keeps your tech hidden when not in use. Let’s turn that cabinet into a cool rotating door system!
1. Gather Your Materials:
- Ball Bearings (Dayton # 4X730)
- Stainless steel tube (15/16” od x 49” 11 ga)
- A cabinet door panel (no predrilling; consider local sources)
- Lower cabinet doors (x2)
- 170-degree hidden hinges (x4)
- 1” X 6”x4’ board (poplar or any you like)
- TV wall mount (keep it about 1 inch from the wall)
- 3/4″ U-shaped wall pipe clamps (x8)
- 1” X 4” boards (x5, of varying lengths)
- Assorted fasteners, bolts, and flush mount nuts
- Cabinet door handles (x3)
- Magnets (Stanley National Hardware BB8174 Magnetic Cabinet Catch, x2)
2. Sizing the Panel:
- Keep the panel width a mere ¼ inch smaller than the opening for a perfect fit.
- Keep it around 5 inches less tall.
- Aim for a 1/8″ gap on each side for that seamless look!
3. Prepping the Rear:
- Attach three 1 X 4 supports on the back.
- The central support will carry your TV.
- Remember to center everything and use flush nuts to keep it slim.
- Add two smaller boards to the center, one at the top and one at the bottom.
- Paint the panel and darken the rear for better TV viewing.
- Then, securely mount the tube in the center.
4. Get a Buddy for Installation:
- Center your panel, mark bolt positions, and drill.
- Adjust the rotation for a snug fit.
- Loosen hex bolts on the flange unit for finer adjustments.
5. Mind the Gap:
For wires, cut a 1 X 6 to fit the bottom opening, leaving a tiny gap. This ensures smooth panel rotation and space for TV cables.
6. Lock and Load:
- Spin the panel to the open position and attach a “stop” 1 X 4 on the side wall.
- Install magnets for “locking” in both closed and open positions.
- Finally, grace your creation with a handle on each side.
7. TV Time:
- Mount your TV and ensure free rotation.
- Keep your TV close to the center tube.
- Bundle those wires neatly.
- Add speakers and other components as desired.
8. Video tutorial:
Check the following video for additional details to complete or tweak the idea further (as a room divider).