Get ready to make your bedroom shine with our 17 awesome DIY bed and bedframe ideas. Almost all ideas come with step-by-step guides you can adjust to give you a cozy spot to rest your head all by yourself. Take the easiest one or find one that won’t demand fancy tools; just some time and a bit of elbow grease will get you a bed that’s all your own. Trust me, you’ll find that special one. From Simphome, let’s begin our countdown.
17. How to Build Your Dream Bed in a Snap!

Roll up your sleeves; it’s time to craft your haven for sweet dreams! You’re the artist, and your canvas is some sturdy wood—let’s make a masterpiece bed you’ll want to jump into every night.
- Start by slicing your support strips like a pro using a rail-guided circular saw—no fancy wood shop required. Precision is key!
- Now, let’s talk fittings, the unsung heroes of bed construction. You’ll want special bed fittings (think of them as your bed’s trusty sidekicks)! They come in two flavors: a boxy bit and a hooky bit. You’ll screw the box part onto the head and foot of the frame. Heads up: these guys are cozy but they’ll sneakily nibble away at your bed’s inner space, so size up your frame to make sure your slat haven fits snug between them.
- Next, affix the fitting’s receiving element to the head and foot sections—mind the width of the wood. Hook the hook parts in, give ’em a good press, then snuggle that side element up against the fitting. Now it’s time to show off your marking skills and plot out where each of the four screws will claim their territory.
- Tighten those hook elements with four sturdy chipboard screws each. Feel the power! Your support strips are up next and should be spaced about 30 cm apart. Glue them, mark them, screw them—they’re the all-star supports for the slatted frame and they’re locking down all four sides.
- For the feet, it’s a ballet of two wooden pieces, joined in a graceful angle and held together by the waltz of dowels and glue. Drill, dowel, glue, press—make sure it’s all square!
- Before the grand finale, pamper those feet with a good sanding—they deserve to be silky smooth. Screw them in place at the head and foot but let the sides fly solo, no screws.
And voilà! Hang up those sides and your structure stands proud. Finish off with a swipe of oil or wax for that protective glow that says, “Yes, I made this!” Now, doesn’t that feel rewarding?
16. Adjustable Bed Frame DIY!
Got a fancy new adjustable bed that sits like a boss all on its own? Here’s how to wrap it in style with a custom bed frame that lets your mattress majesty shine without a hiccup. Whip out your DIY cape, ’cause this is happening!
- First, snag your plywood (76.5 inches wide is perfect), and wave your circular saw with precision to cut it to a commanding 76.5 x 36 inches. Next, take that pole wrap (the chic, modern touch you didn’t know you needed!), measured to the grand height of your headboard, and slice it neatly along a groove with a utility knife for a seamless fit.
- Time for some muscle: frame your headboard with 2x4s, three stretching 60 inches and two cozying up at 33 inches. If your plywood’s a bit thin at 0.5 inches, drill from the front to avoid a screwy peekaboo on the other side. A little unorthodox, sure, but it’s all about using what you’ve got!
- Gluing down that pole wrap is a two-person sprint against the drying clock of wood glue. Spread it quick, smooth out that pole wrap, and keep it pristine as you weigh it down—no dirty dumbbells, please!
- Now, let’s get to the side rails. Grab those project panels—cheaper and lighter than plywood—and slice them in half on your table saw. For an A+ frame, rip trim pieces to a slick 2 1/8 inches with neat mitered corners that shout “craftsmanship!”
- Paint’s up: after a couple of coats and a 320-grit sanding intermission, give those panels one more swipe for that buttery finish.
- Feet time! Newel post scrap becomes 4.5-inch feet—in full alignment with your side rails, naturally. Nail them from the front, thinking ahead for easy future disassembly.
- Let’s talk brackets: bed rail style. Pre-drill (because who likes split wood?), attach the flat part to the rails, and the hooked bit to the back rail—trimmed to a precise 76.5 inches. Drill, screw, get tight and flush. Pop the brackets together around that beast of a base bed; congratulations on navigating the trickiest part!
- Finally, nail on those trim pieces to the headboard, filling nail holes with white wood filler and caulk for that last-touch perfection.
15. Your Step-by-Step Guide to a Chic Podium Bed

Hey DIY Dreamer, ready to elevate your sleeping space with a snazzy podium bed? Let’s break down what you need to know to create this bedroom showstopper, customized just for your sanctuary.
- Firstly, arm yourself with a tape measure because dimensions are your new BFF. Map out your room’s length, width, and eye up that ceiling height to decide how grand you can go with this podium. Considering steps or a roll-out bed? Width-wise, you’ll need enough room so you don’t trip over your creativity in the dark. Height’s the limit if you’re stacking a sleep spot on top—just make sure you’re not giving any ceiling fans a headache.
- Now, get those measurements on a working drawing. It’s like your construction blueprint, helping you visualize your soon-to-be masterpiece. It’s also where you pinpoint where those bed-moving fittings will go—yes, the ones that’ll need to take a beating from repeated use.
- In comes the podium assembly, attaching guide bars to the wall at your chosen height. Are your walls made of something tougher than day-old bread? Grab those dowel nails or anchor bolts—or maybe screws. Carve out grooves every 50 cm or so if you’re feeling uniform, or freestyle to minimize scrap. Keep those load-bearing beams within a 70 cm friendship circle, though.
- Next up, the retractable part of your bed—because who doesn’t love a bit of hide and seek? Size varies but the assembly principle sticks: be they drawers or a full bed, roll them out on wheels from your local furniture mart. Just remember, they have to tuck back in nicely under your poised podium.
- For a hardy, play-friendly finish, channel your inner floor-fitter—yes, laminate, linoleum, or cork—for that durable touch. Pick a shade that plays nice with your existing floor for that seamless, classy look.
- To wrap it up: secure wood elements with metal corners, bolt down with screws, and add support bars beneath for a steady-as-she-goes feel.
And there you have it—a dash of elbow grease, a sprinkle of creativity, and your podium bed is the bedroom centerpiece that’ll have guests asking, “You made that?!”
14. Crafting a Sleek Bed Platform: A Fun DIY Walkthrough
Time to build a bed platform that’s so easy-peasy, even your pet could probably help out—if they had thumbs, that is.
- First, swoop into your local home center and grab four 2x12s to start your outer frame. Freshen up those edges with a small circular saw trim—bam, crisp and clean!
- Now, chop them to length. You’ll have two sides, the headboard and footboard, plus one extra for center support. Got your attention? Good. There’s a nifty set of plans with all the measurements you need—check it out!
- This next step’s a charm: wave that table saw to width-trim those boards, bidding farewell to those pesky rounded edges. Or, keep it old-school with a circular saw and straight edge. Spot any ugly factory stamps? A quick belt-sander tango smooths them into oblivion.
- Channel your inner woodwork ninja and use pocket holes for a slick assembly that allows the frame to split like a pop star’s pantsuit when you need to move—no glue, no mess, no hardware in sight.
- Saw a 2×4 down the middle for two rail beams, pre-drilled, and ready to rock. Glue them to the side boards, because these babies are sticking around for good.
- Give those pieces a 220-grit waltz for that silk bed feel, then splash on a water-based finish for an ‘au naturel’ wood look.
- Assemble the frame, keeping it as squared as a high school math book with some clamps, or a trusty friend’s helping hand. Pop in the center support, keeping it low-key at side rail height for a seamless lineup.
- Time to whip up the slats! Grab those 1x4s, miter saw them to size, and play a game of spacing them out across the platform—leaving a little room to let the mattress breathe and the magic happen.
Approved by the supervisor (you know, that furry one), drill, countersink and secure. With the slats down, the mattress atop, and voilà—your restful retreat awaits!
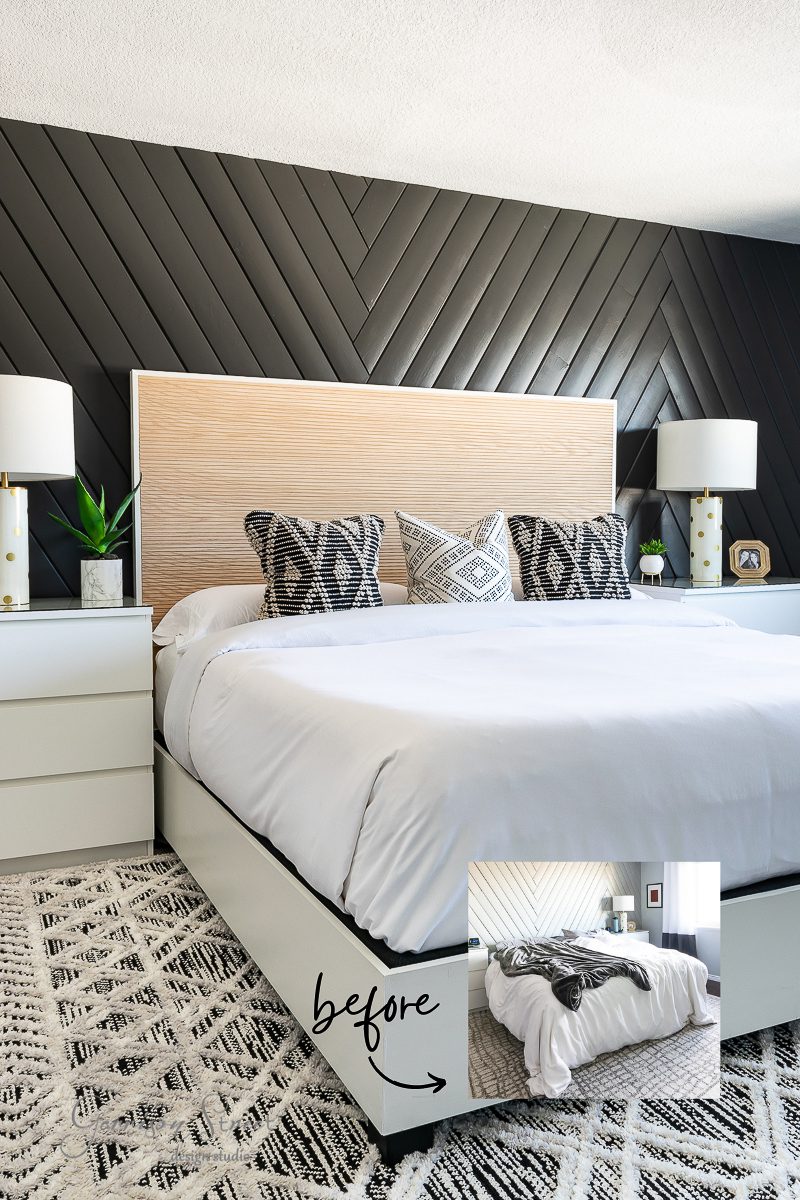
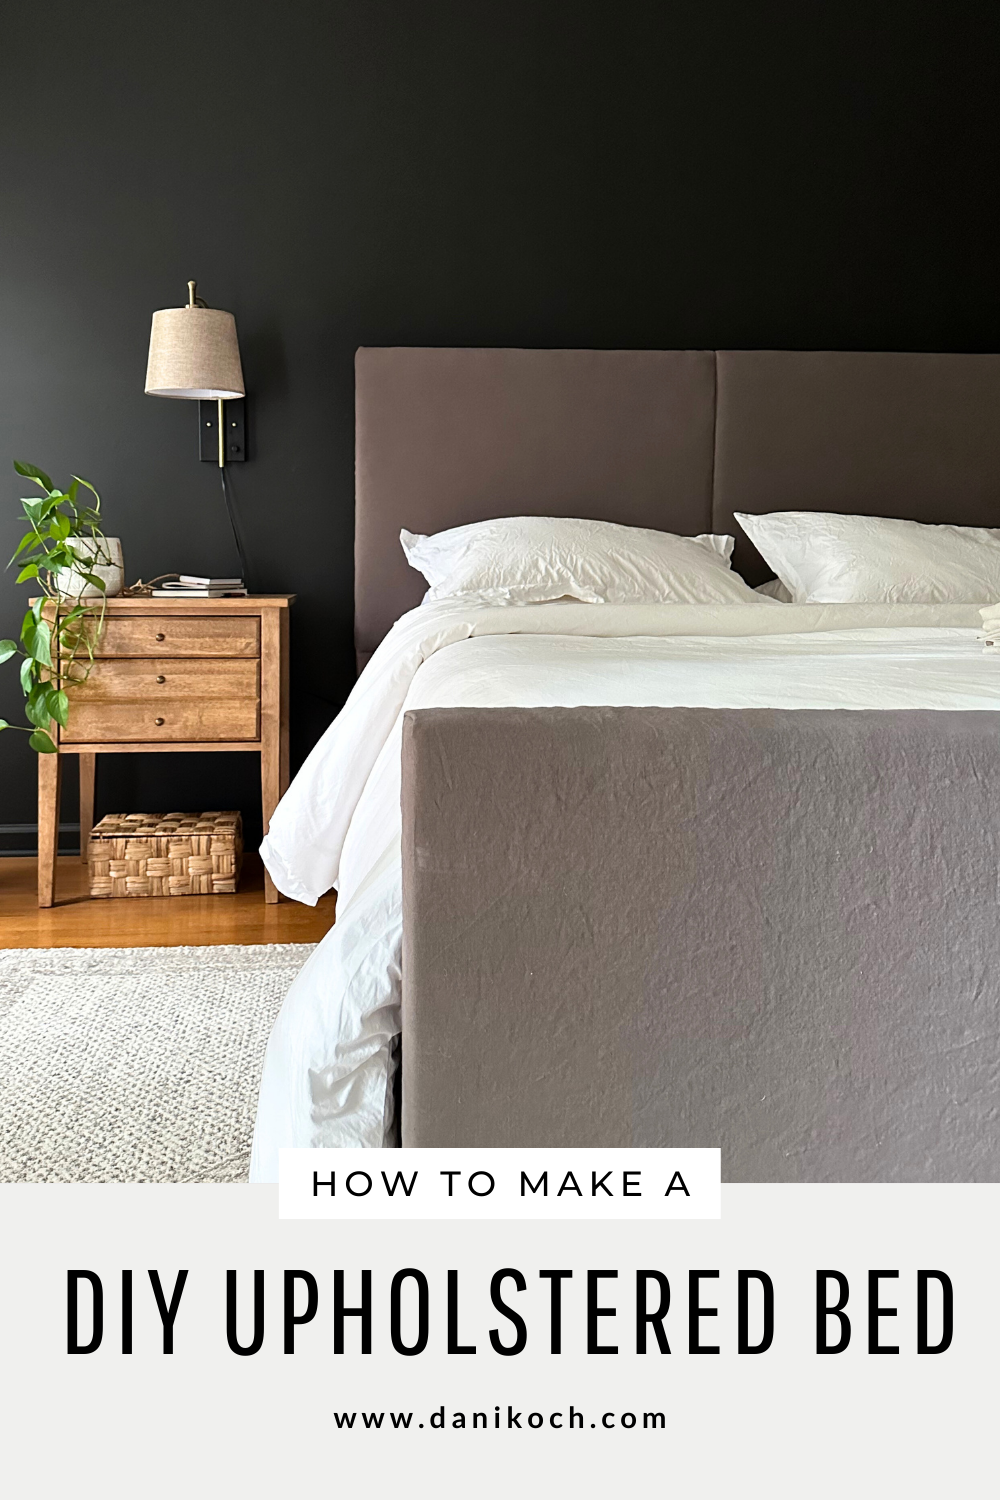
13. DIY Ideas on how to Upholster A Bed Frame
Hey there, sleep sanctuary stylist! Ready to amp up your bedroom with a DIY bed frame that’s got style and substance? Let’s do this.
- First up, choose your mattress type and add 1.5 inches all around for that perfect fit and sheet-tucking ease. So, for a California King (72” x 84”), it’ll look like 73.5” x 85.5” of snuggle space.
- Grab four mighty 2×12 boards. Chop them down to create a headboard (77.5” W x 54” H), a footboard (77.5” W x 26” H), and two side rails (85.5” L x 16” H). Want feet without the extra height? Plan ahead, we’ll get there.
- Fuse your frame with 2x4s, pocket-holed together, but hold the glue; we’re crafting clean and adjustable here. Trim each piece, subtracting thickness for a snug fit—think 77.5” minus 3” (double the board thickness) for width boards, and 85.5” minus 4” for length. Inner braces come next—measure and add for fortress-level strength.
- Ensure a square dance of precision with clamps or an old-school wood square to keep those angles honest. Sneak in extra support with a sly 6-inch internal piece, half-way from your side’s height.
- Now, it’s a trial run. Assemble around your mattress, thank your headboard for its impending support, and get cozy with corner brackets. Hold, mark, drill, secure. Voila, your frame is ready for its grand reveal—or in this case, upholstery.
- Next up: the soft touch. Wrap your headboard in padding (think foam or batting), then snug it all with fabric staples. Battling corner bulge? Trim and tuck for a seamless facade. And for that luxe, polished look, add a dust cover to shield from the unseen but ever-present bedroom dust bunnies.
- Pro tip: Dreaming of a seamless headboard with just a dash of drama? Mark your desired seams, line up your fabric, and secure with tack strips for that eye-catching edge.
Gather your tools, embrace the sawdust, and let the transformation begin. Trust me, every sweet slumber will be a high-five to your handy work! Can’t wait to see your finished piece, so get building and show off that bed frame brilliance.
12. A DIY Space-Saving Podium Bed Idea
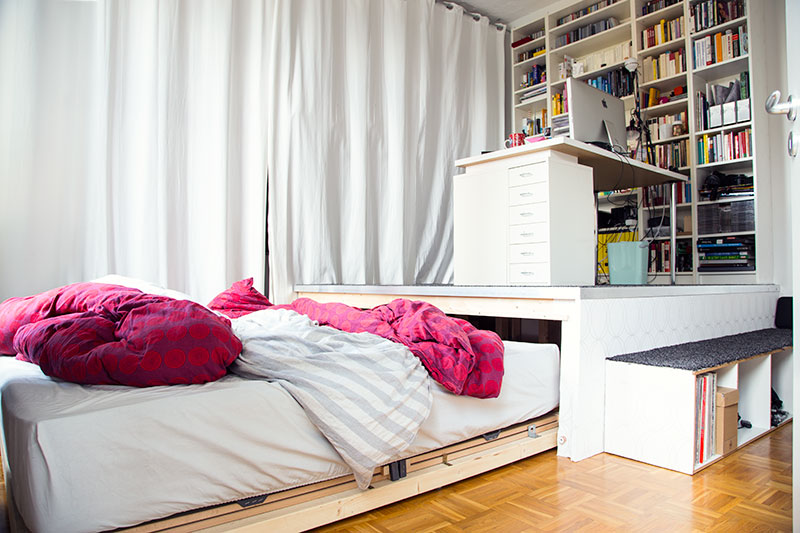
Roll up your sleeves and get ready to transform your bedroom with a clever DIY podium bed!
- First, measure your space to pinpoint the ideal podium size. Next, sketch a simple design—no fancy degree needed.
- Head to your local timber shop for materials. Ask for custom-sized OSB panels; bigger is better here to ensure a snug under-platform bed fit. Holz Possling might just be your new best friend for this, delivering all the wood directly to your door.
- Gather some buddies for a construction party—within 4 hours, and possibly fueled by beer and snacks, you can have the platform skeleton up and standing.
- What’s next? Dress up those OSB panels with wallpaper, carpet (tip: edge it with rails to keep it from fraying), and create an aesthetic finish that matches your room’s vibe.
- For easy access, repurpose a sturdy shelf for a step. Now, for the cool part: mount your bed’s slatted frame on a wooden base with smooth-rolling parquet casters. Slide it in and out of the podium with ease, hiding it away when not needed.
- The front panel? Go light for easy lifting and secure with magnets for quick removal. And don’t sweat about the desk or wire mess; you’ll tackle that in no time.
Now, enjoy your multifunctional, chic new bedroom space!
11. Maximize Your Tiny House with a Multi-Functional Loft
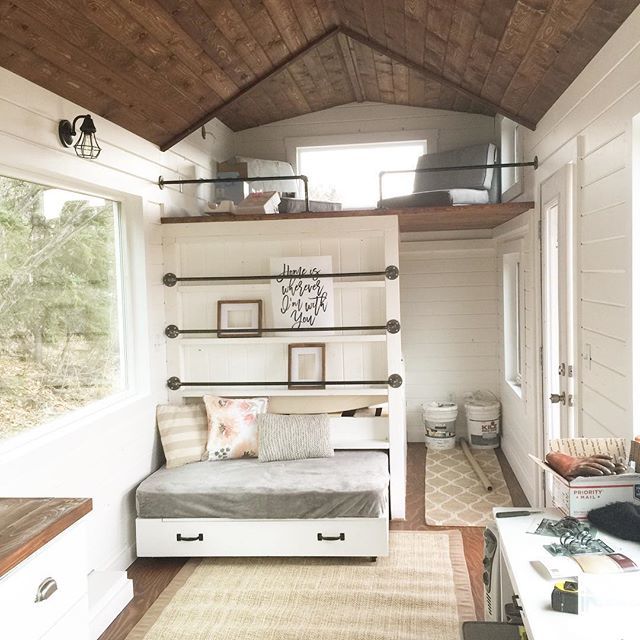
Let’s elevate your tiny house game with a loft that’s got it all—comfort, storage, and style. Ready? Here’s the blueprint for your cozy sleep-and-store sanctuary.
- You’re crafting a main wall system, so start strong—use a Kreg Jig to neatly attach to those 4×4 posts from beneath.
- Forge the bed framework with trusty 2x4s, securing with 2-3/4″ wood screws (or their kin). Precision here is non-negotiable; keep that structure square! Fasten it to your room’s walls and to one another—lag screws will lock those 4x4s in place.
- Brandish a level and attach wall cleats to wall studs, keeping things steady with those same 2-3/4″ screws.
- Opt for 2x8s beneath that mattress; they’re robust and usher in generous drawer space beneath. Don’t compromise on alignment though—wonky drawers are a no-go.
- With leftover 1×6 tongue and groove (or your cladding pick—plywood, maybe?), dress up the loft’s back wall. Slice, then affix with nails and a dab of glue.
- For loft flooring, melody-meets-sturdiness with 2×6 tongue and groove. With nearly a 36″ expanse, thicker is your ally. The alternative? A sturdy couple: 3/4″ plywood base and hardwood top.
- Custom-build those drawers snug to their homes, and for shoe tilt-outs, box off with 1x3s plus some scrap 1/4″ plywood.
- Door and drawer faces come next, with a tactical 1/8″ perimeter gap for seamless operation.
- Jump into bed slat mode with a full-length, front-edge painted board. Use up any 3/4″ leftovers for the rest, overlaying joints on those firm 2x8s.
- Creativity shines—a hinged 3/4″ plywood panel serves as your secret passage, a carved circle doubling as a nifty handle.
- Tackle safety and ascent with store-bought black iron pipes—a gritty railing and makeshift ladder, keeping practicality and solidity in mind.
10. The OSB Wonder Loft: Crafting Your Dream Bedroom Nook
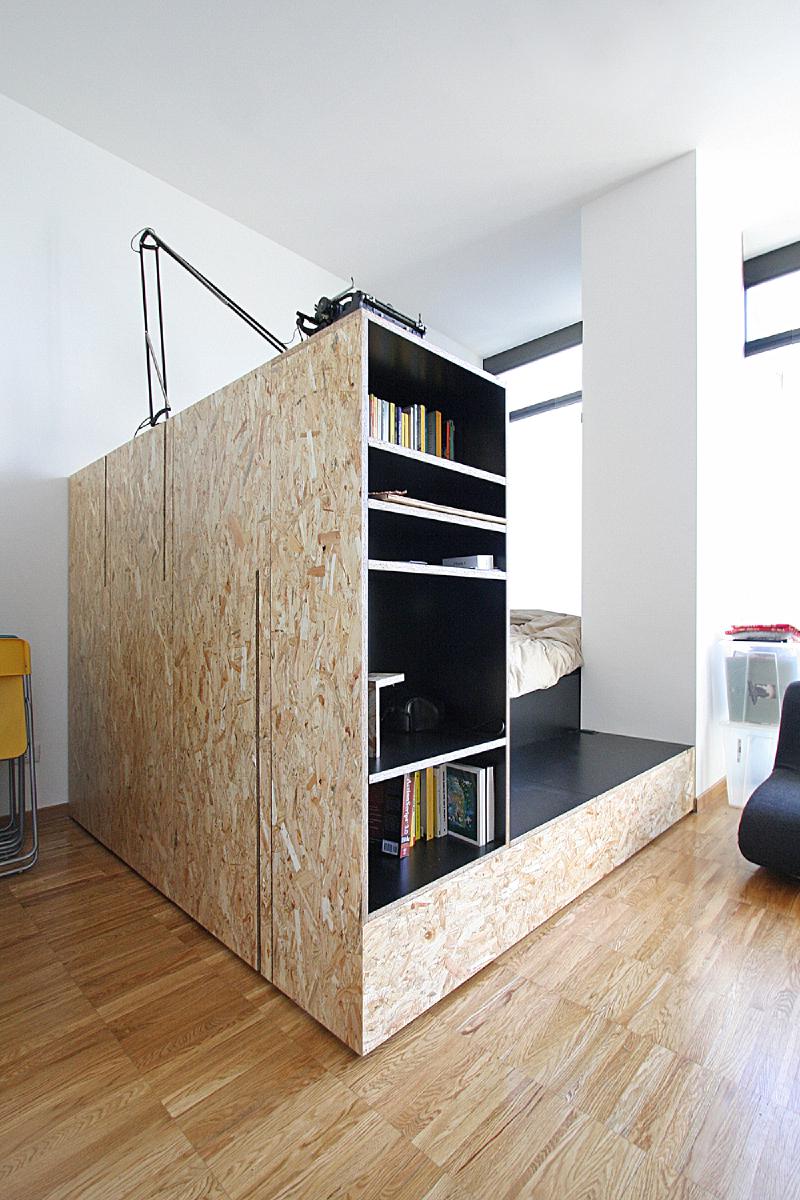
Gear up to give your space a dose of character with an OSB (Oriented Strand Board) infused loft that’s both practical and hip. Imagine transforming a single open area into a chic, multi-tiered abode, right in the heart of a swanky 70s Turin building.
Kickstart this reno-revolution by playing with levels to carve out your spaces. You’re not just placing furniture; you’re creating zones without the need for walls. The star here is unassuming OSB, a humble material that punches above its weight, holding your loft together. Keep its rugged charm with a swipe of water-based paint for protection.
Split your turf into two: make an entrance with a kitchen area that greets you right at the door, and craft a living/sleeping sanctuary against the northwest chill. Flaunt the warm hues and lock-and-key patterns of the OSB, as you whip up a custom stainless steel kitchen. It unfolds into a sleek counter that’s replete with secret sliding storage, all backed by a versatile black laminate splashback.
Now, turn to the living zone, where you’re conjuring a mighty transformer: a piece that morphs from bed to sofa to wardrobe. Your horizontal planes rock the black laminate, while the framework sticks to trusty OSB. Tucked at the head, a bookcase makes a cameo, sized just right and popping with color.
Embrace the art of deep milling, as every notch and curve beckons you to discover hidden compartments. With these dual-purpose marvels, you’re not just furnishing your loft; you’re infusing it with a new soul. So grab your tools and let the OSB lead the way to your most significant living spaces, all set for a story of style and function.
9. Ingenious No-Screw, No-Glue Bed Build (140 x 200 cm)
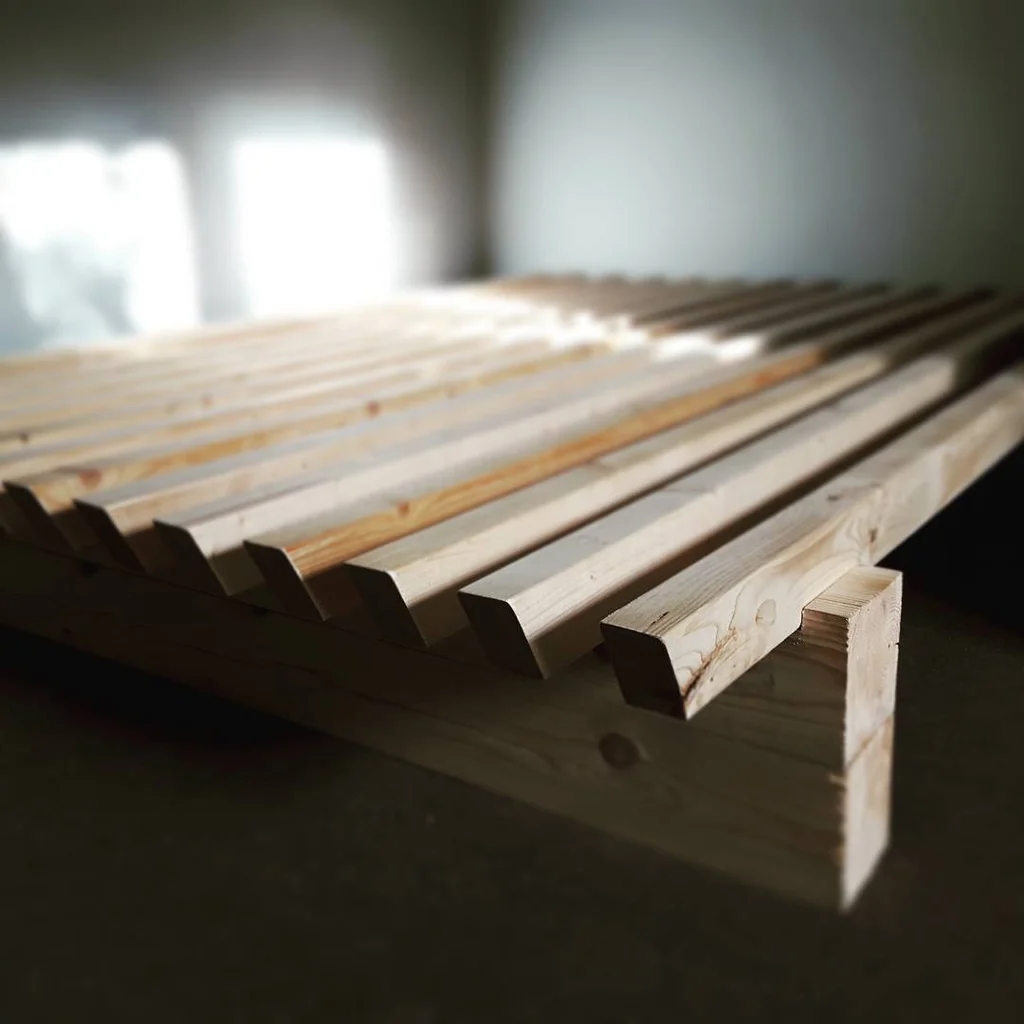
Ready to create a rustic bed frame that snaps together with zero screws or glue?
Here’s how to make this Pinterest-inspired minimalist dream come true for your loft bedroom!
- Gather your supplies. Grab four 12×12 cm logs for a solid base. For a sturdy mattress platform, you’ll need 14 slats, each 200 cm long—trust me, these can take a stand (or a good night’s sleep).
- Time to play carpenter! Mark the routes on those base logs where the slats will nestle. A router guide is your friend here for precision, but if you’re feeling bold and want to get hands-on with the tool, that’s your call.
- Now, saw those slats to uniform perfection with a miter saw set with a stop block—bonus points for smoothly filed edges. Aim for them to secretly tuck 2-3 cm under the mattress. No stubbed toes or bed-crash landings here!
- Chop the base logs to length; a hand saw will do if your miter saw balks at the log size. Sand to your heart’s content or keep it charmingly unrefined if you’re not bothered by a little texture.
- The grand assembly! Piece it together—no sweat, no tools, no extra hands needed. Just lay the logs, balance the slats, and crown it with your mattress. Over six months of slumber tests and it’s still solid as a rock.
8. Easy Loft Bedroom Bed Frame DIY
Okay, let’s get that loft bedroom upgrade started with a cool, minimalist bed frame – think chic look without the hefty price tag.
Step 1: Grab your trusty Kreg Jig and knock together a simple frame. Then evenly space out those slats—your back will thank you later. No box spring needed; your memory foam mattress fits snugly on top for a sleek profile.
Step 2: Next, whip up the base. It’s a breeze – so easy you might forget to document your success. Use self-tapping screws for less hassle; they’ll save you from pre-drilling every single hole.
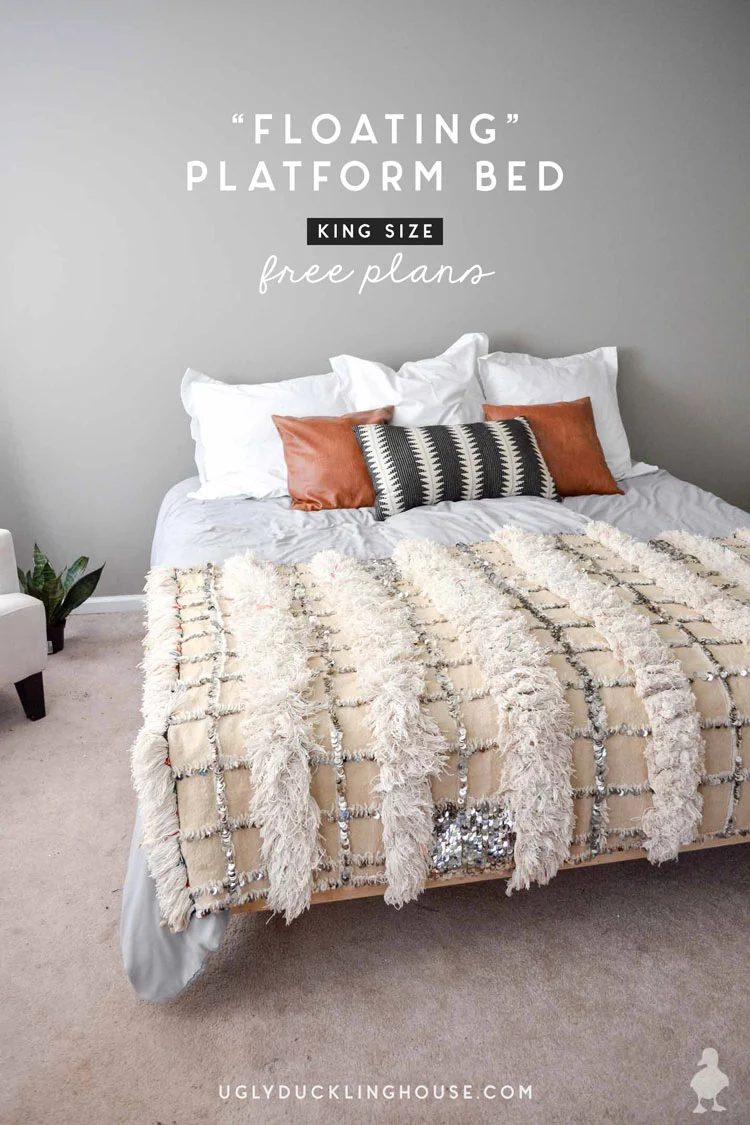
Step 3: Onwards to building your floating bed frame. Start with the outer skeleton, add a couple of central supports, and make sure everything aligns perfectly over the base. For the middle supports, angle those screws if you’ve gone double on the 2x4s, and watch that drill bit angle to avoid mishaps.
Step 4: The final assembly is a cakewalk. The bed splits into three sections for easy moving. Hold the platform and base together with easily removable scrap wood pieces. Add your slats on top, and there you have it: a solid, moveable bed, ready to spruce up with some stylish bedding. Bonus tip: add a Moroccan wedding blanket for instant glamour, and maybe recruit a furry friend for that picture-perfect show home finish.
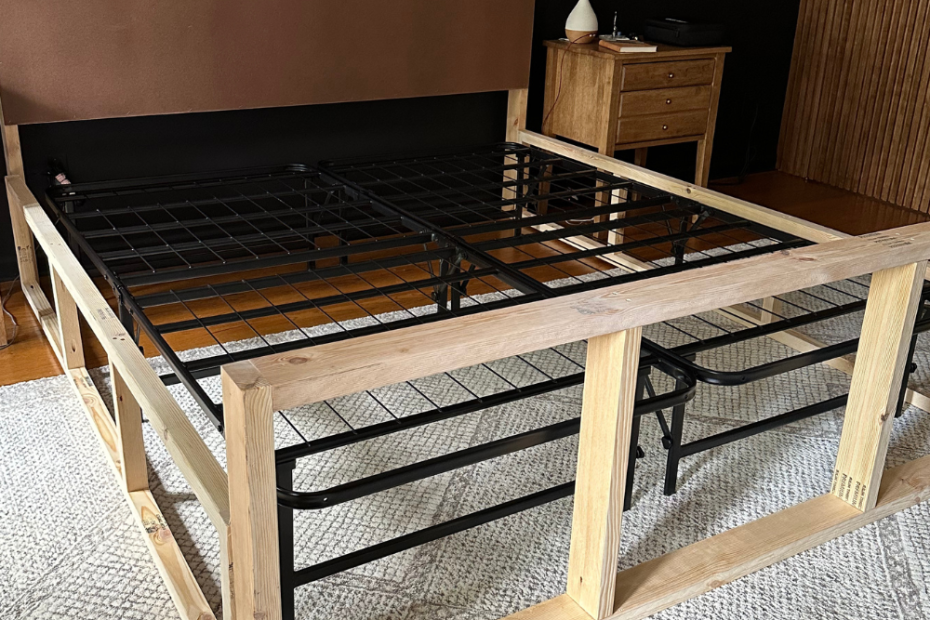
7. DIY Bed Frame & Wood Headboard (Look for Less!)
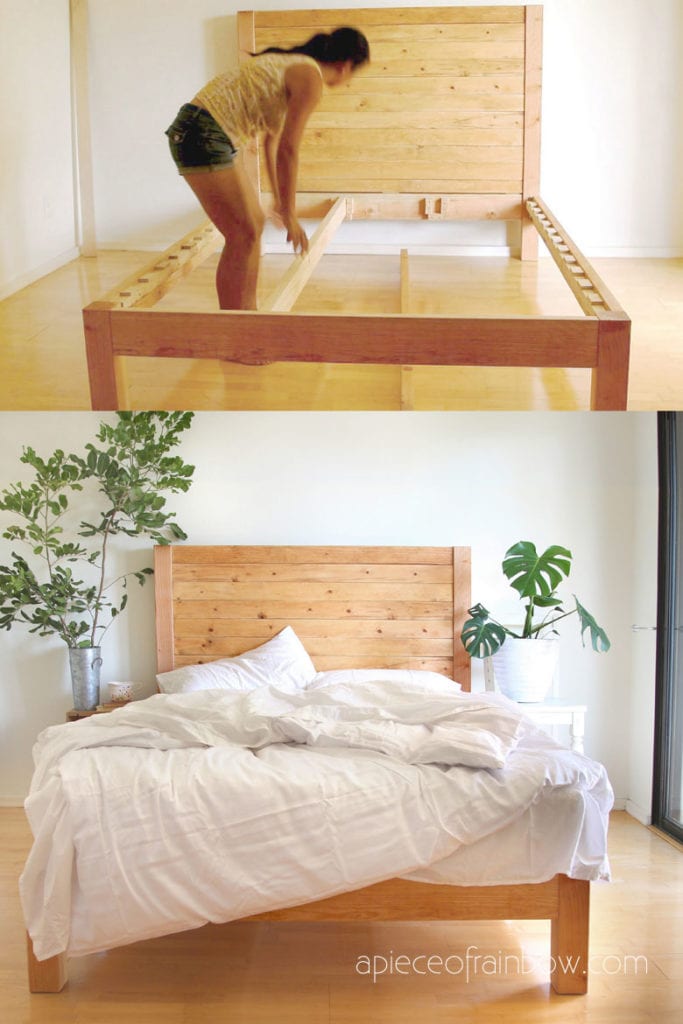
Step up your DIY game and craft an enviable bed frame and headboard that looks like a thousand bucks—for way less. Listen up: choose your wood wisely. Avoid pressure-treated lumber due to chemicals, and if you’re recycling, ensure it’s safe and sound. Opt for wood that’s structurally sound—Southern Yellow Pine or Douglas Fir are rock stars in strength and beauty, perfect for the bed’s posts and rails.
- Let’s talk tools and materials. A Home Depot hero could help out, but remember to bring your plans for precision cuts. Need 4×4 posts? You’ll want two at 1’2″ and two at 4’6″ for the headboard. For the 2×6 rails, get two at 4’8″ and two at 6’6″.
- When you’ve got all pieces cut, check they match in length for a square frame. Sand down to smooth, and now’s a good time for stains or paint.
- Installation time! Bed rail brackets are key for a sturdy frame. Take your time marking and drilling—accuracy means no wobbles. Patience will pay off!
- Design the frame in three main parts for easy moving later on, connect with scraps of wood, and don’t glue those connection points. Slats on top, and you’re nearly there.
- Finally, make your bed look like a million bucks—even without that live edge headboard you’ve been dreaming about. Grab an angle grinder and go wild creating a custom, budget-friendly design you might just love forever.
Looking for the full setup? Check out the room renovation with smart home features, hidden drawers, and more to complete your zen sleep space.
6. Ikea Hack – Loft Murphy Bed with Sliding Doors
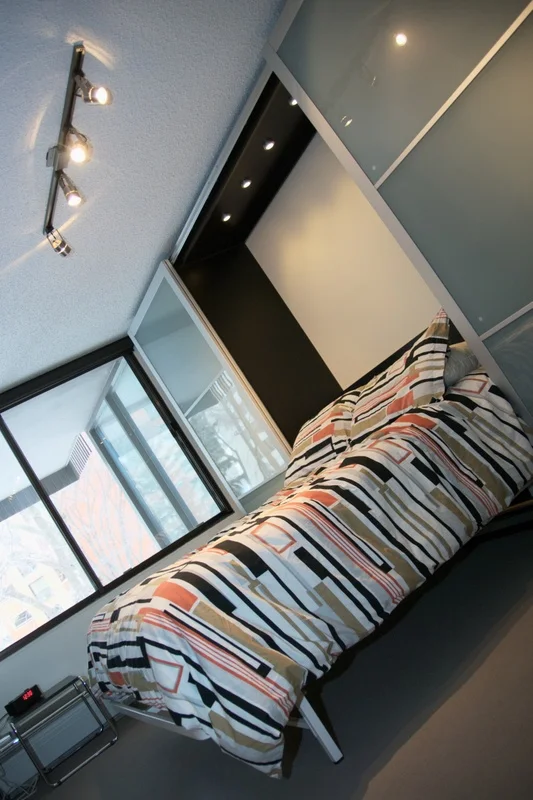
Ready to maximize your loft bedroom with IKEA magic? Start with two PAX 100x236cm wardrobes set about 172cm apart – though 180cm would be even better for some extra wiggle room.
- Let’s pick a bed mechanism. The Next Bed kit is a winner, resting on the floor, screwed into the wall at baseboard level. Got a 12″ mattress? Perfect, it’ll fit snug against the wall with room for art.
- Crafting the base involves two stages. Reinforce an ‘L’ section from a third PAX wardrobe and screw it into the wardrobes. Then, cap it off with a cover; this section is light-duty but built sturdy.
- For the tracks, each about 198cm, trim around 12cm off to fit your setup. Notch the lower tracks for the wardrobe sides with a Dremel if needed.
- Prep the top section from another PAX, considering cable management before lifting it into place. Secure it with screws and support ‘fingers.’
- Connecting the tracks is a bit of DIY ingenuity. Use IKEA parts with aluminum can shims for smooth sliding doors.
- Final touches include a push-button switch for the lights, ordered from eBay, and a neat coverplate for any outlets blocked by the wardrobe.
Assemble the doors following IKEA’s guide, and there you have it—a functional, space-saving Murphy Bed that’s stylish and clever. Now sit back and enjoy your handiwork!
5. A Sleek Tatami-Inspired Bed Frame DIY
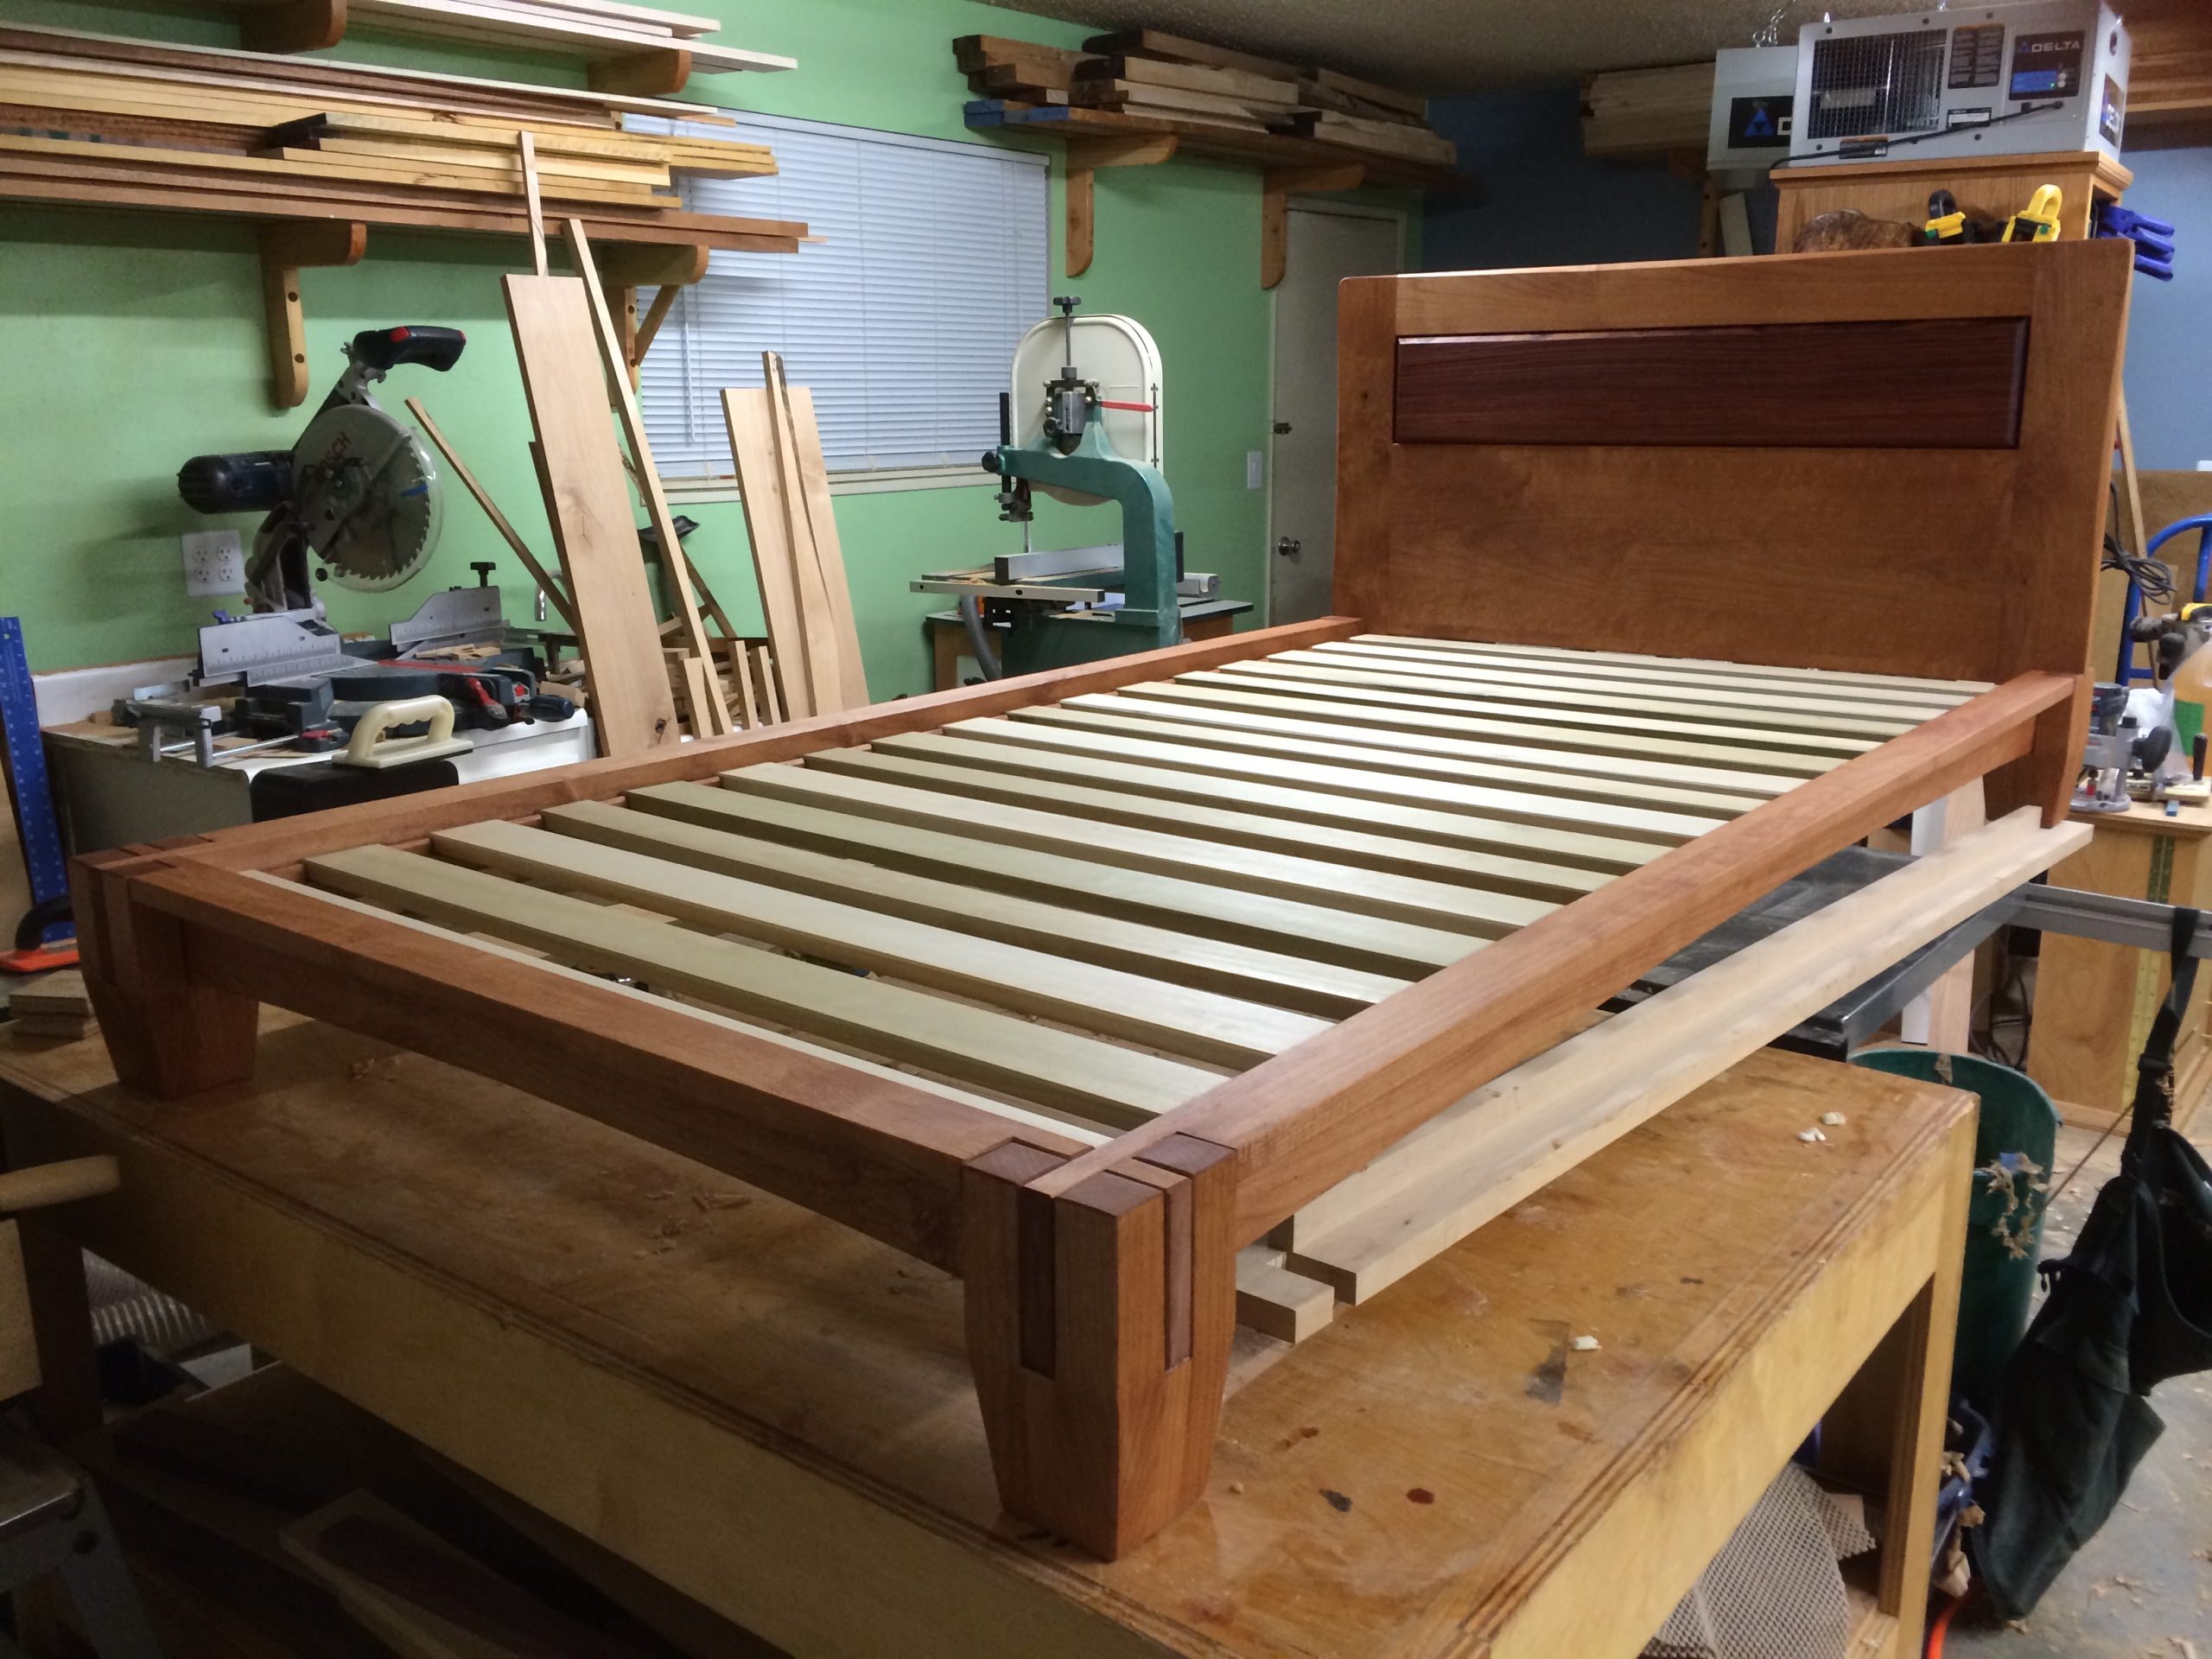
Ever dreamed of crafting your own timeless bed frame? Let’s construct a tatami-style bed for your loft, perfect for your son Vinny or any bedroom sanctuary. Start by grabbing some structural lumber—no chemical-laden pieces for this natural beauty. Check out tatamiroom.com for style inspo and grab a free downloadable PDF plan in the source which is scalable for larger beds.
What you’ll need is a Kreg Jig to fashion interlocking joints with a personal touch, since there’s no standard bed hardware here. Wood choice? Alder’s your best bet, available and aesthetically pleasing. Rough cut the essential pieces, avoiding knots, then band saw to width, and plane for a smooth, flat fit.
Assembly is intuitive—kick off with the footboard, followed by the headboard and side rails, guided by the mattress dimensions and your preferred bed height. Secure the rails with sturdy joints crafted to hug the mattress, giving a neat 5/8″ clearance around the edge.
For the headboard, nab some bubinga or your wood of choice, create a raised panel, and finish with a table saw to achieve that bespoke, handcrafted look. Join all your pieces incrementally, ensuring a tight fit and a sturdy build.
Now, sit back and admire your handiwork—an heirloom-quality bed frame with a touch of Japanese elegance!
4. A DIY Bedroom Loft Bed Frame Triumph
So you’re ready to dive into the world of DIY bed-making? Let’s roll up those sleeves and conquer this together! Picture this: you’ve just crafted a bed frame so sturdy, it’s practically earthquake-proof. No need for those mysterious box springs (seriously, look it up on Wikipedia!). Here’s the lowdown on building your comfy castle:
- Scour your local Home Depot; it’s about to become your second home. Then, lay out your wood—alternate those vertical and horizontal boards for a frame that even a wrestler couldn’t crack. When it feels right, break out the wood screws and get buzzing—even if it means working into the night.
- Power issues with the drill? Stand that frame on its side for a gravity assist—though, fair warning, it might not be the silver bullet.
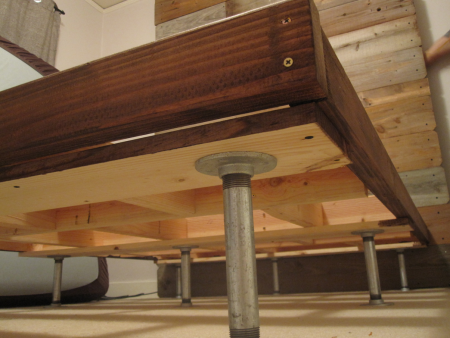
- Embracing an industrial vibe, match the legs to your living room shelving pipes. Nine legs, eighteen base flanges—looks like William’s in the home stretch, now in his second outfit of the evening.
- Inside, connect the dots: screw those legs into the flanges, gloves on to protect your hands from those budding blisters. Once upright, admire the sturdiness. Then, slap on six horizontal slats to support your mattress and bring the whole thing house-pet level.
And that’s all, folks! Your bed won’t budge, and just like Loretta, you’ll be tempted to leap onto the frame before the mattress even lands.
3. A Basic Ikea bed to pull-out bed Idea
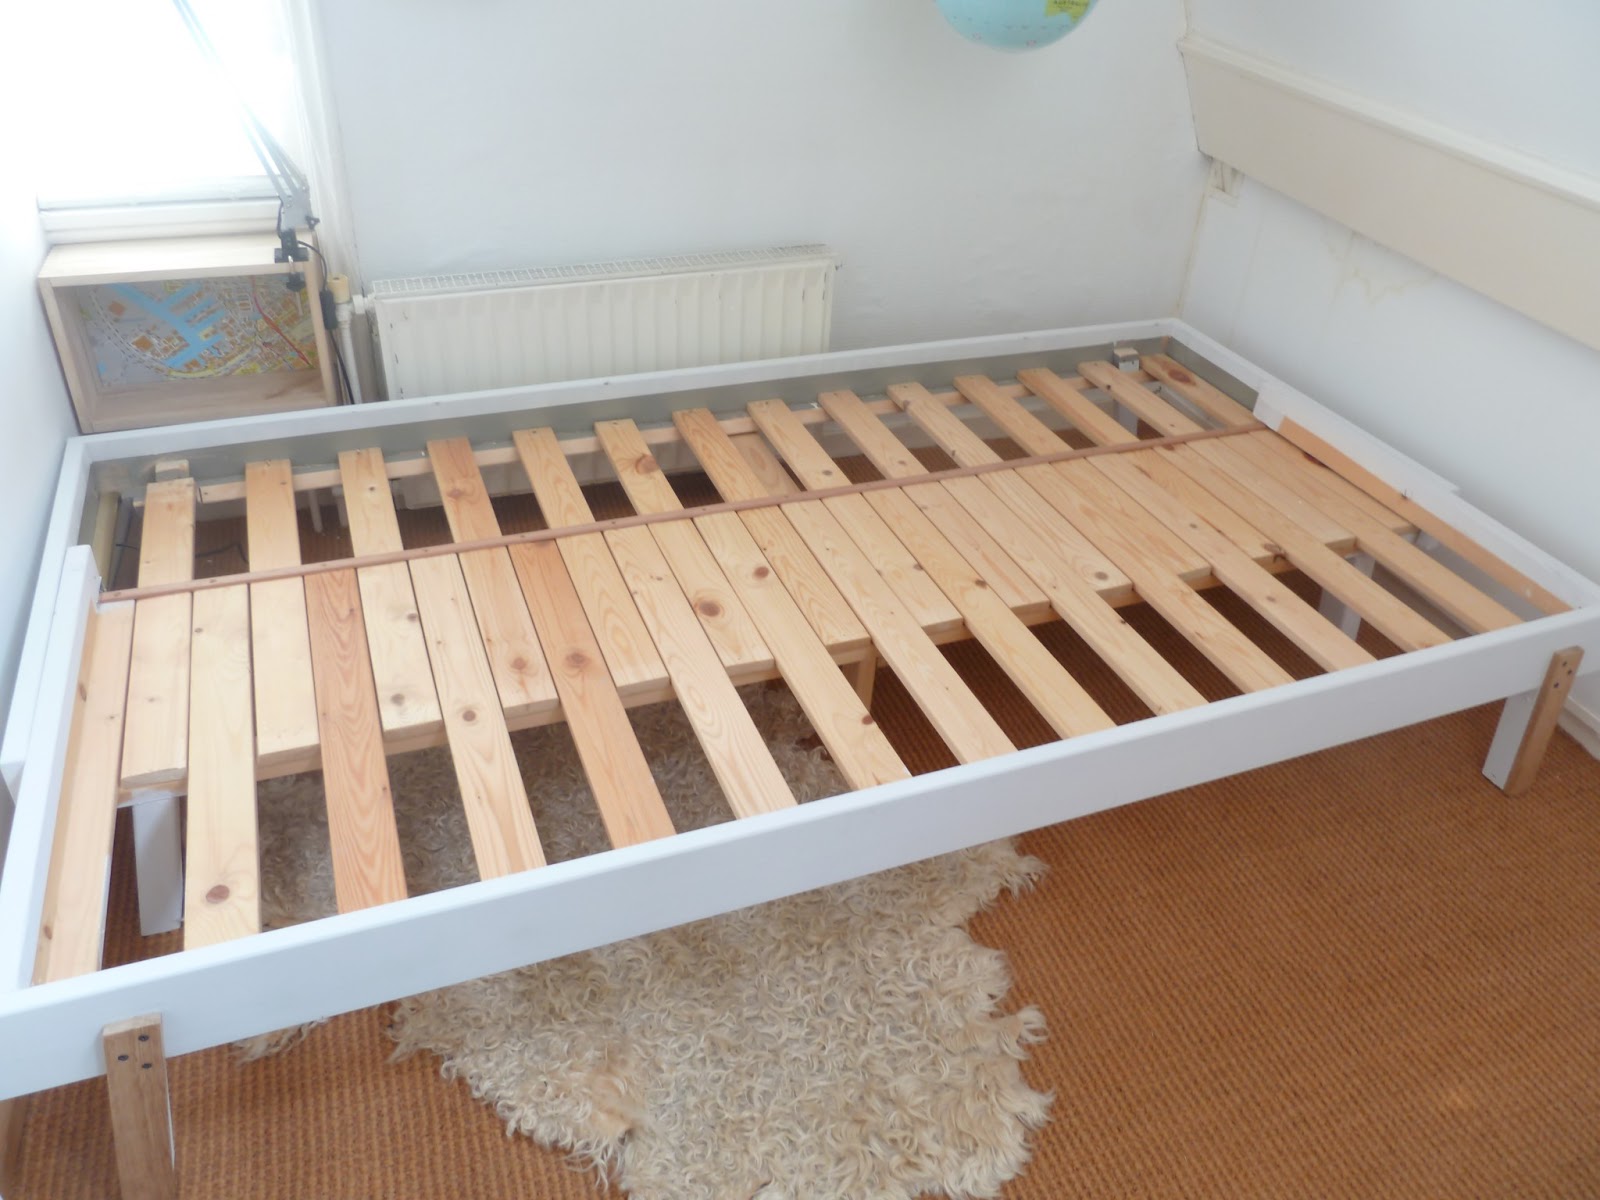
Fancy an upgrade for your loft bed with a pull-out twist? Snatch up a second-hand Rykene bed—legs, sides, slats, and twin mattresses. Inspired by the clever Ikea 2012 PS pull-out bed, let’s craft ours without the hefty price tag.
- Start with two wooden pieces, 72cm by 9cm by 2.5cm, aligning them level with the original bed when on its slats. For slat stability, get a 200cm batten and countersunk screws to prevent mattress catch-ups. Metal corner brackets will act as pull-out stops.
- Tools? An electric screwdriver sails you through. Use Torx screws for easy assembly, sparing your wrists. Let a radial arm saw and a table saw darlings shape new legs for the middle beam, ideally repurposing the original headboard legs for uniformity.
- Lower the slat supports to align with the side planks’ bottom. Cut, pre-drill, and attach head and foot planks at 72cm. Stand it all up, align tops, secure, then attach side planks within fixed guidelines—aim for an inner length of about 190cm for the pull-out.
- Slats too snug? Space them with tile spacers or toothpicks—seriously, space matters. Screw them down, alternating sides. For the locking mechanism, affix metal brackets inside the pull-out ends, carving into the middle support to accommodate them.
- Finish up with wood filler, sand it smooth, then paint it matte—Long Island Grey for that forgiving, chic look. Attach stylish leg fronts, and test it out—bounce away and sleep cozy.
This frame might just outshine the original!
2. A Zen-Inspired Futon Bed Makeover
Looking to infuse a touch of Japanese tranquility into your loft bedroom? Roll up your sleeves and craft a serene futon bed frame using natural materials, perfect for your 140 cm wide mattress. And hey, got a wider mattress? Just line up a few extra crossbars and you’re golden.
- Take those beams meant for your frame and slice beautiful 45-degree miter cuts.
- Join the star-crossed beams with a little glue and some screws to create the outer frame.
- Align two supporting beams along the longer stretches, sticking out an end but dipping 18 mm along the side to nest your slatted base eventually.
- Wedge a 130.6 cm beam between those supporters, again with trusty glue and screws.
- Precisely position the long intermediate beams, ensuring they transition seamlessly into the outer frame.
- For central support, secure 44×44 mm head-sized beams mid-way between the outer and middle beams, giving a 2.0 cm clearance.
- Spread the remaining beams across the frame for even support, maintaining a 6.0 cm gap.
- Set the bed’s base, anchoring it craftily at the foot and head, angling the screws stealthily for a hidden fix.
- Finally, mount the slats about 5.0 cm apart or slot in a pre-made bed base. Erase any evidence of screwing with filler, then apply a transparent varnish or a hue that whispers peace and simplicity.
Cue the zen wind chimes; your bedroom oasis awaits!
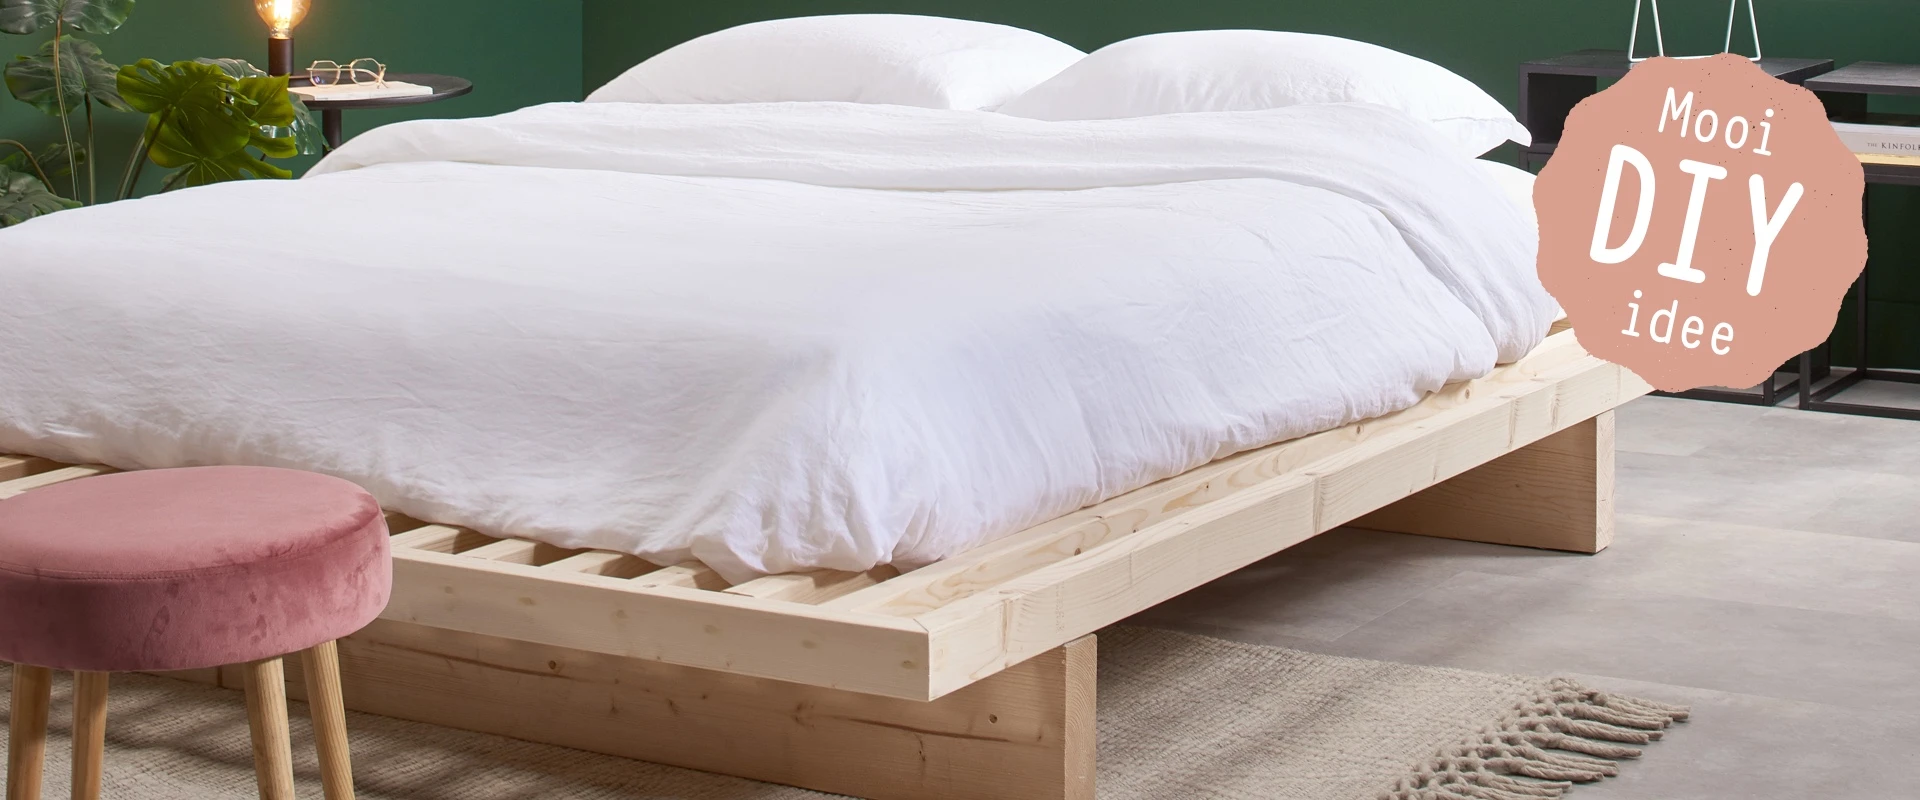
No 1. A Sleek DIY Platform Bed with Integrated Nightstands
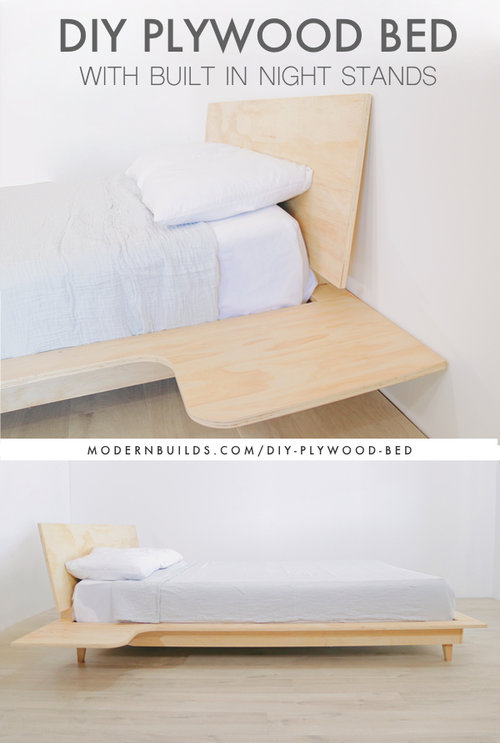
Ready to give your bedroom that modern edge? Let’s transform some 3/4 inch plywood into a stunning platform bed complete with built-in nightstands.
Here’s how you’ll do it:
- Grab your cut list from the description for precise measurements. Start by slicing those panels to size for your chic side tables. Soften up the corners with a can—think of it as rounding the bases before heading home.
- Your trusty circular saw is your go-to for those long, straight cuts, while a jigsaw plays cleanup on those curves. Work above two-inch insulation foam—it’s an easy cut and gentle on your equipment.
- When it’s time to join, whip out the ever-reliable pocket hole jig. It’s your secret to quick and invisible connections. Add a touch of wood glue if you’re hungry for extra hold.
- Patiently attach the plywood, screw by screw, keeping those edges crisp and clean. Doubters may scoff at pocket holes, but you’ll know better—they’re rock-solid.
- For those four-inch strips, table saw for speed or circular saw for precision—your choice. Getting those pieces to length? A quick dance with a square and circular saw gets you there.
- The headboard? Precision is key. Create strong half-lap joints, set the angle to 10 degrees, and assemble carefully for a headboard that doesn’t wobble.
- Legs are next. Fuse two plywood pieces, cut, sand, then set these progressively designed supports into place.
- Finish with a sand to 220 grit, rounding edges slightly—no splinters wanted here. Matte polycrylic seals the deal for protection with style.
- Last step: place your mattress atop your new frame and step back.