9. Revolutionizing Cooking: The Induction Stove Countertop
Get ready to witness a groundbreaking innovation that will transform how you cook and revolutionize your kitchen experience—a marvel of technology that can change the world of cooking. Prepare to be amazed by the video!
Summary:
Discovering the Future of Cooking
Picture a pot of boiling water on a granite countertop, with no visible stove. This astonishing technology, developed by InPhysica Curtis, brings us the induction stove countertop. Now, let’s dive into its remarkable capabilities.
Cooking Made Easy
You might know us for our passion for home designs and green tech, but this time, HomeRenoVisionDIY explores the concept of a Net Zero home—a home that balances energy consumption with energy production.
With conventional appliances using excessive power, achieving a Net Zero home seemed impossible until now. The induction stove countertop operates on a mere 15-amp service, bringing us closer to our sustainability goals.
Transforming Lives
One of the most remarkable aspects of this technology is its potential to improve the lives of our aging loved ones. Creating a small kitchenette with an induction stove countertop allows independent living while ensuring safety and peace of mind. No open flames mean no fire hazards, making it an ideal solution for basements or in-law suites.
Functionality and Performance
The induction stove countertop offers a different way of cooking and excels in performance. In this case, HomeRenoVisionDIY tested the idea as he prepared a quick pasta sauce and boiled noodles. The stove can change the world if it can cook an entire meal without costing extra time.
Safety First
When it comes to technology, safety is paramount. You can bid farewell to open flames and fire hazards with the induction stove countertop. The absence of flames eliminates the risk of igniting oil, ensuring a secure cooking environment. Even though the countertop gets warm, it won’t cause burns, providing you and your loved ones peace of mind.
Installing the Induction Stove Countertop
Installing the induction stove countertop is hassle-free. The process becomes even simpler with Curtis’s recommendation to use granite countertops. The induction stove is mounted underneath the granite countertop, creating a seamless and visually stunning kitchen space.
8. The Affordable Murphy Bed Prototype for Studio Apartments
 Prepare to be amazed by our leading New York carpenter’s groundbreaking creation: a low-budget Murphy bed prototype designed for a studio apartment complex. The new owners desired a cost-effective bed with minimal trim, and our expert carpenter delivered beyond expectations.
Imagine a versatile bed that combines a cozy sleeping space with a convenient seating area/couch. But that’s not all! The top of the bed ingeniously hinges up, revealing a spacious storage area that will leave you in awe. The shelf supports the bed and doubles as a leg, complete with two handholes for easy bed adjustment. Fine-tuning is needed for the shelf ends to achieve optimal weight balance and maintain a flat position.
Our carpenter drew inspiration from various online ideas to create this queen-size bed prototype. Surprisingly, existing bed kits on the market cost upwards of $300. Undeterred, our resourceful carpenter turned to the McMaster catalog, acquiring two gas struts, rod ends, and mounting brackets for a remarkable $55, including freight.
Our carpenter strategically determined the strut mounting positions using AutoCAD, resulting in a flawless first-time setup. Lowering the bed became effortless while raising it required minimal effort. A full sheet of 3/4″ MDF was clamped to the frame to simulate the mattress weight—the bed pivots on four reliable door hinges.
On-site painting and separate couch cushions will complete the project. The bed disassembles easily and securely attaches to wall studs, promising a quick 30-minute installation. Crafted primarily from a 3/4″ ply, the bed bottom features 1/2″ Baltic birch for added sturdiness.
Our master carpenter’s dedication to perfection drives ongoing refinements to streamline the assembly process. Stay tuned for additional pictures once the bed is flawlessly installed and painted.
Comment:
Readers are captivated by this exceptional creation! The swinging shelf has sparked intrigue, with suggestions to slight box it for securely storing pillows and sheets. Picture the convenience—when the Murphy bed is folded down, the pillows and sheets are readily accessible. Boxing the shelf ensures consistent weight distribution on top, enhancing the bed’s overall functionality.
7. A DIY Poor Man’s Murphy Bed: Transforming a Small Space into a Multifunctional Guest Bedroom
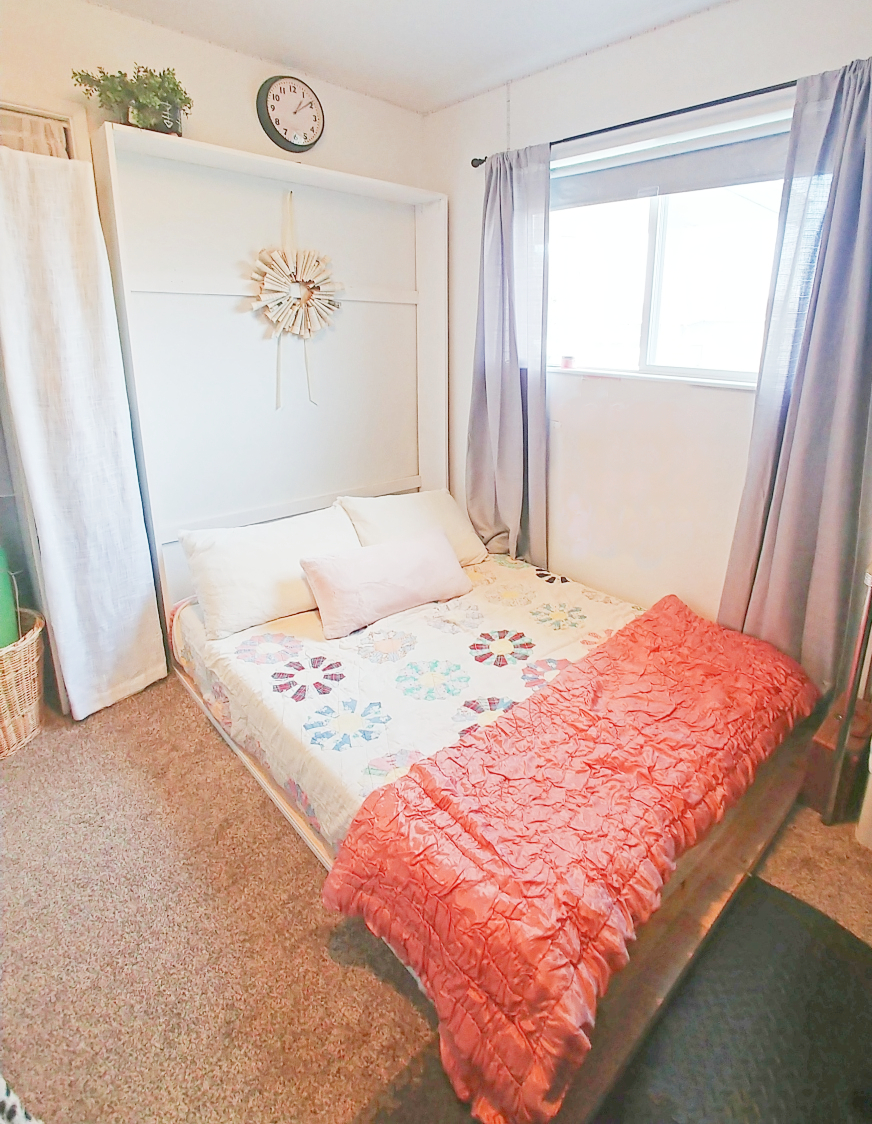 In this room makeover journey, the creative mind behind Little Vintage Cottage shares her process of turning a compact 10′ x 10′ space into a storage haven for her Etsy shop inventory and shipping supplies while creating a cozy guest bedroom for visitors. You’ll be amazed at how she achieved all this in such a limited space.
To build the Murphy bed, our resourceful DIYer chose pine wood cut to size at the local hardware store. Here are the basic cuts of wood needed for a full-sized Murphy bed:
- Two pieces of 55″ x 10″ for the top and bottom of the bed
- Two pieces of 77″ x 10″ for the sides of the bed
- Two pieces of 55″ 1x4s for attaching the bed to the wall
- Two pieces of 28 1/2″ x 77″ plywood sheets to create the mattress platform
- Two pieces of 57″ 1x4s for the top and bottom trim on the front of the cabinet
- Two pieces of 75″ 1x4s for the side trim pieces on the front of the cabinet
With these materials, our DIY enthusiast embarked on the project armed with basic tools such as a square, drill, tape measure, stud finder, pencil, and construction screws. The assembly began by creating a sturdy box using corner braces to hold the mattress securely.
Once the box was in place on the wall and screwed into the studs, our DIYer added cross-support boards anchored to the wall studs to provide additional stability. Two plywood sheets were joined using 1x4s at both ends to create the mattress platform.
Three door hinges made the platform to the wall frame possible. The front of the bed was then beautifully trimmed with decorative boards, giving it a polished cabinet-like appearance. A simple hook-and-eye mechanism was added for convenient closure when the bed was not in use.
After completing the construction, it was time to add a touch of style with a fresh coat of paint. The final result was a stunning Murphy bed that seamlessly blends functionality and aesthetics.
The best part? Our talented DIYer managed to keep the costs down, with a total expenditure of just $303.45. Now that’s a budget-friendly solution for creating a guest bedroom in a small space!
Note: Readers’ comments and suggestions expressed enthusiasm and offered valuable insights. Some readers recommended adding feet to the bed for easier access, while others inquired about the mattress size and cost, which can vary based on personal preference and budget.