10.A Sloped Ceiling Closet IKEA Hack
Ready for a DIY adventure to transform your closet? Grab your tools, and let’s turn your ordinary space into a dreamy, organized haven with some IKEA hacks!
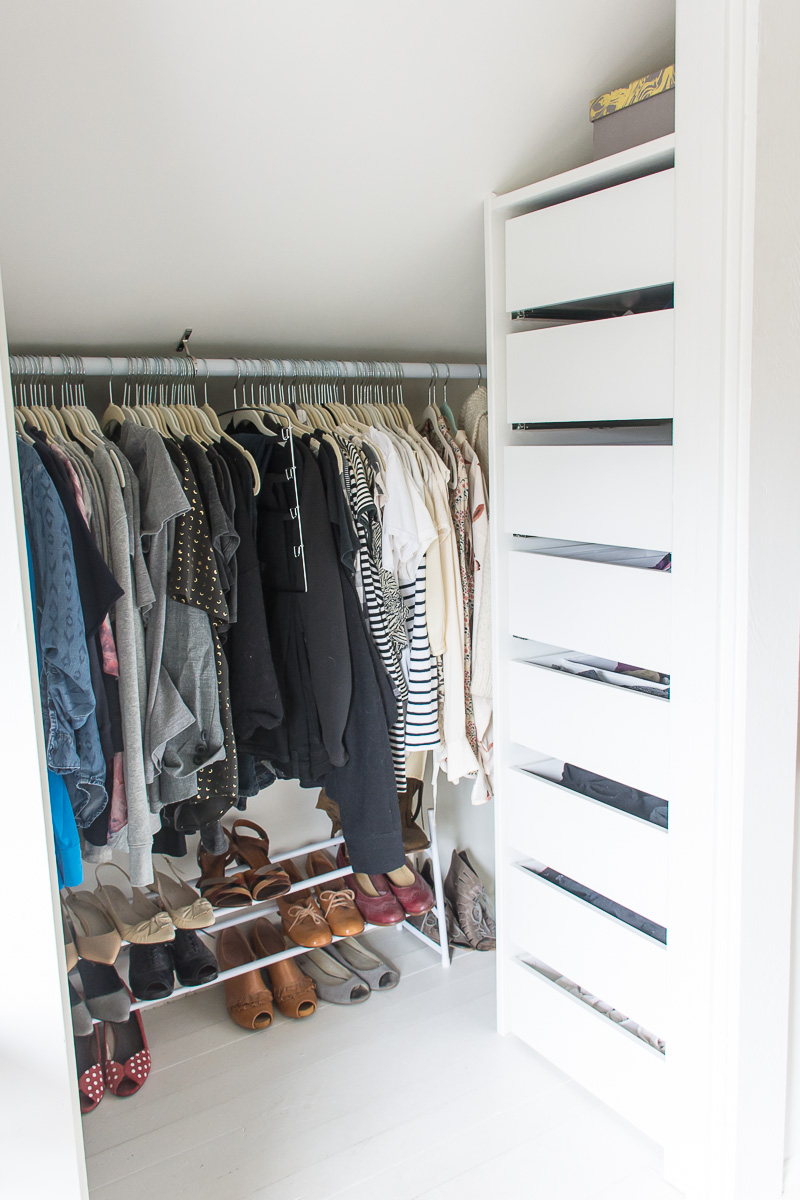
Starting Off: The Big Picture
You’ve got this spacious closet, right? It’s huge, like a small room, but it’s not living up to its potential. Time to give it a makeover! You’ll focus on one half for now, leaving the mirrored side for later.
Initial Steps: Out with the Old
First things first, those side doors and stained carpet? They’ve got to go. Roll up your sleeves, paint the walls (Benjamin Moore’s Icicle is a great choice), and give those floors a fresh coat of paint too. Beware of any surprises, like live wires – safety first!
The Core Problem
Despite its size, your closet lacks efficient storage. You’ve got hanging space, but where do you put your socks, underwear, or sweaters? They’re all over the place, including in a dresser in the main bedroom.
Improving Storage: The Plan
You’ll tackle three main issues:
- Lack of drawers: Add more.
- Wobbly, unattractive drawers: Upgrade to sturdier, nicer ones.
- Awkward sloped attic walls: Rework closet rod placement to maximize space.
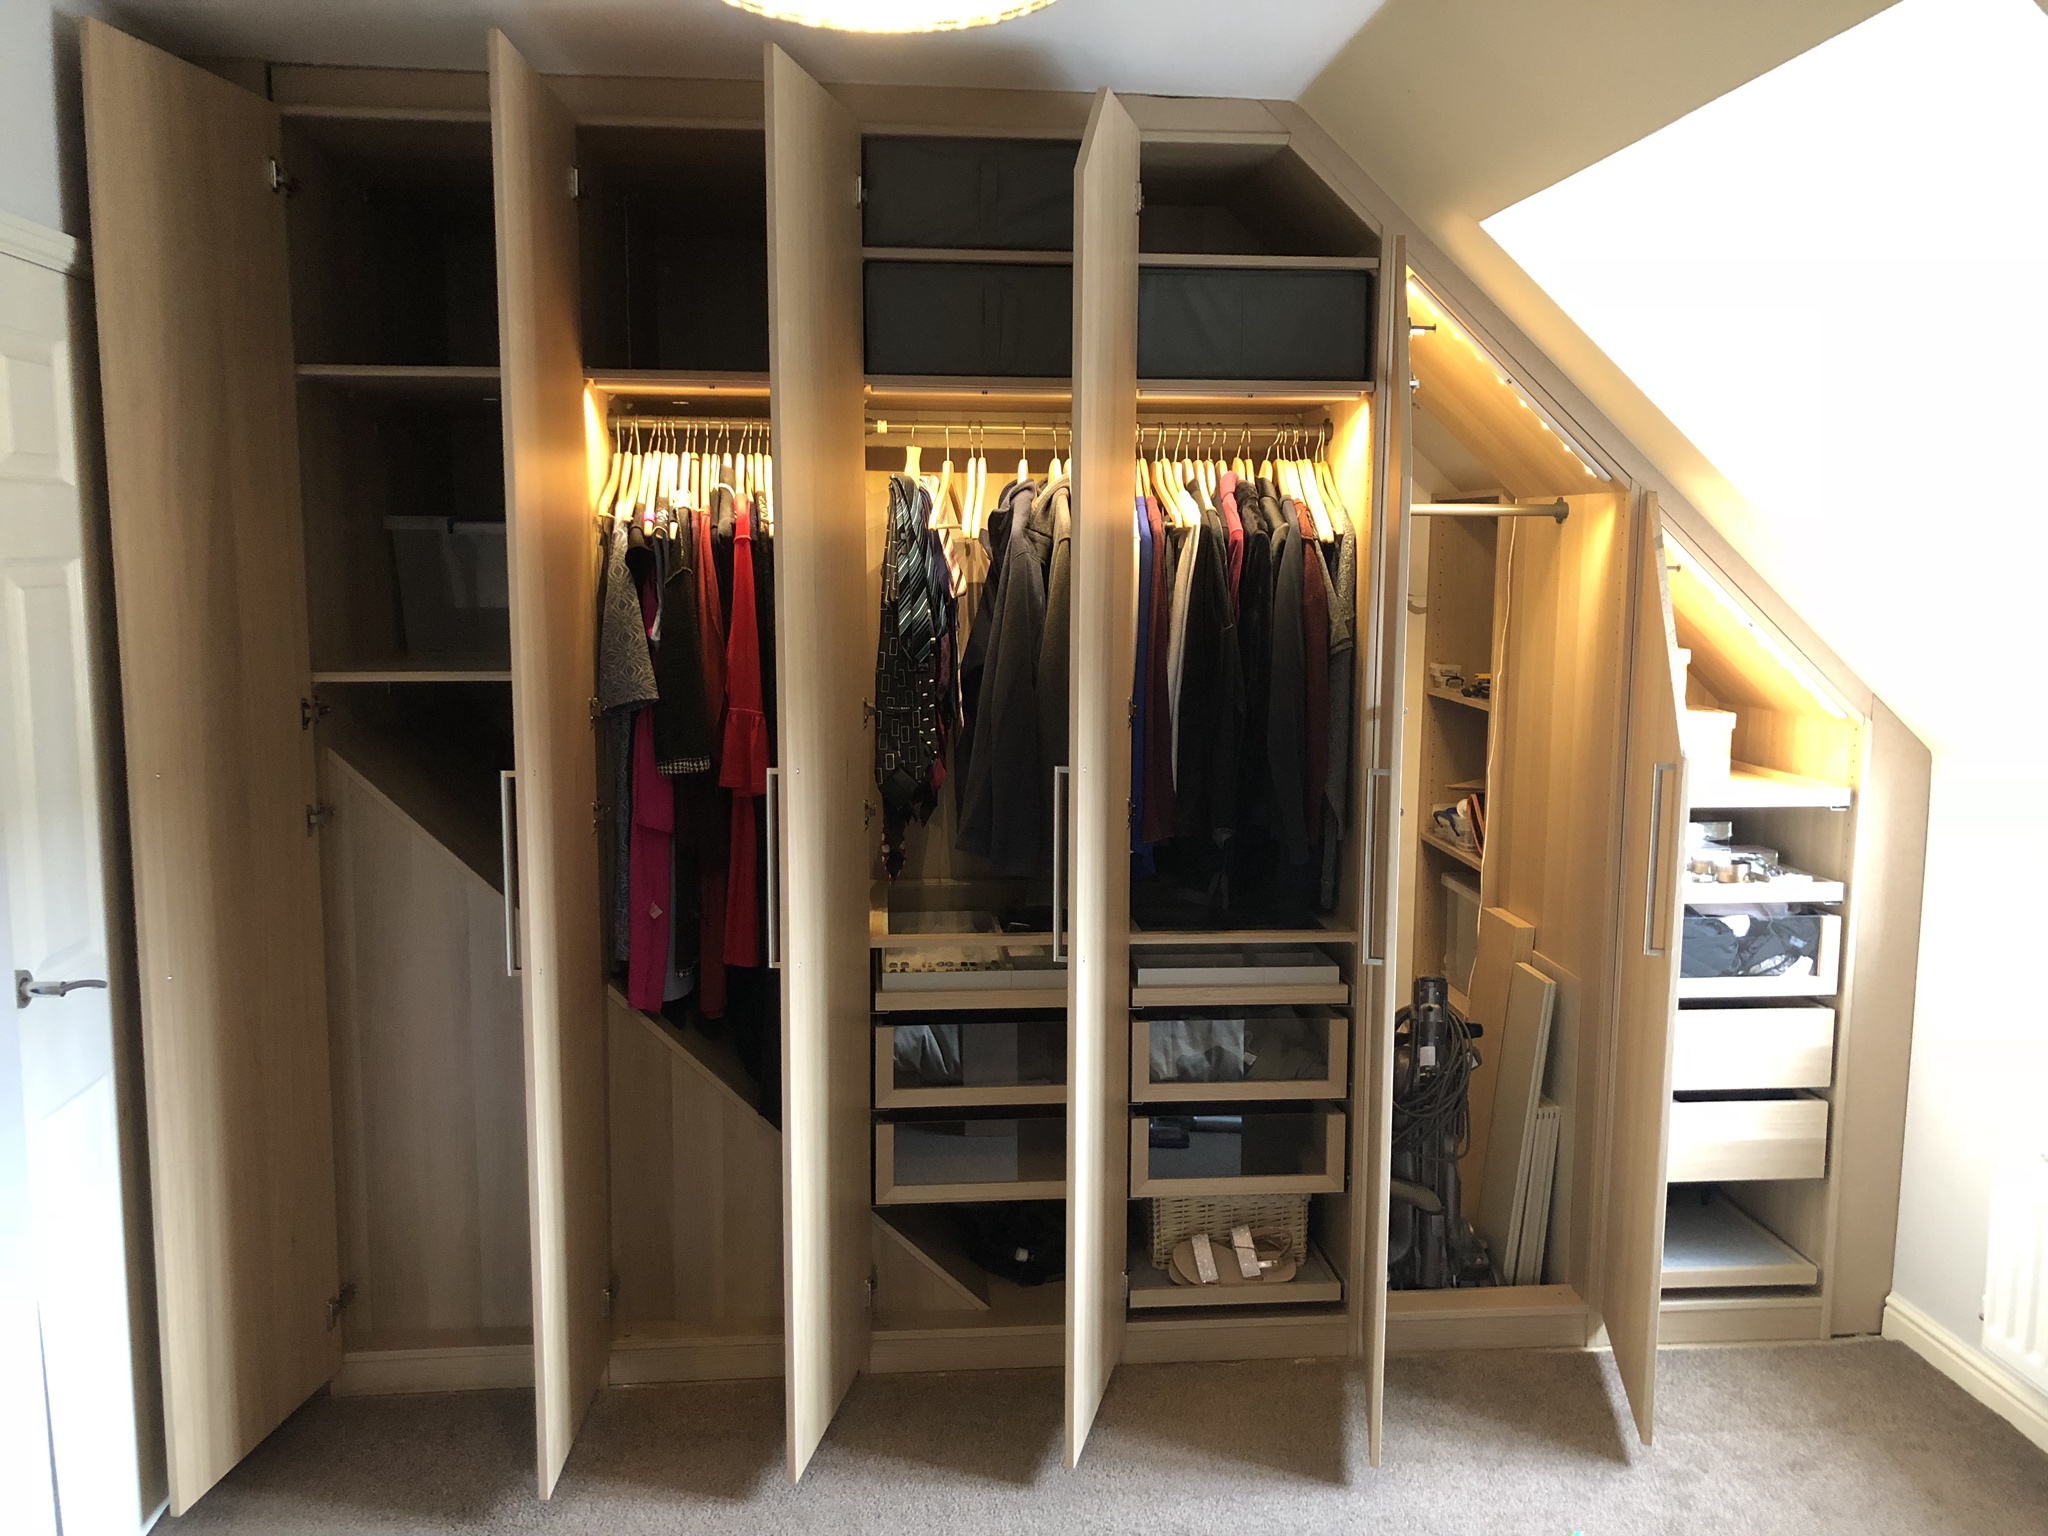
Dealing with Sloped Walls
Research how others have managed sloped walls in their closets. Forget the standard brackets – you’re looking for something stylish yet functional. You discover $8 brackets that might just do the trick.
Constructing a New Rod System
Remove everything from the closet, including the old rod. Measure and cut a piece of scrap wood for the new configuration. Attach the new bracket and rod, raising it about six inches higher and a couple of inches back. This rearrangement frees up space for further improvements.
Building Your Own Drawer System
Instead of opting for pre-made IKEA Pax wardrobes, you decide to build your own 3/4″ plywood boxes and install 13 IKEA Komplement drawers. Add trim moldings and paint to match. It’s a challenging task, considering the non-square nature of the closet, but it pays off in custom aesthetics and cost savings.
Installation Tips for Komplement Drawers
For a smooth installation, gather these tools:
- Level
- Measuring tape
- Drill and screwdriver
- 3/16″ drill bit
- Pencil
- 1/2″ self-drilling screws
- Scrap wood
Measure and align each drawer slide correctly. Use small self-tapping screws for temporary alignment, then drill and install with IKEA’s provided screws.
Final Touches: Shoe Storage and More
Now, your shoe rack fits perfectly, and you’re contemplating a custom wood or wall-mounted shoe rack for better functionality. With the major carpentry work done, it’s all about the finishing touches and styling to elevate your closet space.
You’ve turned a basic closet into a custom, well-organized dressing area, proving that with a little creativity and effort, you can transform your space into something both practical and stylish. Now, enjoy your newly transformed closet!
9. A ‘Narnia’ Style IKEA Closet: A DIY Adventure
Ever dreamed of creating a magical ‘Narnia’ style closet? Well, gear up for a DIY journey that’ll transform your space into a wardrobe wonderland!
The Challenge: A Complex Space
Imagine tearing down a wall to reveal a huge yet intricate area to work with. You’re dealing with an angled roof at a tricky 46° angle. Precision is key here – getting those angles at either 44° or 46° is crucial, or the joints won’t align properly.
The Solution: Precise Cuts
Worried about the neatness of your cuts? A circular saw, guide rail, and a shallow backward initial cut will do the trick. The IKEA laminate slices like a dream, leaving you with crisp, clean edges.
Fitting the Closet Units
Here’s where the magic happens! Not one closet unit is standard – every piece is unique. After a couple of days, you’ve got both units snugly in place in your ‘Narnia’ walkthrough closet. And get this – the second unit from the right is backless, opening up access to two shelving units.
Trigonometry to the Rescue
Yes, you read that right! Unleash your inner math whiz to tackle that angled section over the stairs bulkhead. It’s a proud moment when that piece fits perfectly.
The ‘Narnia’ Nook
Carve a channel in the angled piece for the back panel section. It’s a detail that adds depth and character to your closet. Before adding lighting, take a moment to admire your handiwork.
Light It Up
The IKEA closet lighting is a breeze to install and illuminates your space beautifully. The open closet? That’s yours. The rest? All for your wife’s treasure trove of clothes!
Double-Depth Units for the Win
These units are a stroke of genius. One features hanging space at the front with shelves tucked behind, while the other boasts deep shelves. The challenge here is making a cut that matches the unit behind, leaving just enough depth at the front for a full door.
Finishing Touches
All units are in place, and now it’s time for the doors. Cut them to the right angle and add oak edging band for a polished look. The finish is stunning, and it’s almost hard to believe you were worried about it.
The Final Stretch
With all the doors attached, all that’s left is to add the wall trim. Stand back and take in the view – your ‘Narnia’ style closet is nearly complete, a testament to your creativity and DIY skills. This isn’t just a storage space; it’s a portal to a world of organized bliss!
8. Ready to give your Kallax shelf a charming, vintage makeover?
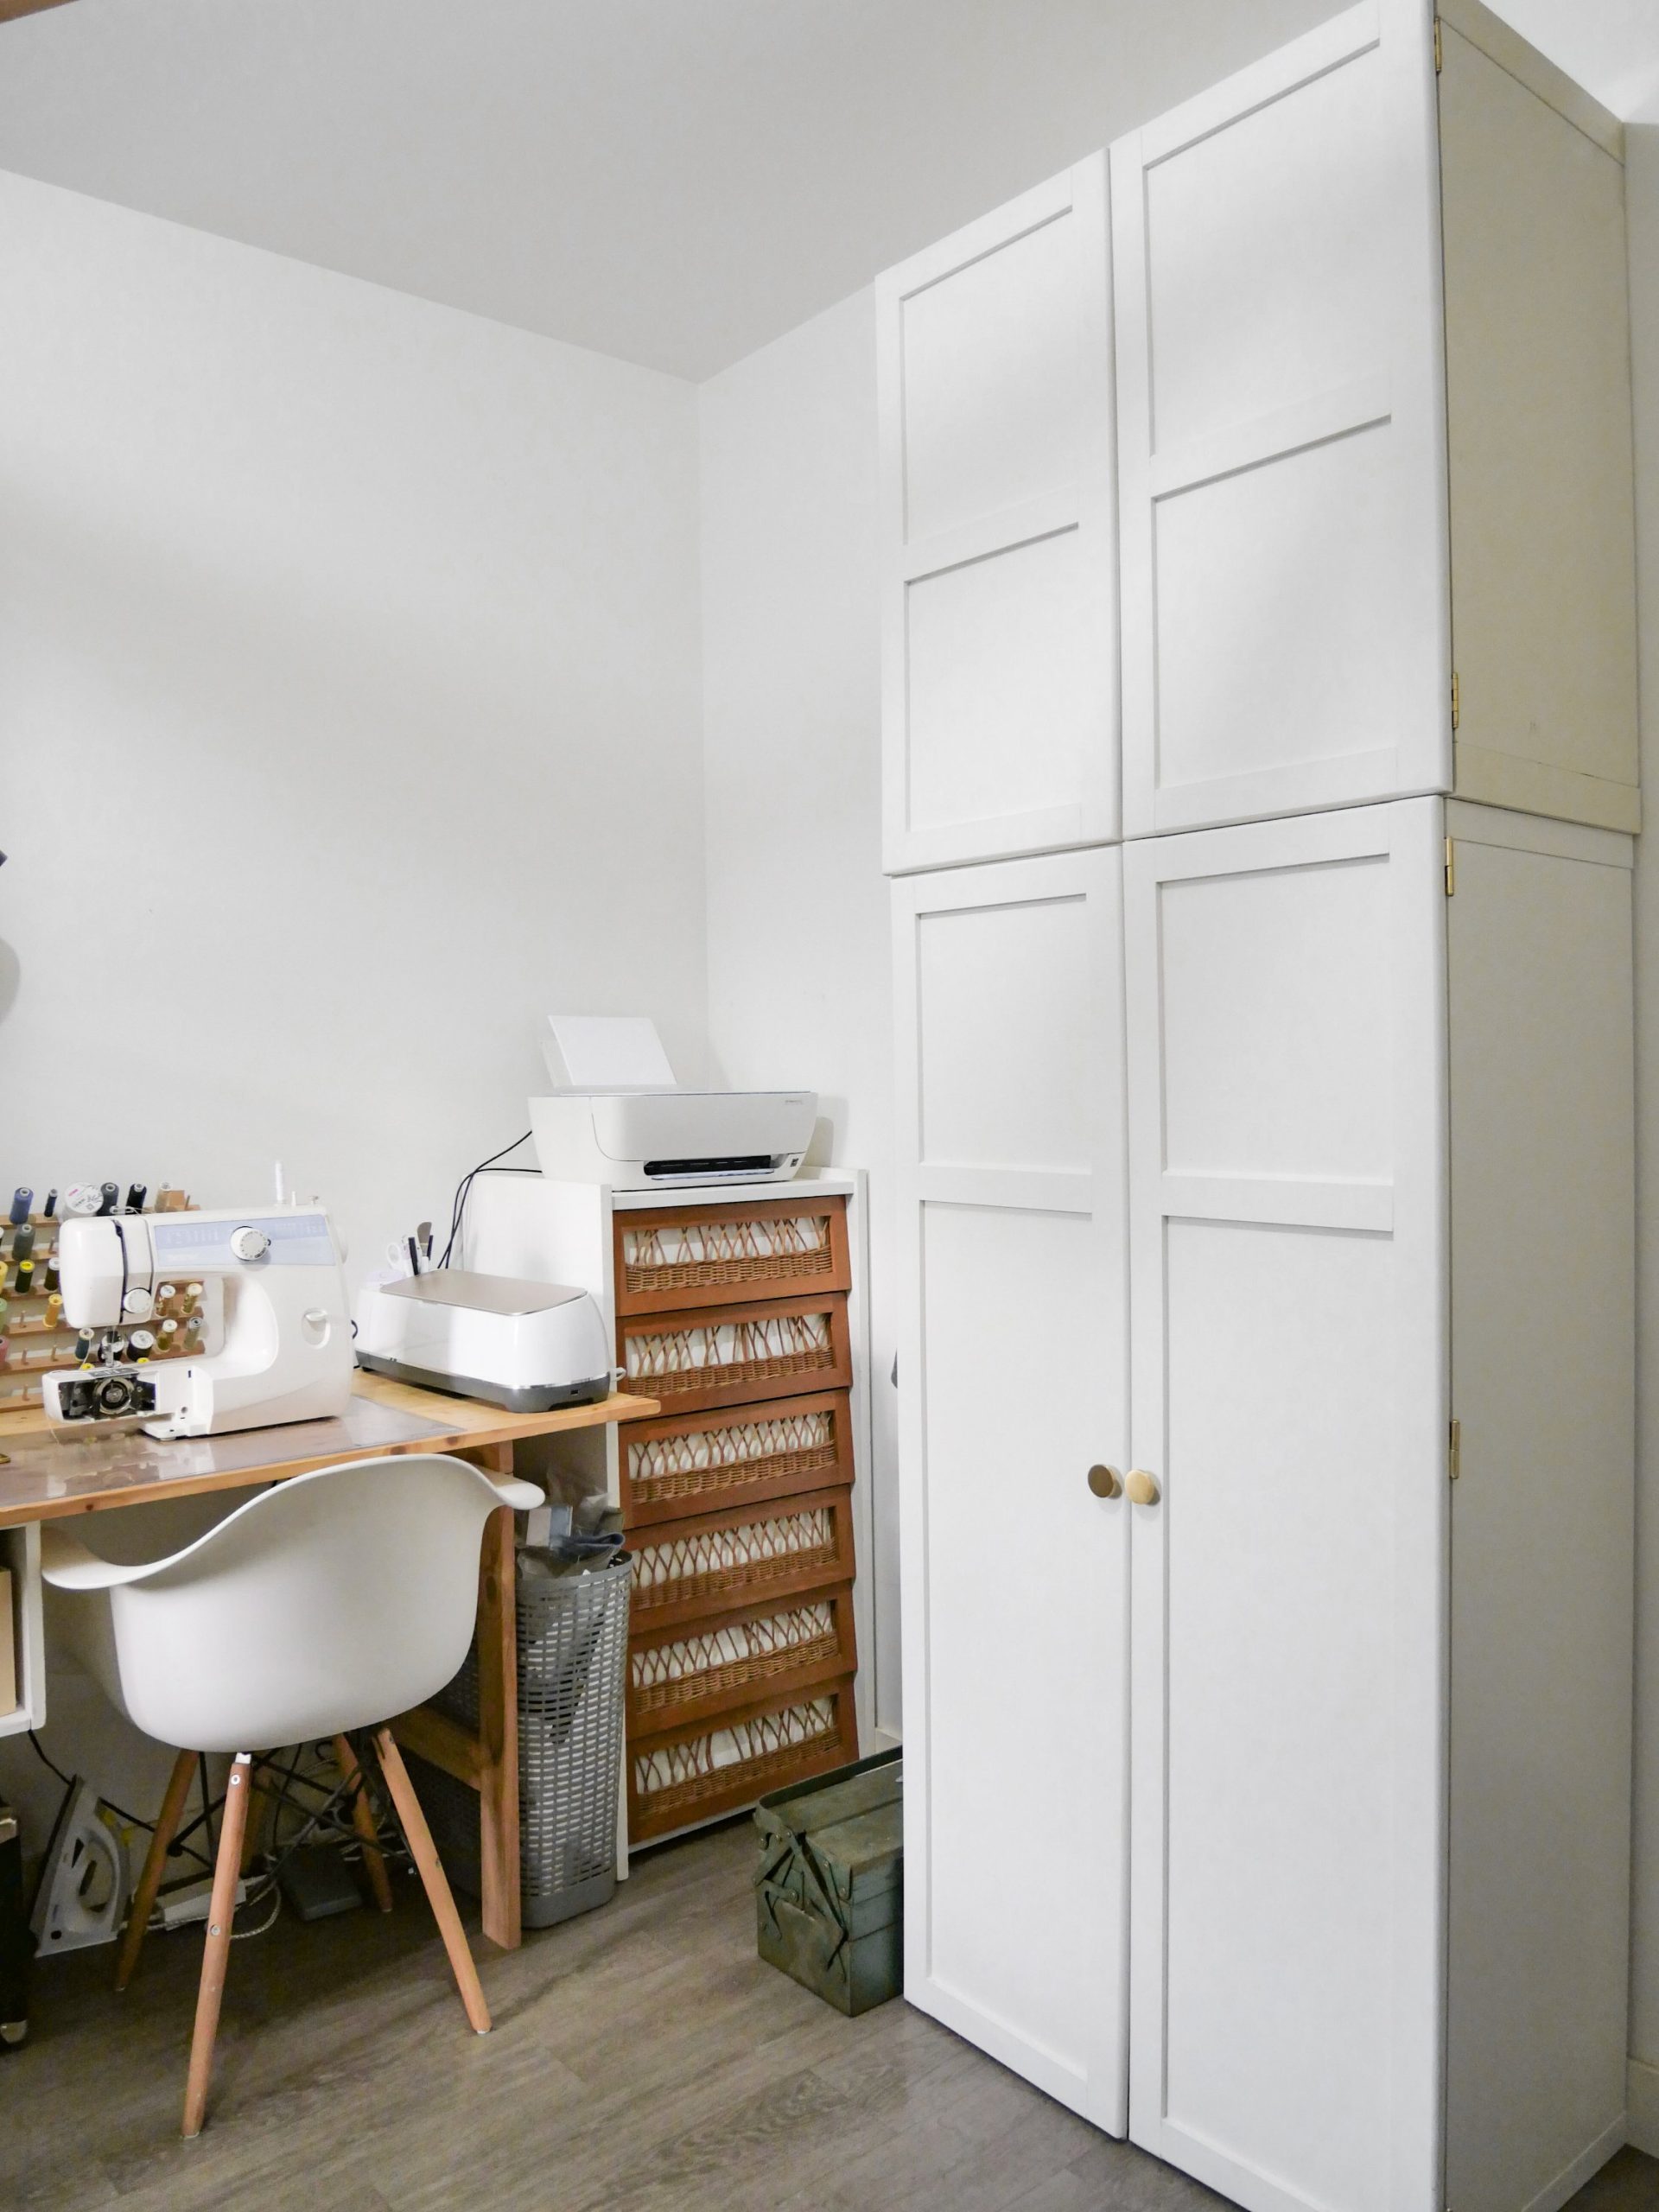
Let’s turn this practical yet plain storage unit into a stylish piece that hides all your DIY materials with flair!
Materials You’ll Need:
- 2 MDF boards (6mm, 146×37.8cm – get these cut at Leroy Merlin)
- 4 MDF plinths (10x50mm)
- Wood glue
- Handsaw
- Sandpaper
- 6 hinges (from Leroy Merlin)
- 2 magnets
- 2 handles (from Sostrene Grene or Leroy Merlin)
- Drill/screwdriver and screws
Time & Cost:
You’ll spend about 1.5 hours (excluding paint drying time), and it’ll cost around 30 euros for both doors.
Creating Your Vintage Doors:
- Cutting Baseboards: Cut four 146cm lengths for the sides of your doors. Glue them to the MDF boards, aligning edges neatly.
- Additional Plinths: Cut six more pieces, each 27.1cm long (double-check these measurements!). Glue them to the top, bottom, and middle (about 30cm from the top) of your boards.
- Sanding for Smoothness: Sand the corners for a rounded finish, matching the plinth’s curvature.
- Painting Time: Paint your doors in your chosen color. Remember, a primer is essential for lighter shades.
Assembling Your Kallax Hack:
- Attaching Hinges: First, attach the hinges to the Kallax unit (pre-drilling is needed due to the tough PVC covering).
- Aligning Doors: Position the door next to the shelf, using a magazine or shim for height adjustment, and then attach the other side of the hinges to the door.
- Adding Magnets: Fix the magnets inside the unit and the metal counterparts inside the doors.
- Ensure they align for a proper close.
- Handle It: Lastly, affix the handles to the doors.
Now step back and admire your transformed Kallax unit. What once was a simple shelf is now a vintage-inspired, charming piece that not only organizes but elevates your space. It’s amazing how a few modifications and a bit of creativity can turn a standard shelf into a bespoke piece of furniture. So, enjoy your new, stylishly concealed storage that’s sure to turn heads and spark conversations!
7. IKEA Master’s Closet Hack
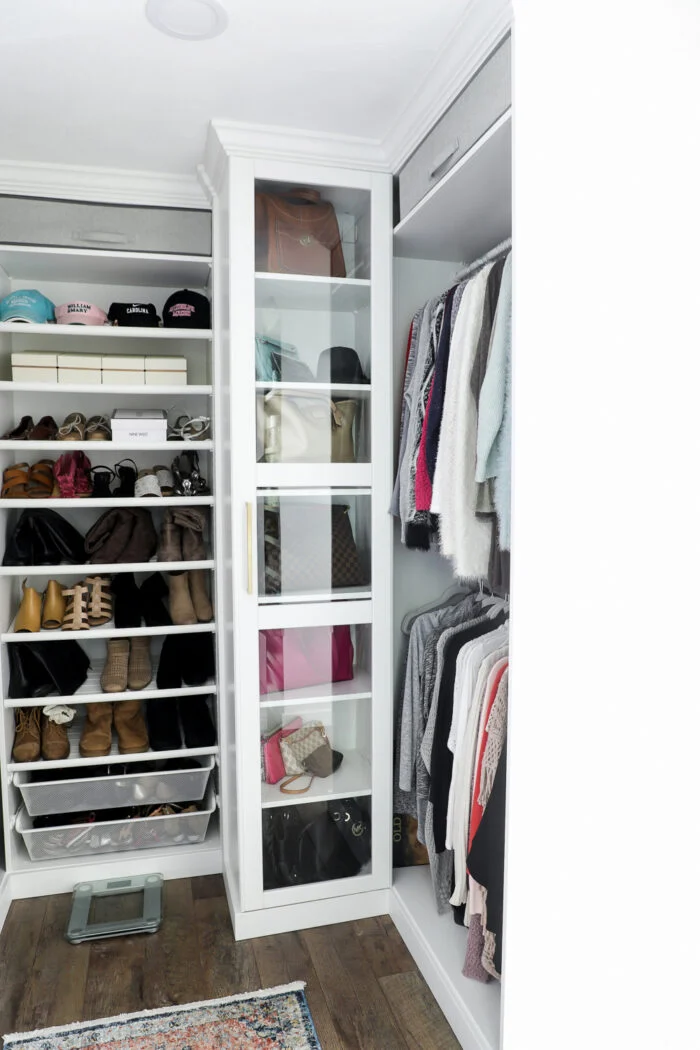
Transform your master closet into a chic, personalized space using the IKEA PAX closet system with this step-by-step guide:
1. Preparation and Planning:
- If you’re sharing the space, ensure there’s ample room for both parties. You might want to consider building a separate closet for additional storage.
- Use the IKEA PAX planner online or in-store for initial layout ideas, then adjust to your space’s specifics.
2. Creating a ‘Built-In’ Look:
- Start with basic IKEA PAX closet system cabinets.
- Add custom trim to these cabinets for a built-in, refined appearance.
3. Reconfiguring the Layout:
- Switch positions of different units, like the purse and clothes cabinets, based on your storage needs.
- Remove unnecessary elements, such as shoe shelves, if they don’t serve your purpose.
4. Enhancing the Cabinets:
- Apply textured, paintable wallpaper to the backs of the cabinets to hide seams and add depth.
- Consider a contrasting color or different wallpaper styles like grasscloth for a unique touch.
5. Detailing for a Seamless Look:
- Fill any visible holes in the PAX units for a smooth, finished look. IKEA sells filler packs for this purpose.
- Add crown molding at the top of the cabinets, extending around the room for an elegant, cohesive appearance.
- Install trim on the bottom and use caulk to blend it seamlessly with the rest of the unit.
6. Storage and Organization:
- Utilize cubbies at the top of each section with fitting storage containers for smaller items.
- For jewelry, install roll-out shelves with small forms or felt liners for organization.
- Dedicate drawers or sections for specific items like scarves, ensuring each category has its designated space.
7. Accessorizing and Finishing Touches:
- Attach gold bar hardware to the drawer fronts for an upscale look.
- If needed, create a small framed area near the crown molding to accommodate future additions like a barn-style door.
8. Evaluating and Tweaking:
- After living with the setup for a while, consider making small changes to enhance functionality or aesthetics, like rearranging drawers or adding more shelves.
By following these steps, you can easily turn a basic IKEA PAX system into a custom, luxurious master closet that not only meets your storage needs but also adds a touch of elegance to your space.
6. From Narrow Hallway to Narrow Closet space makeover
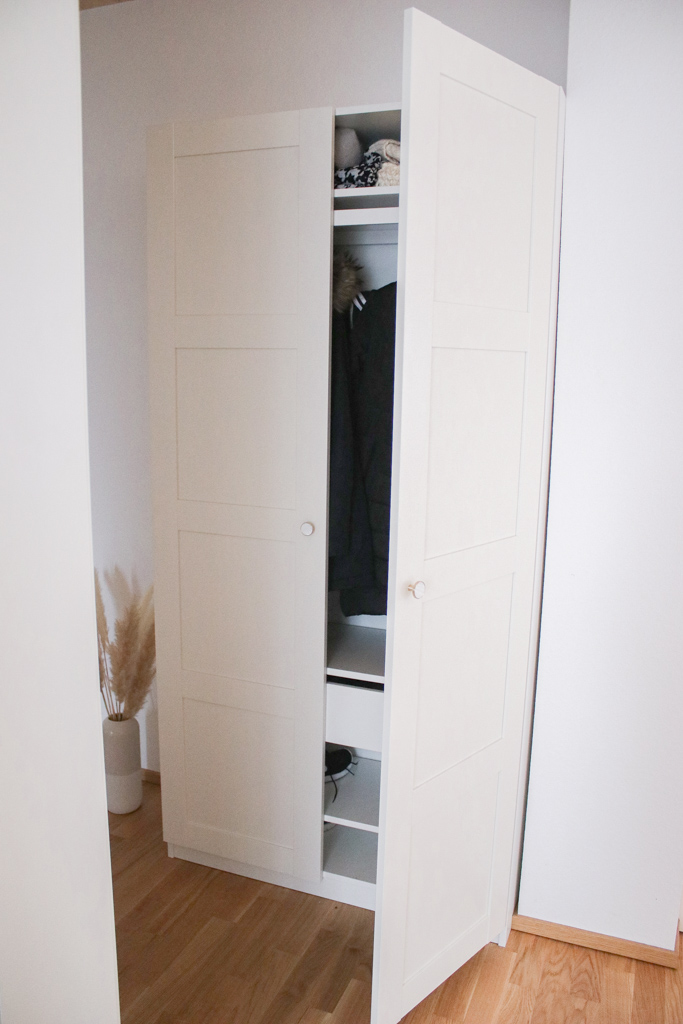
Use the lesson from the following narrow hallway cabinet hack to upgrade your narrow closet section.
Here’s how you can do it:
1. Measure Your Space: Ensure the narrow IKEA closet you choose, like the BERGSBO doors, fits perfectly into your hallway. Remember, it’s crucial to have enough room to open the doors comfortably, whether you opt for a cabinet or chest of drawers.
2. Optimize with a Clothes Rail: IKEA’s complementary clothes rail is ideal for hanging clothes parallel to the wall, saving significant space in your narrow closet.
3. Choose Between Open or Closed: Initially, an open wardrobe might seem appealing, but it can get messy. If you prefer a neat and tidy look, especially in a small closet area, a closed cabinet in subtle colors integrates perfectly into the space.
4. Streamline and Decorate: Minimize decorative items for a cleaner look. Though a pull-out wire basket might be ideal, if unavailable, a drawer is a great alternative for keeping things organized. Consider adding a small bench for added functionality. A mirror can visually enlarge the space, so keep one if it suits your style.
5. Accessorize Thoughtfully: Door knobs can add a touch of elegance. You might find stylish options, like gold door knobs, on Amazon.
This approach will transform your hallway into a space that’s not only practical but also pleasing to the eye. It’s all about making the most of what you have and adding a few personal touches to make it uniquely yours.