11. Craft Your Own Floating Shelves: 2 Creative Ideas!

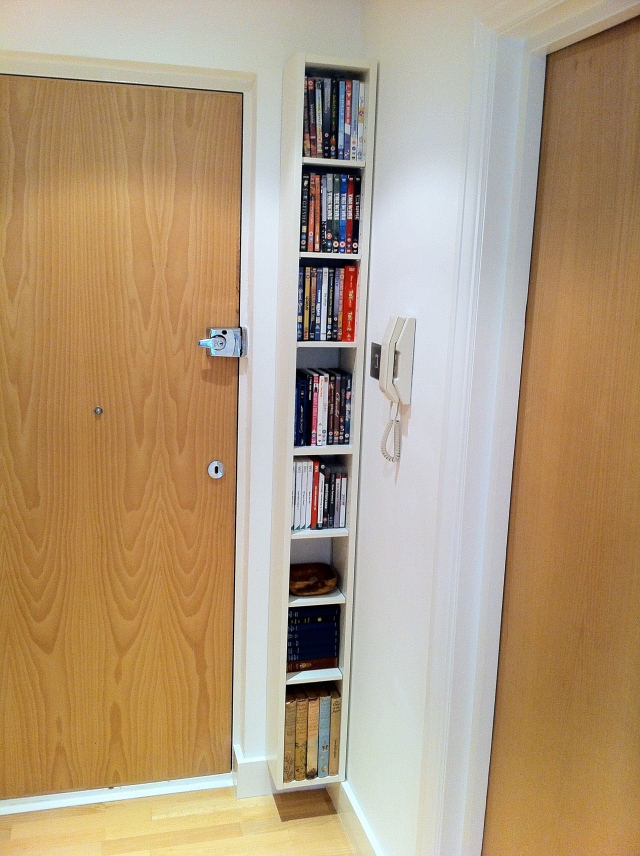
Idea 1: IKEA Billy Makeover
Transform your Billy bookcase into a sleek floating shelf! Skip the flimsy backing wood and optional shelves during assembly.
- Tools: Saw, sandpaper, right-angle brackets, screws, drill, level, pencil, electric screwdriver (optional).
- Cut & Sand: Remove the bottom section of the bookcase, leaving the main frame and middle shelf. Sand for a smooth finish.
- Mount the Frame: Attach brackets to the underside of shelves and frame for support. Use generous amounts of screws!
- Level & Drill: Position the bookcase, level it, and mark bracket holes on the wall. Drill deep holes with strong screws suitable for your wall.
- Mount & Enjoy: Secure the bookcase with the electric screwdriver. Add shelves and enjoy your stylish storage solution!
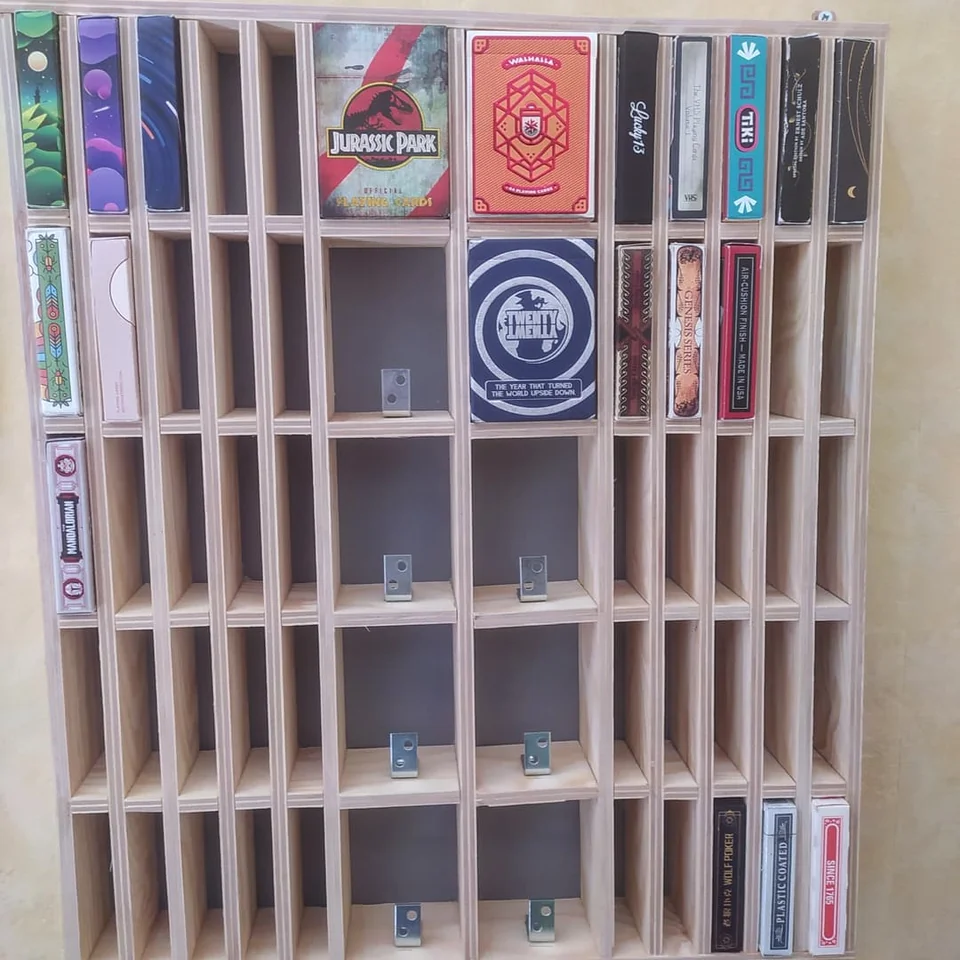
Idea 2: A Simple Playing Card Display

Showcase your collection with a handcrafted shelf! This project is forgiving even for beginners.
Tools: Miter saw, electric screwdriver (or regular screwdriver), wood glue.
- Cut the Wood: Use a miter saw to cut your desired shelf shape (don’t worry about perfect angles!).
- Assemble & Glue: Attach the back piece to the shelf using screws or glue.
- Mount & Display: Hang your shelf and proudly display your playing cards!
Bonus Tip: Both projects can be customized with paint, stain, or decorative touches.