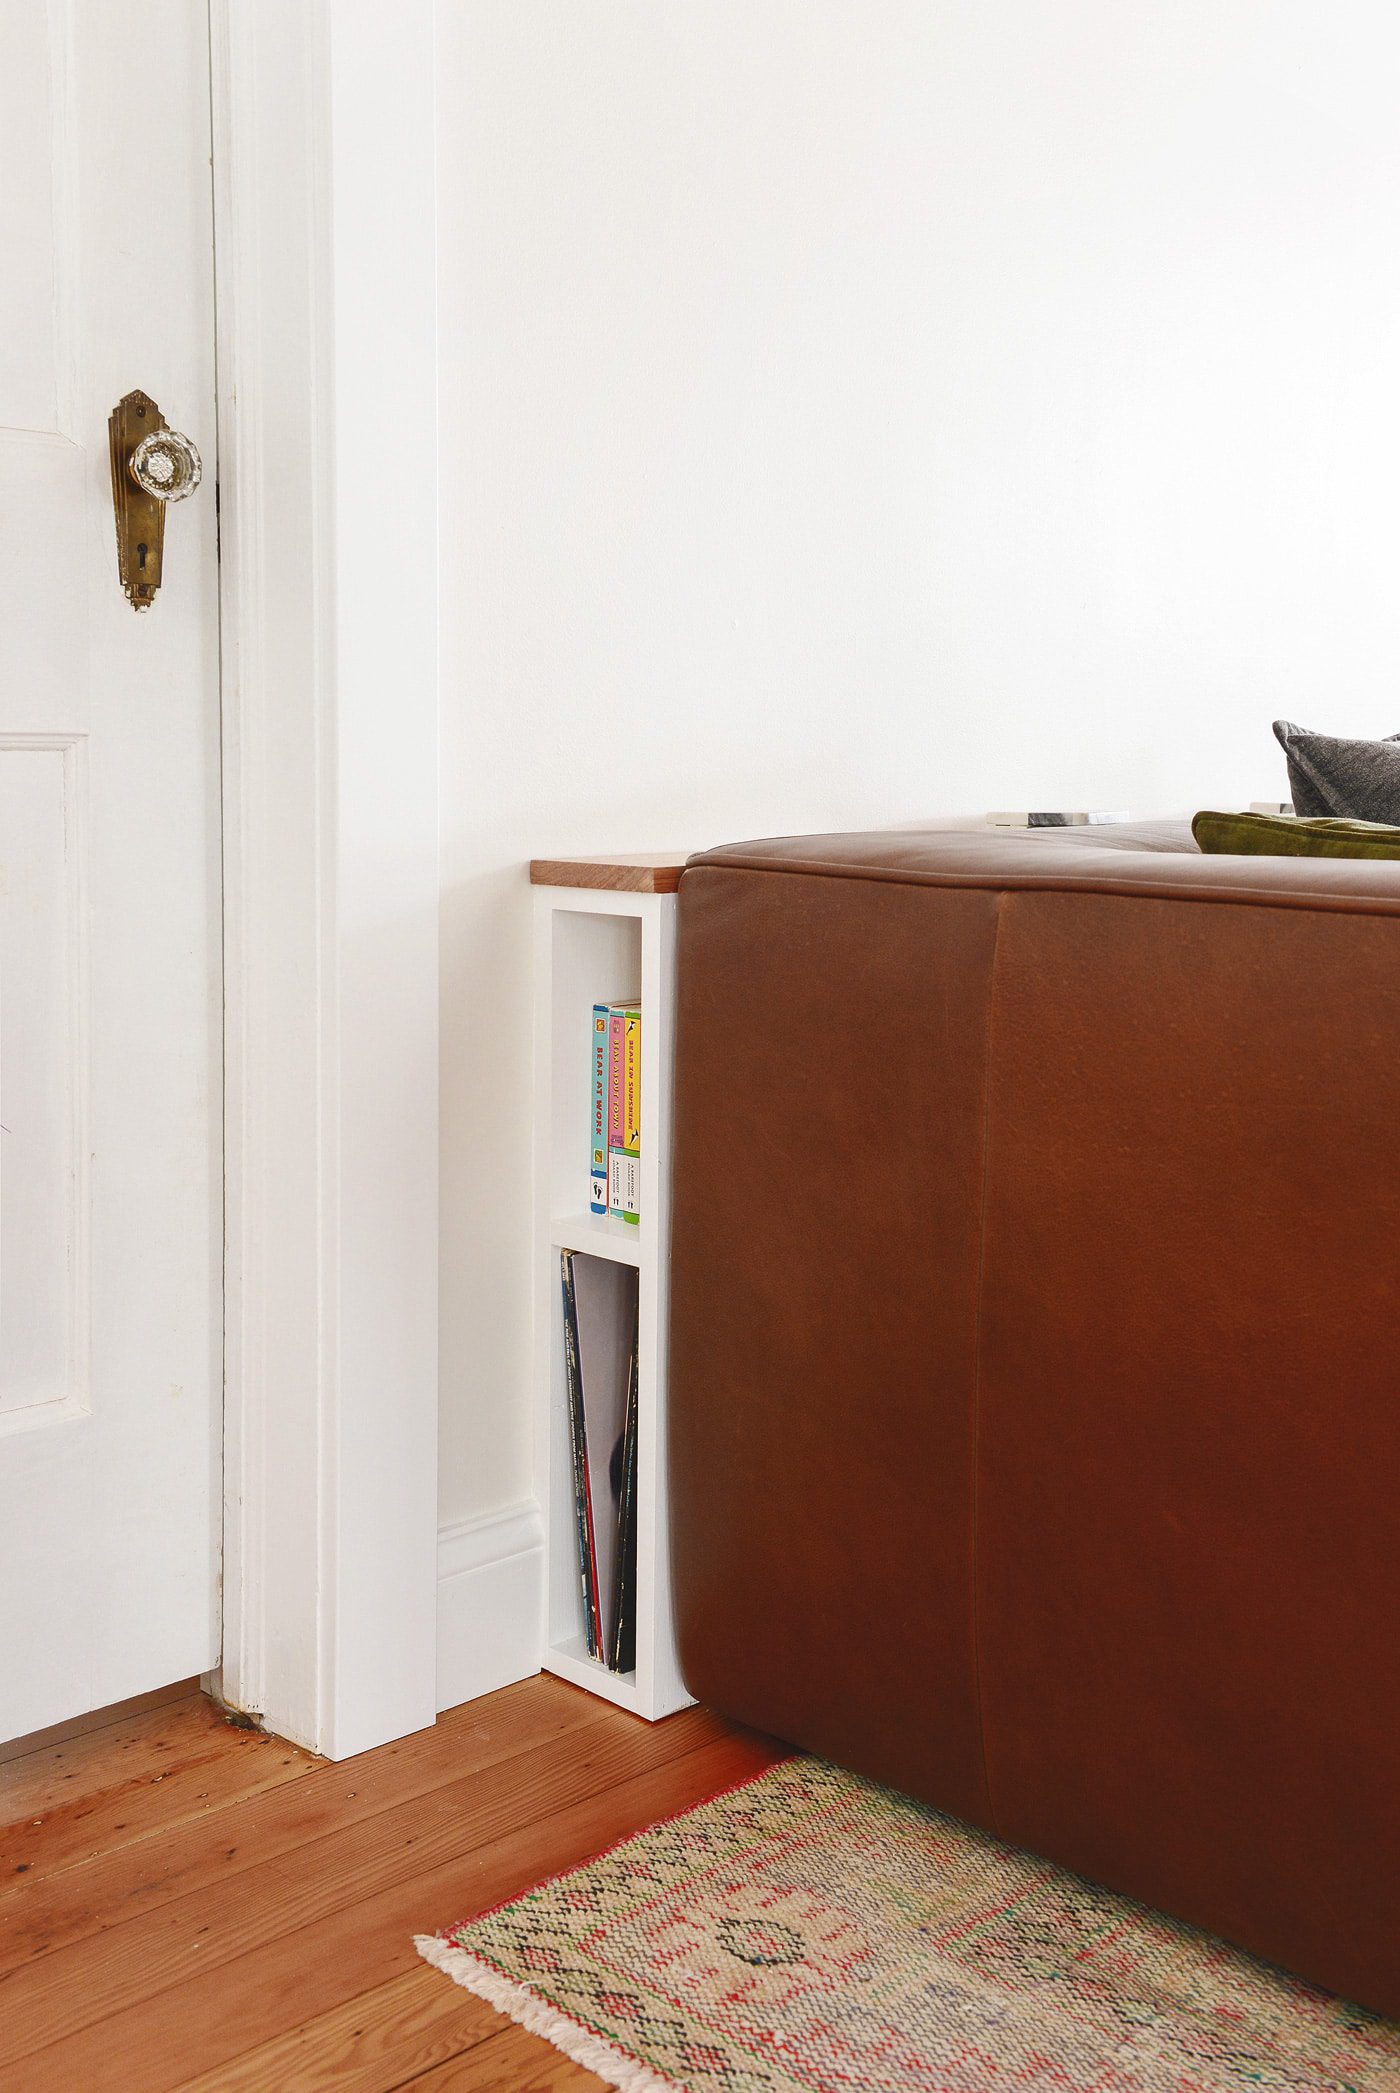
09. Build Your Own Behind-the-Sofa Console in A few Working Steps!

Want a stylish console behind your sofa but short on space? This DIY project creates hidden storage and a beautiful display ledge, all in one!
What you’ll need:
- Lumber (plywood, project panels, 1×6 boards)
- Tools (miter saw, table saw, cordless nailer, paint supplies)
- Hardware (screws, nails, L-brackets, washers)
- Paint & finish (optional)
Steps:
- Plan your size & storage: Choose a depth that fits your needs (e.g., 5.5″). Decide if you want open shelves or storage boxes on the sides.
- Cut & prep the sides: Cut vertical panels for the boxes (e.g., 24″ tall). Sand and paint or stain if desired.
- Cut & prep the shelves: Cut top, bottom, and center shelves to fit the box depth (e.g., 4″ wide). Paint or stain if desired.
- Assemble the boxes: Glue & nail sides to shelves, then attach the back panel.
- Mount the top: Cut a beautiful oak top with an overhang. Mark stud locations and attach L-brackets. Secure the top with screws.
- Apply finish (optional): Apply multiple coats of clear Polyacrylic to the top.
- Customize & fill: Add baseboards, caulk seams, and touch-up paint. Arrange books, records, and more!
Tips:
- Use a level to ensure straight assembly.
- Paint before assembly for a cleaner finish.
- Consider a spacer for record storage.
- Brainstorm lighting and outlet solutions for future upgrades.
Enjoy your new, space-saving and stylish console!