13. A DIY Computer Desk Idea
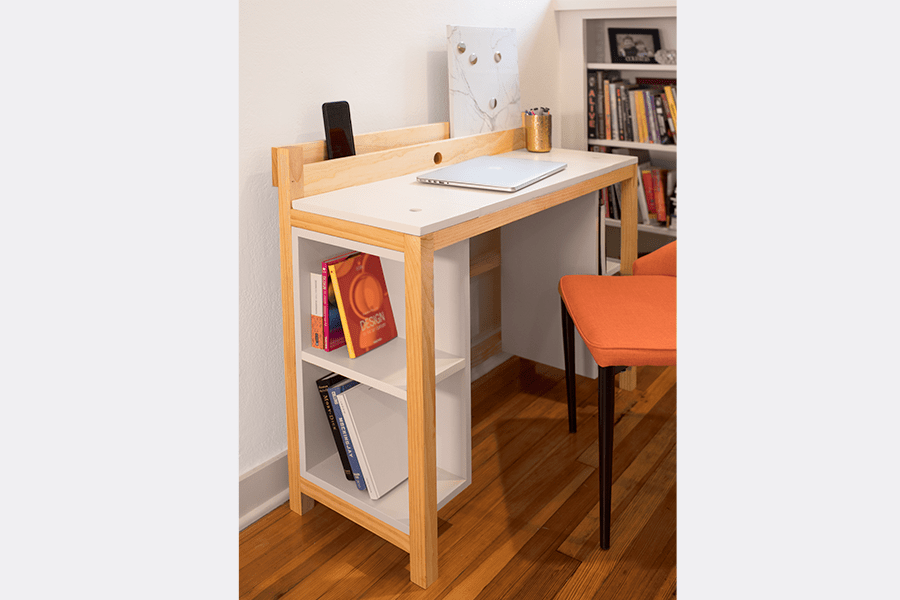
Craft your own charming computer desk with this step-by-step guide!
Gather your supplies:
- 2×2 lumber for legs and rails
- 1×8 lumber for shelves
- 3/4″ plywood for shelf sides, desk top, and lids
- Pocket-hole jig and screws
- Wood glue
- Sandpaper and paint (optional)
- Hardware (screws, dowels, etc.)
Let’s build!
- Cut your lumber: Follow the cutting diagram to prepare legs, rails, shelves, sides, and back.
- Assemble the sides: Attach legs and rails with pocket-hole screws.
- Create the top: Assemble the upper rails, then connect them to the sides.
- Build the shelves: Attach shelf backs and sides to create two identical units.
- Mount the shelves: Secure the shelf assemblies to the base and back rails.
- Add finishing touches: Attach the backboard, charger rail, desk top, and lids.
Tips:
- Pre-drill holes to prevent wood splitting.
- Use a right-angle drill attachment for hard-to-reach spots.
- Paint or stain your desk for a personalized touch.
- Enjoy your new, handcrafted computer desk! It’s perfect for organizing your space and tackling your next big project.
Note: This is a simplified version of the original instructions, focusing on key steps and omitting technical details. Remember to consult the full guide for complete safety precautions and measurements.