When you can’t find the perfect desk after hunting for months and months, it’s time to explore the option of building it yourself! With just a little help from my Dad, we built our own DIY butcher block desk.
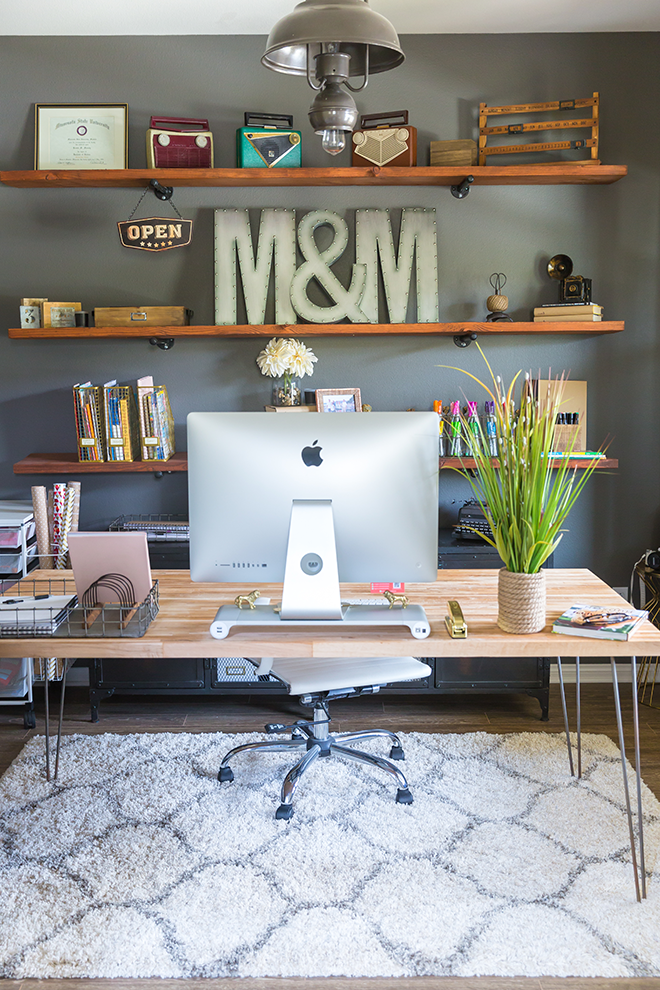
Last week, when I shared new images of my desktop organization & notepads, I hinted at showing you my new desk for the home office. I love to have tons of workspace around me, and the little white desk I had from Target wasn’t cutting it. Not only did I not have much room for my notepads and spreading out my files, but with a 27″ iMac, you need to create some distance between you and the screen!
Since I knew that once we moved into the new house and the bright white theme of my home office was going to go bye-bye, I spent that time keeping an eye out for a large desk that wouldn’t look like a heavy piece of furniture and also not break the bank. I wasn’t happy with anything I was finding.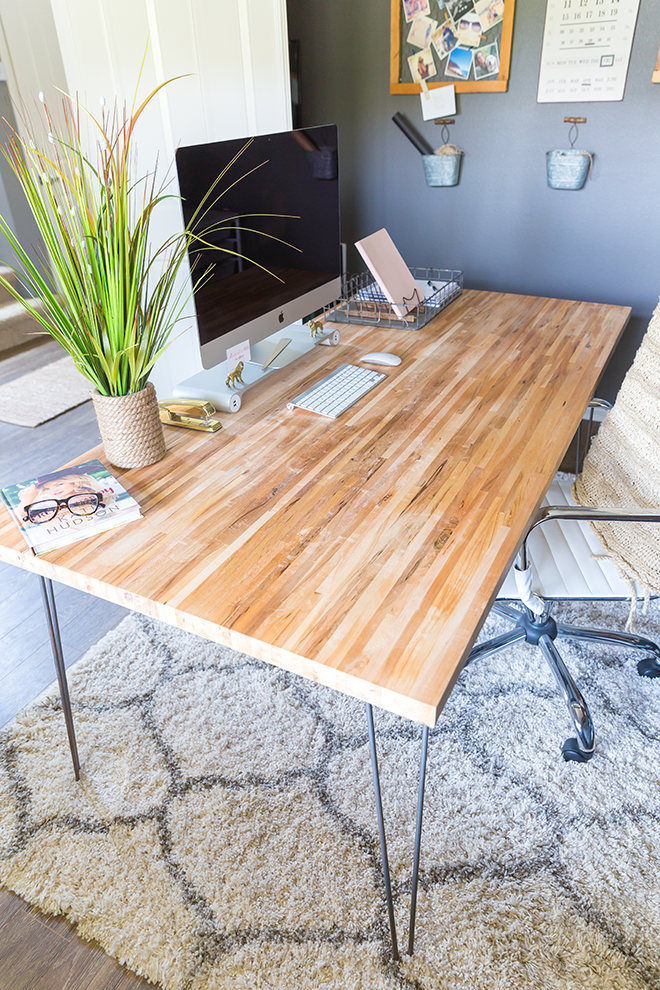
I’ll be honest; I started off with the hairpin legs. I ordered these back in August after finding a great article in one of my magazines showing all the different projects you can use these for. Mine are the 28″ Raw Steel Hairpin Legs. After they arrived, I kept them in the garage until I finally figured out what I would build the top of the desk with.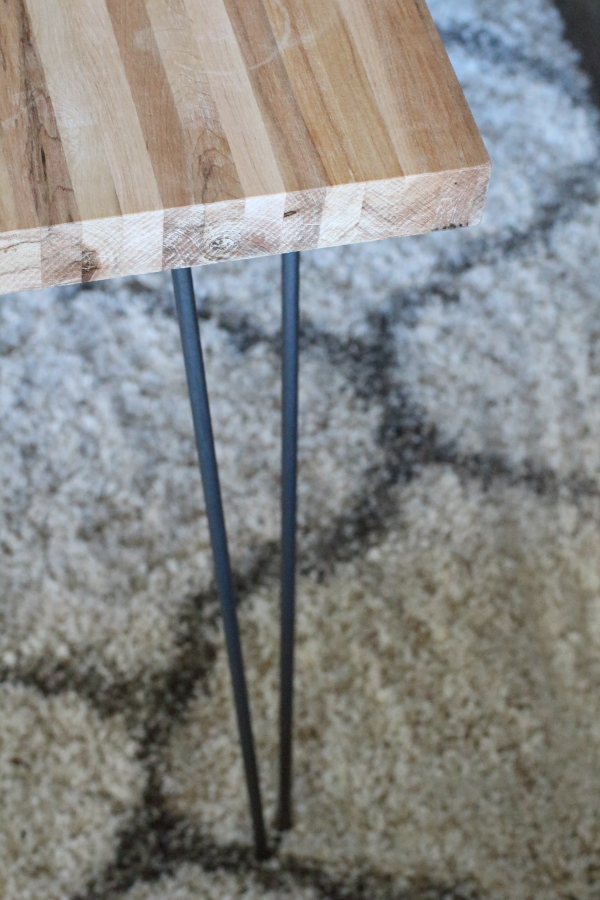
Finally, in December, when my Dad was visiting for a week, I projected my ideal look for the desk, and we spent some time browsing the internet to see what options we had. I wanted the “raw, rustic, industrial” feel and felt a wood top was needed. The problem was we owned minimal carpentry tools and didn’t want to spend a bunch of money on tools just to build this desk. All I wanted to find was one solid piece of wood that was thick, sturdy, and had some character to it. That wasn’t such an easy task.
That’s when the idea of using a butcher block countertop came into play. I knew I loved the look since we had one for an island at a previous rental, and they came in pretty large pieces. With no luck at our local hardware stores (Home Depot, Lowes), we ended up at a Lumber Liquidator. They had what I needed, and it only cost me $240. It was beautiful & I couldn’t wait to get it home.
When I said I wanted a LARGE desktop space, I got exactly that. This desk measures 72″ in length x 36″ wide x 1.5″ in depth. It’s a beast. 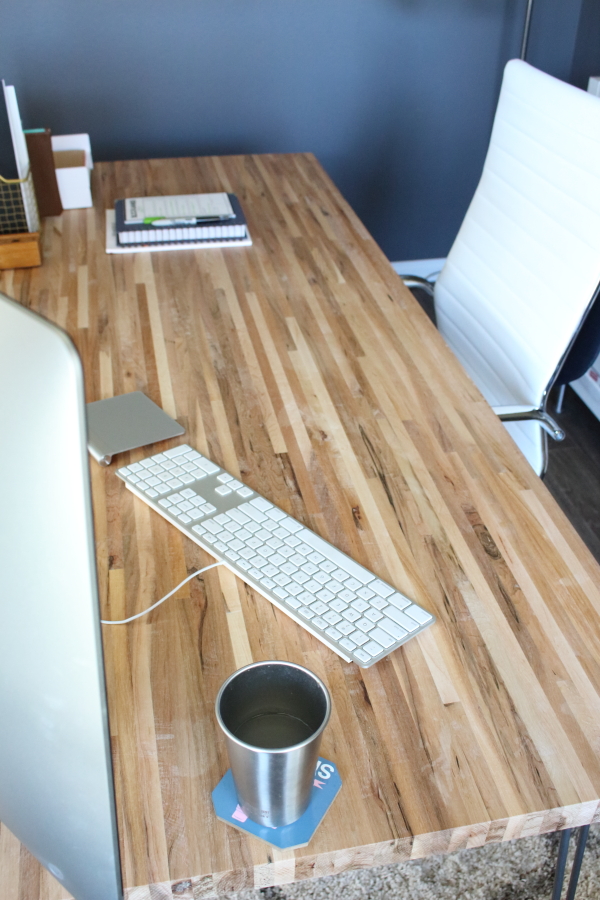
I now have plenty of space for my two computers, organizing accessories, and room to spread out my files when needed. I love it.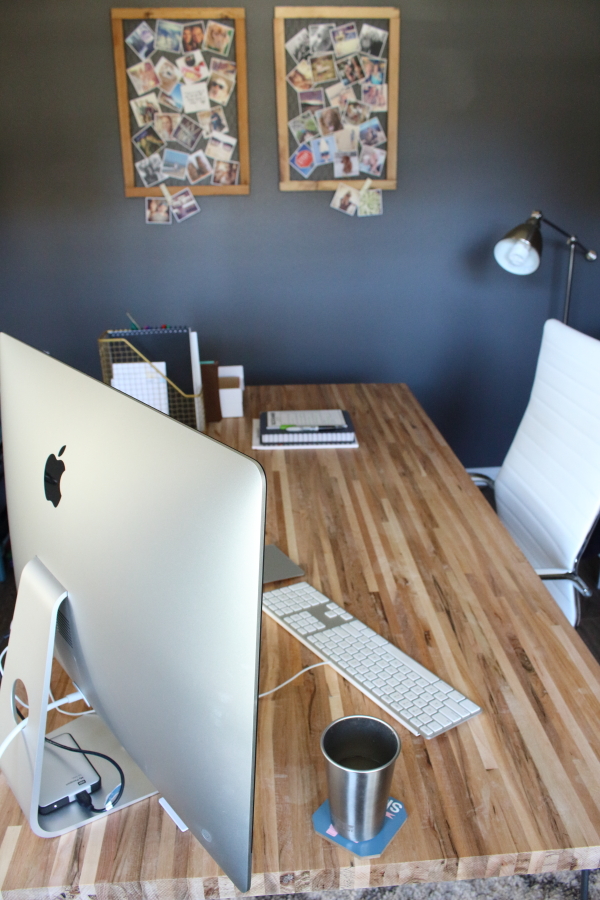
The assembly of this desk was quite easy. It’s done in just five steps —
- Step 1: Apply 1-2 coats of Butcher Block Oil with a terry cloth and let dry completely. (I chose not to oil the bottom side of the desk since it would never be seen.)
- Step 2: Lay the top side facing down and measure where you want to place the four legs. Carefully measure that each of them is in the exact spot.
- Step 3: Pre-drill a pilot hole to keep the wood from spitting.
- Step 4: Insert a lag screw into each hole and tighten it using a ratchet. (a lag screw helps ensure that the legs stay securely fastened)
- Step 5: With the help of another person, carefully flip the desk over, and voila, you have a new desk!
For less than $350, I created a one-of-a-kind desk that perfectly fits my needs and my newly designed office space. 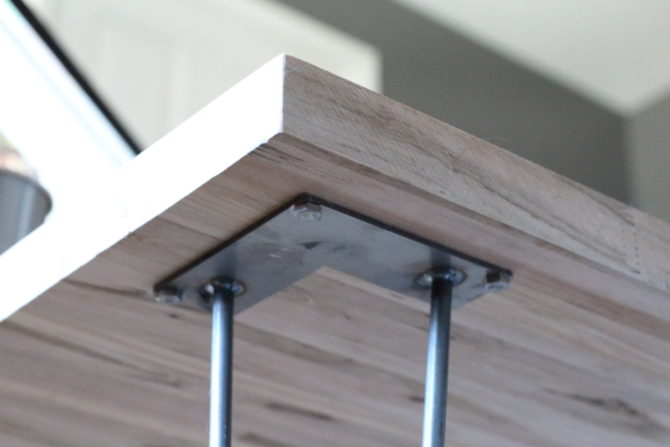 With just a few details remaining, I should complete my home office within the next few months!