Yay! I am so incredibly excited to share today’s post with you! I have been working hard on this piece and am so happy with how it turned out.
If you read my “Tour Through Blogland” post, you learn that we are living with my in-laws while we save up to buy a house. Due to the limited space, we have had to get creative with storage and organization. A few months ago, I realized I needed a desktop to keep my calendar and have a workspace and a place to get organized. We also needed some extra storage and a spot for a few books.
We have a little nook next to the couch and the closet in our room that I knew I could squeeze a dresser or bookcase into. I have the 3rd idea in mind for what I want to use this space for, but I will reveal that later.
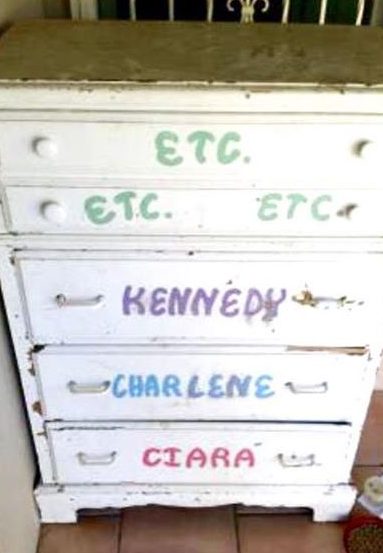
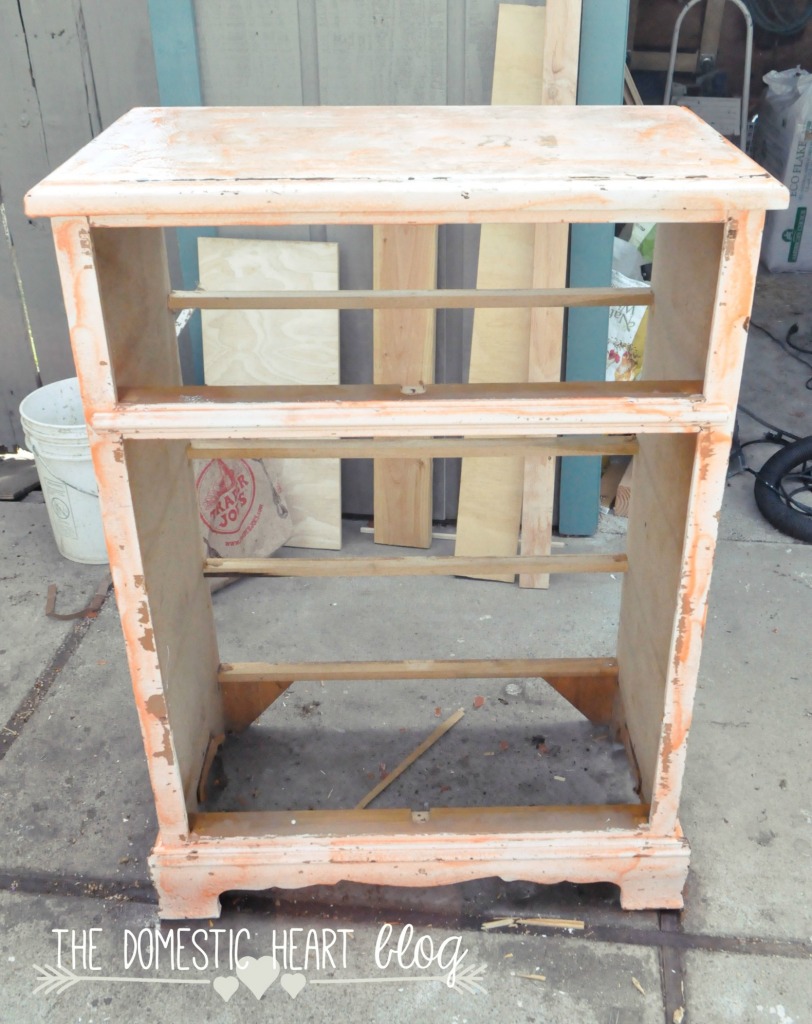
My budget for the new piece was $15. I spent a few weeks scouring craigslist and the FB yard sale groups for a dresser with the right dimensions, qualities, and price. Then I found this thing listed for $10. She was pretty homely, but she fit the bill. The photo is from the sale ad.
Now the drawers in this thing were shot. The bottoms were made of thin, cheap particle boards and falling out. And, of course, the drawer slides were ancient and weren’t working either. That was actually perfect because I wanted to make this into more of a bookcase or “basket dresser” with open storage and didn’t need the drawers.
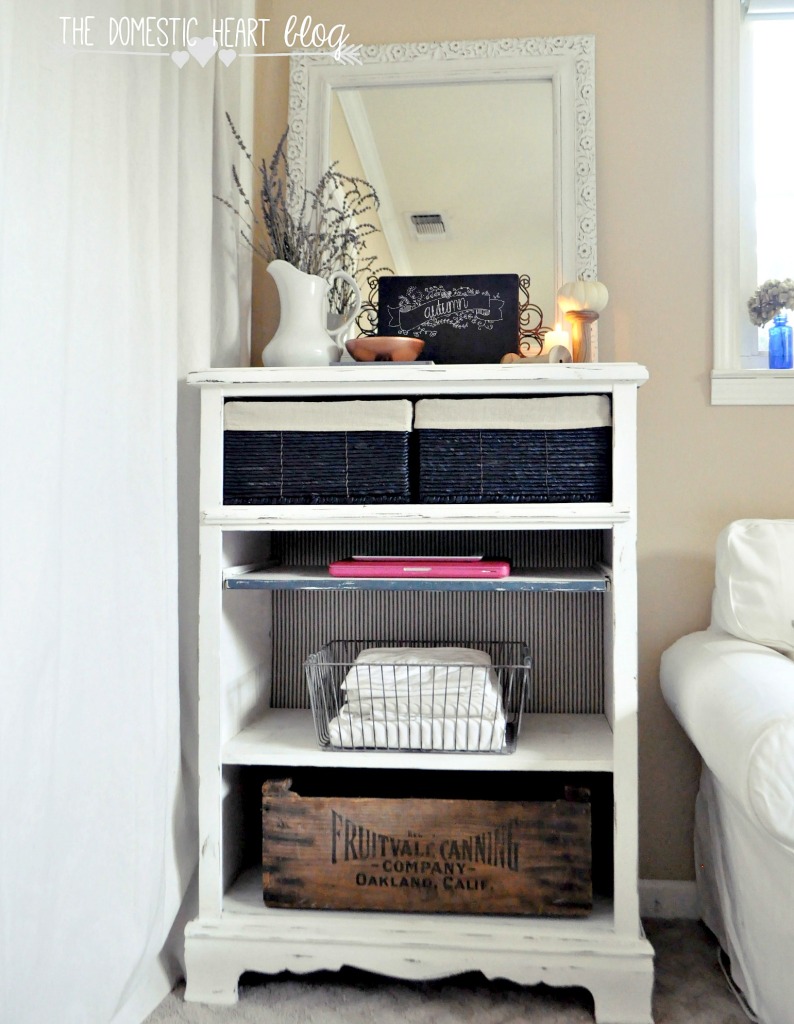
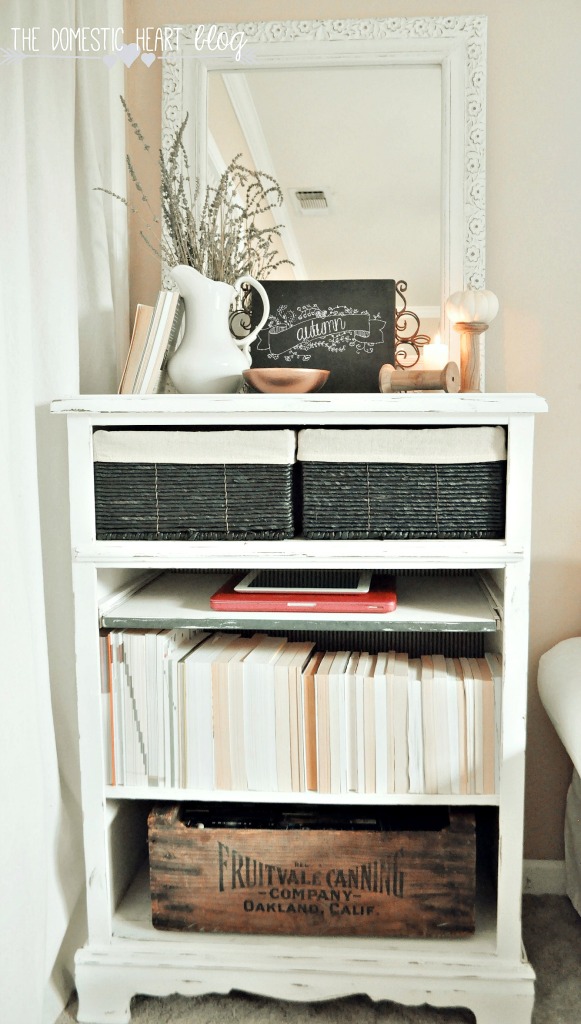
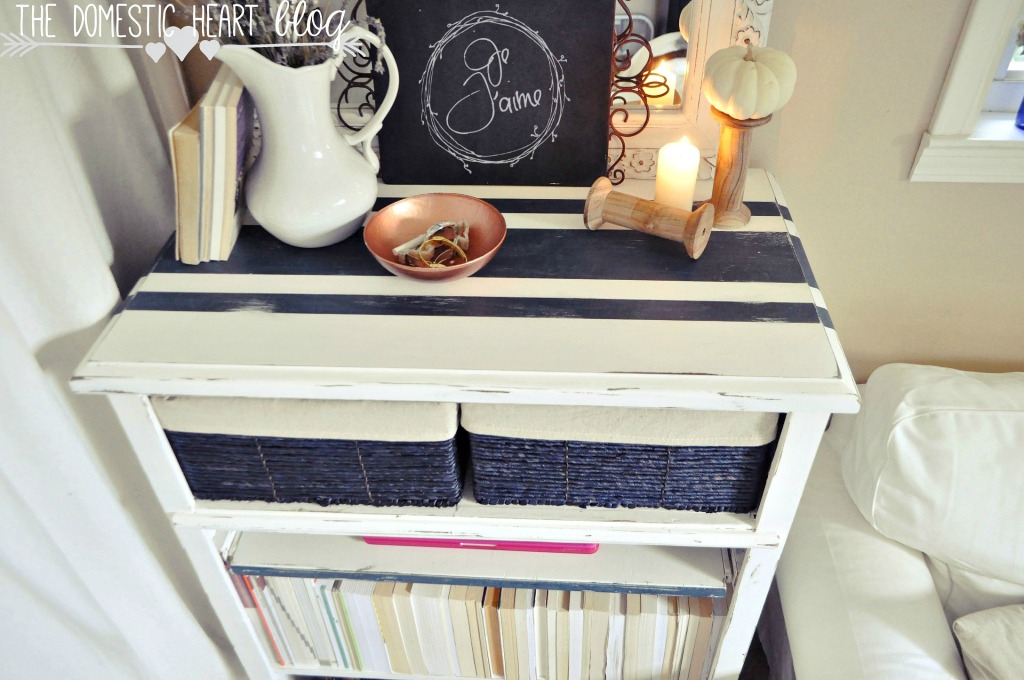
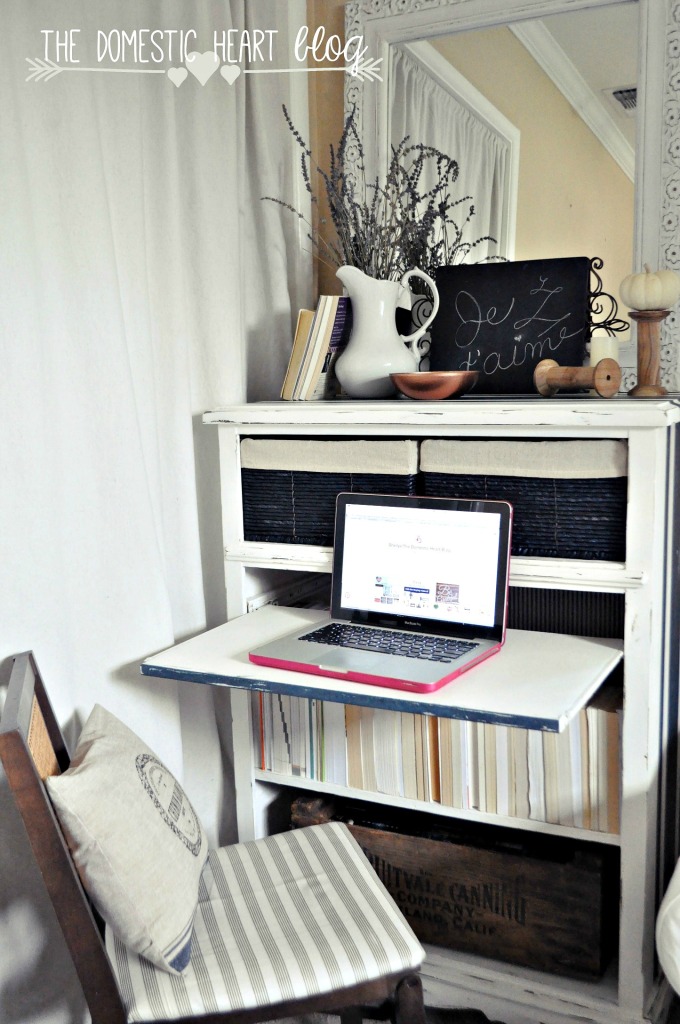
I love how the open storage allows you to use cute baskets, crates, vintage suitcases, and the like to simultaneously decorate and function as storage.
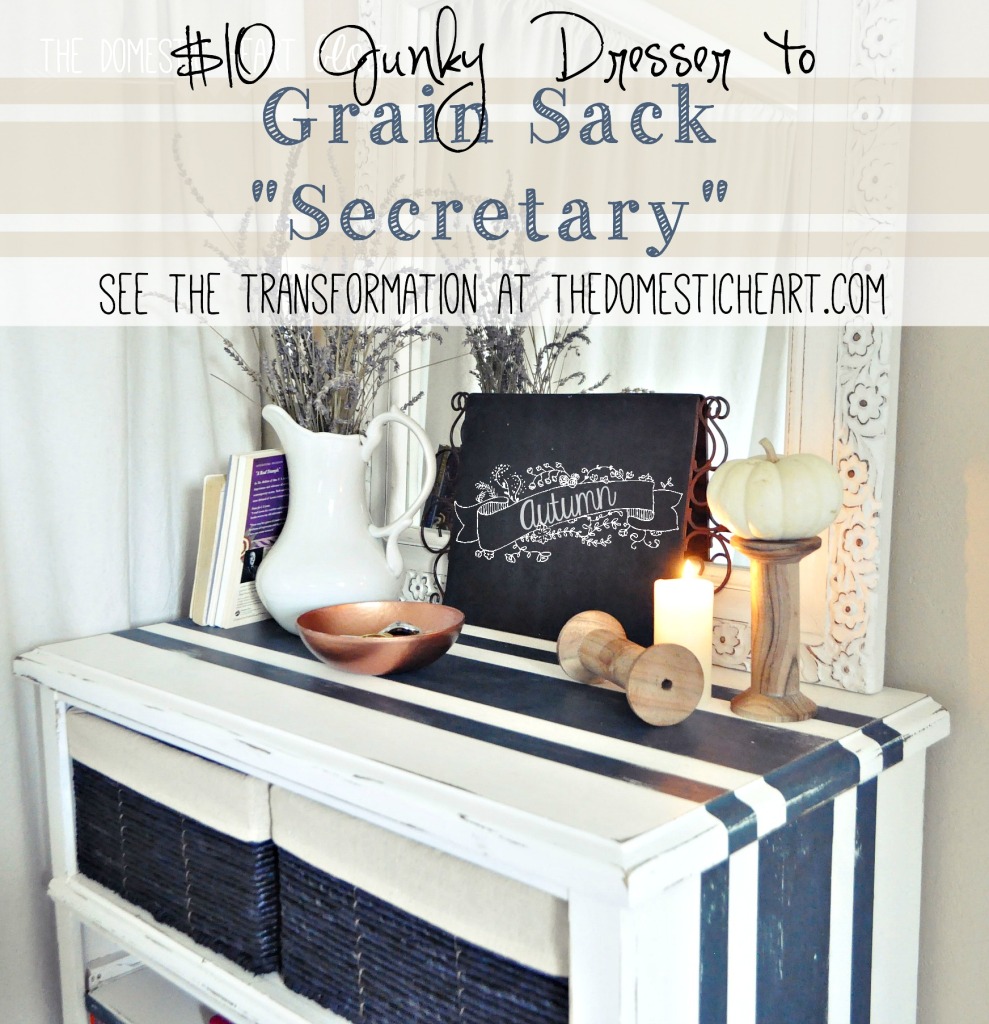
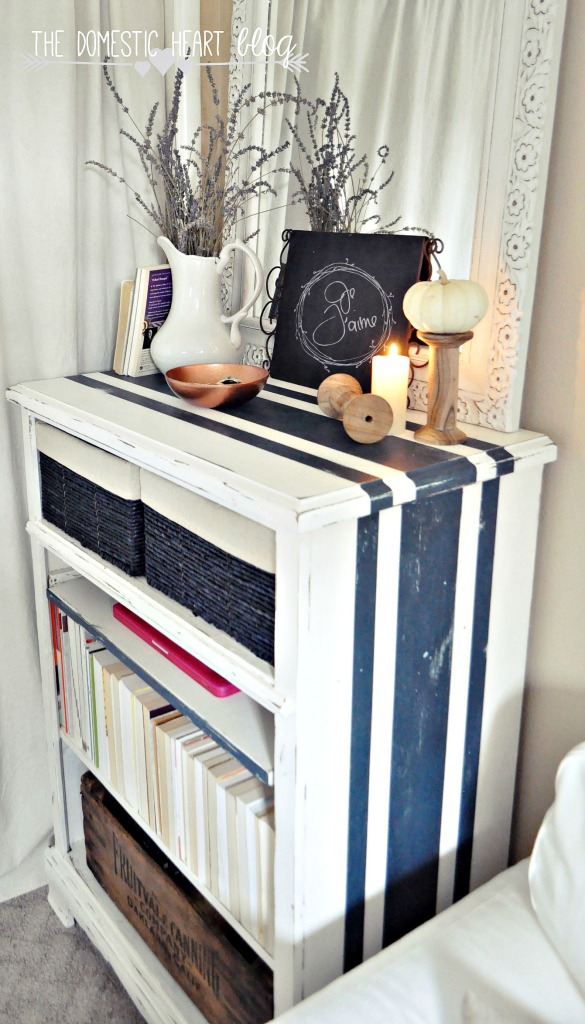
HERE’S HOW I TRANSFORMED MY JUNKY $10 DRESSER INTO A GORGEOUS “SECRETARY” WITH SHELVES FOR OPEN STORAGE – ON A TIGHT BUDGET!
First, I took the thing apart. I removed the drawers, removed the back (made of thin particle board again) by prying off the staples, and took out the drawer slides by unscrewing them and then giving them a few sound taps with my hammer.
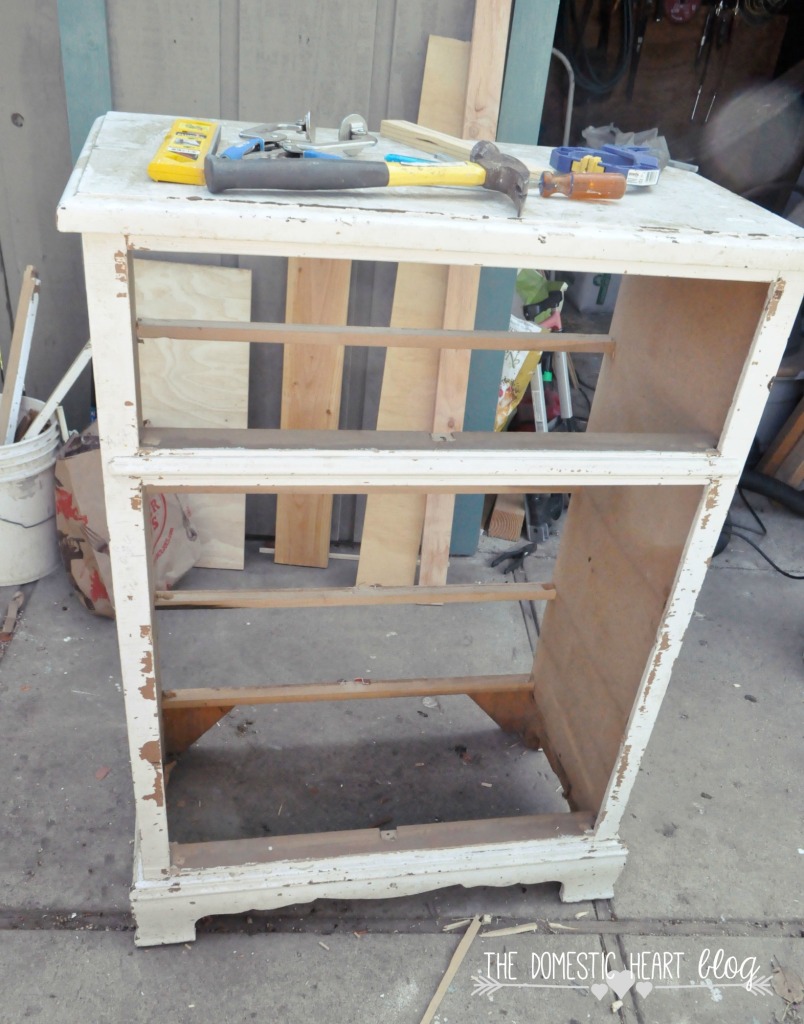
Then I used a hand saw to cut through each crossbar at the back and remove them. For the front trim, I only kept the bottom piece in place. I removed that top trim with the detailing and later reattached it where I wanted it.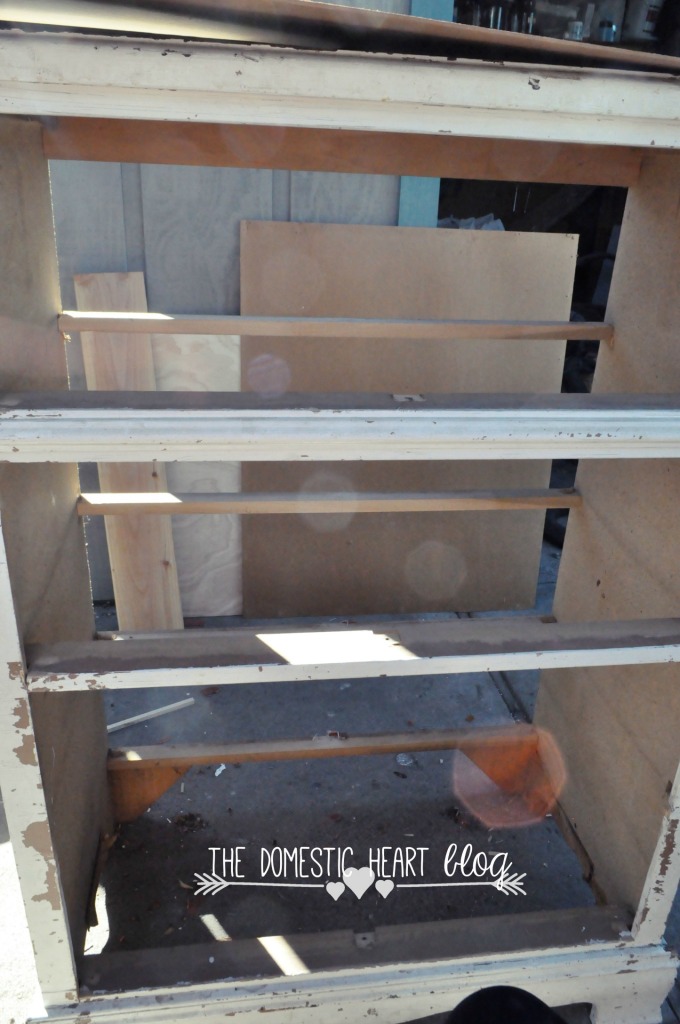
Next, I had to strip the paint. I don’t normally strip old paint before I paint a piece, but in this case, it was necessary due to the six layers of paint that were already in bad shape. I wanted a smooth finish, so I started fresh by stripping all the old layers of paint using Citri-strip. Citri-Strip is biodegradable and safer to use than other paint strippers. It works great, too!
After scraping off the six layers of paint, I let it dry out overnight. The next day I sanded it down really well with my Makita Random Orbit Sander – I love that thing!
Now comes the tricky part. I knew I wanted to put in some drawer slides and have a desktop I could slide out to work on, then push in to get it out of the way, so first; I determined how high I wanted that and marked it.
I knew I would need one shelf on the bottom, tucked in behind the existing trim. For the shelves above and below the desktop, I used two sets of storage baskets to decide the location of the shelves. Once I had the shelves’ location, I measured very carefully to get the size I needed to have the shelves cut to.
Luckily, I had just enough scrap plywood to make three shelves and the desktop. I just took the scraps to the orange store, and they made the rip cuts on their saw. I also had some drawer slides left over from when we ripped out our old bathroom vanity during our main bath remodel (still about % five unfinished).
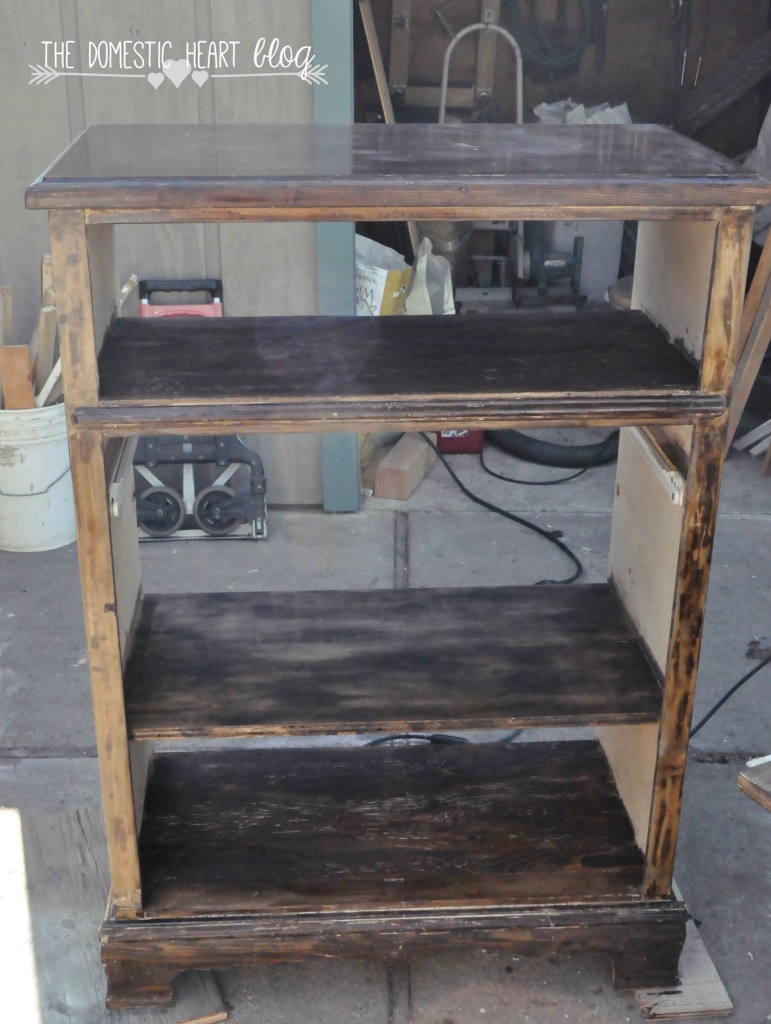
To install the shelves, I simply drilled pocket holes on the ends using my Kreg jig and then screwed them into the sides of the dresser. Easy, and it had the added benefit of reinforcing the dresser since I took out the cross bars.
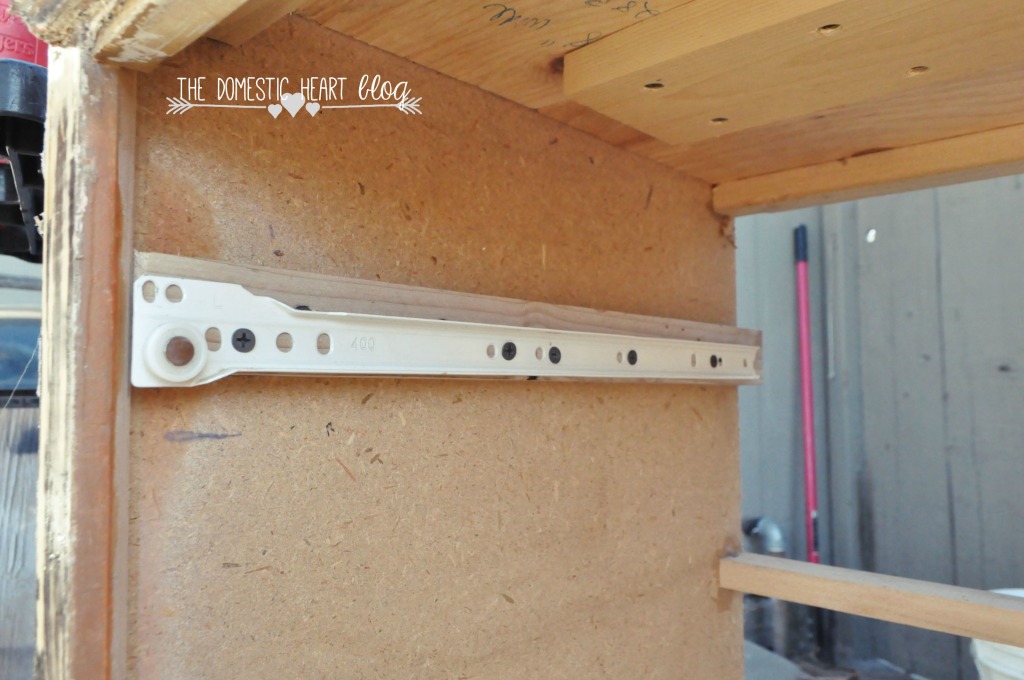
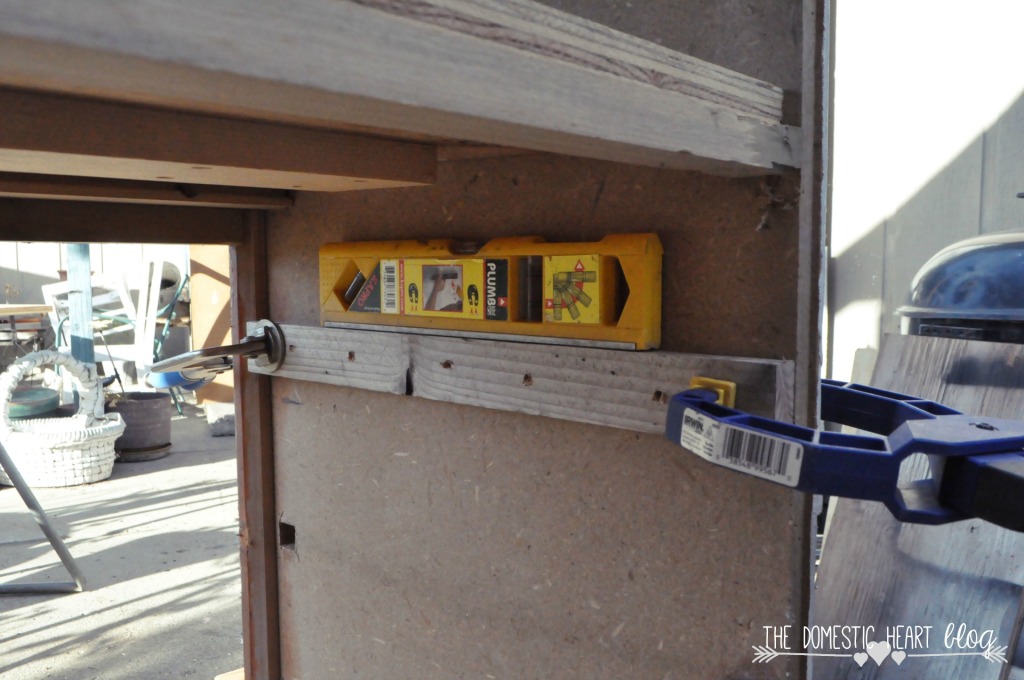
Installing the drawer slides was a matter of screwing in a 3/4 thick board to attach the slides to and then attaching the slides. The biggest challenge with this is getting the two sides perfectly level. Otherwise, they won’t slide properly.
Now the fun part – the finishing!
I wanted a distressed white finish, so I stained the whole thing with Minwax Dark Walnut before painting.
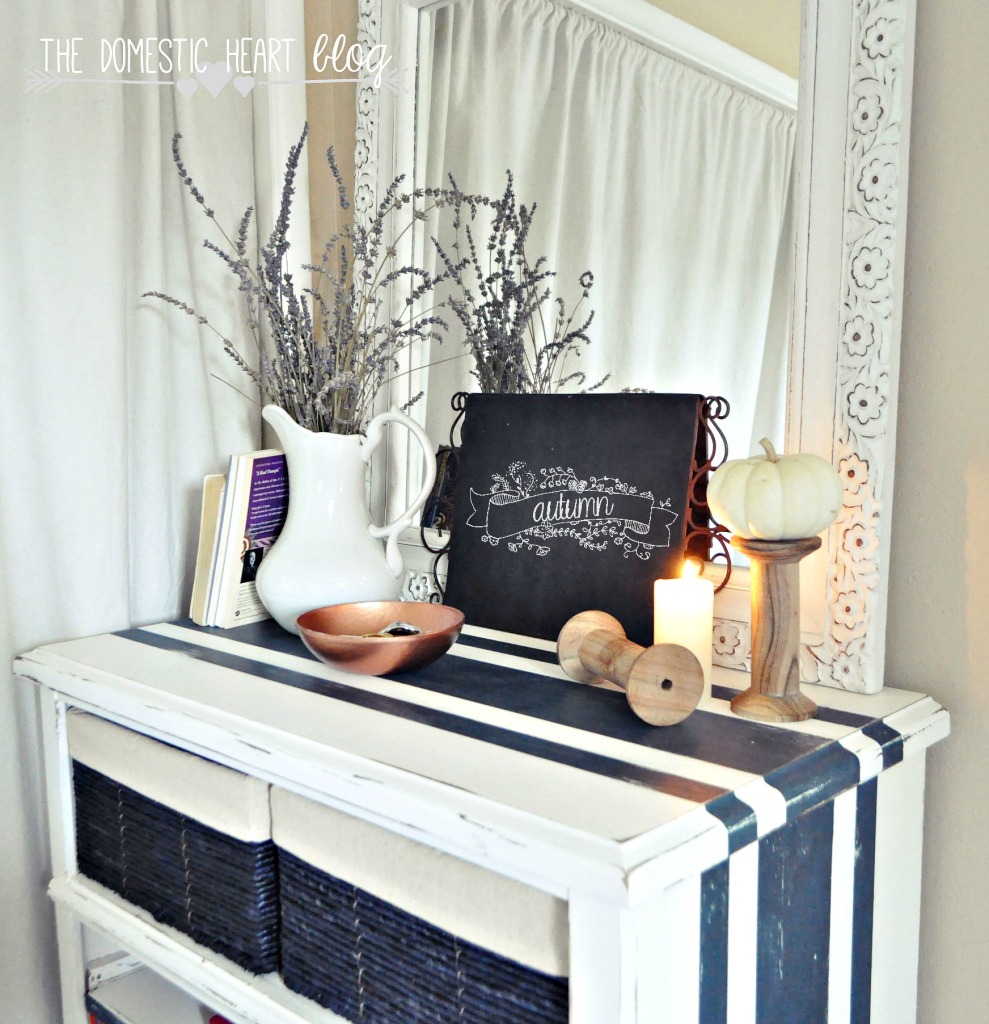
I’ve wanted to try Devine Color paint, which is sold at Target, so I used their white color, “Lightning,” to make my homemade chalk paint. It took three coats to cover completely. I sanded the surface smoothly before painting on the stripes. For the grain sack stripes, I used Miss Mustard Seed Milk Paint in color Artissimo. The color is gorgeous, the perfect navy blue, and exactly what I was looking for. I will repaint our actual dresser in this color at some point.
To tape off the dresser, I used FrogTape. I usually use Scotch Blue, but I’ve had quite a few fails with that, and I have heard good things about FrogTape. It worked well, so I would recommend it if you want nice crisp paint lines with {almost} no bleeding. After painting just one coat of the Artissimo and letting it dry, I sanded and distressed it with my sander. Lastly, I applied two coats of Minwax Finishing Wax to protect the finish.
And that’s it! It took about four days from start to finish, working on it when I could – usually just a couple of hours a day.
IF YOU ARE ON A TIGHT BUDGET AND NEED TO CREATE MULTIFUNCTIONAL STORAGE, THIS IS A GREAT WAY TO DO! PLUS, AS WITH ALL THINGS DIY, YOU ENJOY IT MORE BECAUSE OF THE HARD WORK YOU PUT INTO IT!
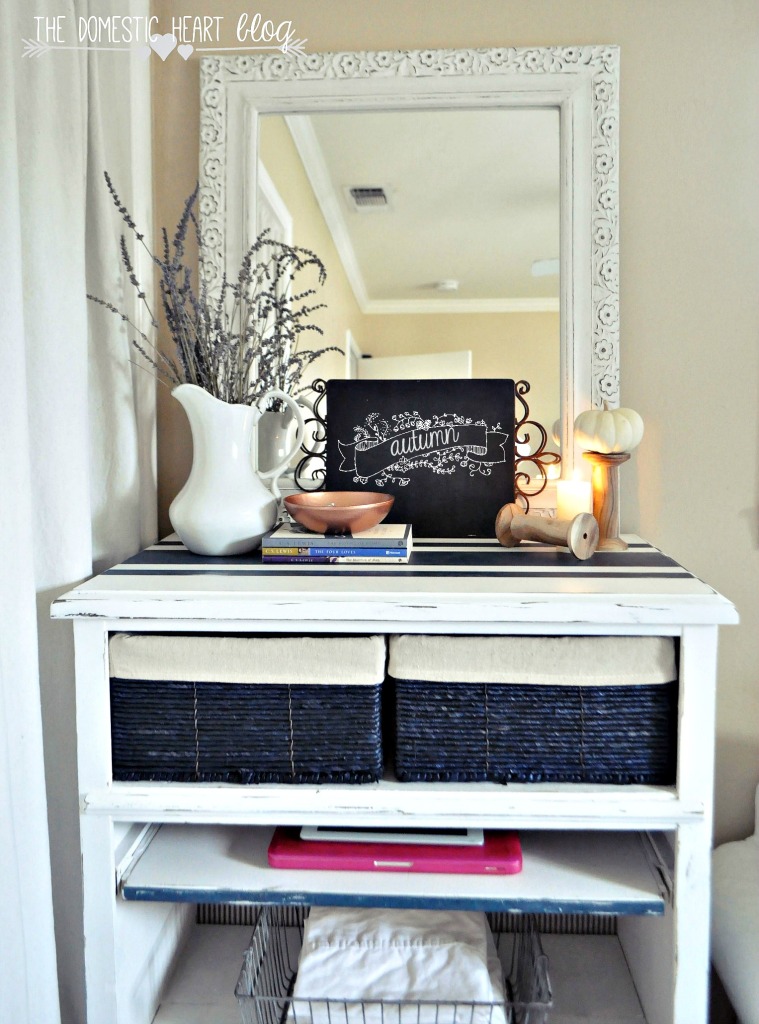
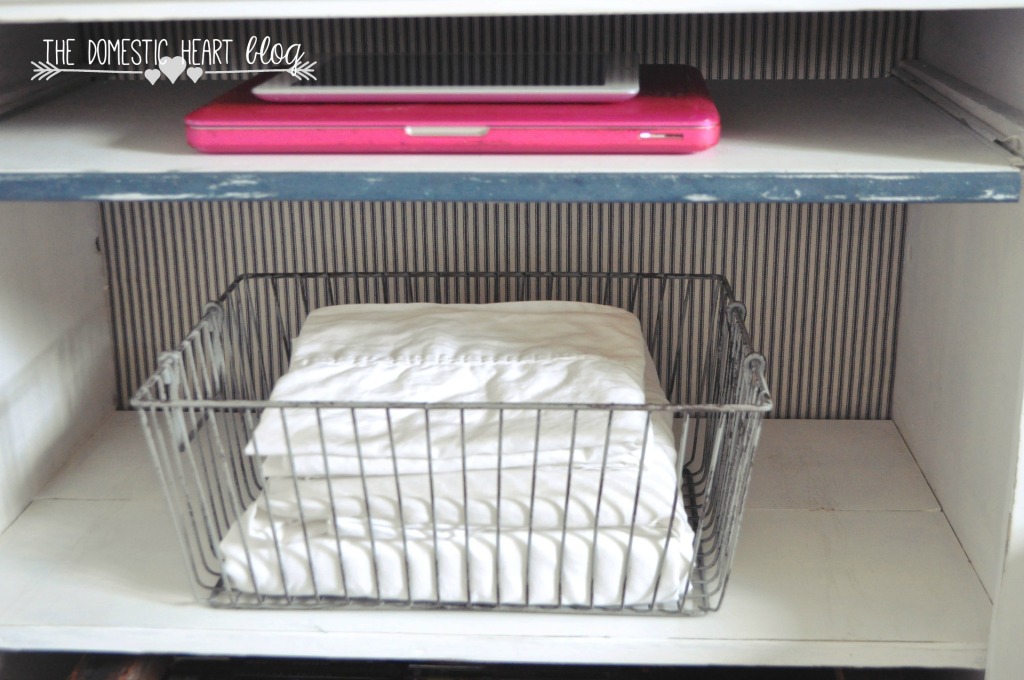
I covered the piece of particle board that made up the back of the dresser with some ticking stripe fabric using my hot glue gun.
The slide-out desktop and a basket holding linen.

The folding chair is antique and made of solid wood. It’s in really great condition, and I got it for a song. Yippee! This post shows you how I made the grain sack pillow covers.
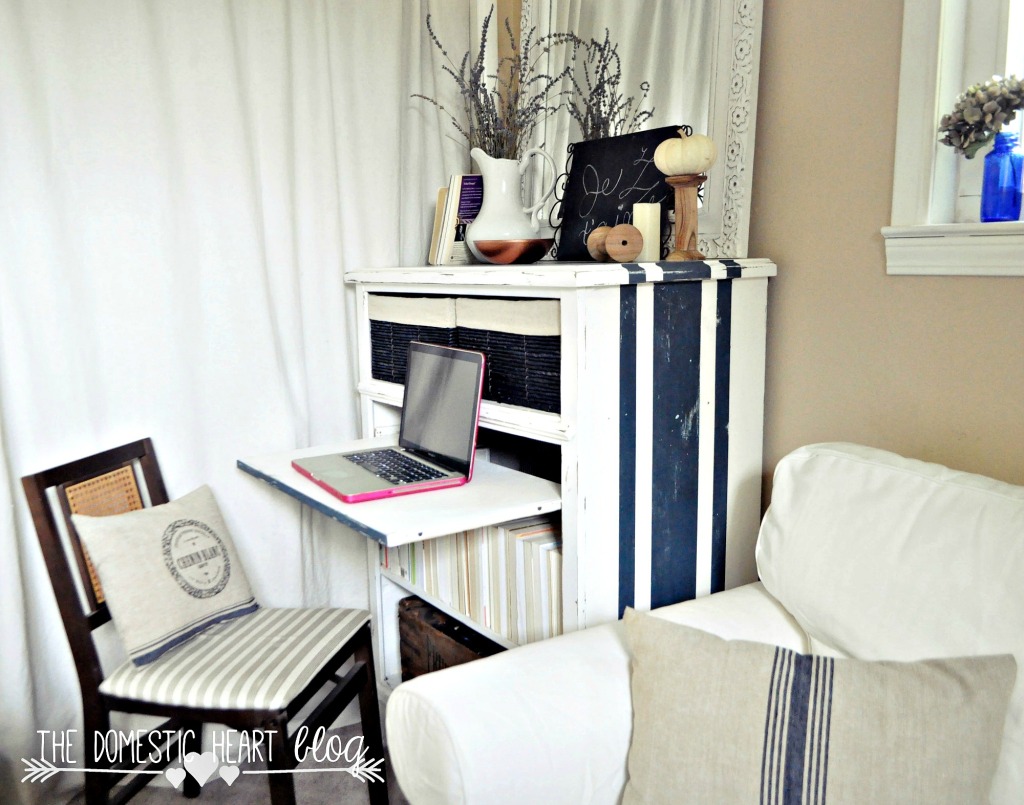
The chair folds and fits perfectly into that little space between the “secretary” and the couch.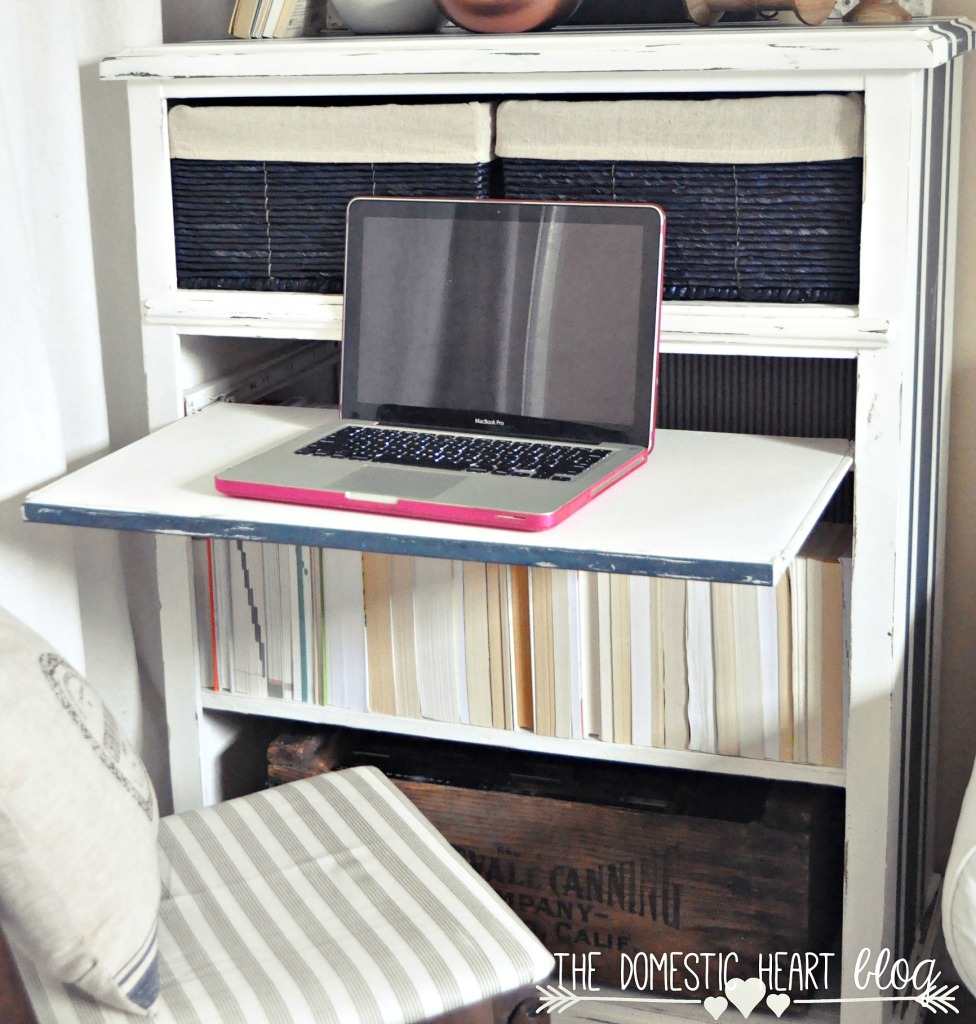
I love her so far! She works great and has a ton of storage.
What do you think? Isn’t she a beauty? Have you ever repurposed a dresser? What did you turn it into?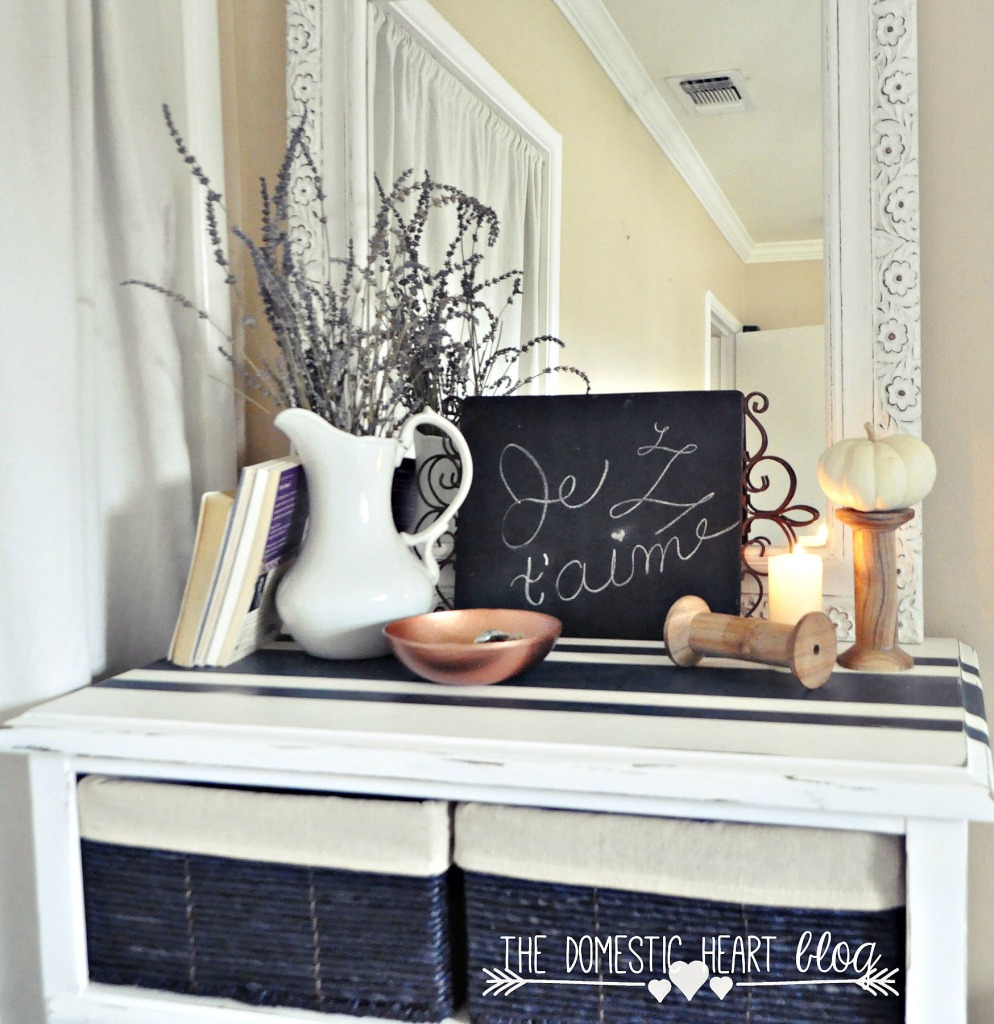
From my {domestic} ♥ to yours,
Shelly