It’s been said that the kitchen is the essential room in the house. Even if there is limited space in the kitchen, there shouldn’t be any restrictions placed on how you can use it.
If the room cannot hold an adequate amount of space, selecting to create a kitchen along only one wall is a fantastic solution. Incorporating a kitchen island into the space designated for cooking is yet another ingenious solution that can help you make the most of the available space. Next, this is ten small kitchens with one wall island idea to help you declutter your cooking clutter but also your mind. As always, Simphome presents you with the list.
10 Small Kitchens with One Wall with Island Video:
10. Bring Rolling Kitchen Island to Provide Flexible Moving Space
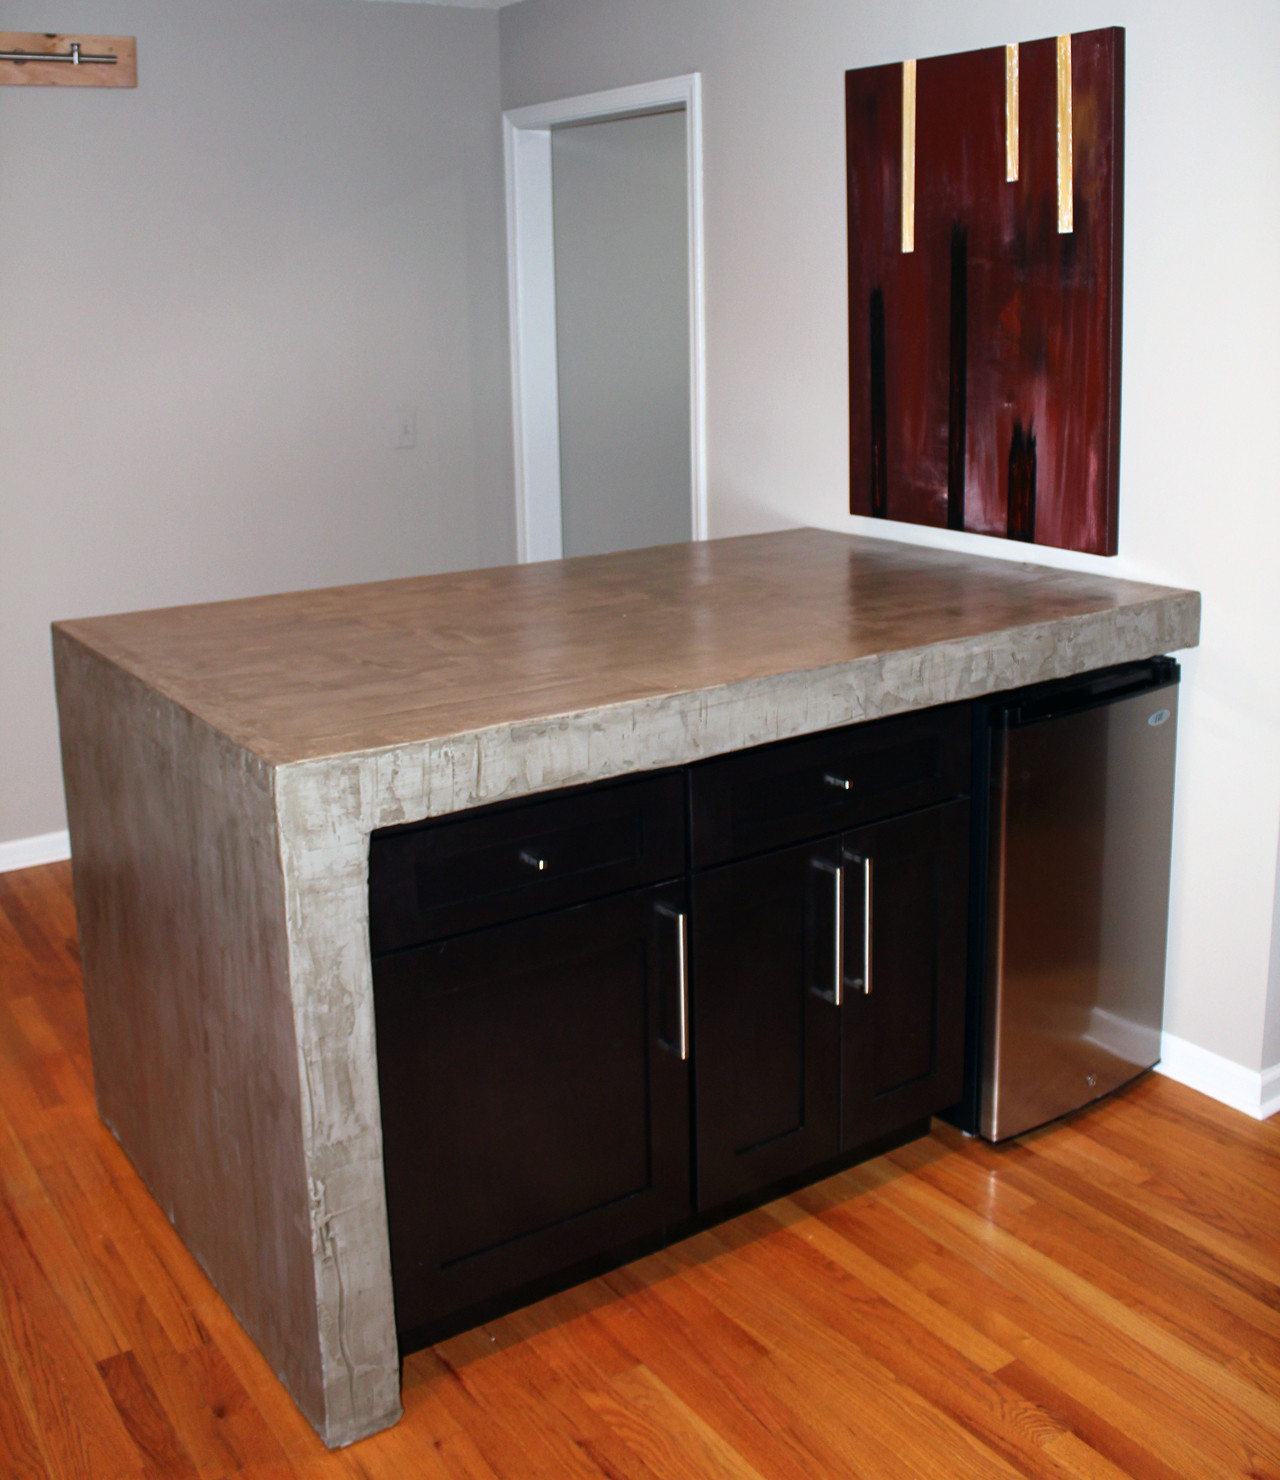 While a concrete island in a convenient kitchen nook may seem like a boon at first, it usually requires some work to become fully usable. The most likely answer is to construct a movable kitchen island that you can hide beneath the concrete table.
To create your own rolling island, you can build the frame using plywood. You will need a 2×4 frame connected with 2.5″ screws. After the frame is ready, install plywood sheets with 1.25″ screws. You will earn a more satisfactory finish if you cover the plywood using Ardex Feather Finish as the coat.
Consider complementing the island with kitchen cabinets to store your belongings. You can assemble the cabinets using cabinet claws and installation screws. Last, seal the island using a mineral oil coat.
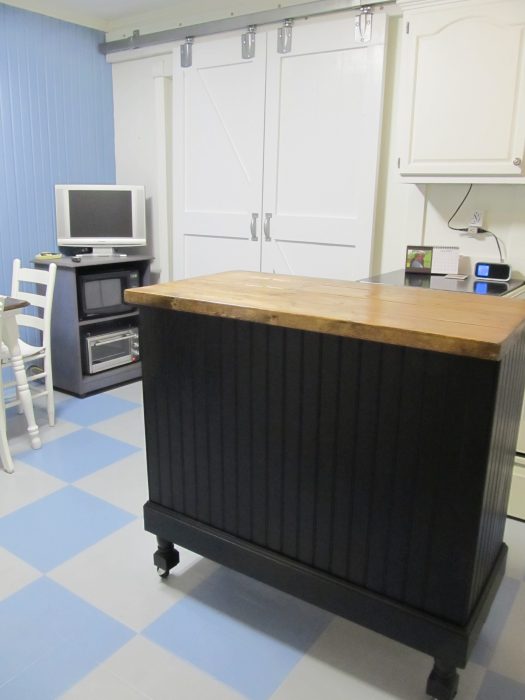
9. A Kitchen Island transformation idea with Sentiment touches
 Redesigning a cramped, one-wall kitchen can be an emotional ordeal for those with a soft spot for history. In this case, it will be a fun task to design your own kitchen island to fit into the cramped kitchen nook.
To ignite the awkward kitchen island, you must prepare the primary tools, such as a table saw, chop saw, and nail gun.
First, determine the island’s ideal size using measuring and painter’s tape. Then, to cut the expense, you can hunt for used base kitchen cabinets. You can add a special space for your microwave for the second cabinet. To attach the cabinets into one, you should prepare (4)- 2″ finish screws. Then, insert a ½” piece of plywood between the back part of the two cabinets.
For the siding, cut planks to the length-wise size. Later, you can apply nails and attach the siding using a small brad nail tool. Around the bottom and edges of the cabinet, attach a frame using a 1×6 board and a 1×4 board. Finally, use Benjamin Moore Kendall Charcoal for the classic finish.
8. Kitchen Island Redo for only $50
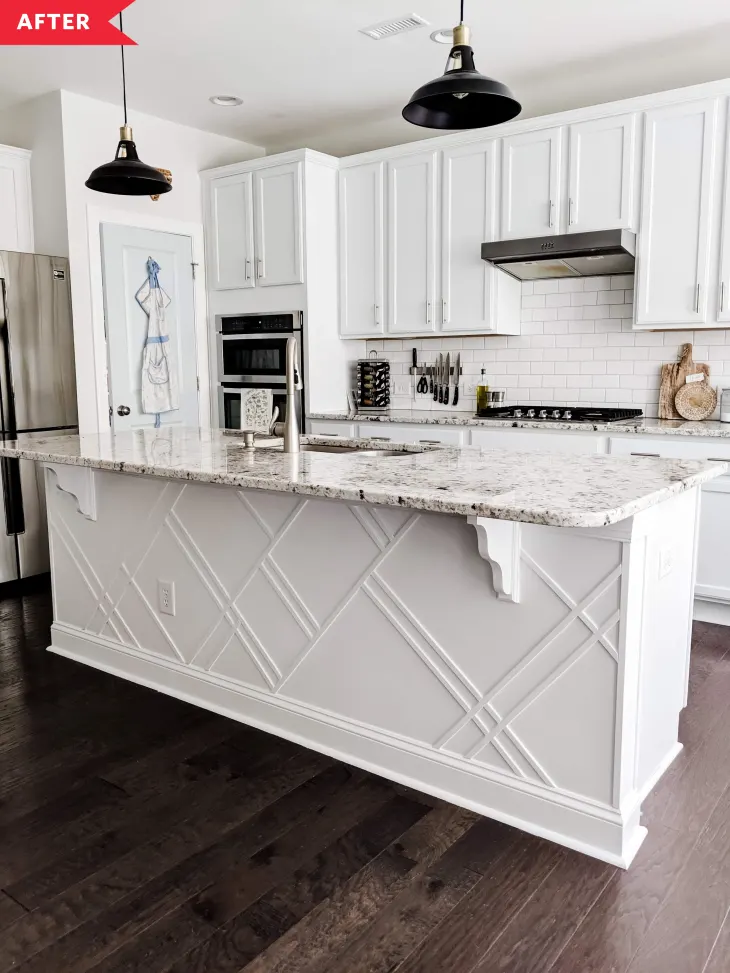 Spending a great deal of money to take a complete island makeover to enhance your kitchen’s interior is unnecessary. Simply accentuates it with a happy design, as the example shows, and you’ll make a new kitchen difference.
First, we need to pick the pattern and sketch it using wood screen molding. To make the pattern into the surface, we will need to glue it with liquid nails, apply caulk to take care of the gaps, and re-paint the rest of the surface in your favorite color. You just need to spare less than a whole day and spend only $50, which makes excellent sense for the final impressive look.
7. Build a Pantry Cabinet like a Pro
 A professionally constructed pantry cabinet is within reach of any DIY novice. The first thing to consider is the balance of the furniture you have in each kitchen corner. Building a floor-to-ceiling cabinet while the rest are low will be awkward.
It is best to suit the height of the cabinets to the door. One wise piece of advice is to consider the dimensions of the door handles while determining the cabinet depth so that they can close and open perfectly.
Start preparing the cut pieces and drill pocket holes in the back part and shelf pieces. You can use the pocket holes on the long edge with a clean cut.
Rough spots or splinters can be removed by sanding them, and applying edge banding is necessary to make a professional finish. We can start assembling the cabinets by attaching the top and bottom shelves to the back side.
Next, we can position the other shelves to meet the cabinet doors and attach them to the back using 1-¼” pocket hole screws. To secure the sides, consider the position of the edge banding and use corner clamps underneath to hold the shelves. After clamping them to the face and screwing the other side, the cabinet door squares are ready to line up with the edges of the pantry.
The last finishing steps will be painting them with primer coats and paint coats, installing the pantry cabinet to the settled place, and attaching the cabinet doors.
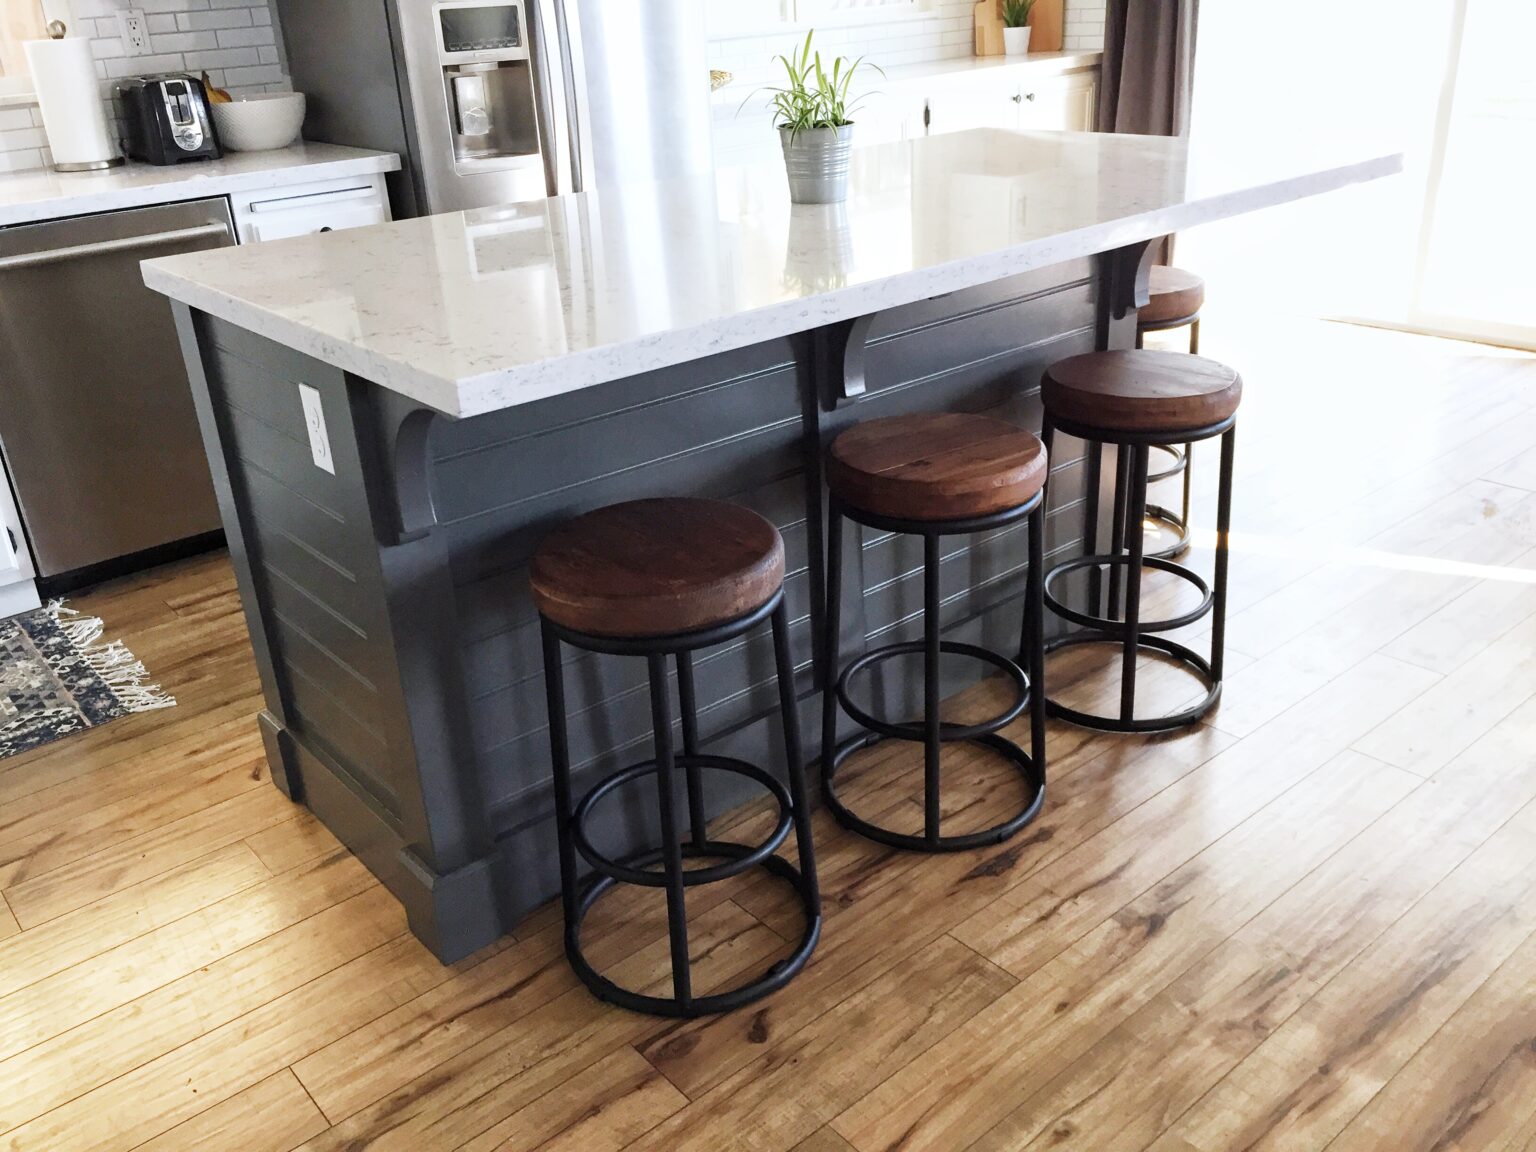
6. Double-Purposed Kitchen Island and Seating
When cared for properly, an integrated bench and banquet seating can be the best alternative for the conventional breakfast bar style. Instead of bringing in the vintage retro accent, booth seating can be set up as low in level. That way, the island’s breakfast nook can appear stylish and luxurious yet still comfortable. You just need to add a dining table to complete the mission.
5. Turn a Desk into a Kitchen Island
 Turning an old and unused desk into a kitchen island is a prospective idea. Adding certain elements to the desk makes a multipurpose island ready to accommodate your cooking show.
To remove the ugly surface, use Gorilla Wood Glue to attach some luan. To escalate the mobility, add wheels on the casters. Trimming here and there is permitted if necessary.
The next step is painting the surfaces and drawers with a primer coat. Then, you can opt for various paint coats according to your preference. Glidden Heather Gray mixed with a tint of Glidden oops gray is our best recommendation for the project.
4. Slimline Island Choices to Accommodate the Walkways
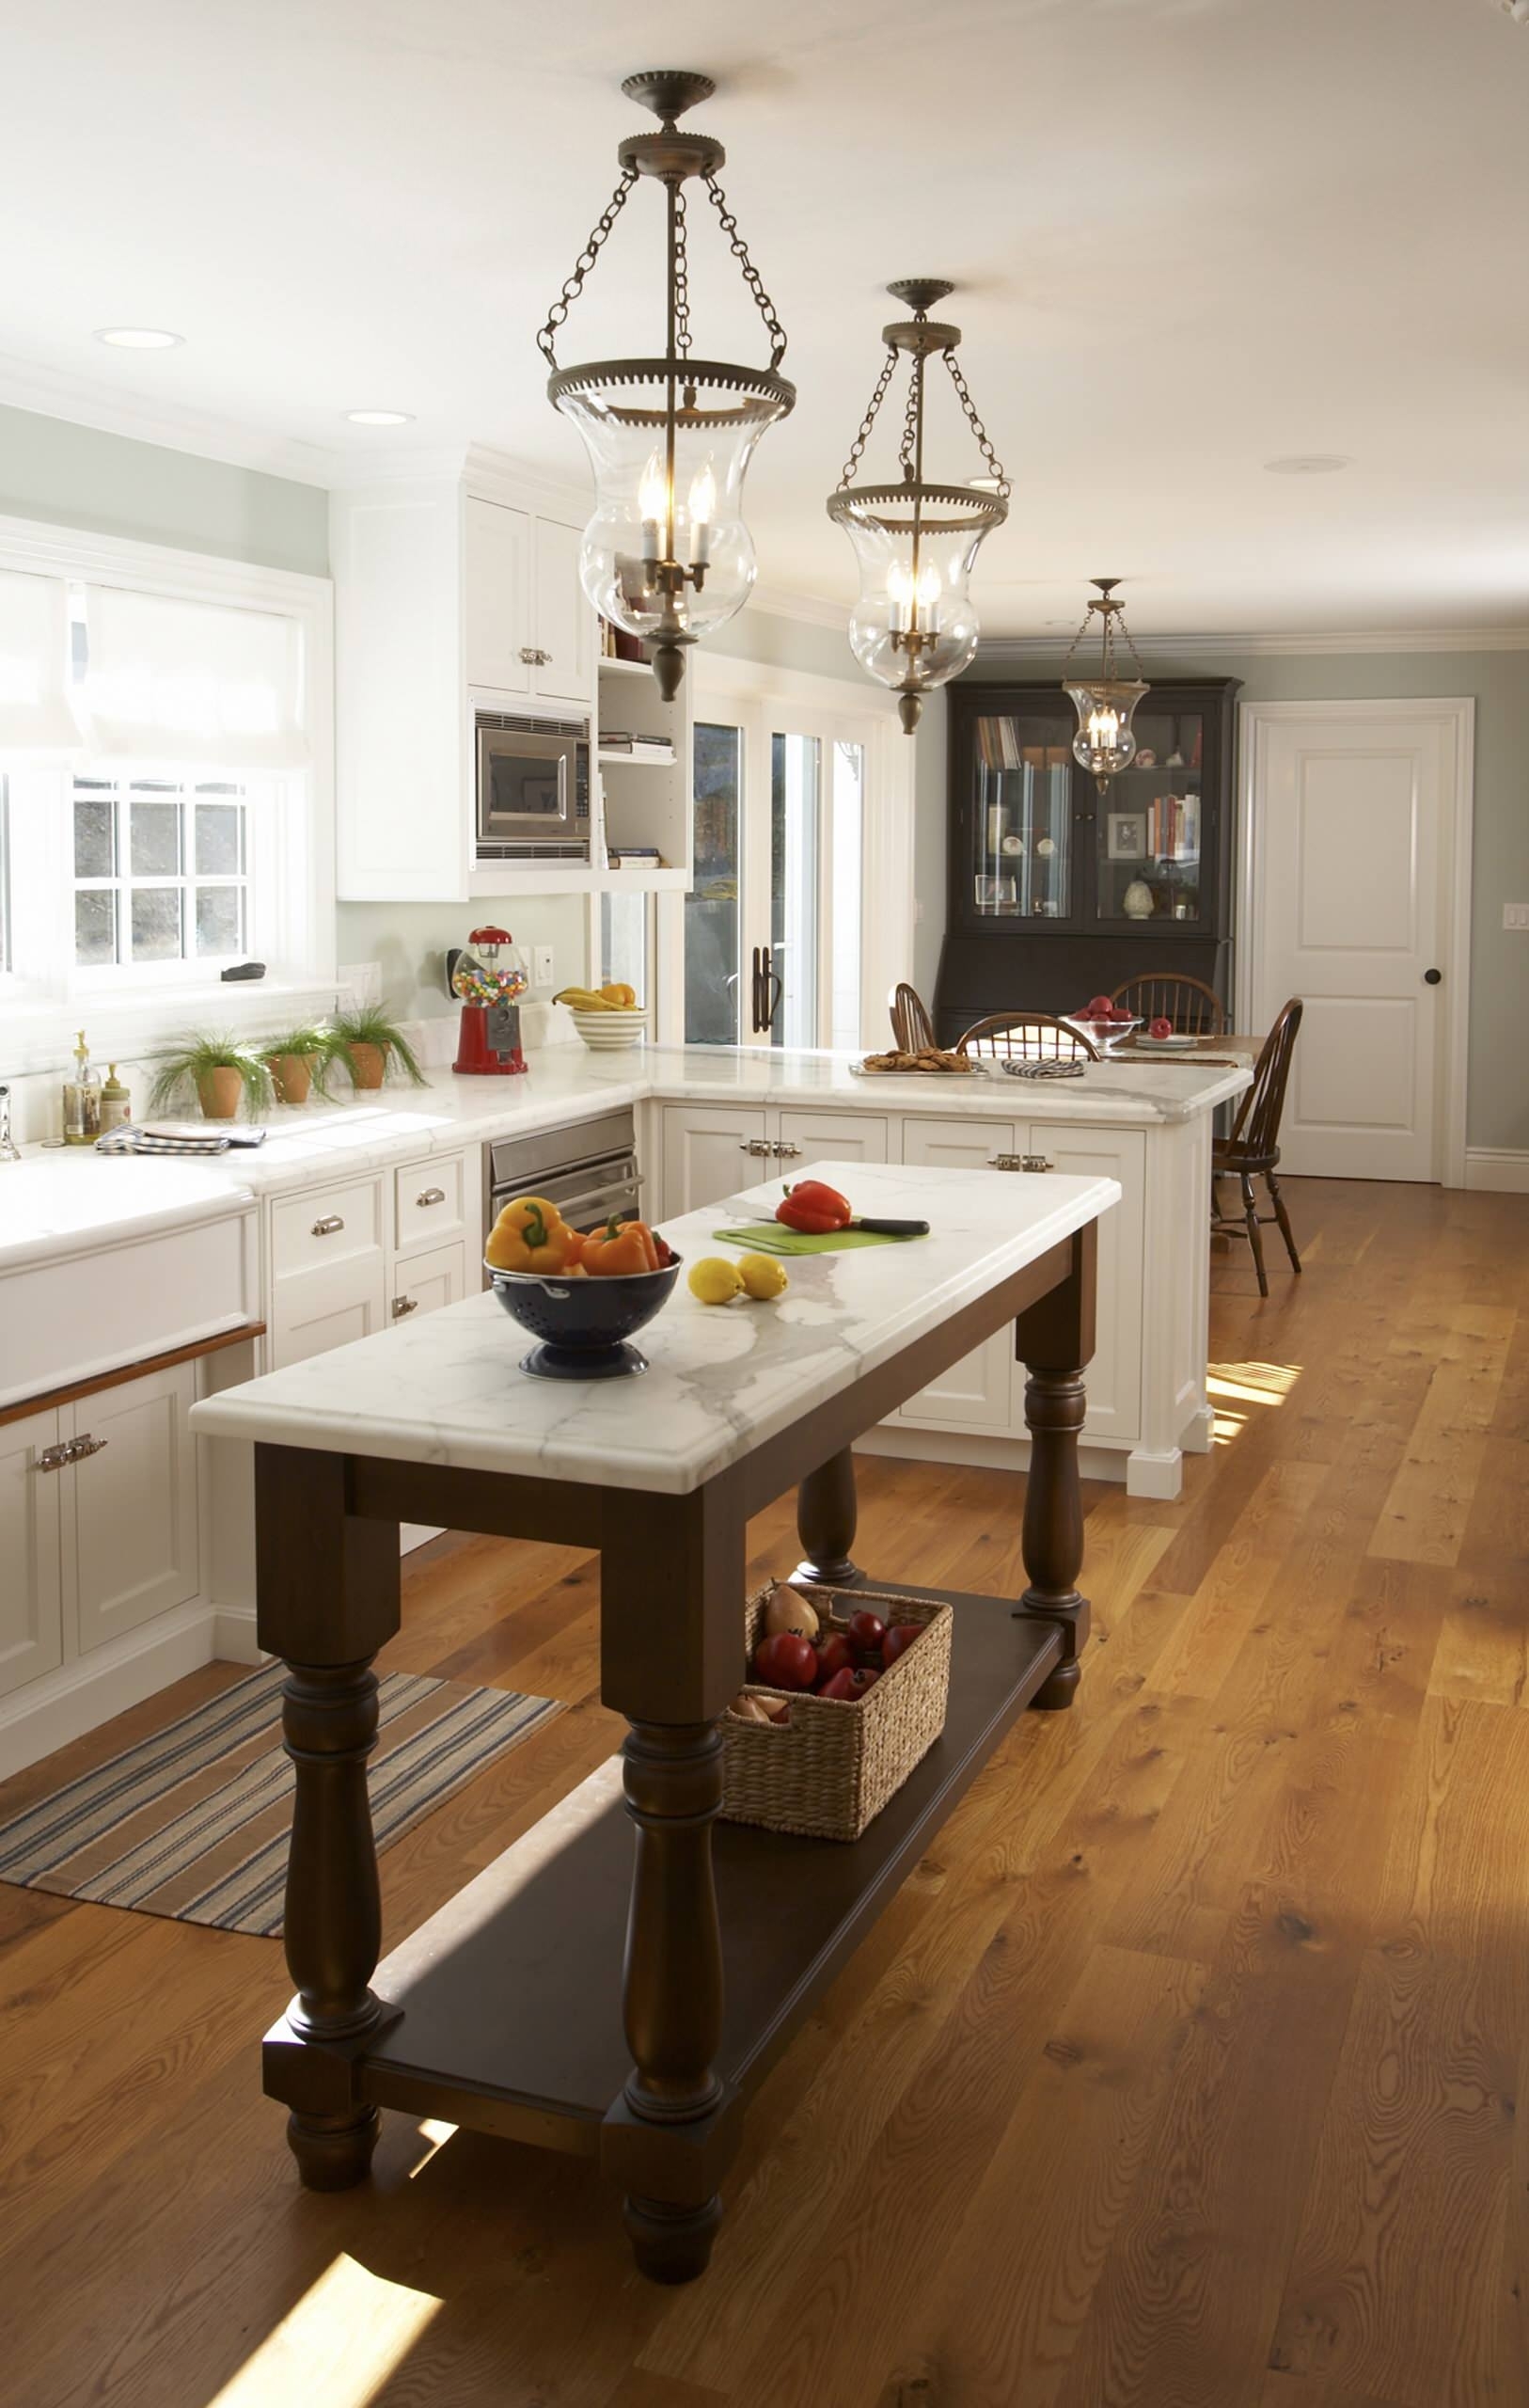 Cooking and preparing meals may need extra space to move around, which is a problem if the kitchen area is tiny. If that is the case, selecting the slimline island is the best alternative to accommodate busy movements.
The National Kitchen & Bath Association advises that the kitchen aisle be around 42 inches. It is essential to determine the functionality to ensure that the slimline kitchen island is perfect for you. As long as the island can maintain your belongings and assist with the cooking hassles, a non-standard and slim kitchen island may complement your one-wall kitchen.
3. A Multipurpose Kitchen Island for a Minute Space
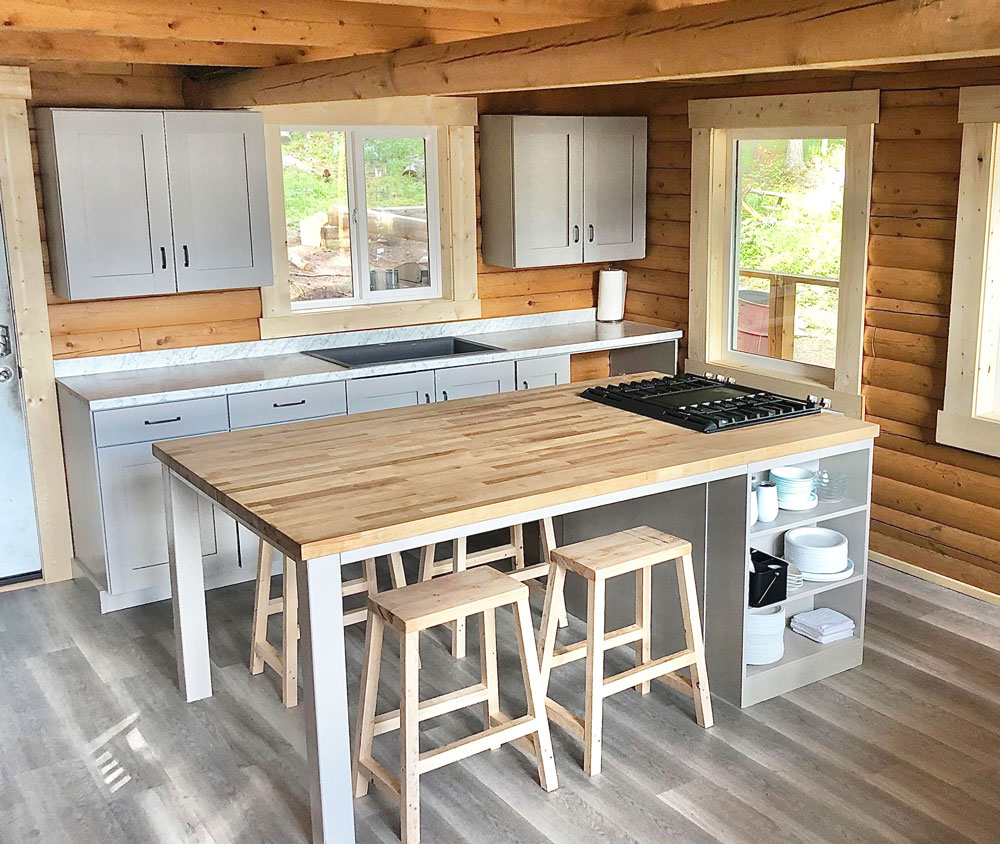 Cooking for the family while chitchatting with your loved ones can be accommodated with this multi-purpose kitchen island. You can begin by attaching 1x4s to the bottom part of the shelf using pocket holes. Then, we can also assemble the bottom shelf to the side pieces using pocket holes.
For the top part, attach 2×2 and add the shelves inside. 1/4″ plywood and 3/4″ brad nails and glue can work together for the back part. After cutting out the framing for the island extension, we add the 1/4″ plywood panel to the back. The next step is gluing two countertops together, cutting out the space for the oven, and attaching them. Painting it over or not is totally your option.
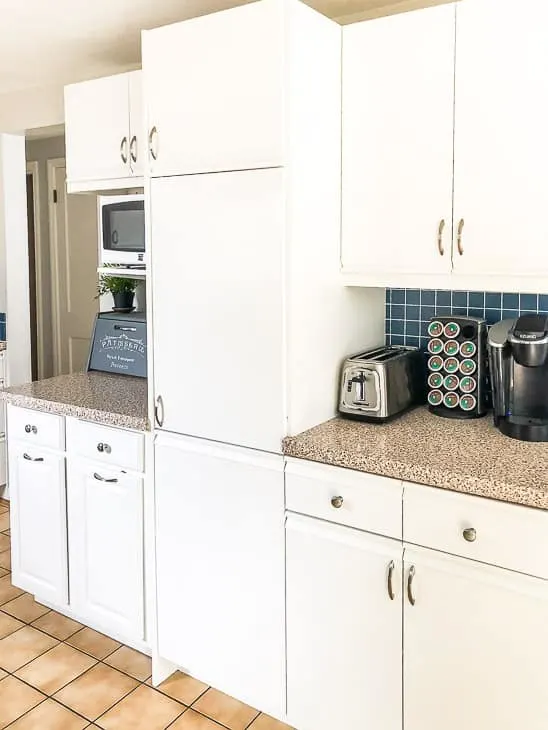
2. How to Control Your kitchen Clutter With New Wall Cubbies
 These chic wall cubbies are a big help for kitchen appliance arrangement. The sides are created by matching the cut lengths by using the old and laminated pine shelves. For the backs, it is advisable to use a sheet of plywood. Use a miter saw to cut the cubbies cut list, and they are ready to be assembled using butt joints, air nails, and clamps to hold them together. After painting the cubbies, you can install them using screws and drywall anchors however you like.
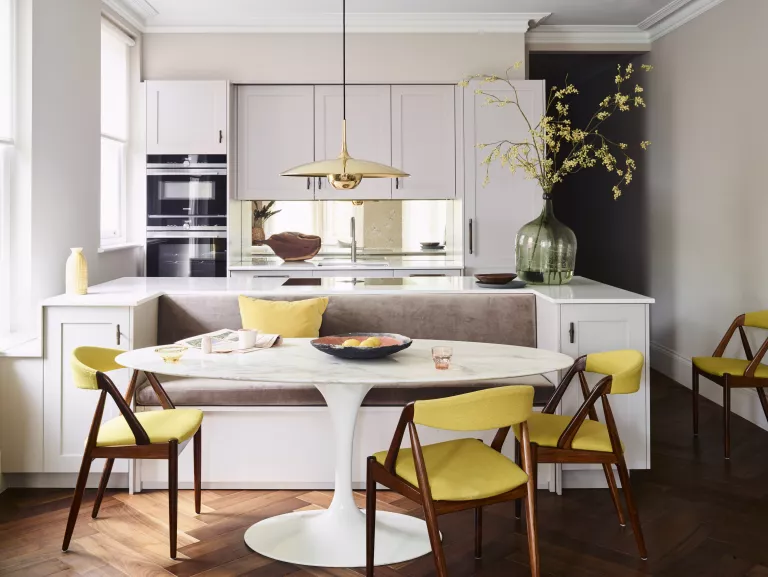
1. A Sleek-Styled Island Choice to Match the Modern Accent of your kitchen
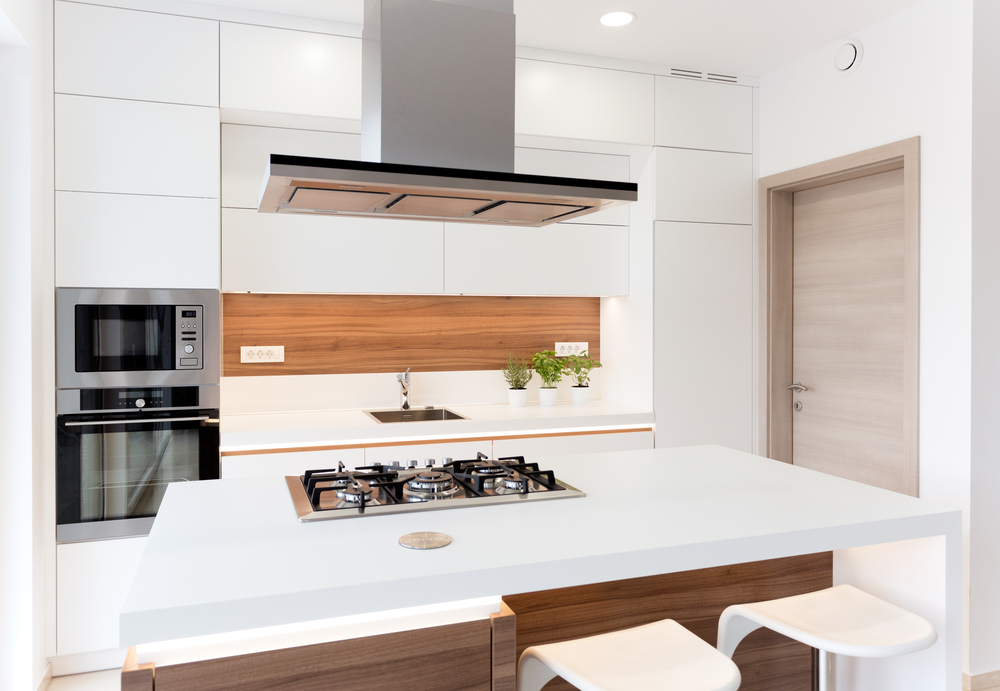 Maintain the air of modernity that your kitchen exudes by installing a contemporary kitchen island. It can be quite simple, and consist of nothing more than a streamlined table placed smack dab in the midst of your cramped kitchen. Installing contemporary lighting that is suspended from the ceiling is going to do wonders for bringing the room to life.
In conclusion:
So,
Even though you only have the option to go for a one-wall kitchen and add a kitchen island in your tiny cooking corner, we can always make it work with numerous possibilities of ideas. Get inspired with these 10 small kitchens with one wall with island ideas. Your dining routine will not be dull and dry.
References:
10. Homedit.com, Imgur.com
9. Domesticblonde.com
8. Apartmenttherapy.com
7. Thehandymansdaughter.com
6. Homesandgardens.com
5. Myrepurposedlife.com
4. Houzz.com, Pinterest.com
3. Ana-white.com
2. Danslelakehouse.com
1. Mymove.com