If you can’t reasonably afford a new house, renting is wise and can be the ideal choice during the recession. Unfortunately, you can’t be as innovative as you’d want because of the restrictions imposed by your landlord. As a result, you cannot revamp the rooms, including the kitchen, as you choose.
However, you need not fret. Although you cannot make big alterations, you can still create a nice space for cooking. We have compiled ten of our favorite kitchen organizing and remodeling ideas that won’t break the bank and are suitable for a rental. As always, Simphome curates the countdown.
10 Rental Friendly Budget Kitchen Organizations and Makeovers
10. How to give your small rental kitchen new charm with a retro backsplash cover and a little more extra
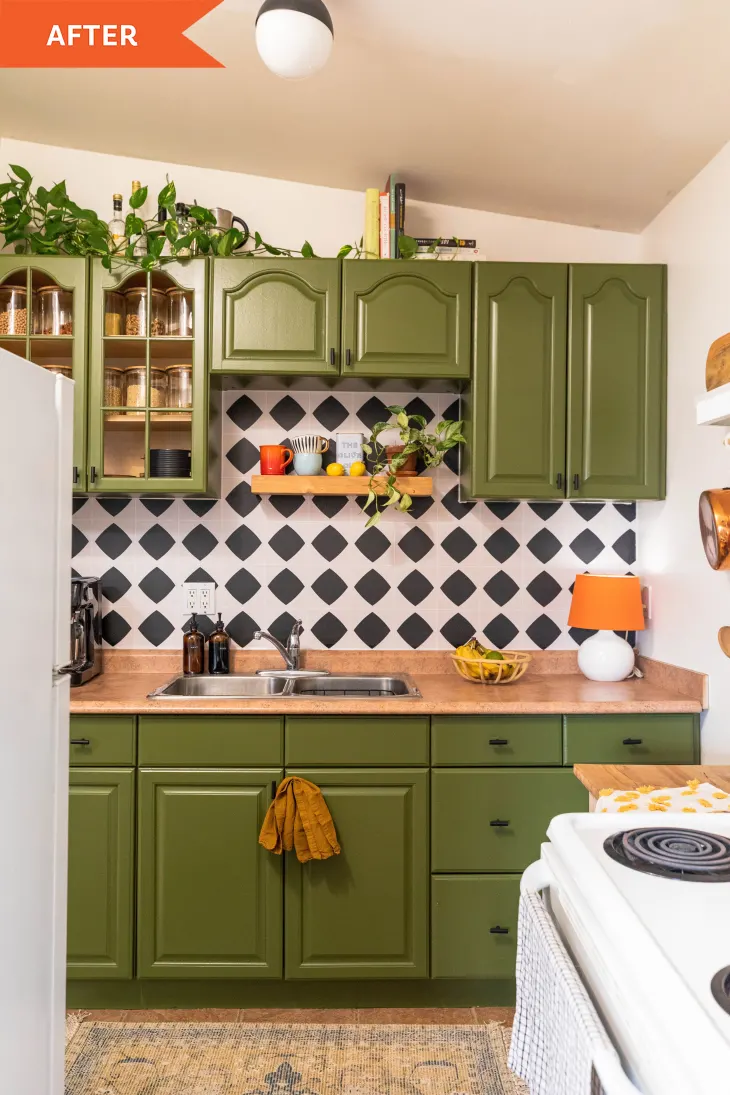 First, install some peel-and-stick retro wallpaper on the backsplash and grab an old orange table lamp to use as a centerpiece for the new look. These elements gave the previously antiquated floors and countertops a hipster makeover. If you’re working with an old cabinet, you can move forward with the job by giving it a quick coat of paint using a spray gun. Sanding and priming them beforehand will ensure that the paint stays put.
Here’s another thing to keep in mind if you want to be like Team AG (as they’re known on Alexandra’s channel): Cup hooks attached to the tops of each door will allow them to be hung from a drying rack using clothes hangers. Once the cupboards are put back together, no one can see the screw holes where the cup hooks were attached.
9. Build a Hanging Rack with Hooks

The supplies for this ingenious yet straightforward design will set you back somewhere between $30 and $40.
To construct the slats or cross sections, you’ll need six 2-foot-long (1-inch-wide) wooden planks (1 inch by 2 inches, or 2.54 by 5.08 centimeters). Two pieces of wood, roughly the depth of the cabinets (or shorter to fit into the trim along the top of the cabinets), will serve as the end support braces.
You’ll also need swivel hooks, wood glue, and wood screws. You’ll also want some paint or stain that goes with your cabinetry. Simply said, you need to ensure that the length of each cross piece is uniform. The overall length will be the same as the sum of the cabinet spacing, trim on top of both cabinets, and support brace widths.
8. A warmer rental kitchen idea
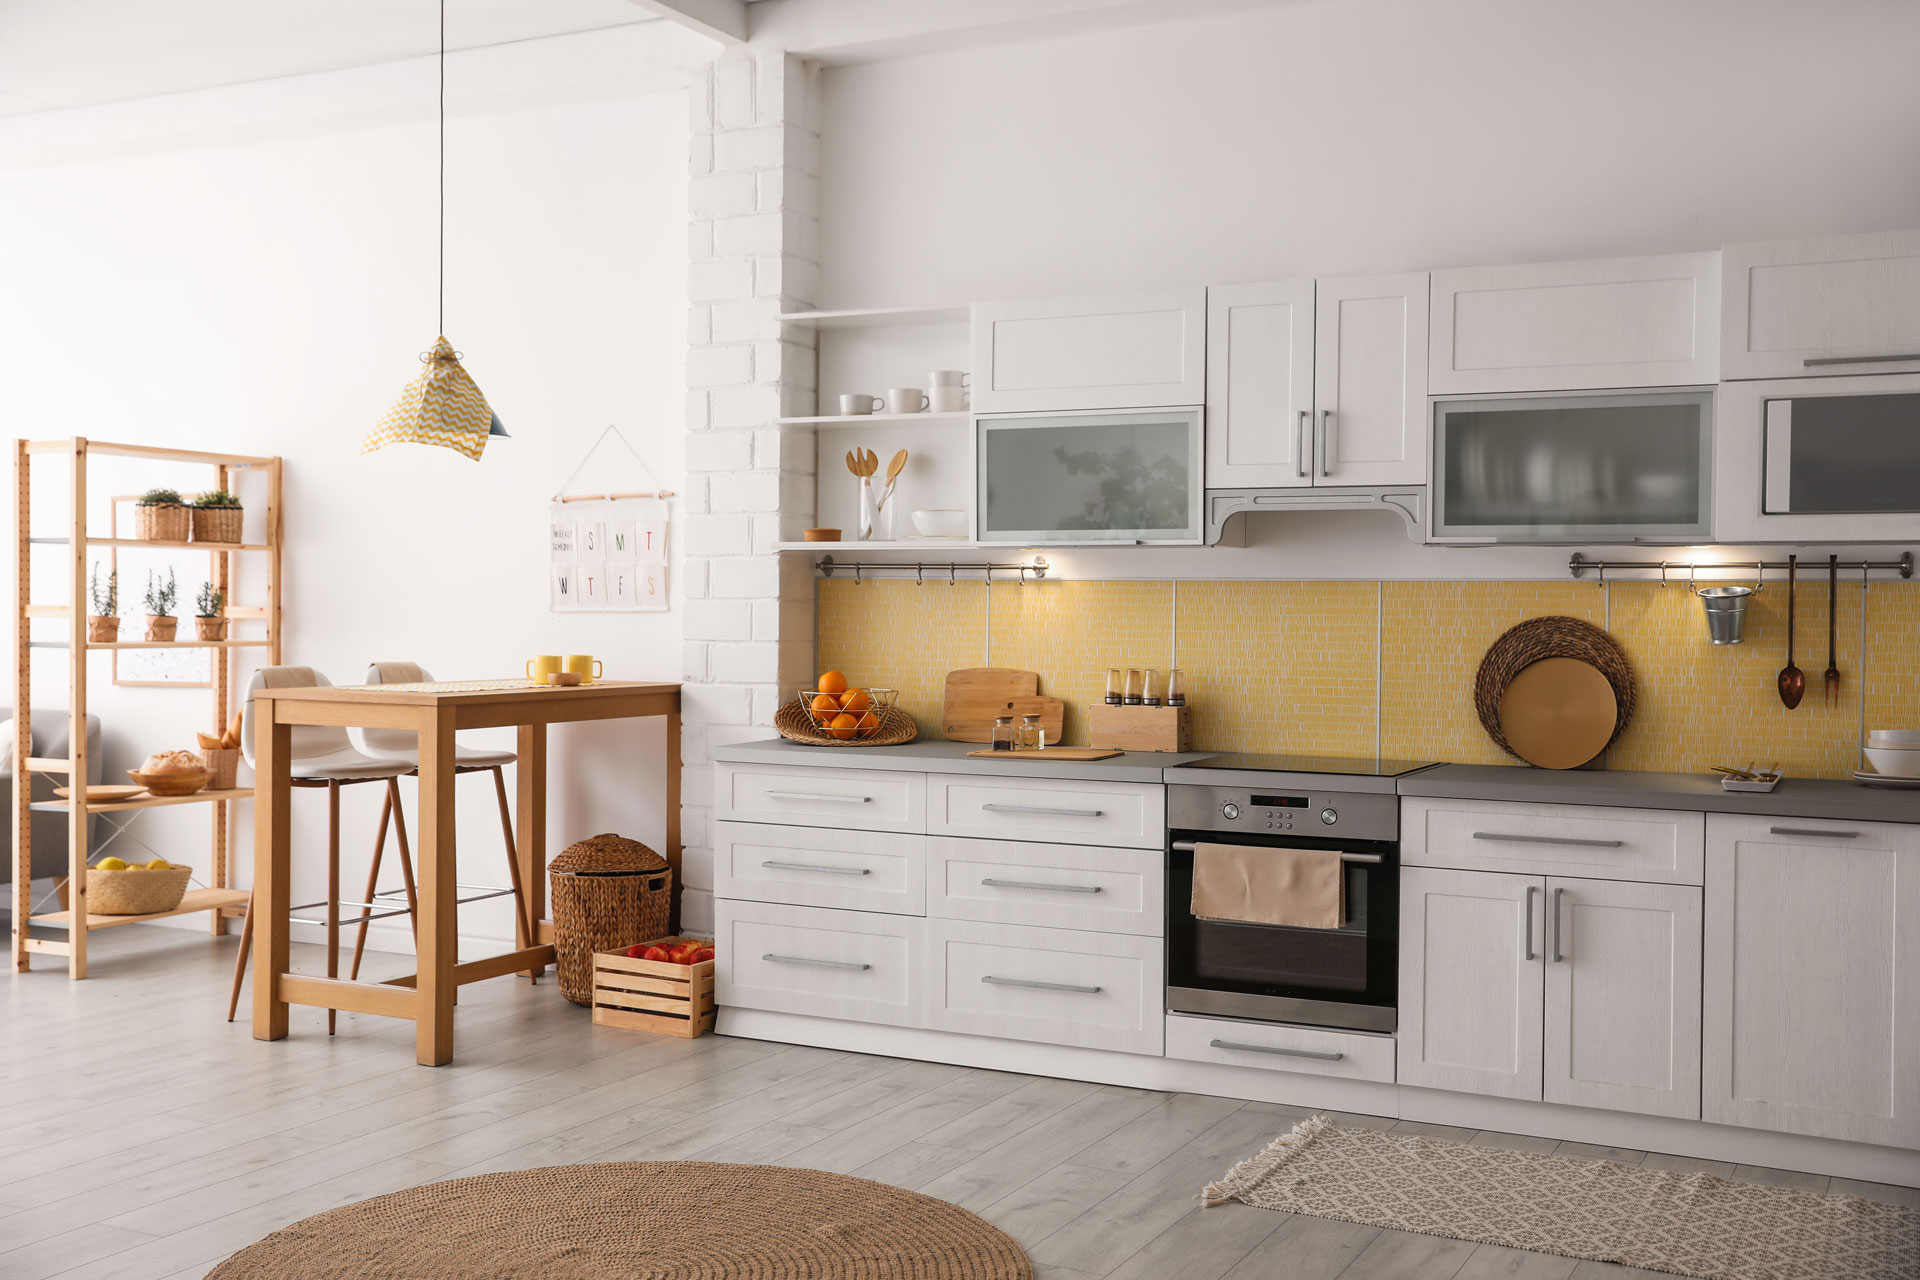 An uninteresting cooking space is negative for the mood. With these thoughtful kitchen layouts for rentals, however, you may make your kitchen feel more like home.
First, install a mirror over the stove. Since it creates more depth, this is a fantastic trick for making a small kitchen in a rental home feel more expansive.
Second, re-color your floor and walls. For instance, a rug with inviting warm tones can completely transform a space. For a more lively and upbeat vibe, try adding a splash of a contrasting color to an otherwise all-white kitchen. You can also turn a rental kitchen more inviting with artwork or entertaining features like a blackboard.
7. A tiered space for the spices from the poplar board
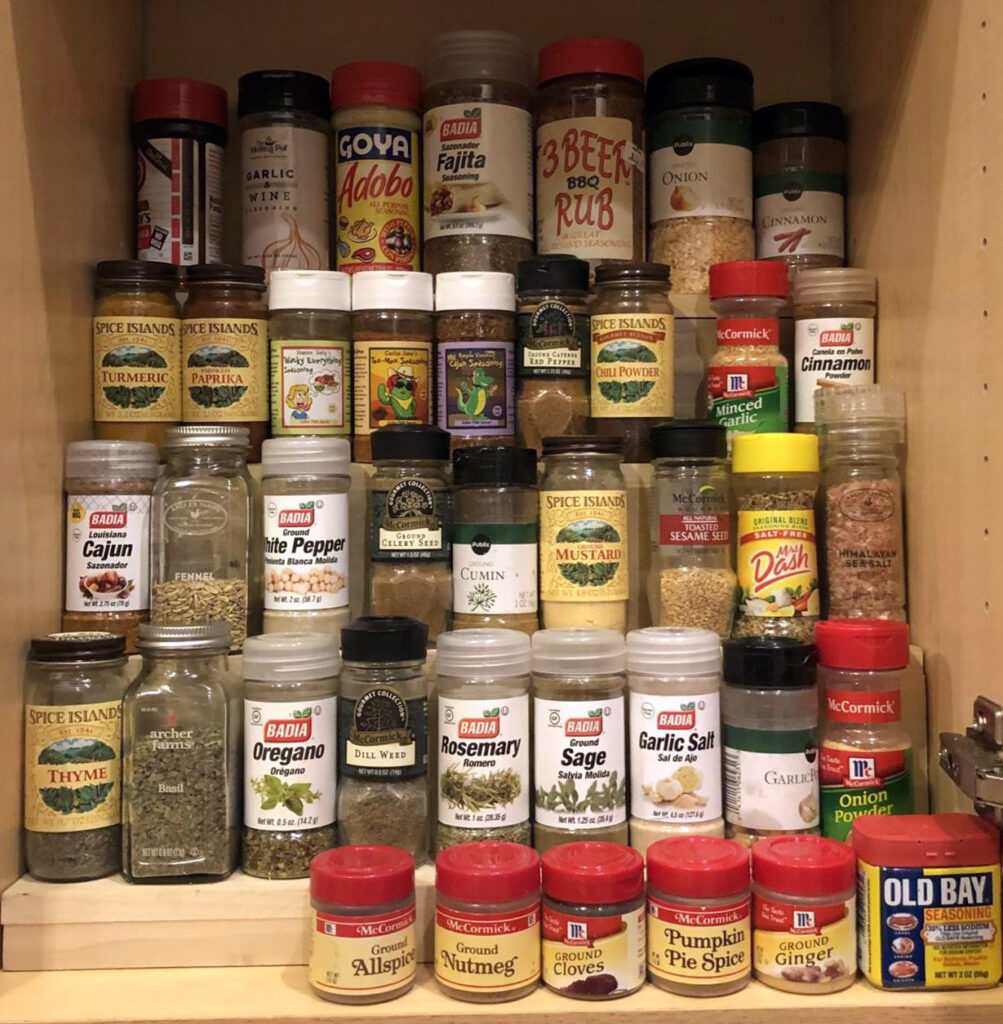 In the first step, you’ll need to gather your poplar boards and take measurements of the inside of the cabinet.
Second step:
- List your shelf boards and main risers.
- Bottom riser.
- Top support.
- Long pieces for the back support.
You can use the same number of shelves and individual shelf heights as in the original post, but the width will need to be adjusted. It’s also helpful in making sturdy stakes at the back.
Three, make board cuts. You may need to switch between a miter saw and a table saw to create the ideal cuts.
Fourth is shelf assembly. Keep the pieces of wood together as you use a brad nailer to fasten them.
6. The $100 Rental Kitchen Redo from KC Cibran
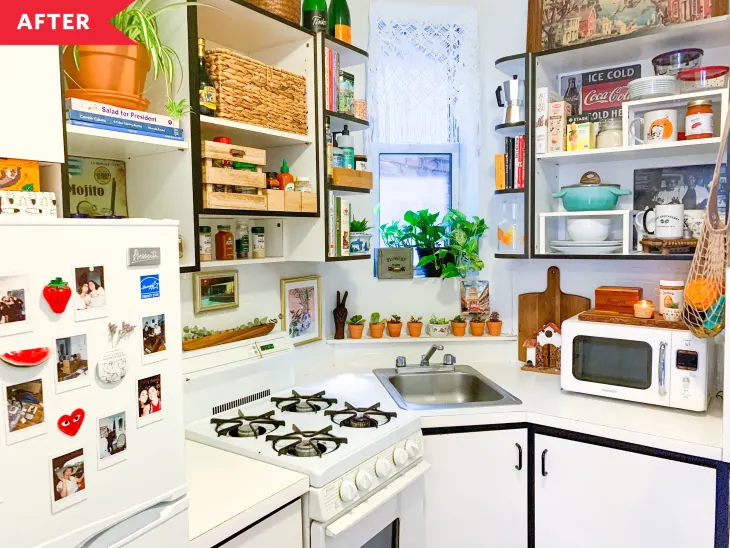
Then, to simulate the appearance of open shelving, she removed the cabinet doors. She explains that she was inspired to try this after watching online videos of people renting their homes and taking off their cabinet doors. “I was worried at first, but it was as easy as it seemed. The door frames were easily removed when I used a drill to loosen the screws. They are residing under my bed because I have nowhere else to store them until I move out”.
5. Some of the best ideas on how to manage the kitchen Pots
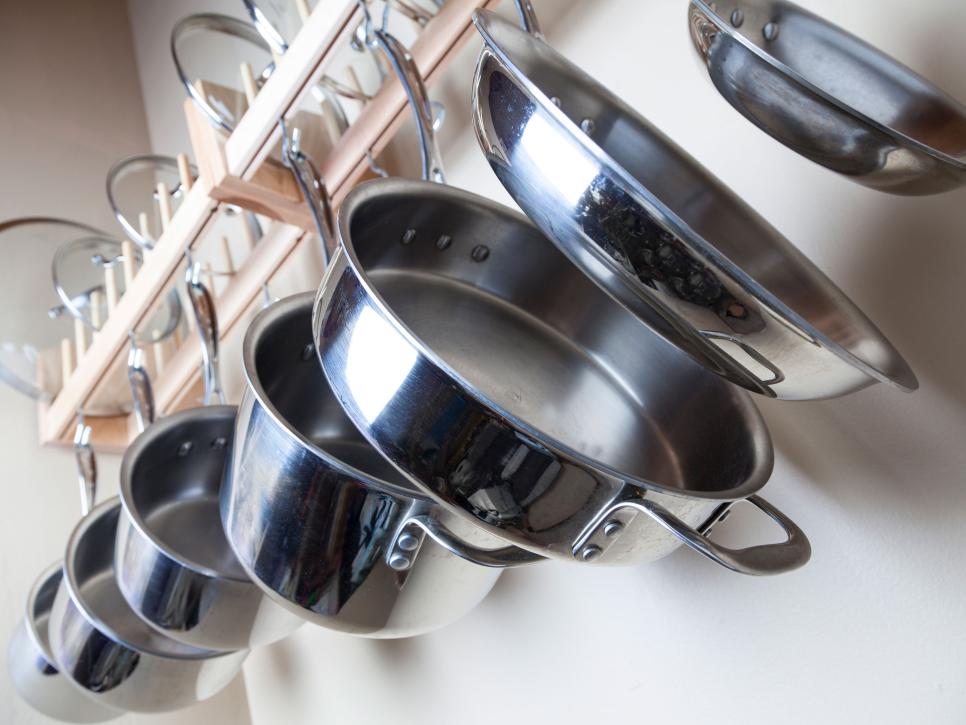 Rachael advises to “avoid purchasing pot sets,” as the prices for these items are frequently inflated. And when you don’t require all of the different pots used daily. Instead, build your pot collection along the way, adding more pots and pans as needed.
Alternatively, Consider making a new hanging pot rack slightly different from the first concept on the list whenever you see that your collection of pots is beginning to cause excessive clutter.
The information presented here comes from Dreamin’ Girl. This is a concept for a hanging pot rack that is situated between two cabinets.
Her opinion was that the optimal location for distributing the load would be in the space between the two cabinets, with a closet rod serving as the rack.
The instructions include all the necessary details in a clear format, including instructions on how to cut the metal closet rod and mount the closet rod mounts. Include a trick on how to feature your new project with S-hooks tipped with rubber for additional safety.
The total price came to less than forty dollars, with the S-hooks accounting for most of the expense.
4. Improve your rental kitchen with a custom plate rack
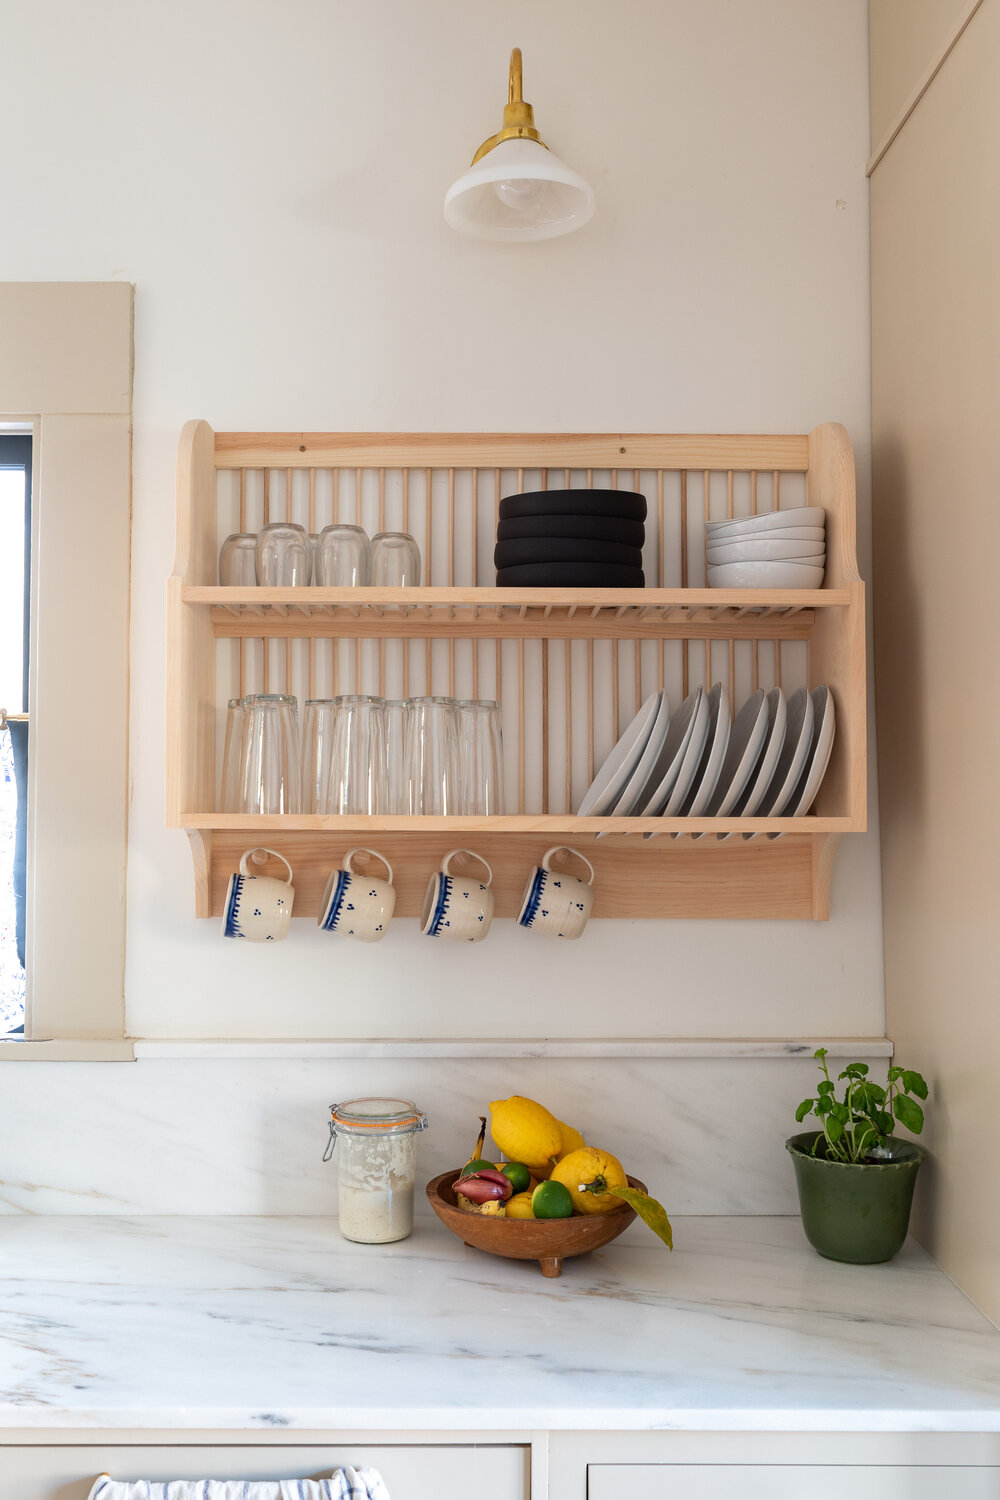 The slatted base of the design works to prop up plates but also provides a flat surface for mugs and other plates. The slats could also be used to dry dishes in the design, negating the need for a separate drying rack on the countertop. Next, sketch up the rack using leftover cardboard and some packing tape.
Remember that plates and cups can be used as measurement implements throughout the journey. Most plates/bowls/cups are around the same size btw. If possible, use only salad plates because they are easier to transport, wash, and stack than dinner plates.
After fidgeting with your cardboard model, sketch the side profile on a big piece of paper, utilizing an old scrap from our permitting drawings, and then add all the details and notations.
Make it clear where you want the 90-degree angle vs. the curve, where the pegs should be set, where the shelves should end, and so on.
It would be best if you gave extreme care when taking a cup from its peg so as not to scratch the bottom of the rack, but the rack should also include an apron to prevent the mug from being dragged around the floor.
3. Makeover your rental kitchen with new rug choices
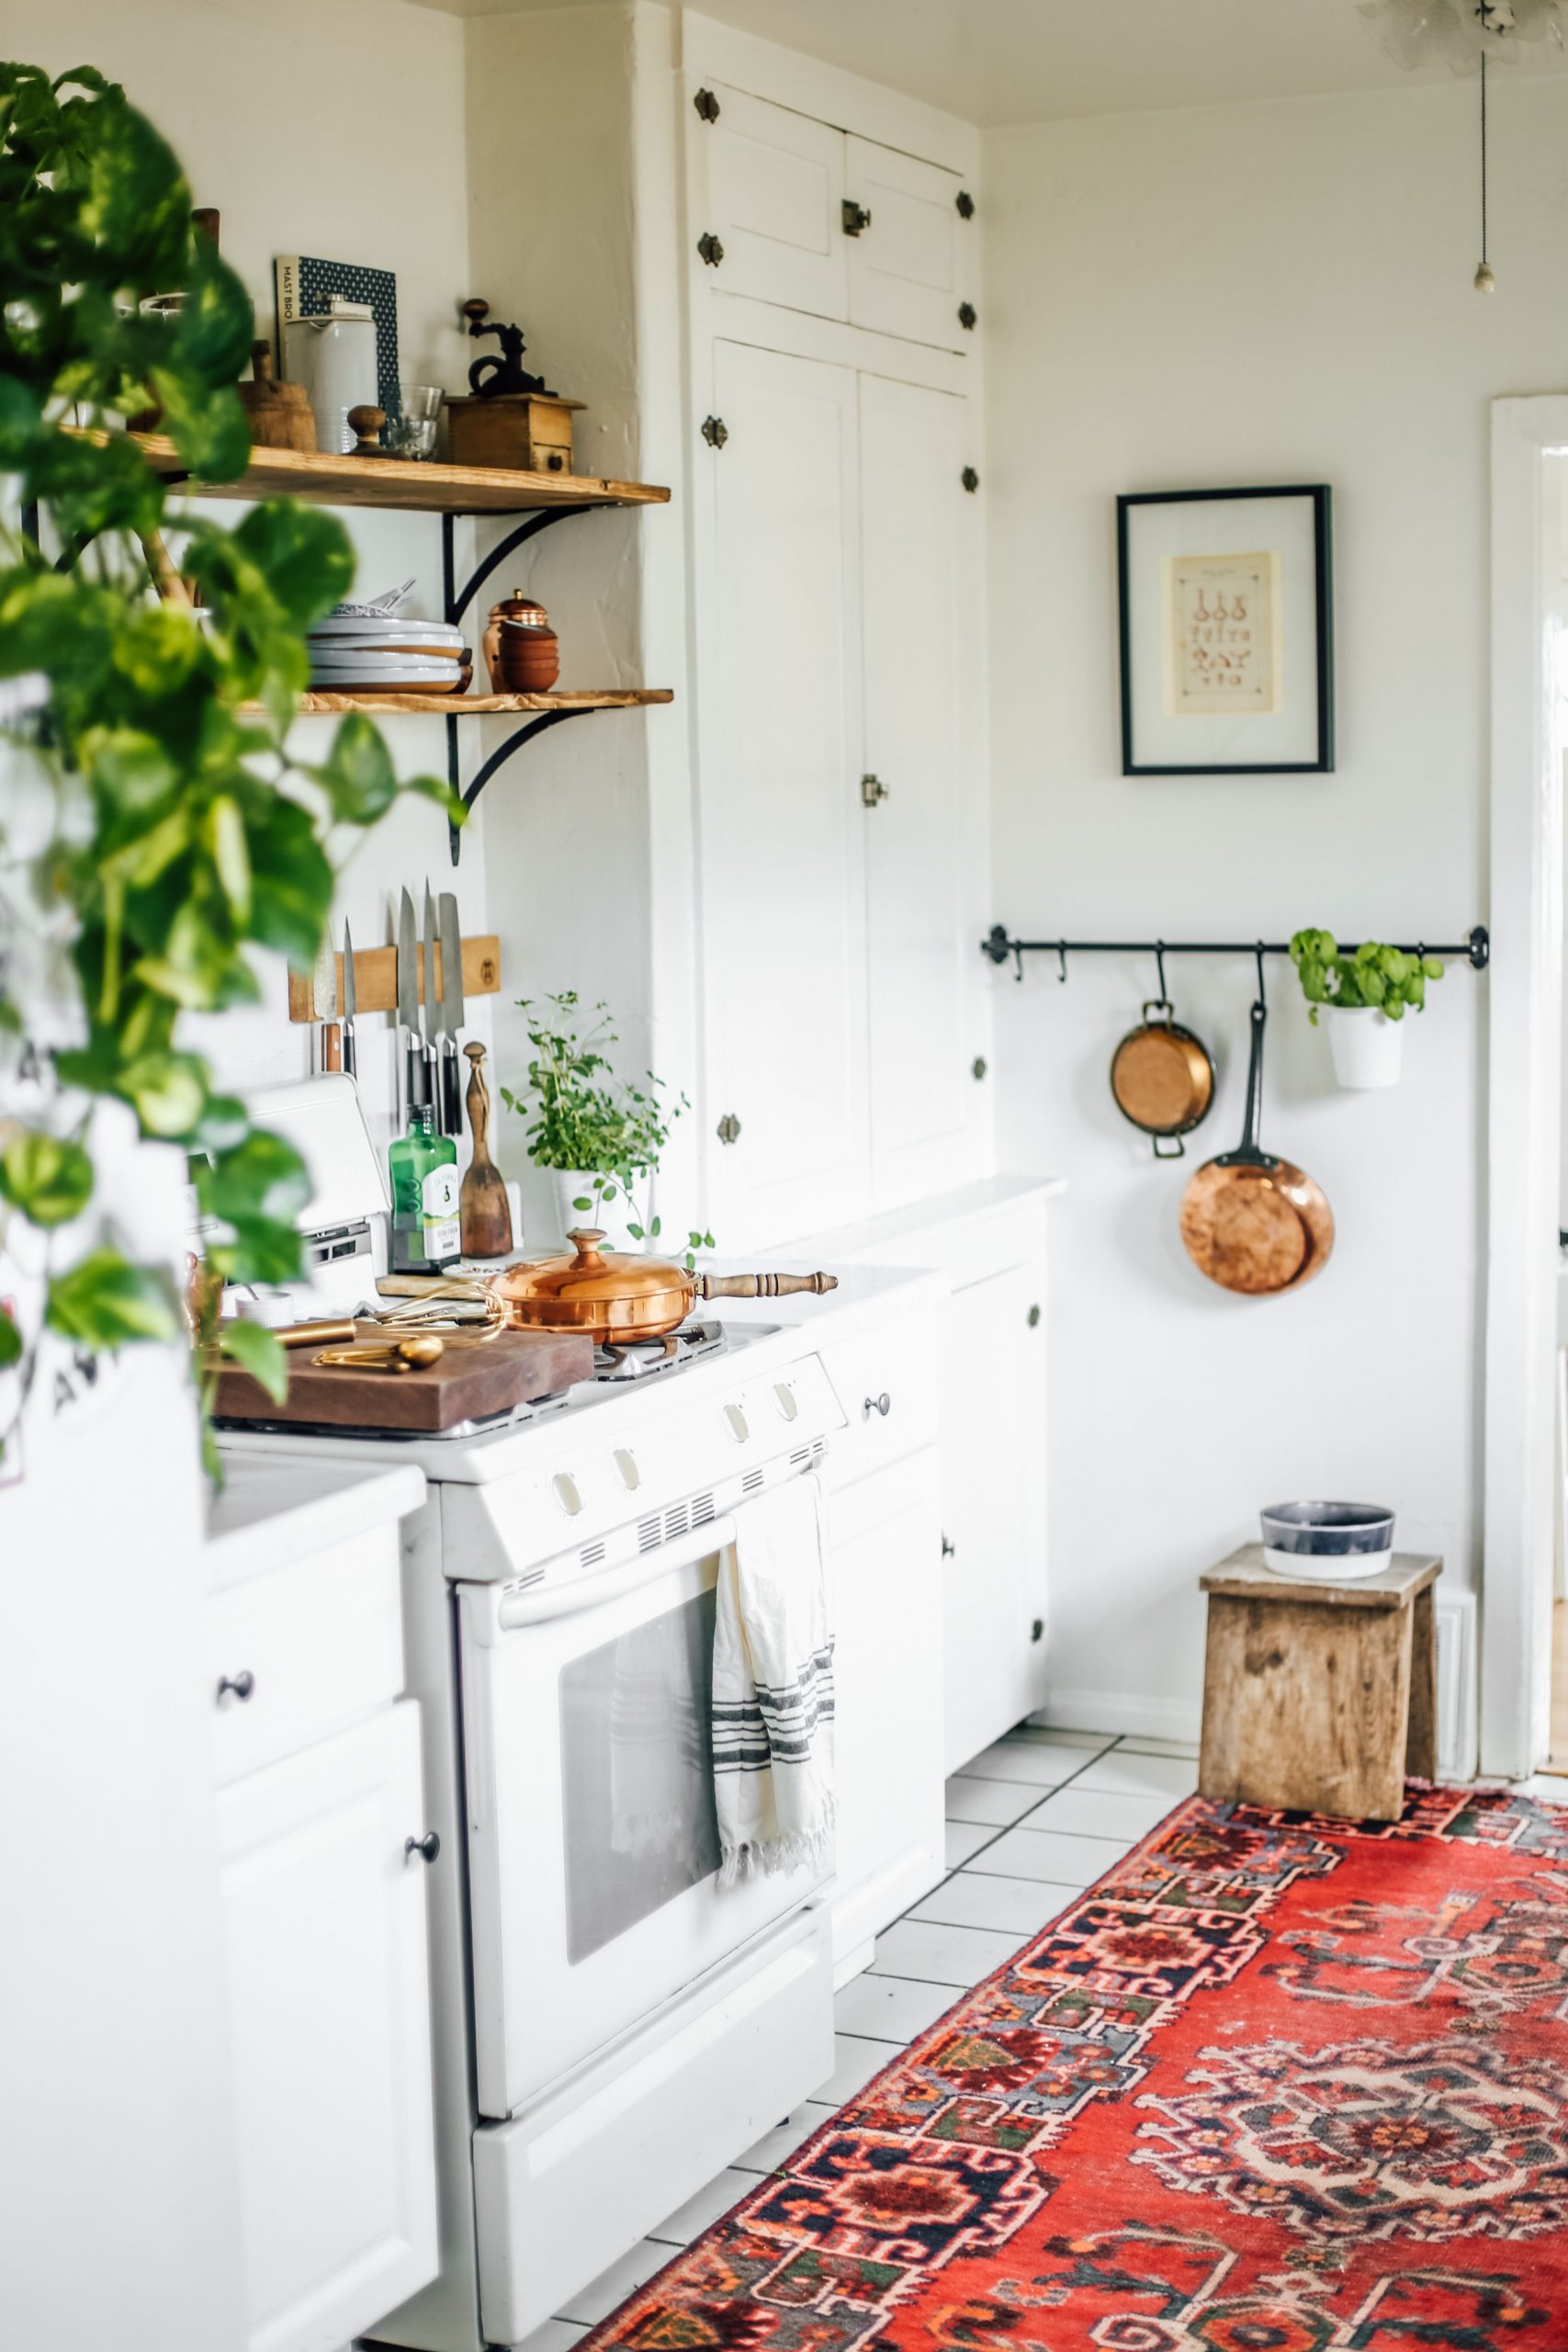 A rug is more than just a decorative floor covering. Indeed, it boasts much more. People opt for it for a variety of reasons beyond mere necessity. They may prefer it because of its pattern, thickness, or softness or simply because they do.
You may easily create a beautiful kitchen on a tight budget that will suit a rental. As you may already know, a rug is vulnerable to soiling, staining, and water splashes. Just about anything you can think of. Therefore, you should think about what you’ll do with it in the kitchen before you get one.
Its width is one essential factor to consider. The rug size is another problem for those who want to install one in a kitchen for aesthetic reasons. They’ll eventually have to cut it up or fold it in half.
2. A New Backsplash Transformation for the dull rental kitchen
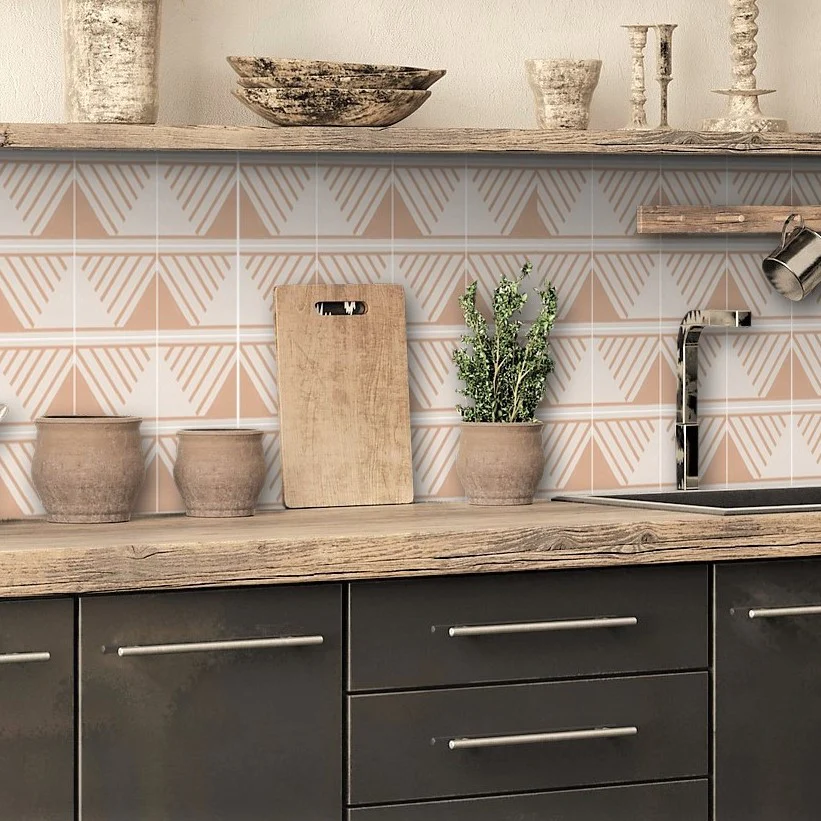 A cabinet wouldn’t last long when faced with intense weather and other kitchen chaos. Dullness and a loss of color will occur over time. As a result, you should do something about it.
The most effective solution is to paint or decorate in a different color. More so, it is a more budget-friendly choice. It has the potential to breathe new life into the kitchen.
Pay attention that it makes the rest of the interior look a little dated if you repaint just a few walls. You may alter or install a backsplash to achieve tonal range and contrast harmony. You could achieve further improvement by including plant life.
A rental kitchen with a DIY FLOATING PLATE RACK idea
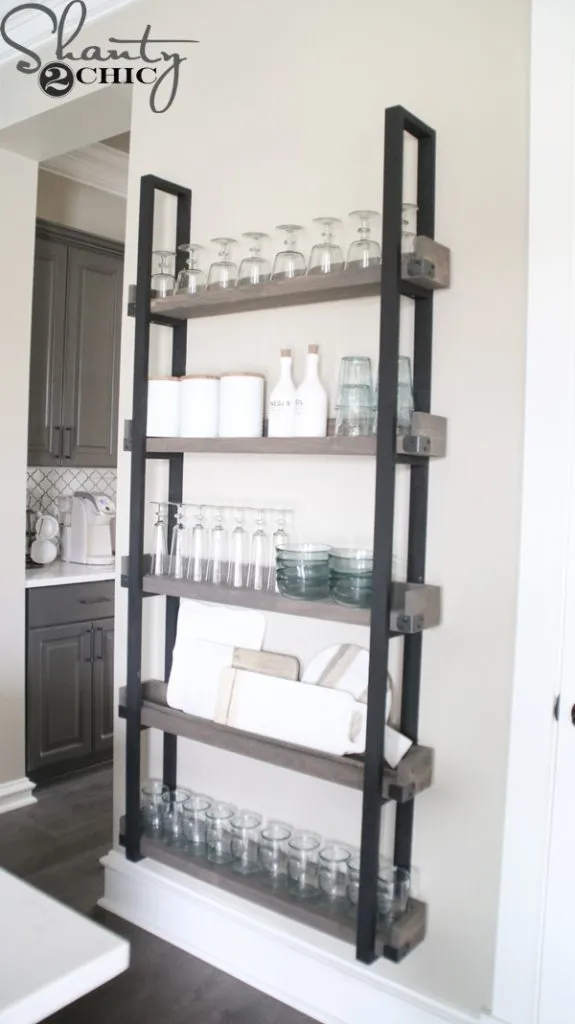 Start by assembling the ladders. Connect the rungs to the ladder’s side sections with wood glue and one 1/4-inch pocket hole screw. Use wood glue and one 1/4-inch wood screw to secure the opposite side of the ladder. This will be the back of the ladder, and You will fasten it to the wall. Given that You will cover the screw holes, there is no need to drill pocket holes.
For the ladders, rely on Rust-Oleum Chalk Board spray paint, an excellent flat black spray paint.
Next, now you’ll install the rear cleats. Drill the 3/4″ pocket holes according to the plans. Cleats should be fastened to the underside of the ladders from behind (remember, the pocket holes on the rungs should be facing up towards the ceiling). Put the cleats above the ladder’s rungs where they will be out of sight. One thing, Your pocket holes need to face backward so they will be against the wall.
References:
10. Apartmenttherapy.com
9. Cnet.com, Remodelista.com
8. Homelane.com
7. Housefullofmonkeys.com
6. Apartmenttherapy.com
5. Foodnetwork.com, Practicalitiesrus.wordpress.com
4. Thegoldhive.com
3. Thecollegehousewife.com
2. Quadrostyle.com
1. Shanty-2-chic.com