Today, homeowners can take unlimited creative photo hanging ideas to embellish their wall. Leave old school photo frames design or photo album because soon you’ll learned how to craft unique and creative photo hanging frames that you can tweak, modify, and twist according to your desire. Whether you want to introduce your family, vacation, graduation, wedding and baby photos, to your new guests, you need to take a look at these next ideas. This is 10 creative photo hanging ideas that will not only fill your wall with stories but also your mind with new creativity and challenges by simphome.com.
10.String and Pegs ↳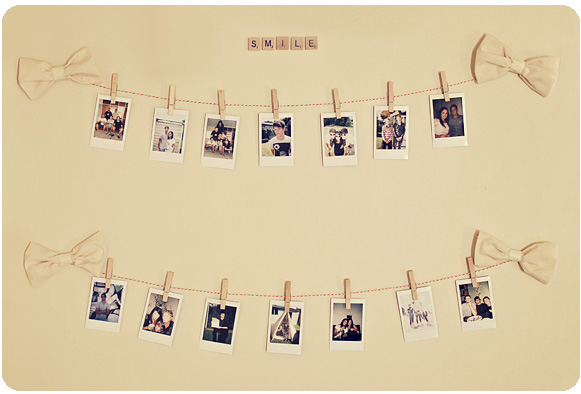
Our first idea need sheet of fabric, wall hooks (3M decorating clips), masking tape, scissor to cut the fabric, string/twine, small wooden pegs, some artworks, and of course your photos. You don’t need to invest your whole week to get the job done. And If you don’t find or buy any pegs, any paper clip will do – One thing – make sure that supply can clip your photo firmly and you’re good to go. FYI, if you want to go with natural wooden pegs, go ahead. If you prefer modern style, no one can stop you. This idea is only an example when someone combine string, pegboard, and their photos.
9.Wall Photo Clock ↳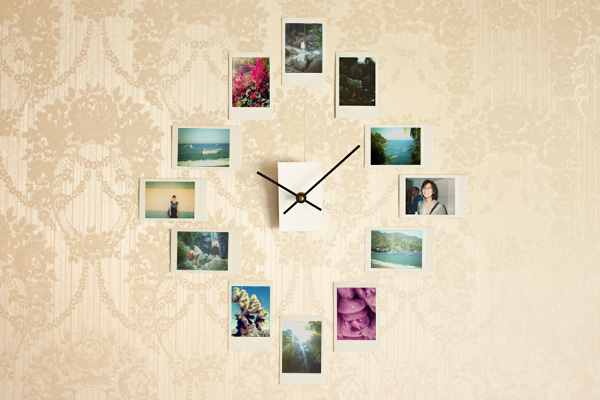
A wall clock and your photos can give your wall a new decorating sensation. You can arrange those photos like a time lapse and you can also re-assemble the frame with new photos every now and then. Before collecting all supplies needed, plan your photo layout first. Imagine your final DIY product complement your wall. If you look closer, challenging part of this DIY is step 3 and 4. When you have to conceal your clock casing with cardstock paper and put the tick to the tock. Other than that, the DIY leave you with nailing and hanging.
8.Colorful Photos ↳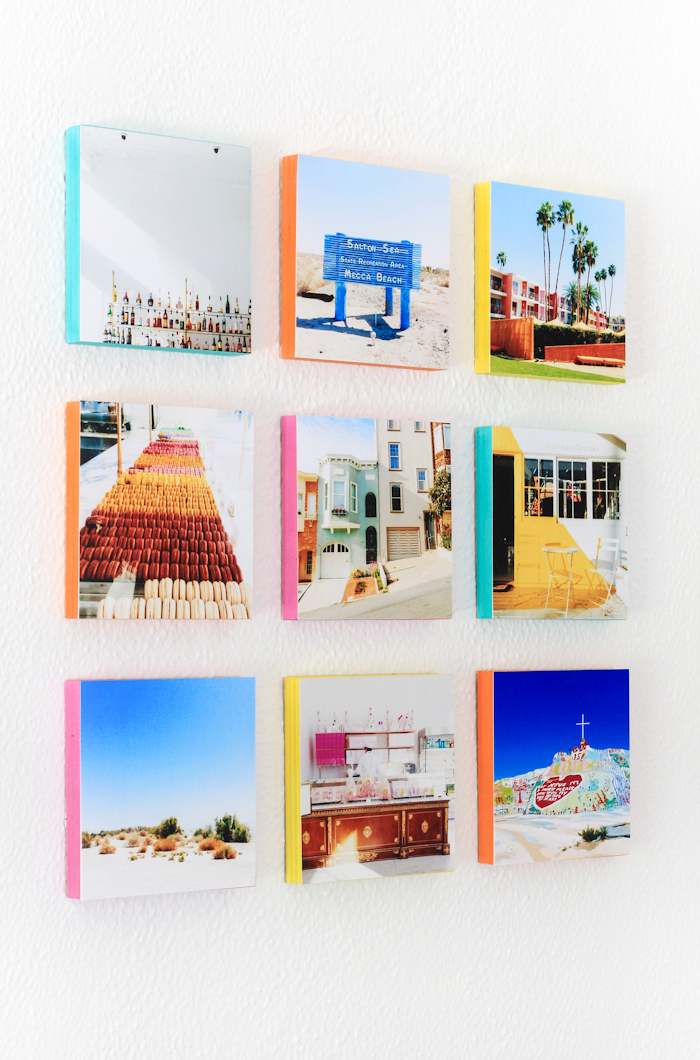
Before Instagram collapse, print your photos and make up your wall with stories. With this wood decor, your photo collection will pop. The step by step DIY is self-explanatory. Get a wood plank, cut it according to size of your photo, paint the sides, after dried, decoupage it, hang it on the wall, (you are recommended to use removable Velcro hangers) and done. It’s affordable, will not ruin your wall, and most important thing, you no longer depend on your phone to access your nostalgic fail but fun summer party memories.
7.Letters Photo Collage ↳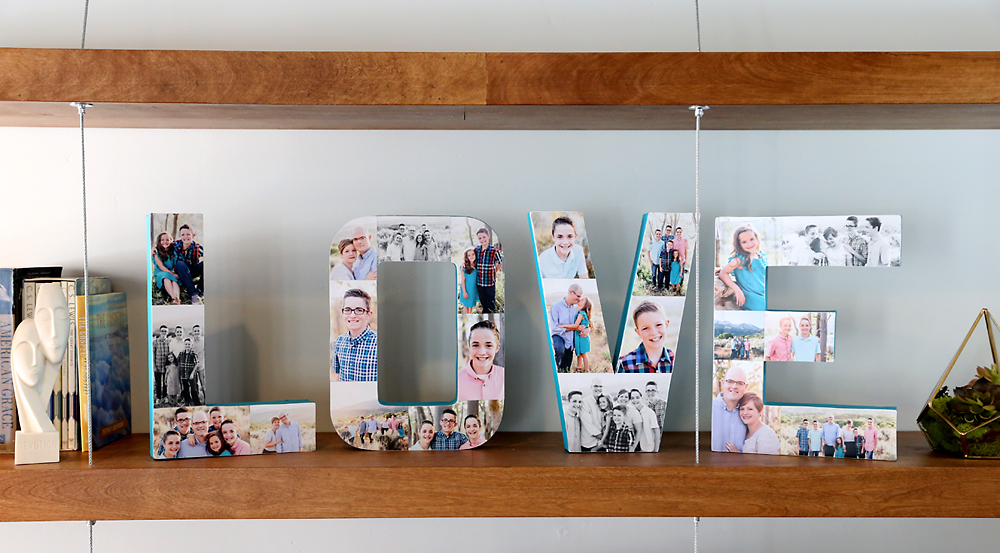
Now you can bold a single most meaningful word in your life with your best story. 12-inch Paper mache letters bought at Joann is main attention of this DIY completed with Mod podge, Craft paint + foam paintbrushes, Sandpaper, Poly Spray Sealant optional, and 5-7 of your 4×6 size photos. Other than that, the DIY calls your scissor, ruler, pencil, and your attention. If final product of this DIY gives you annoying edges, roll out your fine grit sandpaper from your supplies stash and rub it gently on the surface of your photos and the edge of your cardboard letters.
6. A Charming Necklace ↳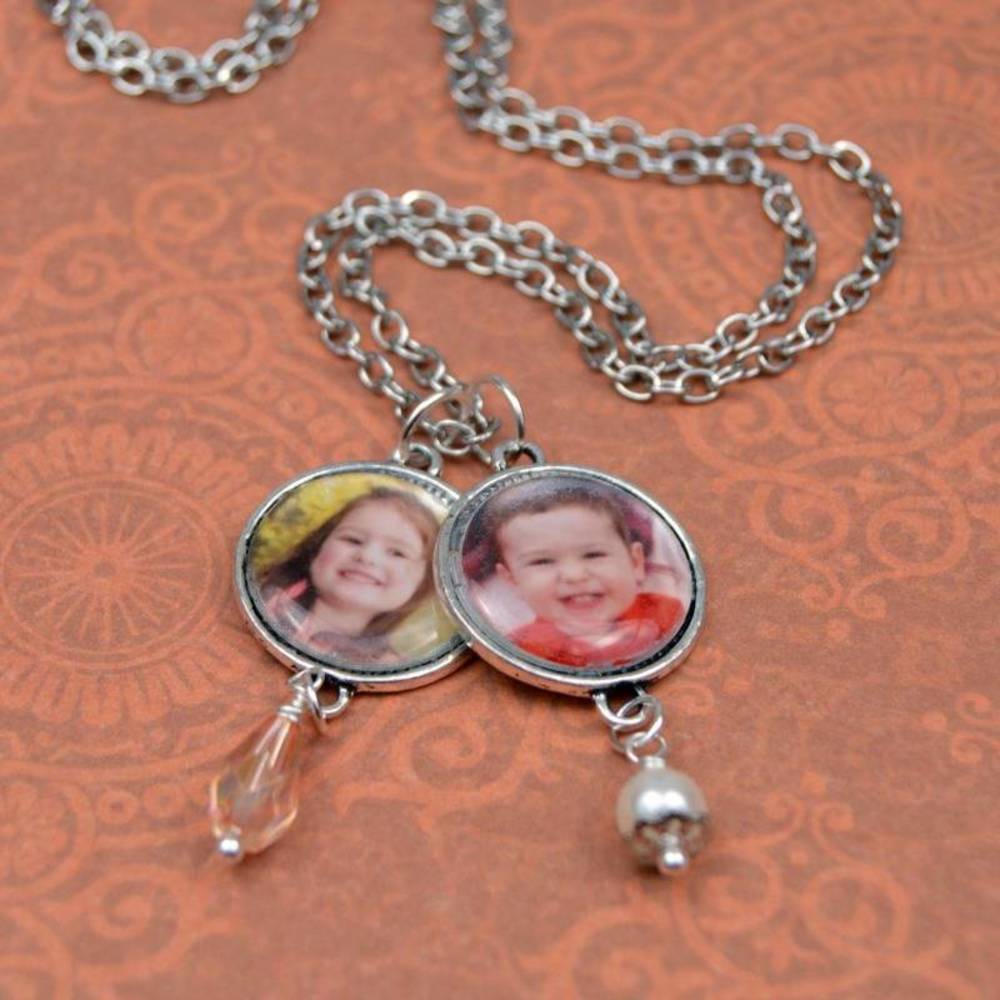
This photo hanging idea is mobile. It is too small for you wall but it still has ability to carry your precious memories for few hundred weeks to come. This DIY centers on A Fundamental Findings Bezel, Dome Round Connectors, 24-28 inches Fine Cable Chain, your favorite photos and a craft glue. DIY link I pasted already include other supplies you need and if this preview steals your attention, blitsy recommends you to use glossy photos. As optional, you can accessorize your charming necklace with one two beaded charms made of plastic or pearl. To make your memorable faces more durable you can borrow self-adhesive epoxy domes and ice resin.
5.Resin Miniature Photo Charms ↳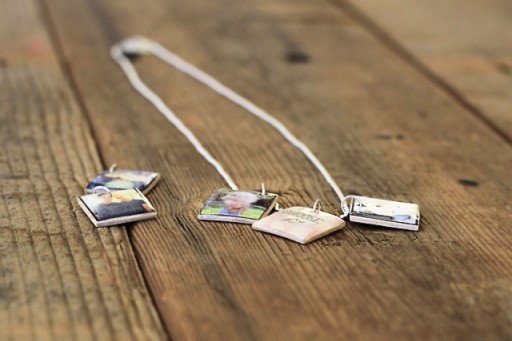
This idea allows you to carry your favorite photo anywhere and you can magnetize it. It requires printer, popsicle sticks, a cutter, a ruler, a drill, mod podge and of course magnet. Recommended magnet you should use is neodymium scientific magnets and you can get it under $6 in Amazon.
To attach your photo securely, first layer you have to use is mod podge and continue with Aleene’s® Paper Glaze. It will give your photo “resin” look and after it dried, you can adore your new photo pendant, give it as a special gift, or hire them as a new eye candy for your loyal and reliable fridge.
4.Embroidery Hoops ↳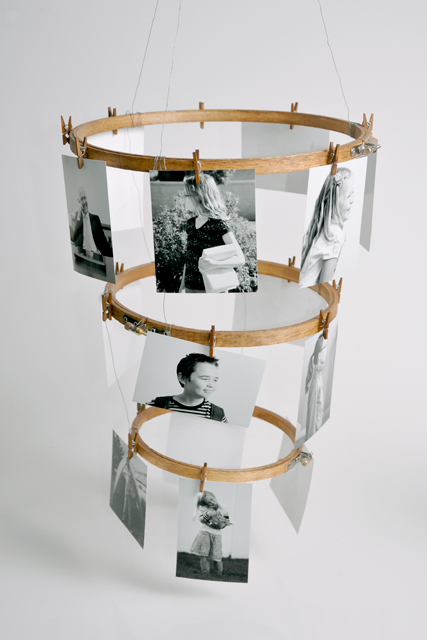
This idea demands 12″,8″, and 6″ Wood Embroidery Hoop and to finish it, you will need mini clothespins, craft Wire, and DecoArt Wood gel stain. By looking at this preview, you know that this idea won’t drag you to a limbo. Stack two or three hoops, set your gap, connect them using craft wire you already prepared, glue your mini clothespins using DecoArt and work your photos. After a week or two, you can swap your photos if you want to update your collected memories.
3.Picture Frame Wreath ↳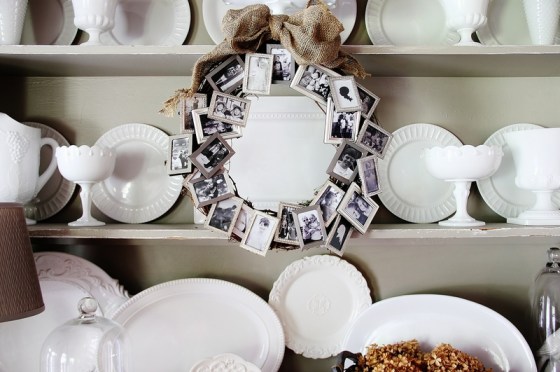
This idea will request extra effort compare to our previous idea. It requires 18” grapevine wreath, photo paper, dark floral wire and 24 pieces 2”x3” picture frames. To attach your wreath and your frame you need to sacrifice frame’s pin in order to make it “flattenable” with your wreath. After you finished this step, your next job is thread through your frame and done. You can enjoy your Black and White photos collection or colored photos at this moment.
2.Instax Photo Wallpaper ↳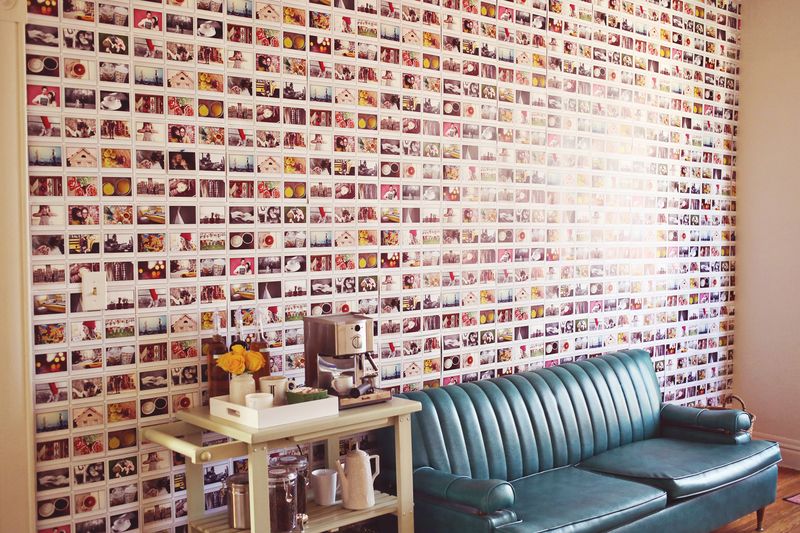
Finally, your wallpaper can tell stories. The DIY will cost you around $130 but that will also depend on size of your wall. To attach your photos, you have option to use staple gun, masking tape, or satin paint which will avoid your wall from minor damages. If you don’t have thousands photo collection, don’t let that fact pressure you. Elsie Larson, author of this DIY herself don’t use all photos available in her Instagram feed.
1.Wall Gallery ↳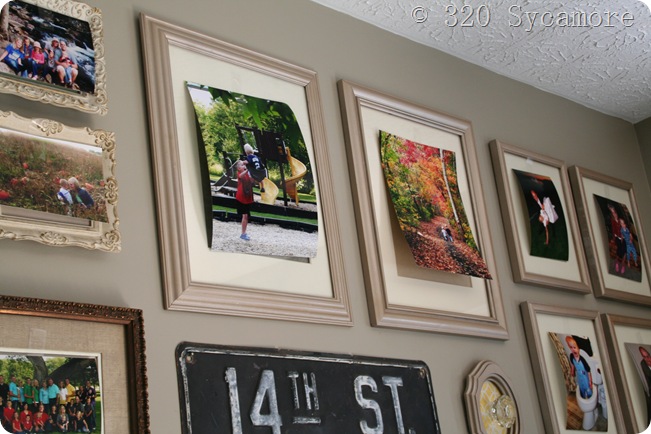
One wall multiple style frames. That sums up this last idea. If you interested with this DIY, first your money should go to purchase several photo frames styled with mat. Price ranging from few cents to a dollar. Additionally, the DIY requires heirloom white product spray paint from Rustoleum. You’ll use this spray paint to paint your old photo frame’s mat and after every frame dried, you passed half journey. Next challenge will require few papers and painters tape. Those papers will help you minimize error and for the sake of your wall, you better not skip this last step. Although they are actually optional. To save your time, check DIY link inside description area before you start to act.