A little while ago I started a segment about containing our paper clutter. Avoiding piles of paper is one of the biggest challenges for me so I am determined to tackle it! Last time, I spoke about how I organize our receipts. Now, I’m tackling our mail.
 Shaun and I take on different chores in the house, and one of mine is the mail. One would assume, what with all the companies that offer electronic instead of mailed billing, that this particular task wouldn’t be much of an issue.
But somehow, it still is, at least for me! Flyers, bank statements, invoices an invitations all seem to end up on our coffee table. I don’t know where to put them all, so I avoid going through the pile, the pile gets that much more daunting, and it ends up being a vicious cycle.
To avoid the pile up, I decided a mail sorter would be the best solution for me.
{source}
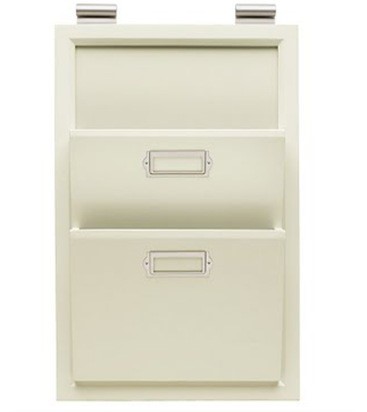
This one from Pottery Barn is pretty, but at 70 dollars (!) CAD, I definitely wanted a cheaper option.
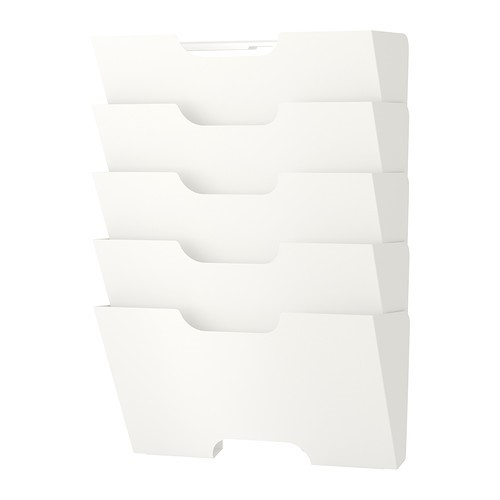
I thought about making one myself, but creating a folder for mail seemed tedious… Call me crazy, but creating something out of old cereal boxes just for junk mail doesn’t sound like my idea of a good time. When I found Kvissle from IKEA for $20 (CAD), I was sold!
{source\Buy Product}
It’s a tad larger than what I had in mind (it’s technically a magazine rack) but I thought that in the end the size would come in handy.
First, I reviewed our main problem areas:
1. Flyers: Shaun likes to look through the flyers we receive for deals of the week. It’s great, since he’s definitely the bigger saver of this little duo, and it inspires me to do the same. However, what’s not so great is that they don’t have a home. I don’t know if he’s been through a particular flyer, if he needs me to keep it and somehow they end up tossed around our house.
2. Bills: If it’s not electronic, we tend to forget about them until we find them again later. Not good, I know. What can I say, we grew up with computers.
3. General info: Invitations, Elections BC, bank statements, pay stubs etc.
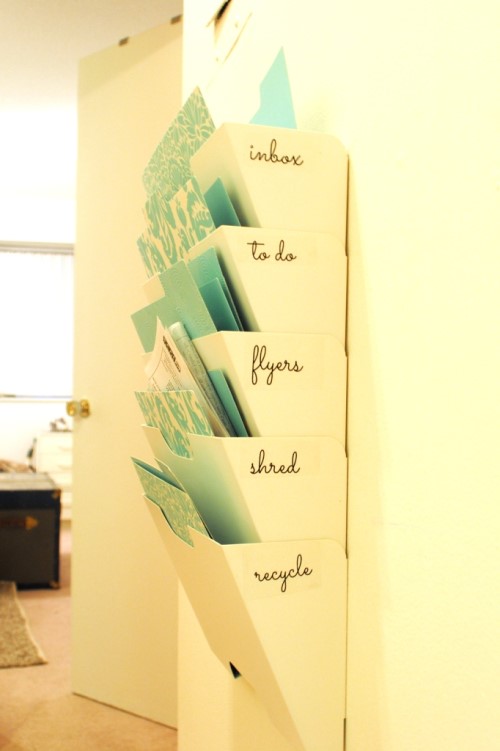
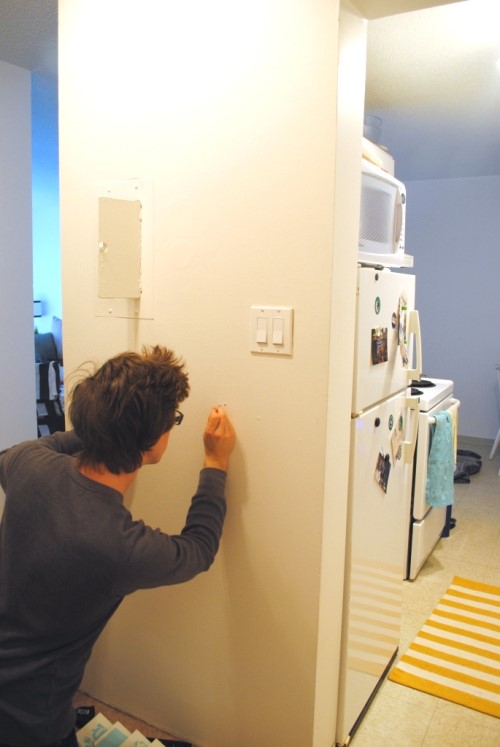
I opted to hang our mail sorter in our mini front entry hall way. After assembling it, Shaun helped me hang it using a couple of basic screws.
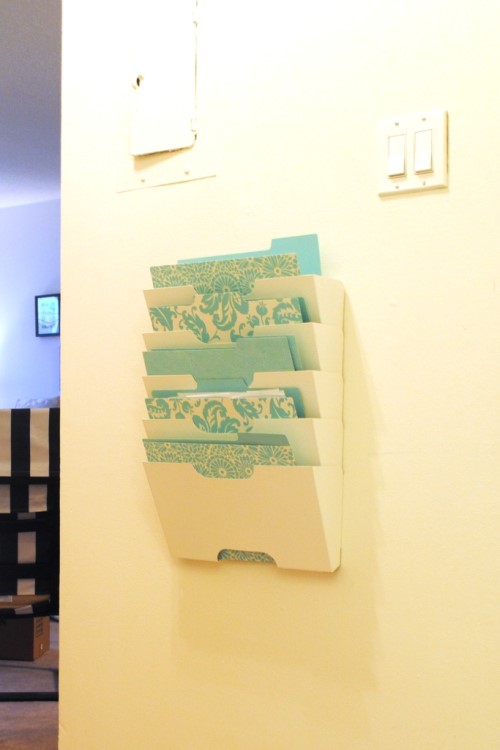
You’ll notice I added some teal folders (they’re from the Martha Stewart collection at Staples). Unfortunately, when I put the Kvissle together (gotta love Ikea assemble-it-yourself) I realized they weren’t quite as wide as I had in mind.

They’re so narrow that I can’t reach the bottom of each section, and plus, there are holes at the bottom of each section: my mail could fall through. Instead, I pull out the folders to reach my mail. Plus, this way I have a bit more color!
Update: I actually love the folders. So much easier for filing my important documents away later!
I knew I wanted to label my new mail sorter, and remembered I still had some Avery Clear Decals from my Glass Decal project hanging around. It’s made of metal, so I thought I’d try it out. To learn how to use them, click on the link above.
(A reader asked me a while back what font this is. If you’re curious, it’s Sacramento.)
To add another little punch of color (and to hide the ugly fuse box you may have noticed in the pictures above) I decided to hang one of the pictures I took in Indonesia. I used command Velcro strips so that it can easily be removed if ever we need to access the box.
Here’s how I decided to organize it all:
I had five whole sections with Kvissle, so I started breaking them down first into the most obvious choices and then went from there.
1. Flyers to read: Shaun can pick up the flyers he wants to look through here. If we have no use for them, they’ll go into the recycling bin. If we do use them, Shaun can keep them or we can throw them up on our memo board (more about organizing ideas below!)
2. Inbox: I’d love to say that I will open and sort through my mail as soon as I get it, let’s be honest, I’m lazy, and I won’t. When I get home, I divide the mail and flyers. When I feel up to it, I’ll sort through the mail and put it in one of the following slots.
3. Recycle: One of my readers (feel free to check her blog) suggested keeping a recycling bin at the entrance so to toss junk mail and other paper as soon as I get home. What a great idea! I never thought of that, but I definitely wanted to implement it! We don’t have much more room on the floor, and I’d like to keep the recycling area small (so we’re forced to take it out and not let it pile up) so I think a section here is perfect.
4. To do: I used to have a To Do pile during my brief stint as a receptionist (wasn’t really my cup of tea) that worked so well, so why not do it at home? Here, I’ll keep the bills we need to pay, the mail I need to respond to, the personal information I need to file away, etc.
5. I struggled to decide what was best for the last slot. I thought about keeping a spot for my library and teaching books, but I decided a To Shred section would be the most useful community for me. This way I can easily keep our identities protected.
Total Project Costs:
Kvissle from Ikea: $20
Folders from Staples:$5
(I had the avery decals previously of course, but they were about ten bucks).
Total cost: $25.
I’m really happy with how organized my entry way is shaping up to be. Stay posted for my memo board and a few styling tweaks! I might even gather the nerve to stencil a wall… We’ll see…