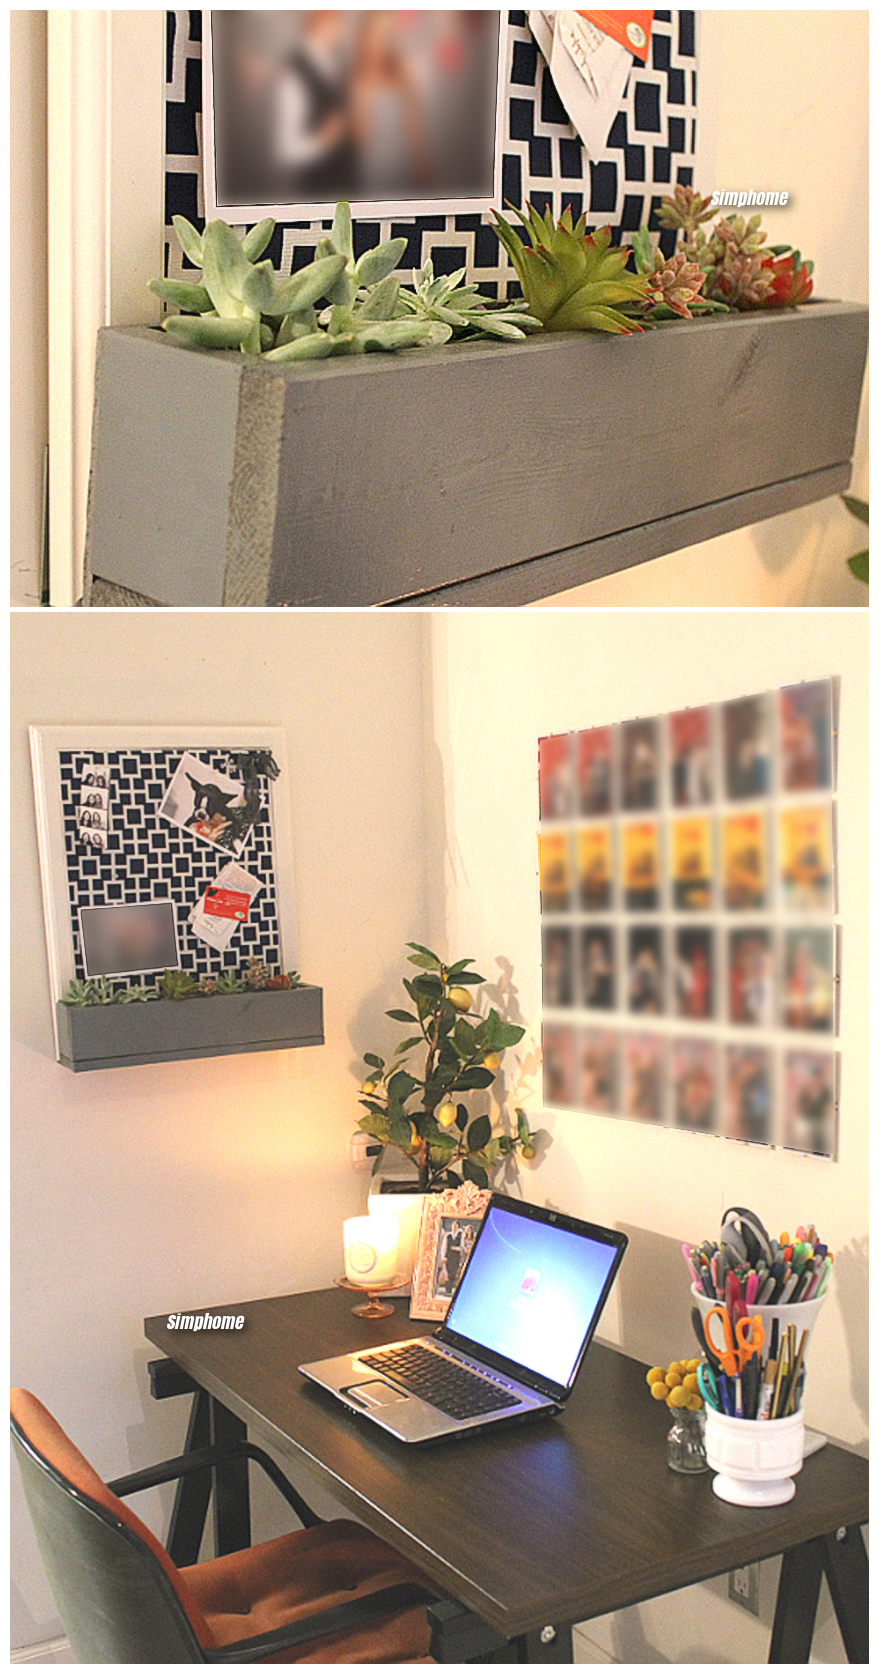
My good friend Heather made me this amazing framed corkboard with an attached planter for succulents. This was such a wonderful gift to receive and I was shocked to hear how straightforward it was to make. Heather normally blogs about all things food, restaurants on Bourbon and Bleu. Since this project doesn’t fit with her normal content, I asked her if she would be willing to put together a tutorial for the corkboard to share it on here. Take it away Heather….
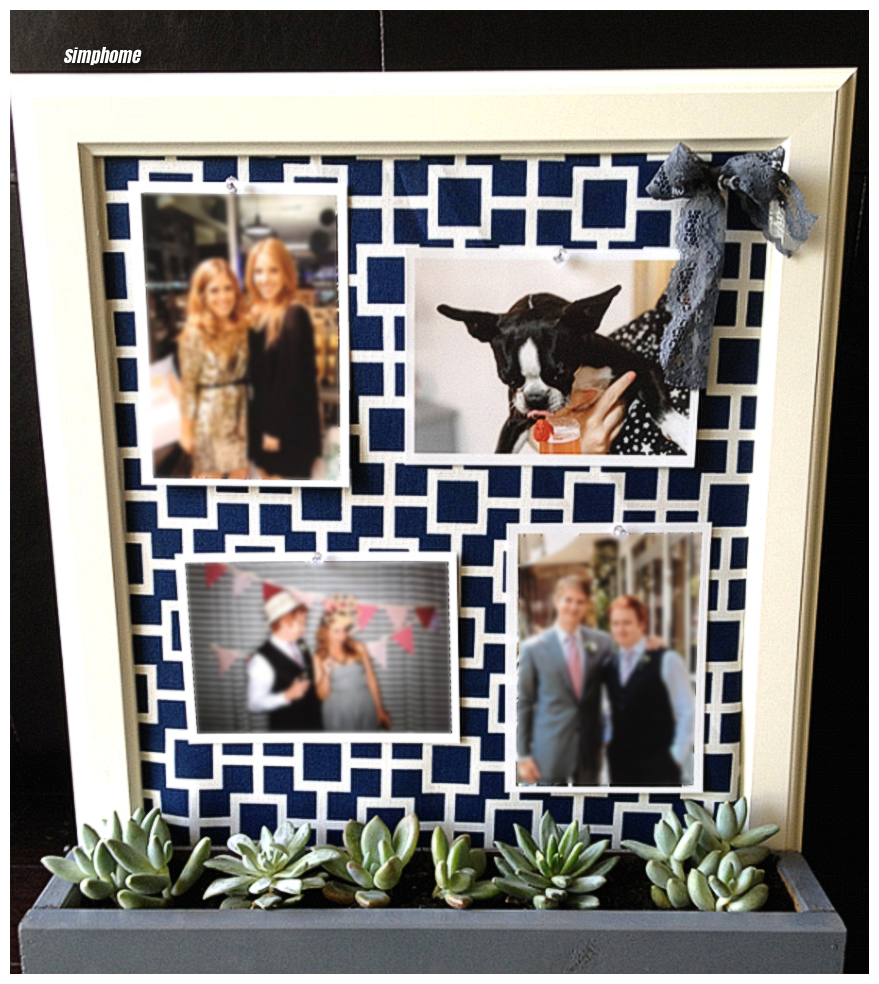 I’m so excited to share this fun DIY project with you! I made this for a few friends this holiday season, but now I’m sort of itching to make one for our apartment. It’s a great way to showcase pictures, cards, jewelry.
– You name it. And I think the succulents bring a unique and special touch. (full tutorial instructions are below)
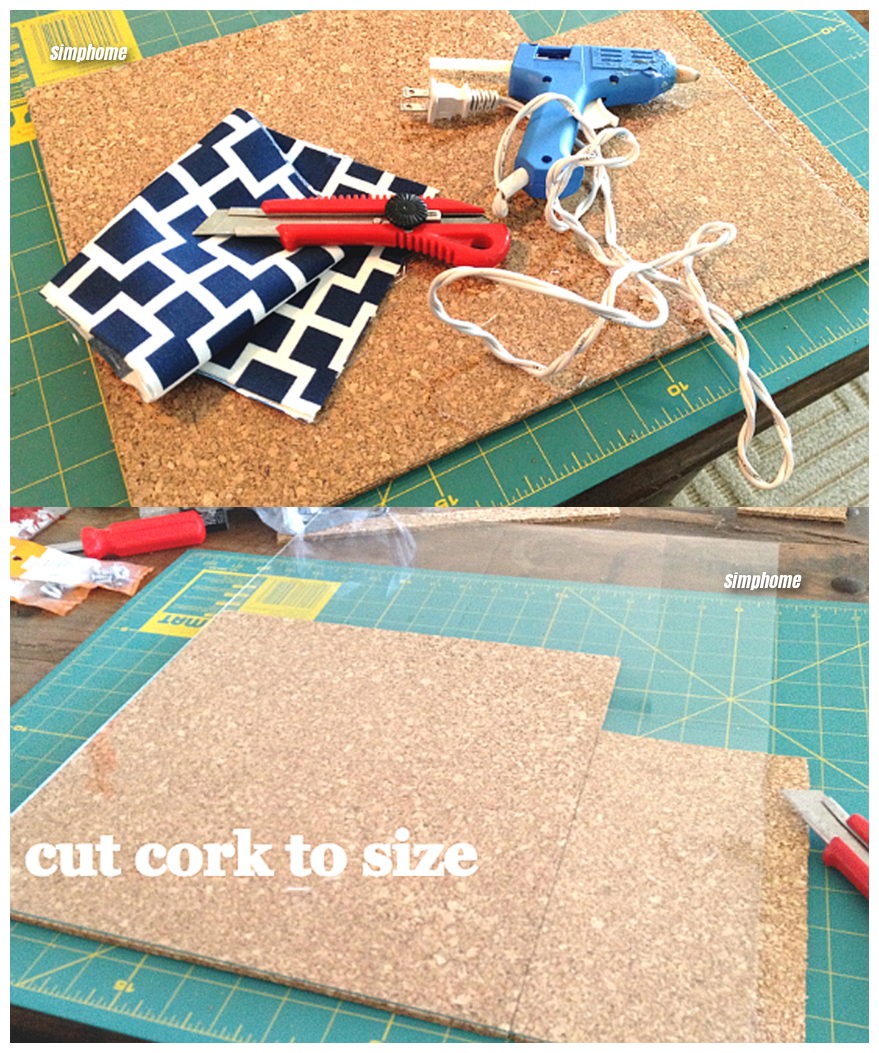
What you need:
Bulletin Board Materials:
• 1 White Wall Frame (19 x 22.75) (Buy @Ikea)
• 1 package cork squares (But @Target)
• ½ yard fabric (large geometric patterns tend to work best)
• Glue gun / glue sticks
• Razor blade
• Cutting mat
How to Do it?
1. Using the glass from the frame as a guide, cut the cork squares down to fit the frame.
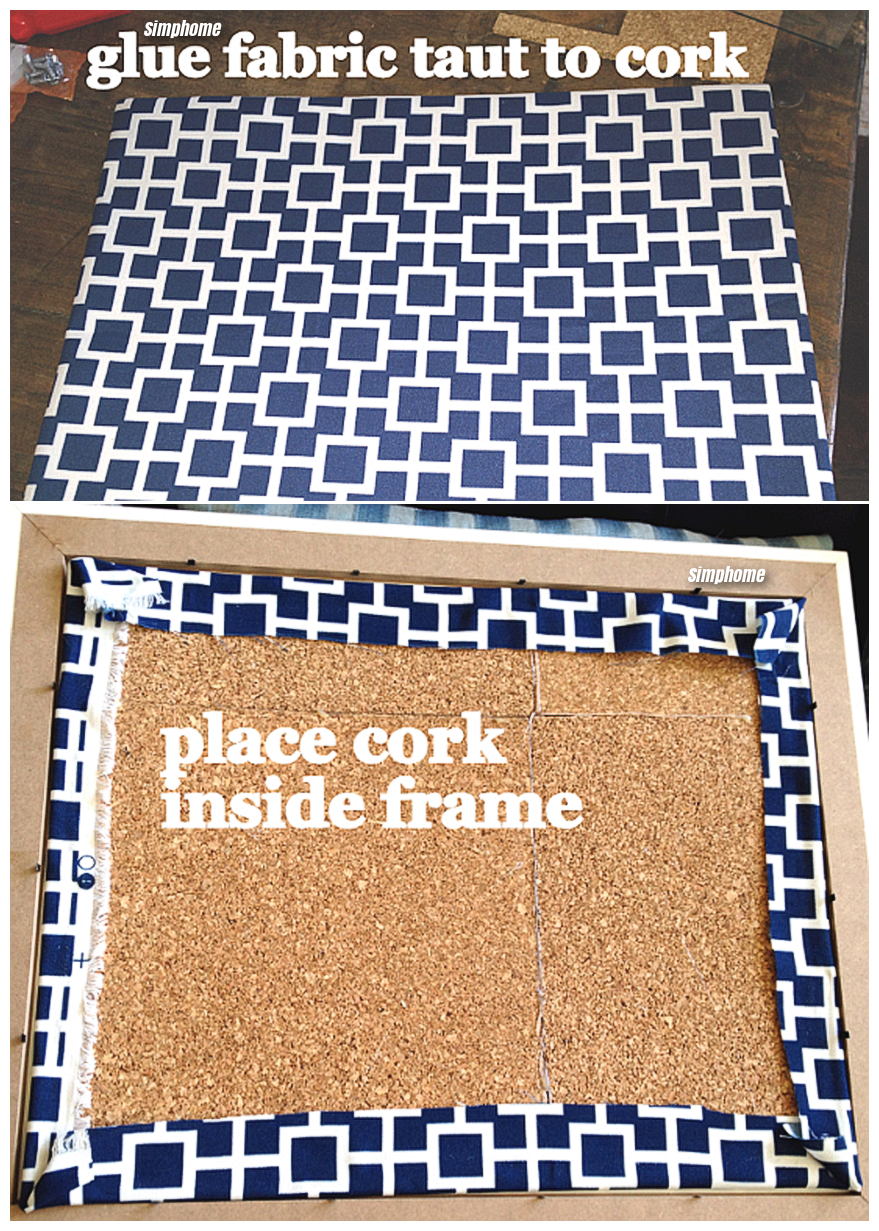
2. Place the cork on the back side of the fabric. Trim the fabric so there’s about an inch or two extra on each side.
3. Glue the fabric to the back of the cork board. Line any of the cracks between cork pieces with hot glue so that the cork doesn’t move around. Don’t put any glue on the front of the cork (where you’ll be placing the push pins) or else you’ll have lumps.
4. Put the fabric covered cork inside the frame, place the backing over the backside of the cork and then
5. Fold the clips down. You can discard the glass.
Planter Box Materials
• 2 pieces of 1 x 4 x 19 wood
• 2 pieces of 1 x 4 x 4 wood
• 1 piece of 1 x 4 x 19 particle board
• Nails
• Hammer
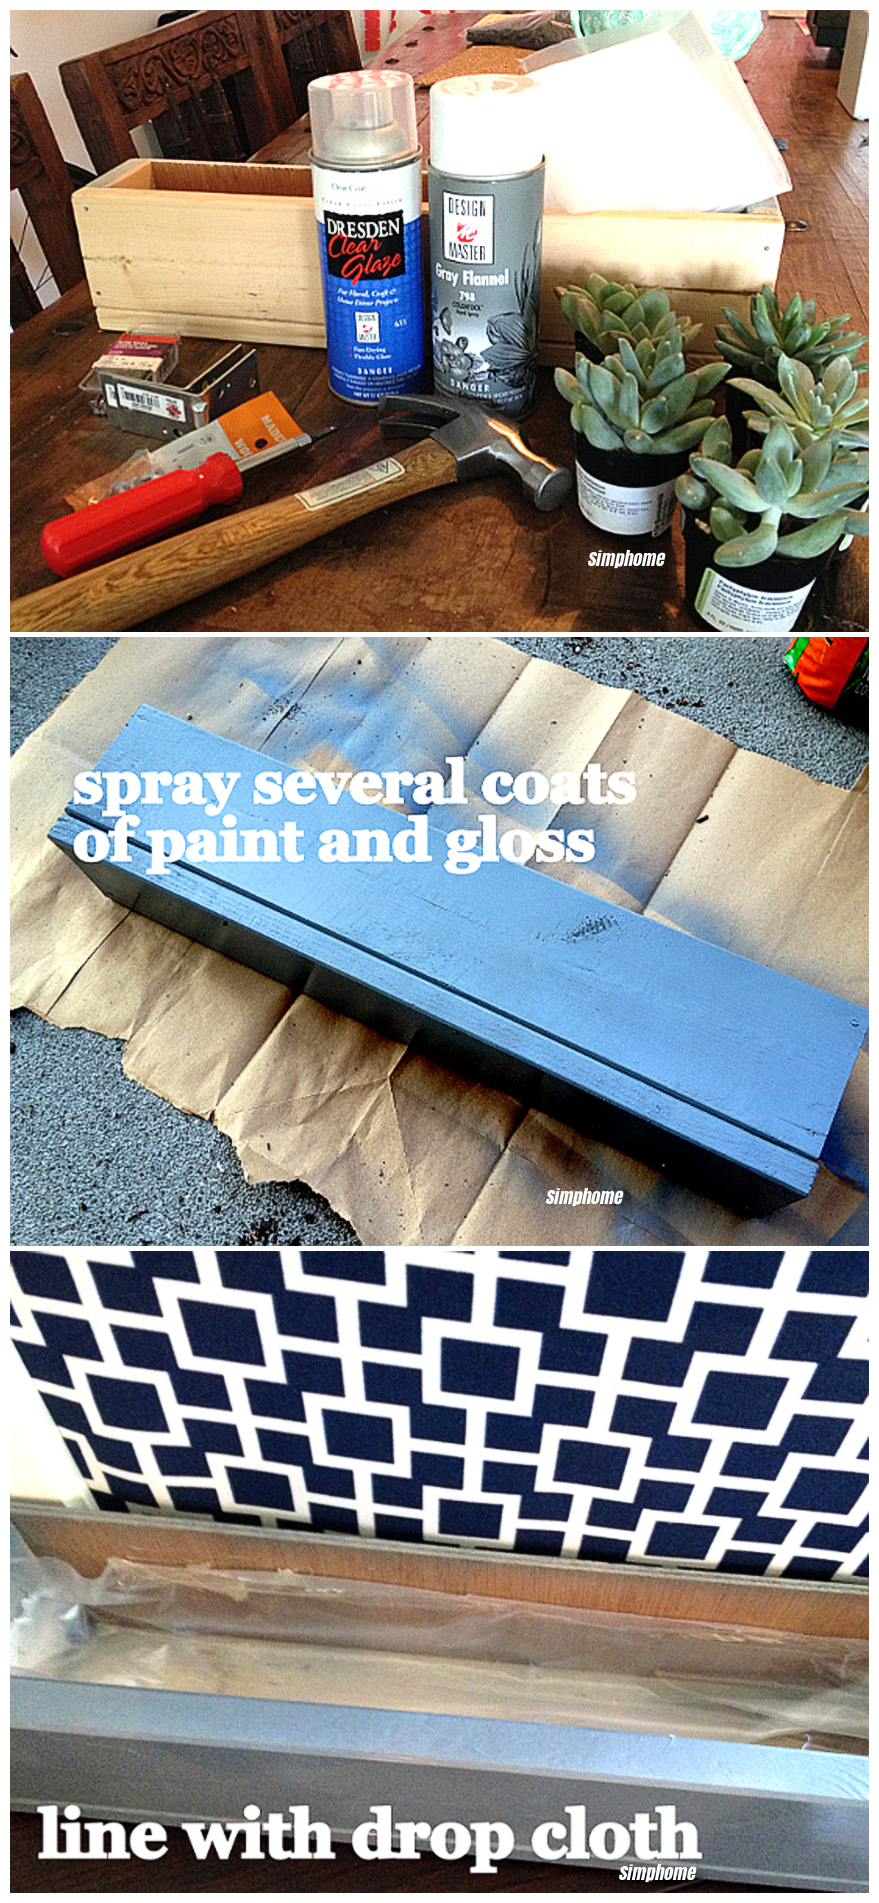
• spray paint
• Phillips screw driver
• 2 L brackets
• 4 screws
• Glue gun / glue sticks
• Plastic drop cloth
• 5 mini succulents
• Soil
How to Do it?
1. Build the planter box using the 2 pieces of 1 x 4 x 19 wood as the front and base, the 1 x 4 x 4 wood as the sides, and the particle board as the back. I don’t think there’s any exact science to the number of nails or the way to build it. Just be consistent on each side and use enough nails to ensure the planter box is stable.
2. Spray the planter box with several coats (I used 3 coats).
3. Once the planter box is dry (I purchased fast drying spray and gloss paint, so it took about an hour), line the planter box with the drop cloth. The drop cloth will make sure the planter box doesn’t leak every time you water the succulents. Line the interior of the planter box (about half way up) with hot glue and attach the drop cloth around all the sides.
4. Affix the planter box to the frame using an L bracket on each side. The L bracket will connect to the back of the frame and the base of the planter box.
5. Fill the planter box about three quarters of the way up with soil and plant the succulents throughout the box.
if you have more time, I recommend you one of these links:
or one of this lists: