9. A Clever Cabinetry Idea from Vivien’s Project from Allo Valley
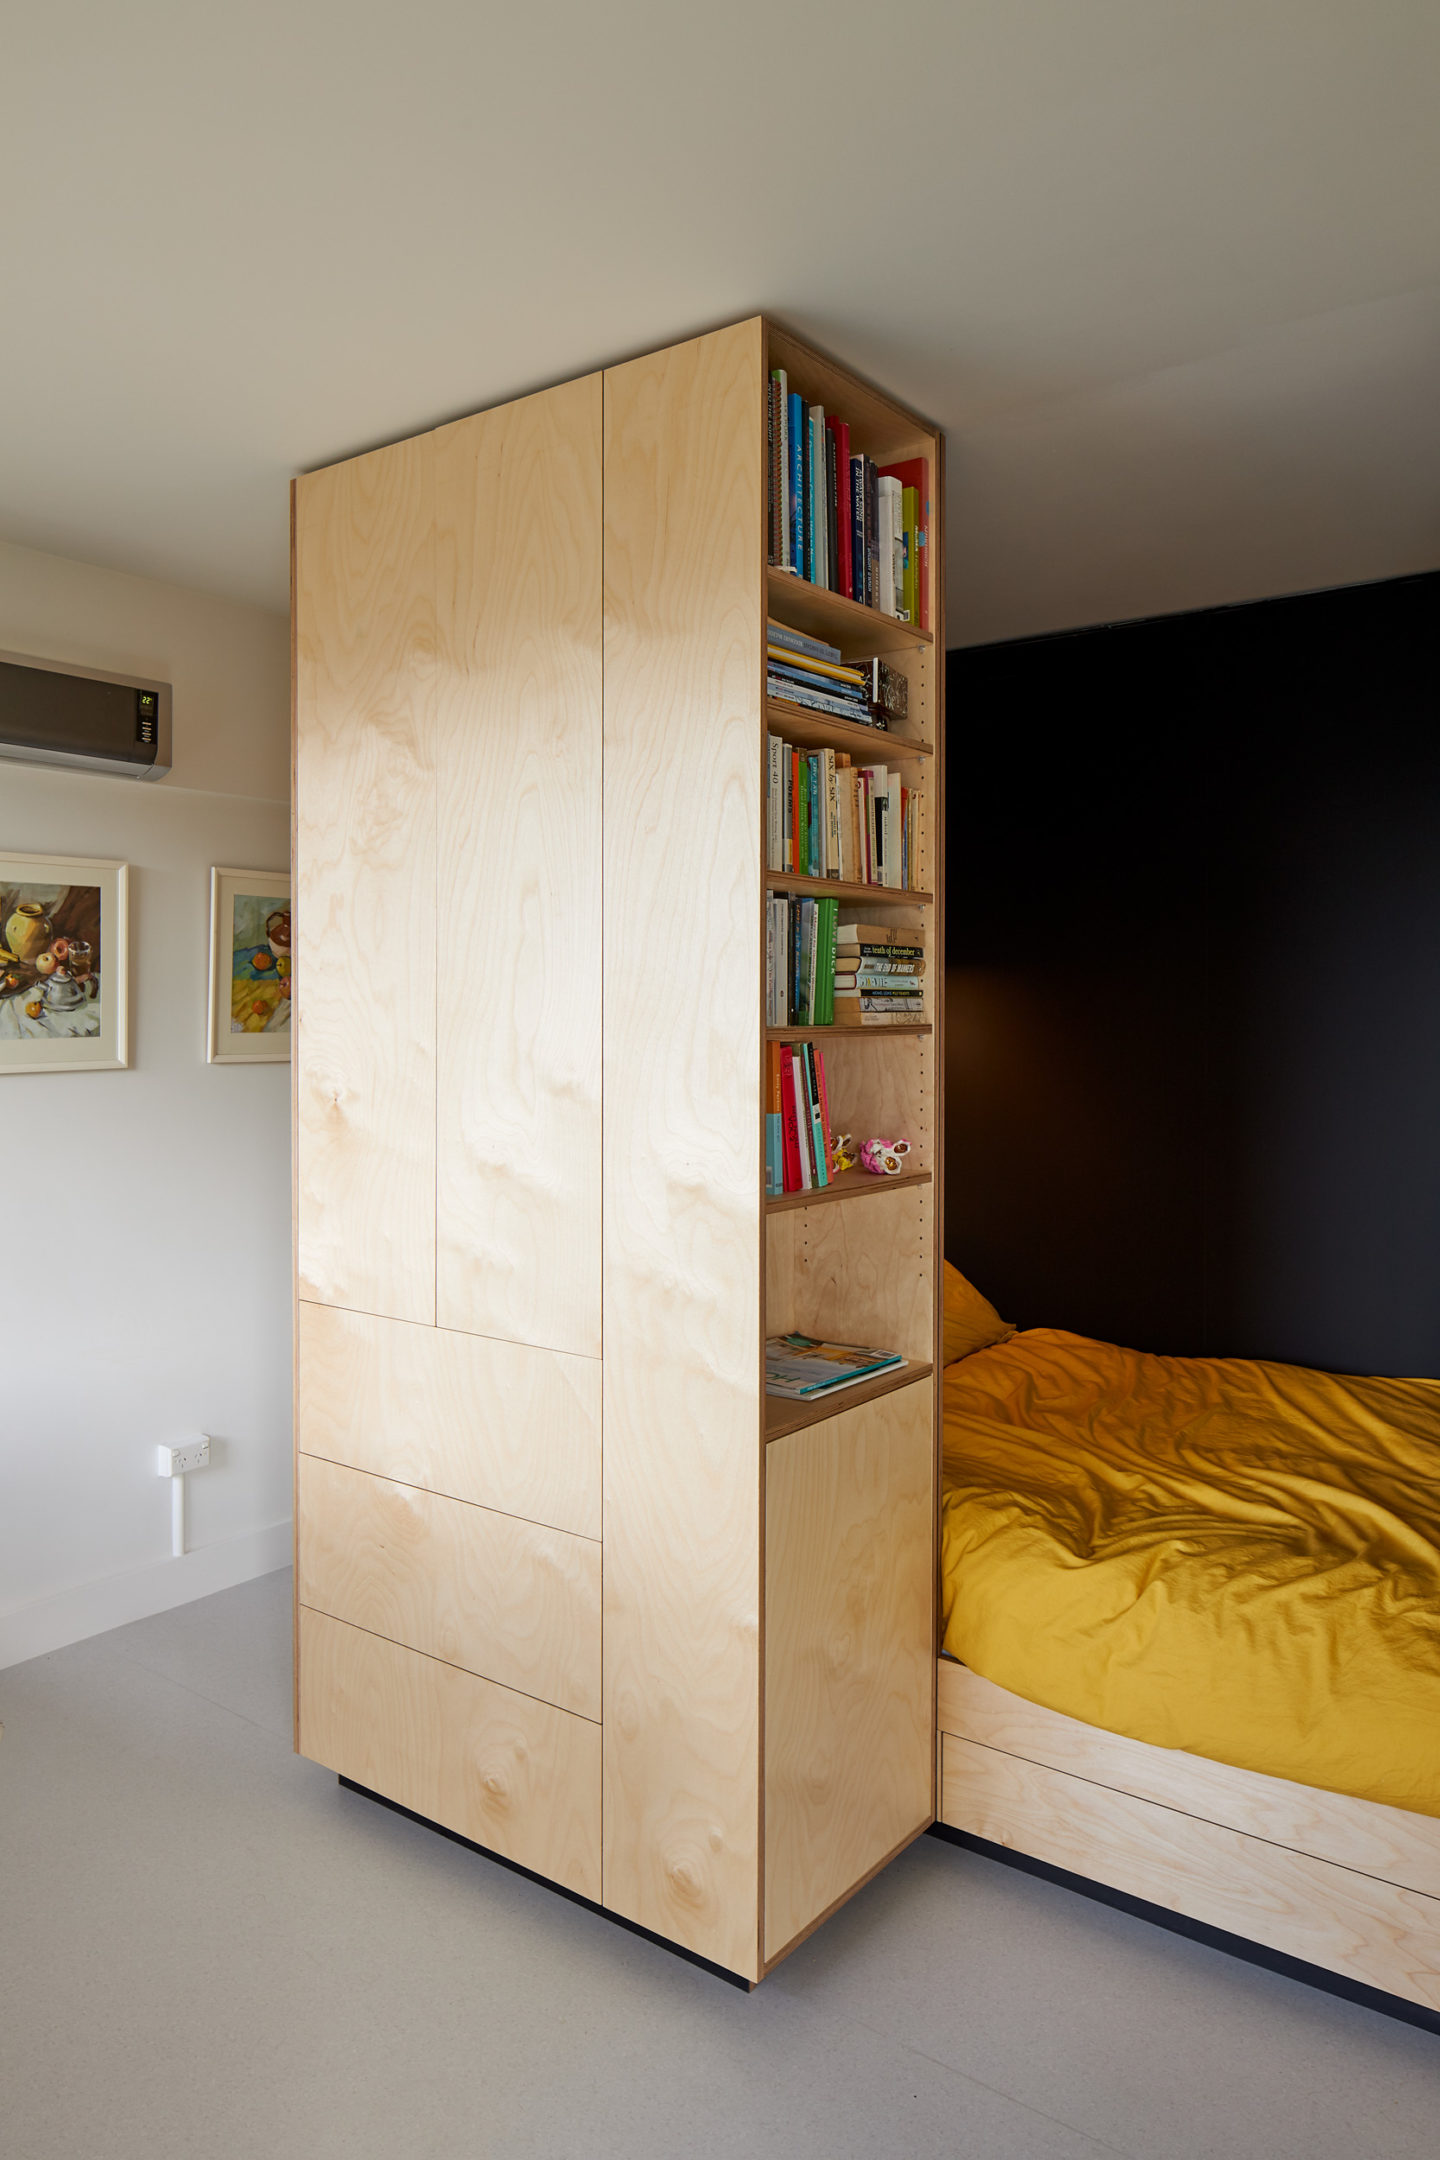 Step into the world of Vivien as she unveils her sun-soaked sanctuary nestled in the heart of Aro Valley. This 1960s cinderblock studio apartment, spanning a mere 28 square meters, boasts breathtaking views of Wellington harbor. With proximity to local gems like Raglan Roast, a cute pizza place, and Garage Project brewery, convenience is at Vivien’s fingertips.
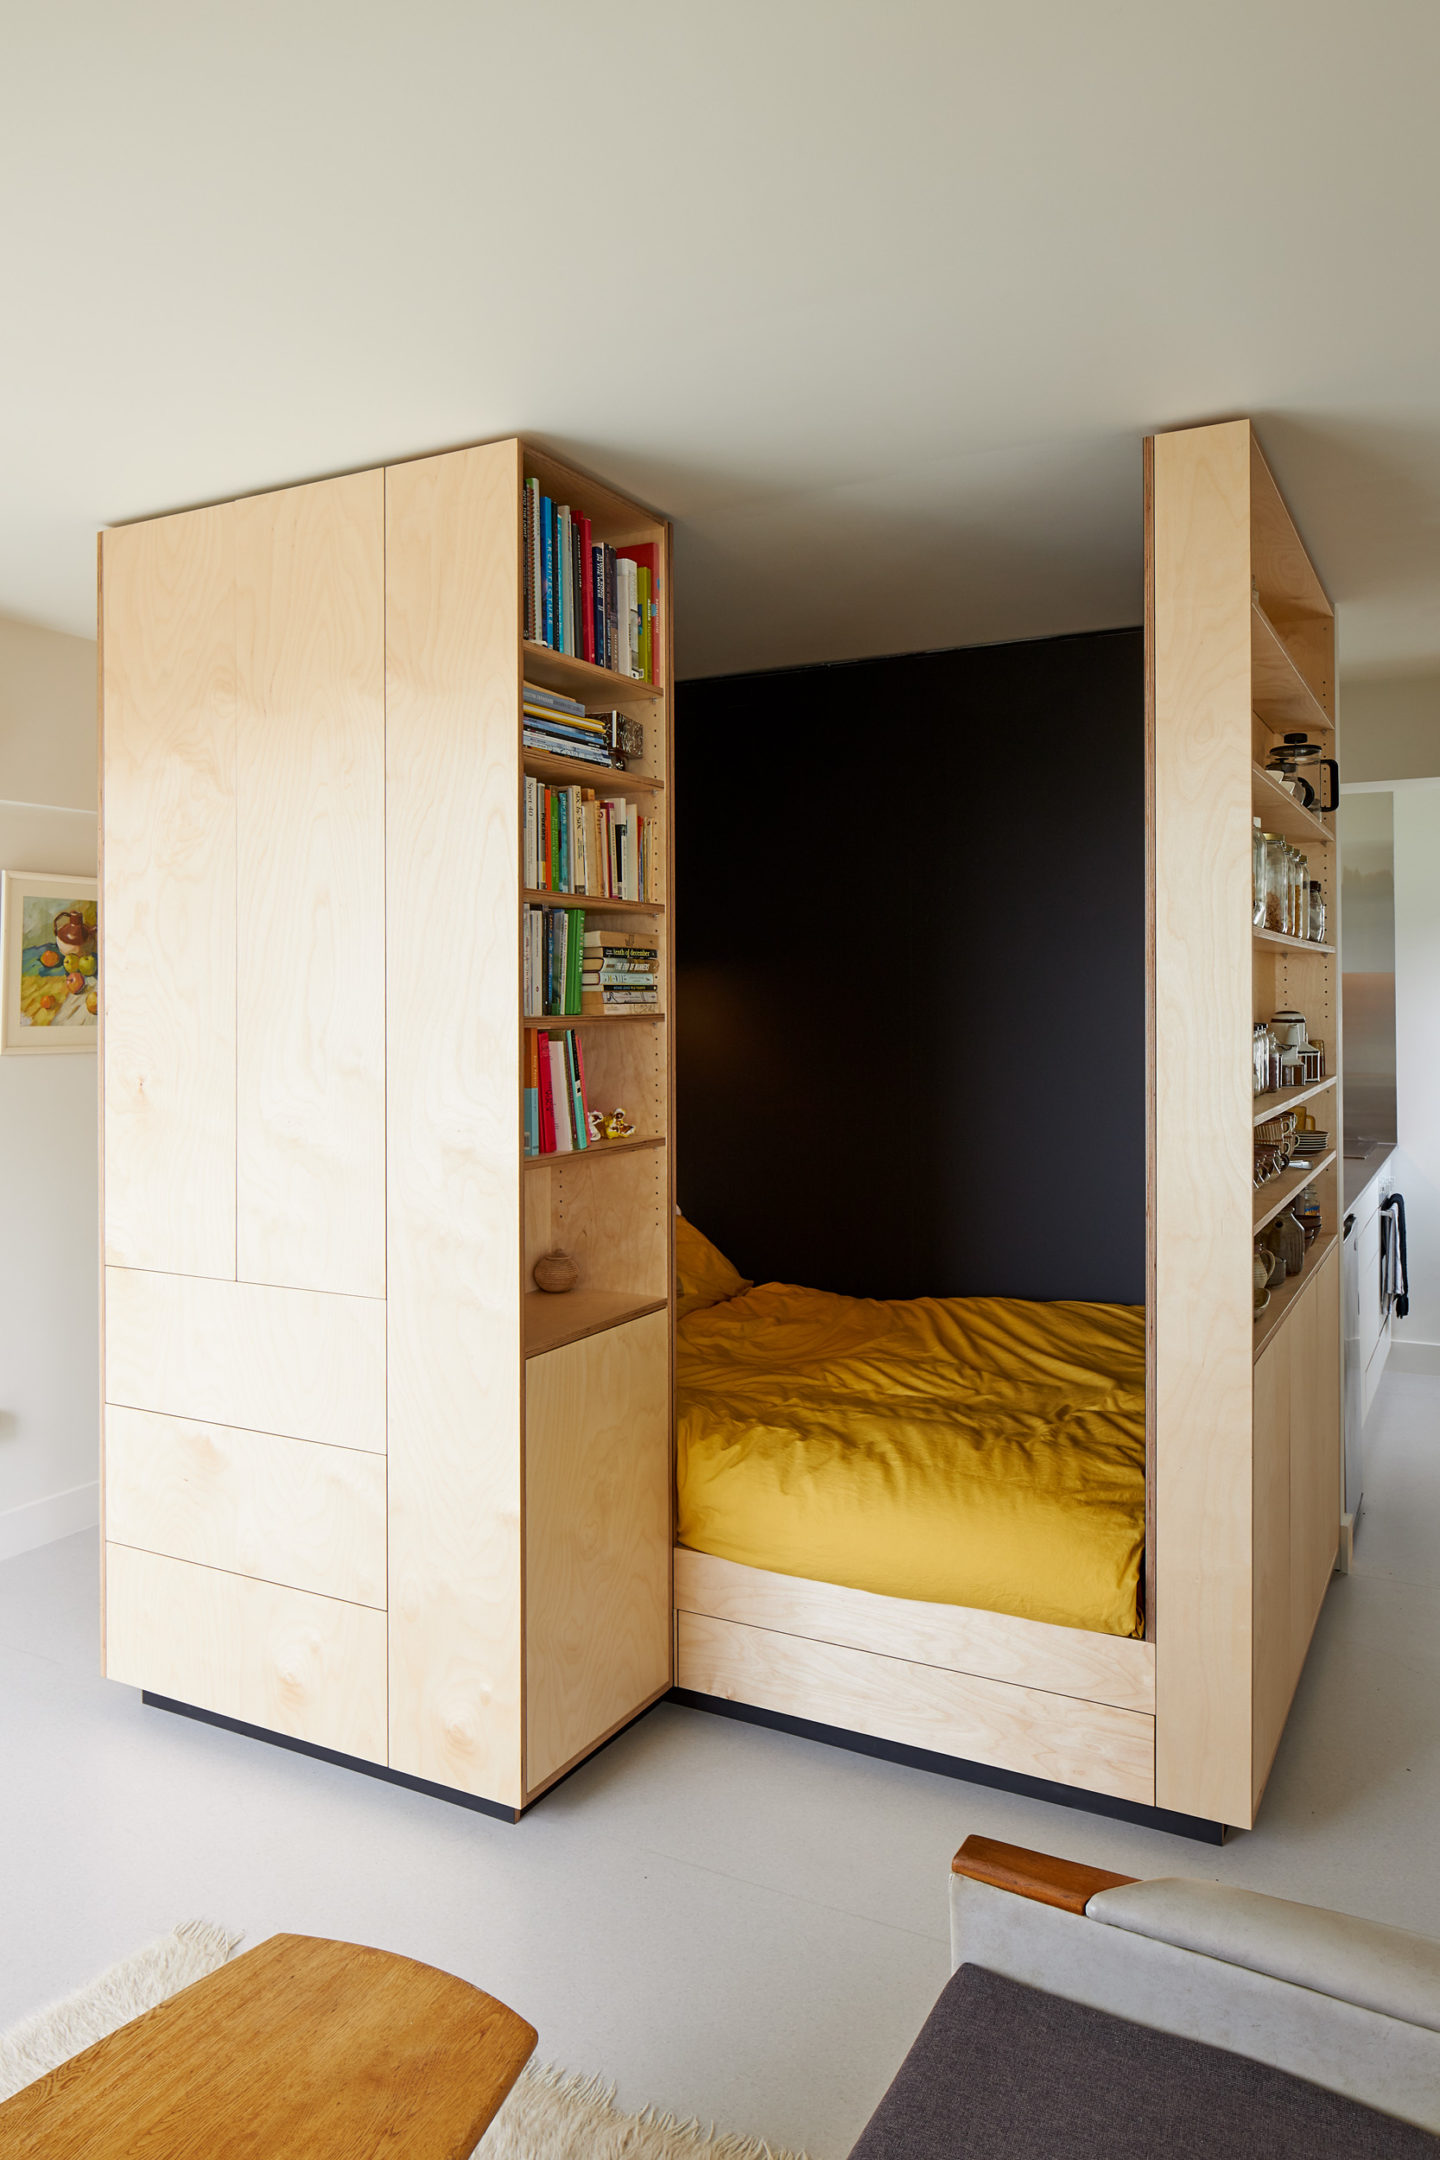 Driven by the desire for privacy in the open-plan space, Vivien embarked on a transformative journey. Collaborating with esteemed joiner Sebastian Bissinger of Splinters and Pixels, they crafted a multi-functional cabinetry unit that seamlessly blends into the surroundings.
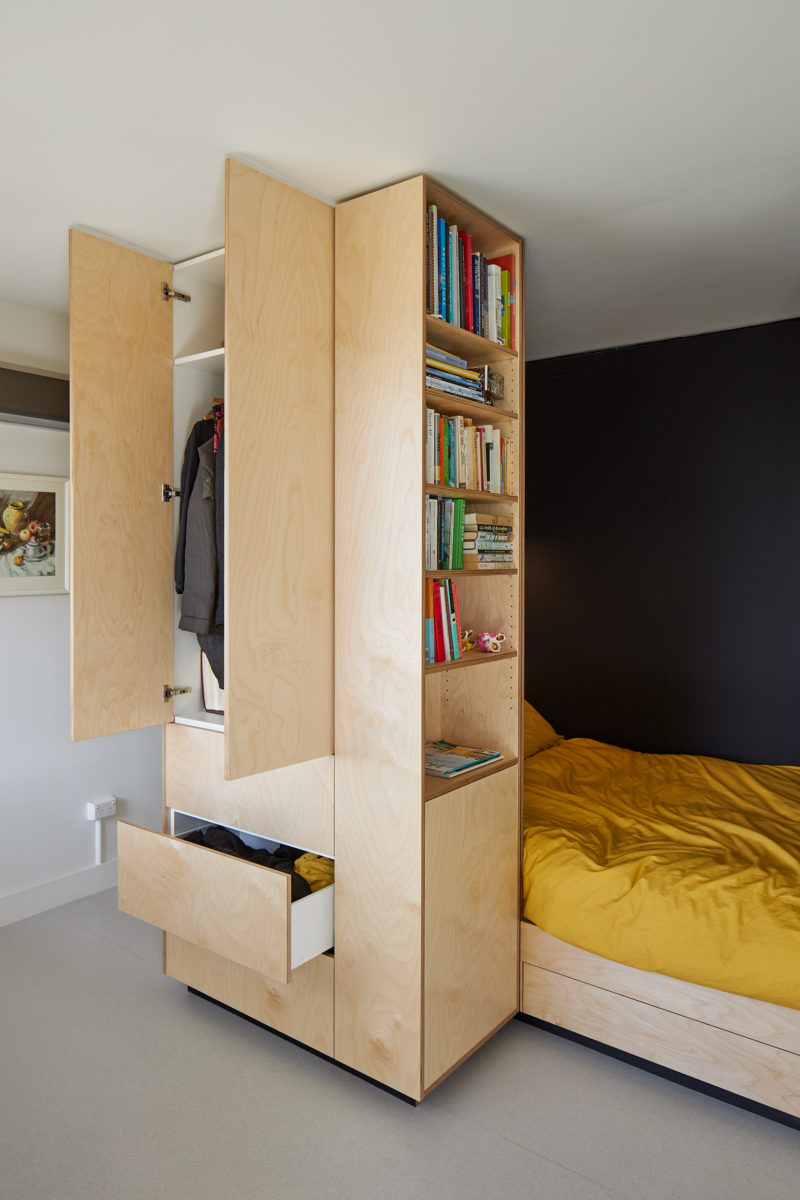 This ingenious creation serves as a sleeping pod, wardrobe, storage unit, and pantry, cleverly dividing the living and sleeping areas. With fresh paint, pristine Marmoleum flooring, and kitchen upgrades, Vivien’s abode exudes a newfound sense of blissful living. Prepare to be inspired by her ingenious design and join the movement towards elevated urban living.
Detail: @Patchworkarchitecture.co.nz
8. The DIY iComfort Adjustable Bed Hack
 Embark on an exciting journey as you create a customized adjustable bed. Inspired by Serta’s iComfort bed and fueled by the desire to alleviate back pain, you built your sleep sanctuary. With a dash of research and creative brainstorming, you sketched the initial designs, bringing your vision to life.
- Gathering the Materials: Begin by collecting various wood blocks to experiment with. You want to find the perfect combination that balances strength and flexibility.
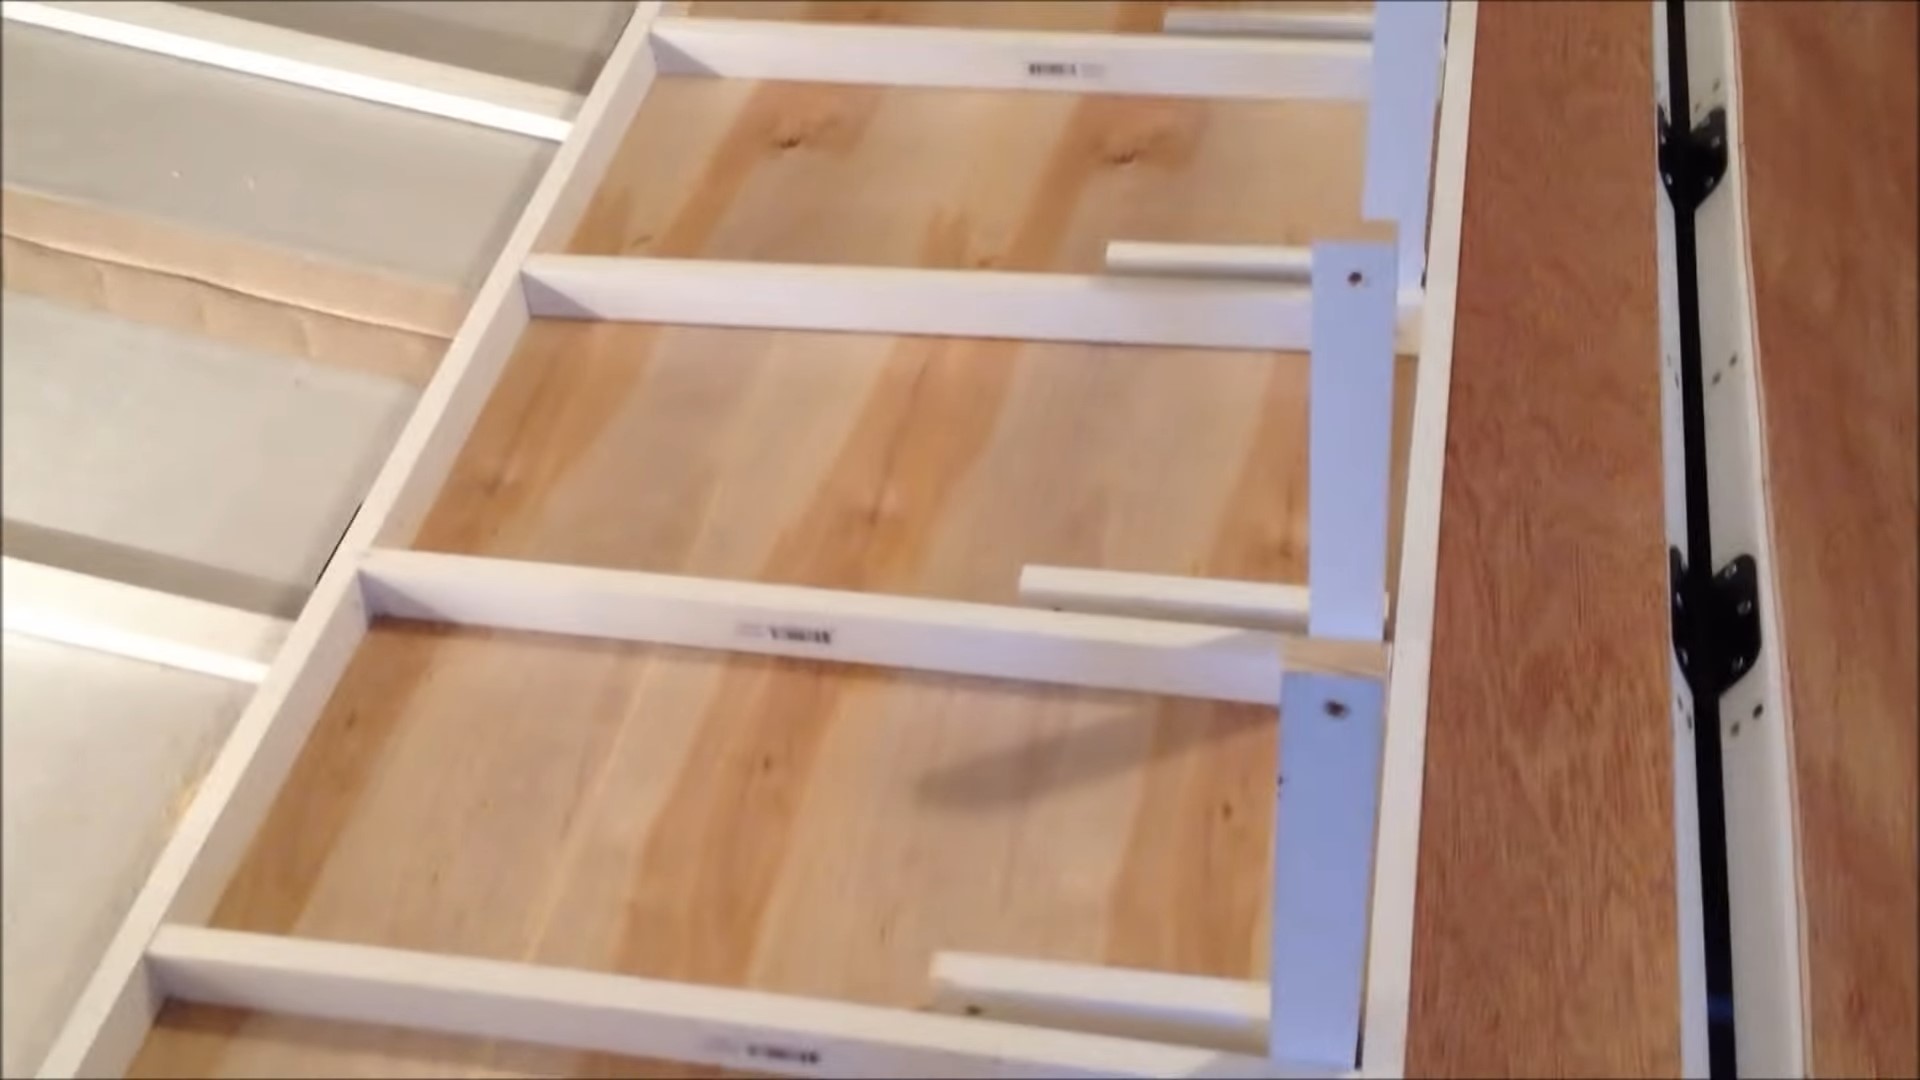
- Creating the Base: Construct a sturdy base using four bars as the motorized modules’ foundation. Carefully align them to ensure smooth sliding motion.
- Building the Modules: Craft the individual modules, allowing for independent movement. Each module should have hinges that enable it to go up and down effortlessly.
- Assembling the Modules: Connect the modules with hinges, creating a cohesive unit. Take your time to ensure proper alignment and functionality.
- Enhancing Stability: Strengthen the structure by adding corner braces on the sides, providing extra support for the weight distribution. This step ensures stability and longevity.
- Adding the Sliding Mechanism: Install sliding slots on the base to facilitate the modules’ smooth movement. These slots allow the modules to slide forward and backward, granting you control over the desired elevation.
- Incorporating the Backrest: Integrate a backrest into your design, allowing it to lift up as desired. Secure it with a piece of wood temporarily while you brainstorm ways to adjust it.
- Perfecting the Adjustability: Strategically position hinges to connect the backrest and middle portions. Ensure they fit seamlessly, enabling smooth adjustments to the backrest’s incline.
- Final Touches: Attach the remaining hinges to connect the different parts of the bed. Step back and admire the framework taking shape—a beautiful blend of white and oak finishes.
- Protecting the Mattress: Add a layer of quarter-inch plywood to safeguard your mattress. Staple it securely onto the structure, providing a smooth surface for the mattress.
- Choosing the Right Mattress: Opt for a flexible, moldable mattress like a Tempur-Pedic to maximize the benefits of your adjustable bed. Other mattress types may not offer the same level of compatibility.
- Fine-Tuning Adjustments: Experiment with the adjustable modules’ positions and elevation options. Find the perfect combination of comfort and support for your needs.