Key Points:
- To build your first builder-grade kitchen, you need to make sure that you have the right plans and supplies for your kitchen.
- Planning the layout of your kitchen is important to know what you need to do once you start building.
- After finishing the frame, it’s time to create any cabinets that you need or add any countertop surfaces.
- When it comes to adding a backsplash, it’s important to consider what kind of look you want your kitchen to have and how much money you want to spend.
- To craft a functional and efficient kitchen for anyone in your family, walk through the space with them so they can see if any areas may be hard for them to reach or open on their own.
- Last but not least, find a contractor for your kitchen project. They will help you organize the work and ensure you’re on track at every step.
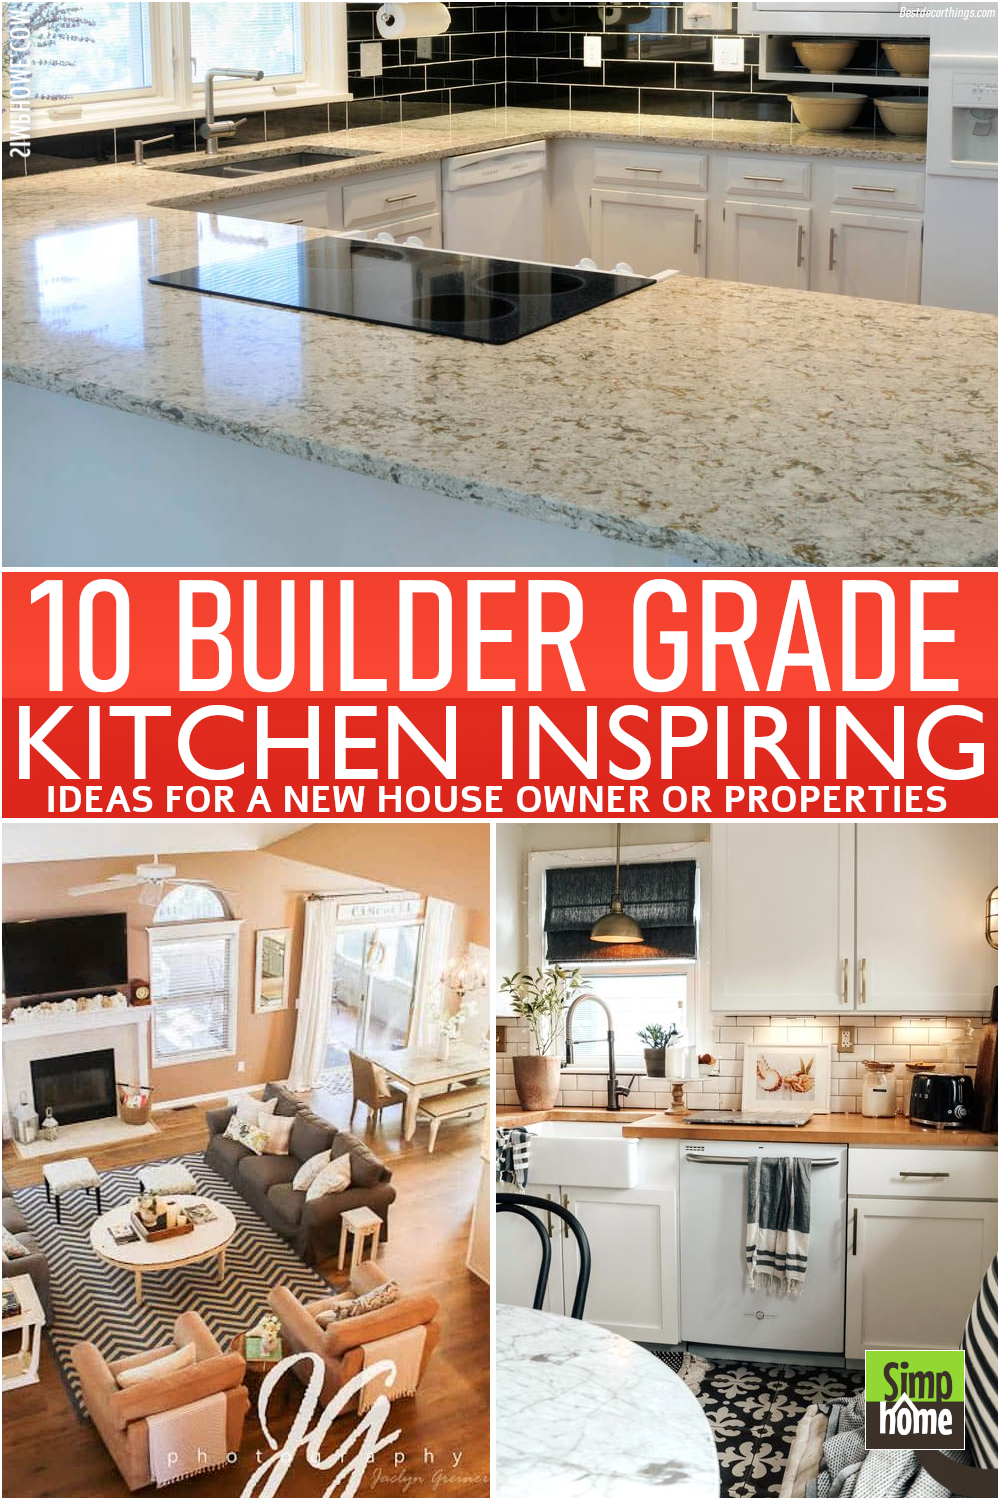
The Builder grade is the most affordable option for upgrading cabinets in the kitchen. The materials used are medium-grade and typically made of plywood with a wooden or plastic veneer. You can find many of them in home improvement stores, hence the low price.
Although builder-grade may be a dime a dozen, it does not mean you cannot make it more appealing. If you are seeking some ideas to spruce it up, you need to check out these 10 builder-grade kitchen inspirations. As always, Simphome presents you with the list.
🔊10 Builder Grade Kitchen Inspirations Video:
List Entries:
10. Update Kitchen Cabinets with Glass Inserts
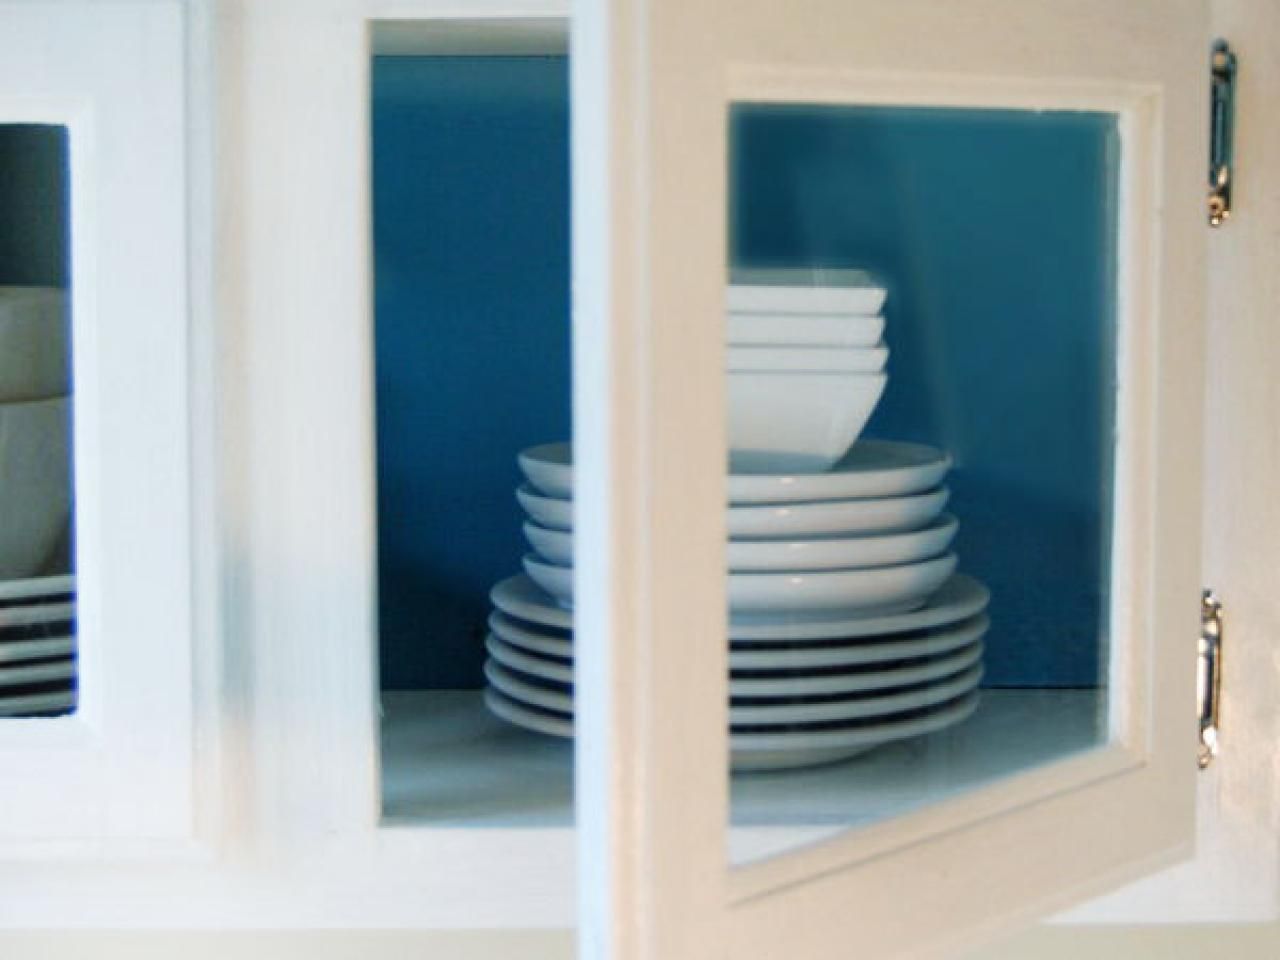 Updating kitchen cabinets with glass inserts is a quick and affordable option to transform builder-grade cabinet doors. This way, you can turn them into exquisite showcases ready to display your collections.
You can even perform a DIY project for this idea. However, you will need to prepare the materials first.
You will need:
• Cabinet doors with a panel insert.
• LEXAN glass sheets
• Clear silicone.
• Utility knife.
• Screwdriver.
• Measuring tape.
• Carpenter’s straightedge.
• Circular saw.
• Wood chisel.
• Safety glasses.
• Hearing protection.
• Painter’s tape.
Now, let’s get started.
• 1. Remove the cabinet’s existing doors and replace the doors panel with Lexan glass.
• 2. Measure the doors.
• 3. Mark the doors on the back of the cabinet using the straightedge.
• 4. Cut out the panels with a circular saw. Do not forget to use hearing protection to protect your ears.
• 5. Cut corners free with a wood chisel.
• 6. Remove the wood panel and measure the dimension.
• 7. Mark dimensions of plywood and insert on LEXAN glass.
• 8. Apply the clear silicone to the interior door frame.
• 9. Insert the LEXAN glass into the frame.
9. Update The Hardware
 Hardware is the “jewelry” of a kitchen space. That’s why it has become one of people’s favorite parts.
Like the accessories you usually wear for your outfits, you may feel bored with the same look and want to try something new. Luckily, you can update builder-grade hardware easily.
This idea requires mixing metals like gold or silver with black/oil rubbed bronze. As you notice, gold hardware looks nice for the lower cabinets, while the oil-rubbed bronze will be suitable for upper cabinets or the light fixture.
Basic instructions:
- Step 1: Turn off the power supply.
- Step 2: Remove the old hardware and check for the type.
- Step 3: Install the new piece of hardware in a new place.
- Step 4: Turn on the power supply and test your cabinets.
Tips: Make sure your cabinets provide enough space for you to install new hardware. - Step 5: Replace lights with LED lighting to save energy and provide a modern touch to your newly-upgraded kitchen space.
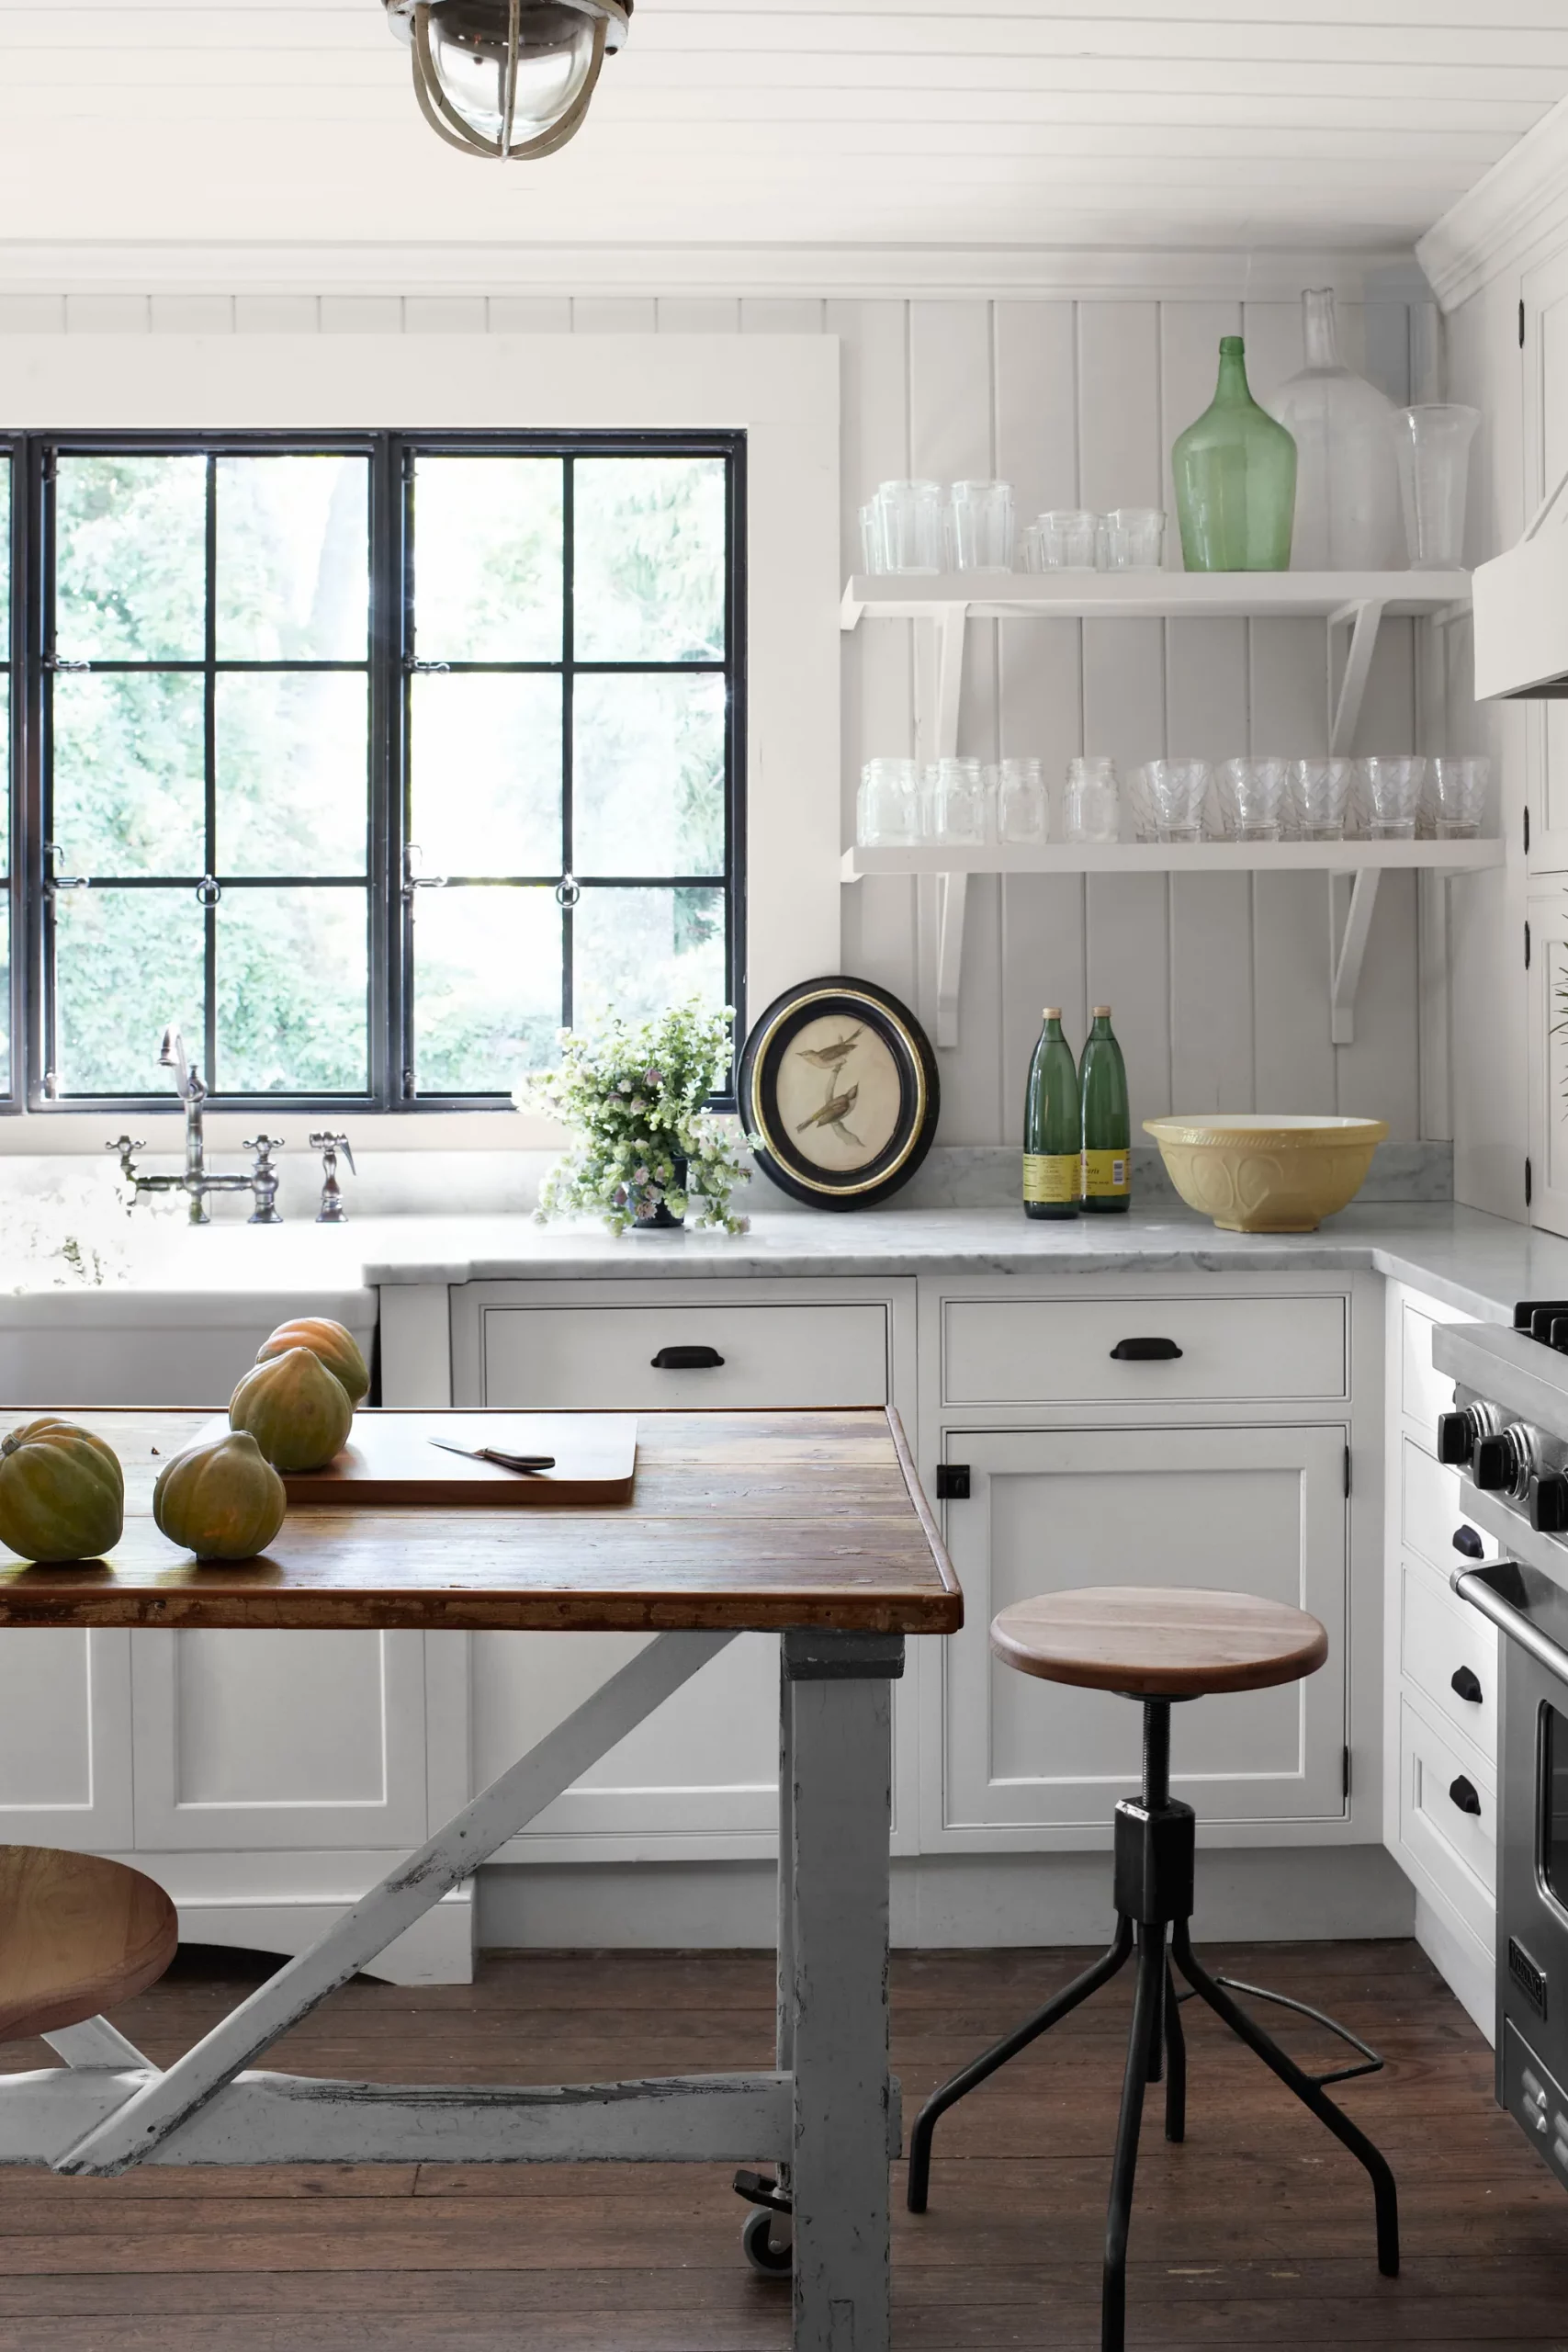
8. Use Open Shelving
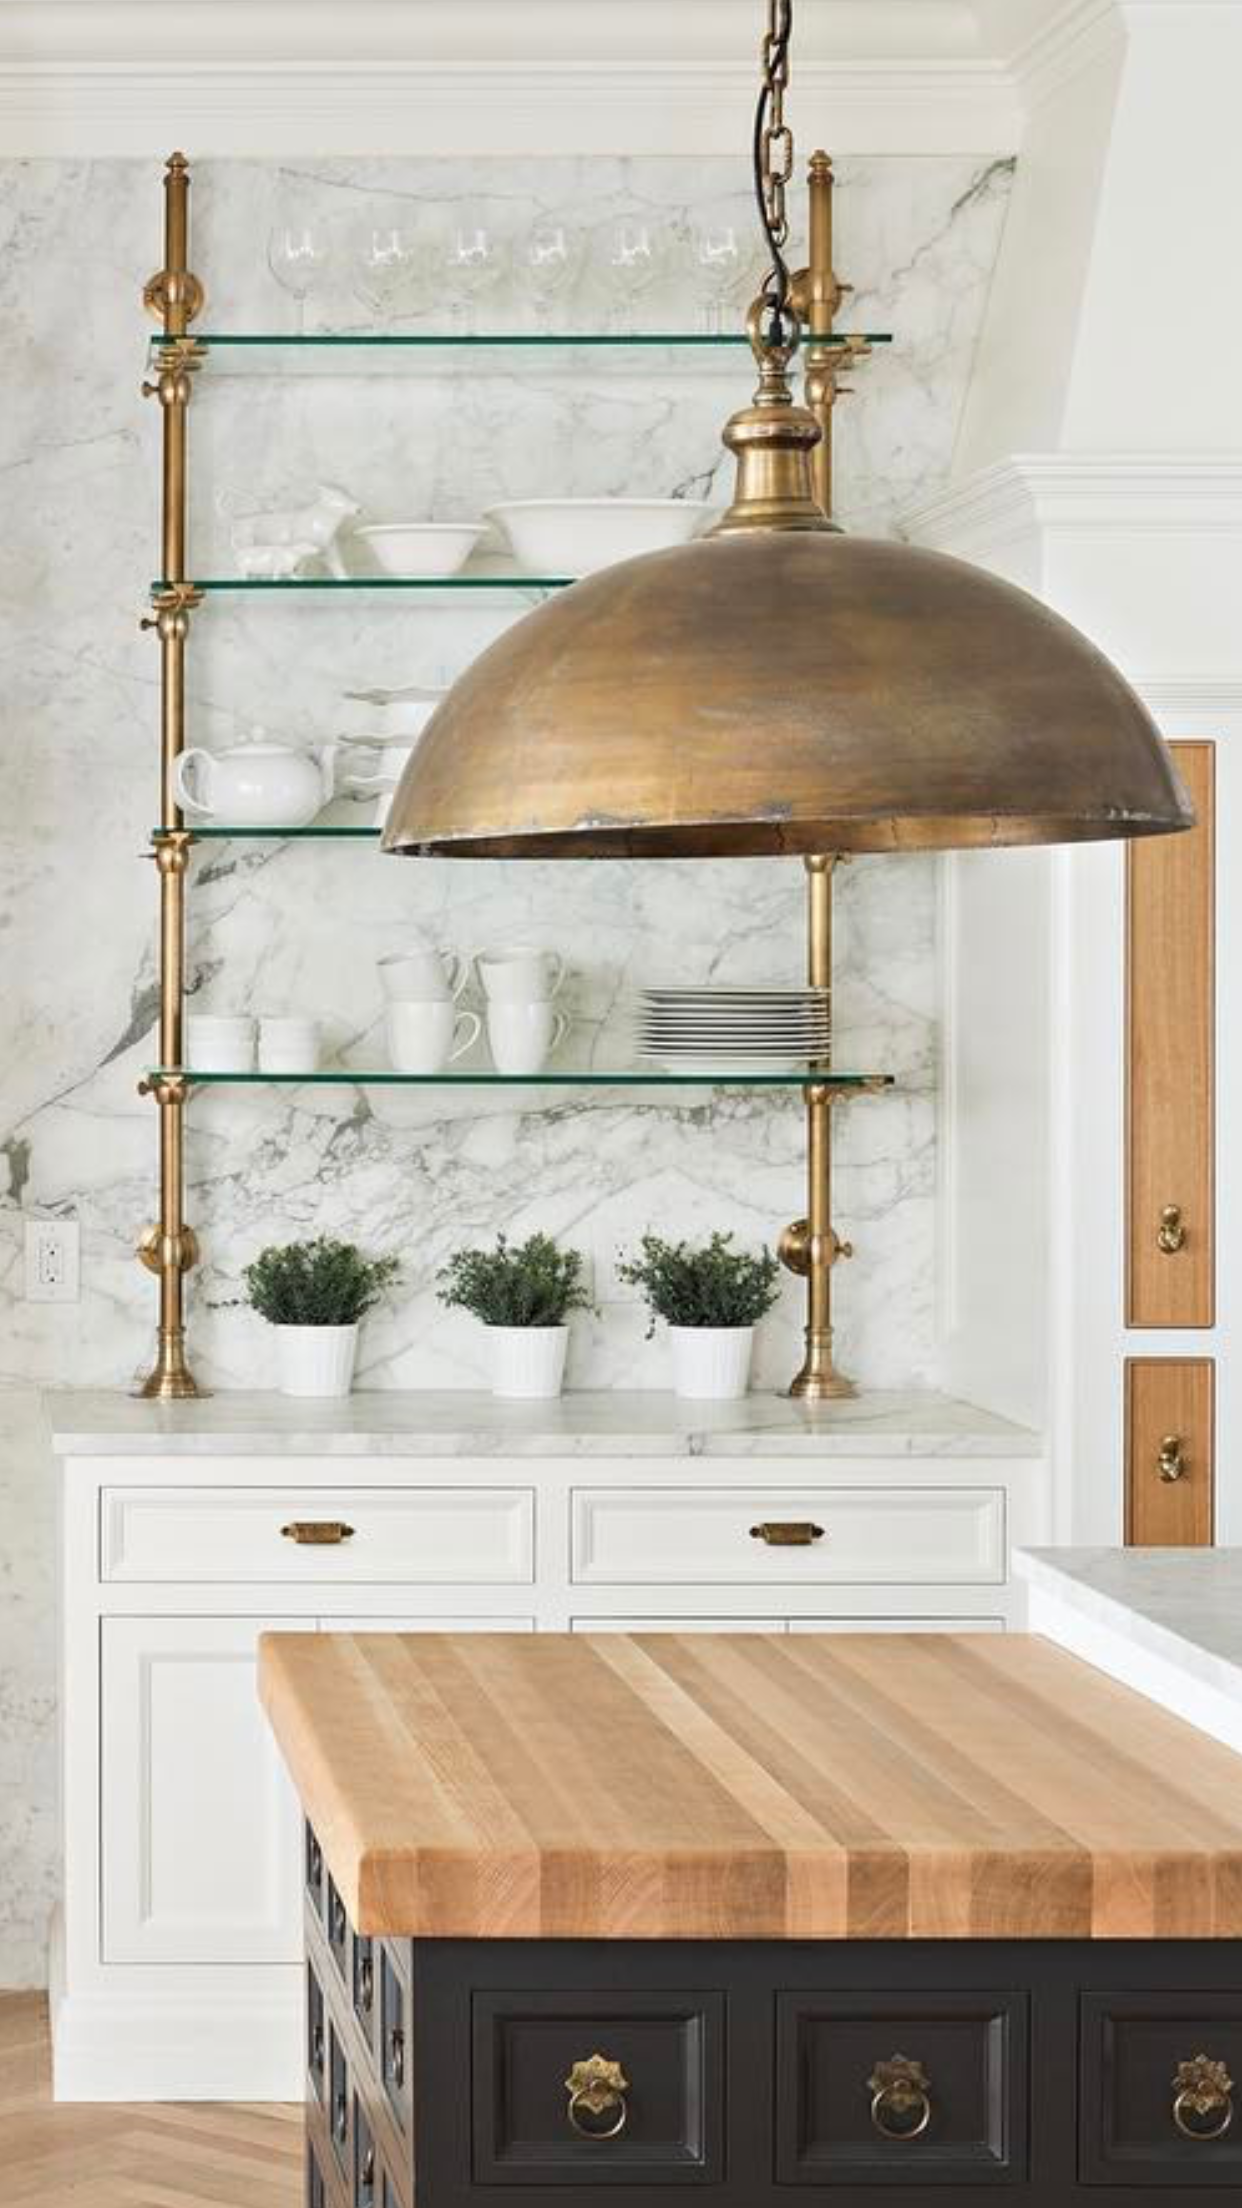 Open shelving is not new, though not everyone has this option in their kitchen. However, if you have a blank space to spare, consider
making some shelves to add storage solutions for the items you use on a daily basis.
Shelves are incredibly versatile. You can store anything you want on them, which definitely helps you get rid of clutter.
Relevant instructions:
1. Measure the area for shelves.
2. Determine the height and width of the shelves.
3. Purchase wood for the shelves
4. Screw the wood together using a screwdriver to make cabinets with holes on one side.
5. Install paneling on the backside of the cabinets with holes to provide more space between each shelf to hide wires.
6. Paint or stain your newly-made open shelving and use it to store anything you like!
7. Extra: install LED lamps to replace the old-fashioned bulbs and add a modern touch to the kitchen space.
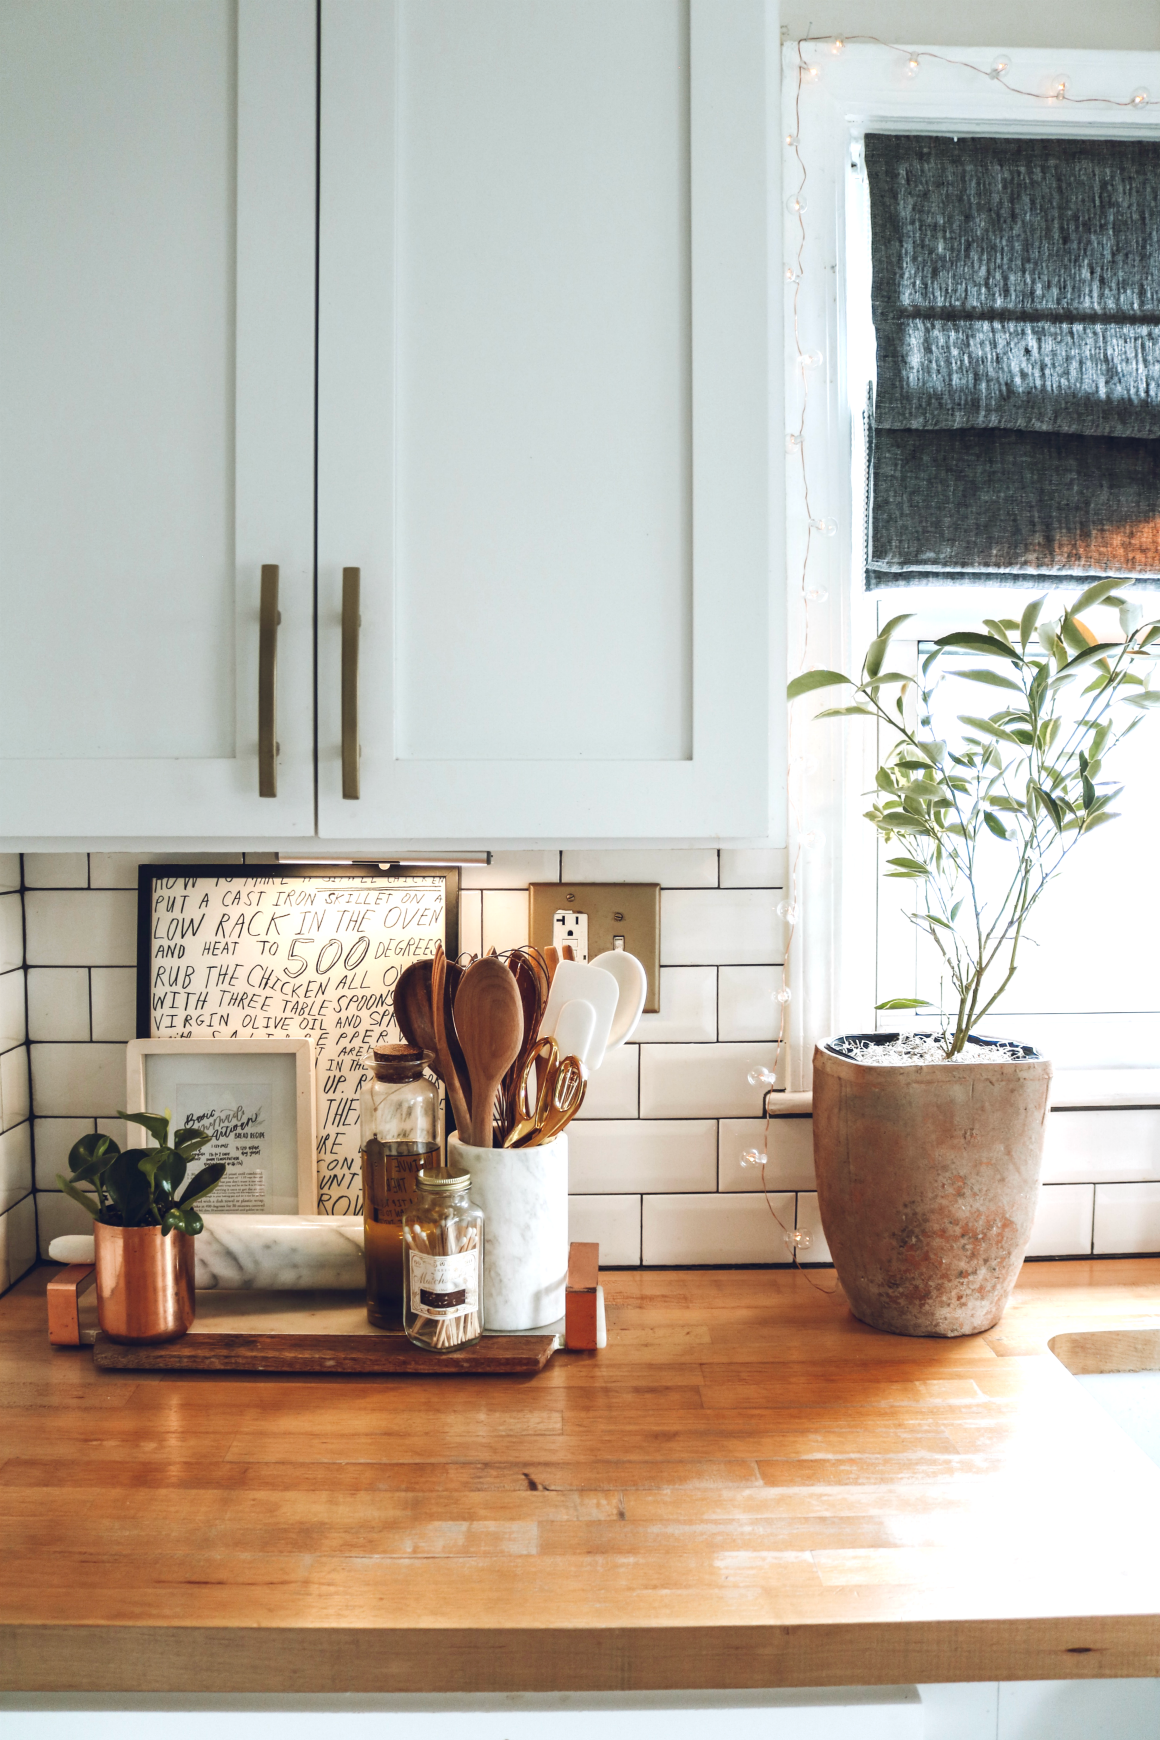
7. Add Personal Touches
 Although the kitchen is not as visible as the living room, you still deserve a place that embodies your personality and makes you feel homey. Therefore, do not hesitate to bring some personal touches to your cooking space by displaying specific art or signs and even storage.
Consider investing in your favorite storage like wicker baskets or unique jars to store kitchen utensils or spices. Since you fall in love with their cuteness, you will be likely to feel comfortable and less stressed when cooking.
The same thing goes with appliances, including toasters and microwaves. They serve both a décor purpose and duty. Relocate them if they are still functional but out of sight!
Relevant instructions:
- Start building the project with a sheet of plywood. This item will be the base for your island and all other projects you build.
- Use spacers or small blocks to separate the plywood from the cabinets. Ensure this space is at least 4″ larger on all sides than your cooktop.
And a maximum of 8″ wider than the width of your countertop. This measurement will ensure the cabinet can still fit underneath the cooktop when finished. - Measure and cut all the pieces according to their exact measurements from your CAD drawing. There are minor variations between models, so it may require some trial firings to achieve a satisfactory fit on your stone countertop.
- Use glue to secure the pieces together. Leave some space underneath your island which will be used as an air gap to build the countertop.
- Prime the underside of your island with a high-quality sealer
- Sand down all the pieces and apply an inch or two of high-grade polyurethane or cork.
- Add screws to secure all parts together. The best method is by using #10 wood screws or stainless steel screws, depending on the type of material you are fixing.
- Drill holes in the cabinets and the island to spread out evenly. It is best to work your way around each piece. Pre-drill small holes so that you do not damage the cabinets. It will also make your job easier once you install your stone countertop.
- Use a router with a cutting edge (or Dremel) to create a groove for your countertop. Follow along with the measuring tape you used earlier to ensure it is straight and even.
- Cut down one section of countertop at a time to fit exactly into your groove, then use a grout sealer or silicone around the outside edge of this section of countertop and move on to the next one.
- Use clamps to hold the countertop securely against the island, and then use an appropriate grout sealer or silicone to attach it.
- Sand down any rough edges so that you do not cut yourself later on.
- Apply a sealant to all of your exposed wood, including the underside of the island. This will help keep your kitchen looking new for a long time.
- Finally, you can add any custom touches or designs you want! Produce a backsplash with tile or marble, or add lighting above your island with rope lighting or surface mount pot lights.
6. Add Accent Lighting
Now, people have taken lighting to the next level by using them as a decorative element. Thus, you can find various lights with different functions.
For the kitchen, you can try layering the lighting. LED lights would be great in the ceiling because they can illuminate the entire space.
Combine them with several accent lighting like stick-on lights installed under the cabinets. This way, you can see things clearly when working on the countertop.
5. Add Crown Molding
 Nothing will make you bored with a builder-grade kitchen if you adopt “crown molding” to add to your cabinet. Notice the tips below about adding crown molding:
• Buy extra trim since the crown molding is so sticky.
• Add height to your cabinet above the microwave and fridge.
• Apply some wood glue to the top of the cabinets
• Lay the MDF boards using crown molding.
General instructions:
- Step 1: Find the right crown molding that fits your design. For instance, if you plan to put in crown molding with a 2-in-1 feature, you may want to buy two different trim pieces. With this type of kitchen design, it is really important to choose the right trim so it can complete your whole look.
- Step 2: Start applying 1-in. crown molding along all edges of the cabinets with wood glue. The wood glue will stick better and stay longer on the countertop if you leave it overnight or even for a day, but don’t set out from this step all at once!
- Step 3: Place the molding on the cabinets and textured surfaces. Put gently pressure to ensure all edges are glued down properly.
- Step 4: Wait for the glue to dry and let your crown molding cure for a day or two, then remove it! You can also use masking tape or painter’s tape to secure some of the trim at the back of the cabinetry so that glue doesn’t get everywhere.
- Step 5: Once all your edge pieces are nailed down firmly, drill pilot holes in your wood with a 3/8-in. Bit. Use long screws to add 1-3/8-in.-long wood screws into each pilot hole you have made above your cabinets with crown molding attached.
- Step 6: Add the crown molding over the cabinets by making sure to screw it down at each end. When done, you will have a perfectly fitting cabinet with crown molding.
- Step 7: All your cabinets are now finished! Using professional painting tools like roller covers, drop cloths, and painter’s tape, you can use flat paint to add finishing touches like a color touch-up or custom paint.
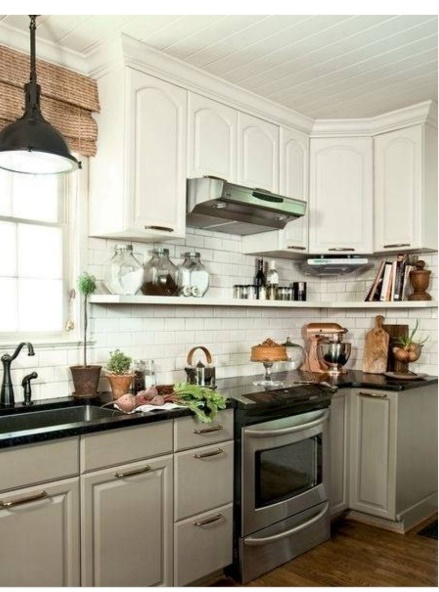
4. Give New Countertops or transform your current countertop
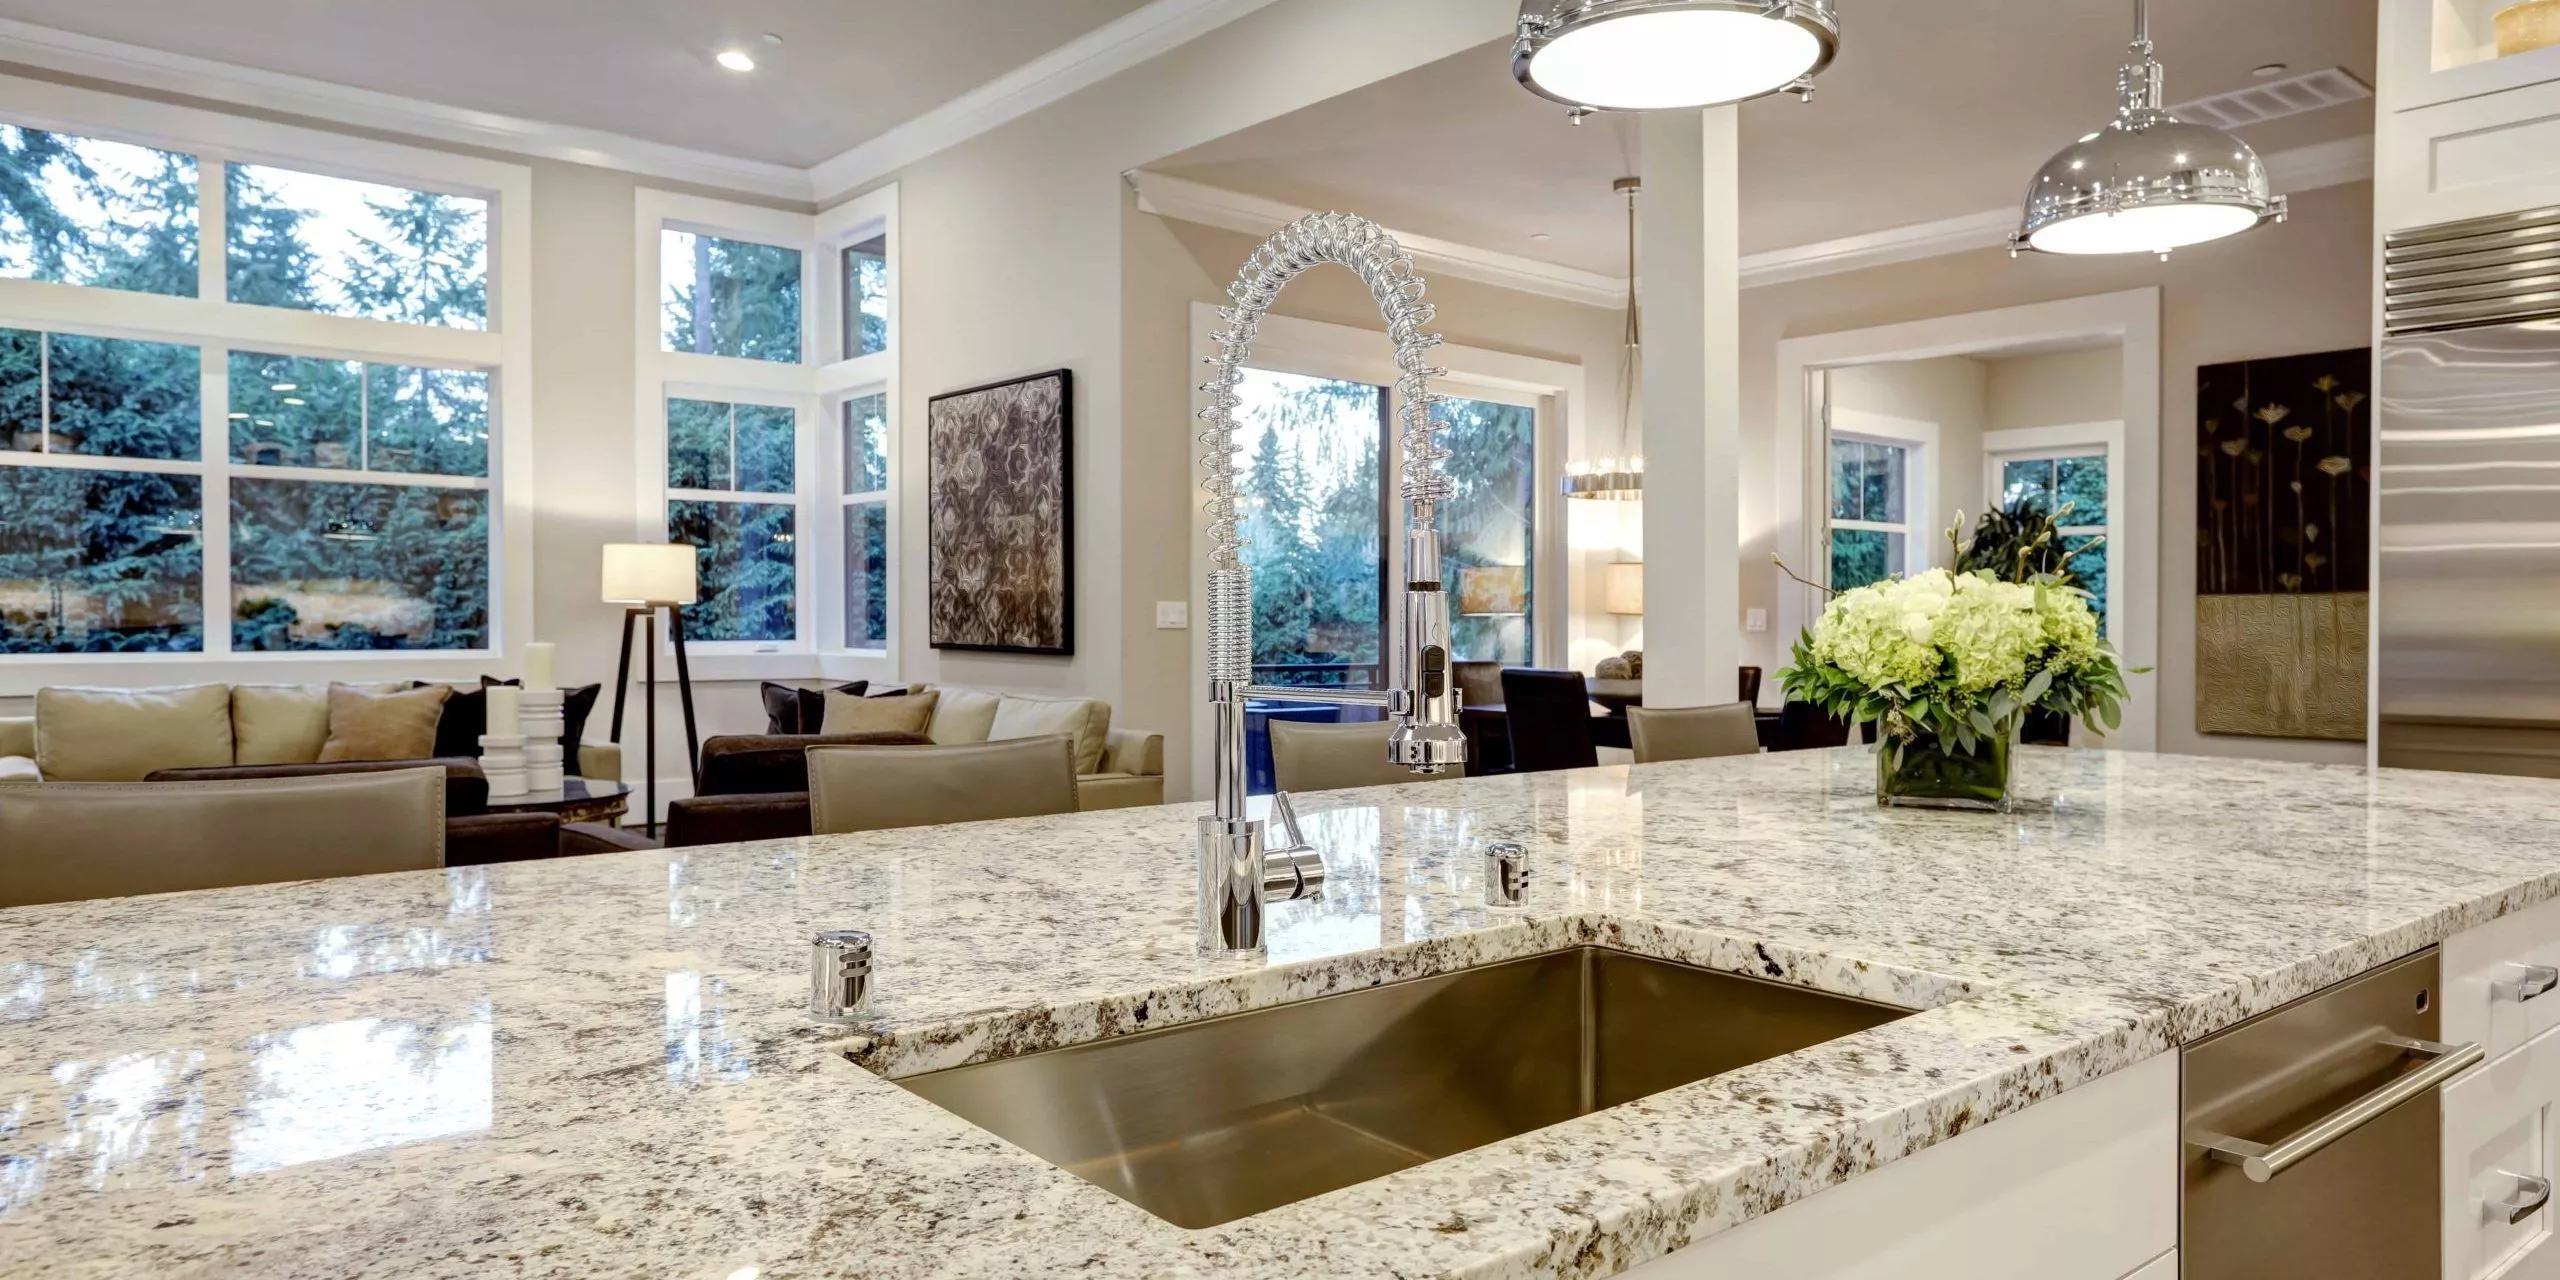 If you are not a DIYer, simply get new granite countertops and flooring to upgrade your kitchen. The granite you notice in the picture is called Colonial Cream. It is more than just white granite. Later, you can replace your faucet and add hardware to the cabinet. These are minor changes, but they would make a big difference.
General instructions:
- Step 1: Find a budget that is affordable and workable.
- Step 2: Decide what you want and can afford, but not low-key as to not be established.
- Step 3: Build a location where you can install the countertop and surround it with cabinets.
- Step 4: Remove your old ones.
- Step 5: Clean it, prepare it for installation, and install the new countertops.
- Step 6: Install your cabinet doors and hardware onto it.
- Step 7: Adjust the countertop to ensure a flat and smooth surface.
- Step 8: Install your sink and faucet to ensure that everything is usable from under the countertop surface.
- Step 9: Decorate it with cabinets.
- Step 10: Install more cabinets, planters, and other decorative furniture to match your kitchen style.
3. Add Cabinets on Top Of The Existing Ones
 Have you ever imagined adding a cabinet on the top of the existing cabinets? This builder-grade kitchen inspiration functions to fill the space and make your kitchen look more custom.
If you are also painting the cabinet, the project can be much easier to carry out as the finish should not have to fit one to another.
Drawers can also be great to add to the top of your existing cabinets. You can search for a local building store to see if they have a cabinet style that fits your design.
However, adding some extra depends on how many cabinets you already have. It might be an expensive choice. Nevertheless, making the idea come true will transform your kitchen into a space with great value.
General Instructions:
- Step 1: Decide what cabinet color you want to go with. Your kitchen’s size, style, and type will suggest a different color.
- Step 2: Draw up your overall design on a piece of paper. Use this as your guide to lay out the cabinets concerning the space.
- Step 3: Add more cabinets in the kitchen and list out setting them up
This project will require you to do some major wall work. At first, need to locate studs and get a rough idea of how many there are before you start putting in any tools.
This process will help you make sure that your cabinets are properly installed. This idea will also allow you to accurately assess how many nuts and bolts are needed for each cabinet. - Step 4: Add the handles and knobs on the cabinets as part of the design, particularly in a builder-grade kitchen inspiration or any other kind of remodeling. You can add handles without re-finishing your cabinets.
- Step 5: To get that finished look and feel, choose a light-colored paint but one that is not too glossy so it can be easy to clean.
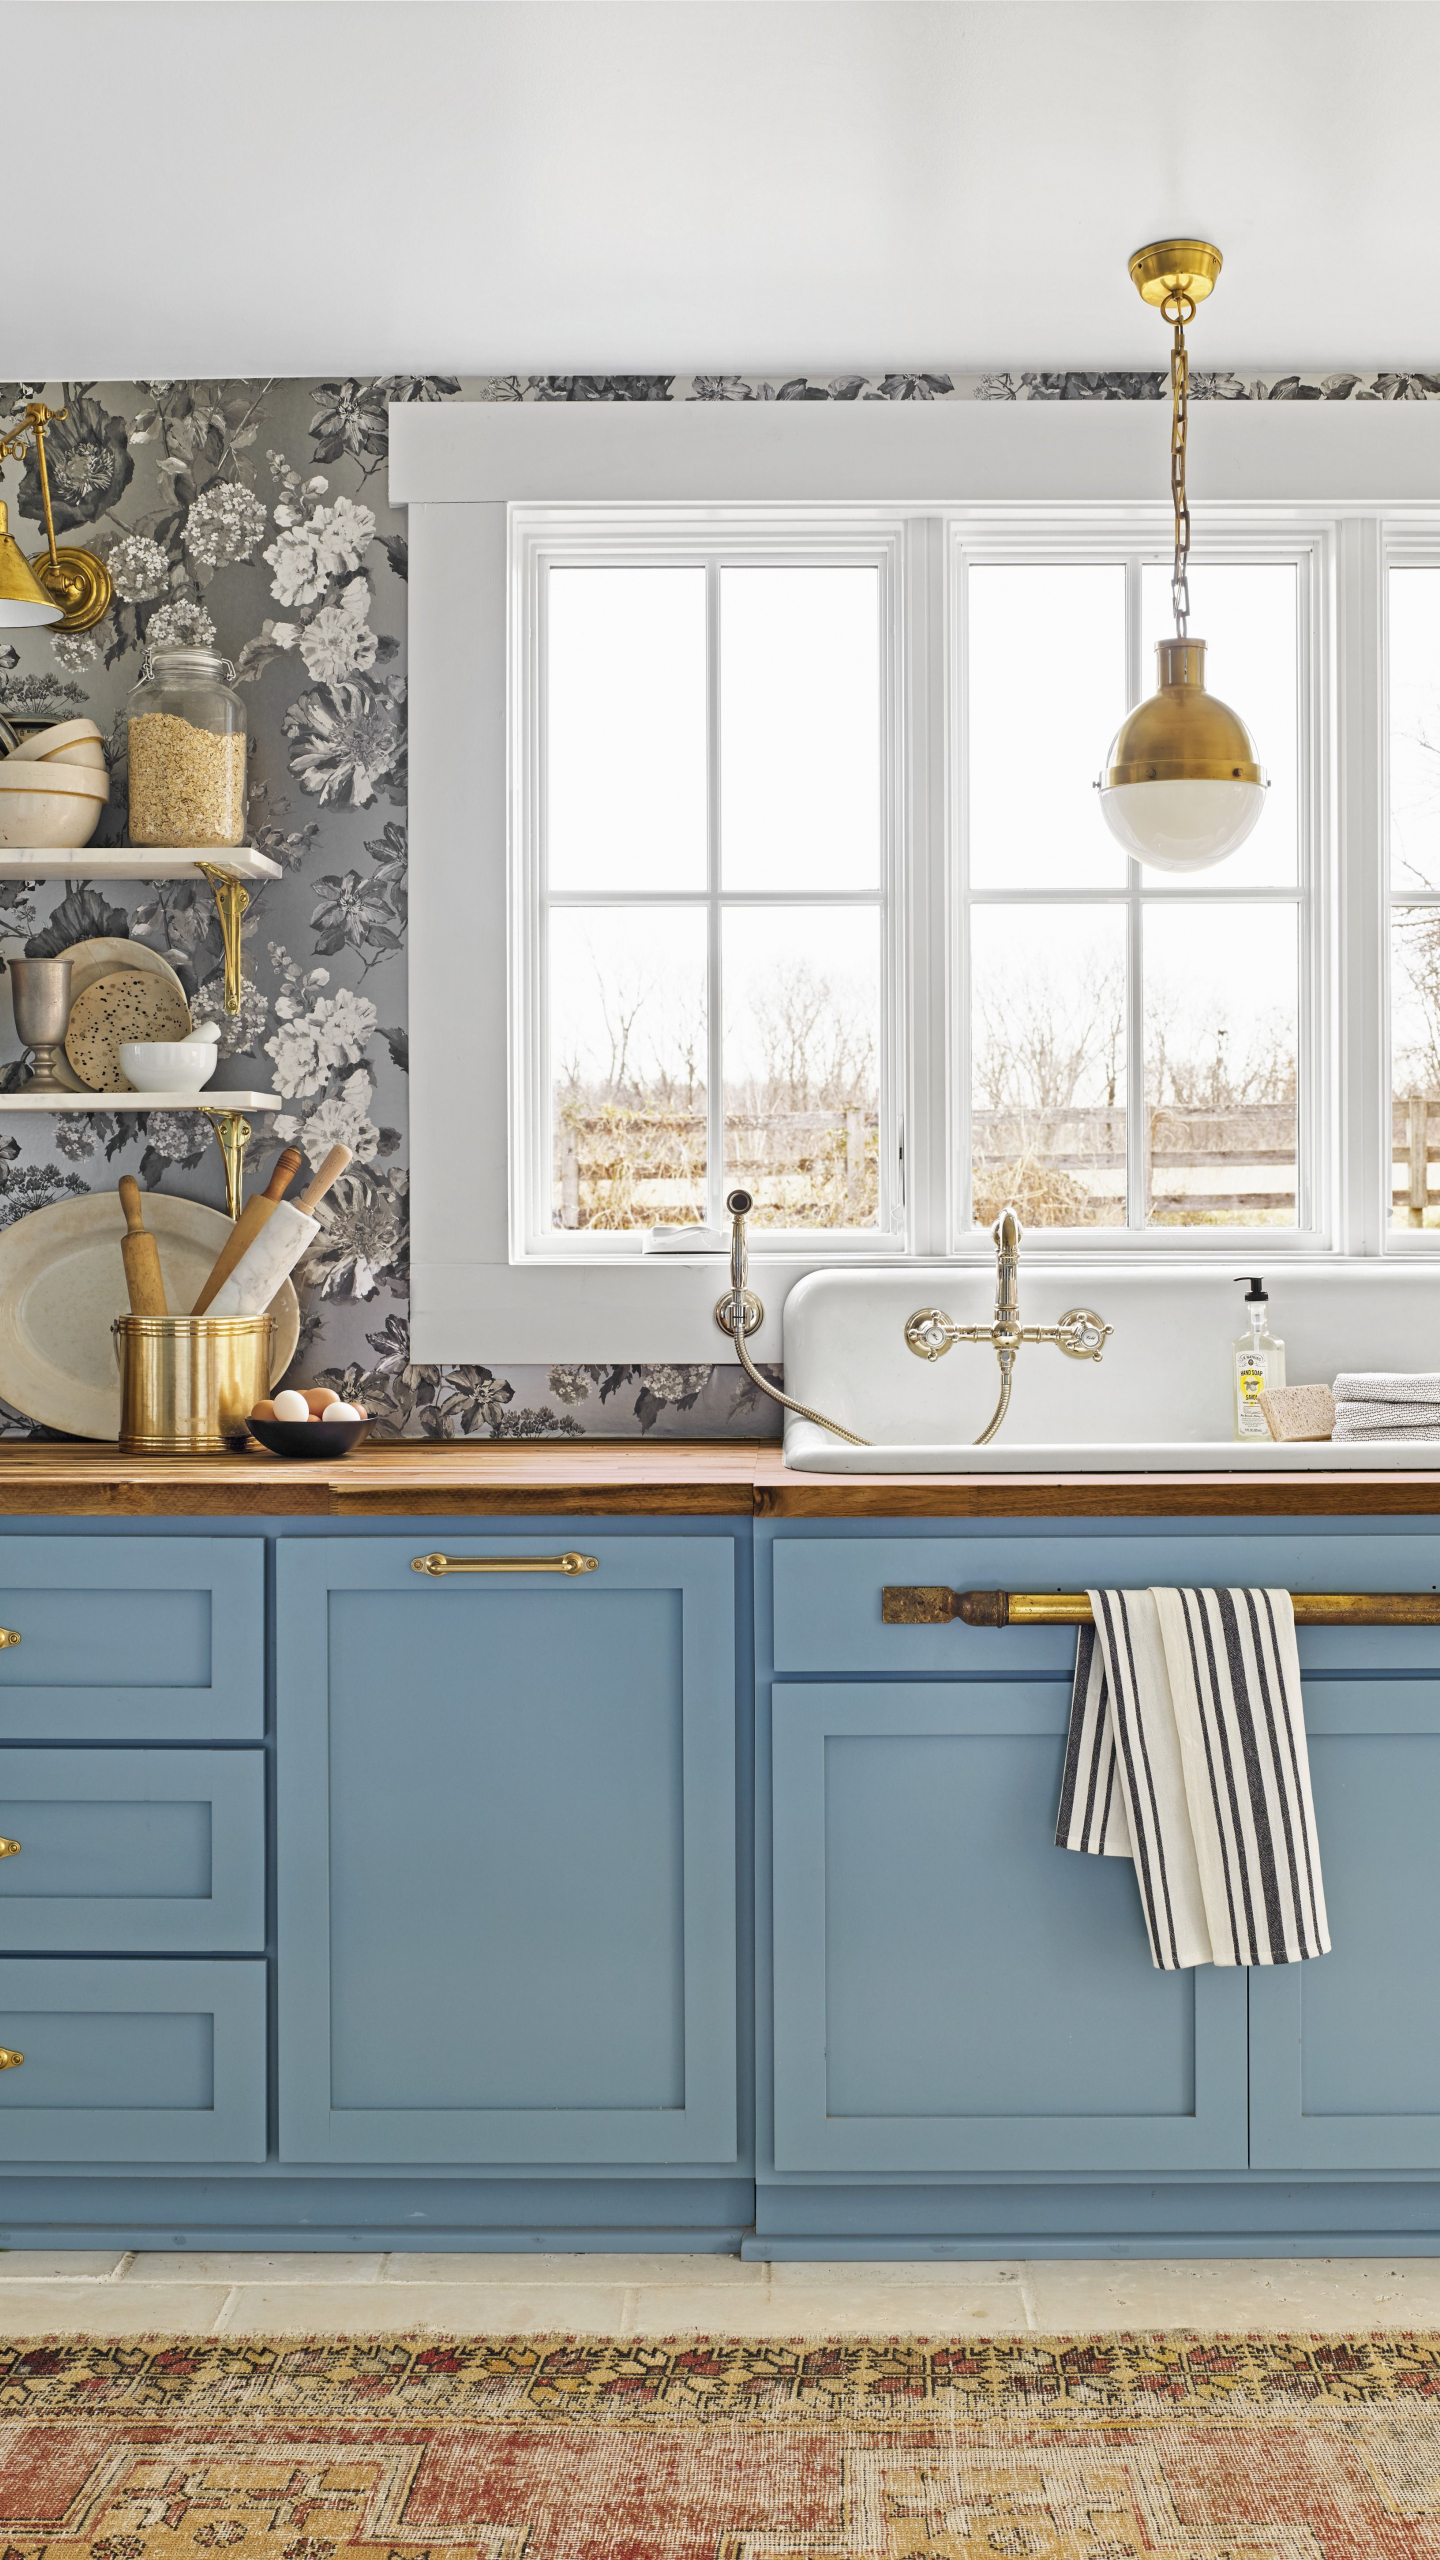
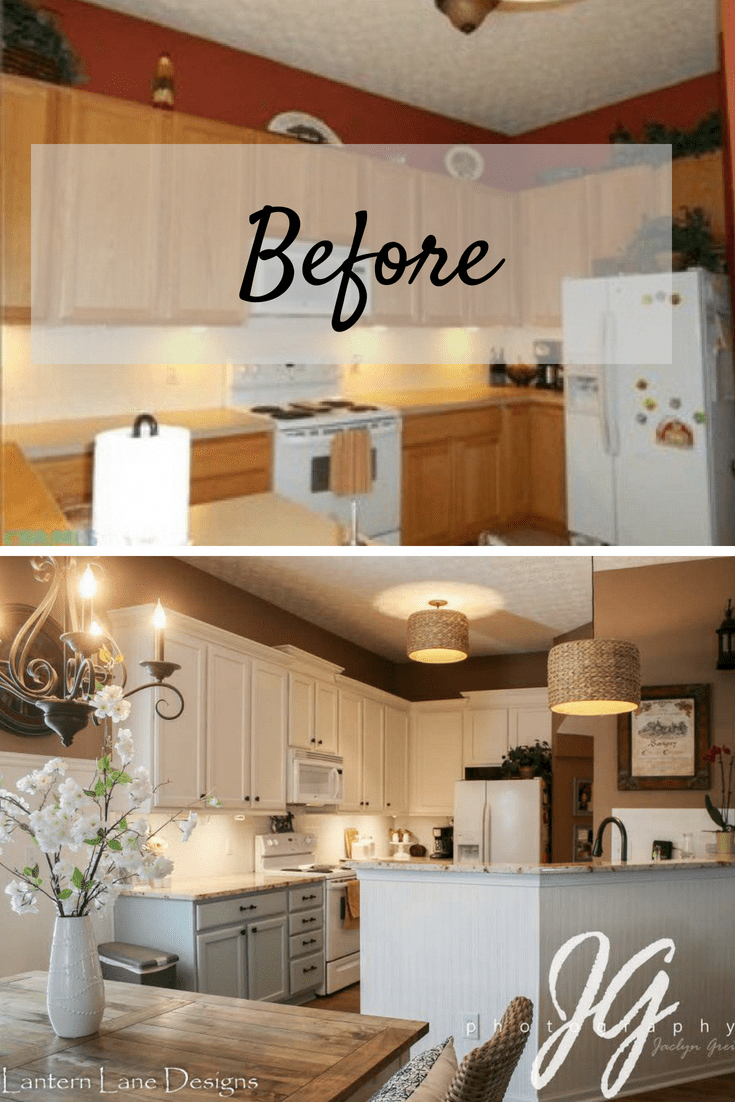
2. Paint The Builder Grade Cabinets
 Painting always becomes the most affordable trick and the most straightforward plan for any space. Now, painting the builder-grade cabinet is considered the most effective way to change the kitchen look.
Here are the steps to repaint builder-grade cabinets:
1. Use TPS Cleaner to clean the cabinets.
2. Use a deglosser to wipe the cabinets down. The deglosser usually takes off the shine and gloss of your cabinets, so you don’t have to sand them.
3. Prime the cabinets using a bonding primer and let them dry in the suggested time. Bonding primer will harden and adhere during the drying process. Thus, you can be ready to paint without sanding.
4. Paint your cabinets Benjamin Moore Advance and Sherwin Williams Pro Classic with a mohair roller.
5. Allow allotted time for the drying process. Change out the roller for each coat and re-coat as many times as needed.
Lastly, Number 1. Give your kitchen a new Window Treatment
 Some people love window treatments due to their easy-to-make project. You can even do it yourself. Some inspirations for window treatments are drop cloth curtains, no-sew window valance, and DIY no-sew curtains.
The simple action to carry out the idea is “no-sew drapes” to “new sew window valance.”
Fortunately, it isn’t too hard to make your space prettier for you and your families. The ideas we share do not require a complete makeover or new appliances and even do not cost anywhere.
Basic instructions:
- Begin your project with a sewing machine.
- Take two pieces of fabric together, one in the middle and one on each side of the window.
- Sew them together, right sides together, and sew a few more at the bottom for hanging.
- To make sure it fits properly, measure around your window before you start sewing to find out if you need to add a foot extra to your fabric width or not. It is best to have it a little longer than necessary so that you may use it again without making another one!
- Attach the valance piece on top of the seams and sew between them with a straight stitch, thereby connecting all four corners.
- With blinds and curtains, you will not have to attach the valance piece to the seams. Instead, sew two pieces of fabric together, one in the middle and one on each side of the window and sew them together, right sides together and sew a few more at the bottom for hanging.
- Attach this piece of the valance on top of all the seams and sew between them with a straight stitch, thereby connecting all four corners.
- Once you are done, simply hang your curtains with curtain hooks instead of rings to avoid tearing them or losing any curtain core due to friction.
Conclusions:
So, no matter how many kitchen ideas are available, you should be able to follow the above steps and apply them to your own home. There are hundreds of ideas available, and you will find something that suits your taste in these days’ market.
We hope you enjoyed this article; we tried to cover as much information as possible. If there is any error(s) in this article or if there is any additional information that you believe should be here, please feel free to share your comment.
In general:
- Step 1: Decide what cabinet color you want to go with. Your kitchen’s size, style, and type will suggest a different color.
- Step 2: Draw up your overall design on a piece of paper. Use this as your guide to lay out the cabinets concerning the space.
- Step 3: Add more cabinets in the kitchen and list out setting them up
These tips are applied to every aspect of designing and remodeling your kitchen, from choosing colors and finishes to building new cabinets or swapping furniture around.
When designing your own home, you can do every detail that matters, and a lot simply by picking suitable colors for each room. Through this article, you will find useful information about different colors that you can apply in different aspects of the home, such as flooring, countertops, furniture, lighting fixtures, etc.
You don’t have to pay for a typical kitchen remodel. You can surely pick up one of our 10 builder-grade kitchen inspirations above for your next kitchen transformation.
References:
10. Hgtv.com
9. Sheholdsdearly.com
8. Sheholdsdearly.com
7. Sheholdsdearly.com
6. Sheholdsdearly.com
5. Lanternlanedesigns.com
4. Lanternlanedesigns.com
3. Lanternlanedesigns.com
2. Curbly.com
1. Curbly.com