5. Elevate Your MALM: Dodge the Low Frame and Toe Stubs with this Easy Hack!
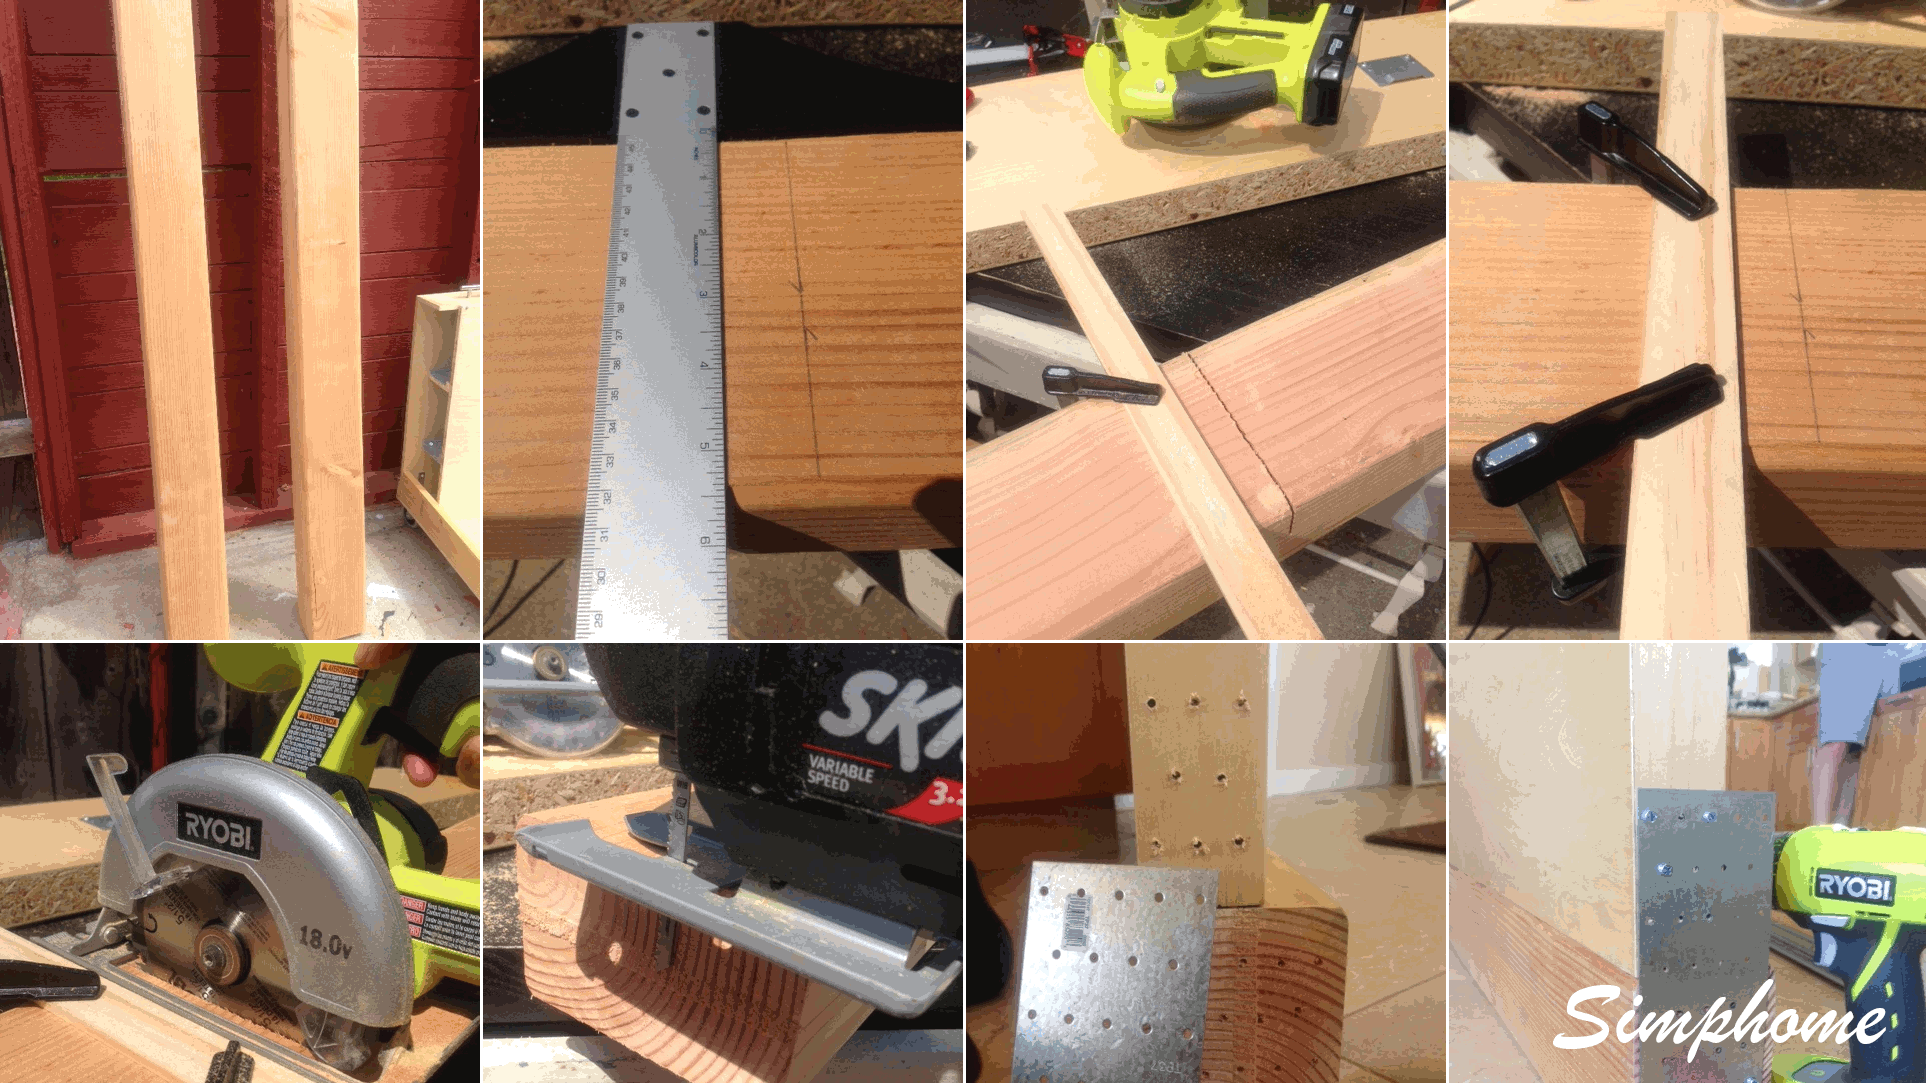
Revamp your MALM in this ingenious project, elevating it for just $30, dodging the notorious low frame and those inevitable toe stubs! Begin by securing 2 pieces of 4’x6’x8’ lumber ($12.50ea.), trimming them to 59.5″ to match the bed’s width.
Employ a circular saw and a jigsaw, cutting meticulously. Once shaped, fasten each piece to the headboard and footer using 4 metal tie plates ($.92ea.), ensuring a robust bind. For a sleek finish, some discreet wood paneling will cloak the plates, elevating your bed’s aesthetics and functionality. A handy transformation without splurging on a new frame!
4. Craft Your 2.70m Wide Family Bed with IKEA Malm!
Ever find yourself clinging to the edge of your bed as your growing family encroaches on your sleeping space? Here’s an engaging and practical solution—create a 2.70m wide family bed using IKEA Malm beds!
Step 1: Acquire Supplies from IKEA
Head to IKEA and grab a Malm double bed, a Malm single bed, an additional SKORVA center beam, two extra mounts for the beam, a few angles, perforated sheets, screws, and some tools. If you have the beds already, great, you’ve saved a chunk!
Remember, the middle bar is a breezy €10 find at IKEA. The mounts? They might take some convincing from the IKEA staff. Please be polite, persistent, and creative in your requests.
Step 2: Start Building
Once you have your supplies, put the ‘inner’ side part of the single bed on the outside and link the two side parts with perforated metal sheets. Secure an angle at the head and foot ends to stabilize the rail, ensuring your frame and mattress are robustly supported.
Step 3: Adjust the Middle Beam
Now, move the already installed middle beam slightly to the right to accommodate the increased side thickness. Measure the width of a side panel carefully, and transfer the existing holes a few centimeters to the right. When doing this, be gentle to avoid damaging the cardboard-like material of the bed.
Step 4: Connect the Beds
Next, connect the foot and head sections of your beds. If you have perforated sheets left, they’ll come in handy here. If not, a board or a batten will suffice.
Step 5: Secure with Joist Hangers
It’s time to use those additional joist hangers, preferably at the transition between the beds. If you have the two remaining side parts all on one side, it could offer a small storage area and a broader attachment point for the beam, potentially saving the effort of moving the original beam on the double bed.
Step 6: Final Touches
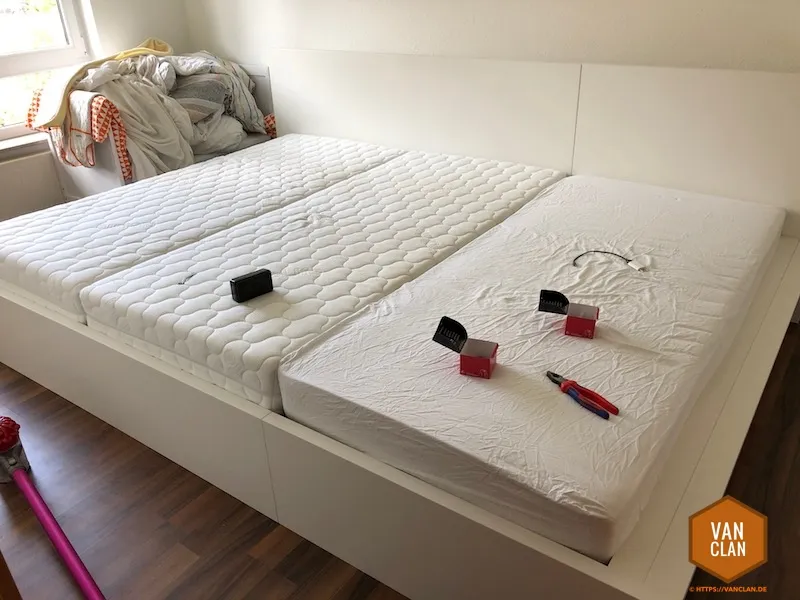
Be cautious when securing beam shoes; you don’t want to puncture the outer board, causing it to chip. After securing all parts, place them in the roll-up frames and mattresses, and voila! Your extended family bed is ready.
Possible Modifications & Solutions:
Some might wonder about the stability of the offset beam on the double bed. Using a suitably large square piece of wood for stabilization might be a good alternative, and changing the arrangement or size of the mattresses could save you from altering the side panels.
3. Ready for a stellar room transformation?
Dive into this exciting IKEA Malm Drawer Hack for a Raised Bed with Storage!
Stephanie Gueritaud redid her son’s bedroom as a 12th birthday surprise, turning it from a cluttered playroom into a practical, stylish teen bedroom. Want to follow suit?
Here’s a glimpse!
Step 1: Define Your Purpose:
Stephanie’s goal? Maximize storage! She placed a custom-made raised bed under existing tall cabinets, incorporating two IKEA Malm chests for clothes storage, costing around $99 each. Also, she reserved a space for her two boys’ frequently used hockey bags, making organization a breeze.
Step 2: Watch and Learn:
For a step-by-step construction guide, watch the provided video featuring Yann Marquis Rénovation. They specialize in manufacturing such unique furniture pieces; you can contact Yann at 438 385-7788 for your renovation needs.
Step 3: Personalize!
Behind the bed, Stephanie maintained a “blackboard” wall painted with special $26.97 Behr brand black chalk paint, allowing her son to unleash his creativity. To add a personal touch, she provided a space for pinning photos and included Stranger Things-themed posters – all about personalization!
Step 4: Organize the Desk Area:
A new desk from Structube, adjacent to the window, optimizes light. Above it, Stephanie fashioned a DIY bulletin board from a $14 metal mesh. A bit of black spray paint, and voila – an inexpensive, chic decor piece!
Step 5: Accommodate Memories:
The room features various elements like a photo book and references to cherished memories, balancing current tastes with nostalgia.
Costs and Materials:
This whole transformation costs around $1100 ($950 after using gift cards), equal to about 730 euros. The majority of materials, like wood, screws, PL glue, and mesh, totaling $267, were procured from Home Depot. The renovation was a 7-hour project by Yann Marquis Renovation at $35/hour.
Decoration and Furnishings:
Stephanie smartly integrated existing furniture like the IKEA MALM chests and the gray metal filing cabinet, with new purchases like red curtains from IKEA ($50) and a houndstooth duvet cover from HomeSense ($39). The weird, shiny white mat? It’s a hockey passing mat from Canadian Tire, integrated into the decor as if it were a Christmas present.
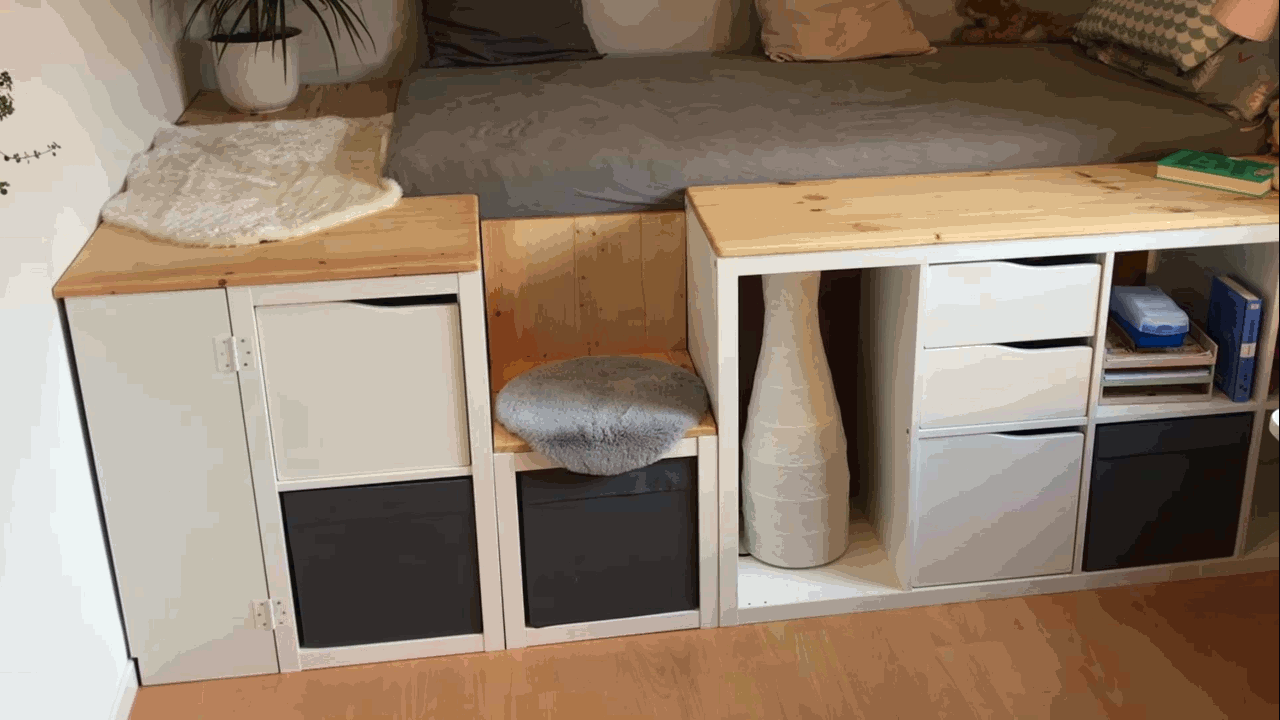
2. Whitley Spinnler’s Malm and Kallax Hack
Whitley Spinnler, leveraging IKEA products, ingeniously crafted a bed offering extensive storage, perfect for studio apartments. Utilizing 2 MALM drawers (160x78cm), a 77x147cm and a 77x77cm KALLAX unit, and a piece of wood to level out a 1cm height difference, Whitley concocted a highly practical, space-maximizing bed frame. The slated base (140x200cm) was acquired from @leenbakker, enhancing the bed’s robustness.
Whitley arranged the KALLAX units and MALM drawers to frame the bed, ensuring accessibility to the drawers. Beyond providing ease of storage in the middle of the bed and within the KALLAX units, her method ensures durability, with the bed enduring jumping and everyday use, exemplifying her invention’s practical and steadfast nature.
Her mattress and blanket, sourced from @emmasleepnl and @whitecloudz.nl, respectively, complement the IKEA-hacked bed, achieving comfort and functionality. The bed, totaling approximately £350, is an unconventional wardrobe, eliciting admiration and being deemed “so clever!” by her Instagram followers. The innovative DIY project is a testament to maximizing minimal space without compromising aesthetics or practicality, a beacon for those dwelling in studio apartments or box rooms.
To recreate, meticulously assemble the specified IKEA units, ensuring drawer doors face outward for continuous access, and secure a slatted base to your custom frame. Whitley’s inventive solution answers the multifaceted demands of modern living spaces, yielding a clutter-free, orderly habitat. Her approach resonates with fellow space-conscious dwellers, evolving into a lauded and viral concept, and provides a replicable blueprint for those wishing to mesh style with spatial efficacy.
1. An Ingenious DIY Self-Supporting Platform Bed: An IKEA Kallax Hack with Ample Storage
Have you ever dreamt of a self-supporting platform bed that’s stylish, functional, and doesn’t require dowelling into the wall? This DIY platform bed, ingeniously crafted from IKEA Kallax elements, is exactly that! This creation is not just a bed; it’s a storage marvel, complete with sturdy spruce wood panels treated with hard wax oil to enhance durability and aesthetic appeal. It follows a simple principle allowing quick dismantlement, a feature handy for those who fancy a change now and then.
The construction process initiates in the basement, where the preparatory work for the self-supporting bed frame begins. This frame is uniquely designed to stand robust without needing wall screw connections, providing a clean and uncluttered appearance. It’s more work than one might think, but the payoff is enormous!
Assembly occurs in the children’s room, demonstrating the versatile application of this bed frame. The bed spans the entire room width, measuring 260cm in length, with a total bed depth of 150cm. This size optimization allows the creation of a separate bed box, providing additional concealed storage – a real asset for those keen on maximizing space utility.
The bed accommodates a slatted frame of 200×100 dimensions and integrates various Kallax units, including 2×4, 2×1, and 1×1, each adding to the overall storage capacity of the bed. If your room permits, consider integrating MALM for an added private storage feature, enhancing the bed’s functionality.
The solid spruce wood panels, 18mm thick, are meticulously screwed from below, ensuring stability and longevity. The entire assembly balances structural integrity and aesthetic charm, making it a captivating addition to any room.