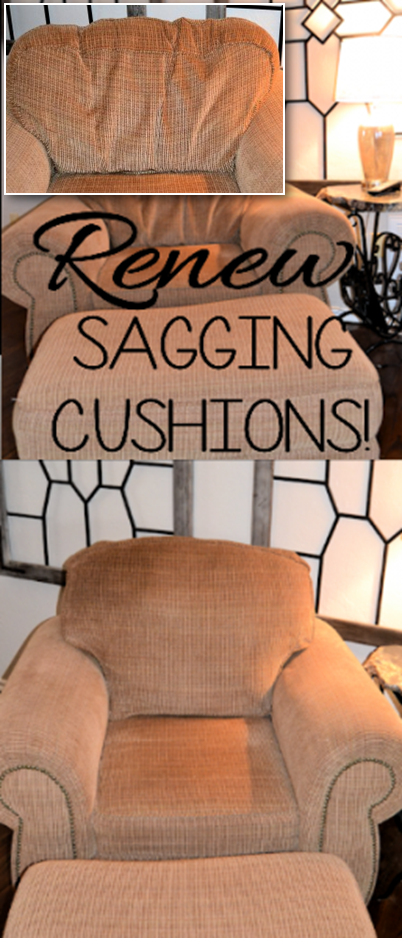
We bought a new living room set last year and the chair/ottoman,
which is my dear hubby’s nest, is looking pretty tired and beat down. I’m not sure why, but my DH is hard on things; shoes, shirt collars, furniture….

Perk up a cushion!
The couch is still looking comfortably overstuffed, so something had do be done with the back of this chair! This cushion is attached to the back of the chair, but has a zipper on the bottom, so I simply pulled the cushion out of it.
The problem was immediately apparent; the stuffing had settled, and there was a large defect in the top part of the cushion. So, to start the repair, I cut a straight line in the top channel of the cushion and added some high density poly fill, then sewed it shut. This gave the cushion back some of it’s loft.
•Defect from the stuffing compressing was causing the top of the cushion to slump.
•I cut a 12 inch slit in the upper channel of the cushion, restuffed it, then sewed it back up with a mattress stitch.
•With the high density fiberfill, the cushion once again has some loft to it.
Before I pulled the cushion out, I used a piece of batting to make a pattern of the shape of the back cushion. Then I cut the shape out of two inch foam using a bread knife (an electric carver works well, too), and attached the batting to one side of it with heavy duty spray adhesive.
I also sprayed the other side of the foam. The batting faces the back of the chair, and allows the foam to slide into the cushion cover more easily. The side that is sticky will help keep the inner cushion in place. This foam gives the cushion cover some shape support, which it had absolutely none of before.
•The foam is somewhat smaller than the cushion, with batting on one side, and spray adhesive on the other.
•As you can see, the cushion cover has no shape support to it at all, which allows the cushion to slump and crease.
•Once the foam piece is put inside the cushion cover, it provides some support, and won’t allow the cushion to collapse and wrinkle.
Once the foam was fitted and in place, the last step was to put the cushion back inside the cushion cover. The spray adhesive on the foam made this a little tricky, but once in place, it should stay put.
I also made sure the cushion went to all the corners of the cushion cover so there are no empty spaces that will collapse or wrinkle. Once I was happy with the cushion’s position, I simply zipped the cover closed, and I was done.
 The chair looks like it’s just off the showroom floor, and I have a nice-looking overstuffed chair instead of a worn-out, beat-down looking chair.
Much, much better! The cost of this project was $35 for the foam and batting.
 I had the spray adhesive, but a bottle of it runs about $4. Way cheaper than a new chair, or a repair by an upholstery shop!
Need more idea?