In June, I did three junk & trunk shows on three consecutive weekends.
I am fairly certain I will never do that again! In the near-constant “getting ready for the show” mode,
I did manage to snap a couple of pics of this cute little stool that I redid to take with me.
This was a super-simple project; repaint and recover, and it was done!
The perfect project for something that will shortly be resold!

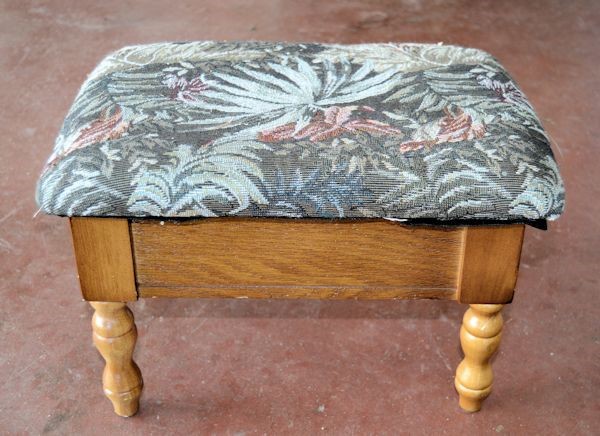
Here’s what I had to start with:
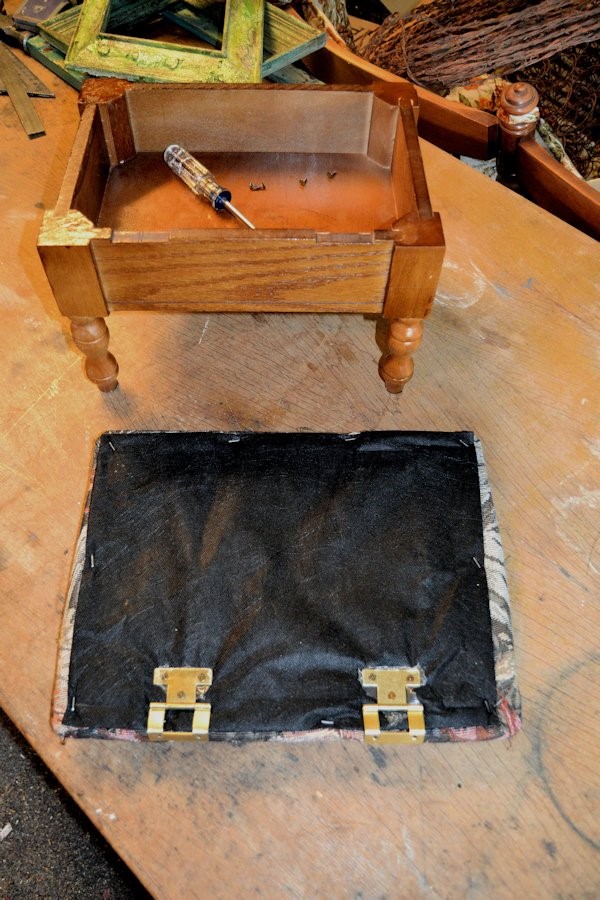
The first step was to remove the cover from the stool so it could be reupholstered. This was easily done, just a couple of screws to remove.
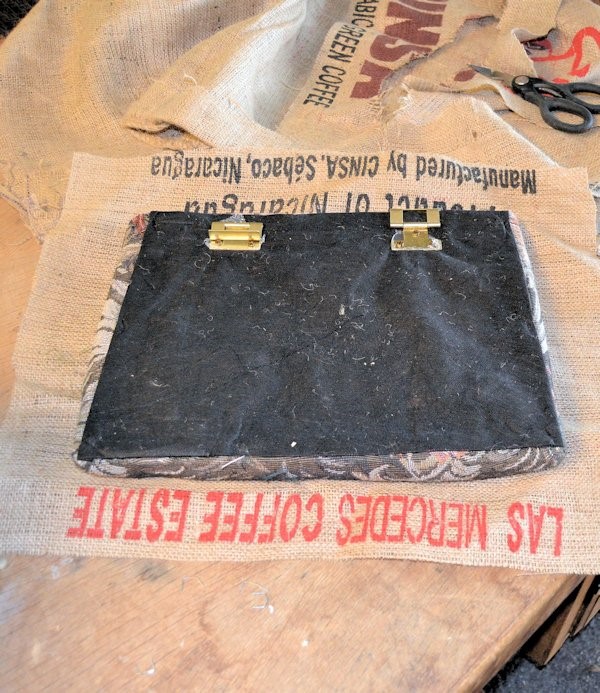
 I had a couple of coffee sack scraps, and found one that had a bit of red in it to add a little color, since I planned on painting the stool black.
I simply laid the cover on the burlap, and cut approximately 3 inches around the top, so I had plenty of fabric to secure to the bottom of the cover. I also saved the black lining to reuse it.
 I used my electric stapler to secure the fabric to the cover. When reupholstering a cushion like this, always secure the fabric in this order:
- Put the first staple in the “twelve o’clock” position (middle of the top), then pull it snug, and secure at the 6:00 position.
- Repeat this at the 9:00, then 3:00 spots, making sure the writing, or pattern is straight. Once these points are secured, fold the corners, as if you are gift wrapping and staple them.
- Then go back and secure the rest of the fabric around the edge.
Then lay the black dust cover over the rough edges, and staple it as well in the same order. - The last step was to paint the bottom of the footstool black, and then distress it. I used two coats of Country Chic Paint “Liquorice,” then simply sanded the edges with my orbital sander.
- The final step was to spray an acrylic clear coat on the stool to protect the finish.
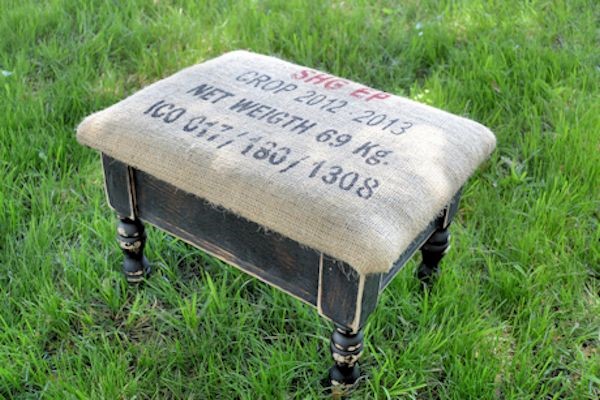
Once the paint dried, I reattached the top, and voila! a footstool with some junky-cute personality!! Love it! And as a bonus, there is a bit of storage in it as well!
Result!