15. Elevate your root cellar with a dynamic storage system tailored for fluctuating harvests
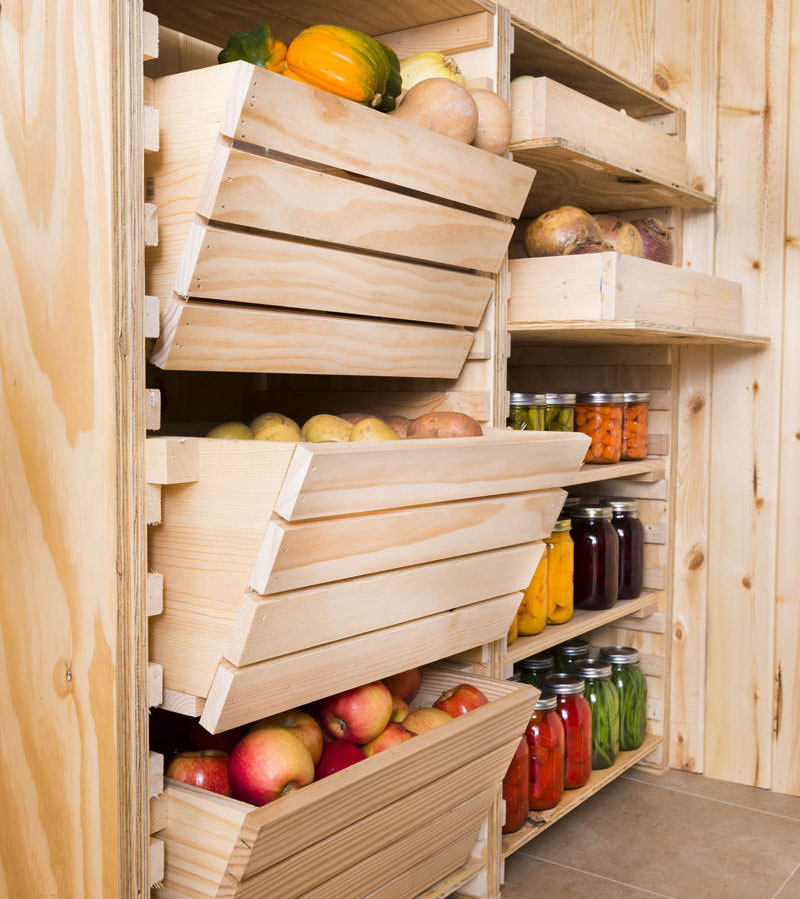
Crafted to adjust for varying harvests, our design includes ventilated shelves and adaptable bins. Use 3/4-inch plywood, assorted pine boards, wood glue, drywall screws, and L-brackets.
- Start by creating your uprights from the plywood strips.
- Utilize a story stick for even cleat spacing, then attach the cleats with screws.
- Mount your standards, ensuring 24-28 inch gaps.
- For ventilation, assemble the shelves with slight gaps between slats.
- Craft drawers with a solid bottom and bins using angled side cuts.
- Regularly inspect produce and maintain a clean storage environment.
14. Meet your dream kitchen addition: the Birkwood ‘Multi-Unit’!
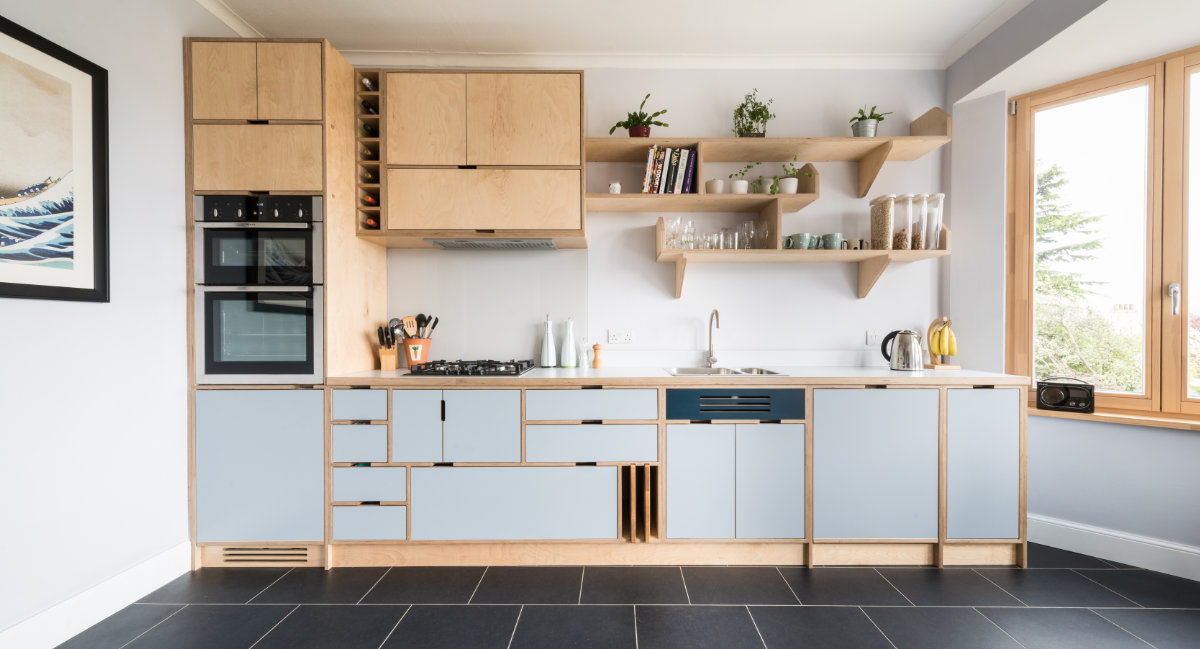
Instead of the usual cabinets, imagine a spacious unit blending large and small drawers, topped with a handy cupboard right beneath the hob—your perfect spot for bakeware. Those odd-sized spice jars or stock cubes? They’ve got their own cozy space. And those bigger drawers? They’re ready to be decked out with Birkwood’s bespoke plywood inserts. Customize it further with a color of your choice, ensuring both style and ease of cleaning.
13. Three DIY Drawer Showdown: Which One’s Your Winner?
Thriftydecorchick’s Slide-Out Pantry:
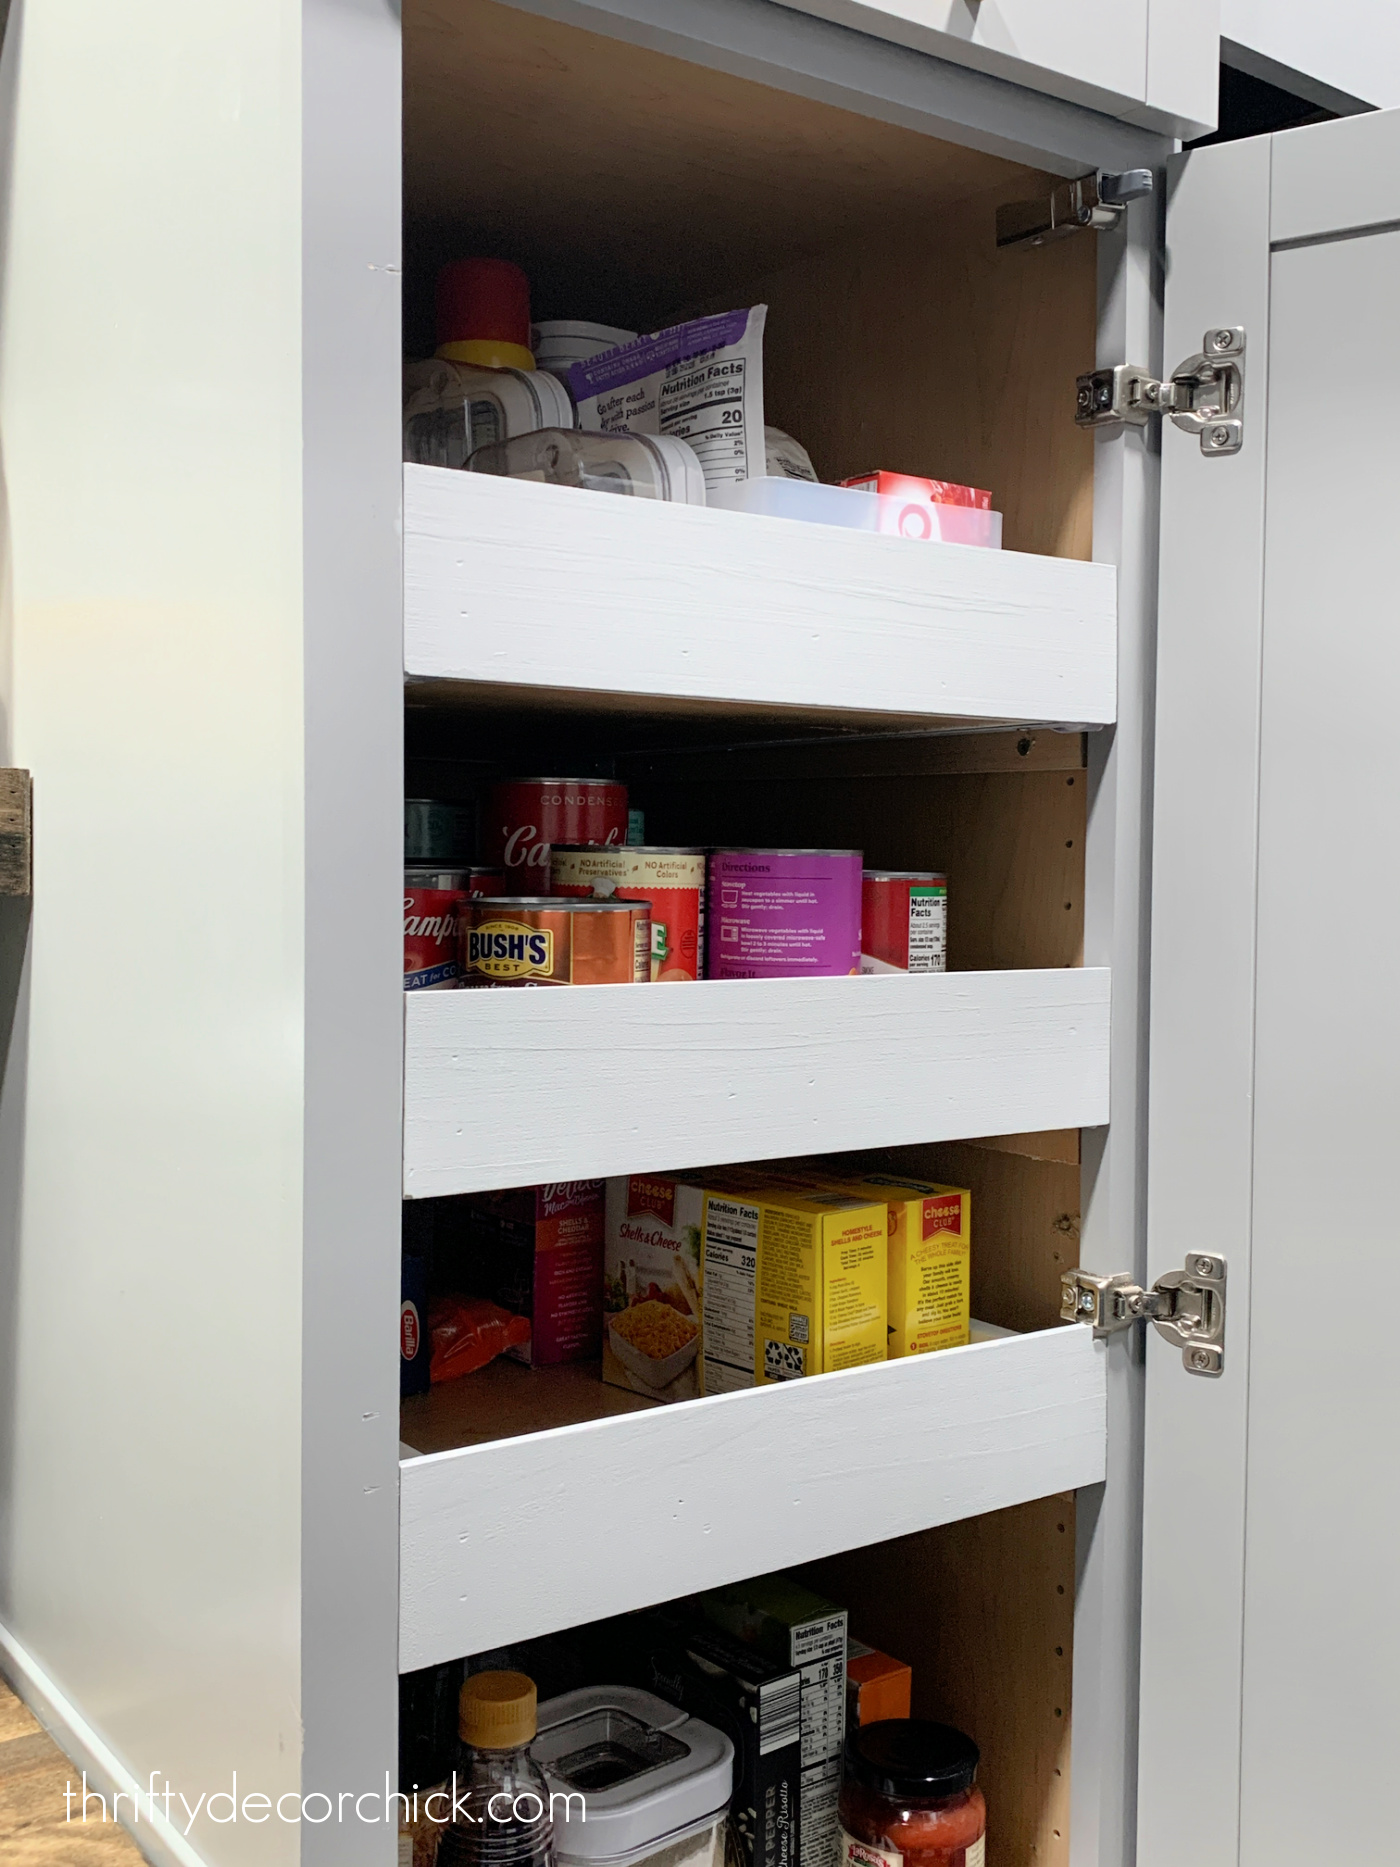
Crafting your drawer? Focus on weight and storage type. Secure the right hardware, then precisely measure and cut that plywood. Assemble, ensure level installation, and embrace the Kreg jig for sturdiness. Don’t forget the caulk and paint for a neat finish!
Theaccentpiece’s Kitchen Overhaul:
Revolutionize cabinets with the DrawerJig by Milescraft. After shelving removal, build the drawer box and align it with this game-changing jig. Got a saw, wood glue, drill, and sander? You’re golden. Double-check measurements and get styling with finishing touches.
Toandfroblog’s Custom Roll-Out:
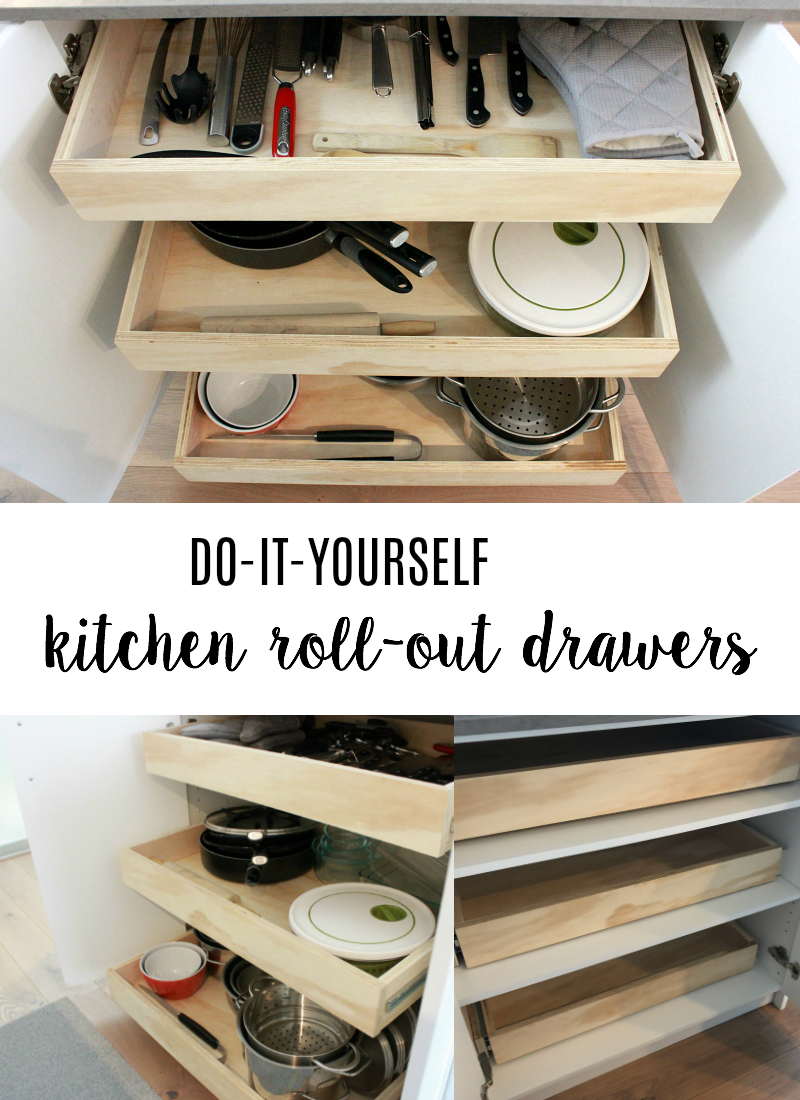
Are quotes too high? DIY to the rescue! Fetch wood, sliders, and that Kreg jig from Home Depot. While challenges arise, your mastery shines when you maximize cabinet space. Let high-quality plywood steal the spotlight for an authentic touch.
12. Want an intelligent way to store your cans?
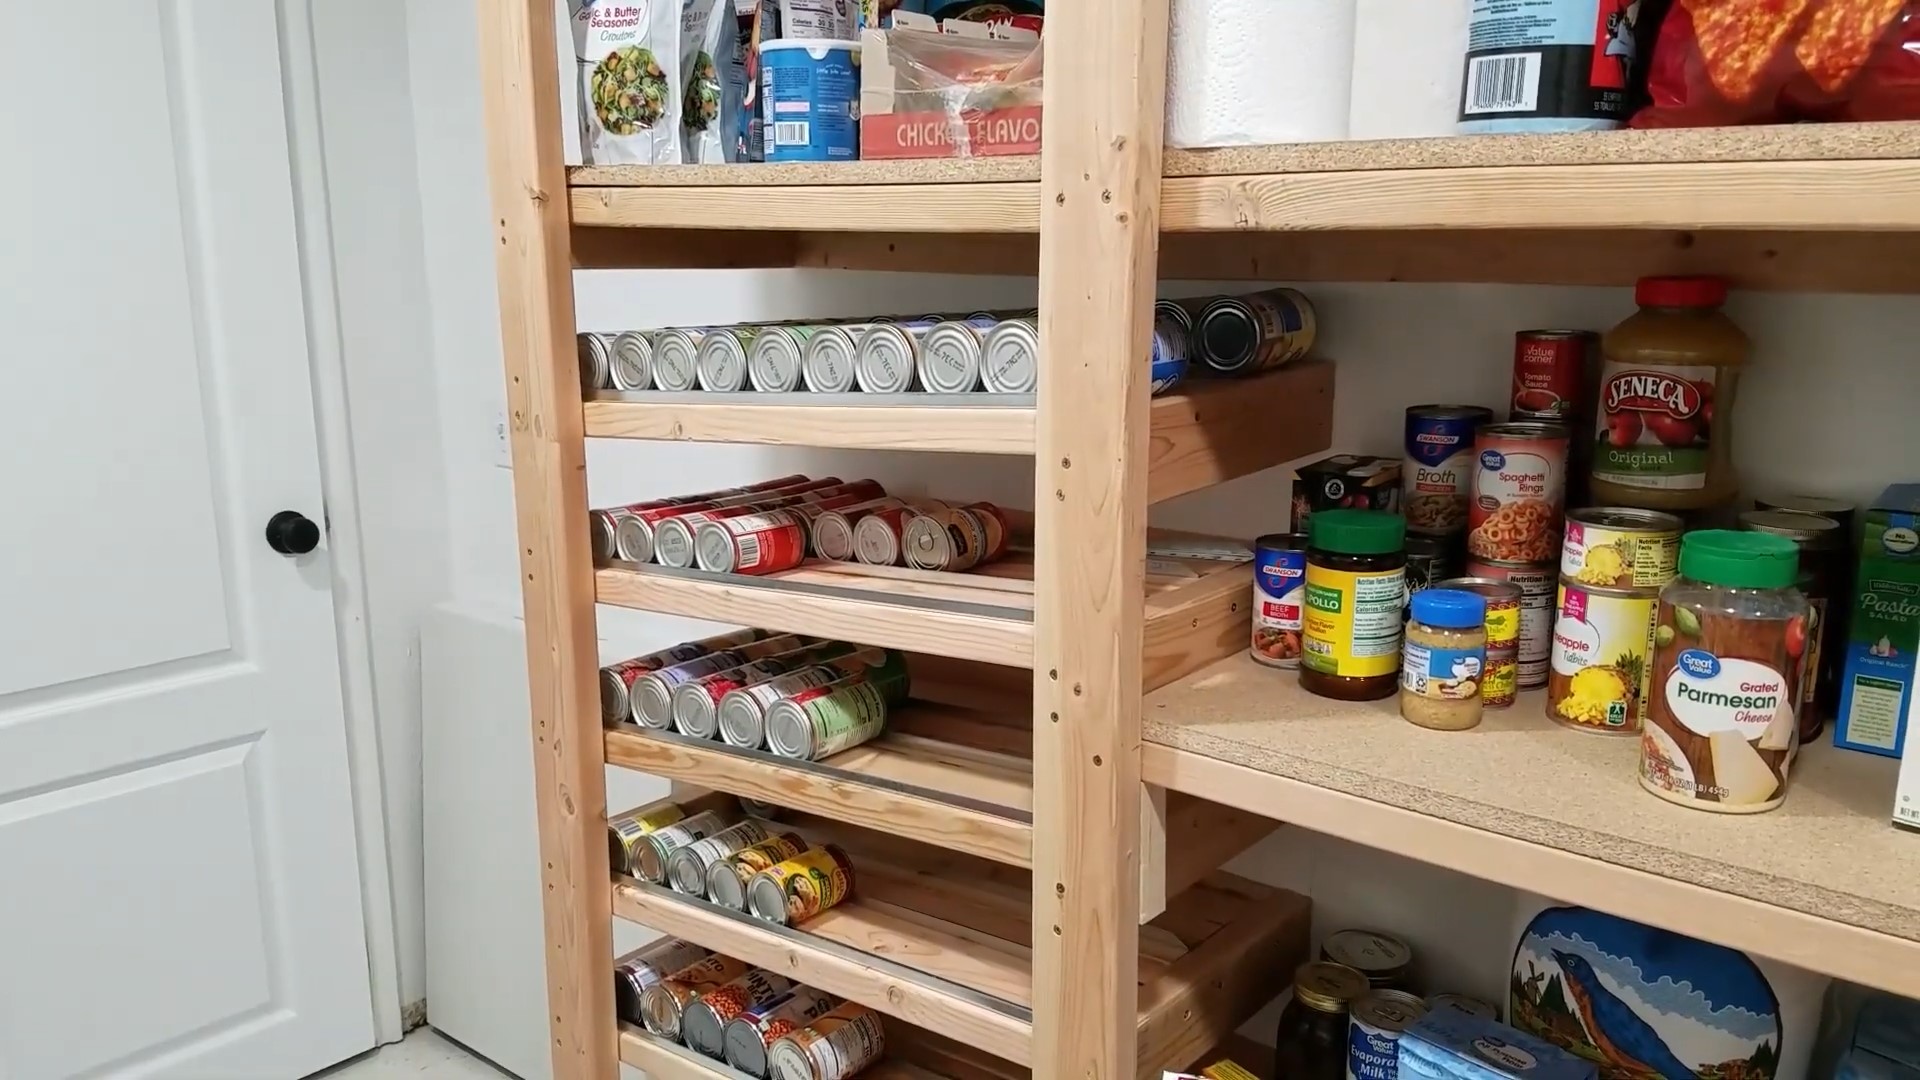
Dive into this DIY can storage solution! This might be your answer if you’re seeking an efficient first-in, first-out rotation for your canned goods without breaking the bank.
This ingenious DIY system, spanning 32 inches in width, impressively accommodates a whopping 150 cans across five sturdy shelves. The magic lies in its design and structure. Here’s a condensed how-to:
- Shelf Width: The goal is to achieve a width of 16 inches. Combine two 2×8 wooden planks, each measuring 7.25 inches in width. Their combined width is perfect for this project.
- Shelf Angle: Mount these planks at a slight angle, from top to bottom. This ensures cans will roll downwards due to gravity, making it easier to retrieve older cans first.
- Rails for Cans: Secure your cans with rails made from drywall El bead, measuring 0.5-inch x 10 feet. These rails prevent cans from tumbling out and ensure a smooth roll-down mechanism.
- Customizable Shelves: The system’s flexibility is its crown jewel. Adjust the shelves to fit two smaller soup cans and one larger 24-ounce can, or configure them to hold three 14.5-ounce cans side by side.
This setup is remarkably efficient and space-saving, but it’s also friendly on the pocket. Say goodbye to cluttered kitchen cabinets and wasted time searching for cans. This DIY solution ensures you always grab the oldest can first, ensuring no waste and efficient rotation.
So, if you’re up for some DIY magic and crave an organized kitchen, give this system a shot. For visual learners, there are detailed videos and instructions available (from Jasonoid). Dive in, get crafting, and make the most of your storage space! And if you love these kinds of hacks, don’t forget to subscribe for more. Happy DIY-ing!
11. An Epic Hidden Coffee Table Hack Using IKEA
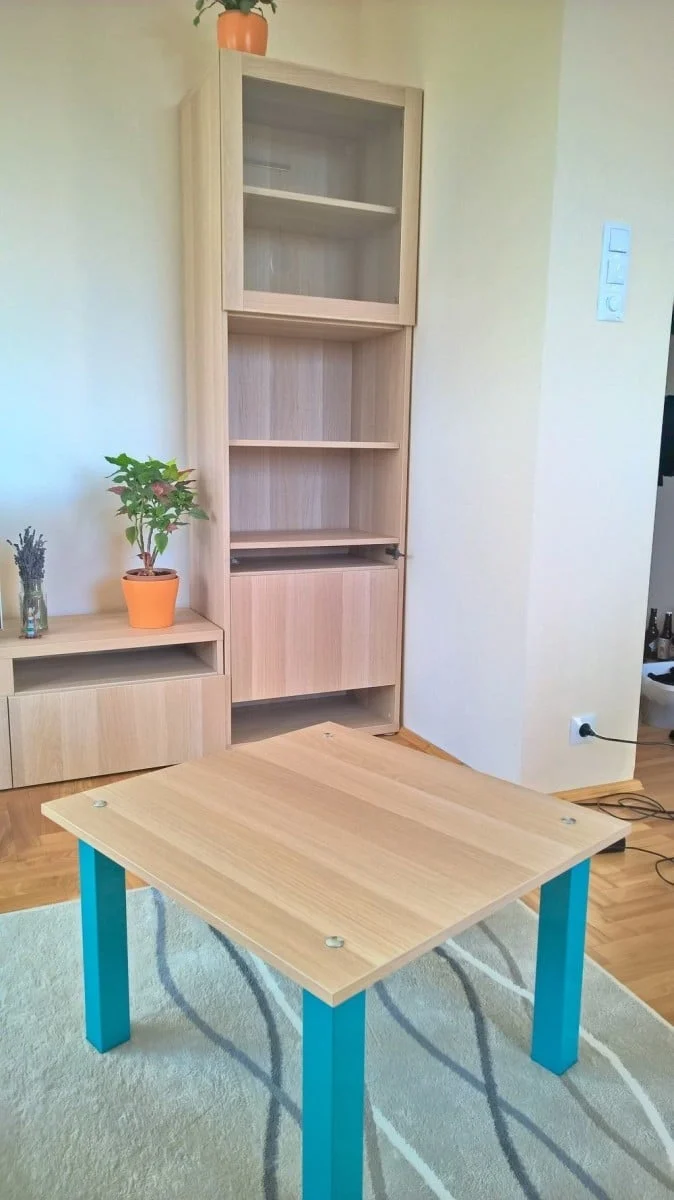
Parts:
- IKEA modules: Besta Frame (60x40x192 mm), Besta Shelf (56×36 mm), Lappviken door (60×64 mm), LACK table legs.
- Add-ons: 4 carriage bolts, 4 Tessauer nuts, and Utrusta push opener.
Steps:
- Assemble the Besta frame, placing a shelf in the lower third.
- Insert a second shelf beneath the first; install two push-openers.
- Drill holes in each Lappviken door corner for bolts.
- Carve the top of the door to accommodate bolt necks.
- Trim LACK table legs using a table saw.
- Create slots for Tessauer bolts on the legs.
- Assemble your ingenious table!
- Revel in your hidden masterpiece. Optional: Add a drawer behind the table for extra storage using a modified Lappviken drawer front. Ensure precise measurements for a snug fit!
Enjoy the dual functionality and give yourself a pat on the back!