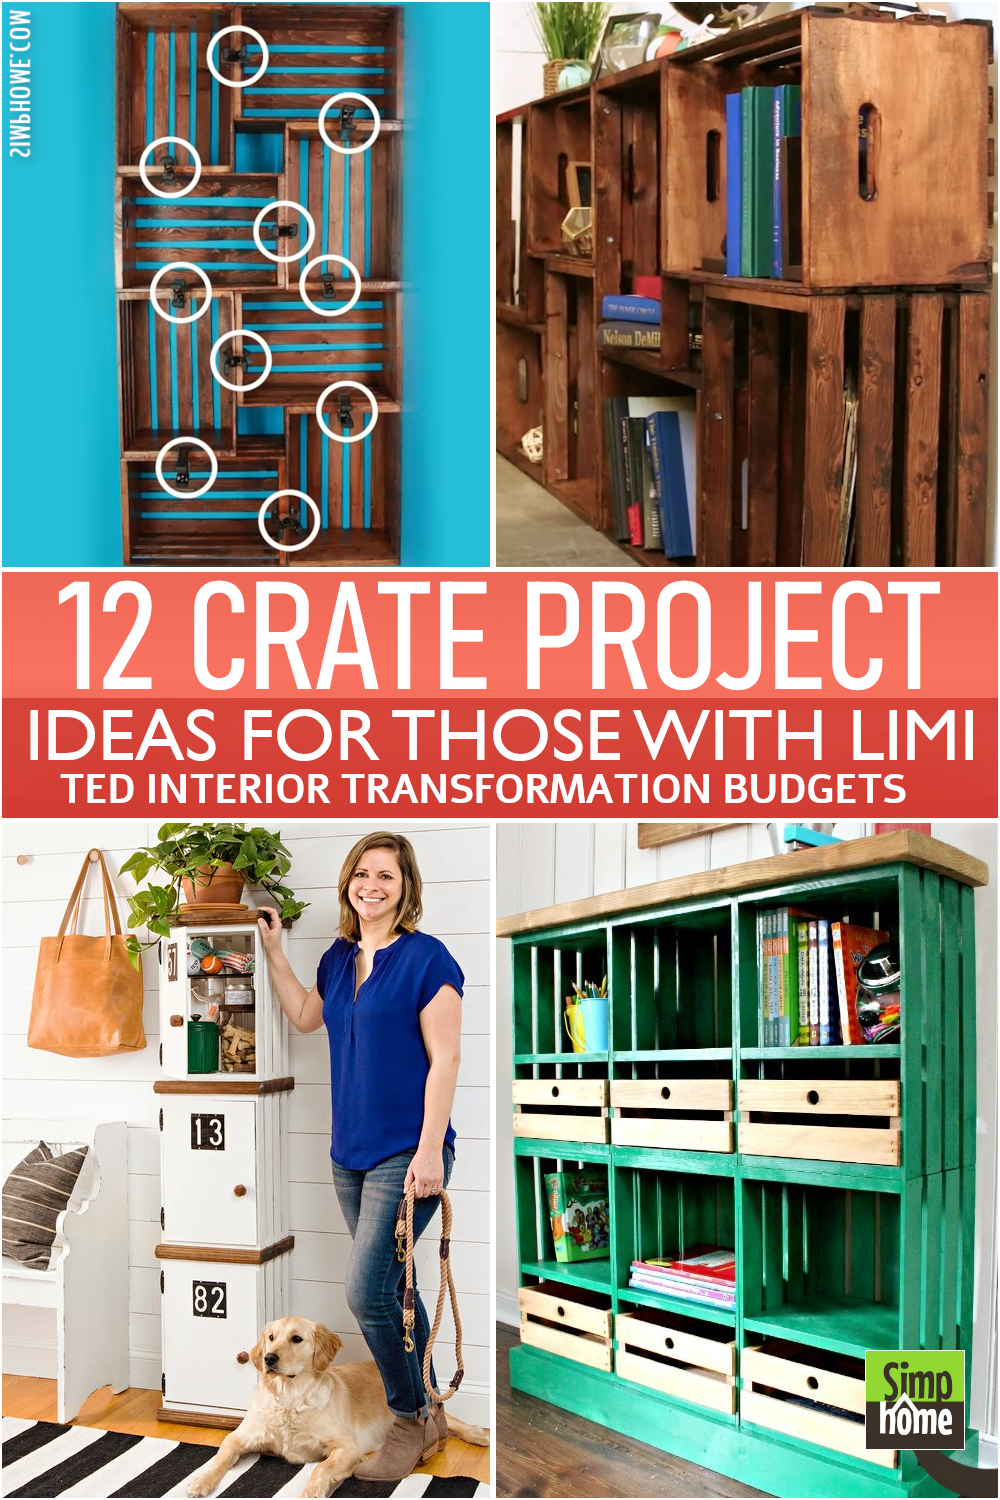
Key Points:
- You can start the project with an empty Wood Crate or use a previously used Wood Crate.
- Visit your local arts and crafts store for additional supplies to make your project look professional.
- You can add or omit steps in the projects below to adjust the difficulty level.
- Some of the list entries come with a step-by-step process, so all project links will take you to full instructions on making each Wood Crate Project.
- All projects can be altered, improved upon, or customized with your design
So let’s get started!
Wood crates are eminently versatile. You can create a lot of things with them. Another good thing about them is their availability. You can find them anywhere, making them a perfect material for any DIY project.
You may have come across many crafting inspirations on Pinterest, but you don’t know which one suits you. Well, that is why you are here. We have listed 12 wood crate project ideas for any DIY addict. So, let’s stroll around! And as always, Simphome compiled ad presented you with the list,
12 Wood Crate Project Video:
12. The Easy DIY Table Idea by @jordansgems
If you are a complete novice looking for a feasible DIY project, this one is for you.
This chic side table will help you house your favorite books and phone while perking up your bedroom. More importantly, you can make it without breaking a sweat, even if you are a novice.
- You need a wood crate, four hairpin legs, and rope to make this side table.
- First, paint the crate the color of your choice.
- Then, spray paint the hairpin legs and screw them to the crate.
- Afterward, wrap a rope around the handle to add a rustic touch.
- To further improve the project, you can add an iron cross at the top of the legs and brass knobs.
Additional instructions:
- Paint the crate the color of your choice.
- Spray paint hairpin legs and screw them to the crate. Afterward, wrap a rope around the handle to add a rustic touch.
11. How to craft a Cat Tree from Crate by @_joseeb7
(Keep reading the post to find a cooler crate project idea to adorn and tender your puppies too)
Are you a cat parent? This project should be on your list.
Your cats will love this playground. Most importantly, you can make it yourself to adjust it to your liking and save more money.
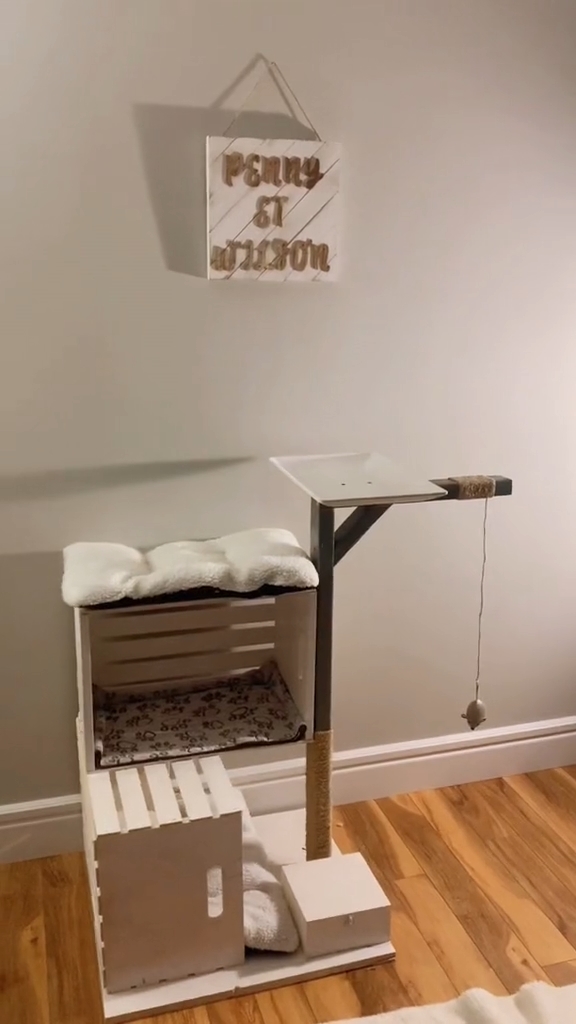
- You need two wooden crates to build this playground and cat house combo.
- Stack them up and make sure the top overlaps the bottom. Then, screw them together.
- Next, you will have to make a post holding a toy mouse suspended from it. This way, your cats can play with it all the time.
- You can also top it with a flat platform where your cat can perch. Try adding cushions in the crates for extra comfort.
10. Turn a Plastic Crate into a Chair for your children and yourself. A project idea from @itsoriginalrose
Are you looking for a cute stool for your daughter? Look no further! Why do you have to splurge out on a pricey one if you can make it yourself?
- To make this tiny chair, you need to get a plastic crate and two square pieces of wood. Make sure the plywood boards are 1/8” larger than the crate.
- Then, drill four holes in the back of the crate. After that, mark your plywood boards with corresponding holes and drill through them.
- Next, get one of your plywood boards and drill another two holes on the top of it. You will use the holes for the back support.
- After that, lace bungee through the holes. Reinforce the back support with bungee and carabiner.
9. Adopt This Simple Trick from @Hometalk to turn a Humble Crate into a cuter storage box
Are you going to throw a barbeque party in your backyard? Jazz it up with this cute cooler.
This is another easy DIY idea that you can do this weekend.
- You just need to paint the crate the color you desire.
- Then, add a stencil to label it.
- You can also incorporate pictures of fruit slices into it to make it more appealing.
Finally, add a container filled with ice and drinks. It is easy, right?
8. The DIY Baby Wardrobe Crate idea from @Cinn70
Wooden crate is renowned for being decent storage. It can help you organize things, including baby essentials like diapers, wet wipes, and powder.
Since you will use it to house your baby’s essentials, you need to make it cute. This wooden crate can be a great inspiration.
- You just need to paint the crate the color you like.
- Grab two thin yet sturdy sticks for the sides and a thick one for the top.
- Then, apply the same color as the crate.
- Glue the sticks on the sides, and then attach the top.
- You will find the top stick overhang the sides, which is perfectly fine because you can also use it as an extra wardrobe to hang your baby’s clothes.
- Finally, you can add accessories like a faux rose wrapping around one of the sticks and a heart-shaped label for extra cuteness.
7. Make an Egg Container from an Old Crate from @Mwahl89
Are you looking for a practical decoration to spruce up your modern farmhouse kitchen? This one should be on your list.
- First, you need to make the door from a frame.
- You can use a staple gun to assemble the pieces. Then, paint it white.
- After that, flip the doorframe and staple the wire mesh in place.
- Flip it back to attach the cow and chicken labels and the doorknob.
- The door is ready.
- Now, you can work with the crate by covering the sides with scrap wood.
- Stain it to accentuate the rustic look.
- Then, attach the door with hinges.
6. Adopt This DIY Shelving Unit Using Wood Crates
This shelving unit is cute and versatile. You can even use it as storage in your kitchen, living room, or mudroom.
You just need three crates to make this shelving unit. You will also need ¼-inch plywood for the doors and shelves, 2×10 for the bases, and ¼-inch square dowels for shelf supports. Cabinet hinges and magnetic door latches are also necessary to shut the door properly.
Other improvements initiatives or alternatives you can try to upgrade or at least adopt the project (for cheaper):
No 1. Painting the crates a color you like and adding a new handle makes the unit look more charming.
- First, you should sand the crates and remove any remnant of rust. When it is done, paint it with your desired color.
- After that, get a new handle and install it on one of the sides to make it easy for you to open and close.
No 2. Installing a galvanized lid rack for storing your lids in an orderly fashion
No 3. Adding pockets for convenience
5. The DIY crate shelving idea that works vertically or horizontally
You will never find this idea mundane, although it is classic. You do not need advanced carpentry skills to make these shelves. The things you need are your creativity, some spare time, and a bit of elbow grease.
- Begin with sanding the crates thoroughly if necessary. This way, you can apply any finish easily.
- For a more rustic look, you can go with a gel stain.
- Once the stain is completely dry, stack the crates according to your desired design.
- Then, assemble them with screws. Consider screwing them to the wall for peace of mind.
Relevant details:
- The project will require a total of 8 crates.
- To treat the crate, you need to sand on a smooth surface.
- Use gorilla glue, and let it dry before drilling and screwing these crates
- To make the shelves more stable and sturdier, you can use galvanized metal brackets and screws too
- Line the shelves with plywood to create an excellent space for storing these items (when necessary)
- Another simple improvement is to attach a shelf liner to all of them so that they will be easy to clean after every use
Extra details:
- These crates will be used as storage containers and not as tables or surfaces for your tableware.
- You can paint them any color you want, but it should be a color that suits your existing furniture or anything else you may have around
- Add some dollops of silicone to hold the legs in place (also when necessary).
4. The DIY Locker Cubbies Ideas Using Crates
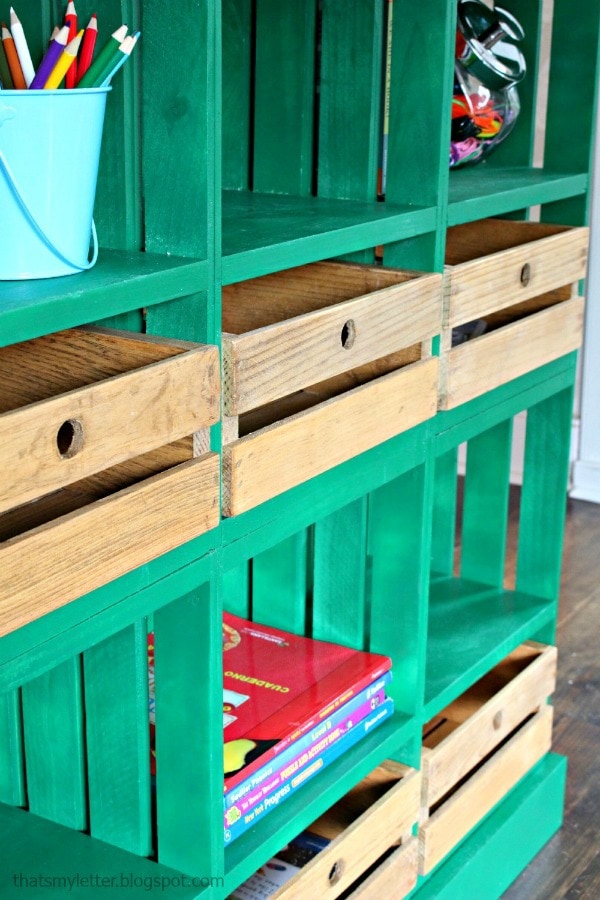
Cubbies can make great storage. Unfortunately, chic designs usually entail a lot of money. Well, that is not always the case. You can make it yourself to have a nest egg.
- You will need six large and six small crates to make these cubbies.
- Then, you have to make the base from 2x4s.
- After that, you need to make shelves from 1x10x8 pine board to create the shelves.
- Once the shelves are installed, you can assemble three crates to the base using 2” wood screws.
- Then, you can continue stacking up the remaining crates and securing them using 1 ¼” wood screws.
- Sand the small crates’ sides thoroughly so they can smoothly glide, although you do not install drawer slides.
- You will also need to create a pull hole in each drawer using a 7/8” spade bit.
3. The Easy DIY Wood Crate Desk project from Makingmanzanita
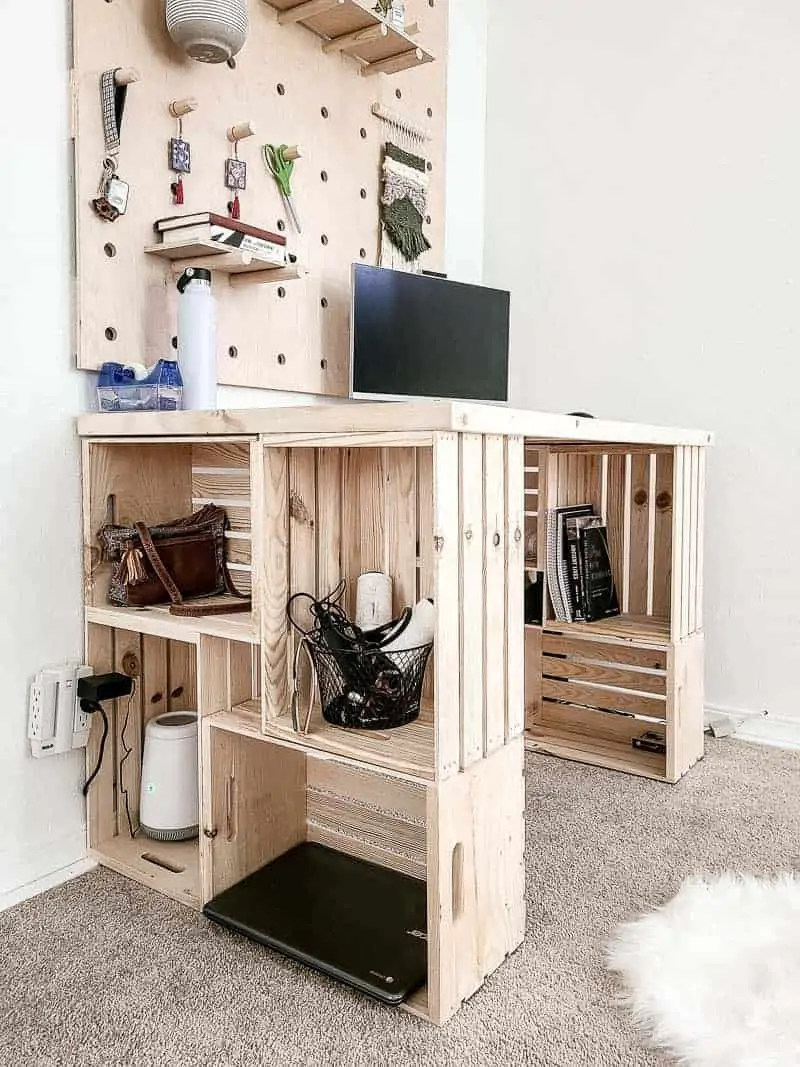
Working from home has been a thing lately. Thus, you need to consider creating a comfortable home office to perform better. It does not have to be pricey, though. Eight wood crates and a pegboard can make a perfect workstation.
- You can begin by assembling four crates to create one leg for the desk.
- Then, repeat the step to make the other leg.
- After that, top it with a sturdy board.
- Next, hang the pegboard on the wall, and you are good to go.
2. The DIY Wood Crate project idea Above the Door Bathroom Storage Idea
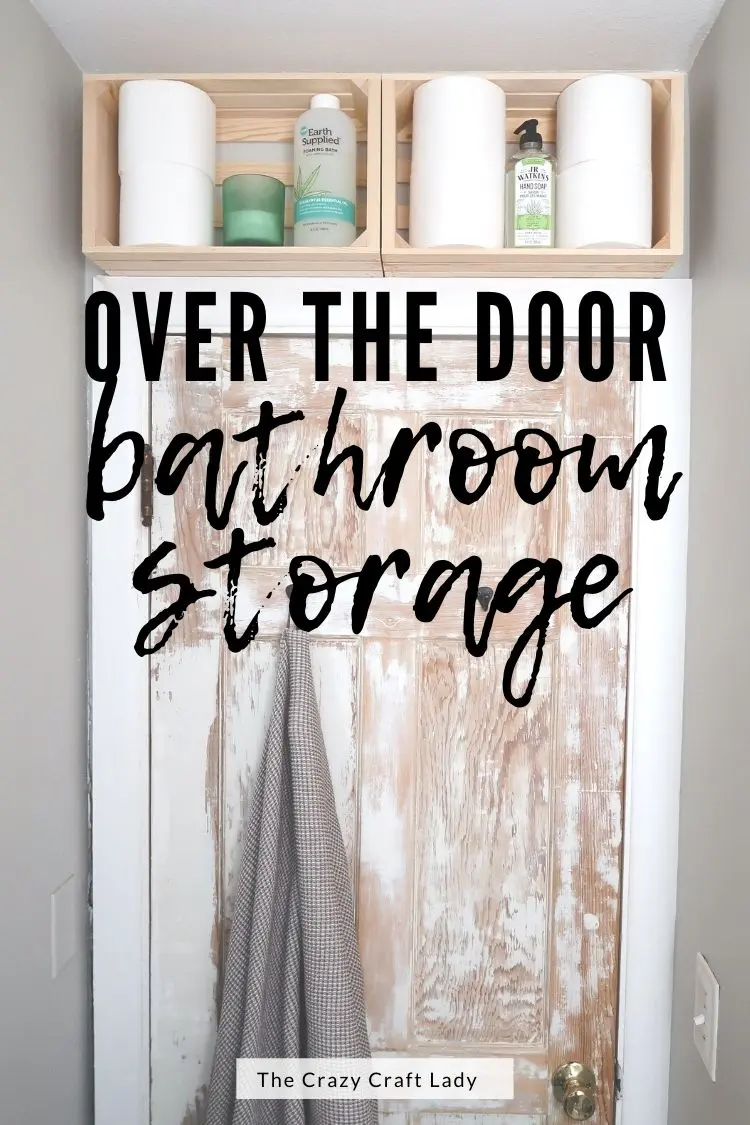
You just need to get two wood crates and screw them to the wall above the door.
To keep your work secure or not harmful to others, ensure that you sand the wood first to remove any splinters and then paint it with waterproof paint. Then, you can hang your stuff.
- To securely attach your crate to the wall, you will need two brackets and screws.
- First, You should attach the wood surfaces flat against the wall to avoid warping or tilting.
- Once these crates are mounted, you can give them a more modern but rustic look with strip or Christmas lights.
Lastly, number 1. The fantastic wooden crate project from @nickscustomwoodworks
Okay, this is not a wooden crate, but you can copy this idea using wooden crates. Still, you have to make sliding barn doors because they are the main interest of this console table or an indoor cage.
Another good thing is you can lift the top. To do this, you need to install a lifting mechanism.
The project is not for a regular woodworker, so if you want to adopt this one, ensure that you can invest some time to deal with the learning curve.
Bonus: How to turn some crates into a sweet coffee table from @Tayzzor
This coffee table incorporates more storage space into your living room. Besides, it is easy to make.
- First, assemble four wooden crates. Make sure the opening parts face the outside to create shelves.
- Then, sand the coffee table thoroughly, and install table legs.
- You will find a pretty large opening in the middle. It is perfectly fine. You just need to cover it with scrap wood.
Detail instructions:
- No 1. The project will require four wood crates and wood into the table legs
- No 2. Sand the coffee tabletop
- No 3. You need to install table legs, and after that, you can then install a glass top
- No 4. To ensure that you have a flat surface, use a ruler, angle mater, or angle matter app for free on Playstore
- No 5. To attach the different crates securely, you could also use Gorilla glue first before screwing the wooden area
- No 6. A glass top is optional, and you replace it with an indoor plant and pot. a round table with a leg, or a charging station for those who want to use the space as a meeting area or communal working space
Those are 12 wood crate project ideas that you can copy. Whether DIY projects are new to you or you already have advanced skills, you can do them well because they are straightforward and effortless. So, are you ready to begin work this weekend?
References:
12. Tiktok.com/@jordansgems
11. Tiktok.com/@_joseeb7
10. Tiktok.com/@itsoriginalrose
9. Tiktok.com/@hometalk
8. Tiktok.com/@cinn70
7. Tiktok.com/@mwahl89_
6. Bhg.com
5. Pinterest.co.uk, Pinterest.co.uk
4. Jaimecostiglio.com
3. Makingmanzanita.com
2. Thecrazycraftlady.com
1. Tiktok.com/@nickscustomwoodworks

