It can take a while to plan out your kitchen from the layout, the color, and where I’ll place appliances. The first thought was to keep the existing layout and base cabinets. It was because the kitchen wasn’t originally designed with a pantry that this issue has arisen. I knew that if I am going into the remodel that I would have to figure out how to integrate a pantry.
I experiment with several ideas, including adding a bank of several wall-mount IKEA cabinets floor-to-ceiling or purchasing a pre-fab “pantry” from Home Depot that I’d have to prime, paint or otherwise soup up. Both of these options would ring in at $500.00-$700.00. After upping my budget once, twice, then thrice as costs for bigger projects took their toll, I settled on $200.00 as the absolute MOST I could spend on some sort of pantry.
First, I searched Craigslist, Facebook swap groups, and estate sale listings for a cool armoire to work with, maybe something like this stunner from Remodelista: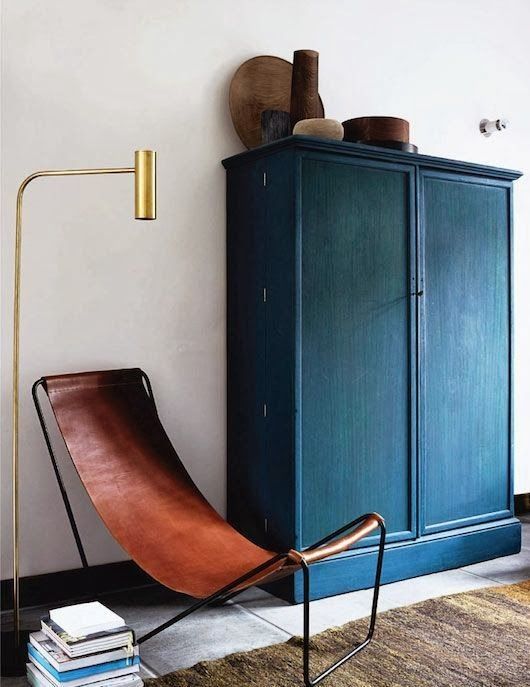
Gorgeous, right? Throw some shelves in there, and suddenly I’ll have a place for all the different flavors of Ramen Noodles I’d have to live off of once I spend the $10,000.00 this thing probably cost! Even the ugly armoires were upwards of $400.00. I decided that the problem was doors. Doors seem to make everything cost more. So if I get something doorless, like a bookcase or Etagere I could, in theory, slash the cost in half. But who wants an IKEA Billy in their kitchen? I already have three Billys in my living room and didn’t want to repeat them in the very next room.
Eventually, I submitted to DIY-ing something. It didn’t take too long before I settled on working with craft crates.
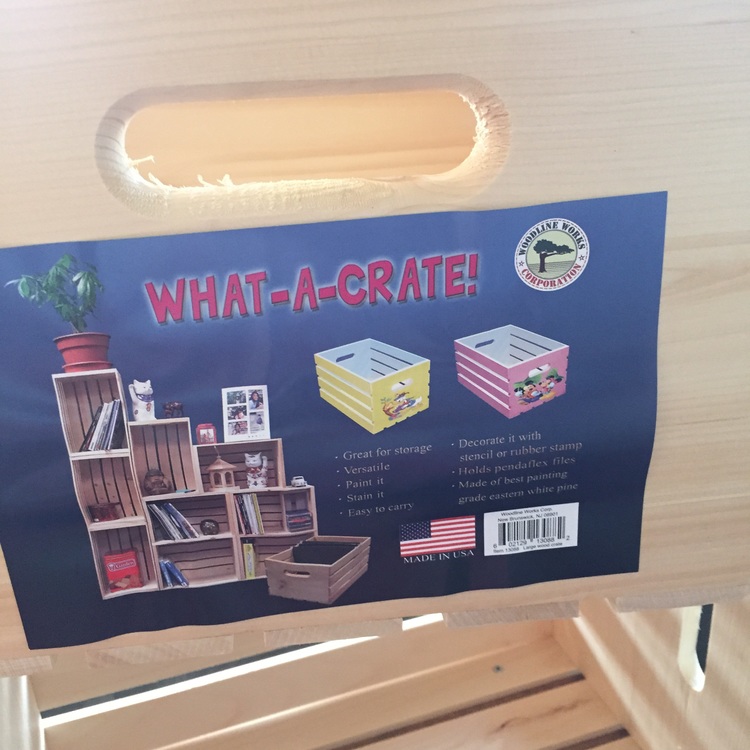
These recently ubiquitous crates are lightweight, made from soft basswood, and designed for crafty manipulation. They can be found for a steal at pretty much any craft or fabric store. Even Wal-mart carries them now. At $8.00-$14.00 each, they are hard to pass up.
There are some truly righteous crate DIYs out there (just search “crate shelf” on Pinterest), but these two were the most inspiring. This one from Jenna Sue Design is wall-mounted and turns simple crates into an elegant, rustic feature.
I wasn’t really sold on attaching the crates to the wall. I have huge issues when it comes to “drilling things into the stud.” But I liked the look.
This one is less sophisticated, more rustic, but this DIY-er came up with a brilliant way to attach crates together that I never would’ve thought of.
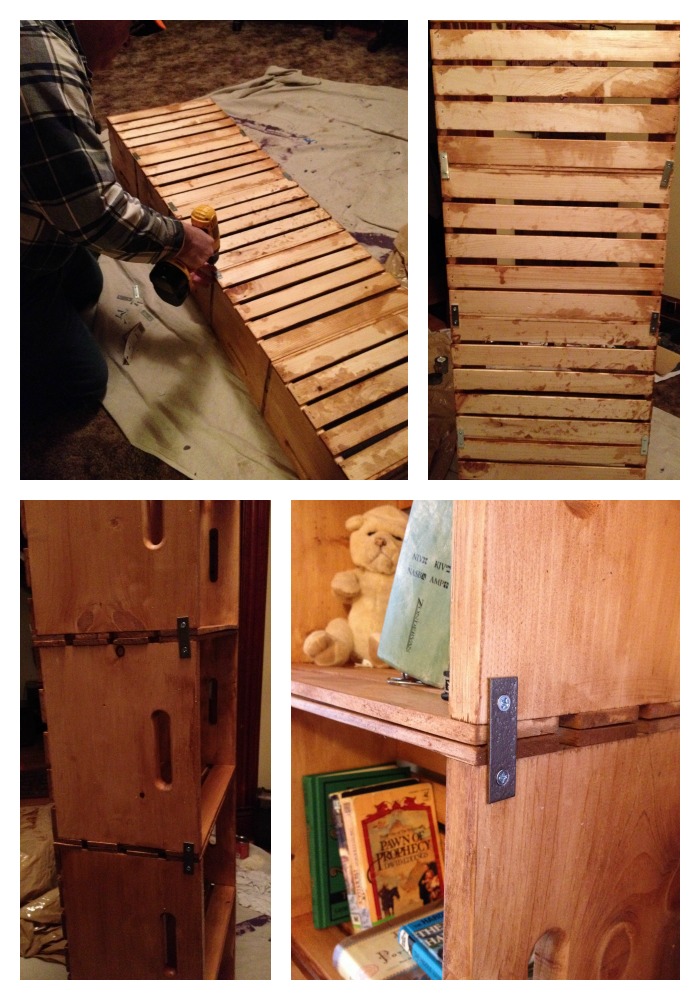
More on this later.
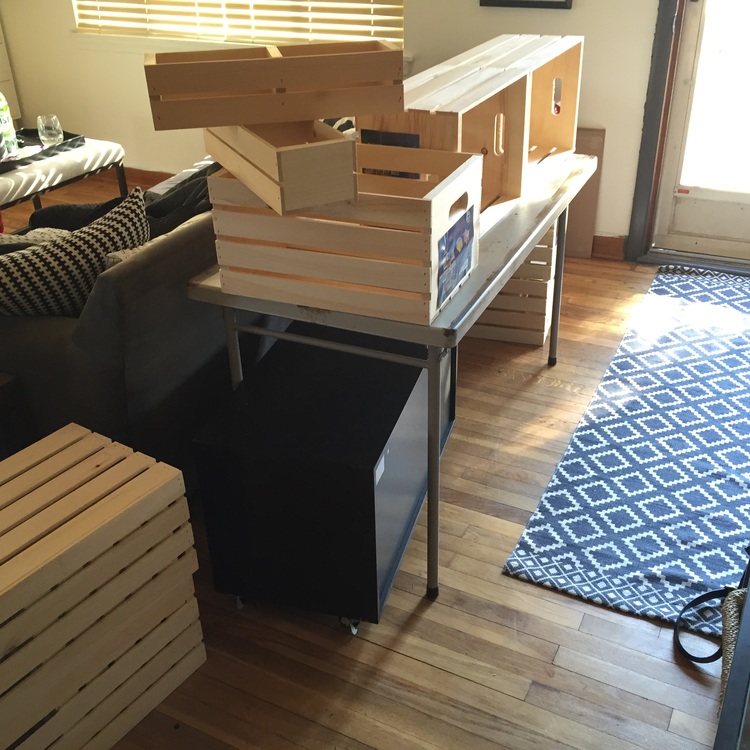
So I went to Joann Fabrics with my 20% off coupon in tow. I found the crate section and made another discovery. There were other sizes and shapes to be had in their crate section than just the standard handled variety. Drawer units, smaller, narrow parts, and shallow, quarter size boxes that could all be used to create something like this:
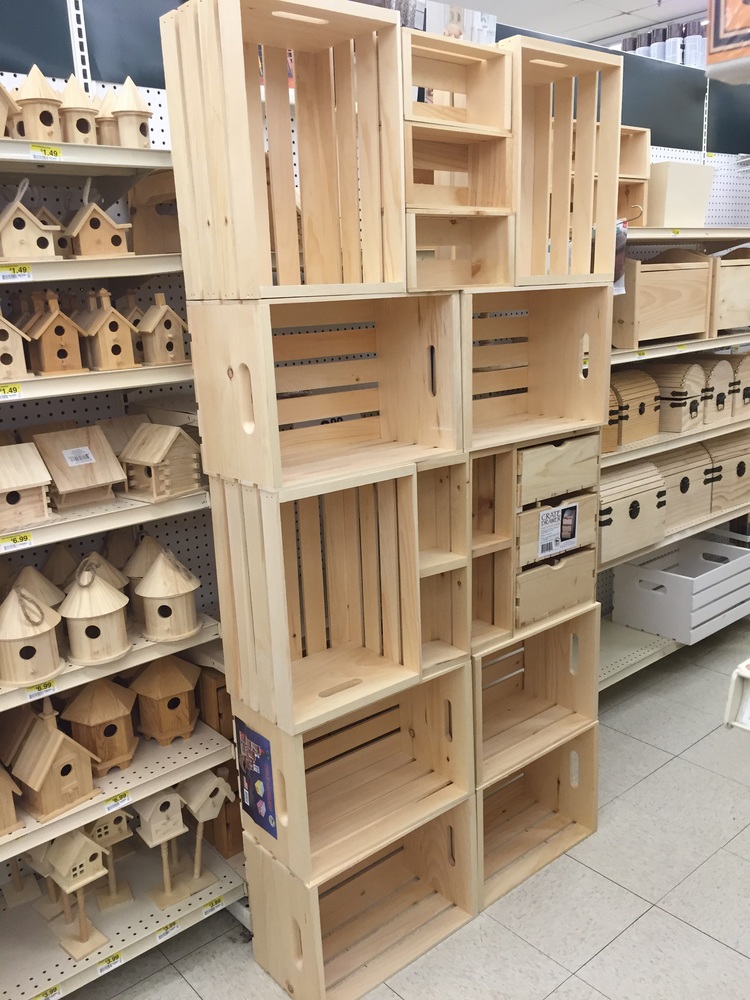
For twenty minutes, I took over the woodworking aisle at Joann Fabrics working to come up with this combination. Good times. This is the brand I used, FYI.
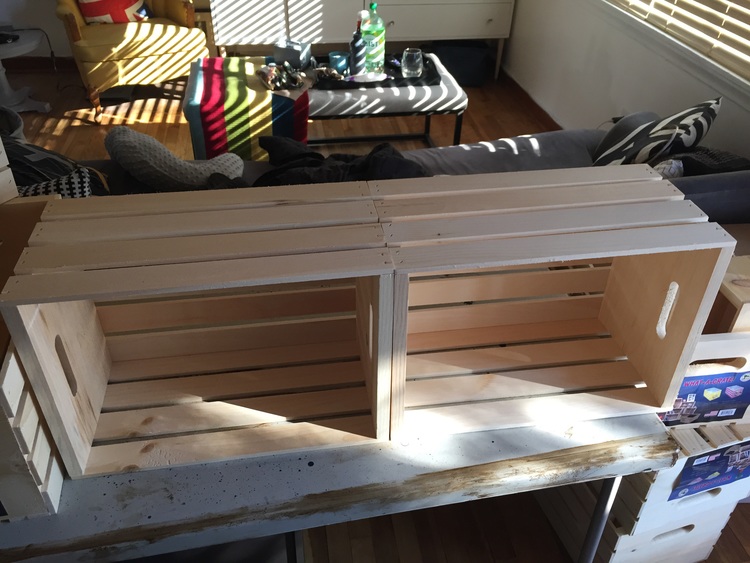
Once I got them home, I realized that I would have to build a platform for them to sit on. The side slats are pretty flimsy. The unit won’t hold a ton of weight, but I don’t want to take any risks. So I laid out my bottom row and took measurements.
36″ wide and 9/12″ deep.
I headed to Home Depot, my home away from home, and had a 3/4 inch piece of cheap wood with similar grain and feel cut down to size. I asked, but the guy wouldn’t let me use the saw.
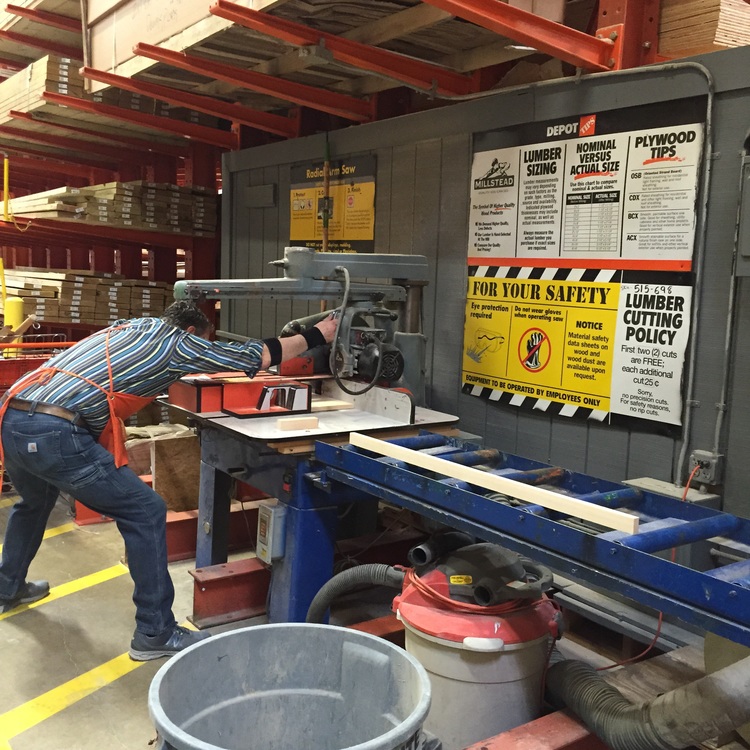
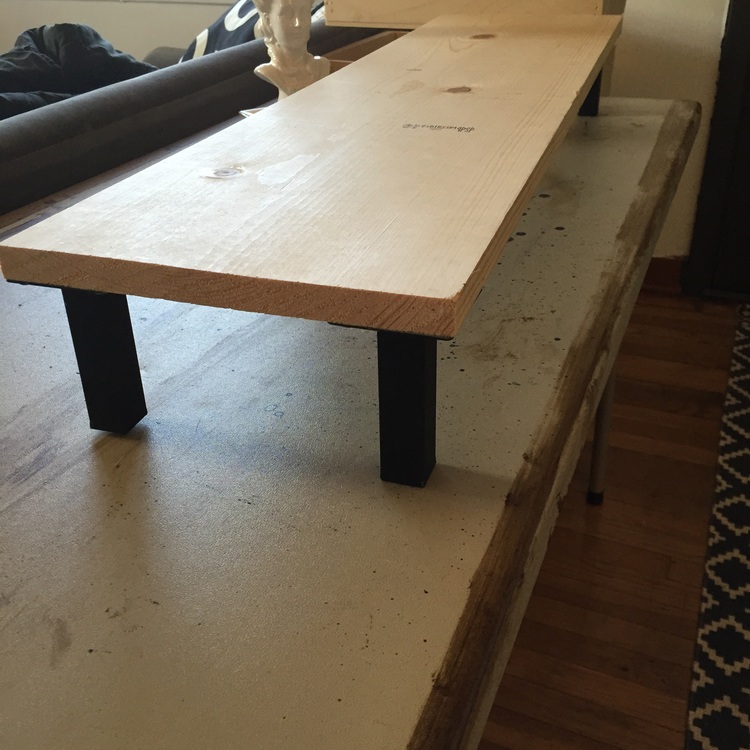
Here’s the board. Perfect fit.
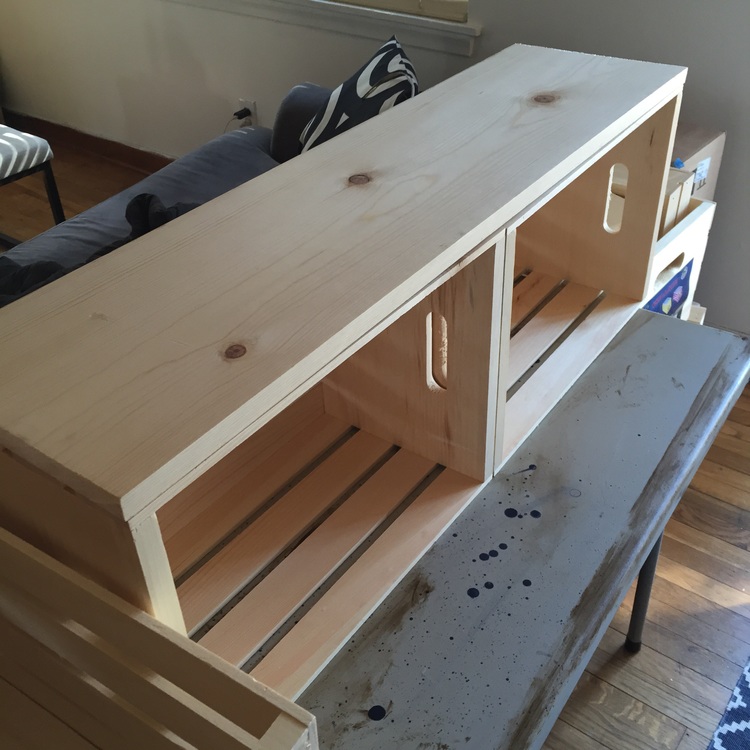
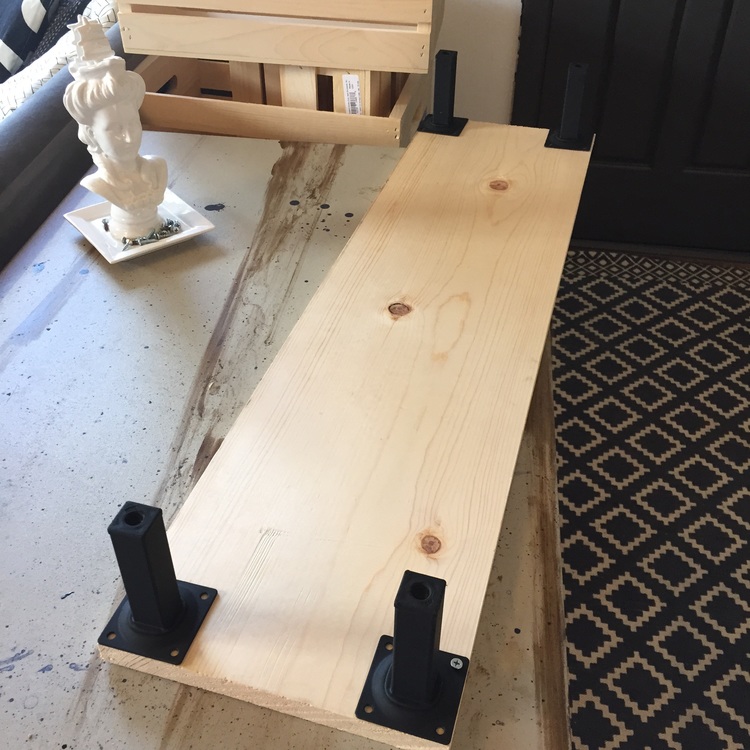
I had a set of 4″ legs leftover from a dresser project and figured they’d be perfect for bringing the unit up off the floor.
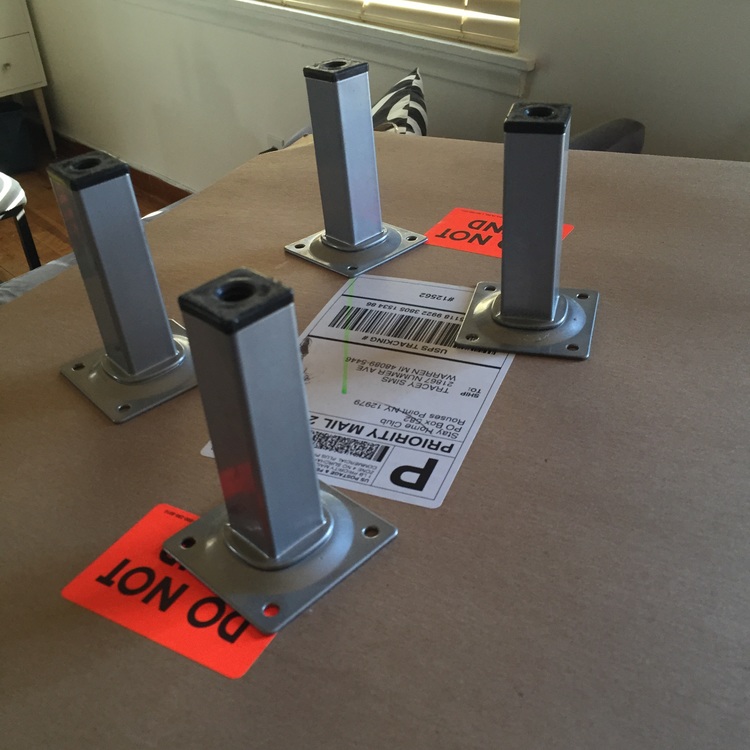
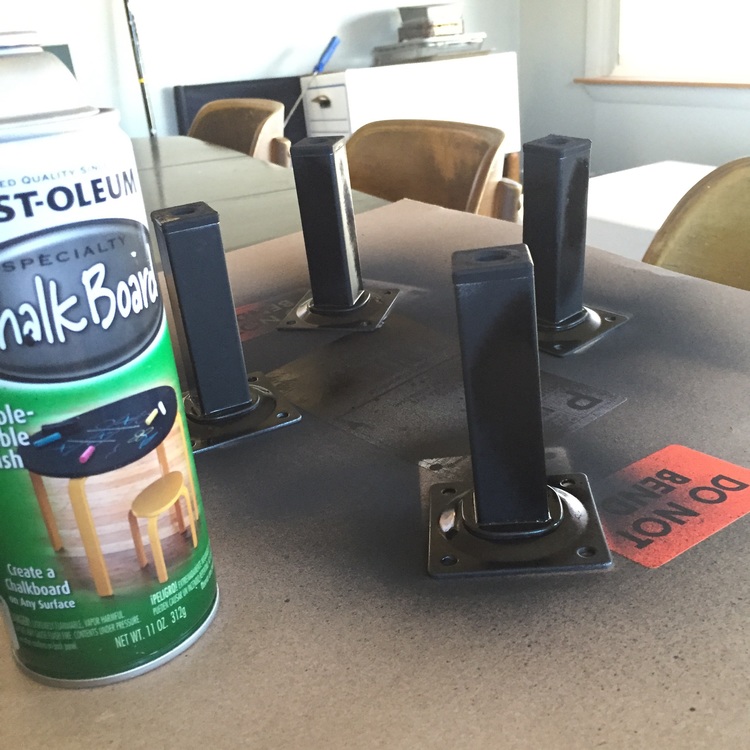
I used my all-time fave black Chalk Board spray paint to give them a more modern look.
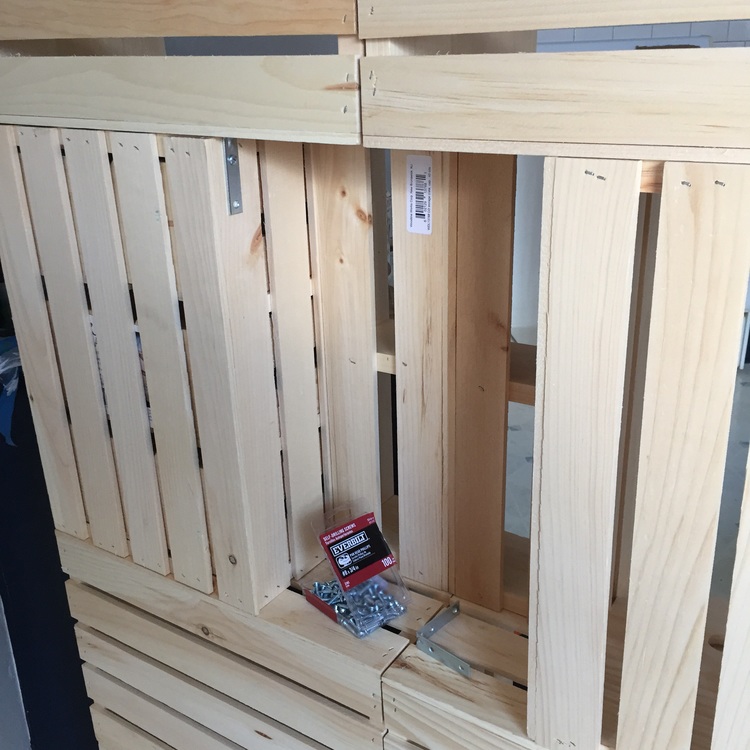
Here are the plates that the other DIY-er used to attach her crates together.
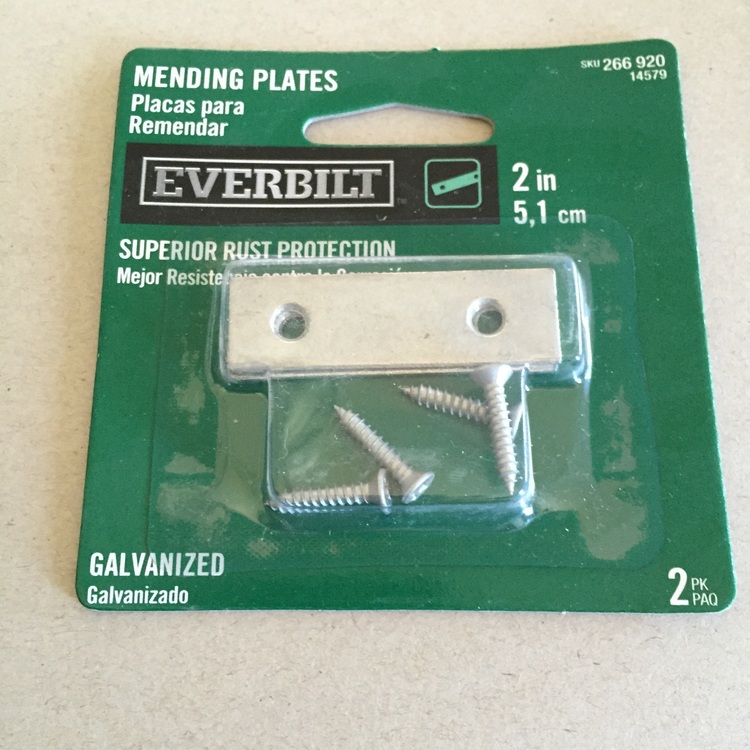
I gave these a spray as well.
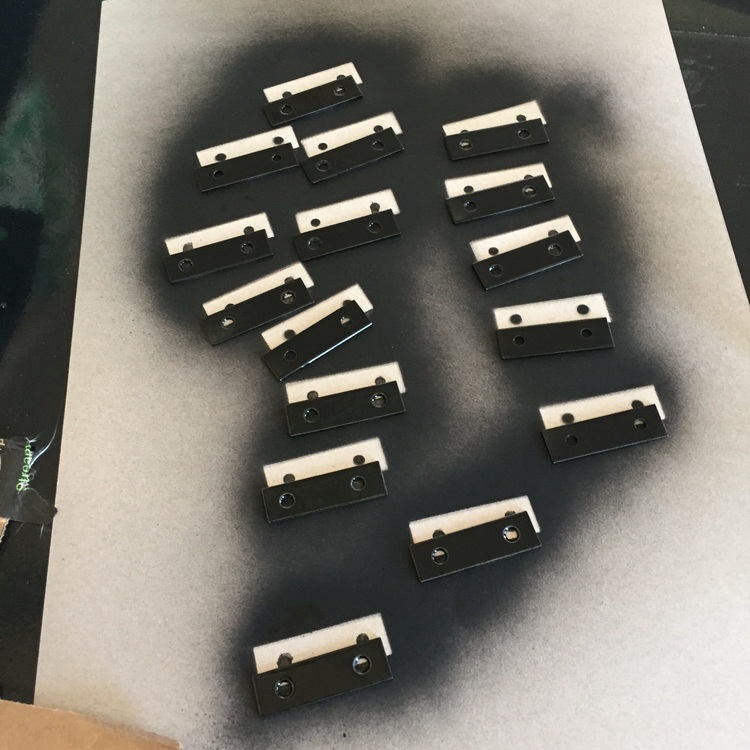
Screws too.
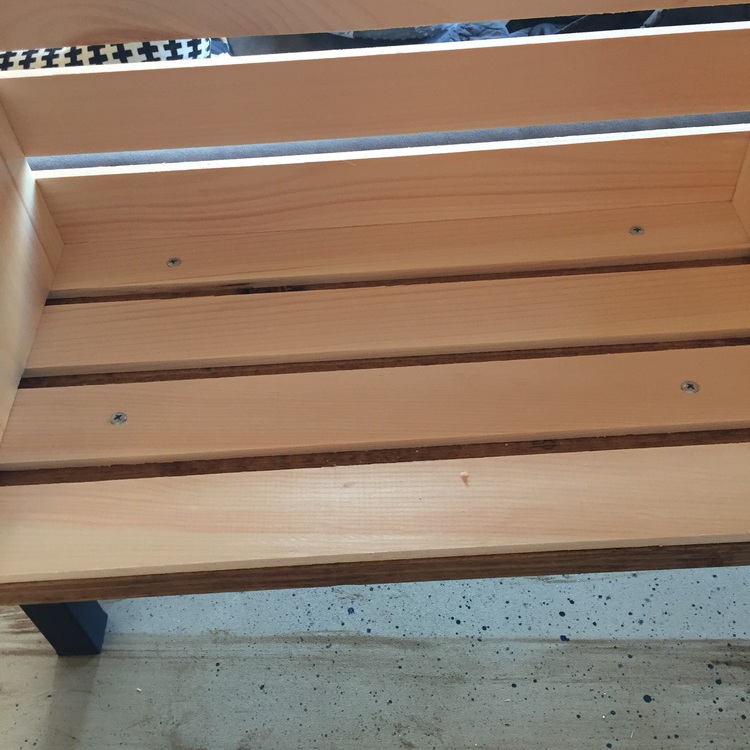
Then attached the legs to the bottom platform. In the background, you’ll notice the world’s fanciest screw holder. ‘Cause, that’s how 2 Sisters roll.
Once the platform was ready, I went ahead and stained it. I forgot to grab a pic of it, though, sorry. I used a stain and poly combination to save myself some time. I did consider staining all the crates and then building the whole thing, but I changed my mind and built it first. This was a dumb call. Note to future self: always stain first!
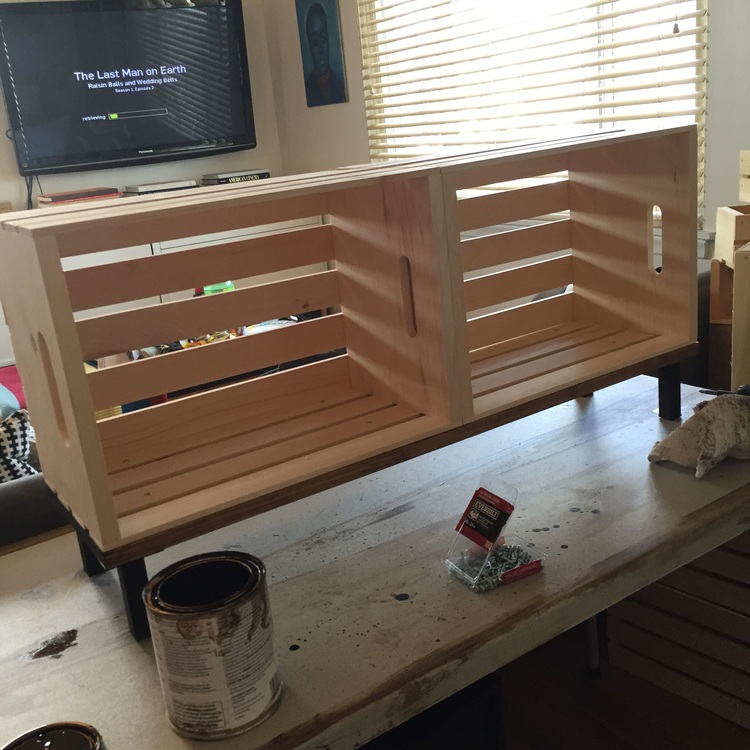
I fired up “The Last Man on Earth” on Hulu (and wish I hadn’t. It’s terrible) and started building.
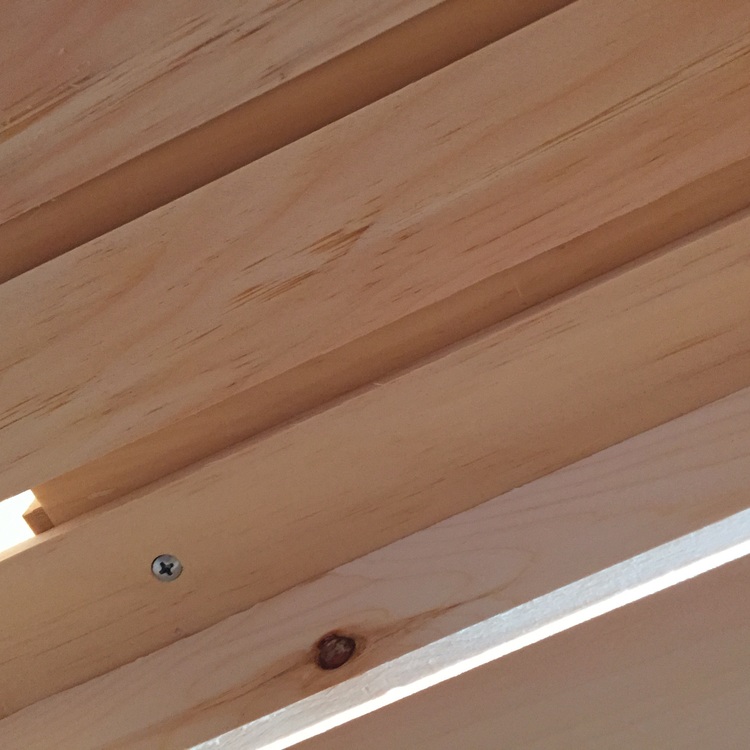
First, I screwed the side slats down in four spots per crate.
Then screwed up into the above crates when the next layer went down.
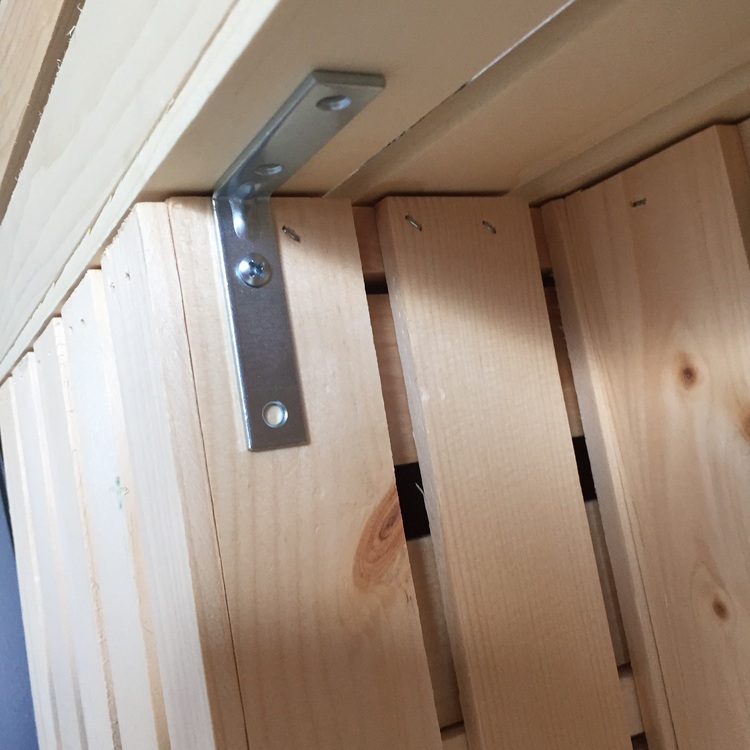
Then I secured the mending plates, which both help the crates stay aligned and keep them attached vertically.
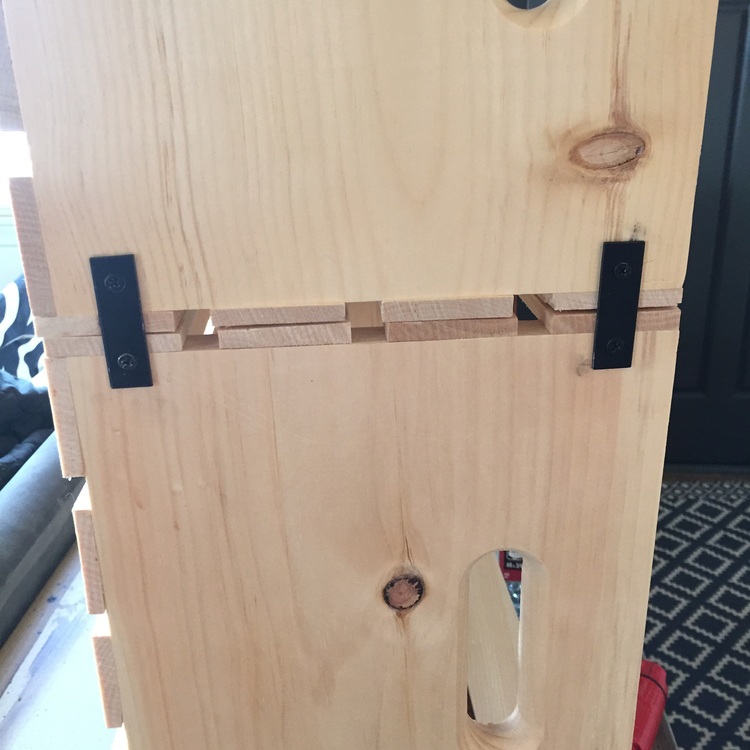
I used 1 1/2″ screws to attach the inside sides of the crates to each other.
It was tougher figuring out where and how to screw the vertical and drawer units to each other but with a little trial and error and three different size screws, it started to come together.

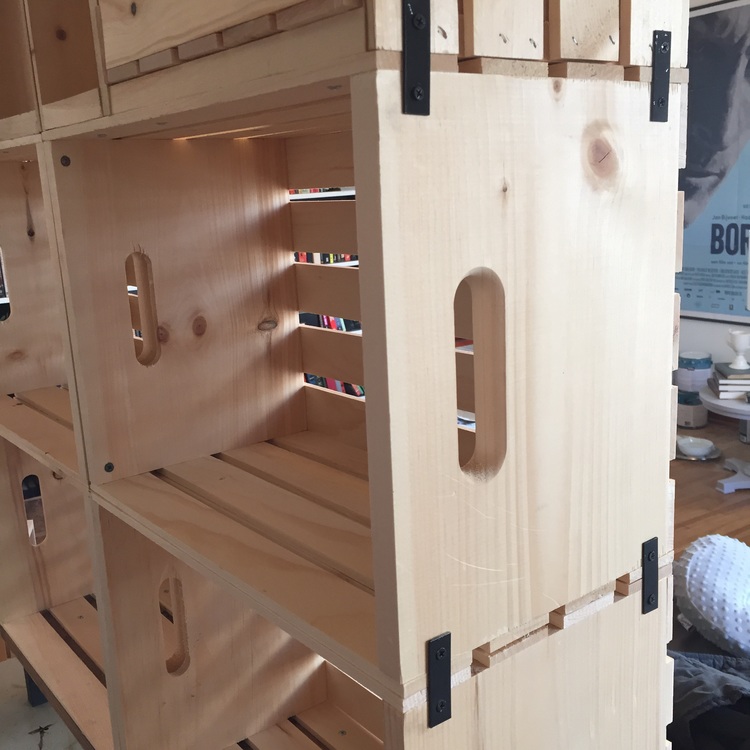
The smaller vertical units are half as deep as the other crates, creating a void in the back. I used angle braces to take the weight of the upper crates.
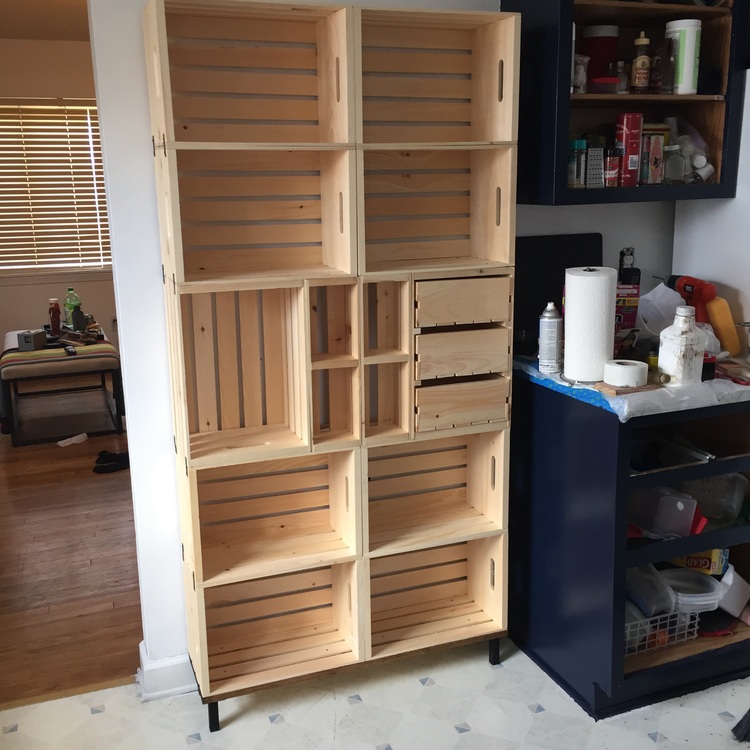
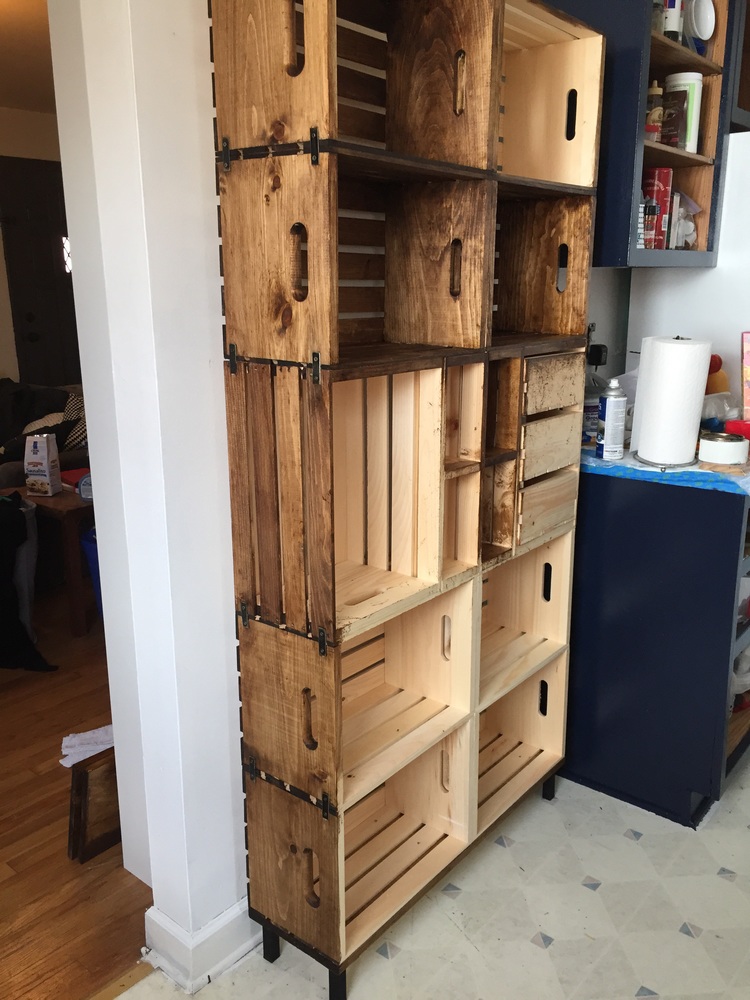
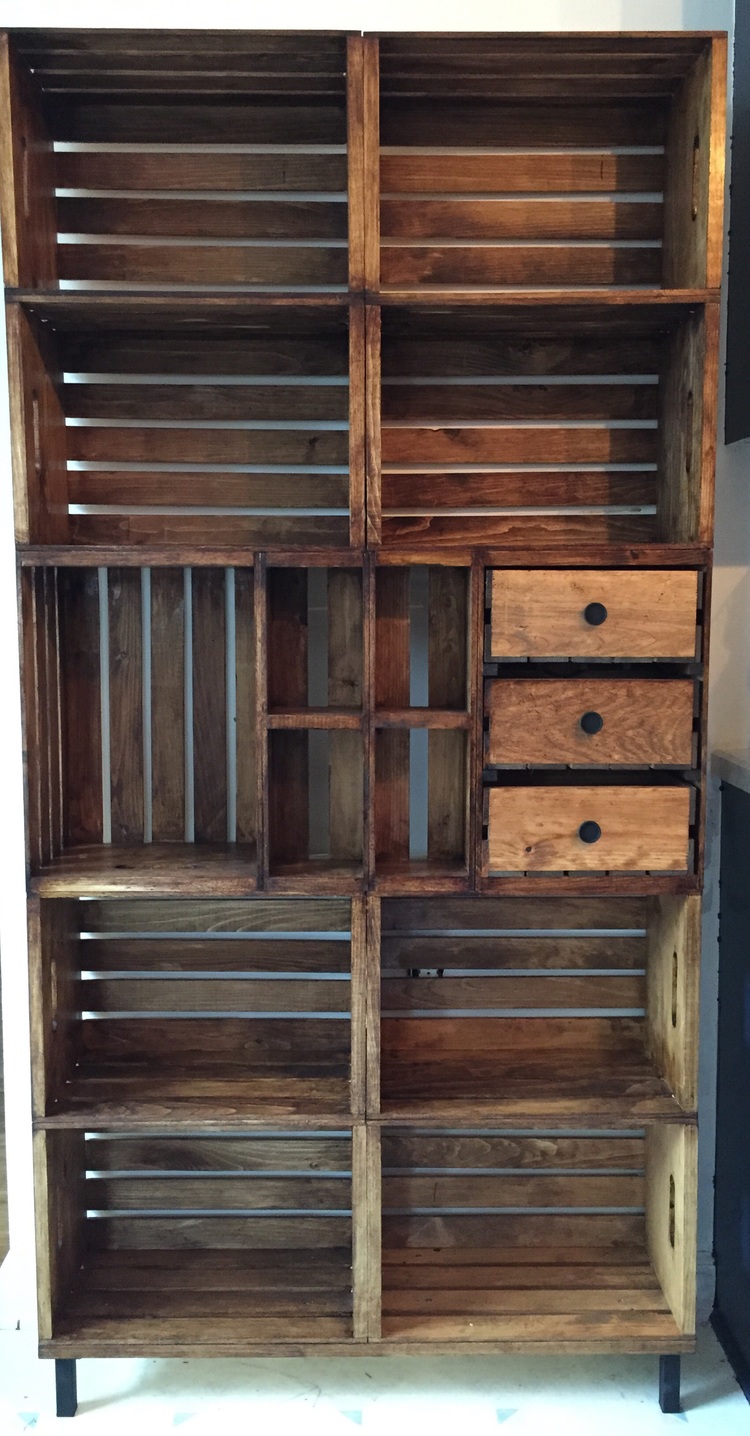
The unit is fully assembled. It fits perfectly on the wall, and I like that it’s not too deep. It keeps it from overwhelming the space. You may notice that the layout shifted a bit from the layout I made in the store. It turned out that the top row, as I originally wanted it was actually 3″ wider than the other rows. The OCD in me just wouldn’t allow it. So back to the store they go.
Staining was slow going. I used a rag to apply the stain. I didn’t sand or use wood conditioner, but in retrospect, I would’ve done both. This is only the second time I’ve ever stained anything. I’m learning as I go.
I love the way it looks from the side. Like something dug up from an old barn.
Adding to the farmhouse look was the finish on the mending plates, a happy accident that occurred when I carelessly rubbed stain on them. It removed half the spray paint but left behind an aged patina that I’m kind of obsessed with.
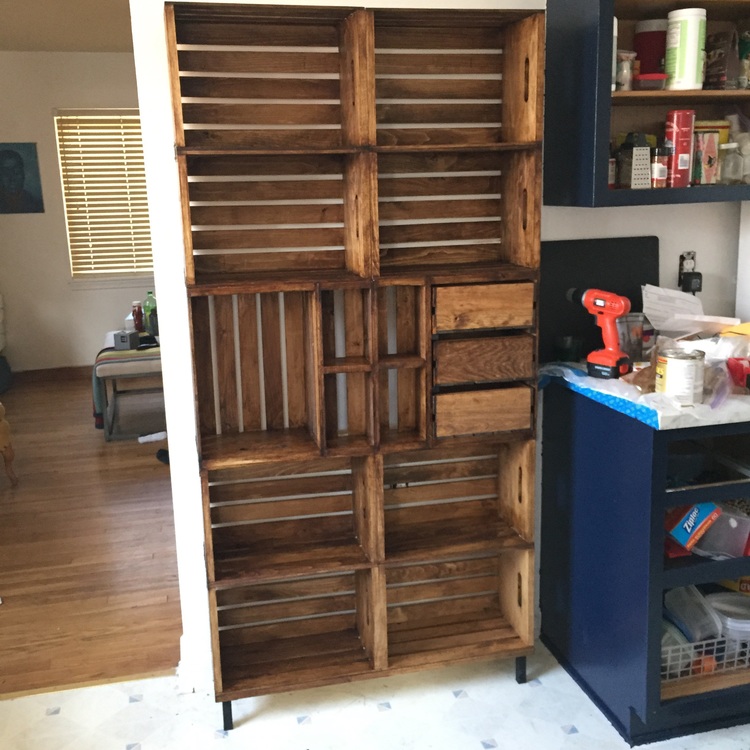
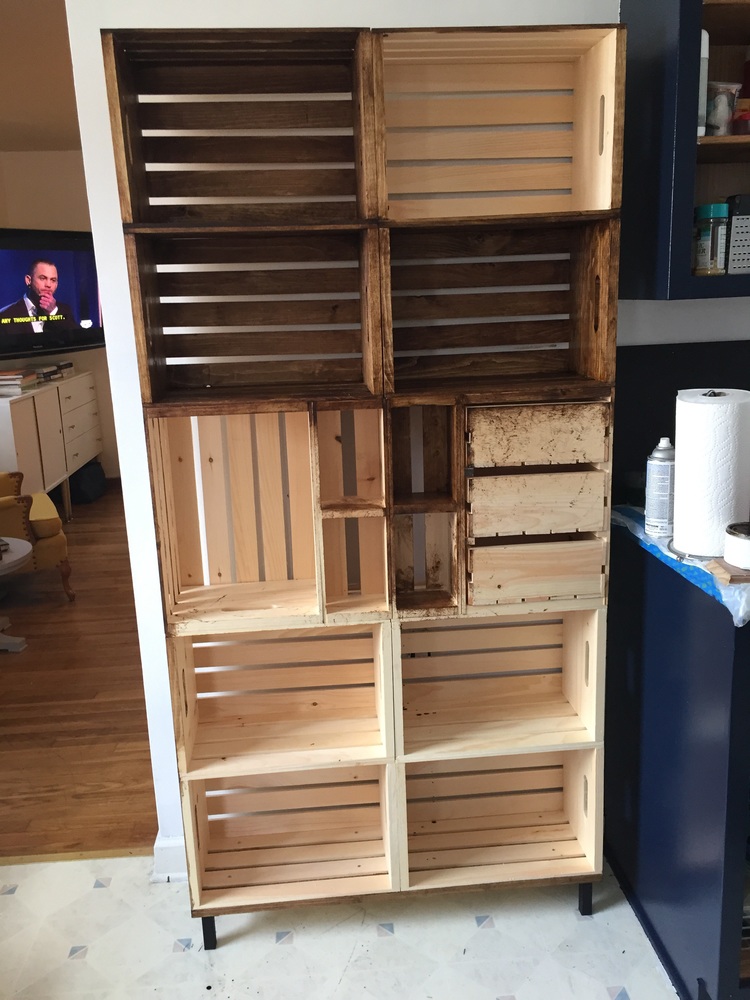
Staining, staining, and more staining over a three-day period. This really was a shitload of staining. And done!
Well almost. I decided to grab some knobs for the drawers at the last minute.
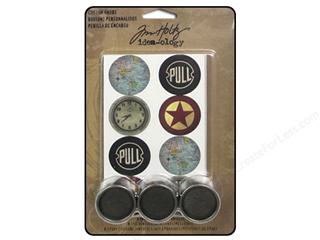
I used the chalkboard spray paint one more time then attached them with construction adhesive. They aren’t made to actually use as handles. Just for decorating weird, steampunk cardboard boxes or something (steampunk at Joann Fabrics is the opposite of cool, by the way), so they weren’t drilled out for traditional use, but the adhesive worked just fine.
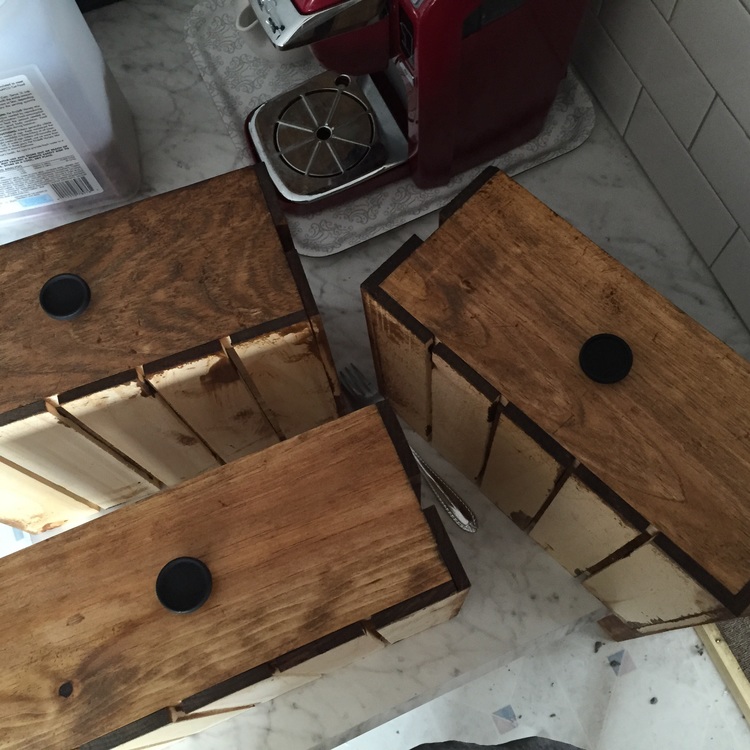
Also, I eyeballed the placement. Kinda scary, but I was able to manipulate them a bit before the adhesive set. And that’s that.
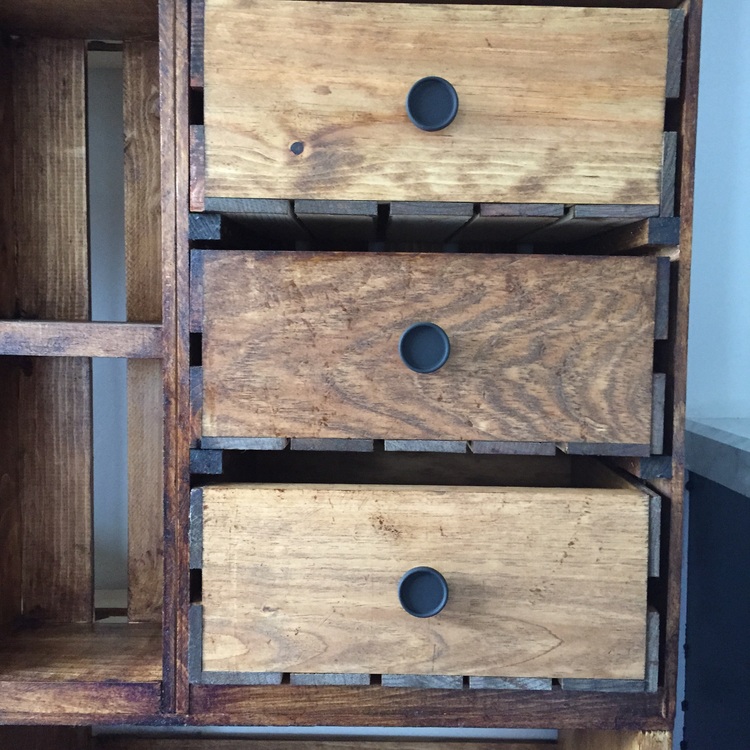
Now looking at this picture, I’m planning on adding another coat of stain to the drawer fronts. One day. Probably not soon. It’ll be a while before I’m ready to tackle another staining project! For now, though, I am very happy with the results.
So to recap, I used 9 full-sized craft crates, 1 drawer unit, and 2 2-shelf half-sized crates. All together with a coupon, they cost about $80.00. The mending plates, screws, stain, spray paint, and wood used for the base all came from Home Depot and totaled out to a little over $30.00. The legs I already had, but if I remember correctly, the set of 4 costs about $20.00. Add in the knobs at $3.00, and we’re looking at a project total of around $135.00. Not bad. Not bad at all. If you’re going to try this, you may be able to get crates for even less if you time your couponing right and do a little legwork.
For a more clever idea like this one, keep following the Simphome and remember to accept the push notification or, better following the newsletter update