15. Your Next Shoe Closet Hack with IKEA’s HEMNES!
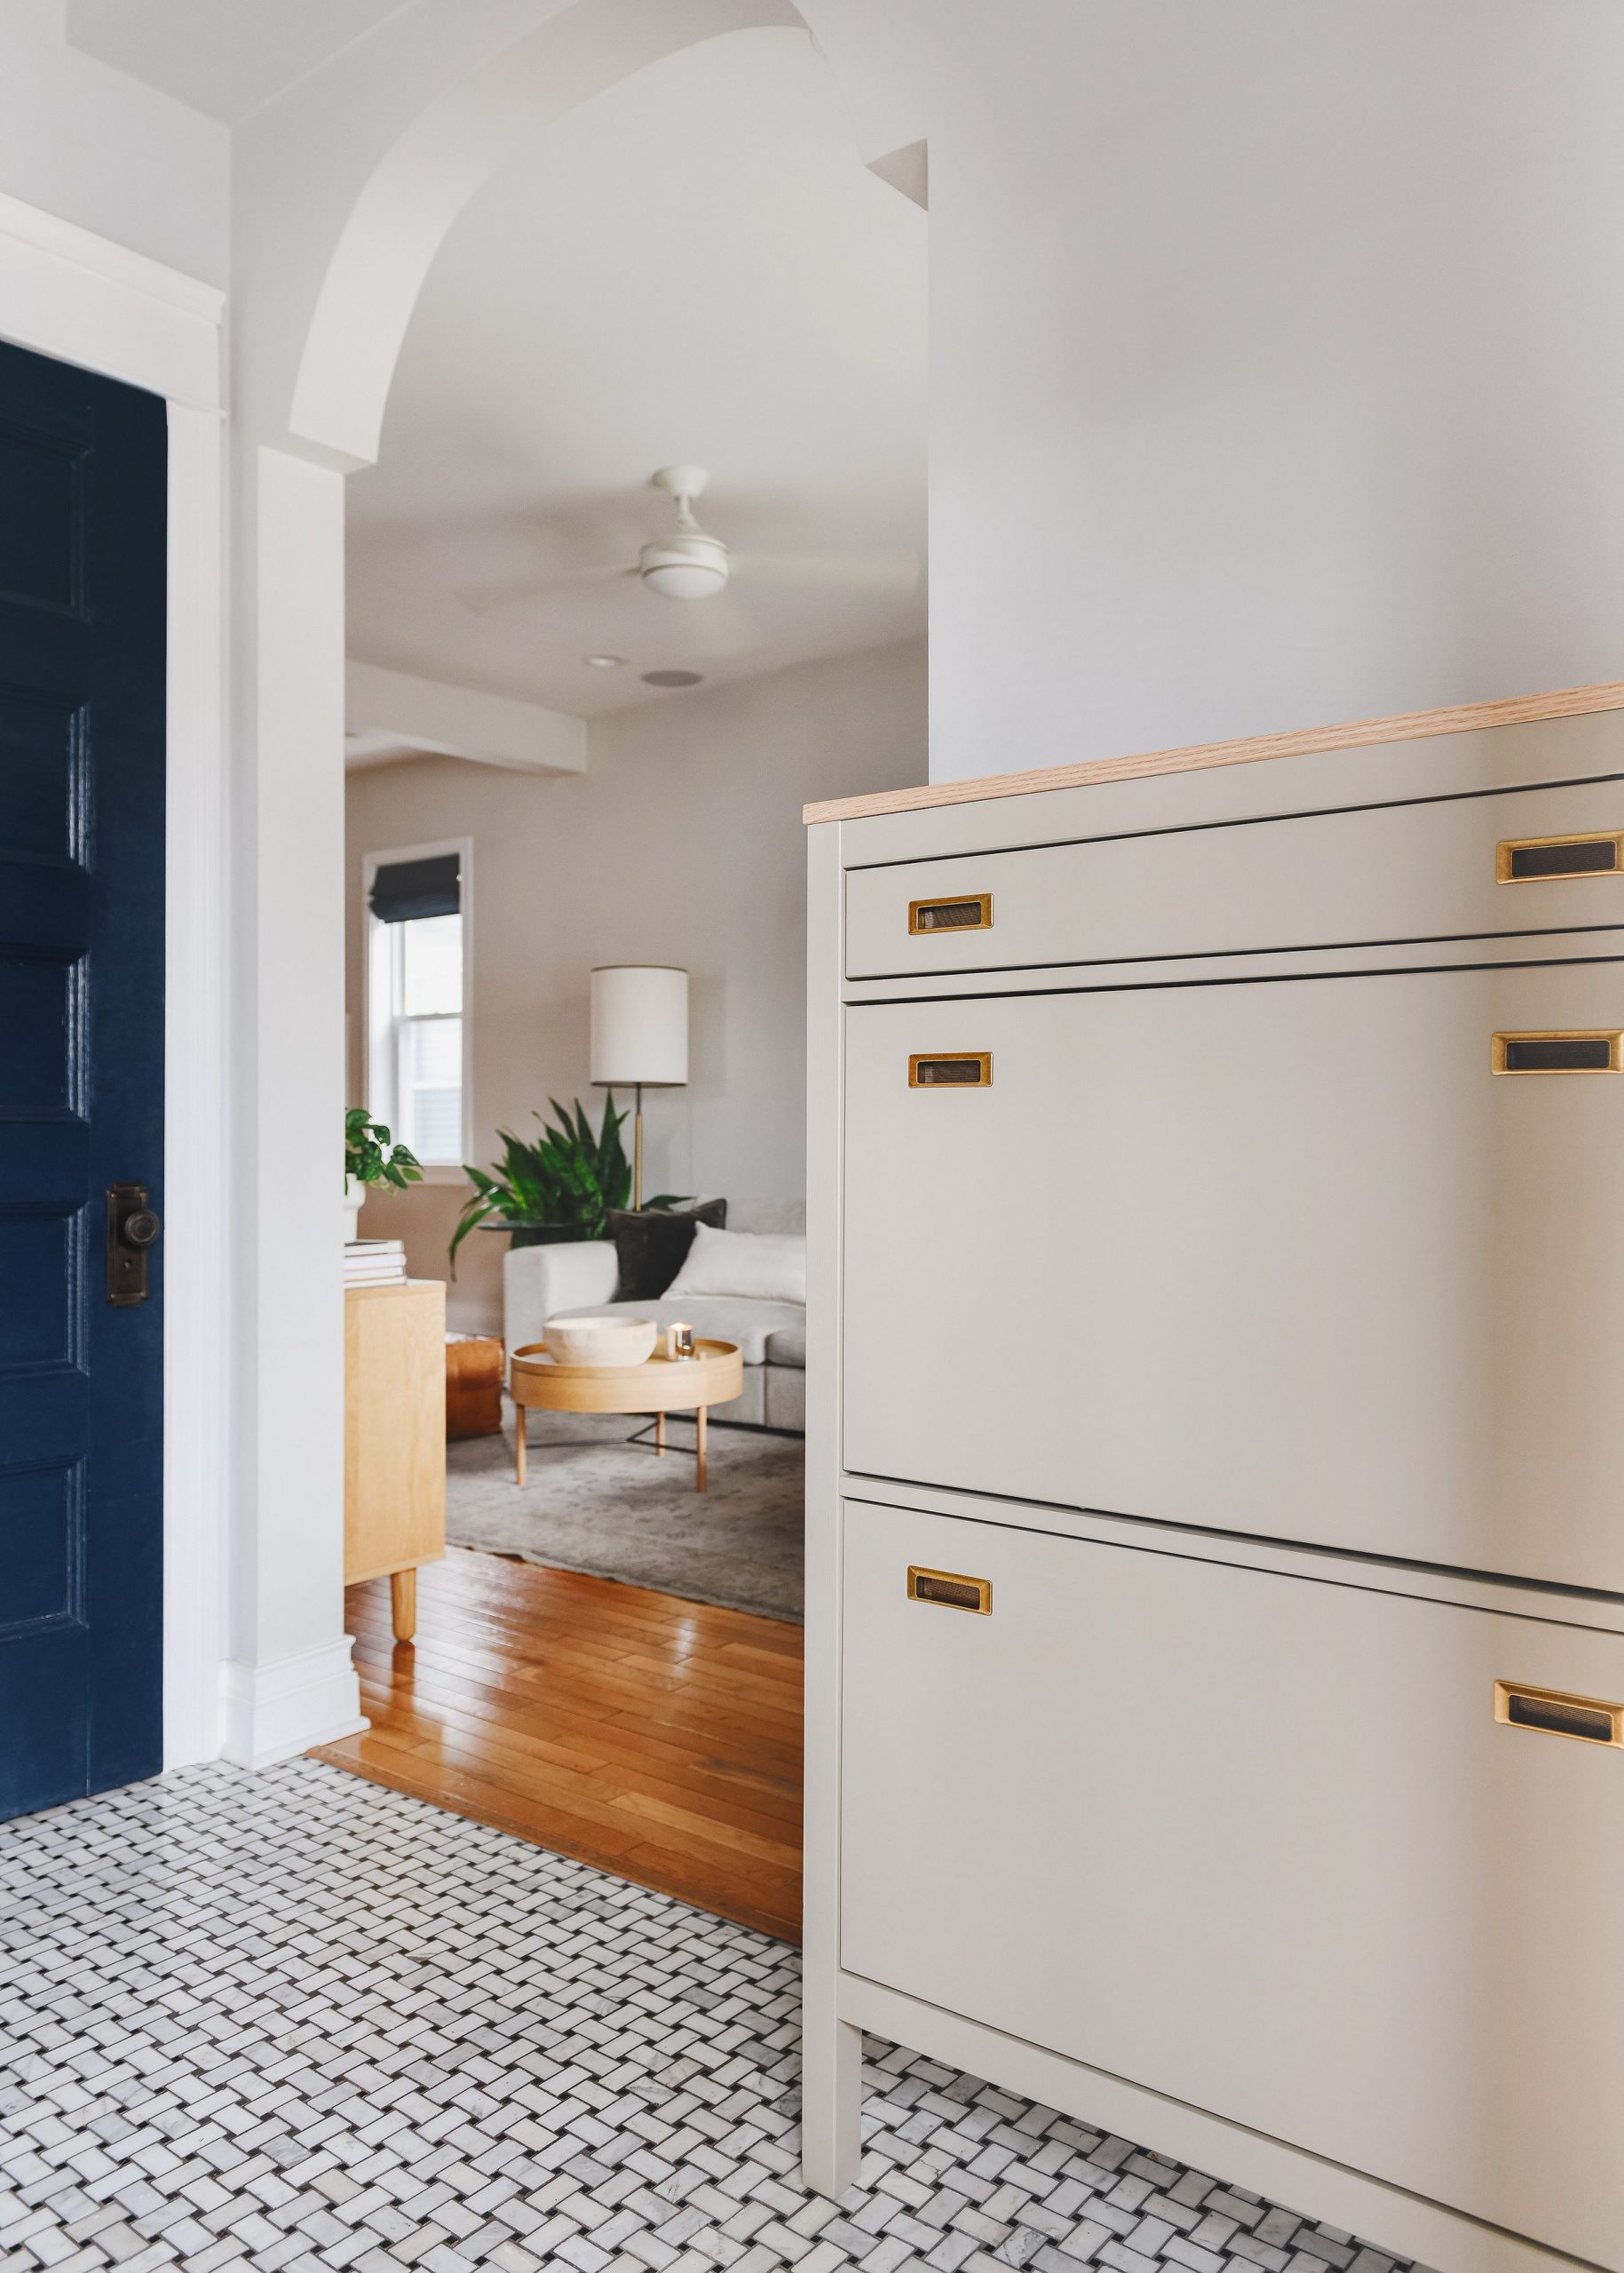
Ever dreamt of a chic shoe closet on a budget? Let’s turn that dream into reality with an IKEA HEMNES transformation! Imagine a cabinet that houses your prized shoes and shouts elegance.
- Kick It Off with Hardware: Start by replacing the default knobs. Fancy trying recessed hardware? It’s a tad trickier but so worth it! You’ll need a 3″ recessed pull. Mark where you want them, then carefully drill out the recess using a Forstner bit. Mistakes? Wood putty and sandpaper are your magic erasers.
- Paint Perfection: Nothing revamps like a fresh coat of paint. And for stellar results, your tools matter. Opt for Handy Products, a brand tested through time. Use the Handy Pro Pail for big areas and the Paint Pail for the edges. Once primed, roll on that dreamy taupe shade. And Handy Product Liners? They’re gold for quick color switches.
- Top It with Oak: Elevate the entire look by switching out the IKEA top with a lustrous oak piece. This not only vibes with other wood tones but amps up the luxury. Keep the IKEA fasteners, simply transferring the hole pattern to the oak.
Reveal Time: Admire your stunning transformation! With new legs to clear tall baseboards and the ideal space for all your shoes, revel in the closet of dreams. The top slot? Perfect for those daily essentials – keys, shades, or your favorite tunes.
This journey isn’t just about an upgraded shoe cabinet; it’s about creating with love, patience, and a tad bit of DIY spirit. Dive in and embrace the transformation! Remember, quality tools and a pinch of perseverance go a long way.
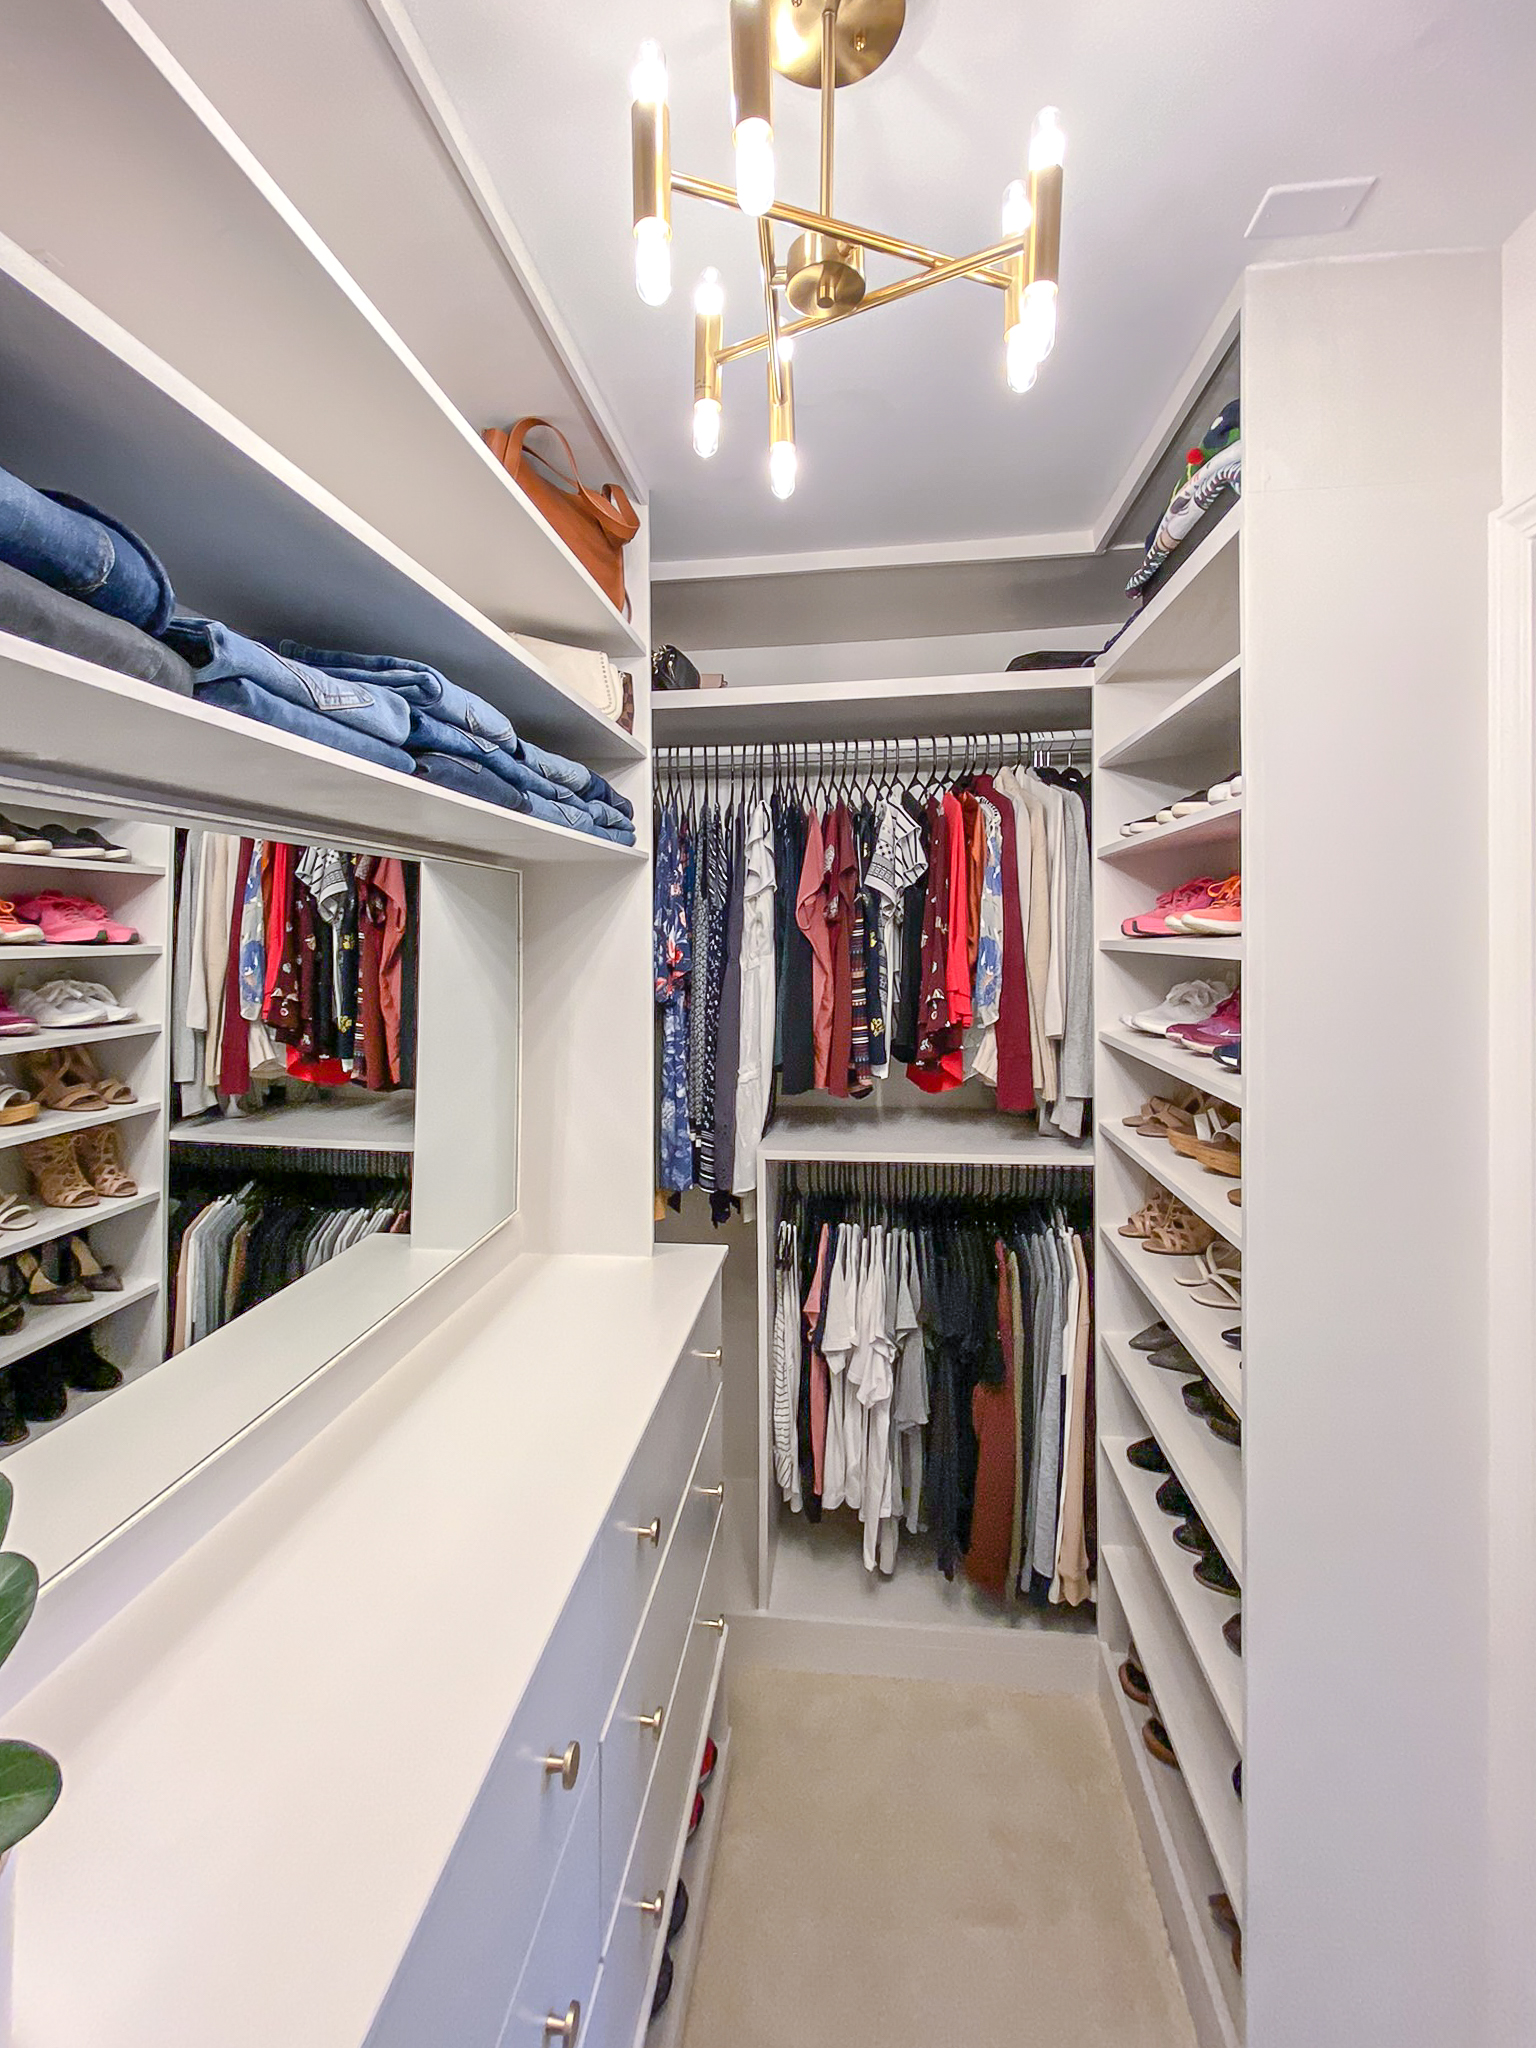
14. This time, A long but narrow closet hack with Tarva and Rachel Ingenuity
PART 1: Setting the Stage for Your Fabulous Closet

- Unclutter and Measure: Start fresh! Empty your closet and wave goodbye to that old wire closet system—measure where your new built-ins will sit, and snip away the baseboards in that area.
- Carpet Removal: Here’s a fun fact – removing the carpet is easier than you think! Just tug it up from a corner and roll. For the carpet pad, be patient; you’ll need to wrestle with some staples. But hey, after that, it’s a roll-up-and-go affair. Pro tip: A trim removal pry bar works wonders for the tack strips and baseboards.
- Lay the Foundation: Using sturdy 2 x 4s, construct the base and add mid-supports to prevent sagging. Top it with 3/4″ plywood, securing with 1+1/4″ screws. Think of this as the runway for your fabulous built-in structures.
- Vertical Supports, AKA Your Closet’s Backbone: Craft boxes from 3/4″ plywood for your hanging clothes. Attach these securely to the wall studs using 2+1/2″ screws and to your base with pocket holes and 1+1/4″ screws. If you’ve got textured walls, consider a backer board; otherwise, feel free to skip!
- Let’s Talk Top: Create a smooth top for your structure. Secure it to the vertical supports using pocket hole screws. There is no need to fix it to the ceiling; you’ll be using trim to hide any gaps later.
- Shelving – Get That Hang of It: Design your shelving to have space for hanging rods about 3-4″ beneath. Add horizontal ledges for support. Your goal? Two 41″ hanging sections with a bonus 10″ storage space on top.
- Shoe Shelf & The Finishing Touches: Build a smaller 11″ deep cabinet for your shoes, and then frame your entire closet with 1″ x 2″ trim boards. Use shims to make the trim flush before nailing for that professional flair.
- Prep and Finish: The devil’s in the details. Fill gaps and holes with wood filler, then sand away imperfections. For a sleek finish, vacuum thoroughly and caulk where wood meets wood or drywall.
- Prime and Paint Time: Do NOT skip the primer on raw wood. Why? Raw wood is like a sponge, and without primer, your paint job will suffer. Once primed, sand it down again, then give it two coats of Valspar Satin Cabinet & Furniture Paint, with a hue match to Sherwin Williams Aesthetic White.
PART 2: The IKEA Hack – Making IKEA Look Pricier
- IKEA Hack Intro: Say hello to the IKEA Tarva, a solid wood dresser that’s all about potential. Ditch the feet and backing because this beauty is getting built into your closet!
- Elevate the Dresser: To get that perfect height and allow space below for storage, hang your Tarva on the wall, securing it firmly with horizontal supports and screws.
- Temporary Goodbye: Now, remove that dresser (yes, we know!), but it’s all for a good cause – painting!
- Your Custom Shelf Layout: Remember, it’s all about YOU. Create a design that’s functional and stylish. Consider three long shelves for versatility.
- Prime & Paint (Again!): Prime, then paint your dresser and panels. For that extra protective touch, coat with Minwax water-based poly.
- Solidify the Foundation: Just like Part 1, build a foundation under the dresser, ensuring it aligns perfectly. Attach side walls and adorn with 1″ x 3″ trim.
- Building the Top Frame: Assemble your top unit, ensuring it fits snugly and securely above your dresser.
- Final Touches: Add some slim face frame trim for a sleek, minimal look.
- Install Shelves & Seal: Attach your customized shelves and seal them off with caulk for that final touch of professionalism.
CONCLUSIONS:
Closet Transformation Highlights:
- In Part 1, you’ll marvel at your two new hanging sections (one for you, one for Mark – or anyone else lucky enough to share this space). There’s a secret spot in the closet, too, for bulky stuff and a steamer.
- Part 2 lets IKEA shine. The Tarva dresser is the unsung hero here, offering fantastic storage without compromising style or space.
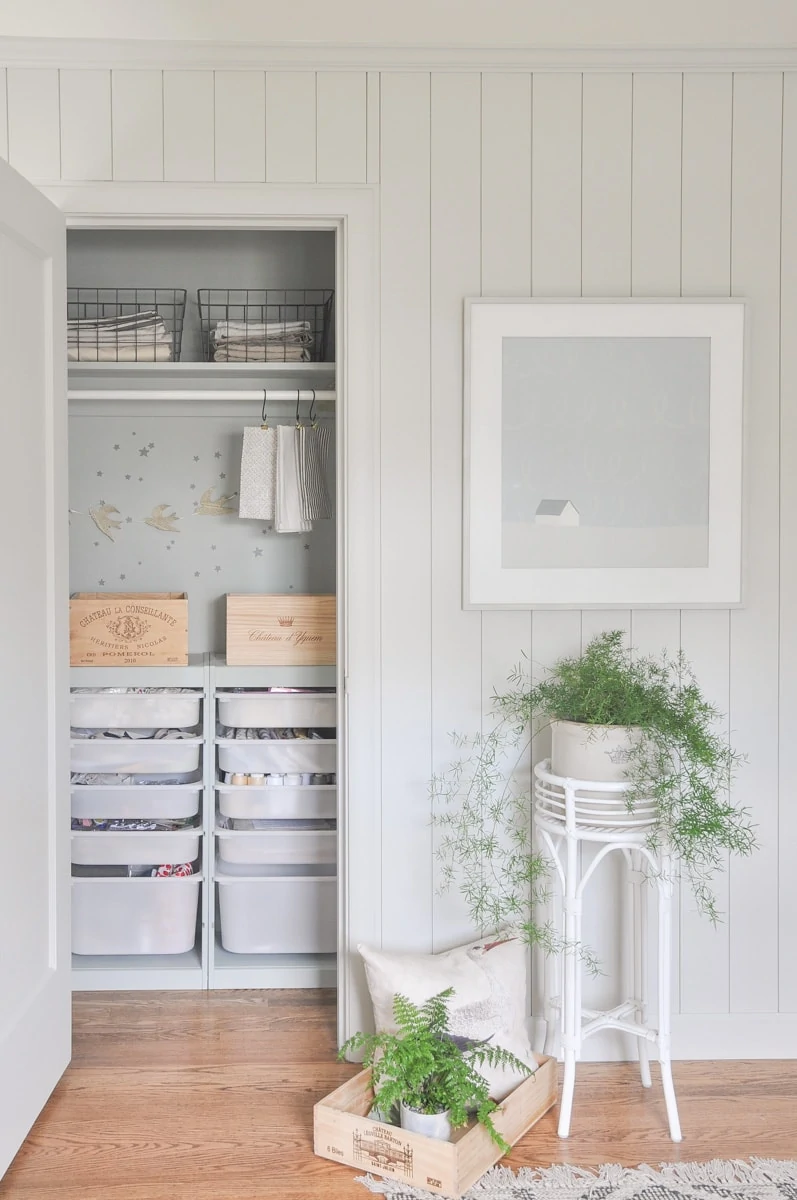
13. A DIY Closet Magic with IKEA Trofast!
Hey there, DIY champion!
Feeling the urge to overhaul that closet of yours? Dive headfirst into a delightful European-inspired transformation using the IKEA Trofast! Plus, you’ll learn a crafty, cost-free wall stencil trick. Trust us, you’re going to love it!
The Visionary Walkthrough: First things first, immerse yourself in the transformation with the video walkthrough in the source. If DIY is your jam, hit that subscribe button for a regular dose of creative inspiration.
Ready for the juicy details? Let’s get you started:
1. The Canvas: Imagine your standard small closet (53″ x 25″), just waiting for your touch. It’s got that lone shelf, a single rod, and tons of potential screaming your name.
2. Your Dream Design: Picture a cozy European-inspired haven combined with practicality. The main ingredient? The IKEA Trofast storage. Slide three of these pine gems into your 53” space, leaving just a sly 1″ gap.
3. Dive into the Makeover:
- Prep and Paint: You’ll want to remove any wall blemishes. Then, grab that paintbrush! Opt for Benjamin Moore’s Quiet Moment, but make it 50% darker for a richer vibe. Remember, the final coat will make everything pop!
- Trofast Magic: Assemble those Trofast units. Give them a personal touch with some paint. Secure them snugly, ensuring you’ve eliminated any sneaky gaps.
- Stellar Stencil: Want to sprinkle in a dash of whimsy? Why not create your own star stencil? Print, snip, and let your wall dazzle with a cascade of twinkling stars.
4. Finishing Touches:
- Closet Rod: Jazz up that old rod with white chalk paint. Protect it with some Mod Podge magic for longevity.
- Organize & Admire: Here’s the joyous bit! Fill, arrange, and bask in the charm of your revamped space.
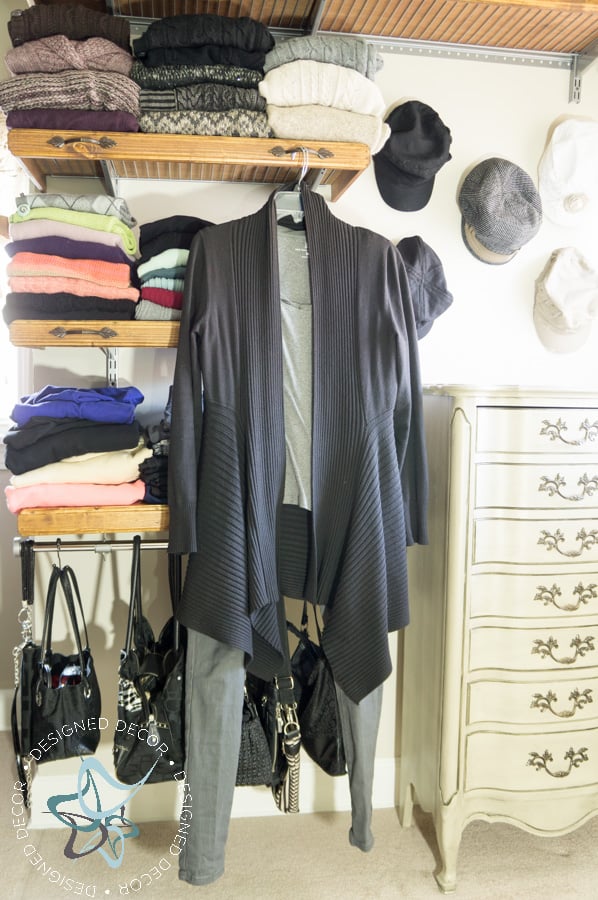
12. “Unwire” Your Wardrobe: The Ultimate Closet Upgrade Guide
Let’s face it: wire shelves can be a wardrobe’s worst enemy. But guess what? There’s a stylish and fun way to overcome those clothing pitfalls and wire imprint woes. Presenting your step-by-step guide to revolutionizing your closet space. Whether you’re a DIY novice or a crafting pro, this guide’s for *you*.
1. Ditch the Wire Woes :
Have you ever had that moment when your clothes fall through the wire shelves, leaving those unsightly wire marks on your favorite outfits? Yikes! You’re not alone. Dive into a transformative solution by building chic wood cap shelves that fuse function with aesthetics.
2. Pick the Right Materials :
For this delightful DIY, you’ll need PureBond Plywood and 1 x 6 pine boards. You know, the same PureBond Plywood you might’ve spotted in shoe closets. It’s affordable, and guess what? That top wood grain is *gorgeous* enough to stain, unlike most plywood which, let’s be honest, can look a bit meh.
3. Measure Twice, Cut Once :
Chop that plywood to a perfect depth of 13 inches. This ensures it’ll slightly overhang those old wire shelves. Get Mr. Handy (or yourself, ’cause who’s kidding? You rock!) to use a Ryobi router. This’ll craft a neat slot on the back of the shelf, fitting those metal upright supports snugly.
4. Crafting the Edges :
Take your 1 x 6 boards and rip them right in half, leaving them with a width of 2.5 inches. Now for some artistic flair! Run both the tops and bottoms through your router for a dazzling decorative edge. Assemble your masterpiece by sticking the trim to the plywood with wood glue, then reinforce with a Ryobi AirStrike brad nailer.
And yes, do give those shelves a sanding, staining, and sealing makeover! Oh, and for that cherry on top, stain the underside. It’ll make peeking at the top shelves a pure joy!
5. Finishing Touches & Pro Tips :
After admiring your handiwork (go ahead, take a minute!), it’s time to enhance utility. Attach chic furniture pulls to the front, perfect for planning tomorrow’s OOTD or even for travel outfit prep!
Did you miss out on adding a clothing valet due to space? Who cares when you’ve got this even better alternative? Plus, slide in a bar under the lowest shelf. Why? For your purse collection, of course! Just between us, there’s no such thing as too many black purses.