Everyone would wish to have a magic pocket in their bedroom, but that’s impossible. All you can do is have storage that can de-clutter things in it. One of that things is a storage cube.
Commercial storage cubes come in a wide variety of price ranges and models. However, what if you are not in a position to make a generous buying decision at the moment? Would you let the clutter loose, or would you allow us to hand you some interesting perceptions?
Here we will talk about 10-bedroom storage cubes that are easy to replicate and acquire without costing you a lot of money. When done right, you and everyone with access to the bedroom will rip all the benefits. As always, the Simphome research team curate and presents you with the list.
10 Bedroom Storage Cubes Video:
10. They are simple but easily Fit Everywhere
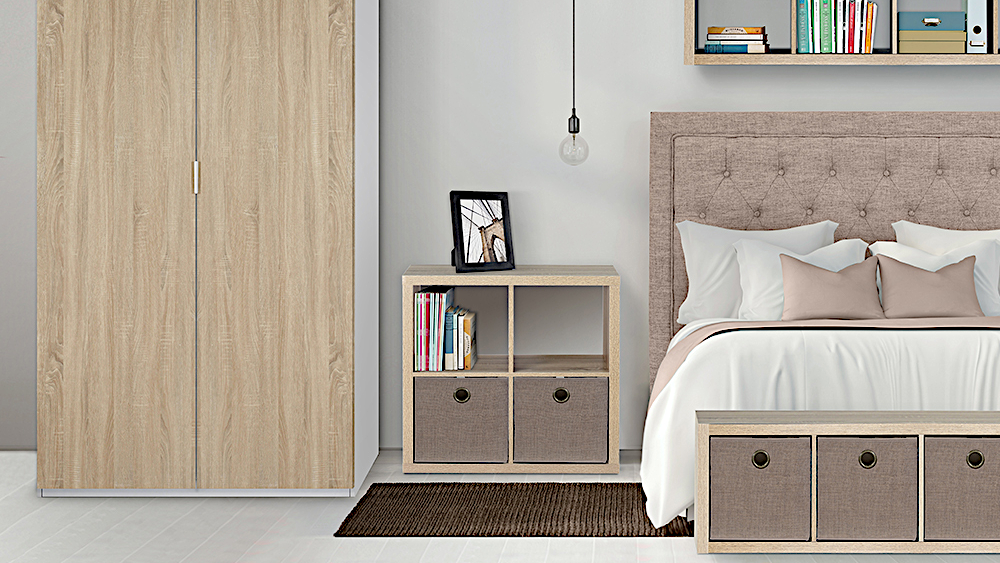 Because of their shape, you can place storage cubes anywhere in the bedroom. Given that they have flat surfaces, stacking is simple. Cubes also offer spacious areas comparable to other storage solutions that come in odd shapes like triangles or rounds. Another benefit is they are DIY-friendly.
With their simple design, you wouldn’t have intricate problems replicating those available at the store. All you need to prepare is one image, location, measurement, budget, modification plan, and combined time.
9. They can be Everywhere
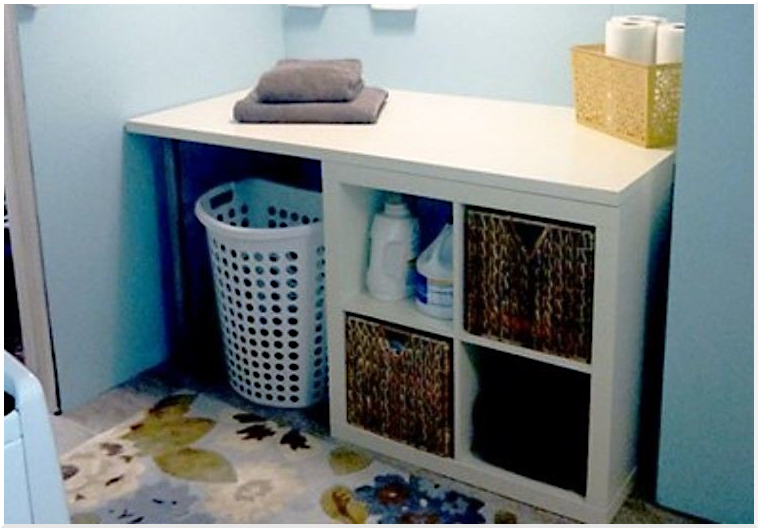 In addition to keeping things tidy in the bedroom, you can also use cubes in the bathroom, office room, or kitchen. You can put towels and toiletries in cubes and install them in your bathroom to reach them easily. When you have tons of laundry stacking up there for days, storage cubes would be there to keep them for a while, including the stuff to clean them.
They also make a nice room for your cats. Complete the cube with towels and a round door, and the rest, let the cat decides. If you’re having a problem tidying up your kids’ toys, storage cubes also help handle it.
8. Name or Put a Tag on It
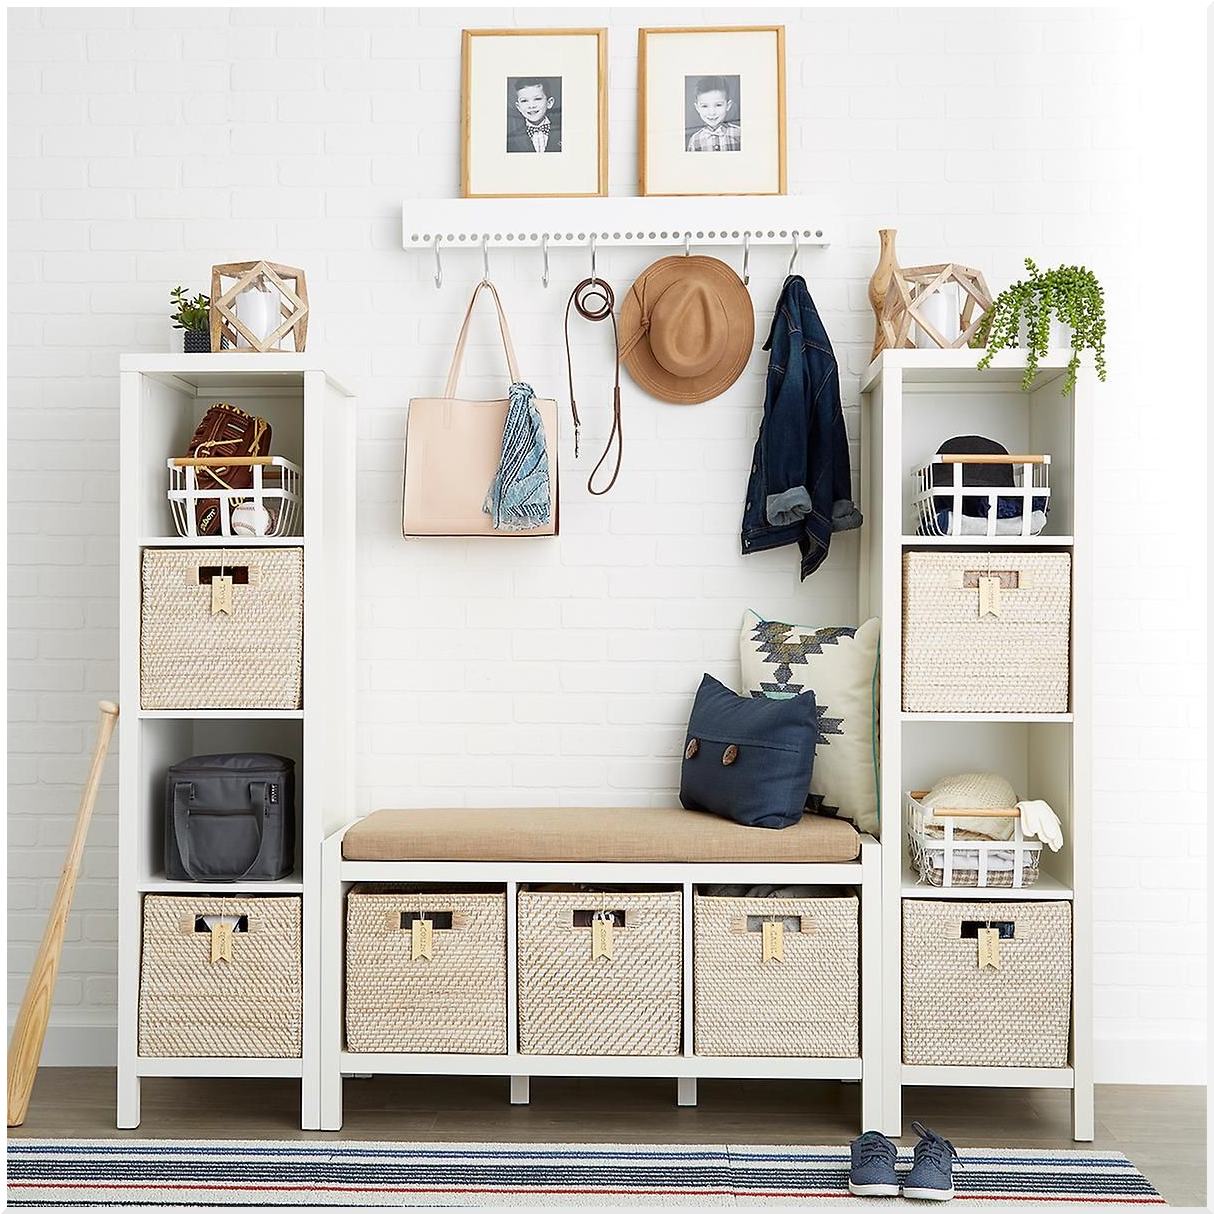 Building a simple rack with cubes like this in the picture shouldn’t be a problem if your bedroom has enough space and you have sufficient skill for the job.
You can assemble cubes from various materials, each with a different level of durability. Disassemble them and treat them with paint or cover them with decorative paper to transform them into a more unique and personal furniture piece. If you’re afraid you’ll be confused about picking which cubes you would like to open, you can put a tag on each.
7. A Revived Bookcase Idea
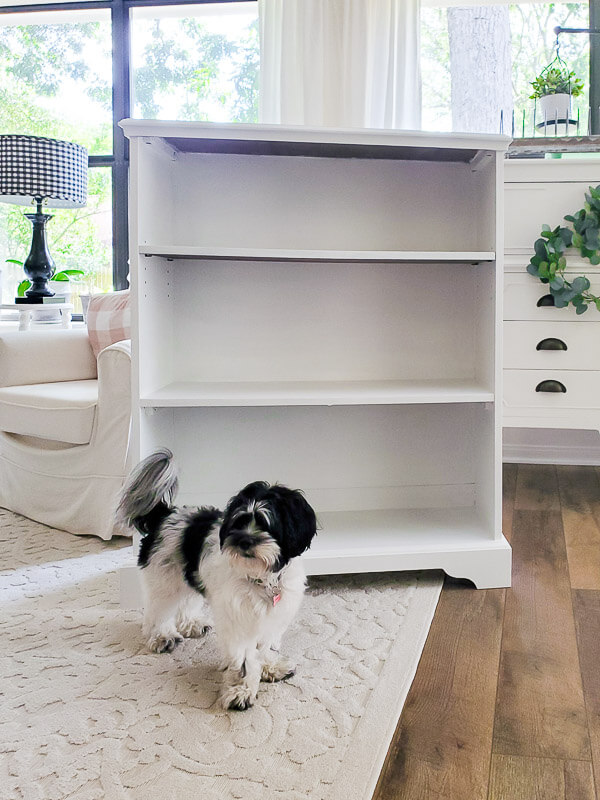 A bookcase can gradually lose its beauty after some time. But repainting can reverse the situation.
Other than using paint, you can take the image as inspiration.
The bookcase receives a fresh look thanks to some fabric and chalk paint. And look at how lovely it looks after the transformation. You can attempt this approach rather than spending money on a new one. You can use it to put your beautiful memories such as books, photo albums, or documents.
Along with this idea, you can also acquire inspiration on how to use a cloth to restore photo albums.
You can use a drop cloth for the task, and a tiny bit of glue applied to the edges will hold the fabric in place. Fabric-cutting Instructions: Lay your album on a piece of fabric and cut around it, allowing 2-3″ on either end. You must now smooth out any wrinkles, or you will have to live with them forever!
6. A DIY Storage transformation with fancy Legs

This cupboard was not so different before Anam turned it into something you see now.
First, She checked the cupboard’s back part (in case any problem occurred).
Second, she cleaned the entire cupboard screw and fixed the back part. Third, She painted the front side with a color similar to the wallpaper she had. You have your freedom if the idea interests you.
Next, She gave the cupboard new legs. Your basic woodworking tool would do the trick to replicate the final step.
5. A Built-In Bedroom idea with Cubes
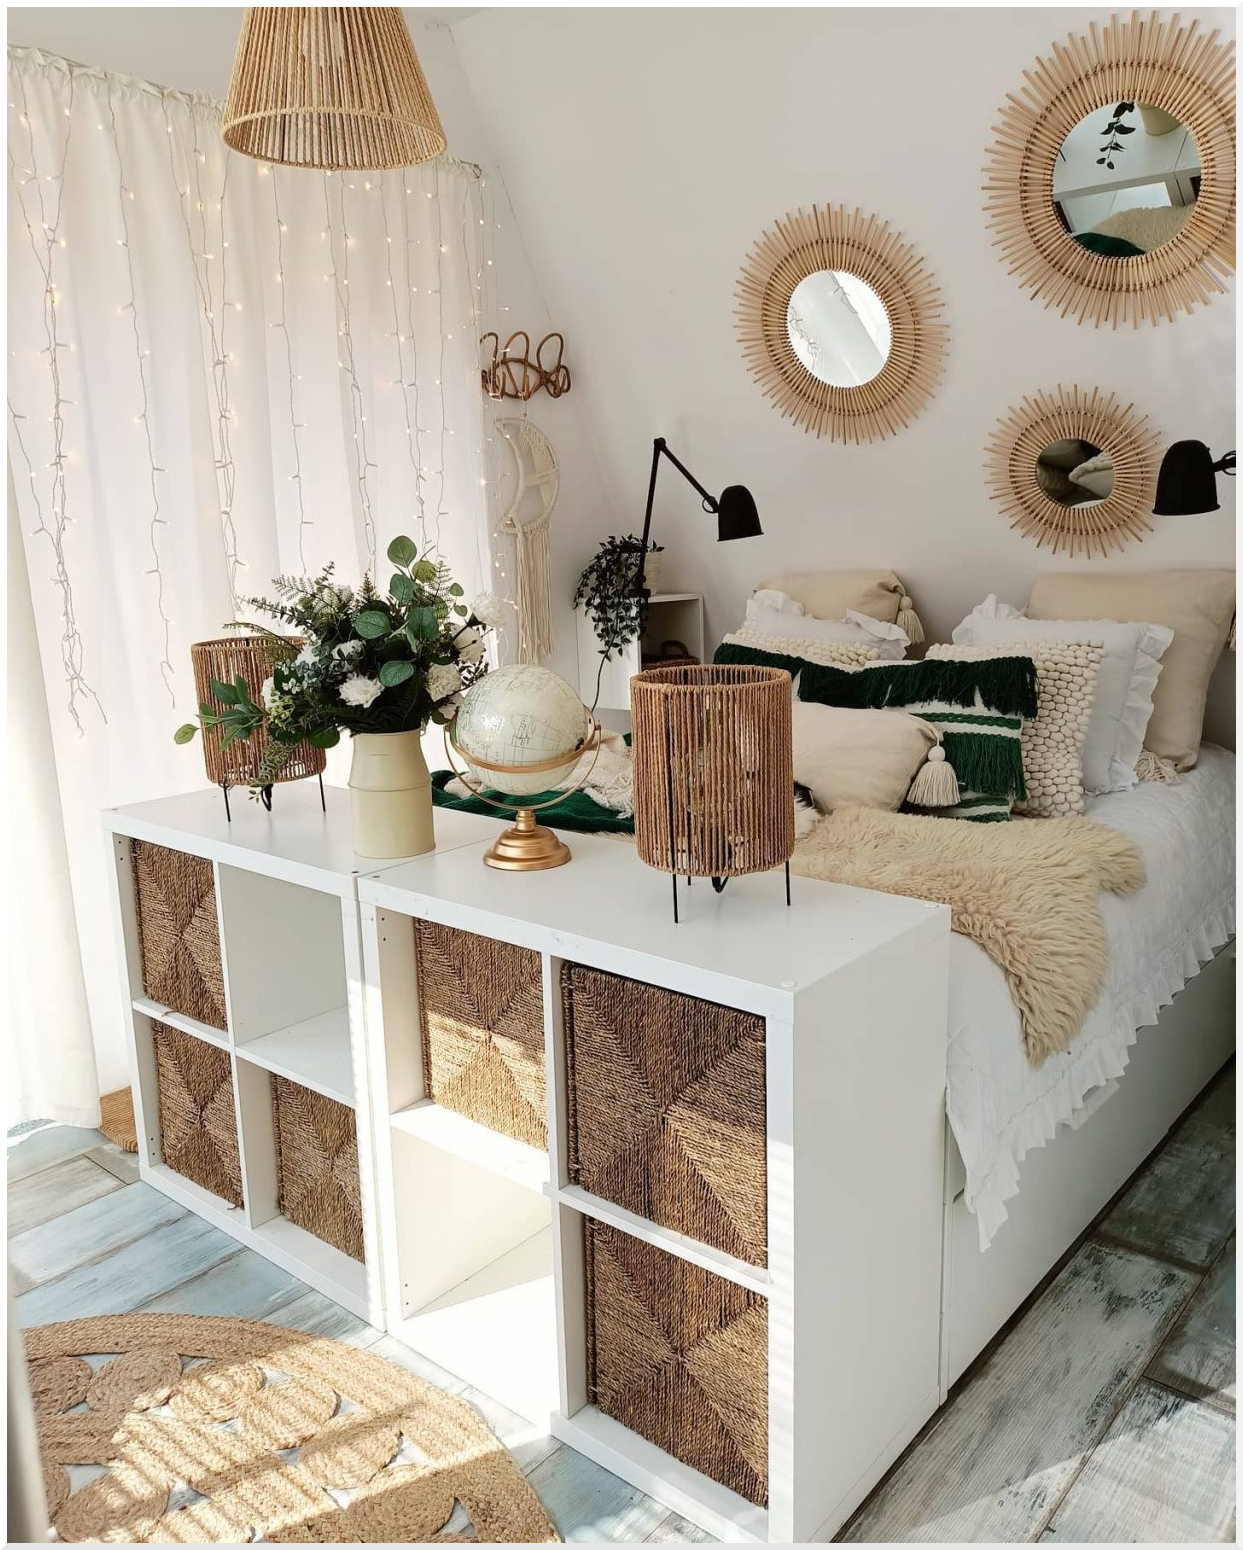 This bed includes a ton of storage, which is ideal for people with lots of clutter to handle The bedhead is simultaneously working as a multi-functional rack, a table, or a flat area to display a vase to adorn the room.
Unlike other storage, cubes may have a boring shape but can store many things inside. It would not be hard to assemble them with other furniture, such as tables, cupboards, or kitchen islands.
In different scenarios, you may want to redesign them or give them personal touches, such as giving them legs, strip lights, rechargeable closet lamps, or caster wheels with brakes to stand or making them easier to move around.
4. A Cube Storage Idea under the Bed
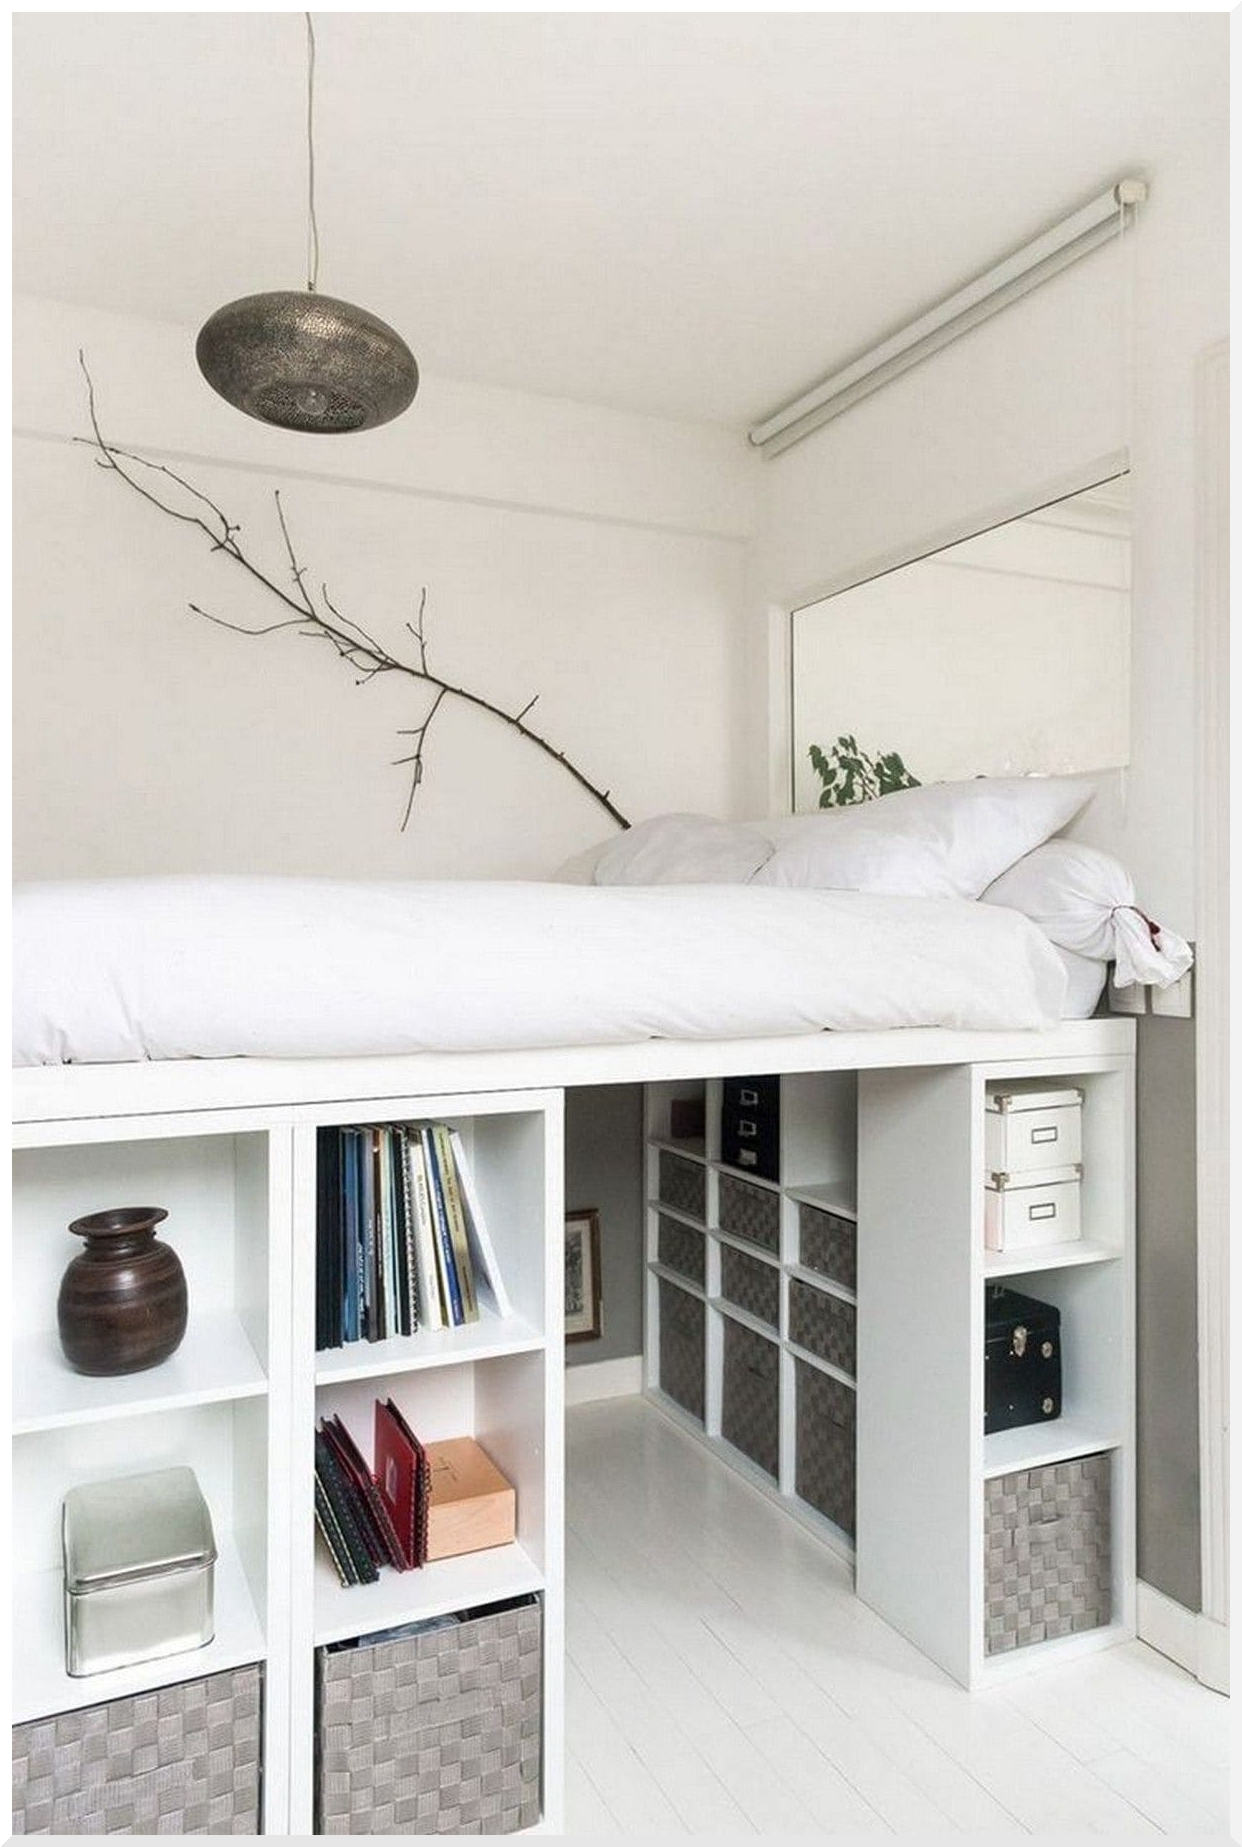 Cubes are highly versatile. You can effortlessly arrange them and create a hiding place under the bed or acquire a new game room. One downside, it may be a little claustrophobic. So be careful when you plan to invite a new guest.
Given that you are only doing it for your bedroom, it is comparable to a loft conversion but is done on a lesser scale. Use every nook and cranny you can, including the stairs that lead to the bed, if you have only less clutter to handle. Otherwise, you should be careful when jumping out of bed, as you might unintentionally bump into the stuff you store in the cubes.
3. A Towering Cube storage idea with Plywood
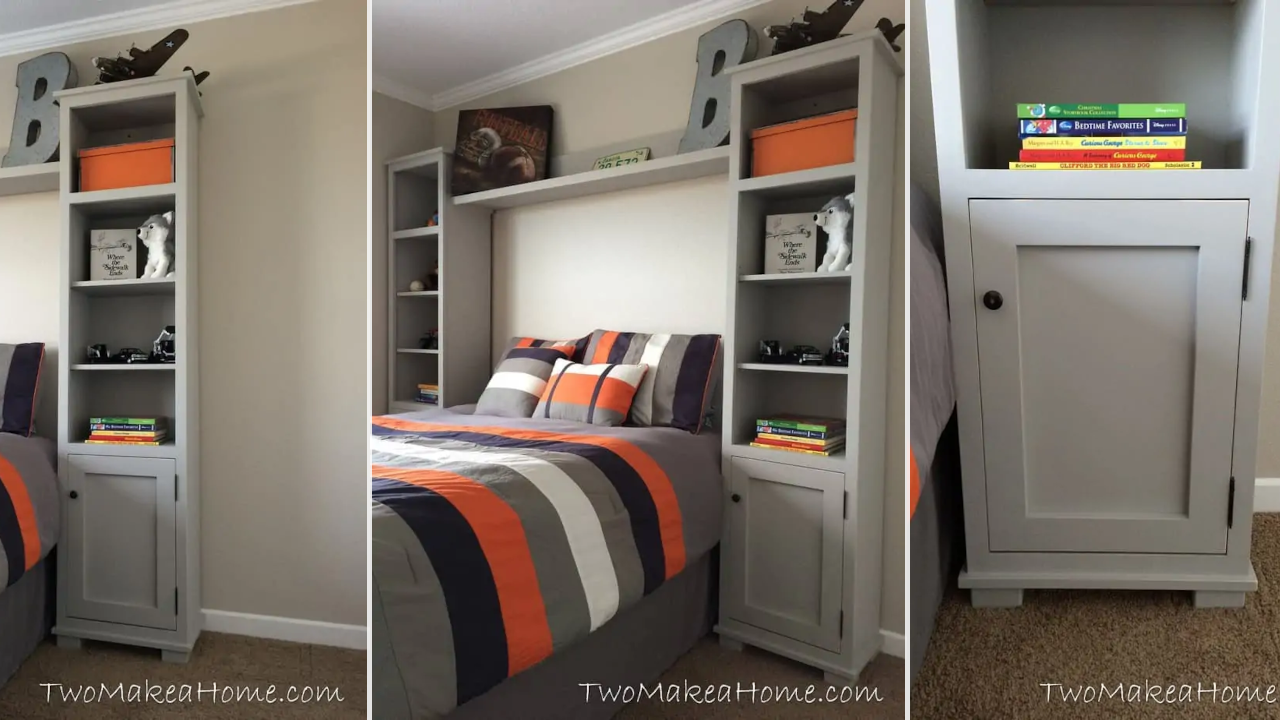 These DIY storage cubes are so cool. These storage towers suit kids and adults, and you should have woodworking skills if you want to build them.
To make it, you will need birch veneer plywood as the material. Then, you can adjust the size to meet your need. It takes time to build something splendid, so you have to be patient. You can replicate the idea with conventional tools like a drill, hammer, and saw.
It comes with a free plan. According to the plan,
- You must put the boxes together and place the face frames (in two areas).
- Add the top of each tower with the cleat and secure the 1/4″ plywood on the back and the wall.
- Next, trim a scrap piece of plywood to fit and connect it using glue and pocket hole screws.
2. A Conventional cube and storage cabinet Idea
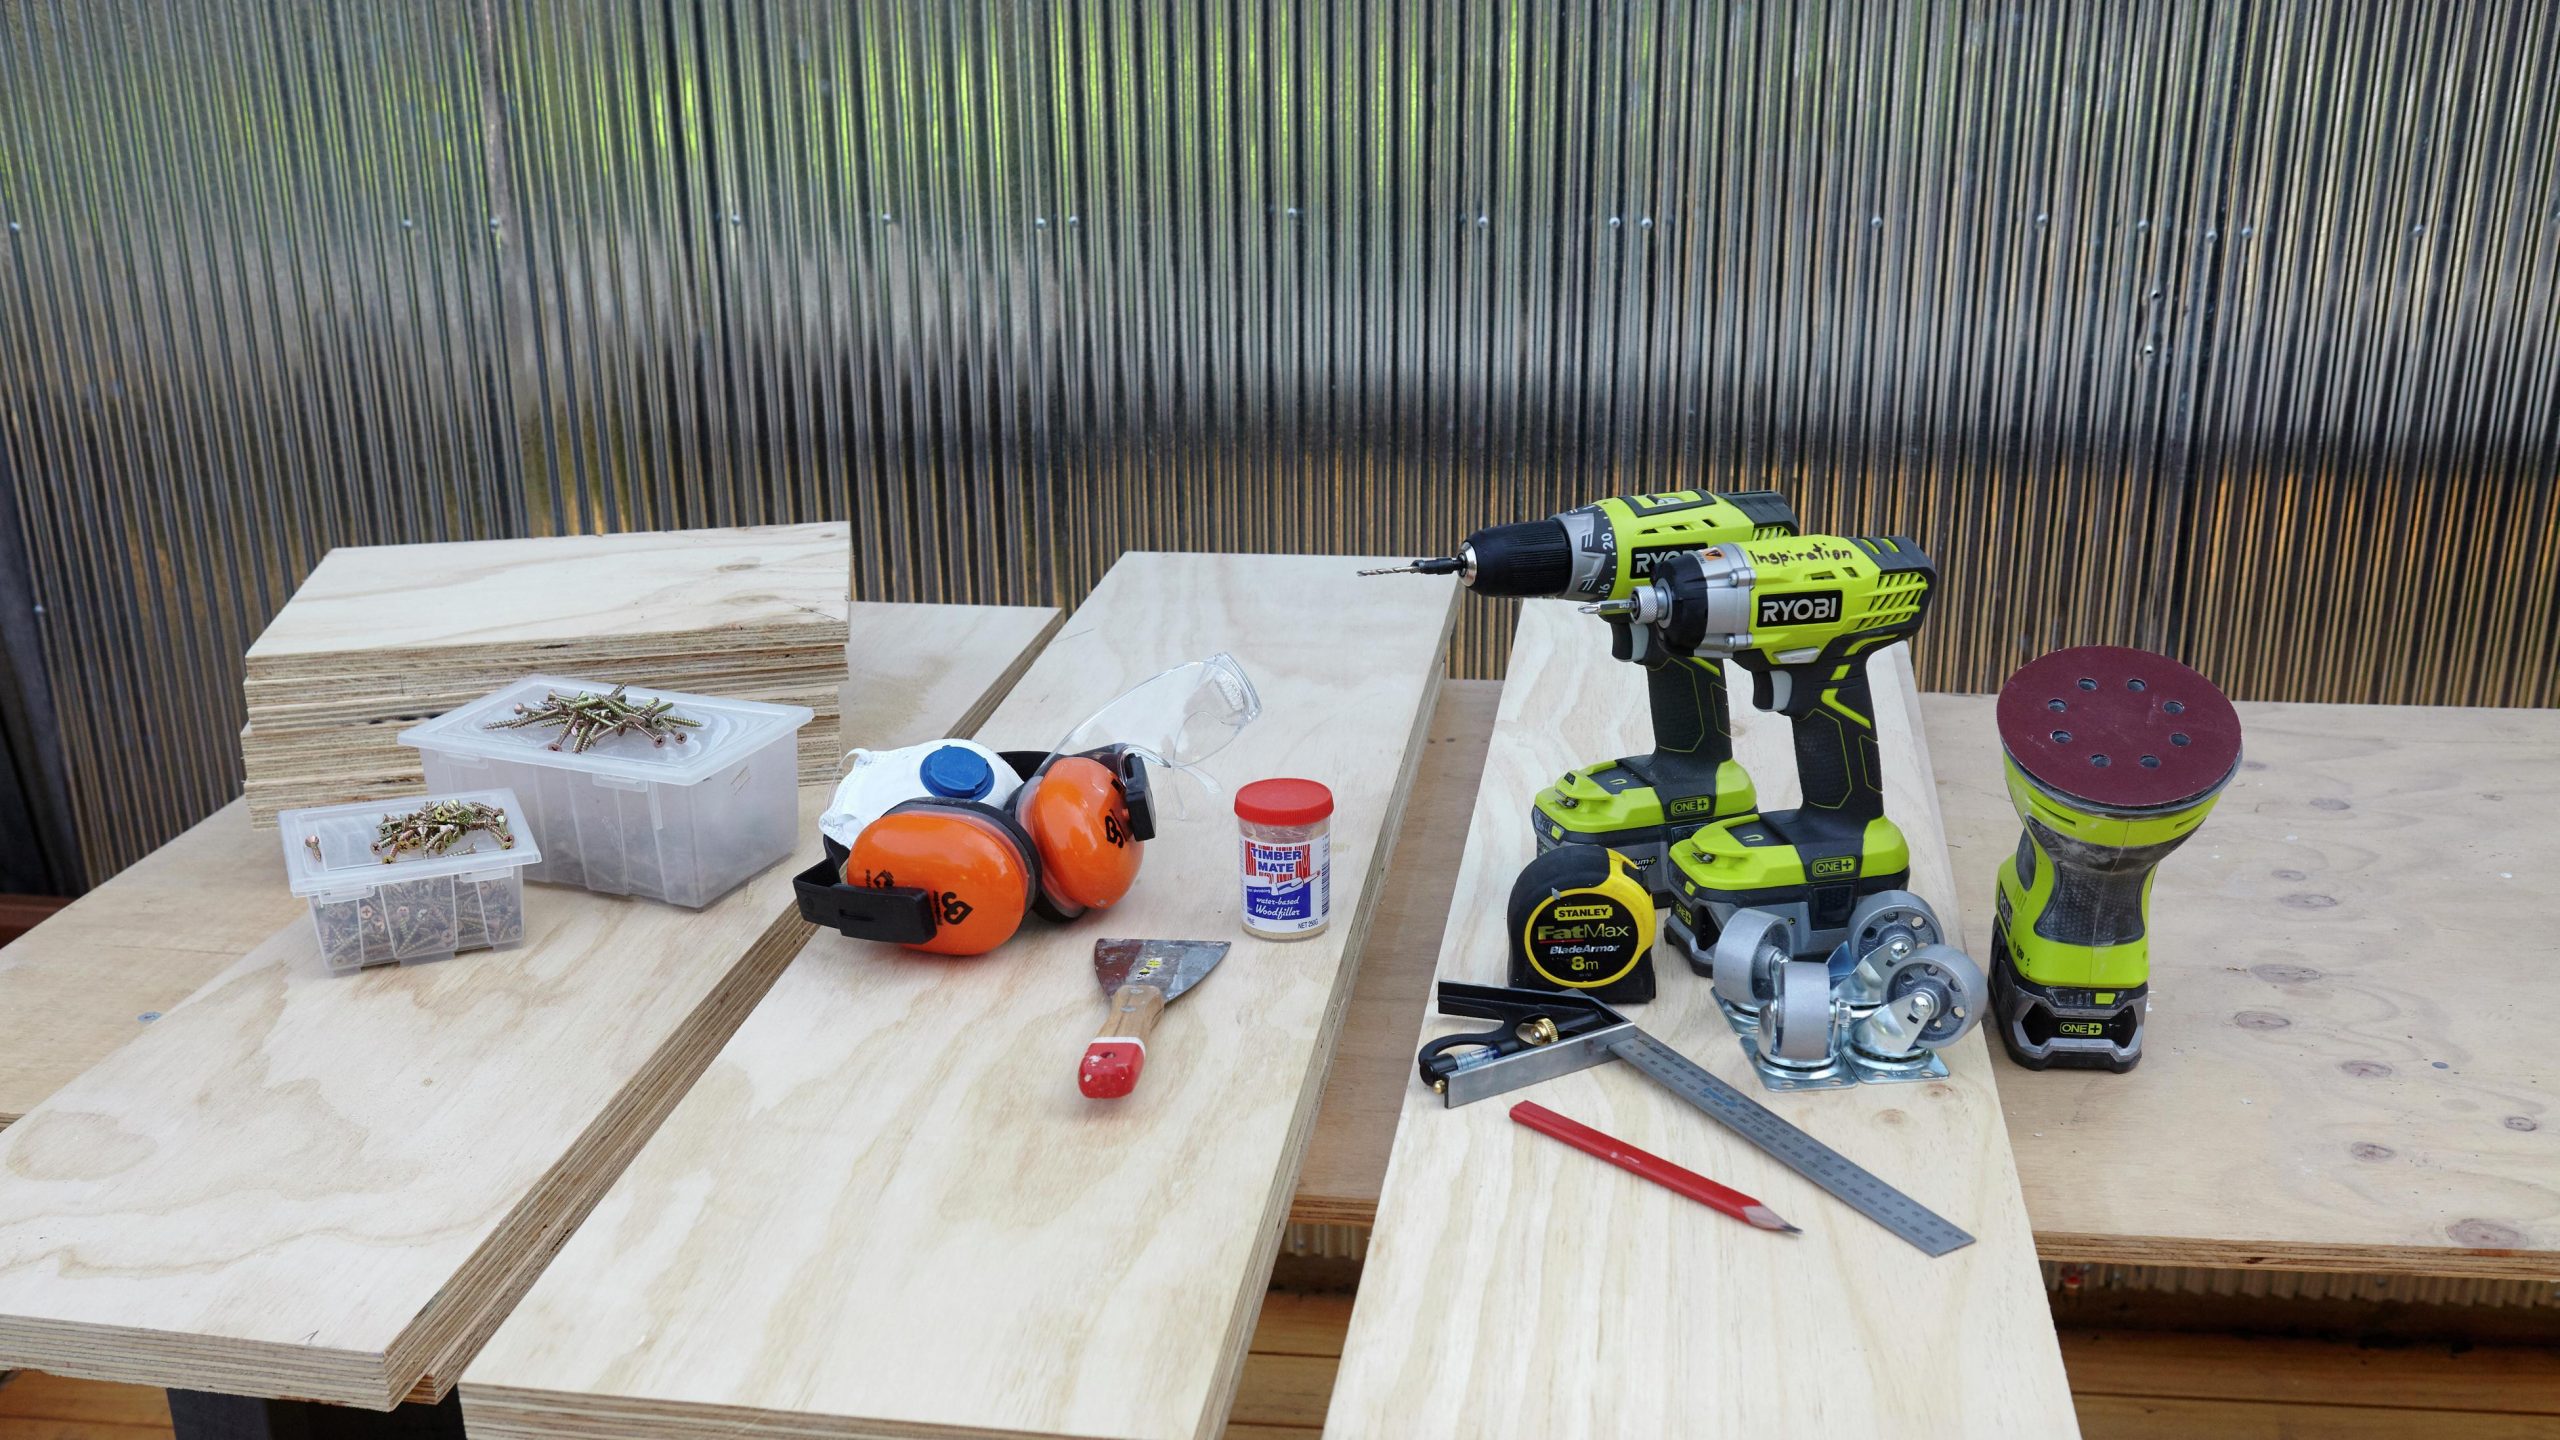 This is another excellent project storage idea you can try.
It looks more straightforward than the previous picture. The racks have various since if they hold different items and shapes. But you can make the same height easier to measure and cut the wood.
In step one, Cut the plywood to size.
Have your plywood pre-cut after deciding on the size of the cube storage box you will construct.
- In step two, Create the unit’s frame.
Make sure everything is aligned, then drill beforehand. - In step Three, You need to Layout of the first shelf and dividers
Once the frame is put together, place the first shelf - In step four, Attach the first shelf and dividers.
To ensure the divisions are square and straight, use a set square. - In step five, it is time to build the second shelf.
Building the second shelf outside the unit is a wise move. By doing this, you may conceal the screws. - Step six, Fix the second shelf.
Top the first shelf with the second shelf and the divider inside the frame. - In step seven,
Build the third shelf, attach the third shelf, attach the casters, and finally, sand and paint your new storage when necessary.
Lastly, Number 1. A DIY Contact Paper Cube
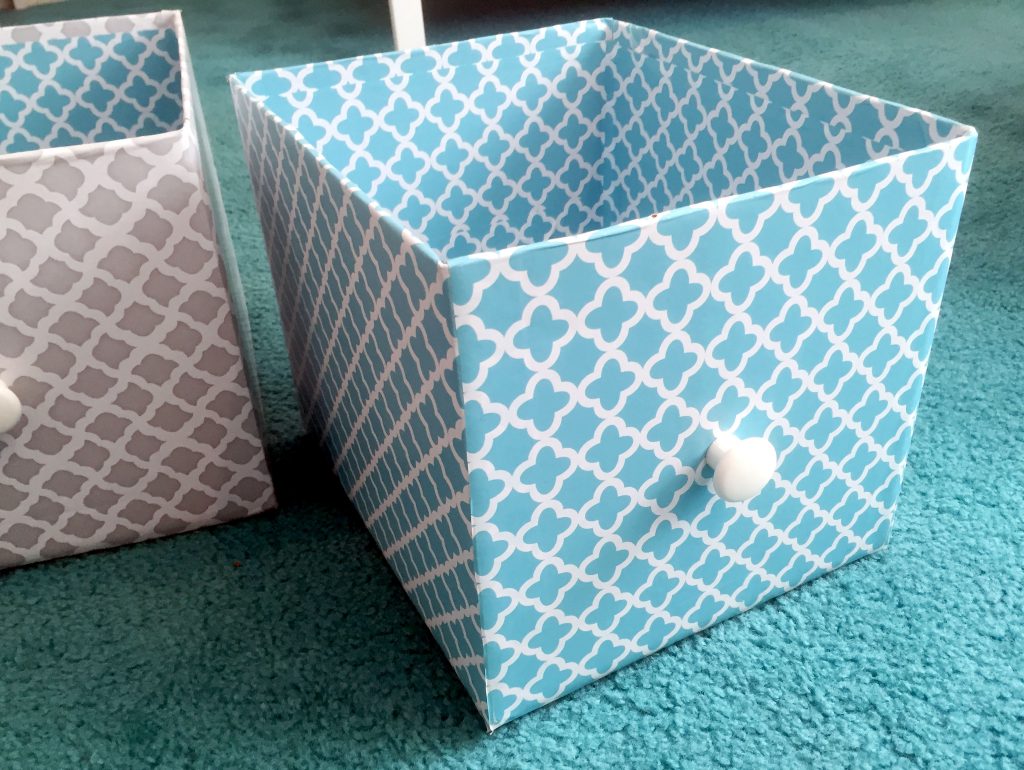 If you find boxes scattered everywhere unused, this idea would be a great way to refresh them and, once more, worth bragging about.
Firstly, get rid of the flaps. Secondly, tape the bottom part if necessary. Next, wrap or cover the outside and inside of the boxes with the contact paper you have prepared. Lastly, install the knob, and now you’re good to go.
Ensure you use thick boxes that can hold the knob, and do not fill it with heavy items to avoid tearing it. Materials: Cardboard boxes, knobs, contact paper, packing tape.
References:
10. Flexistorage.com
9. Tiphero.com
8. Containerstore.com
7. Diybeautify.com
6. Deliciousanddiy.com
5. Herhappyhouse.com
4. Pullcast.eu
3. Twomakeahome.com
2. Bunnings.co.nz
1. Justmeasuringup.com