Alex Drawer Upgrade: A Witty & Hilarious Diy Survival Guide For Small Living Rooms
 Ready to upgrade that bland IKEA Alex drawer? Buckle up, DIY enthusiasts – we’re about to embark on a hilariously wild ride packed with sneaky surprises.
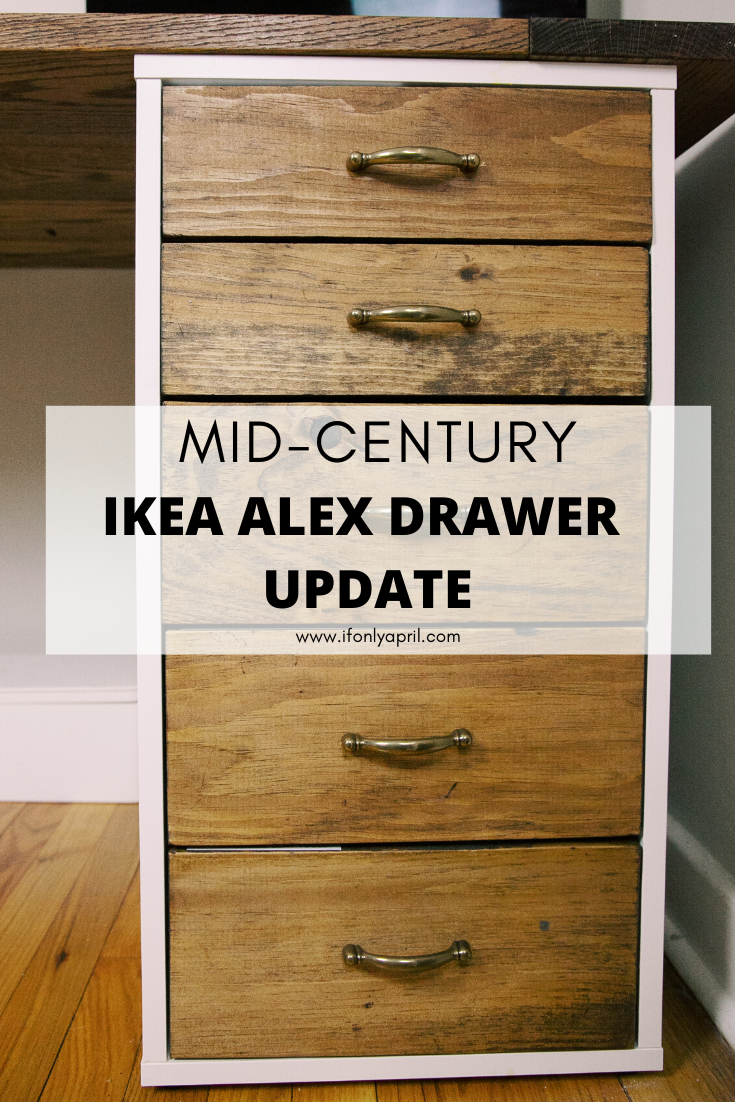
Let’s get that Alex drawer looking snazzy!
- Begin by recreating the drawer fronts (because nothing in life ever fits perfectly). Whip out your circular saw, miter saw, or magic wand (if you’ve got one), and let the Kreg Jig guide you to rip-cut heaven.
- Sand that drawer down. If you’re using a circular saw, channel your inner Michael Jackson to get those drawer fronts smoother than a dance floor moonwalk.
- Let’s drill some holes, folks! Use paper for precision, masking tape for depth control, and remember: dowel-sized holes vs. screw-sized holes – the eternal battle of the DIY world!
- Now, we’re in for some miter saw wizardry. Carefully measure the plank and create a small dado cut. Be cautious – one wrong move, and you’ll have a case of “dado-cuts-gone-wild”!
- “Stain Game Strong” – Congrats! You’ve reached the fun part. Stain your drawers (Provincial finish, anyone?), and let them dry. Once dry, assemble your drawer using IKEA instructions like the flat-pack maestro you are!
- Finally, add those classy knobs. Snag some from your local hardware store, or go all out with brass pulls from Amazon. Either way, your Alex drawer is now a rustic masterpiece!
And there you have it! A sexier, punchier take on upgrading your Alex drawer. Now, give yourself a well-deserved pat on the back – you’re officially a new IKEA-hacking legend!