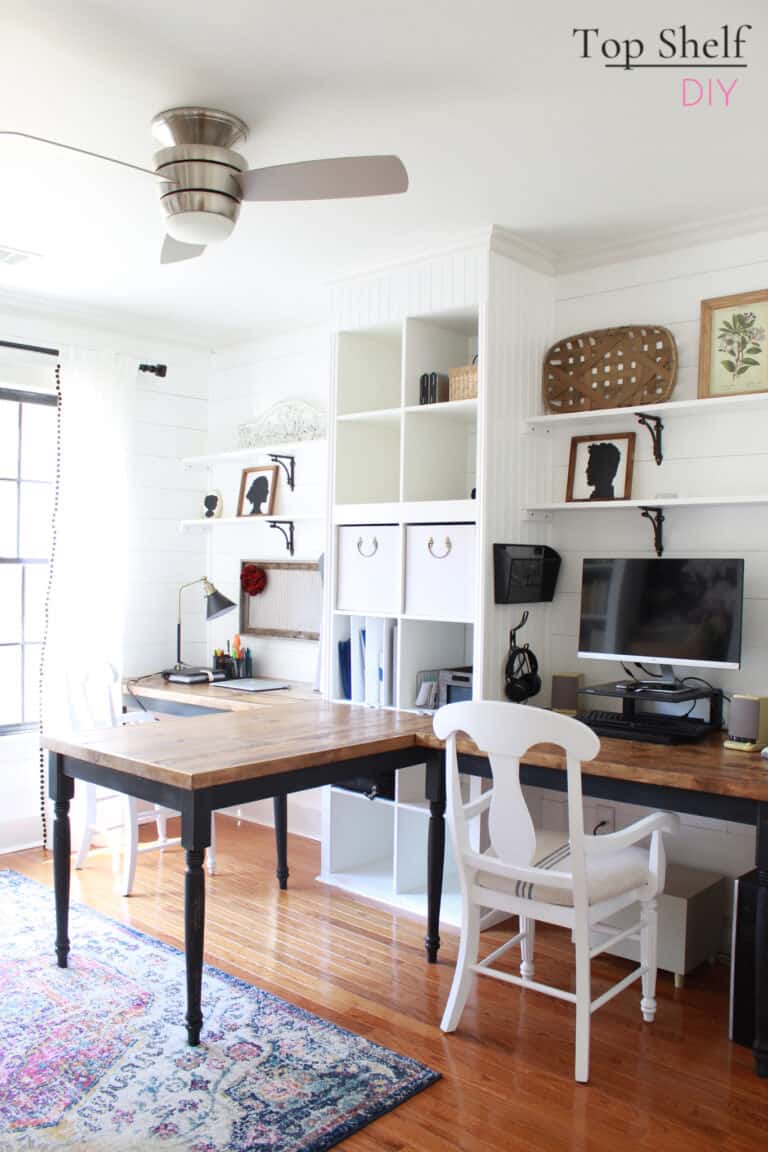
A unique IKEA Kallax Hack with a 3-PART DESK SYSTEM
Hey there, DIY enthusiasts!
Are you ready for the ultimate IKEA Kallax hack to make your workspace more organized? Well, buckle up because we’re about to embark on a journey that involves shiplap, green painter’s tape, and some great math skills.
Step one: assemble the IKEA Kallaxes.
Now, if you thought putting together a regular piece of IKEA furniture was a challenge, try stacking a 2×2 Kallax on top of a 4×2 Kallax. It’s like playing Jenga, but with your furniture.
And let’s not forget the crucial step of mapping out the remaining space with green painter’s tape.
Because if you don’t have that tape, you’re just a lost DIY soul.
Next up is building the desktops.
But wait, don’t forget the most important part: testing for fit.
Lay down those 1×8 and 1×2 boards and ensure they’re the right size.
And when you’re ready to cut, use that trusty miter saw.
Just make sure to keep your fingers far, far away from the blade.
Now, let’s talk about step three: attaching table legs and aprons.
And why not do it upside down, just for fun? It’s not like those pieces are heavy or awkward or anything.
And finally, build a ledger to support the weight of your right and left desktops.
Because who needs a gym membership when you can use 2×4 scraps and a stud finder to get a good workout?
But wait, folks; there’s more! The benefits of this design are endless.
It’s not just a desk; it’s a second monitor/laptop holder, a dumping ground for all your pending items, a doodle spot for your kids, and even a sewing table. Who knew a desk could do so much?
So, if you’re ready to take your DIY skills to the next level, give this unique IKEA Kallax hack a try.
And who knows, you’ll even discover a newfound love for green painter’s tape.