When I started working in Corporate America eons ago
– I swear the phrase of the year was “Think outside the box.”
I had a manager who loved this sort of terminology.
Any time I went to him for advice, this was the type of answer I got.
He was a good manager, but I wasn’t a big fan of the phrase.
I felt that it was contrived.
Ideally, we should all be thinking inside,
outside
and around the box!
Don’t get me wrong. I am aware that there is a lot of value in creative thinking.
I mean, look at all my projects. I’m just not a big THINKER. I like to solve problems, come up with fun stuff and get things done. In my mind, that makes me a DOER.
I believe there’s a difference between me and someone who can really enjoy depth in their thought processes.
If I spend too much time contemplating life, its meaning and what I’m supposed to be when I grow up…
I just get depressed. I struggle with my next steps. I compare myself to the world around me. I wonder why things haven’t gone my way. I worry about my health for no apparent reason.
And none of that (NONE OF THAT) is good stuff!
Overall, I’m a person who likes to be positive. That’s why the past year has been a test of my mental strength. I am generally purpose driven. Without someone or something driving my purpose – I’m screwed.
I had to remind myself of that the other day. I had to get back on track. So this weekend – I’m planning a schedule for my weekly activities. I’m getting myself re-involved and recommitted to things I enjoy doing and are helpful to others.
I’m moving on. I’M NOT THINKING ABOUT IT ANYMORE.
Back to the DIY, which also happens to be about A BOX.
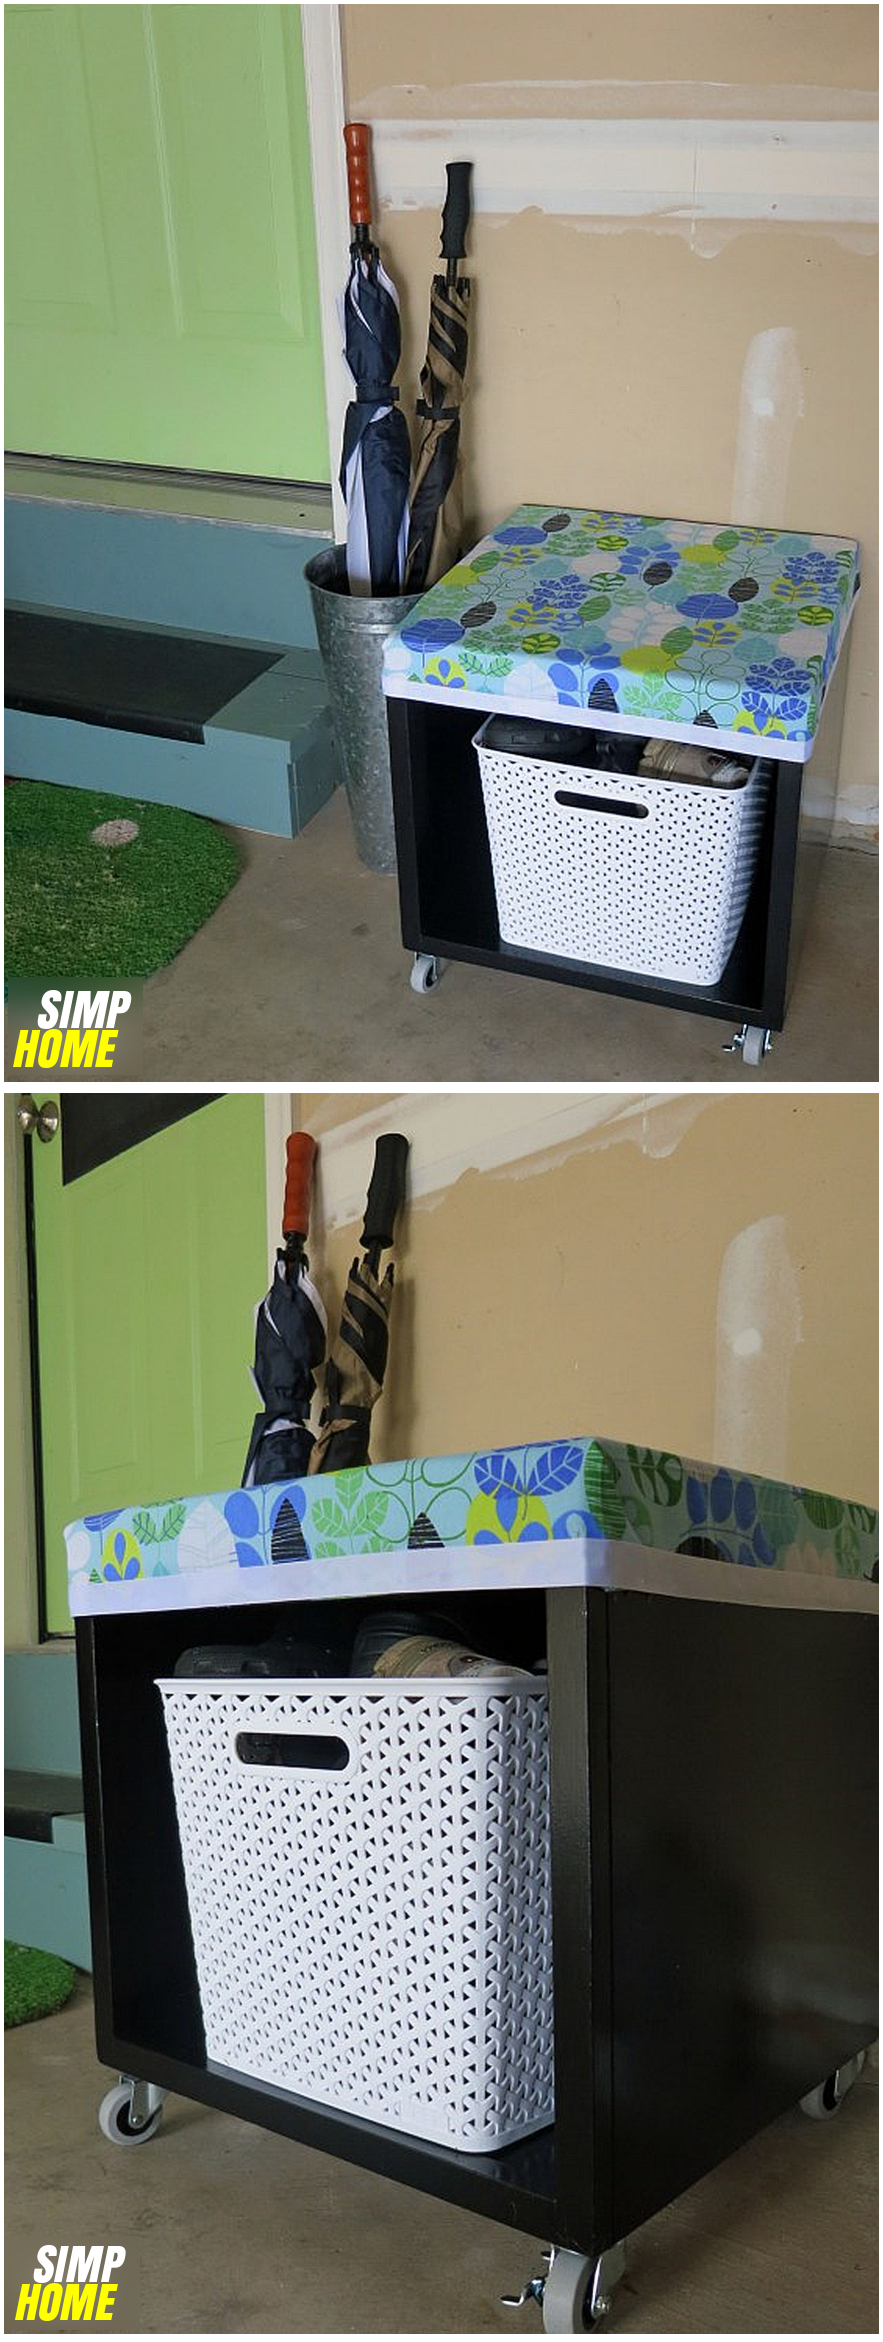
I found myself a box (or ironically a cube) at my favorite thrift shop. I have been wanting find a piece for storing outdoor shoes/boots in the garage. I wanted it to have a little bench seat as well. You know, for when you are putting boots on or whatever. When I saw this cube the other day – I knew I was golden. I have NO IDEA what it was originally. But for $6, I wasn’t questioning it!
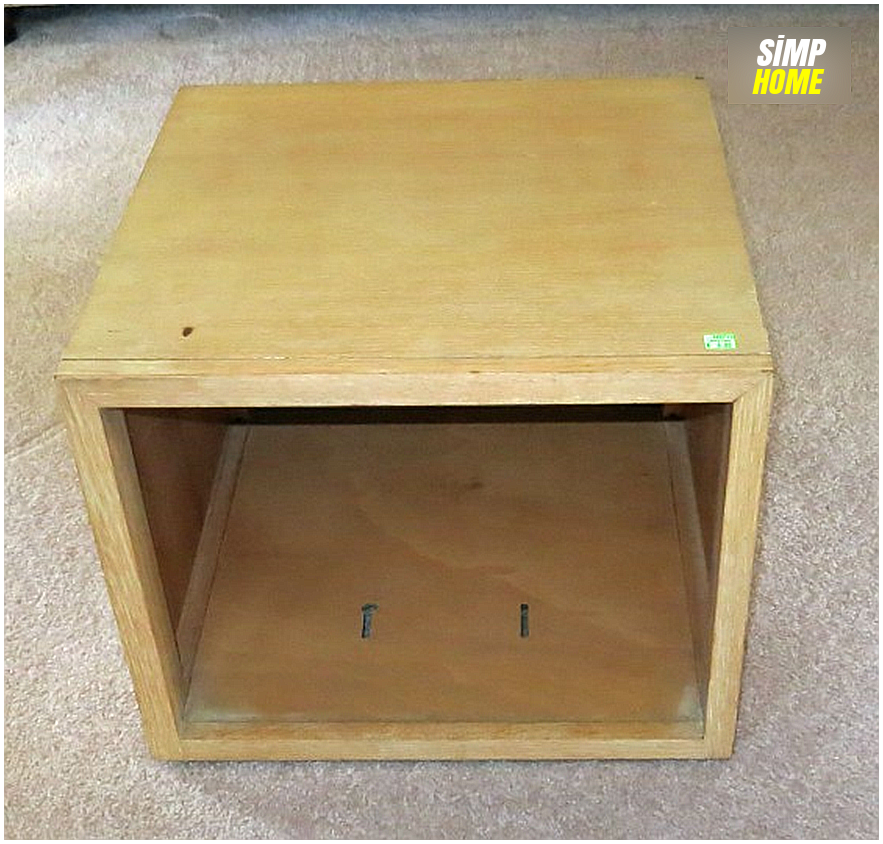 It is made of wood covered with veneer. First I primed it. I let it dry for a good 24 hours.
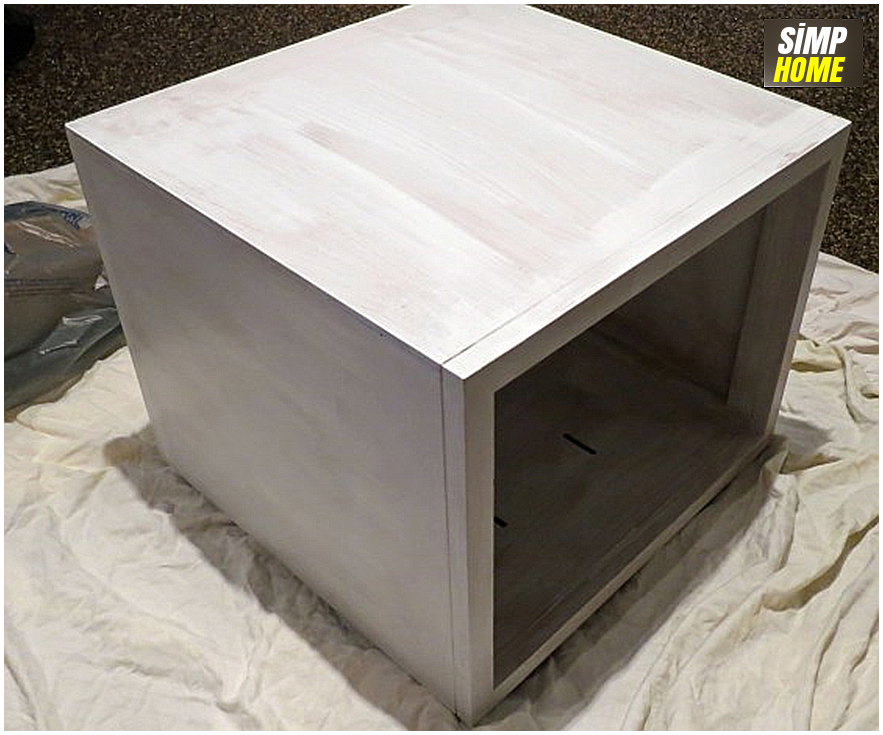 Then I put on two coats of Rustoleum black enamel. I found out that I don’t like enamel cuz it’s messy to clean up. I bought it accidentally. You can use latex. I used a brush AND a foam roller. Foam rollers rock for this sort of project. No streaks.
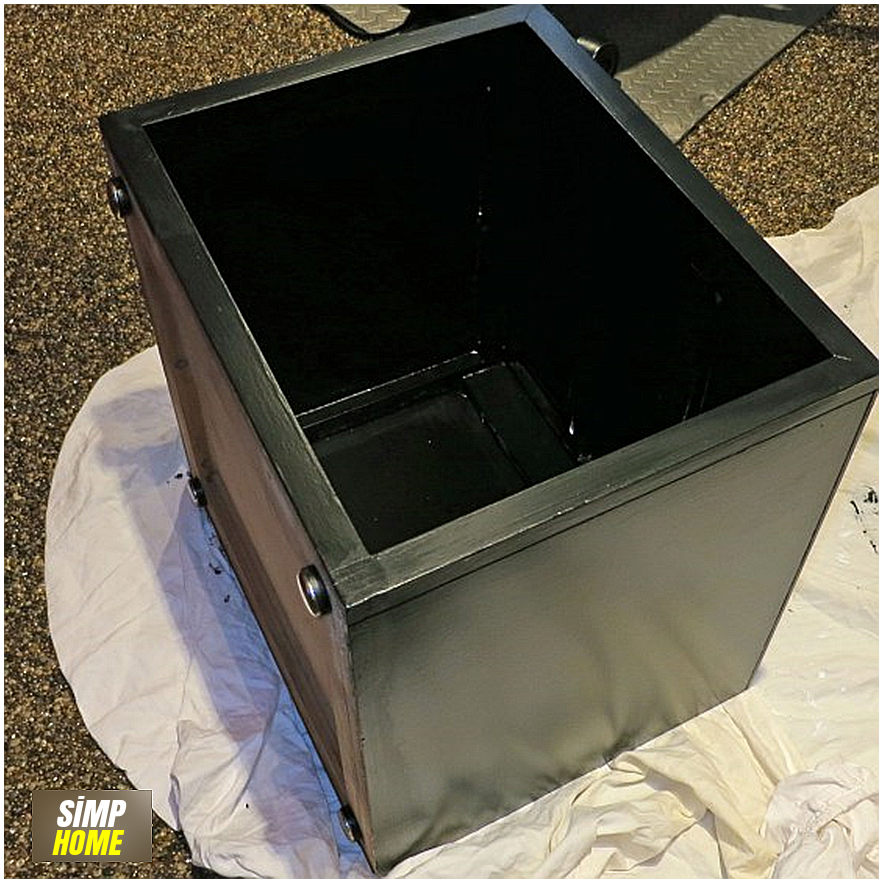 After that dried for a good bit, I put on a coat of Polycrylic. This was a precaution because I needed it to stand up to garage type activities.
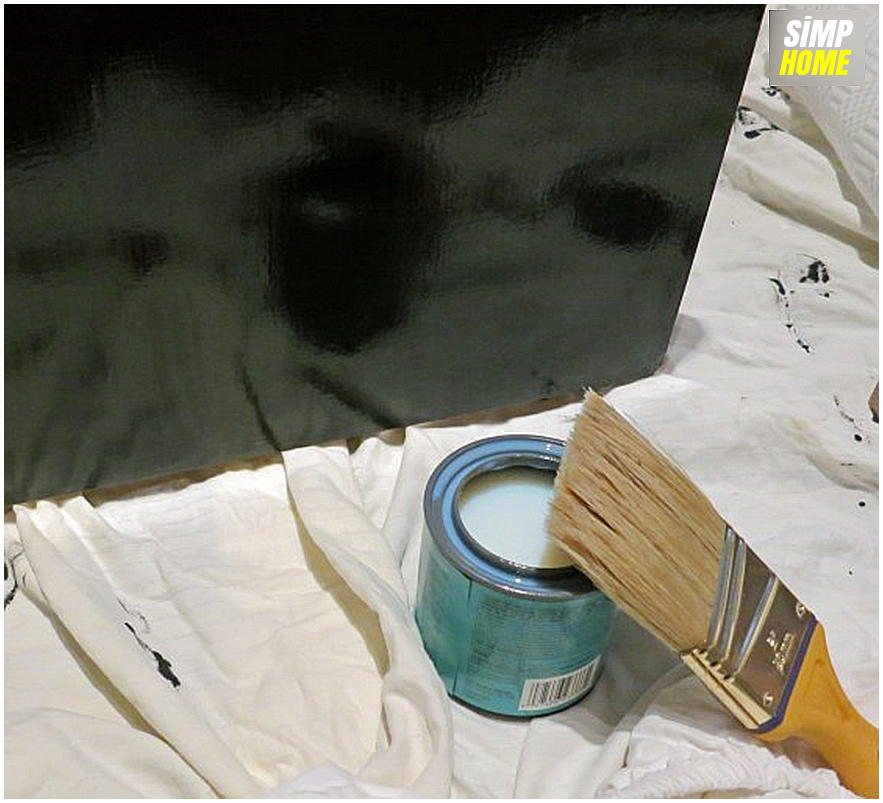 Now, this box doesn’t have a top that comes off. To upholster it I had a couple options: I could wing it OR I could get a cushion and attach with Velcro. (I’m sure you can come up with other options as well but those seemed the easiest to me.)
I went with winging it. (No surprise huh?) I cut 2 inch high density foam to fit the top. I used spray adhesive to hold it in place and then I stapled the material on to the sides.
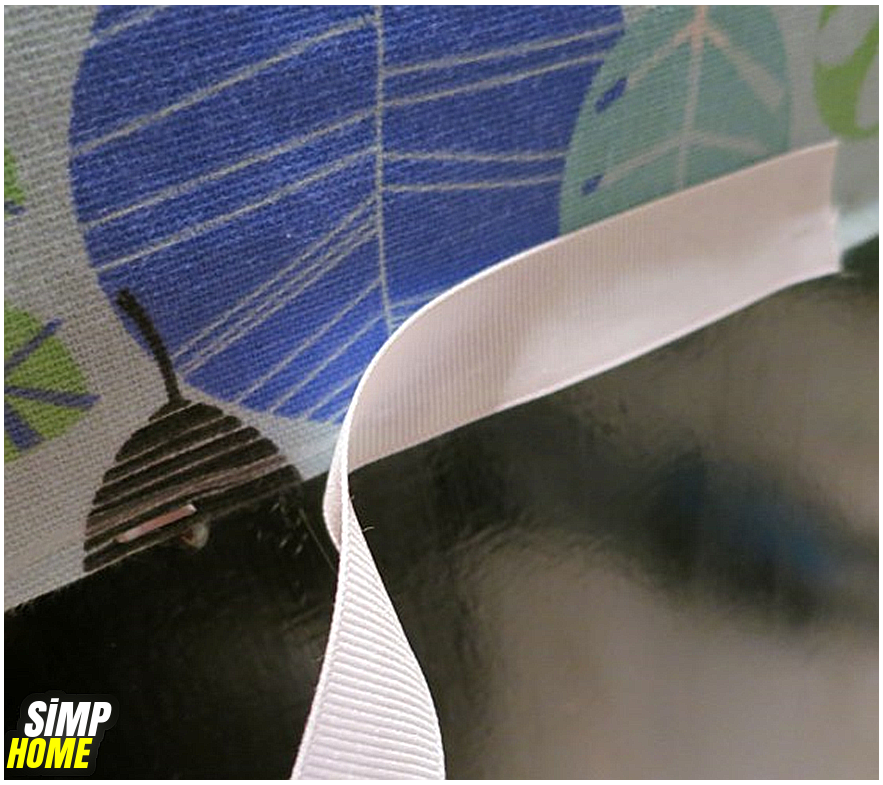
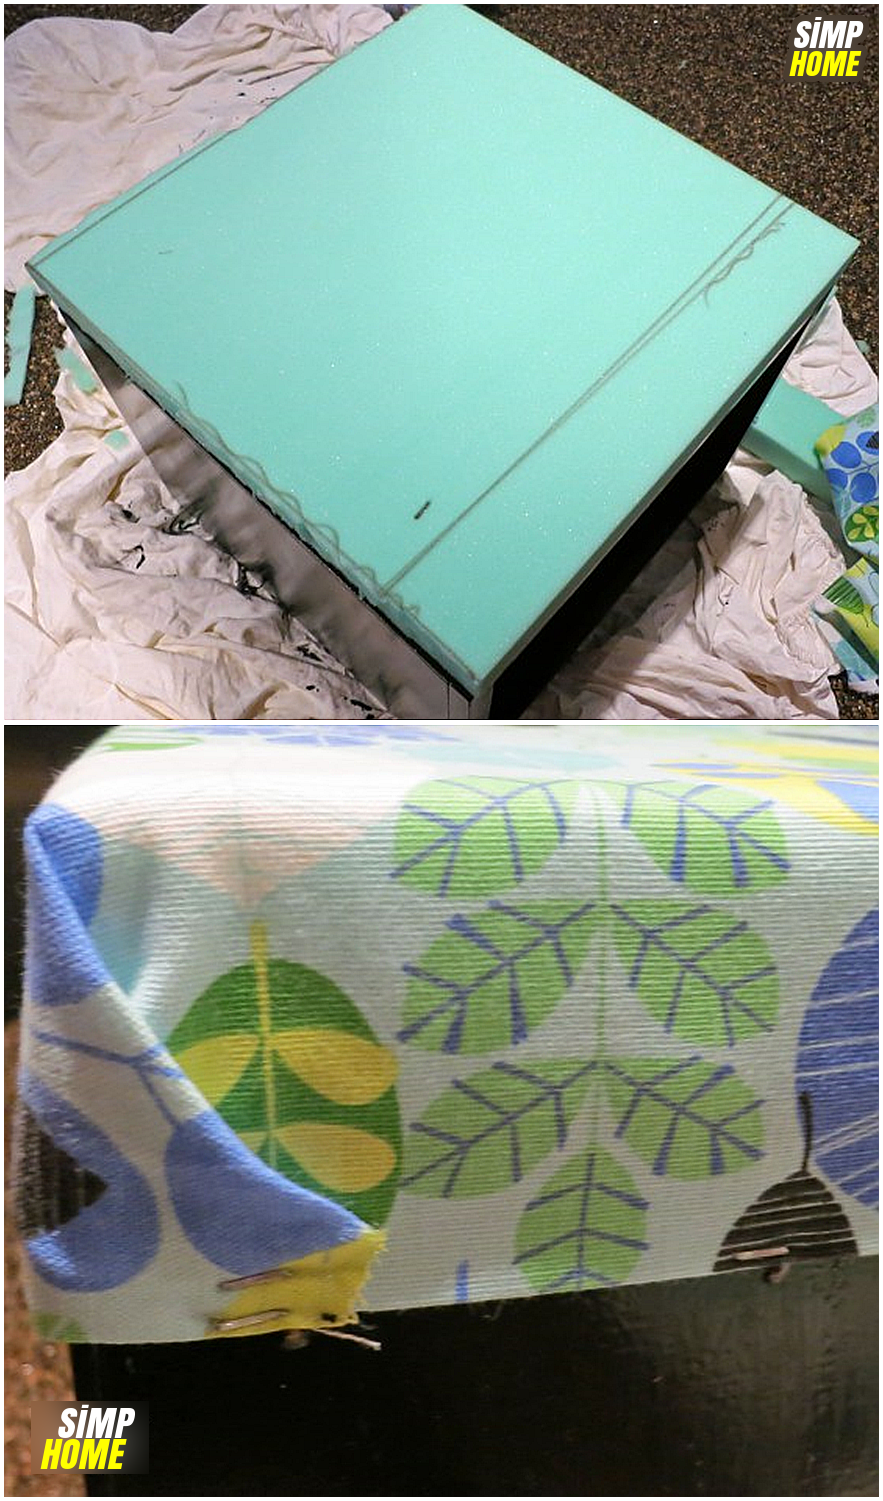 I had a fight with my new power stapler at this point, but I ended up winning. Yay me! Then I used white grosgrain ribbon to cover the staples. I attached it with hot glue.
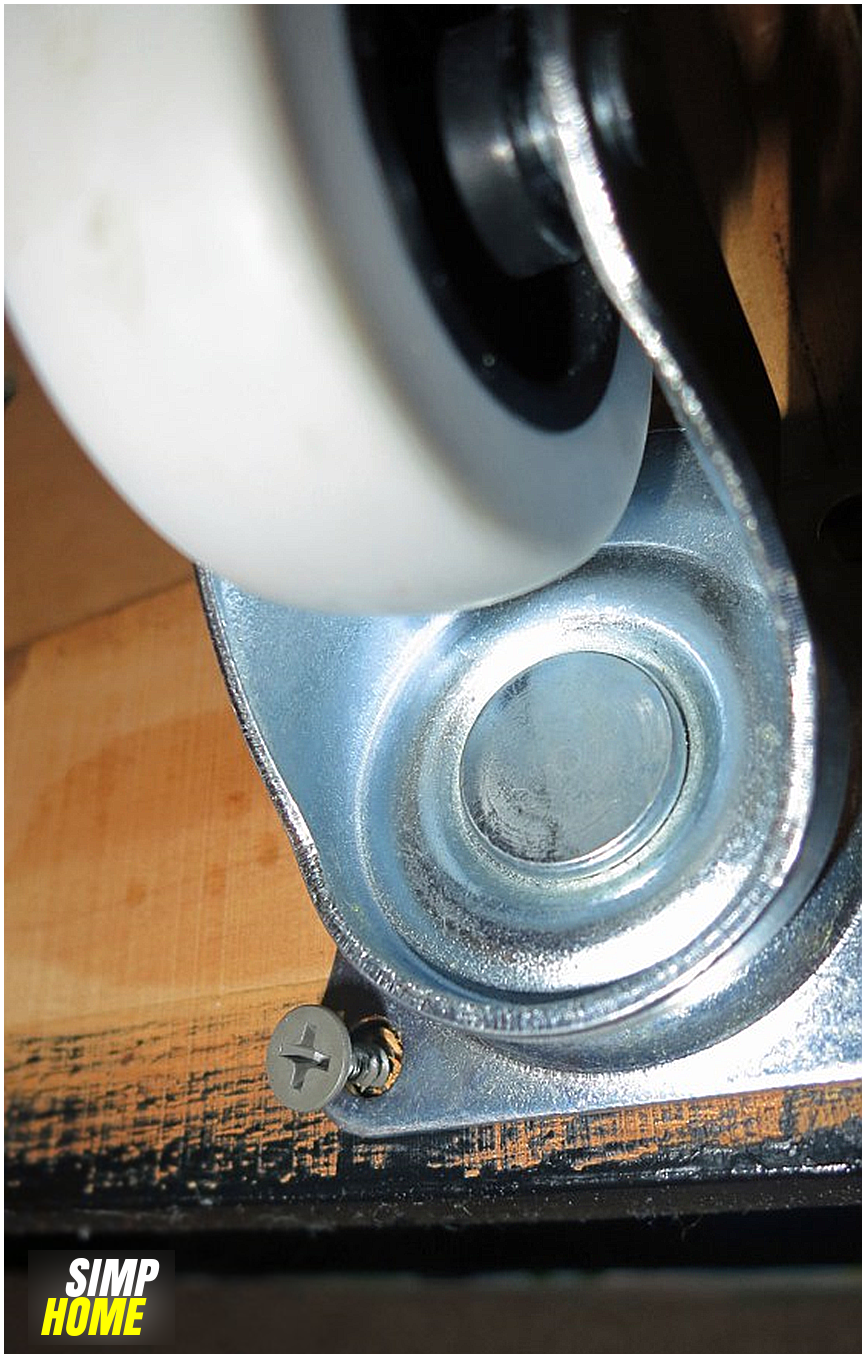
 Finally, I removed the feet and added casters. With locks. This way it can be moved around in the garage but also be stable to sit on.
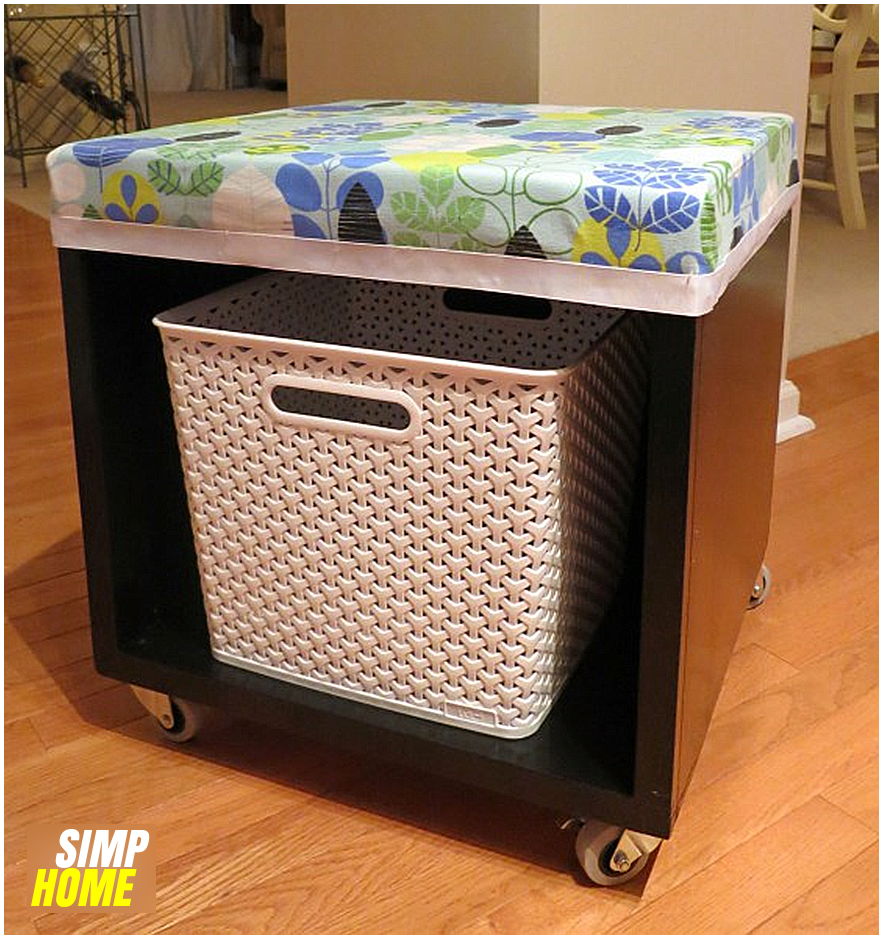
 I put a plastic (easily cleanable) basket inside for shoes – and we are good to go!
 The rest of the garage? Well that’s a story and a project for another time.
 PS: Thanks to Live Love DIY for the tips on painting veneer!
In case you need more DIY ideas without leaving this blog,
Or probably unique organization ideas without using Google,
Or Furniture..