5. A Multi-Purpose Storage closet Idea with Drawers and yes.” Countertops”
 Don’t let a tiny closet get you down! You can make it work with creative thinking and DIY skills for all your storage needs. Here’s how we turned a small hallway closet into a multi-functional space that’s perfect for storing everything from art supplies to linens:
- Use every inch of space.
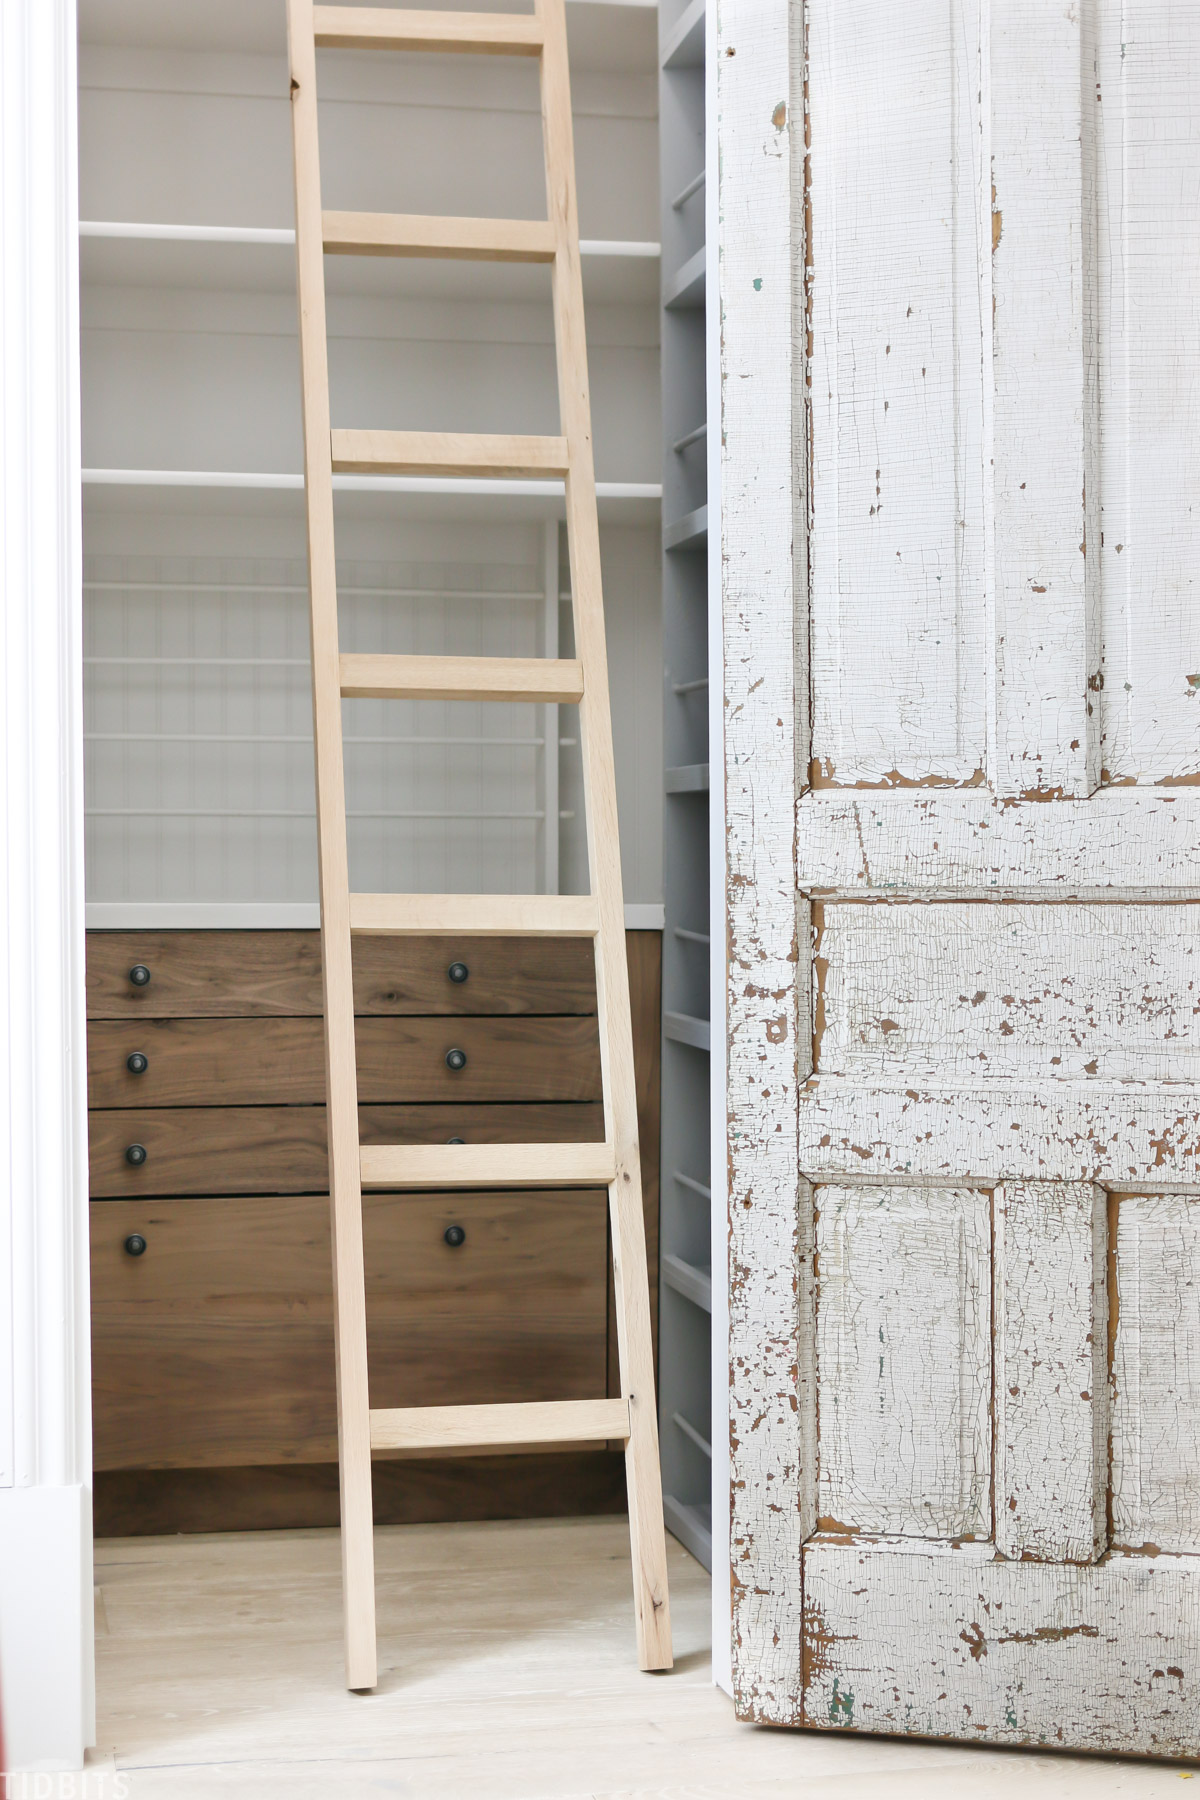
Tami, our source of inspiration, installed shelves that extend up to the 12-foot ceiling, DIY drawer units, and a built-in wall-mounted bookshelf to maximize storage space. - Build wall-mounted bookshelves.
If you have a wall that’s not deep enough for shelves, consider building wall-mounted vertical bookshelves. Our sample is made of oak and painted a pretty blue for a built-in look. - Install a ladder.
When you have high shelves, you need a way to reach them. We built a sturdy ladder out of white oak that can be latched to the top or sat to the side. - Use IKEA drawer units and DIY fronts.
It is affordable, functional, and customizable. In our case, Tami built her drawer fronts out of dark walnut wood for a fraction of the cost of custom flat panel fronts. - Eventually, Tami topped her DIY drawer units with inexpensive pine boards and painted them to match the walls and shelving. As a bonus, she installed a beadboard backsplash and distressed black hardware for a more cohesive closet look.
4. A DIY Shoe Tower Closet Organization
Learn how to build a shoe tower for your closet with these easy steps.
- Start by cutting the two side boards to fit the length of your wall, from the baseboard to the ceiling.
- Measure the width of your wall and subtract the width of the two side pieces to determine the width of the nine shelves needed for shoes.
- Use the Kreg Pocket-Hole Jig to create pocket holes in the bottom and top boards, with the pocket holes on the bottom and top to keep them hidden from view.
- Add 2x4s for the top piece and attach it to the ceiling using 3-inch power pro screws. Make sure to hit the studs in the ceiling for a secure fit.
- Using the same screws, attach the side pieces to the wall studs.
- Tilt the shelves downward at a 25-degree angle. Start by screwing in the front two holes, then lower the back and screw in the back two holes. Use a spacer block to maintain the correct angle for each board.
Tip: When using red oak, apply paste wax to the screws before drilling them in to make it easier.