


-
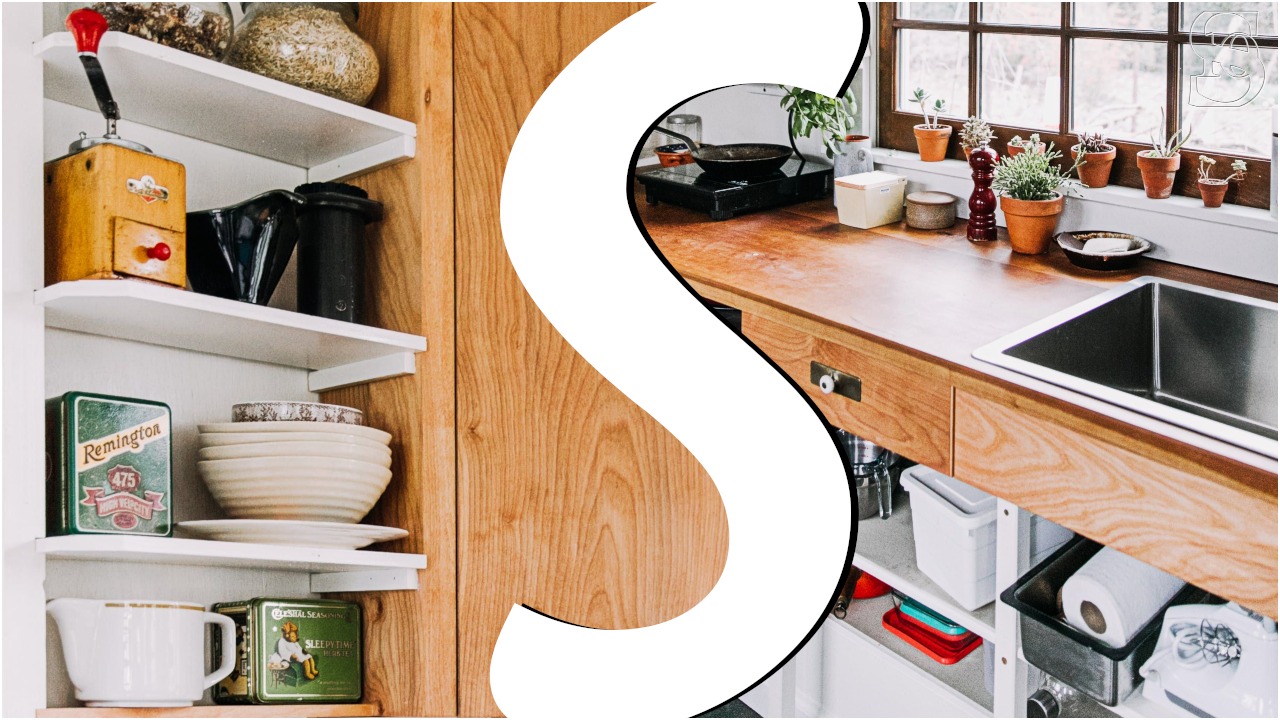
10 Easy Styling Ideas for a Dull Kitchen
If you’re trying to add some life to your kitchen by storing items, consider using a large basket made of colorful fabric. This way, you’ll not only get to add color but also get extra storage space inside, where needed. When placing utensils and items back inside, you can place […] More
-
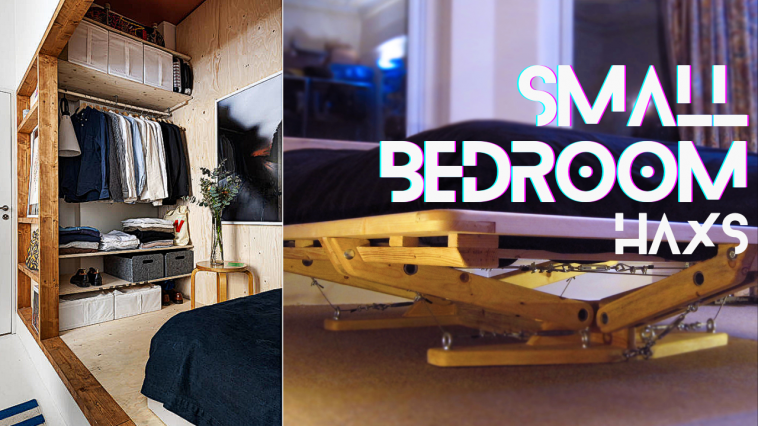
17 Creative Ideas to Expand Your Small Bedroom Space
Ever felt like your small bedroom was more of a storage closet with a bed jammed in? Well, fear no more! “17 Creative Ideas to Expand Your Small Bedroom Space” is here to rescue you from the land of clutter and cramped corners. Imagine turning that sardine can you sleep […] More
-
The Importance of Water Heater Repairs in Colorado
In the picturesque landscapes of Colorado, where the weather can swing from warm summer days to bitterly cold winter nights, having a functional water heater is not just a convenience—it’s a necessity. The importance of water heater repairs in Colorado cannot be overstressed, as it plays a crucial role in […] More
-
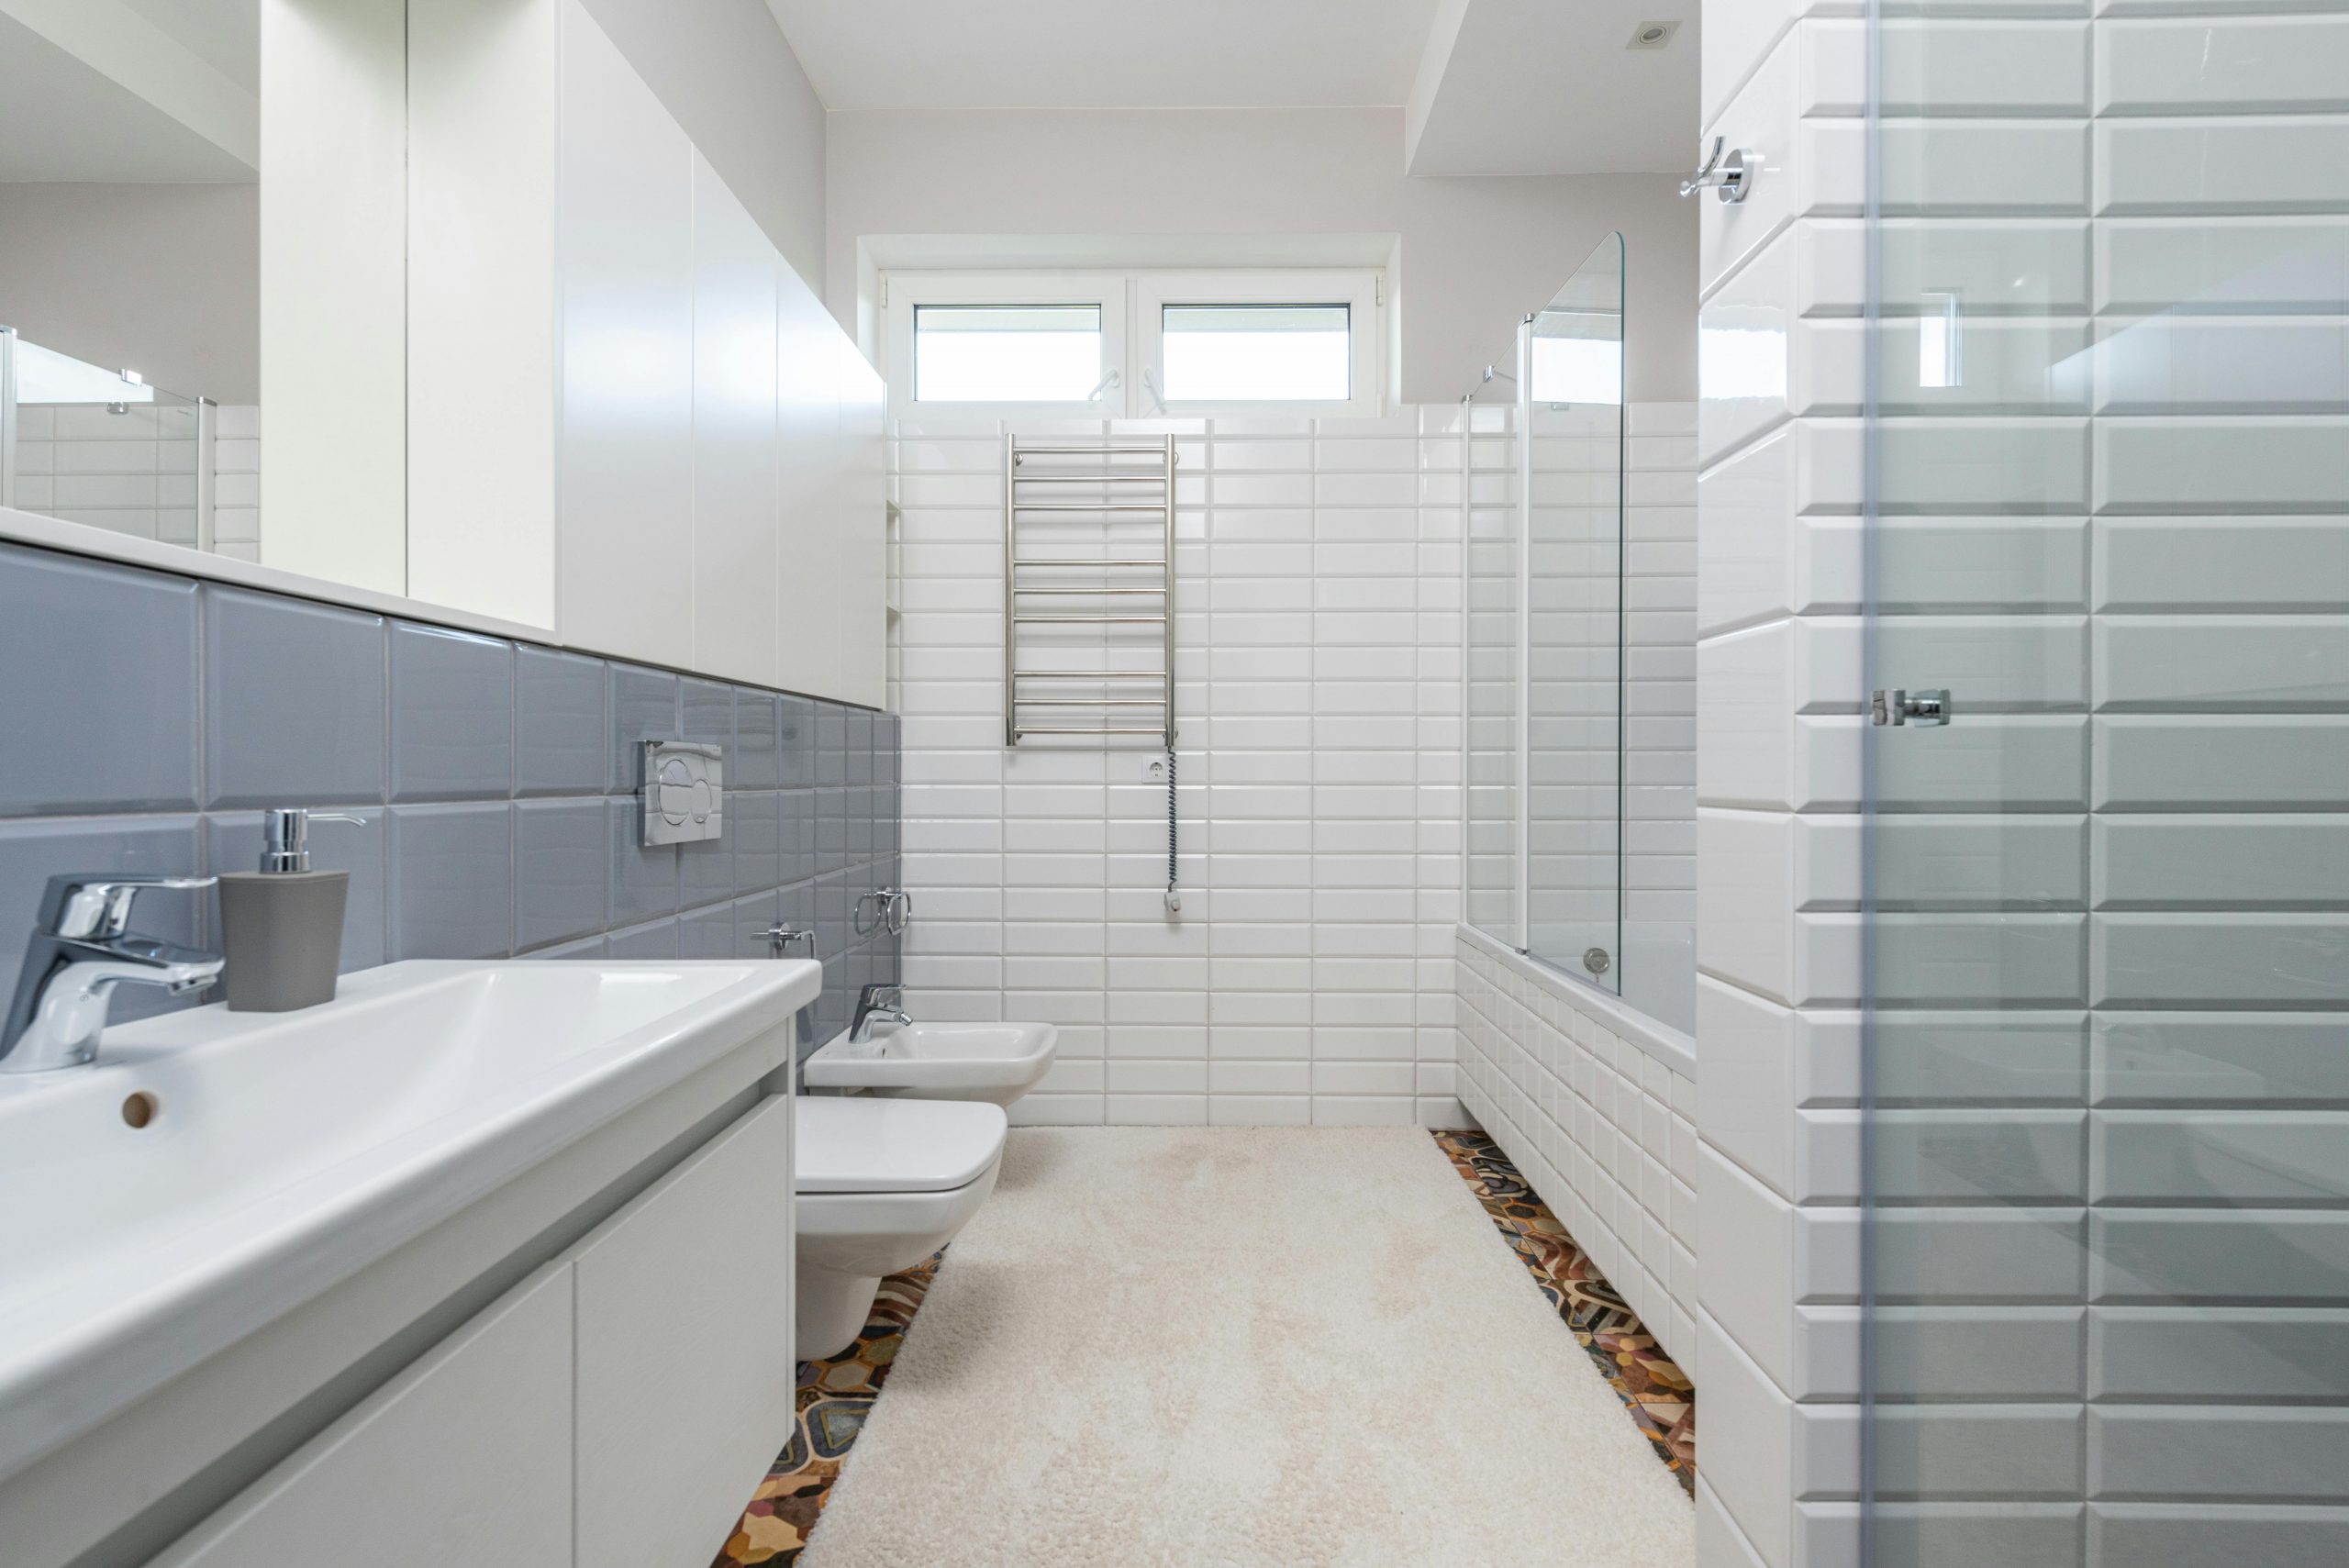
Tips for a Seamless Bathroom Remodel
Embarking on a bathroom remodel in Texas, where the blend of traditional and contemporary home designs sets a unique stage for renovation projects, presents an exciting opportunity to enhance one of the most personal spaces in your home. From the sprawling suburbs of Houston to the bustling streets of Dallas, […] More
-
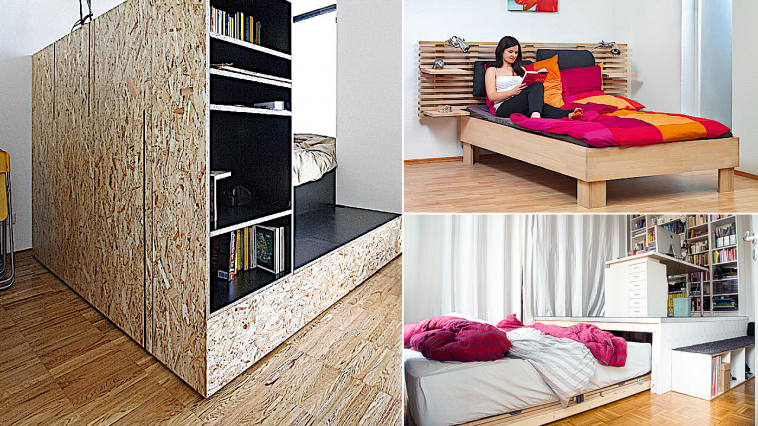
17 Genius DIY Beds & Bedframes That Will Make You Want to Stay in Bed All Day
Get ready to make your bedroom shine with our 17 awesome DIY bed and bedframe ideas. Almost all ideas come with step-by-step guides you can adjust to give you a cozy spot to rest your head all by yourself. Take the easiest one or find one that won’t demand fancy […] More
-
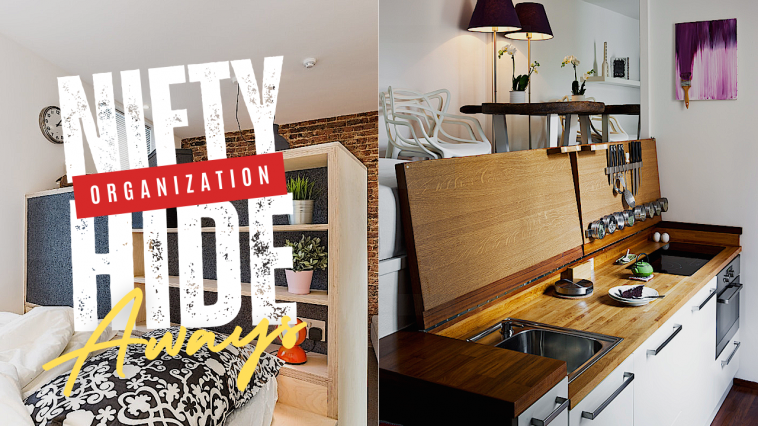
18 DIY ideas to declutter your mess
In the labyrinth of life’s knick-knacks, there are hideaways and then there are Houdinis. Curious? Ditch the clutter kerfuffle with 18 masterful magic nooks that’ll make your mess vanish – poof! Get set to be the David Copperfield of tidying; your clutter won’t know what vanished it. Let’s tidy in […] More
-
A Guide to Getting Your Air Conditioner Repaired in South Carolina
Living in the beautiful state of South Carolina comes with its fair share of sunshine and warmth. While the pleasant weather is undoubtedly enjoyable, the scorching heat can make life uncomfortable, especially if your air conditioner decides to take a hiatus. If you find yourself in a situation where your […] More
-
20 Modular Furniture DIYs
Are you tired of struggling with disorganized spaces and cluttered belongings? Look no further! In this comprehensive guide, we bring you 20 innovative and practical modular DIY ideas to address your organization flaws head-on. Whether it’s your chaotic wardrobe, daunting dead space, or cluttered home office, these DIY projects are […] More
Load More
Congratulations. You've reached the end of the internet.