Typical bedroom decorating tips are full of suggestions that are easier said than done, such as reusing large pieces of furniture in a room that is already too small or dressing up a room with beautiful decor and art without attacking the underlying clutter.
To create an organized and functional bedroom, think about every inch of space. It means you must not discount the area under the bed and the walls.
The following bedroom organization tips focus on setting up for a tidier and creating a serene atmosphere in your bedroom.
Better again, you can apply them to a bedroom of any size. Keep on reading these 10 unique and adorable organizations for a tidier bedroom to get further explanation.
🔊10 Unique and Adorable Organizations for a Tidier Bedroom Video:
List Entries:
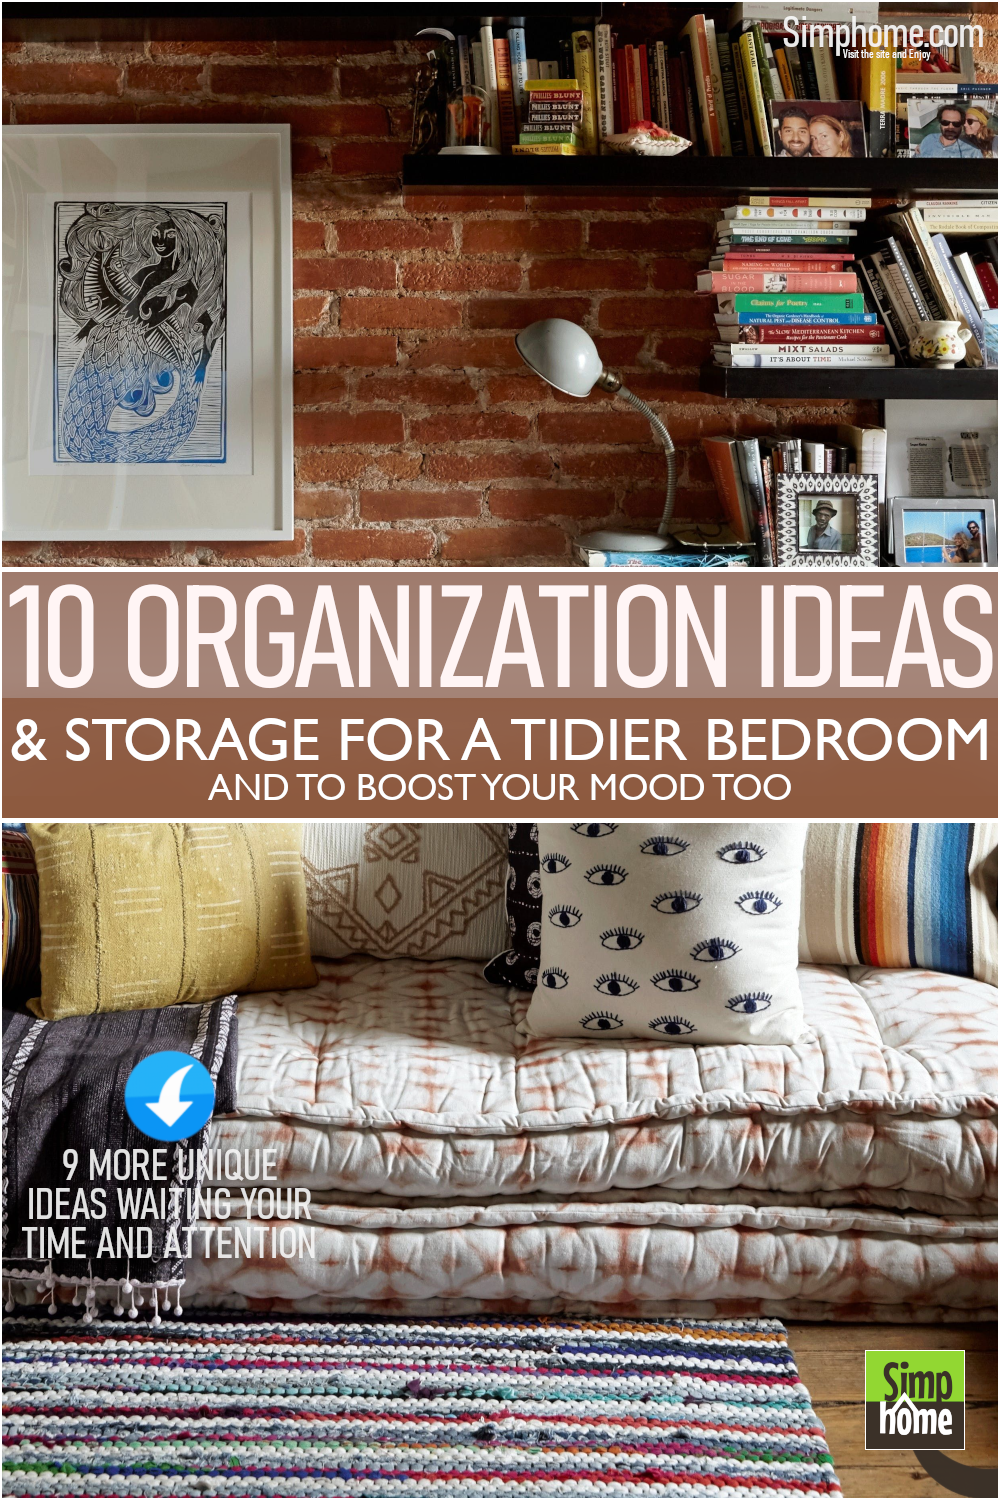
10. Give Your Bed a Second Job
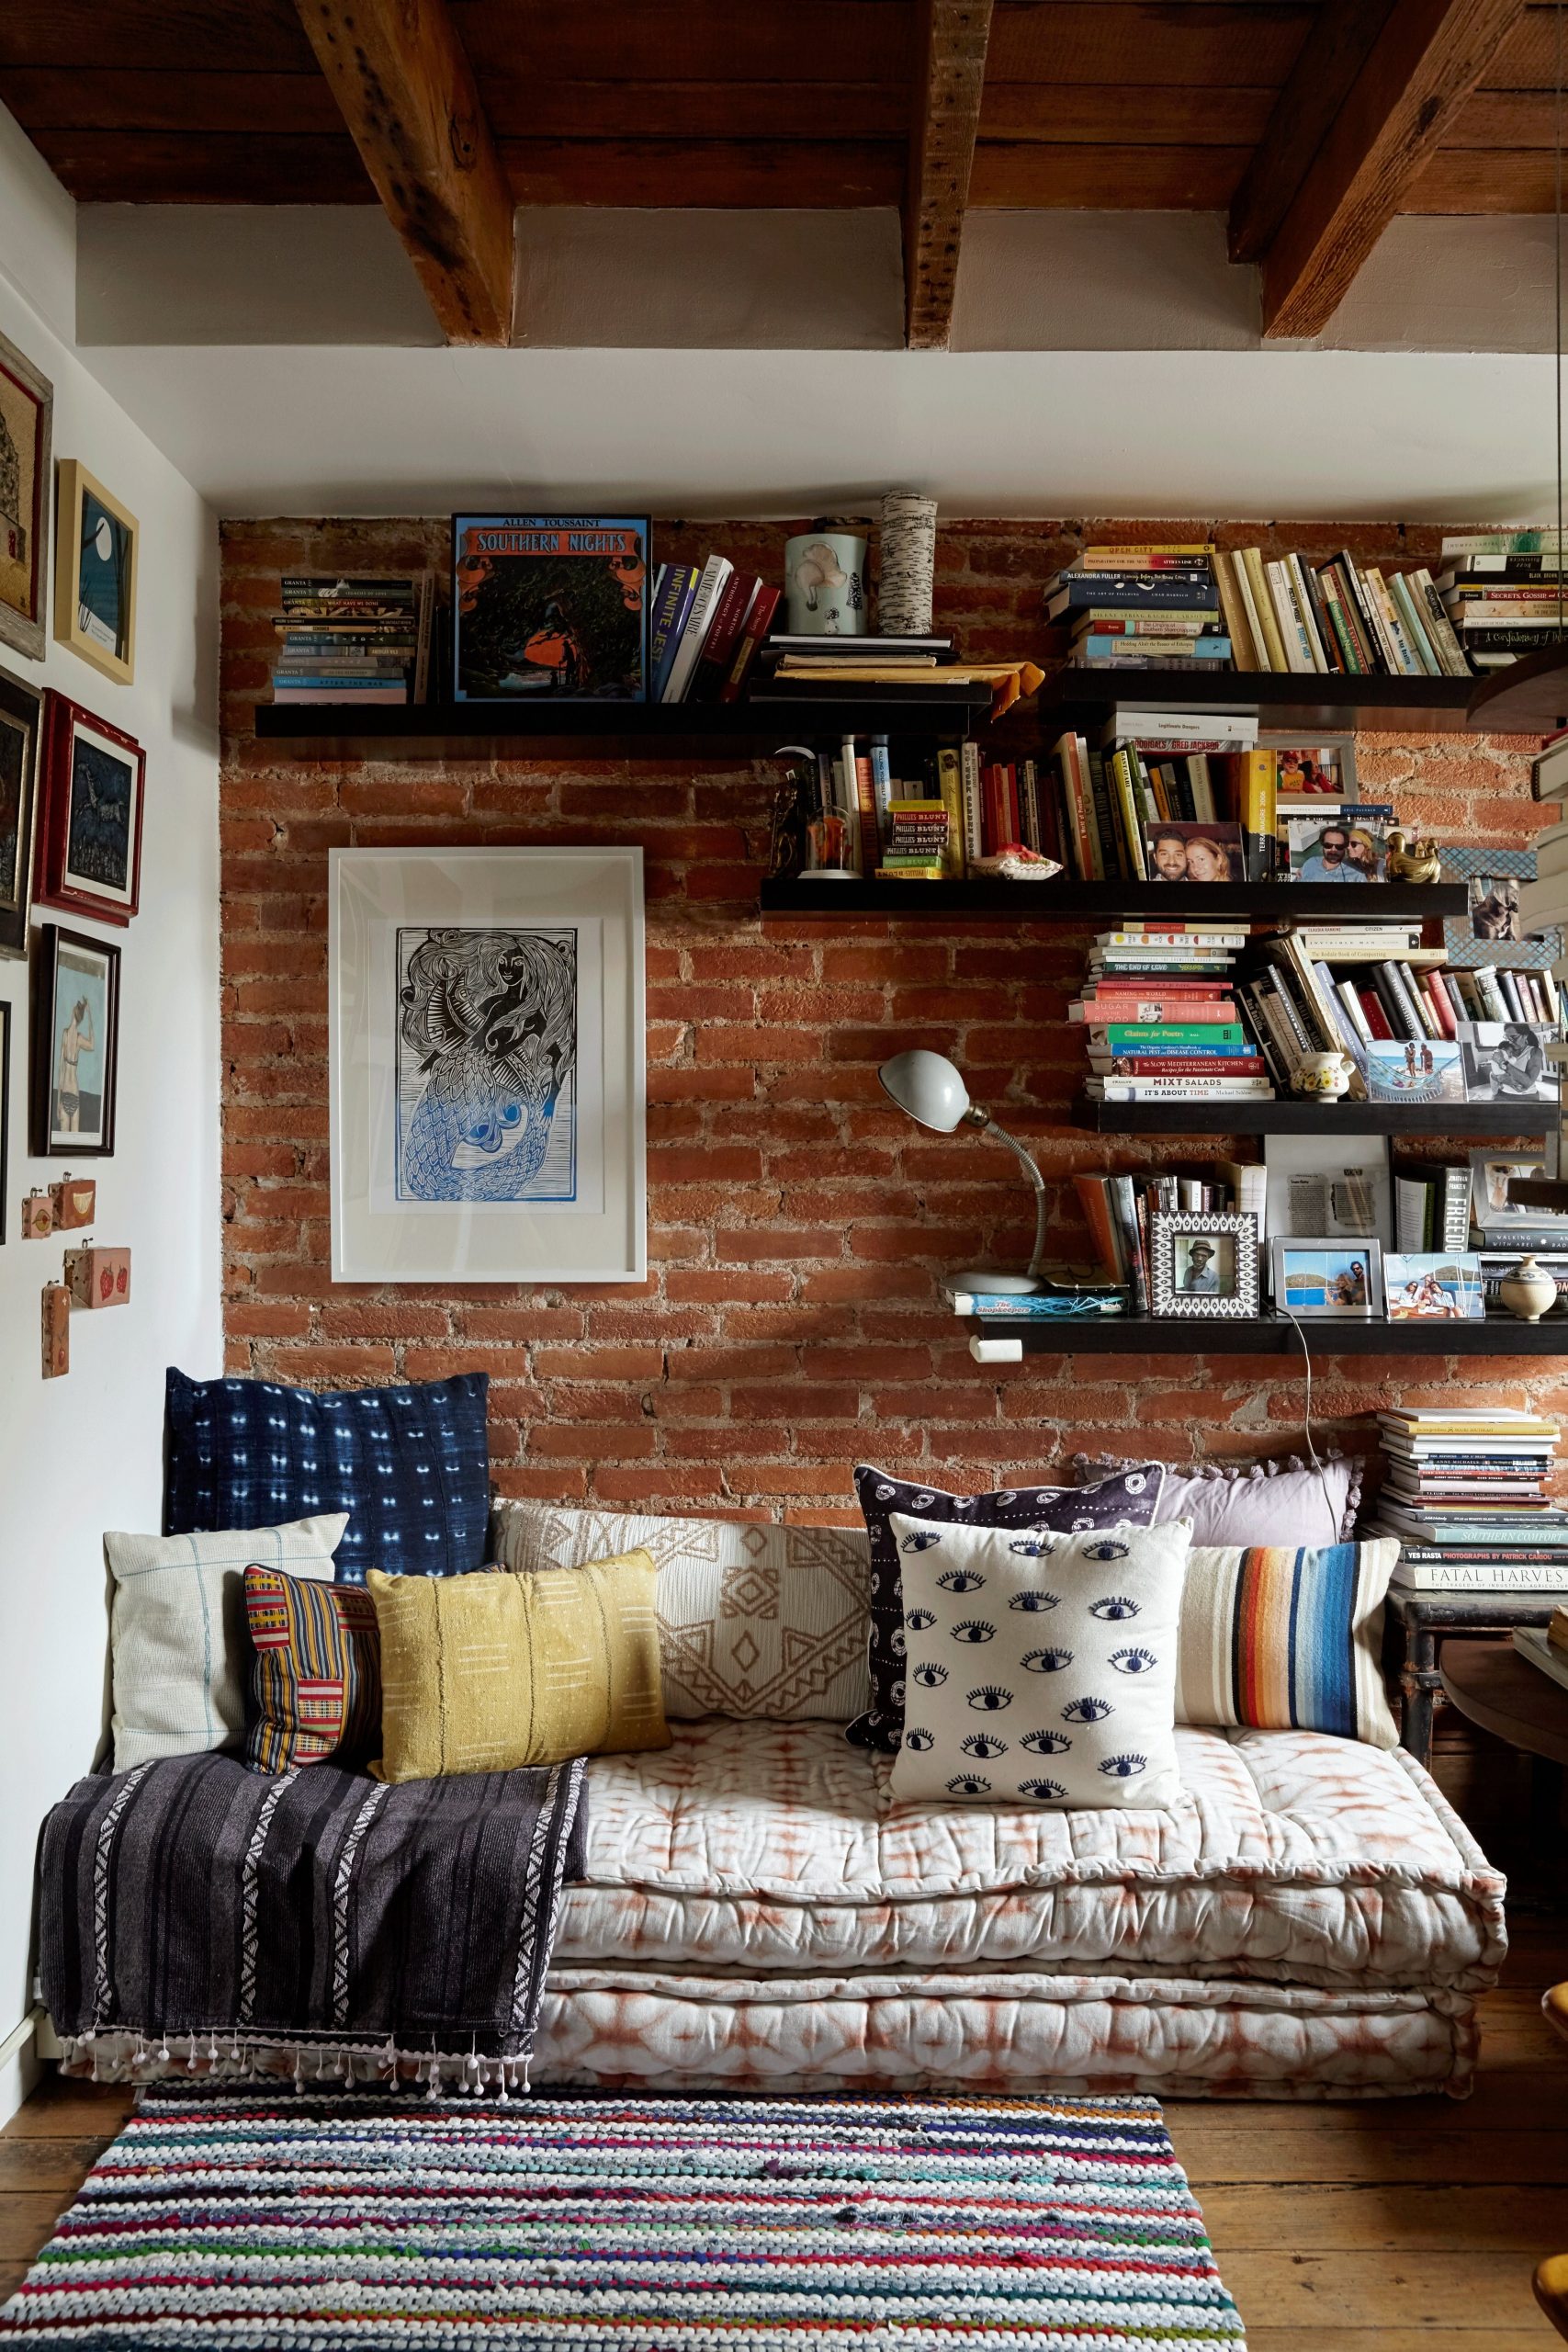 Between midnight and 7 am, your bed is for sleep. For the rest of the time, set the pillows on the side of the bed. This way, it becomes a makeshift daybed for relaxing and dealing on your laptop, and see your bedroom double in size.
If you do not have a dedicated reading corner, this bed can also be useful in your bedroom, which functions as a place to read your books. In this space, you can pull out the daybed into a bed on castors for overnight stays.
In detail,
- Buy a magazine rack and keep it next to the bed. If the magazine rack is in a drawer, just pull it out and prepare to read.
- Put a cushion on the edge of the daybed and throw a soft blanket over yourself. You can also put several pillows there to create height, which makes you more comfortable when reading.
- Hang up some artwork that inspires you or photos of your favorite places, such as your hometown or vacations.
- Put up photos of your friends and family.
- Use it to keep your jewelry, pictures, or dolls to make the room even more personal.
9. Keep the Layout Simple
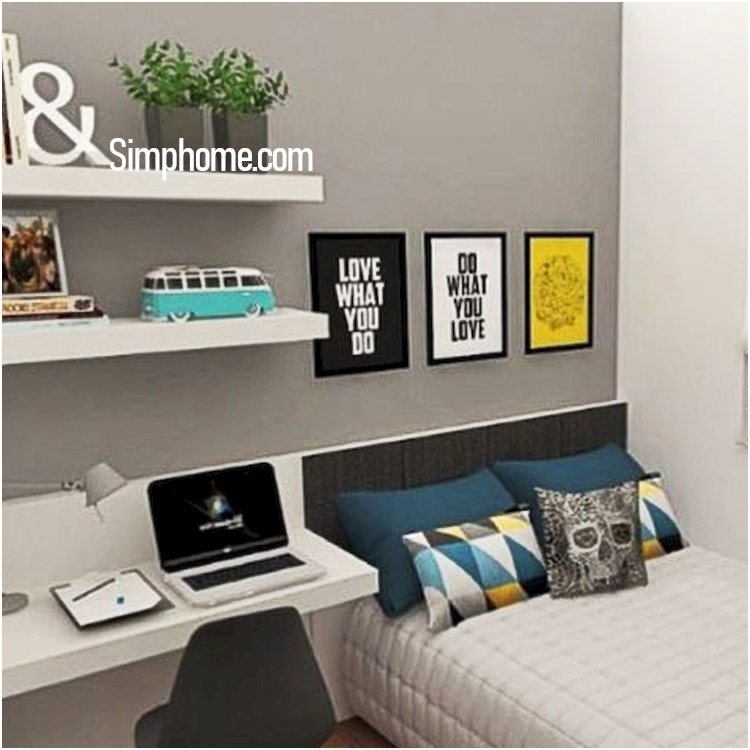 If you adhere to a “less is more” view of life and believe that simple spaces are calming, you will love the minimalist decor style.
The minimalist decor style removes most of the knick-knacks, ornate embellishments, busy patterns, and soft color scheme is excellent for design elements that are functional and relaxing.
Choose a pale color palette as a secure space enhancer. Here, soft neutrals add just the proper amount of warmth, while minimal wall decor draws attention to the bed and keeps it there.
Other instructions and details you need to know:
- Install a bookcase as a room divider.
- Stick to upholstered furniture with clean, modern lines.
- Consider using wall art to unify the room.
- Keep Everything at Hand and in view
if you do not have a dressing table or wardrobe, this is a great way to make use of an unused corner or area under your bed as storage space for clothes and even shoes! - Don’t have a nightstand? No problem! Just use a storage box to store your necessities at night.
- Hide dresser drawers behind a wall or armoire to make the room look larger and create more storage space.
- Store items in an overhead cabinet, dresser drawers, or under your bed.
- Consider sliding clothing racks for keeping clothes that you do not wear every day out of sight but within reach.
- Don’t have enough space for a bookshelf? Install a magazine holder on the wall instead.
8. De-clutter The Closet
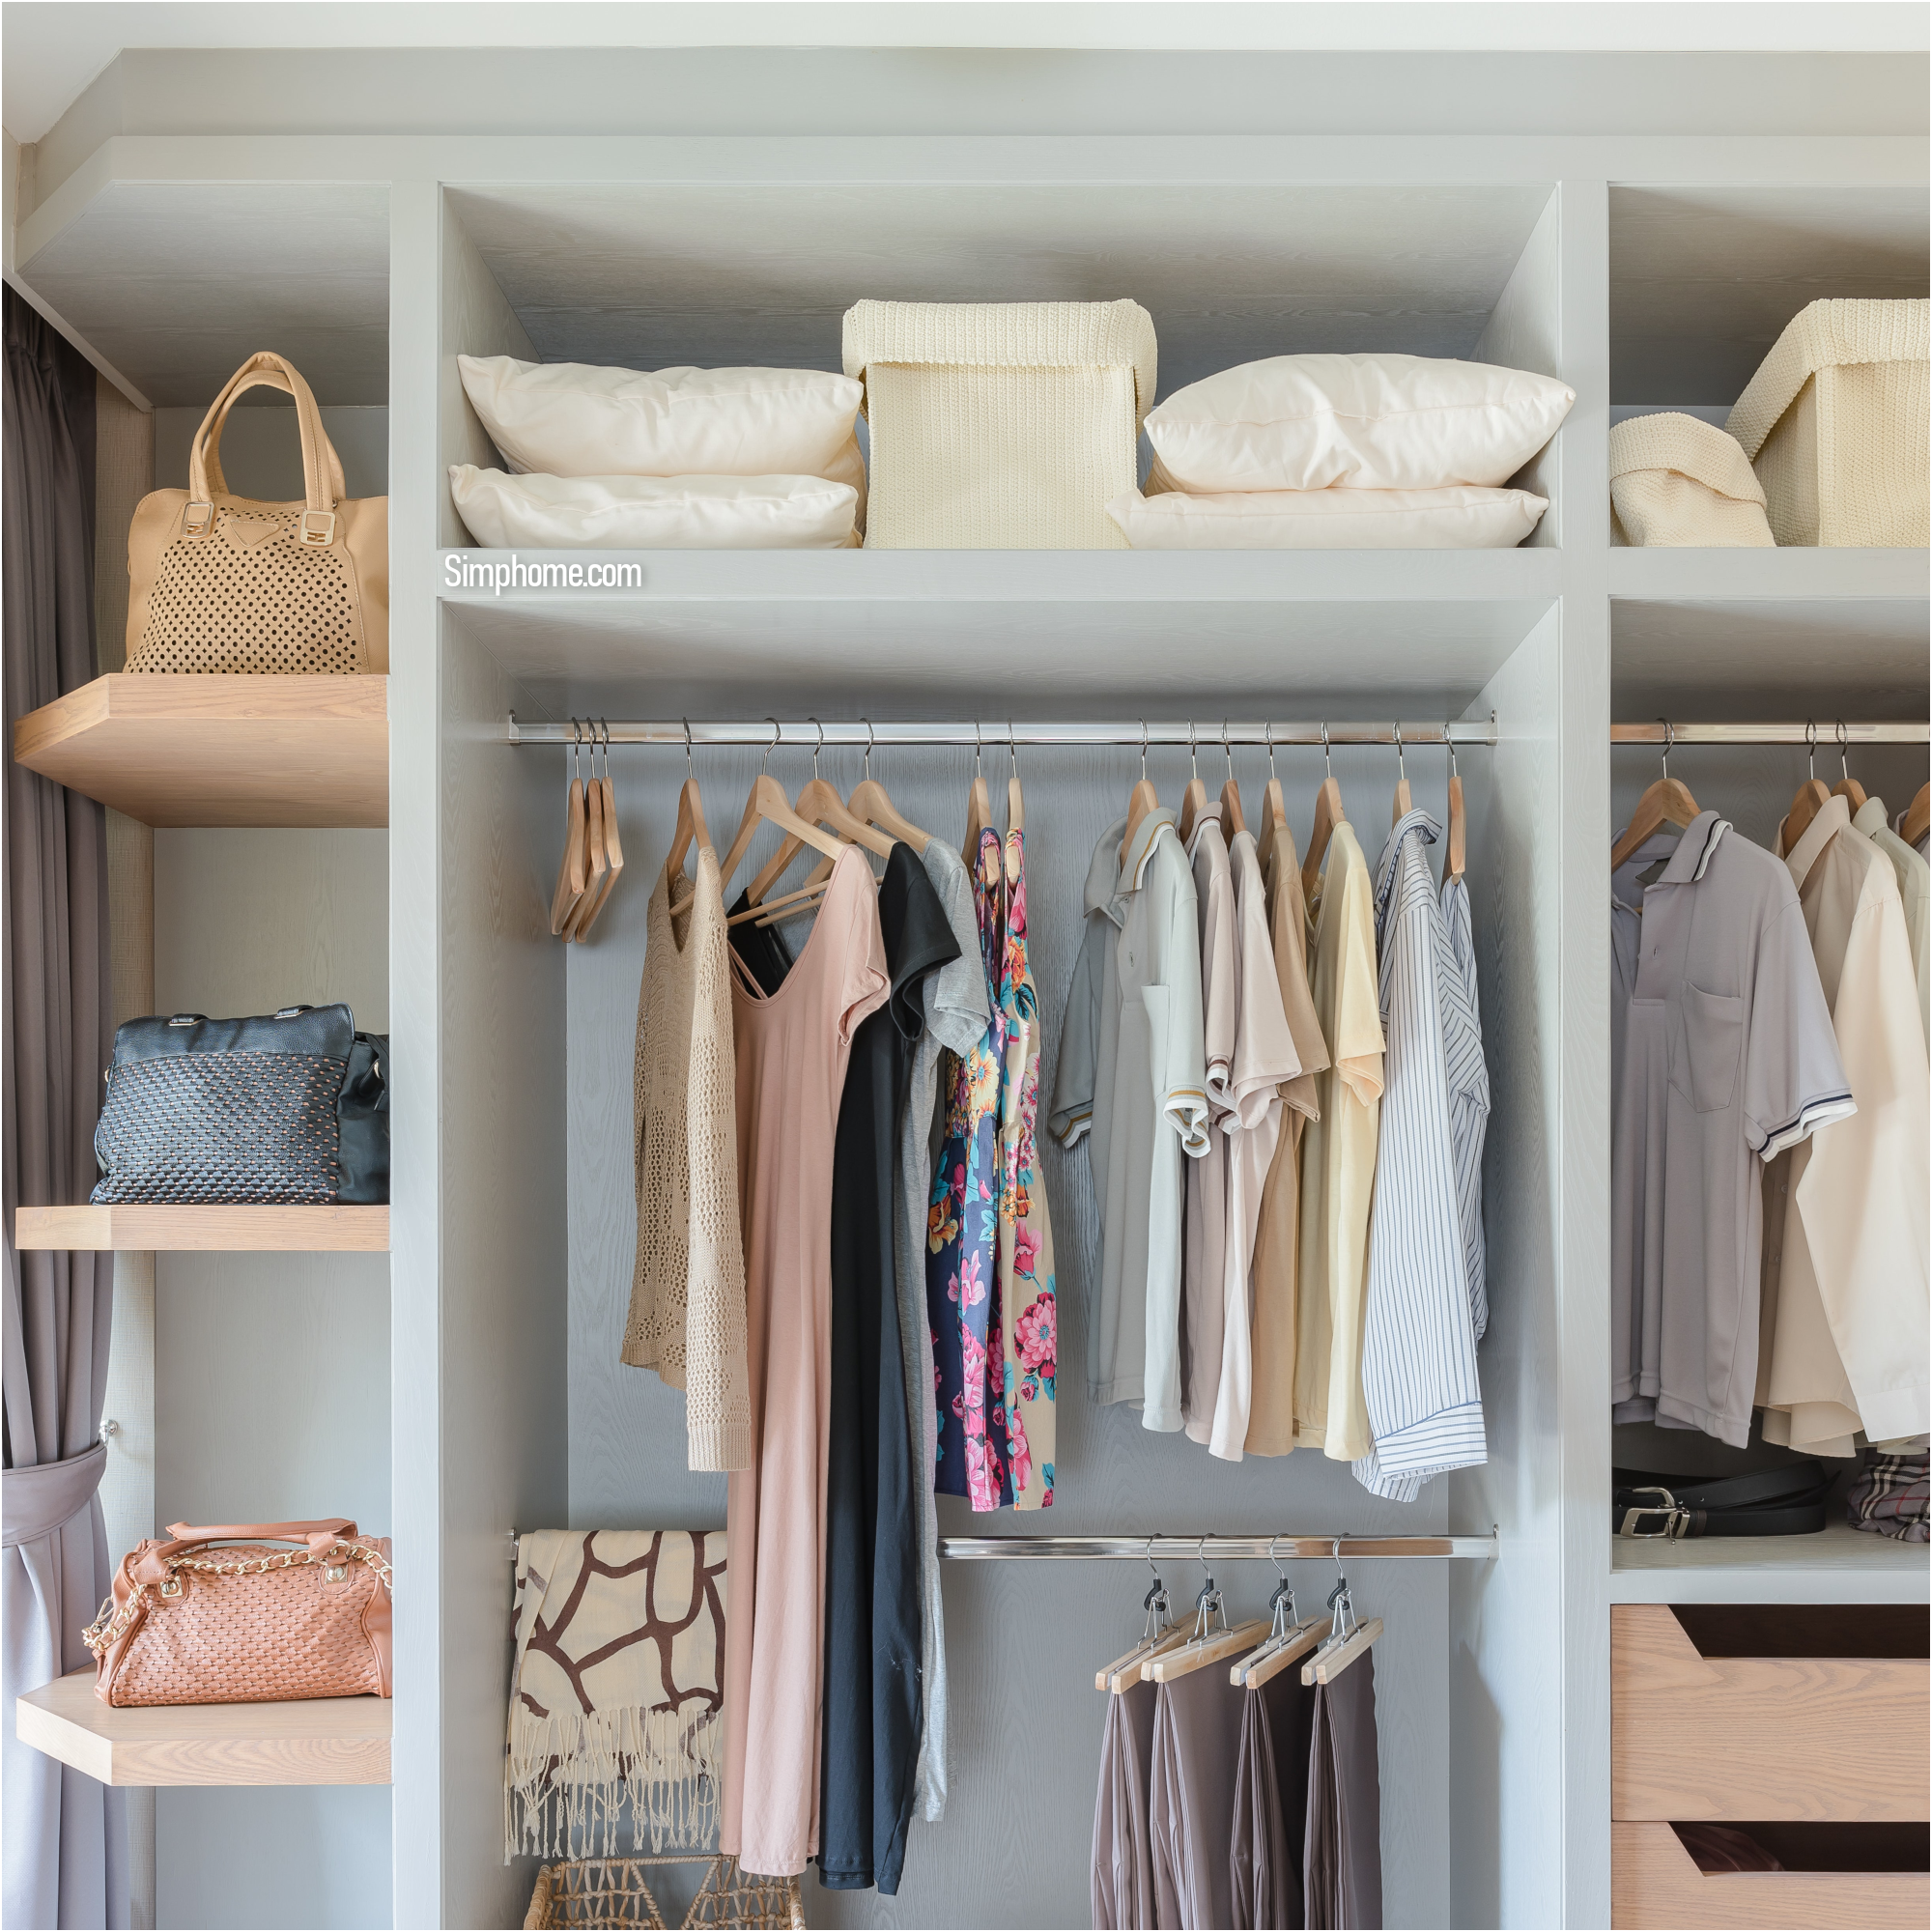 Even if your bedroom is clean, if your closet is spinning out of control, it will disturb the calm and serene atmosphere of the room.
In addition, a cluttered closet means a longer time to get ready in the morning, plus more frustration getting out the door and working on time. Reduce tension by tackling your closet.
First of all, de-clutter your closet, either by doing a complete closet organization or by sweeping it fast. Include a storage system if you need it. After you have checked your clothes, consider donating the unneeded items, then have fun in your new quiet space.
Other organizations to occupy your closet you can:
- Use a hanging shoe rack; you will see the shoes and save space simultaneously. It is also effortless to put away if you take down your shoes off.
- Use a plastic storage box as a jewelry holder and place it on top of your dresser to keep all your earrings and necklaces in one place.
- Go for a hanging clothes rack if you have enough space. Hang out all your clothes so you can see the whole room at once, and get more space for your clothes.
- Use hanging rods or shelves on your door, which is easy to arrange when you do not wear it anymore or when you are not using that one piece of clothing anymore.
- Use a garment rack instead of a hanging closet organizer; you can use the hooks to hang your clothes and accessories. In addition, it is easy to find the things you want when you have them at hand.
- What do you mean when you say “nothing fits?” If you have many clothes without a specific style, consider making a part in your closet where you can store your clothes so that they can be found quickly.
- Remove the dresser drawer from the bedroom wall and put it in the closet or garage, where it will take up much less space in the room but still be within easy reach when needed.
- Install a mirrored cabinet in your closet, which will help you find your clothes.
- Use an organizer to keep your things neat and tidy. Keep it on the floor and organize the clothes and accessories you frequently use so that they will be easy to find when you need them.
- Consider installing a desk or desk lamp in your bedroom closet, where you can read or work while maintaining order because the light cannot reach through the mirror cabinet on top of it, giving more privacy by blocking out unnecessary bright light.
- Use a plastic storage box as a jewelry holder and place it on top of your dresser to keep all your earrings and necklaces in one place.
- Use a mirror organizer for organizing all your grooming products in one place that you can place on your dresser or bathroom wall.
- Store most-used clothes/accessories in custom-made drawers that fit into existing closet space or install additional drawers between existing hanging rods.
7. Store Blankets on a Ladder
![]() If you have many quilts, blankets that you use repeatedly, and floor space, consider an attractive blanket ladder.
If you have many quilts, blankets that you use repeatedly, and floor space, consider an attractive blanket ladder.
This on-trend DIY quilt ladder is a brilliant and modern way to hang blankets and sheets. And you can make it in just hours!
All you need to prepare are a wooden pen (you can get it at a hardware or home improvement center), some simple tools and materials, and a can of matte cream paint.
The finished ladder looks much more high-priced than the estimated cost to build. Also, you will not be desirous of throwing everything on the floor.
To build a ladder closet like this, your instructions are:
- Choose a room with lots of ceiling space for this project.
- Remove the quilt from the box and spread it on the floor to measure out your ladder size.
- Cut four wooden pen pieces as follows: one long piece to go under the shelves, two short pieces for each side, and four small pieces that stick out from each end of the long piece (sticking out slightly longer than they stick in).
- Use wood glue and nails (or screws with a drill) to attach these parts at right angles (4 small parts with four large parts and four large parts with four small pieces).
- Next, you will need to cut four more pieces of wood for the ladder sides.
- Place two sides on top of each other and screw them together to form a box that is 4-inches high and 16-inches wide on the top and bottom.
- Repeat step number 4
- Then take one side off the top box, paint it, hang it, put two sides together underneath it, attach them at right angles, then paint your ladder piece above it all.
- Repeat step number 6
- Repeat step number 4
- Finally, measure out the inside space of the shelves. If you need ten by 18 inches instead of 18 by 10, cut your ladder’s piece half lengthwise, so it is 11 1/2 by 19 1/2 inches total.
- Repeat step number 4
- Repeat steps 2 – 12 for the other side of your ladder and both sides of the bottom support.
- Finally, paint your ladder as desired and enjoy!
6. Place Pillows in Baskets
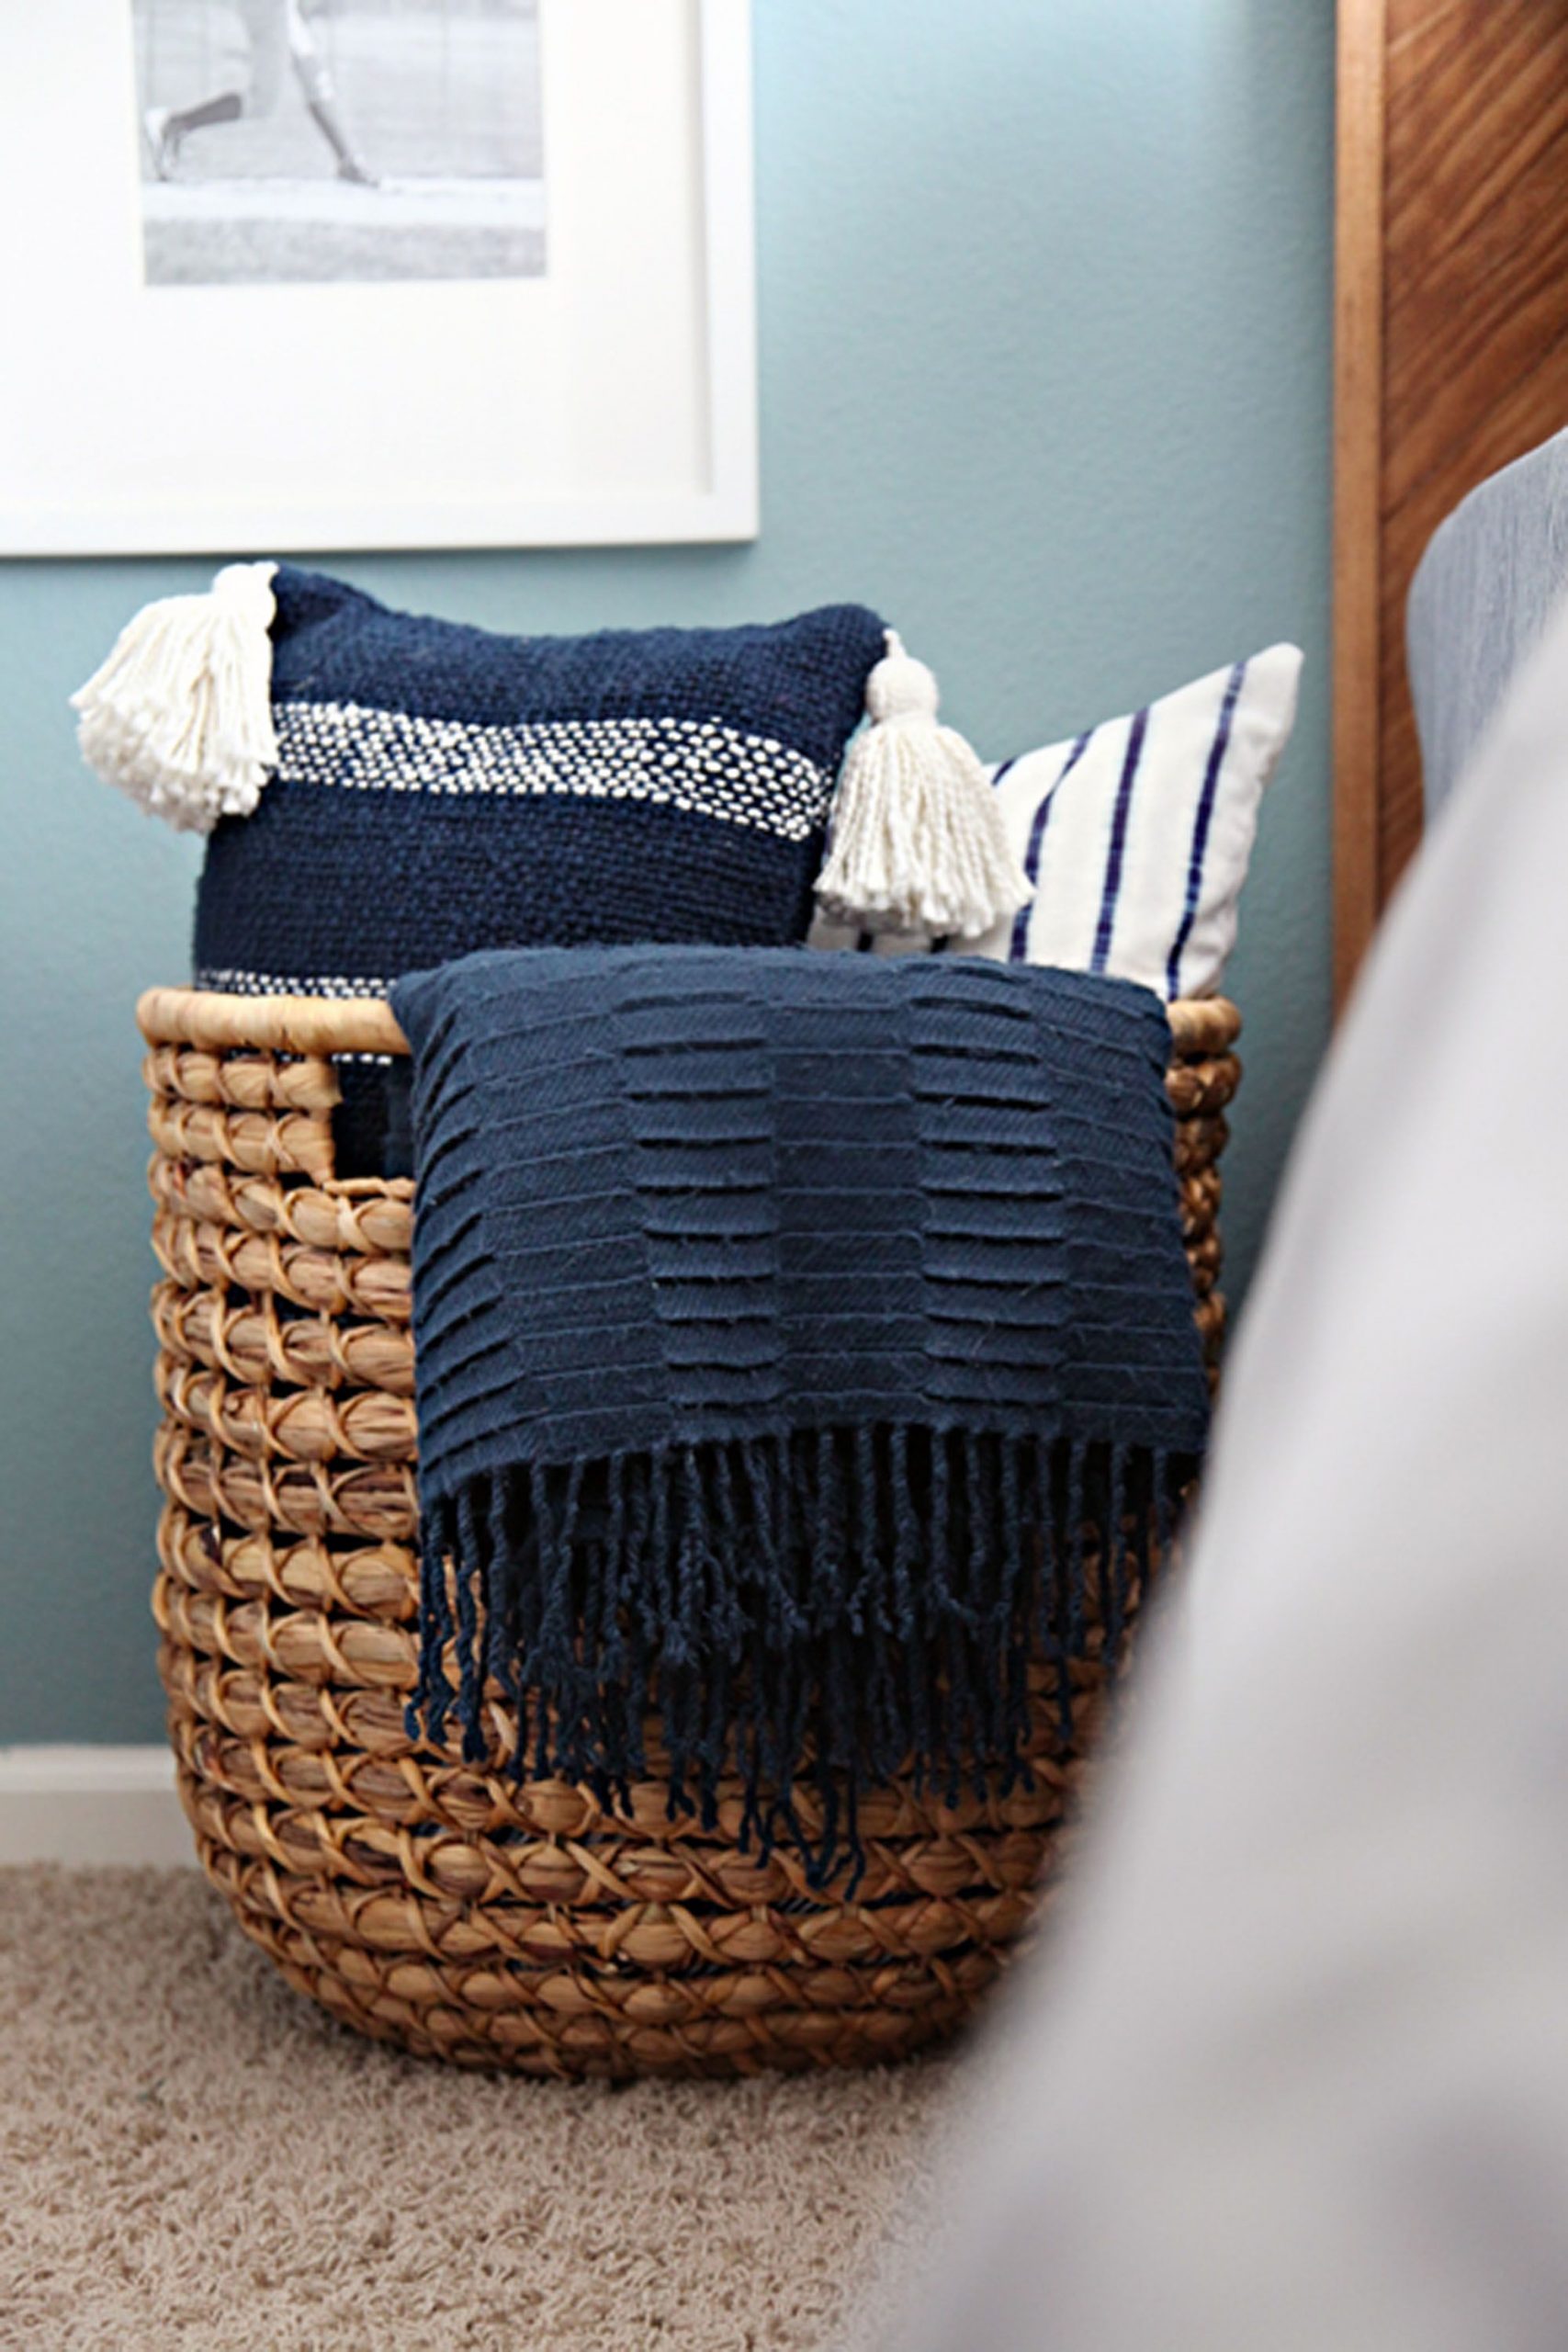
Well, that’s until you should find a place for them when it’s time to use the bed at night. Use the basket to hold decorative pillows while utilizing the bed, strip the bed, and do the laundry.
Alternatively, you could:
- Mount throw pillows to the wall with Command hooks.
- Hang one on the back of the door with a clothes hanger.
- Use your queen-sized bed’s headboard to hold throw pillows at night by pushing them up against the wall and tucking your pillows in between it and the wall. When you wake up, just pull it against your bed again.
- Wrap decorative pillows in place-mats, so they look like cocoons hanging from the ceiling with wire clothes hangers (lift straight up, not diagonally).
- Turn a wall of shelves into a place to hold pillows. Hang decorative pillows from Command hooks on the wall, attach place-mats from Target to the shelf and fill them with throw pillows and other accessories.
- Consider reusing an existing bedside table as a home for your extra unique throws so you can easily access them at night and spread out the rest of your stuff on top of it or next to it during the day.
- Place decorative pillows in boxes, such as those that hold paper goods, and line them up with their sides nestled against each other for maximum impact when using the bed.
- Utilize a blanket ladder (the one you already own or make to your dimensions), and hang throw pillows from the rungs. If you need more inspiration, check out the 10 DIY Ladder Project Ideas for Your Bedroom, Bathroom, and Kitchen!
- Create a home for your throw pillows on the back of your closet door. Add hooks and loops and other fasteners and decorate the door with the pillows.
- Place throw pillows in baskets, then push the baskets into unused corners to clear up space in an overcrowded bedroom or living room.
- Use a mirror for holding throw pillows in a small bedroom.
- Cut a hole in the side of your mattress to add an entire secret compartment for holding throw pillows or other bedding accessories.
- Use a large basket to hold your decorative pillows on top of your bed when not in use, freeing up space on the floor and under-bed storage space.
5. Have a Place for Dirty Clothes
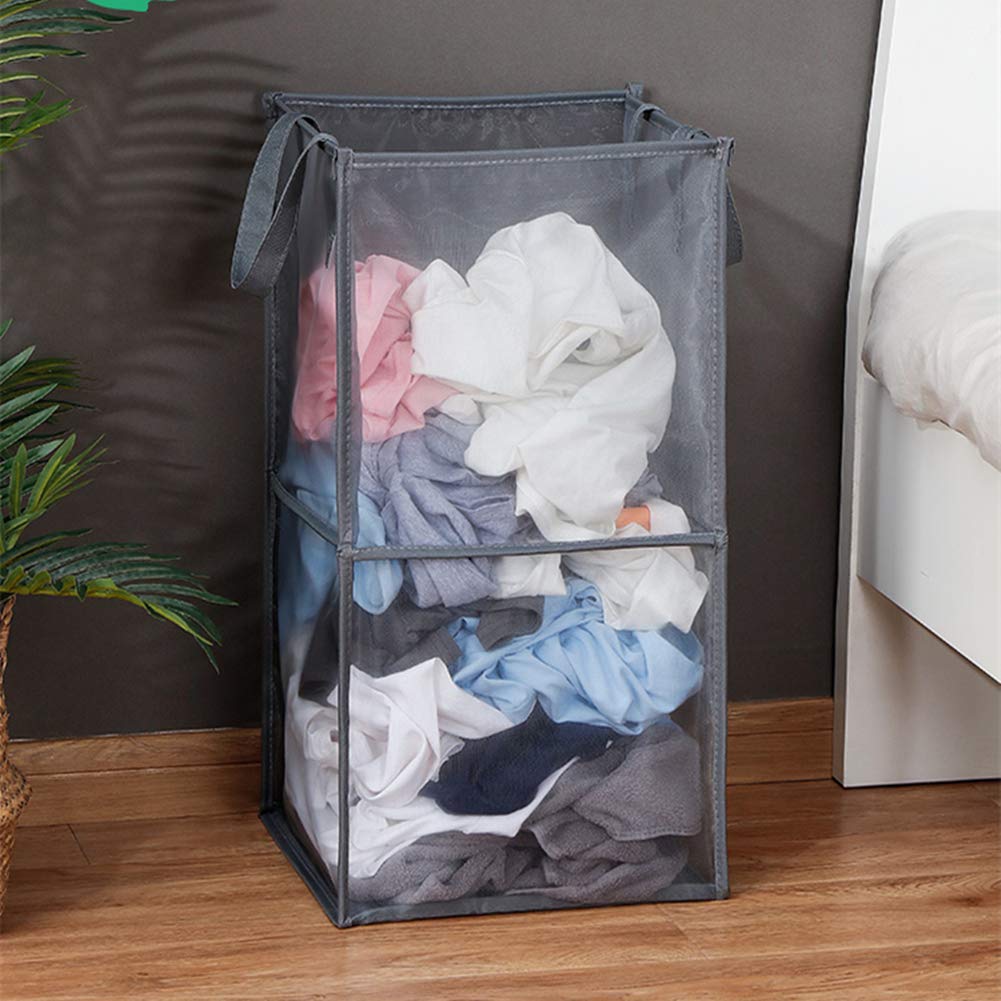 We all want things to be easier, including a comfortable place to put dirty clothes in storage. It is much easier to complete the task if the tools are at hand.
Dirty clothes storages are more likely to be used if you place them in places where dirty clothes are removed like bathrooms, bedrooms, mudrooms, and entrances.
Dirty clothes storage, whether in the closet, next to the closet, or near the closet, will help keep your clothes tucked away without spilling all over your bedroom. You can pick one that blends in well with the decor or just use a basic basket.
4. Under Bed Rolling Storage
 You should not neglect the space under your bed, but it shouldn’t be free for all either.
Consider using the under-bed storage drawers to take advantage of this precious hidden bedroom storage space and get easy access to your clothes, shoes, and whatever else you decide to keep under the bed.
DIY hacks: Make your DIY rolls under bed storage drawers! Having rollers makes it even more convenient to get to the items you retain under the bed.
Detailed Instructions:
- Measure the size and the height of your under-bed storage drawers and cut a piece to fit.
- Cut a piece of wood at least that height to cover the top front edge of the drawers.
- Nail or screw in place for additional support and keep it from moving around, such as with a large hook-and-loop strap sewn on.
- Trim off excess, so there is at least 1 1/2″ left around the edges.
- Staple fabric on the sides to hold the rollers in place so you can easily remove them if needed.
- You can also use sticky hooks on the back of each drawer for rolling shoes and other accessories.
- If you want even greater storage space, turn one of your front closets into a hidden room under the bed that holds all your stuff you don’t need now, but you will eventually use that for other things like linens or seasonal clothing.
- Use the top shelf to create a place to store something lightweight, such as belts or purses, while keeping all your other belongings out of the way.
- In a small bedroom, use a broomstick or other unconventional piece of furniture to add extra storage space under the bed.
- Build in 3 levels of storage: The surface for clothes and shoes; the bottom level for pants and shorts; and another group for full-sized shirts and other bulky items like blankets and comforters (to make them accessible and easier to find).
- Bundle up all your winter clothes in pillowcases, then place them in airtight plastic bins that can zip closed that will fit under your bed when not using it.
- Use old suitcases or even just an old cloth pouch to hold additional accessories under the bed.
- Place storage drawers underneath the bed, pull them out when needed, and then stash them back under the bed for easy storage later.
- Use storage bins with lids to keep your clothes from becoming ruffled and to keep dust from collecting on them.
- Place heavy-duty hangers secured to the bottom of your bed frame to allow additional clothing hanging space underneath your bed that you can pull out when needed yet out of sight otherwise.
3. Don’t Forget Corner Storage
 The sheer white floating shelving is a staple of the contemporary bedroom. It blends into the background and gives a lot of display and storage space even when you want to use the available vertical space.
A DIY floating white shelf that needs excellent crafting skills is the right approach to capitalizing on a corner. All you need here is wood, the right crafting tools, plywood, and paint to make it more attractive.
Detailed Instructions:
- Cut a plywood sheet to fit between the existing wall and the ceiling.
- Score the plywood into a rectangle shape that you can fit into a corner.
- Secure all edges to avoid any gaps, so you don’t have to sand off the wallpaper afterward to prevent damaging it.
- Paint the plywood sheet using quality exterior paint to avoid getting damaged from moisture or other environmental factors, such as sunlight or other indoor products, which can damage wood products severely.
- After painting, prime and paint again on top of the same color if needed for a more consistent result with your design on all sides of your white floating shelf attractively throughout your bedroom decorating ideas space.
- Secure a shallow box shelf on the wall, preferably one with a glass front, so you can display items nicely.
- Make sure to secure it to the wall or be as sturdy as needed for optimal storage space results.
- Remember that you can also take advantage of those large double-winged mirrors and place mirrors in various places, such as above the bed and on either side of the closet doors.
- Sometimes, instead of using floating shelves, you can use a ladder along with a basic drawer to create additional storage space.
- Another acceptable and practical option is selecting a metal or wood framework and an even bigger heavy-duty pullout shelf that can become eye-catching in the process.
- Also, choose an attractive, modern design mirror to add your preferred focal point when displaying your favorite clothes or accessories in your bedroom.
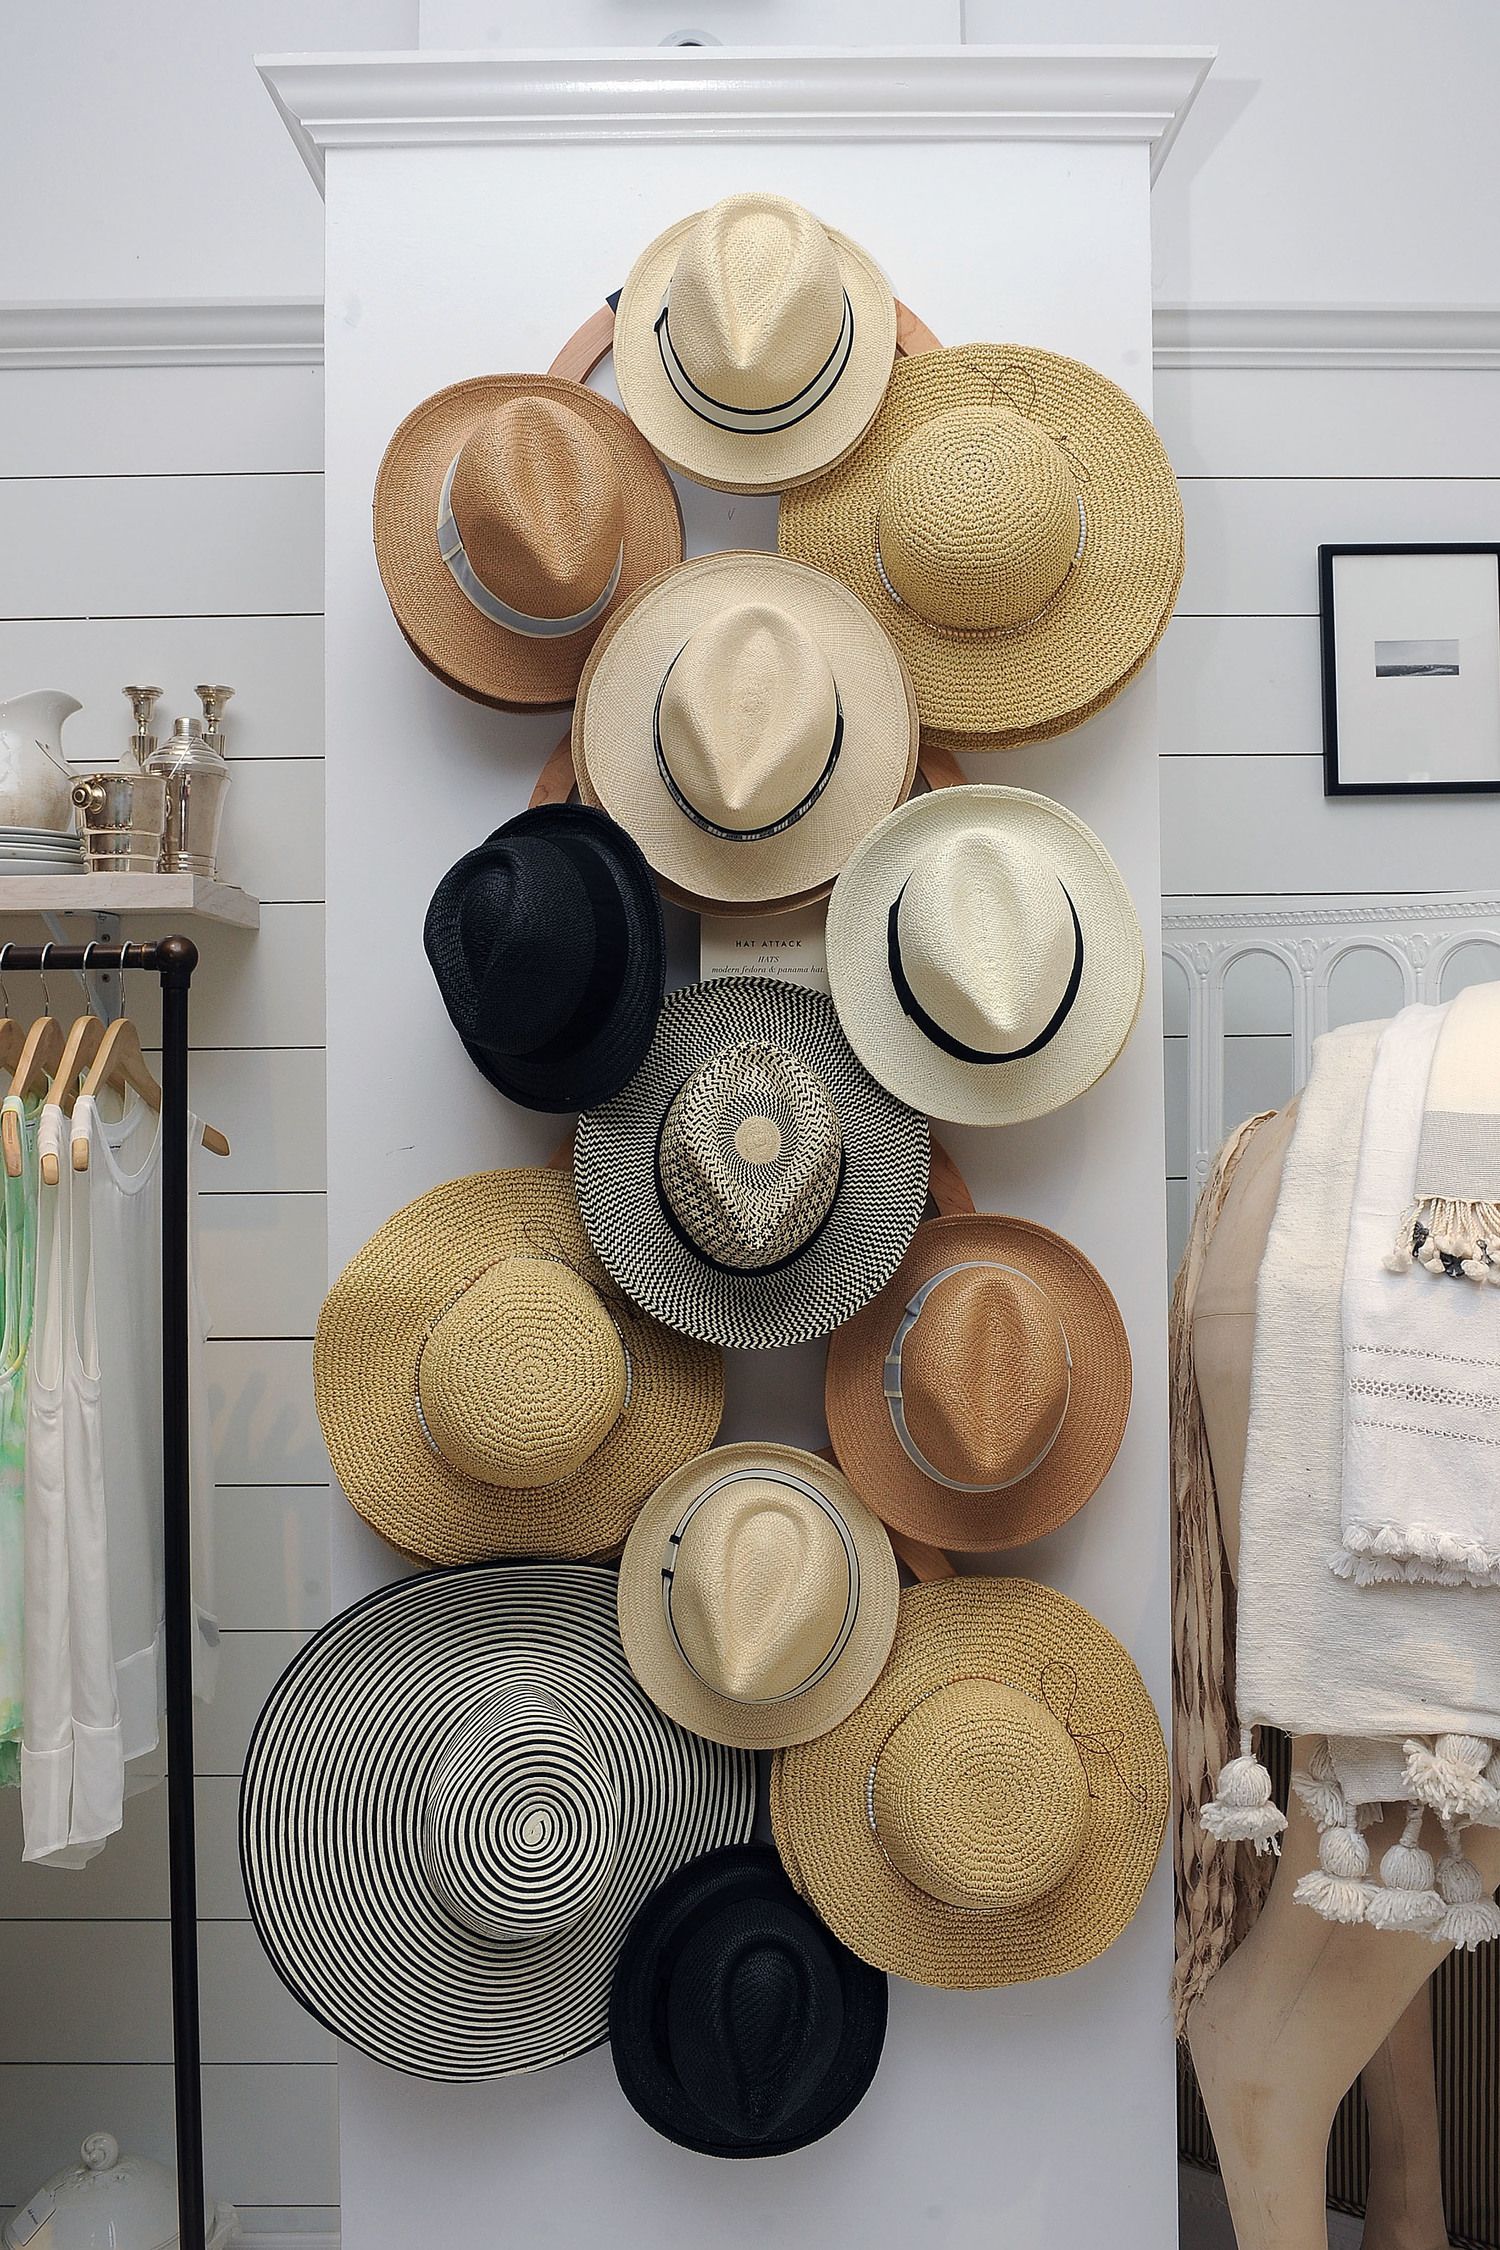
2. Display Your Hats on the wall
 For every housewife, the biggest problem is keeping each room clean at all times without compromising on home decor.
Summer is just around the corner. Thus, you will see tons of those hats around. There will be many hat dramas during the summer, from beach hats to P-hats or sometimes cowboy hats.
Creating an accent wall with your collection of hats as a centerpiece is beautiful and sure to amaze guests or friends when they visit. While many of us prefer paintings and pictures, this unique way of displaying hats saves space and is just stunning.
Detailed Instructions:
- Hang 3-5 of the best hats at the center of your accent wall.
- Select a background color that can complement your choice of colors for your decorative accent wall theme.
- Use hanging clothes hangers to hold each hat on the wall in a way that enhances their beauty and makes them appear to be floating in midair.
- Change up your collection of hats regularly to keep things interesting while achieving the look you desire with all these housewife tips on home decorating ideas design tips for bedroom storage space organization.
- If you already have some new hats on the block, display them on your bedroom accent wall.
- Display all your hats on a hanging wire organizer that can be found at any of your local home improvement stores.
- Use small, clear containers to hold each hat of a similar type together, so you have an identifiable look to your entire bedroom design theme with hats as the main attraction.
- Hang a decorative item or two to round off your hat accent wall in a way that complements your home decor and keeps the look of an organized and attractive bedroom.
- Hang a decorative or attractive wall sconce on the bottom center of your bedroom accent wall display to create a more inviting look.
- Change up your display of hats regularly to keep things interesting while achieving the look you desire with all these home decorating ideas.
A lightly covered wall can be very cool in an interior living space. Although the new wall may take more time than the other types mentioned earlier in this article, they are affordable and easy to install.
You can use a directly exposed, solid surface for any fixture type if it is properly sealed, so you will not have to worry about moisture seeping into your walls. However, if you do not seal it properly while installing it, this may become an issue later on.
You will need to learn about your wall surface type before starting any project work on it.
Bonus. Create a Nest with Your Bedding in Storage Bins
Your bedroom is not just a space to sleep but also a place where you can get cozy and comfortable with your favorite accessories, so there is no doubt you want to have some extra storage space under the bed here as well.
Detailed Instructions:
- Move your bed, mattress, and box spring off the floor to create more storage space.
- Use wall-mounted clothing racks on either side of the bed so you can hang clothes or accessories on them without getting in the way of your sleeping habits.
- Many people place a narrow TV on their wall so they can watch it while trying to get some rest during the evening hours.
- Secure it to the wall with all required hardware to prevent any accidents that may occur while you are enjoying your favorite television shows or movies while resting in bed.
- Utilize under-bed storage containers that are specifically designed for these types of uses because other options are too large to fit underneath your bed frame with ease.
- Choose to use clear storage bins so you can easily see what you have put inside of them without any issues or complications.
- Do not hesitate to use any small storage containers, baskets, boxes, etc., under your bed because they all have one thing in common. They will help you get organized and create the look you want for your bedroom decorating ideas space that is just right for your home.
- When you go to the store, look for storage containers that are similar in size so you can create a space under your bed for all your belongings.
- For the installation process, do not hesitate to ask for help from someone else if you are having trouble installing the brackets on your wall because they are easy to install.
- If you are not happy with any of the choices out there that are available in the average type of under-bed storage container, then use something unique or unusual to fit your décor tastes
Lastly, Number 1. Add a row of pegs
 Take it a step further and add a whole row of pegs; then, elaborate with a carefully selected wardrobe, an armament of accessories. This idea keeps your room from looking cluttered and keeps the floor from becoming a dumping ground for objects.
Your instructions:
- Step 1: Select a unified, self-contained wardrobe that matches the style of the room and matches your bed. This idea is a must for organizing a tidy bedroom.
- Step 2: Since you have selected a wardrobe that fits your bed, remember to buy a matching bed sheet set.
- Step 3: Clear Out Your Closet
Make sure you have eliminated everything from your closet before bringing back only those you need for a more organized and tidy closet. You will be surprised at how much difference it will make in the appearance of your room. - Step 4: Go Vertically
A vertical hanging rod uses less space than hanging clothes on a horizontal rod. It will also save you lots of time in the morning when you rush to get ready. - Step 5: Continued Storage Space
Try using the space under your bed with drawers in which you can organize all your under-the-bed stuff; this also gives you extra storage in the room, in case your closet is small. Usually, people have too much stuff, so they stash it out of sight instead of getting rid of it. It tends to make a room cluttered and look messy. - Step 6: Place a dresser to the left of your bed
If you have a dresser but want to save space, consider placing it beside your bed instead of in front,
Remember that the ultimate goal is to make your bedroom into a spa-like haven that you can retreat to at the end of a long day. - Step 7: Add a pegboard storage system
If you want to add some organization and function, consider hanging a pegboard. Pegboard takes up very little room and can be used for storage, office supplies, or even office equipment such as computer monitors or desktop computers. - Step 8: Put a mini refrigerator under the bed.
If you have a small bedroom and still want a refrigerator, place it under your bed. A mini-fridge uses very little power and is not noisy. It also allows you to keep food in your room without having to steal from the kitchen. - Step 9: Use paneled walls
Paneled walls are great for hiding clutter behind them; try arranging your bookshelves on the wall rather than on the floor. These items will give your bedroom a neater look and will make room for other things. You can also put some pictures or a mirror there instead of a bookshelf, which will make it easier to tidy up after yourself before going out.
Bonus Idea:
Have a Place for Trash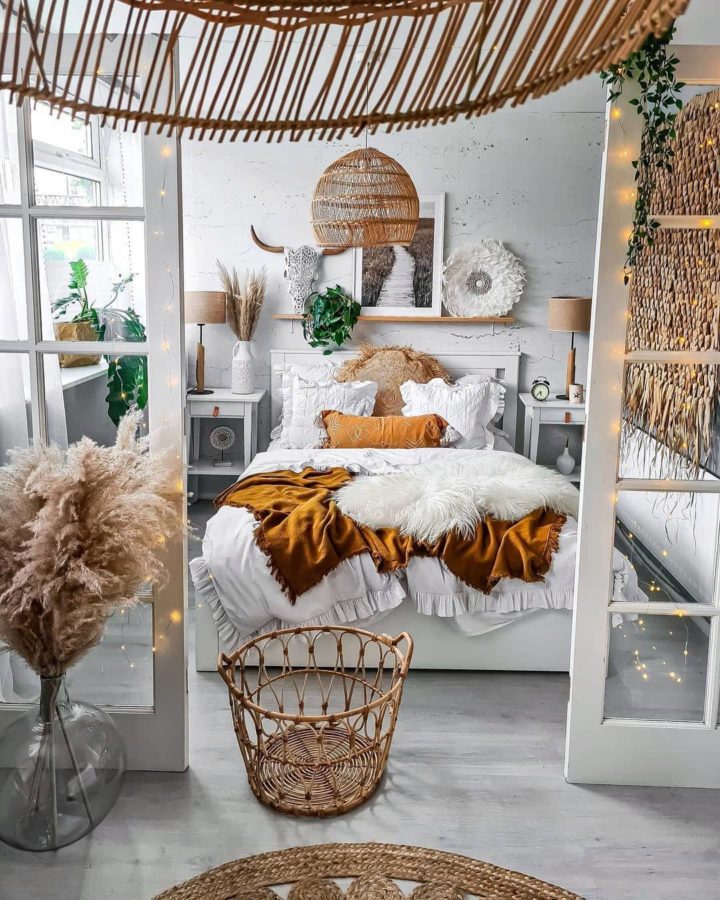 Trash cans help control the mess. But, your bedroom shouldn’t have a big and heavy bin like the one you have in your kitchen. In this new period of enlightened style and customization, there is no reason your trash can doesn’t double as decor either.
Attractive little trash buckets stored in bedrooms give you a place to throw away tissues, scraps of paper, and all the other small trash that gets into your bedroom.
Try to look for a small bedroom-sized trash can. Anything larger will look in the bedroom. The smaller the bin, the better it is to stay under the nightstand or next to the dresser.
Conclusion:
Staying organized can be an everyday thing, especially if you live a busy life. When you stay organized, you don’t waste time looking for something, and your room is neat enough for you to relax and enjoy a good night’s sleep.
It may not be easy, but you can get all the help you need with these 10 unique and adorable organizations for a tidier bedroom.
References:
10. Society19.com
9. Pinterest.com
8. Realsimple.com
7. Pinterest.com
6. Countryliving.com
5. Pinterest.com
4. Diyeverywhere.com
3. Pinterest.com
2. Simplyspaced.com
1. Houzz.co.uk, Decoholic.org