A DIY budget-friendly custom corner curtain rod using pipes
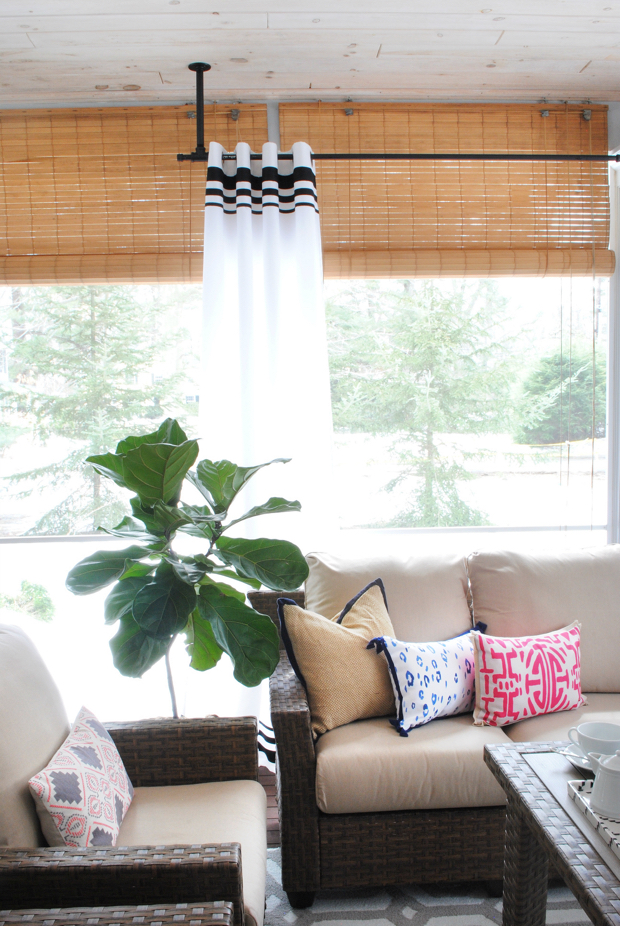
Fellow homeowners, buckle up for a laughter-filled trip through the plumbing aisle as we take on the mighty task of creating a custom corner curtain rod using pipes!
It’s time to transform those dull living rooms without breaking the bank.
- Step 1: Gather your materials, and let’s dive into the realm of plumbing supplies. Who knew such treasures awaited us amidst the nuts and bolts?
- Step 2: Prep time! Clean your pipe pieces with TSP and unleash your inner Picasso with black spray paint. Don’t forget those screws; they need some love too!
- Step 3: Assembly – the DIY jigsaw puzzle! Mark the flange locations on your ceiling, channel your inner Hawkeye, and screw them in place.
- Step 4: Corner connections – a test of geometry and engineering! Mount two flanges and create the corner joint with nipples and tees. It’s like playing with LEGOs, but cooler.
- Step 5: Support that rod! Add center support for those long pipes, giving them the TLC they deserve. Use flanges, nipples, and tees to assemble the perfect backbone for your curtain rod.
- Step 6: Finishing touches – adding end caps and couplings like a boss!
Your curtain rod is now a stylish masterpiece, ready to grace your living room.
And there you have it, folks! An epic journey of laughs and learning, culminating in creating a stunning, budget-friendly custom corner curtain rod. So, get ready to conquer your living room space with style and humor!
References:
Vtwonen.be
Vanstoerhout.nl
Theproperblog.com
Allisajacobs.com
Leveninstijl.nl
Houtsfeerenmeer.nl
Atelier-sagitta.com
Studiodiy.com
Bybrittanygoldwyn.com
Thechroniclesofhome.com