A DIY Shoe Cubby project Idea For a more impressive Entryway
Welcome, friends, to the laughable tale of constructing a shoe cubby that’s equal parts functional and stylish. Join us as we navigate the twists, turns, and color conundrums of this epic DIY journey!
- Step 1: Cut, polish, and unleash your inner carpenter. Sand those rough edges until they’re smoother than a baby’s bottom.
- Step 2: Attach the sides to the top like a puzzle master. Whip out that Kreg Jig, drill pocket holes, and screw the pieces together while secretly pretending you’re a pro furniture maker.
- Step 3: Sneakily drill pocket holes for the shelves, hiding them from the world like a DIY ninja.
- Step 4: Attach those shelves with precision and grace, using your makeshift dividers to nail the spacing. Who needs a professional when you’ve got DIY ingenuity?
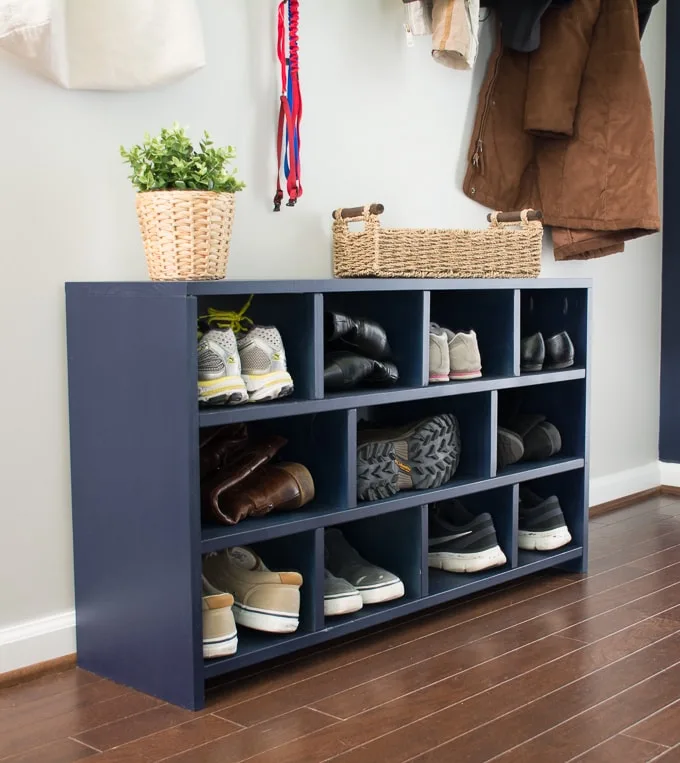
- Step 5: Slide in the dividers, gently nudging them into place with a rubber mallet. Extra points for creating a row of wider cubbies for boots—fashion and function, baby!
- Step 6: Fill in the nail holes and blemishes, transforming your creation into a flawless masterpiece.
- Step 7: The paint color conundrum!
After a couple of false starts, our author lands on the perfect shade of Sherwin-Williams Anchors Aweigh. With the help of a trusty paint sprayer, the shoe cubby is complete.
And there you have it, folks!
Your adventure to give your small living room a new touch of clever organization has been completed. Laugh along as you create your own stylish shoe cubby that will leave your guests and family members in awe.