We have an answer: study design in the home. Study kitchens and then, with a little imagination and some advice from some of the industry’s most talented designers, transform your space into one that suits your needs. The ideal kitchen doesn’t need to be expensive or feature any special features – all it needs is a creative layout that looks good in your space and will function well in a useful way.
Key points:
- A modern kitchen doesn’t have to be complicated. It doesn’t need to be an open-plan or feature a range of appliances. It needs to be clever and functional and reflect your style and tastes.
- When it comes to kitchen layout, there’s no reason why you can’t have both a modern and old-fashioned feel. Try merging different styles to create a truly unique and timeless look.
- A kitchen doesn’t need to be full of expensive, high-tech equipment. With the right layout for your needs, you can aim for a more simplistic approach to functionality.
- Having a space that suits your needs and fits your style is all about careful planning and aesthetics. Let the mix of styles and furniture work together to create a modern and timeless look.
The kitchen is the soul of a house. Every day, you and your family use this space more than any other room. It’s great to say that you may be thinking about remodeling your kitchen. However, we all know how expensive those projects could be.
The truth is it is not as hard as it sounds. Luckily, we have summed up a list of 10 kitchen ideas with modern layout transformation for cheap projects to help you get started. As usual, Simphome presents you with the list.
🔊10 Kitchen Ideas with Modern Layout Transformation for Cheap Video:
List Entries:
10. The Power of Paint
 The painting job is the most straightforward DIY project in the kitchen. Yet, it always gives you an impressive result in no time.
To turn your tired kitchen into a modern one, you only need to cover the areas you do not want to paint.
You can opt for Benjamin Moore Kendall Charcoal Gray for a modern look. This hue will add a contemporary and elegant ambiance to your kitchen instantly.
Since charcoal gray is rather bold, you may need to consider installing crisp white cabinets to balance the look. Brown cabinets will only overpower the space. Besides, they would appear dated.
Basic instructions on how to use paint to transform your kitchen look:
- Step 1: Be sure to clean all the surfaces.
- Step 2: Cover the furniture and appliances you want to protect from paint. It’s good to lay a drop cloth on the floor to make it easier for you during clean-up later on.
- Step 3: For corners, use a Q-tip or roller extension pole with a brush end to paint them.
If you are not confident enough, hire someone to do it for you. - Step 4: For the walls, you can use a roller extension pole with a brush end to paint them.
In this case, you’ll have to clean the walls thoroughly beforehand. - Step 5: When it’s time to put on product onto the walls, you may use low-shining sunlit glazed tile paint. This is because the paint absorbs light and darkens as it ages. Therefore, it will look better compared with other brands of paint that remain bright even after several years of aging.
You can use Benjamin Moore Kendall Charcoal Gray for this project to have a modern kitchen layout transformation in no time.
9. Refresh the Cabinets
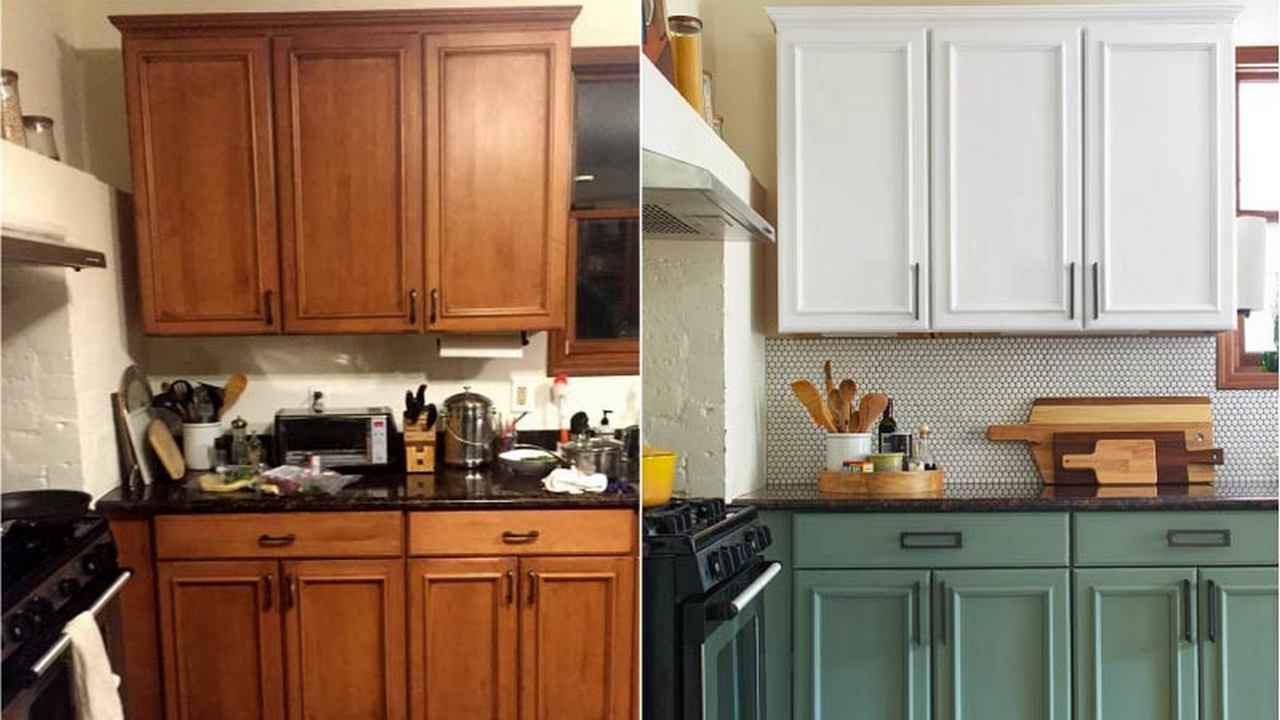 Commonly, all tear and replace projects are more high-priced than projects that hold the bulk of the material.
The kitchen cabinet is a basic example of this. New kitchen cabinets can be very fancy, especially if you need pieces custom-made to fit your space.
Luckily, there is an effortless way to refresh your existing cabinets, which are eco-friendly and cost-effective. Painting kitchen cabinets is a classic style of refurbishing them. Depending on how many cabinets you have, the sanding, priming, and painting process can take time. But it is easy enough that beginners can obtain great results.
Relevant details:
- No 1. Use an old paintbrush roller for priming.
- No 2. You can prime the wood by hand if you don’t have enough time to wait for the primer to dry. One can of rust-inhibiting primer is adequate for 4 to 5 cabinets.
It’s cheap and easy, making it perfect for your kitchen remodeling ideas in almost no time. - No 3. For high-gloss cabinets, use high-gloss paint.
- No 4. If you want to achieve an aged, vintage look, use flat paint. It will disappear in a few years.
8. Consider Wooden Countertops
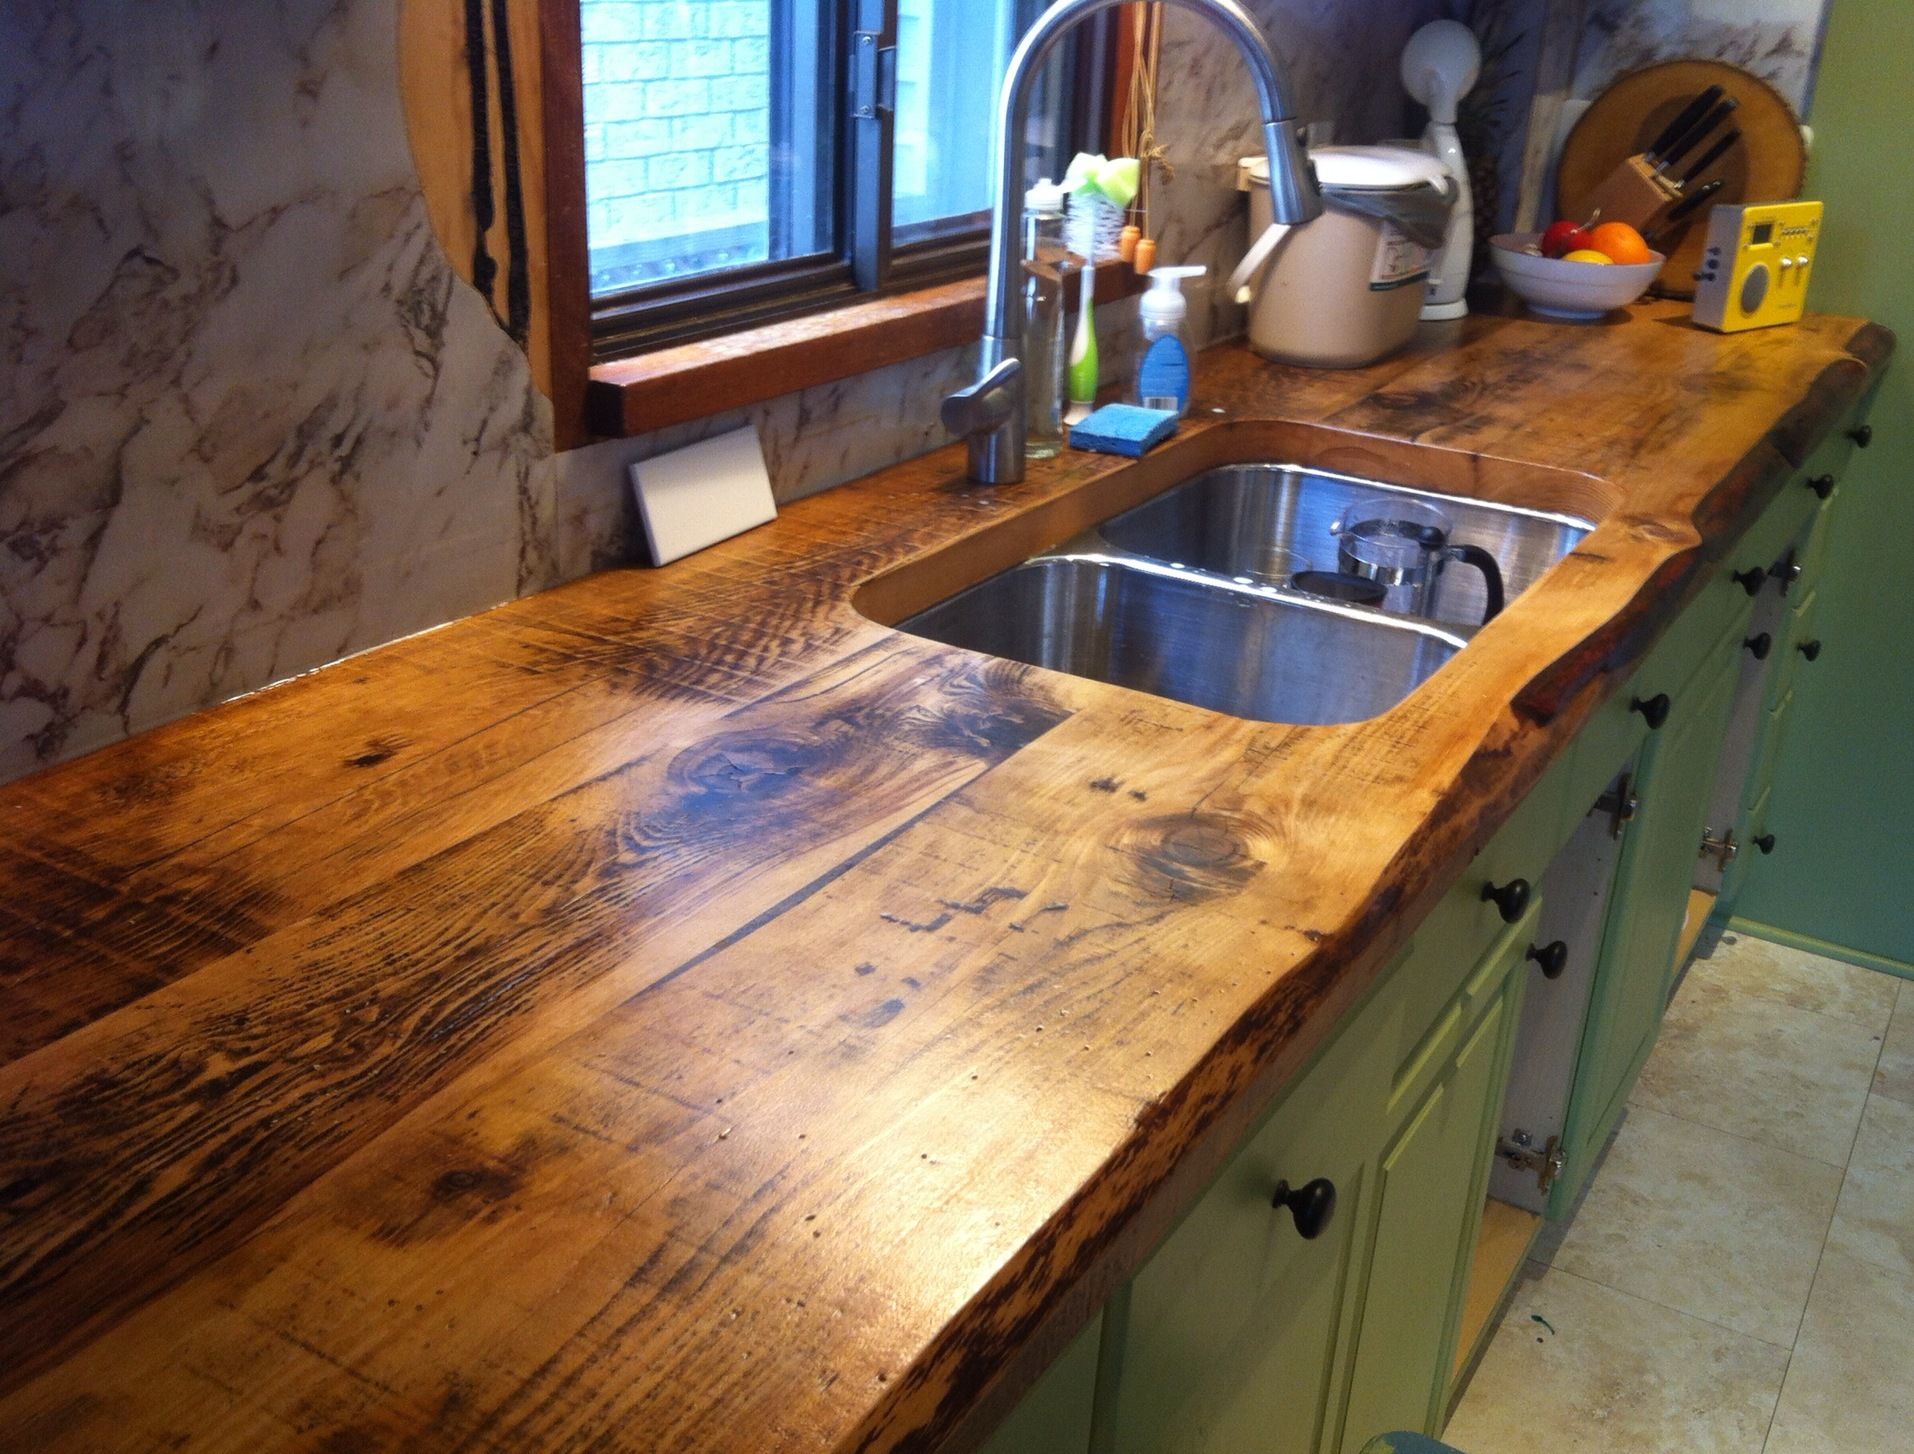 Countertops are the focal point in your kitchen. Most people choose granite or quartz countertops. However, they are also expensive and require professional assistance for installation.
If you wish to DIY the countertop, you’ll have to branch out. Wooden countertops are much cheaper, and you can easily set them up yourself.
Likewise, concrete countertops are also a great idea to save money and get a more modern look for your kitchen.
Relevant instructions:
- Step 1: Clean the surface using a soft cloth before you start.
- Step 2: You can use a sanding block to gently sand down any splinters on the surface.
- Step 3: Then, prime the wood area where you will lay. Most of them include primer and paint, so you only have to make sure that they are not easily removable by water.
- Step 4: You have to let wood countertops dry for two days before plastering them. After elapsed, apply alkyd paint to seal the wood chips from moisture. You can also use stains if you wish to achieve different colors for it.
- Step 5: Wait for the alkyd paint to dry for at least three days, and then apply a plastic sealer to protect the wood from water.
7. DIY Floating Shelves
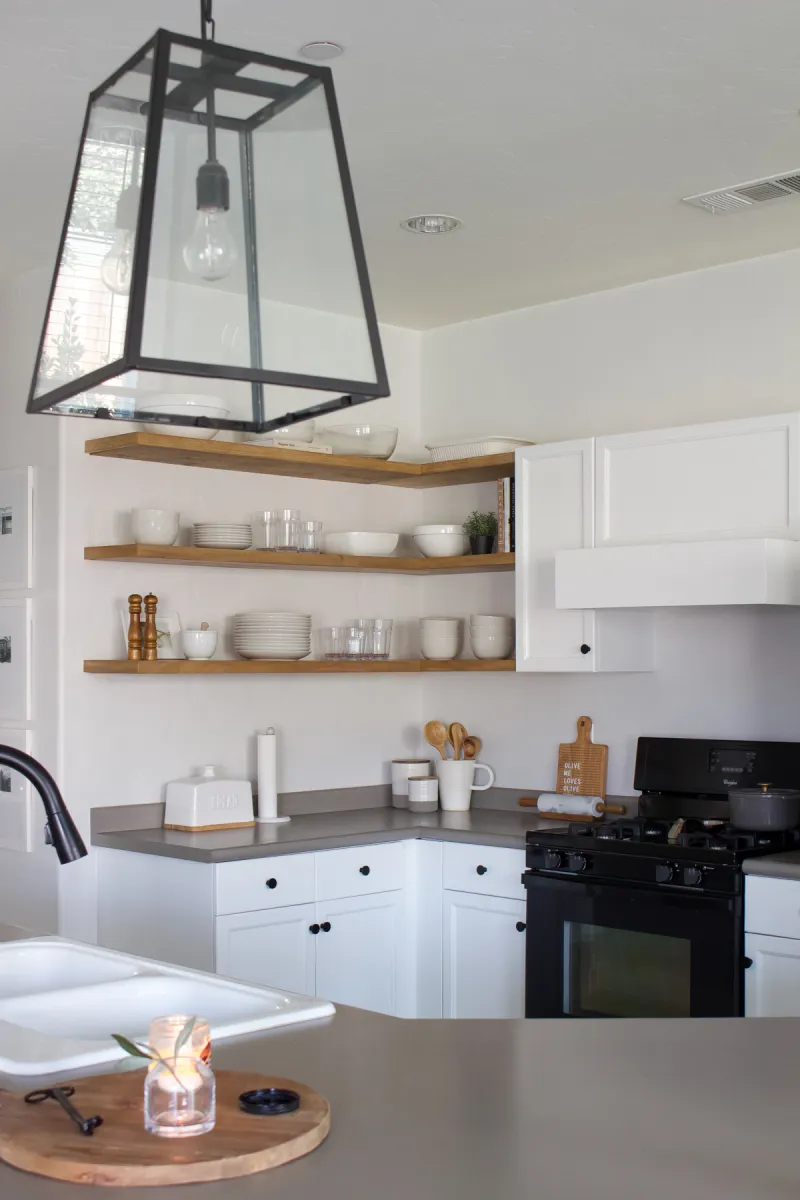 One of the reasons many people fear the cost of a kitchen renovation is because they feel that calling a professional is a must.
However, floating shelves are the perfect DIY project that you can do yourself on the weekend to completely alter your kitchen’s appearance. You can mount them on a bare wall to add kitchen storage and open up many things. But, be careful not to over-mount the shelves.
Basic instructions:
- Step 1: Insert the anchor into the drywall and use a level to make sure it’s even.
- Step 2: Use a pencil to mark where you want to secure the shelf.
- Step 3: Use a drill bit 1/4-inch larger than the screw you are using, so it can grab on the threads.
- Step 4: Secure the anchor by screwing in until its head is flush with the surface of your wall. The screw should be sticking out about 1/4 inch from your countertop.
- Step 5: Place your shelf on top of it. And then, you secure both parts together by driving screws into each hole on top of your countertop.
- Step 6: Weld both pieces of the shelf together.
- Step 7: Use a level to ensure that the shelf is even.
- Step 8: You can use small screws to secure the shelf to your countertop using the marks you made in step 2.
6. Hang Some Beautiful Art
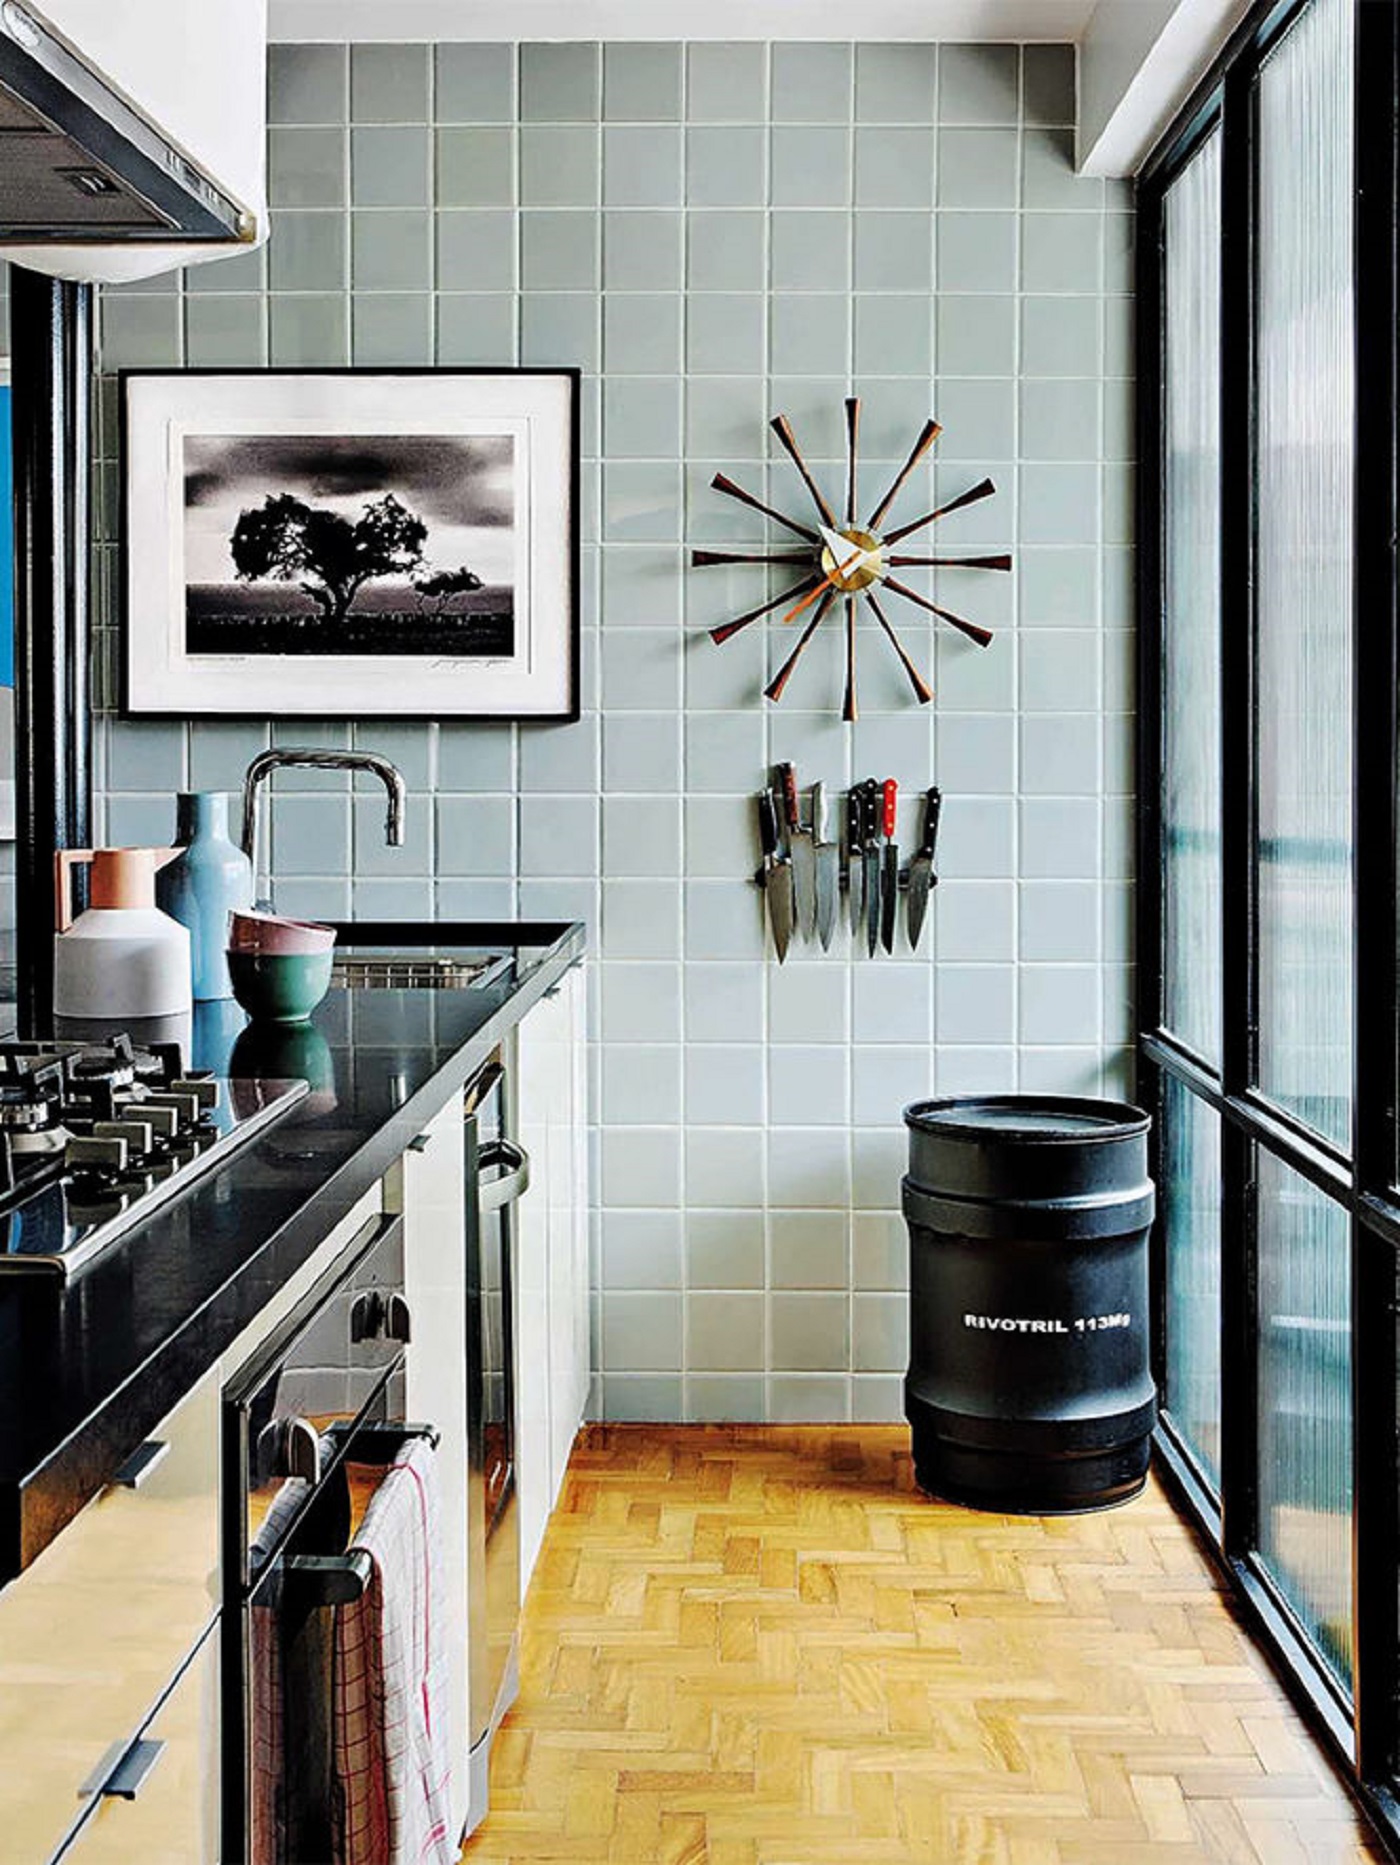
So many people leave their kitchen walls empty when a picture, sculpture, or other art pieces really make the items stand out.
Hardly do people think that the kitchen needs a piece of art because it is an area that people are unlikely to visit. They are likely to linger in the living room and shoot the breeze.
Although visitors may not see your kitchen, you can try incorporating some art pieces to make the cooking less stressful. The art pieces do not have to be pricey. You can simply display some colored porcelain plates on the walls.
It is a unique design talent that stays on the kitchen’s theme and belongs to modern home art. And art doesn’t need to be high-priced, does it?
5. Add on-a-Budget Backsplash
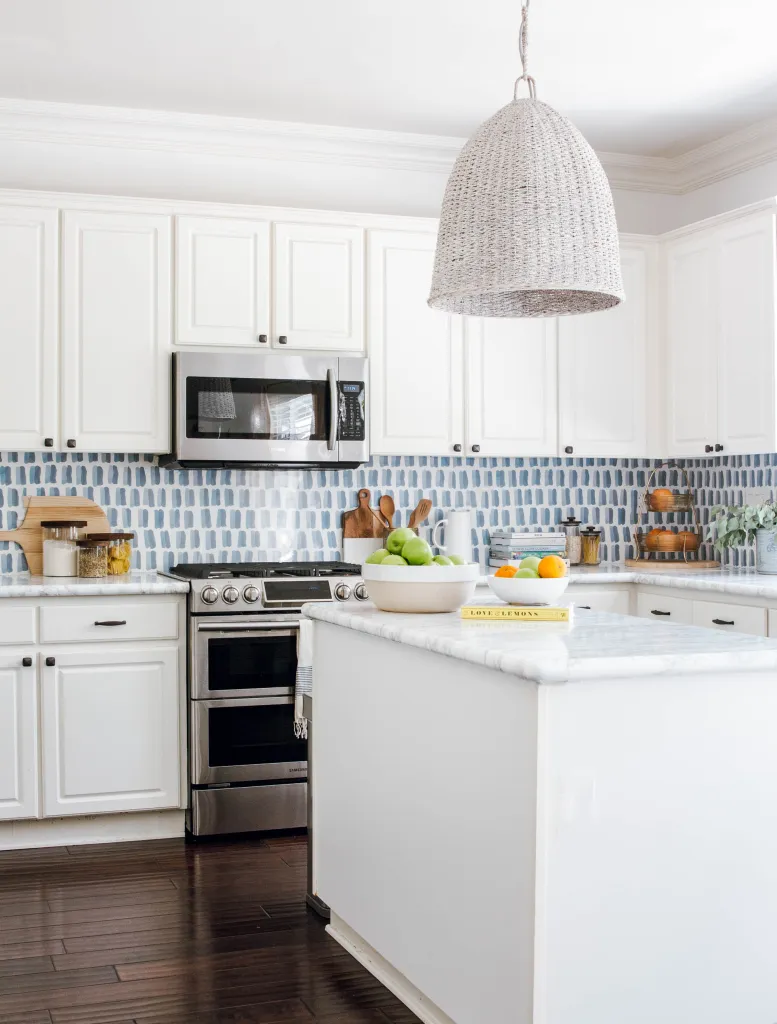 Your kitchen backsplash is one of the essential elements in your kitchen. It has a crucial function and helps set your kitchen design theme.
Even if it’s not the most high-priced part of your kitchen, you can save money for a DIY budget kitchen transformation. In addition to traditional kitchen backsplashes, peel and stick vinyl backsplashes are also an excellent way to save money. It looks real and is super practical to install yourself.
Basic instructions:
- Step 1: Remove the old backsplash.
- Step 2: Use a level to make sure that the surface is flat.
- Step 3: You can buy premixed backsplashes, but you may want to spend less money and make your own.
- Step 4: If you have an acrylic adhesive, you can use that instead of bonding wood or tile. Peel off a few adhesive sheets and secure them on your wall in each corner. Make sure that you put it on both sides of the area where you are sticking it.
- Step 5: Cut your tiles or wood to the size you need to fit your backsplash.
- Step 6: Stick each piece of tile or wood onto the wall to secure it in place.
- Step 7: Cut out the excess.
- Step 8: Use a grout-like compound and spread it onto each piece you have affixed.
- Step 9: Allow time for the grout to dry, and then wipe it down with a damp cloth.
4. Update the Kitchen Sink
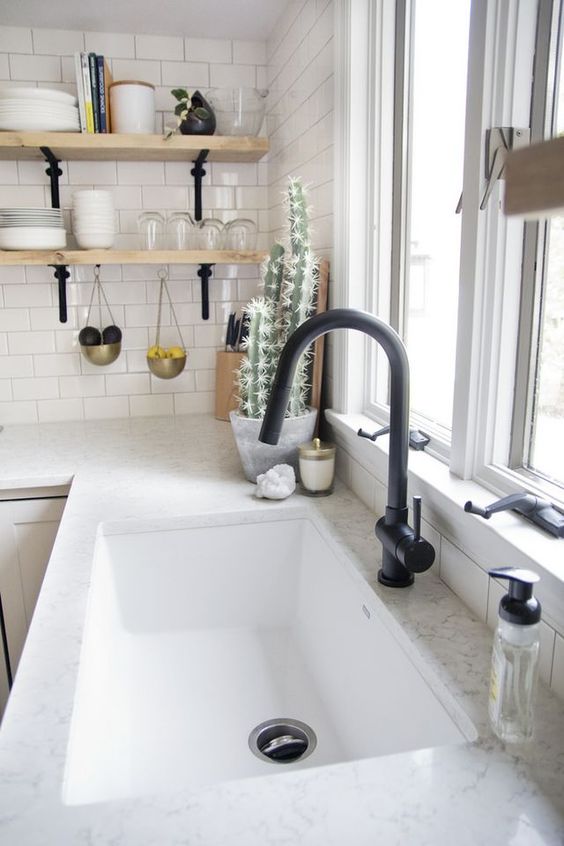 Your kitchen sink is essential in the overall design of your kitchen, and you might probably not realize it because you often take it for granted. If you don’t want to break your back by replacing your countertops or cabinets, consider a new sink!
The new sink adds powerful dramatic value to your kitchen upgrade. With a lot of care and some medium skill, you can install it yourself. However, if you don’t want to spend money on a new one, repairing your old sink can also help.
3. Make a Breakfast Nook
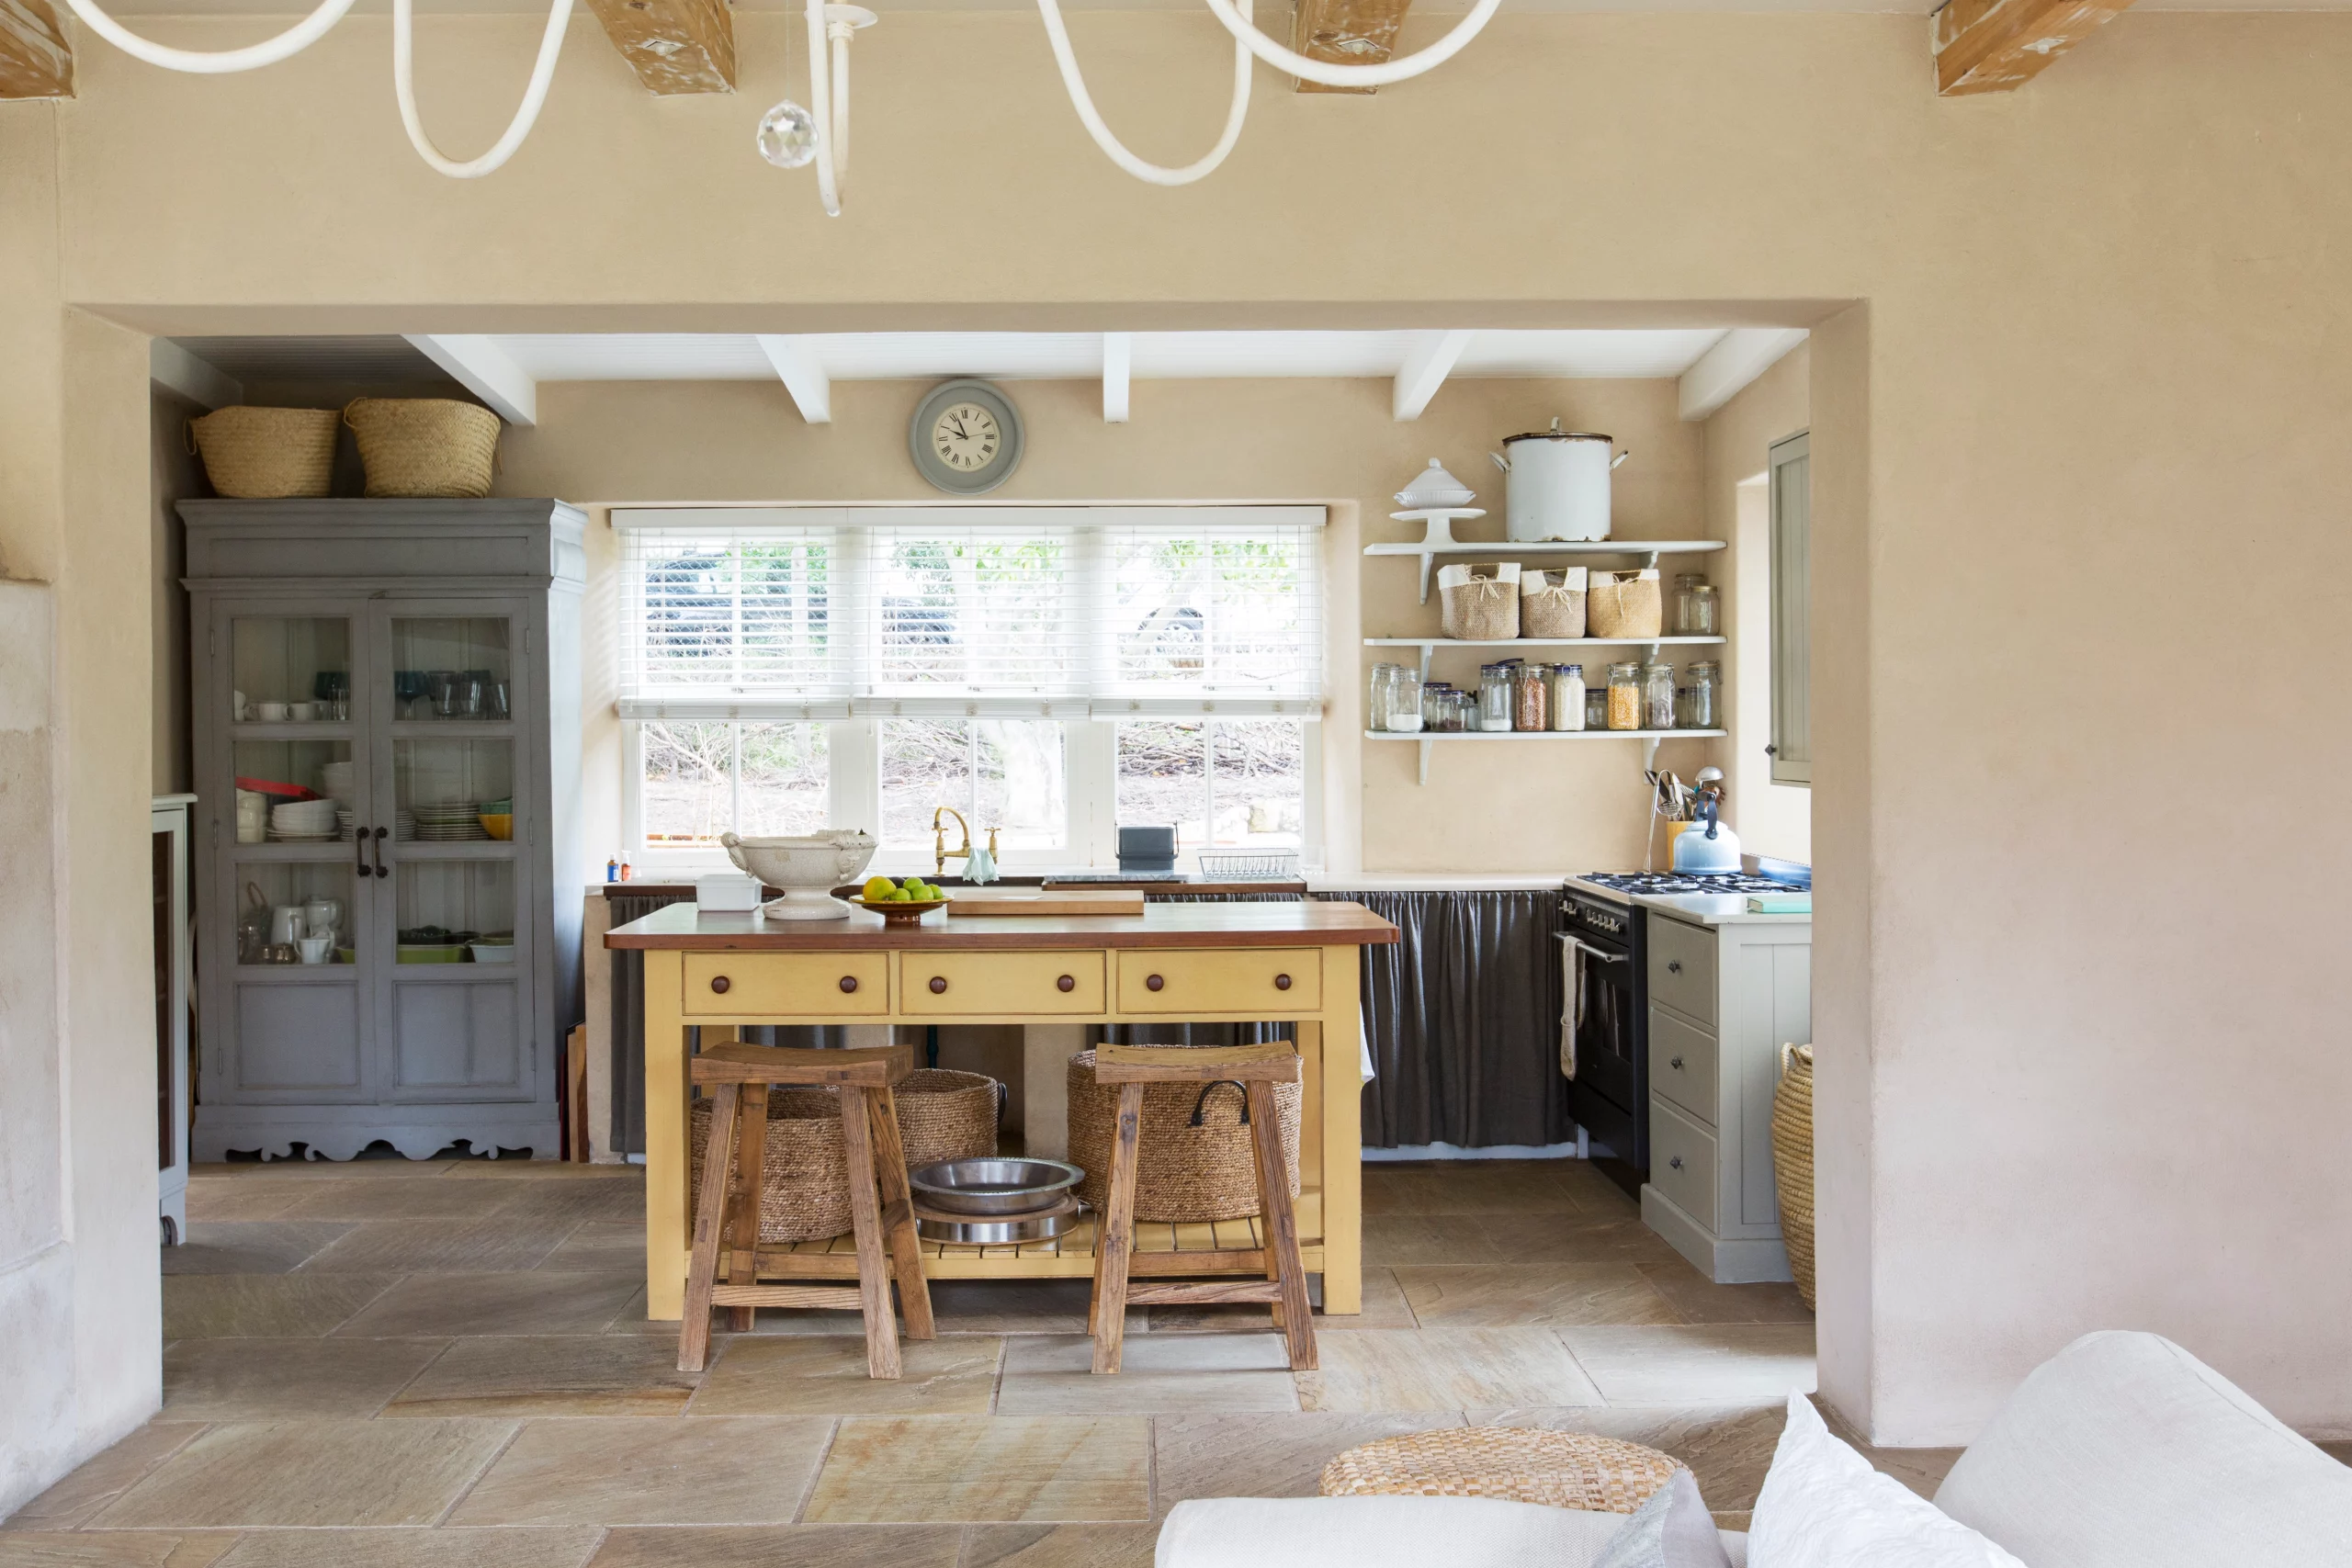 Many focuses have created a multifunctional and open space in your home. The easiest way to do this with your kitchen is to build a breakfast corner.
Consider buying bar stools and adding a wooden table or a kitchen island to your space. What you need to do is to buy some bar stools, and voila! Your new breakfast stand is ready.
It takes some pretty substantial sweat equity to transform your kitchen and do it yourself. However, if you go with these tips, you are ready to overcome the world of DIY budget kitchen upgrades.
Basic instructions:
- Step 1: Use a drill and a 1/2-inch bit to create grooves along the edge of your countertop.
- Step 2: Put a few screws at each end of your counter, and attach them to the wall.
- Step 3: If you wish, you can add the addition of an island by securing your countertop to one wall.
- Step 4: Put wood on top of the barstool and secure it with screws. Use a level for even spacing so that your kitchen breakfast corner looks balanced.
Add some inexpensive artwork that matches your kitchen theme. It will also cost minimal money and add great value to your home decor.
2. Remodel the Appliances
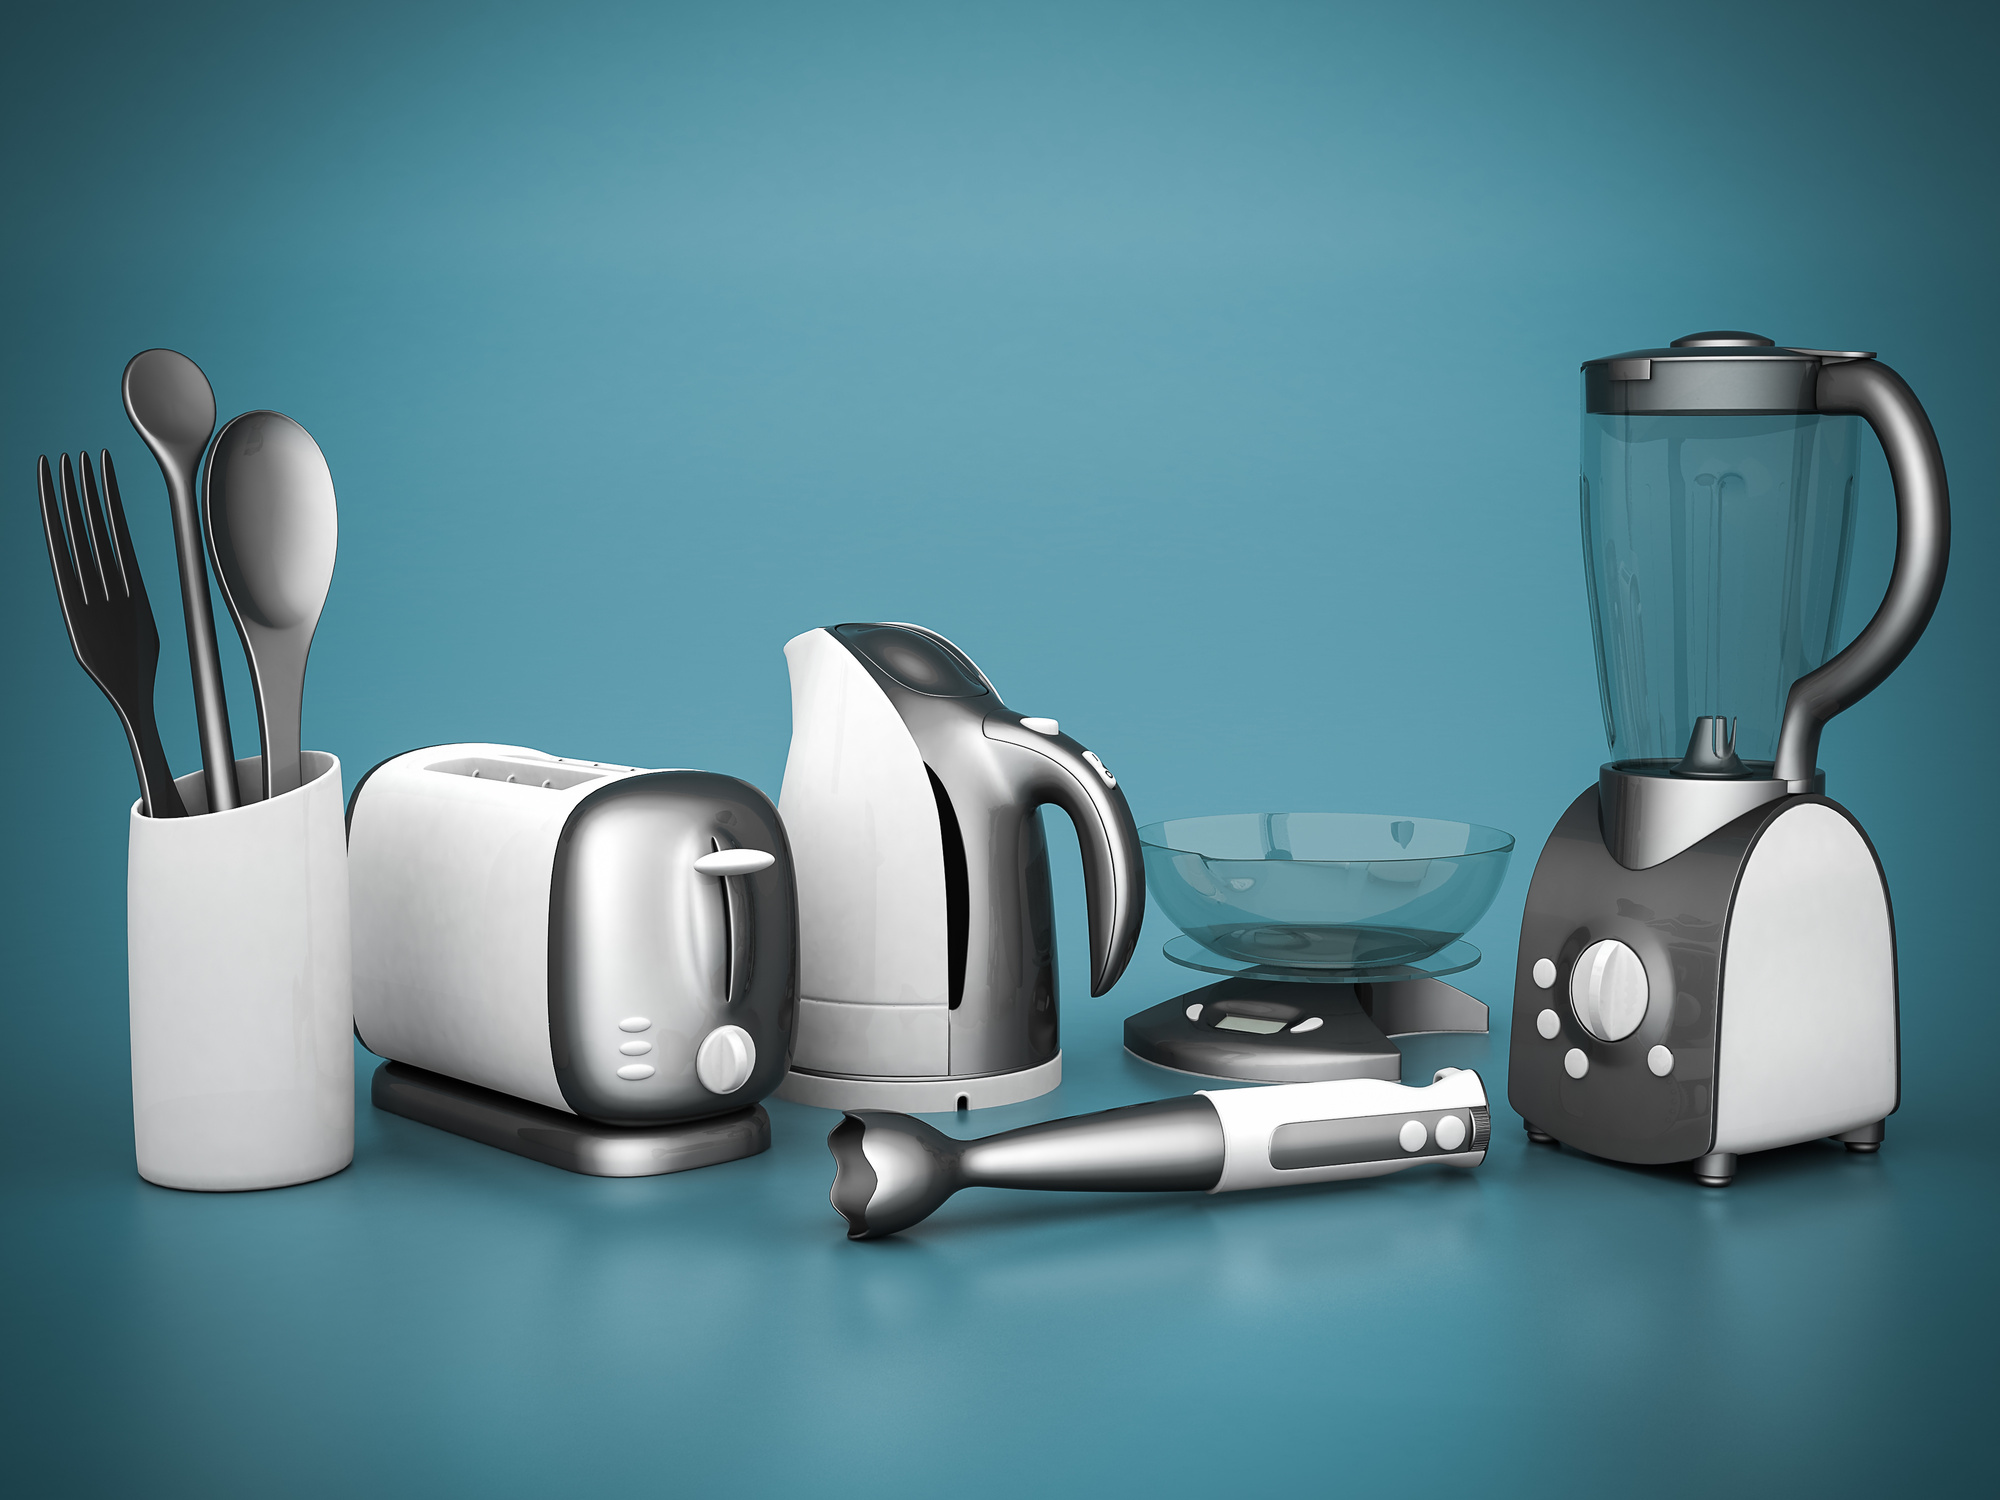
Some people send the appliances to landfills during kitchen renovations. Fortunately, that old-fashioned thought is on its way out, as the city government has imposed restrictions on sending them directly to landfills.
Now, information about repairing kitchen utensils is available. And there is a rapidly growing online service parts market. This allows many homeowners to upgrade their equipment themselves, rather than paying a professional or spending a fortune on something new.
Some appliances that you can repair yourself include a refrigerator, microwave, dishwasher, water heater, and many others. Of course, the ability to repair a tool depends on your skill level and whatever is causing it to not work like new. But it’s often worth a DIY try before you spend more money.
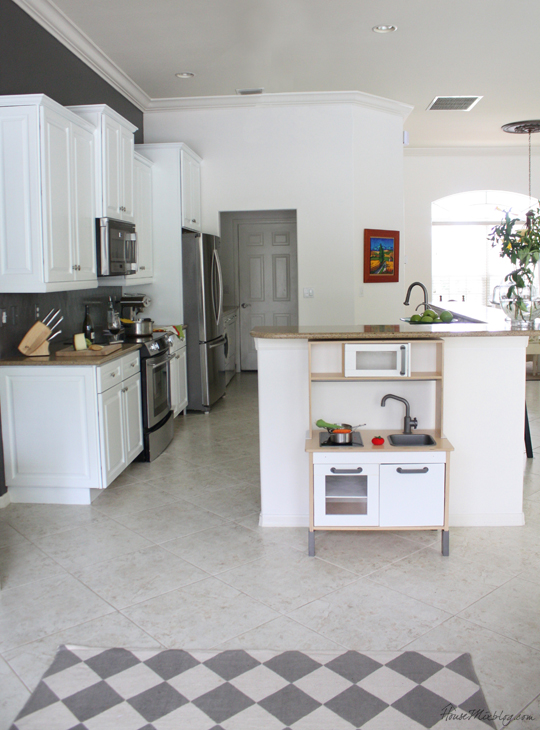
Lastly, Number 1. Keep the Same Layout
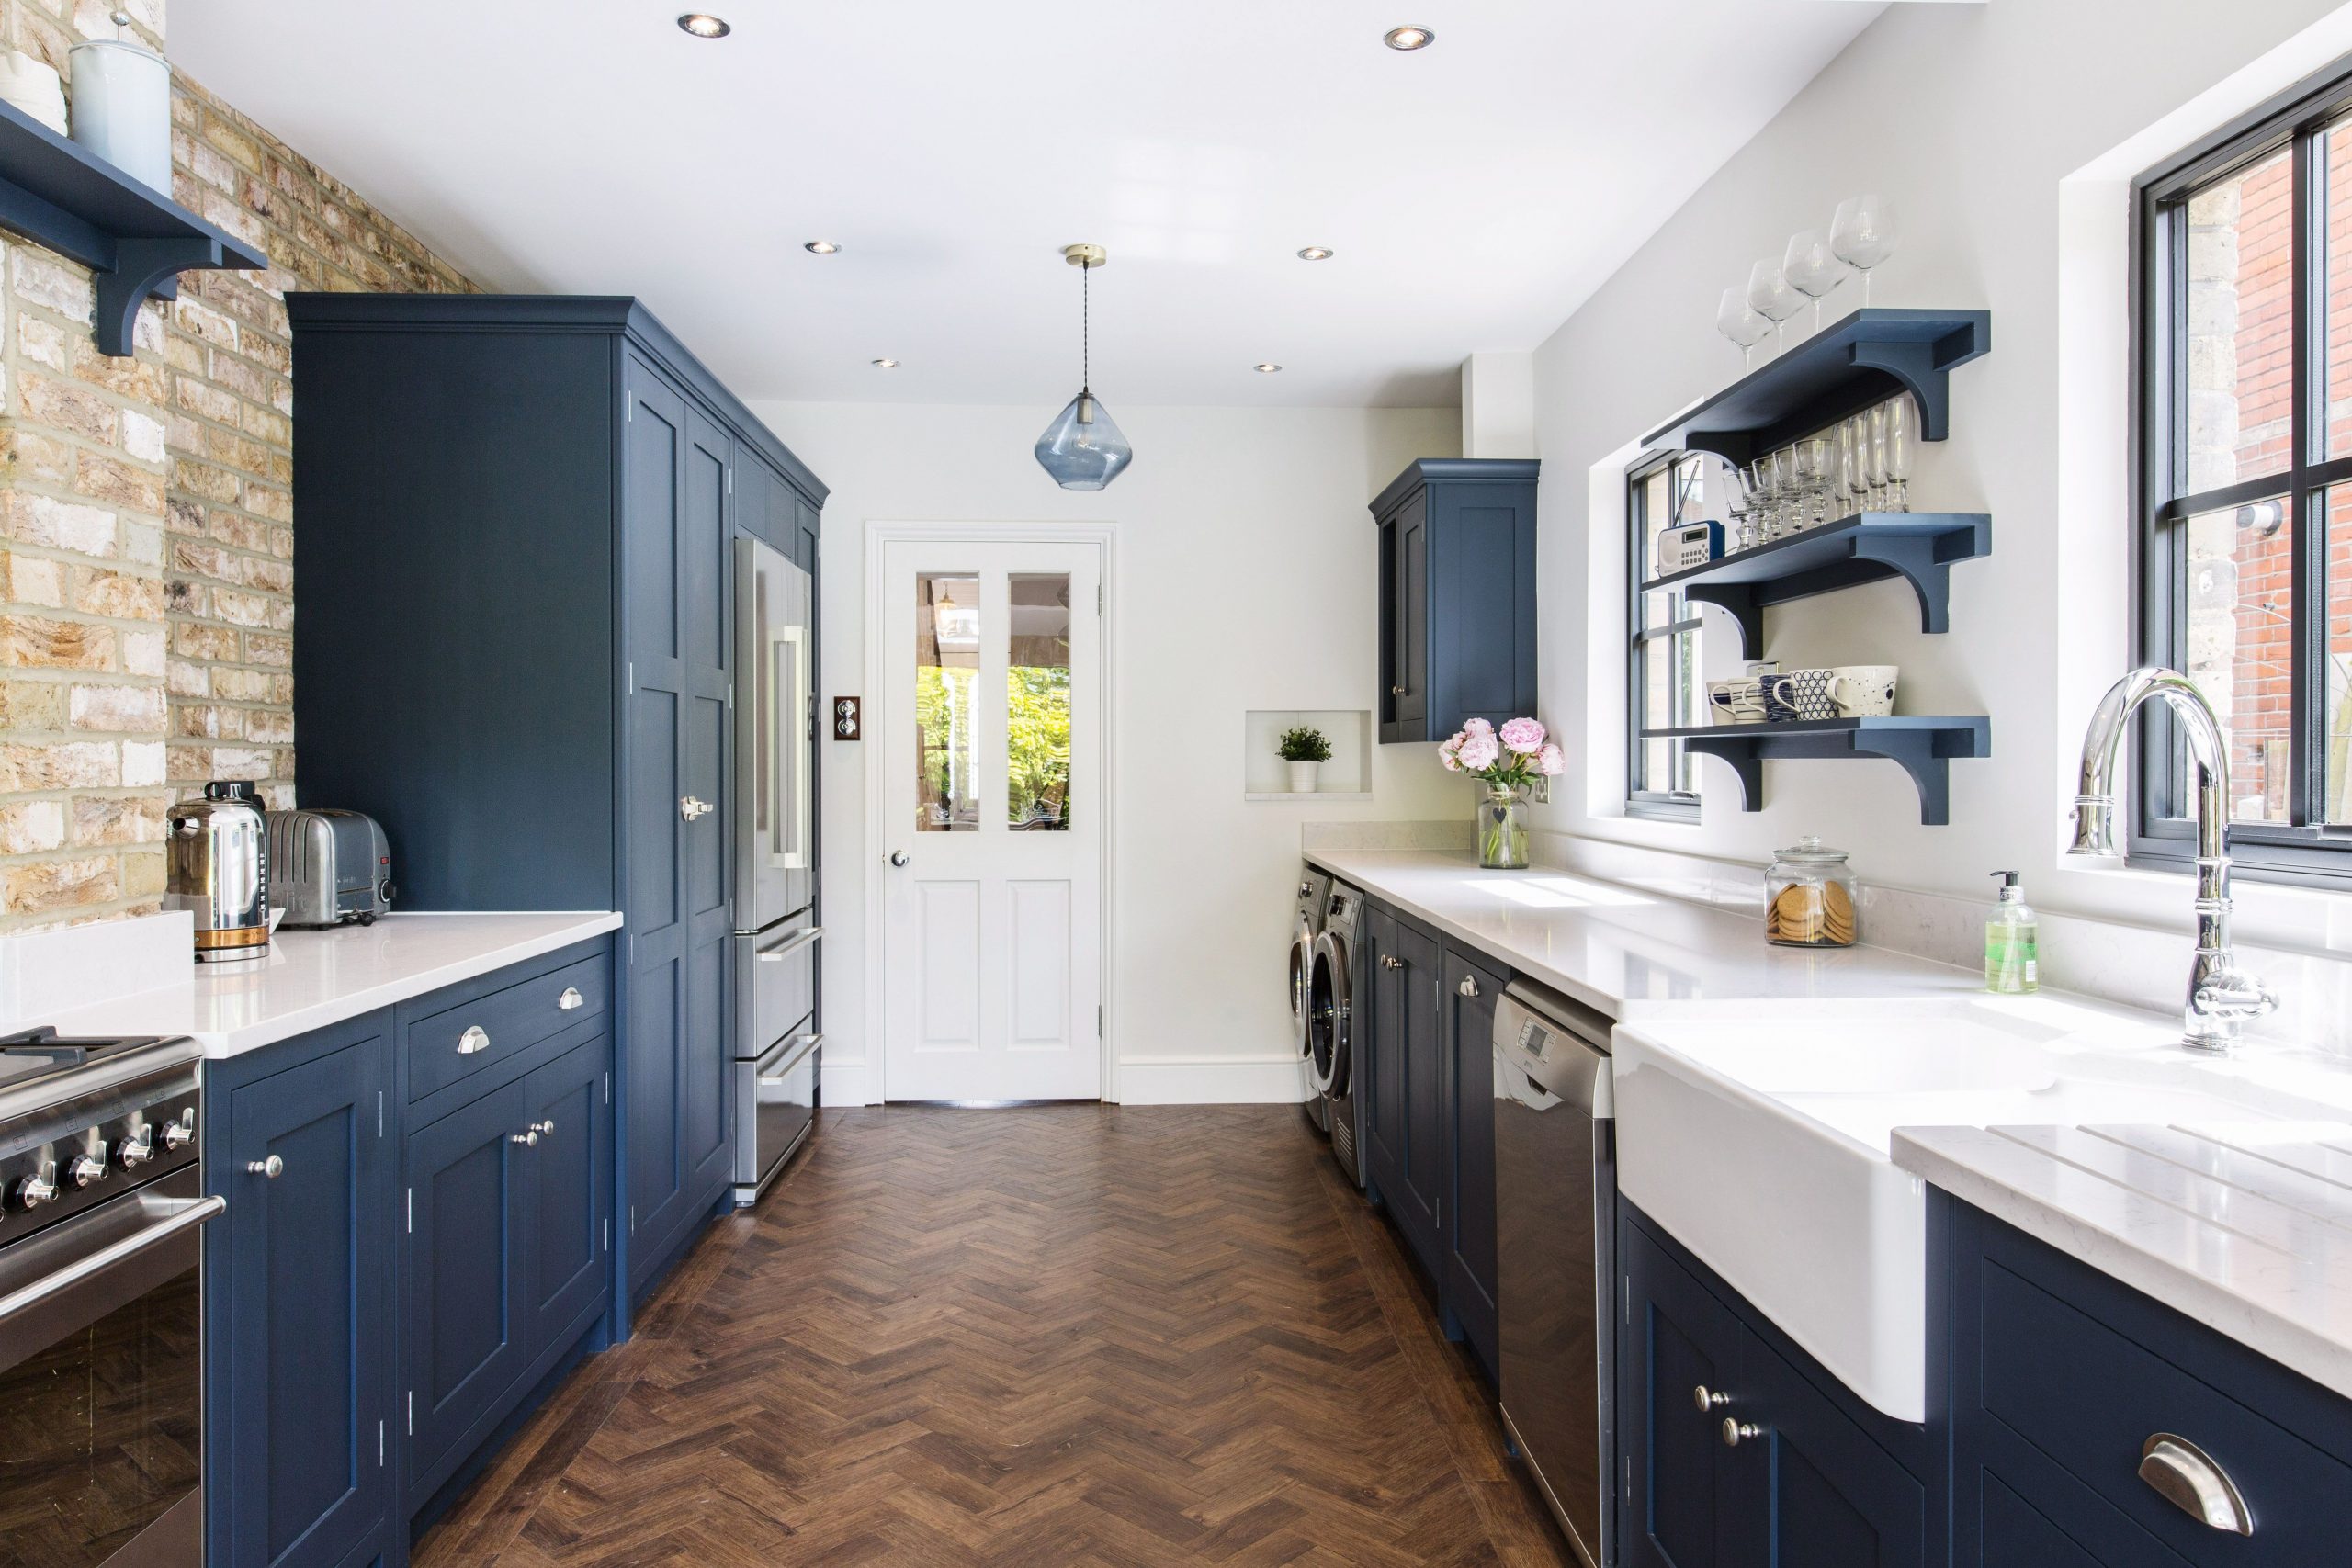 Keeping the kitchen layout the same as the previous one when updating elements in the framework is very cost-effective.
You don’t need to add new plumbing or electricity. You can also keep the existing flooring if you insist. But you can still get a whole fresh look and feel in the room. The single-wall kitchen layout allows for more flexibility as it has open sides. In this case, investing in a kitchen island is an excellent way to get more storage space without fancy layout transformation.
Other instructions on how to improve your current kitchen layout:
- Step 1: Clear out the cabinets where you will put your new island, and then put a level on the floor to make sure that the surface is flat.
- Step 2: Get your island cart and place it in the center.
- Step 3: Attach it to both walls with C-clamps or other carpenter devices. Make sure that you stabilize it so that it doesn’t fall over.
- Step 4: Determine which cabinets are directly above the sink on your island unit, and use a pencil to draw around them. These are your cutting lines for the cabinet doors.
- Step 5: Remove the doors and draw around them with a pencil.
- Step 6: Cut out the squares inside the lines with wood or a saw. Make sure that they are big enough to put a pot or a pan inside them.
- Step 7: Apply a sealant or paint to seal your cabinets, then replace the doors. Now you have more functional storage space for your kitchen!
If your kitchen looks outdated and boring, wake up in a new makeover with these 10 kitchen ideas with modern layout transformation for cheap that takes more imagination than cash. Did you enjoy it? Let us know.
References:
10. Thecottagemarket.com, Housemixblog.com
9. Upcyclemystuff.com
8. Pinterest.fr
7. Designedsimple.com
6. Design-milk.com
5. Anitayokota.com
4. Pinterest.fr
3. Bhg.com.au
2. Hometalk.com
1. Fifimcgee.co.uk