
This post may contain affiliate links, which means I get a small percentage of the sale at no extra cost to you. I only recommend items I love and have had a positive experience with. Thank you!
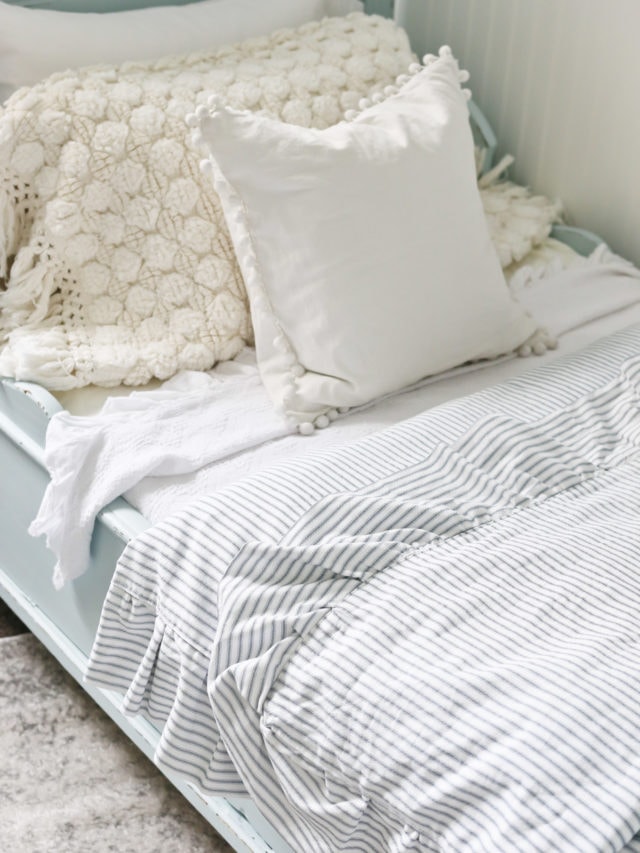
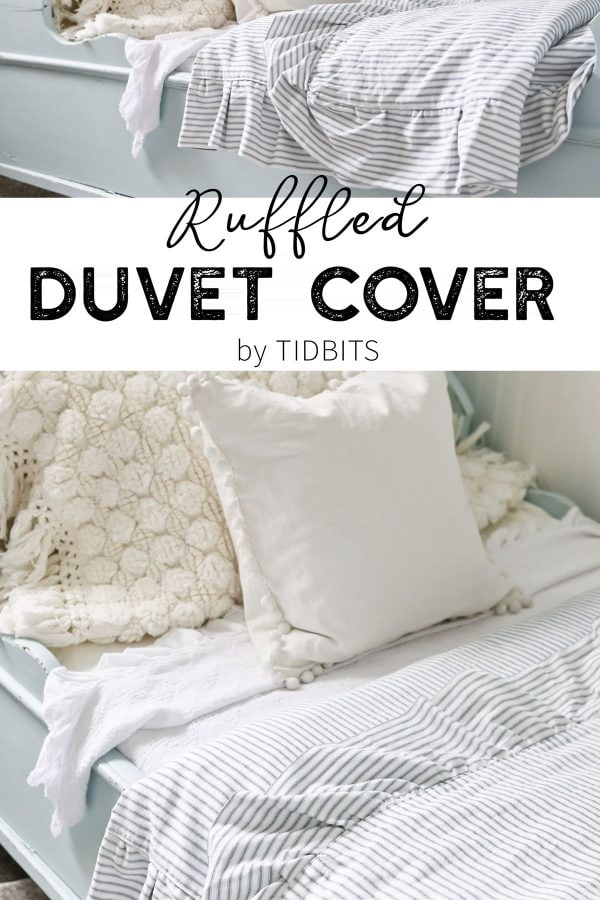
There is something so rewarding about knowing you custom made your own bedding. Let me show you how to make this DIY Ruffled Duvet Cover and you can start and end your day with comfort and complete satisfaction. Don’t miss my fun little ruffle hack, that makes sewing ruffles ten times easier!
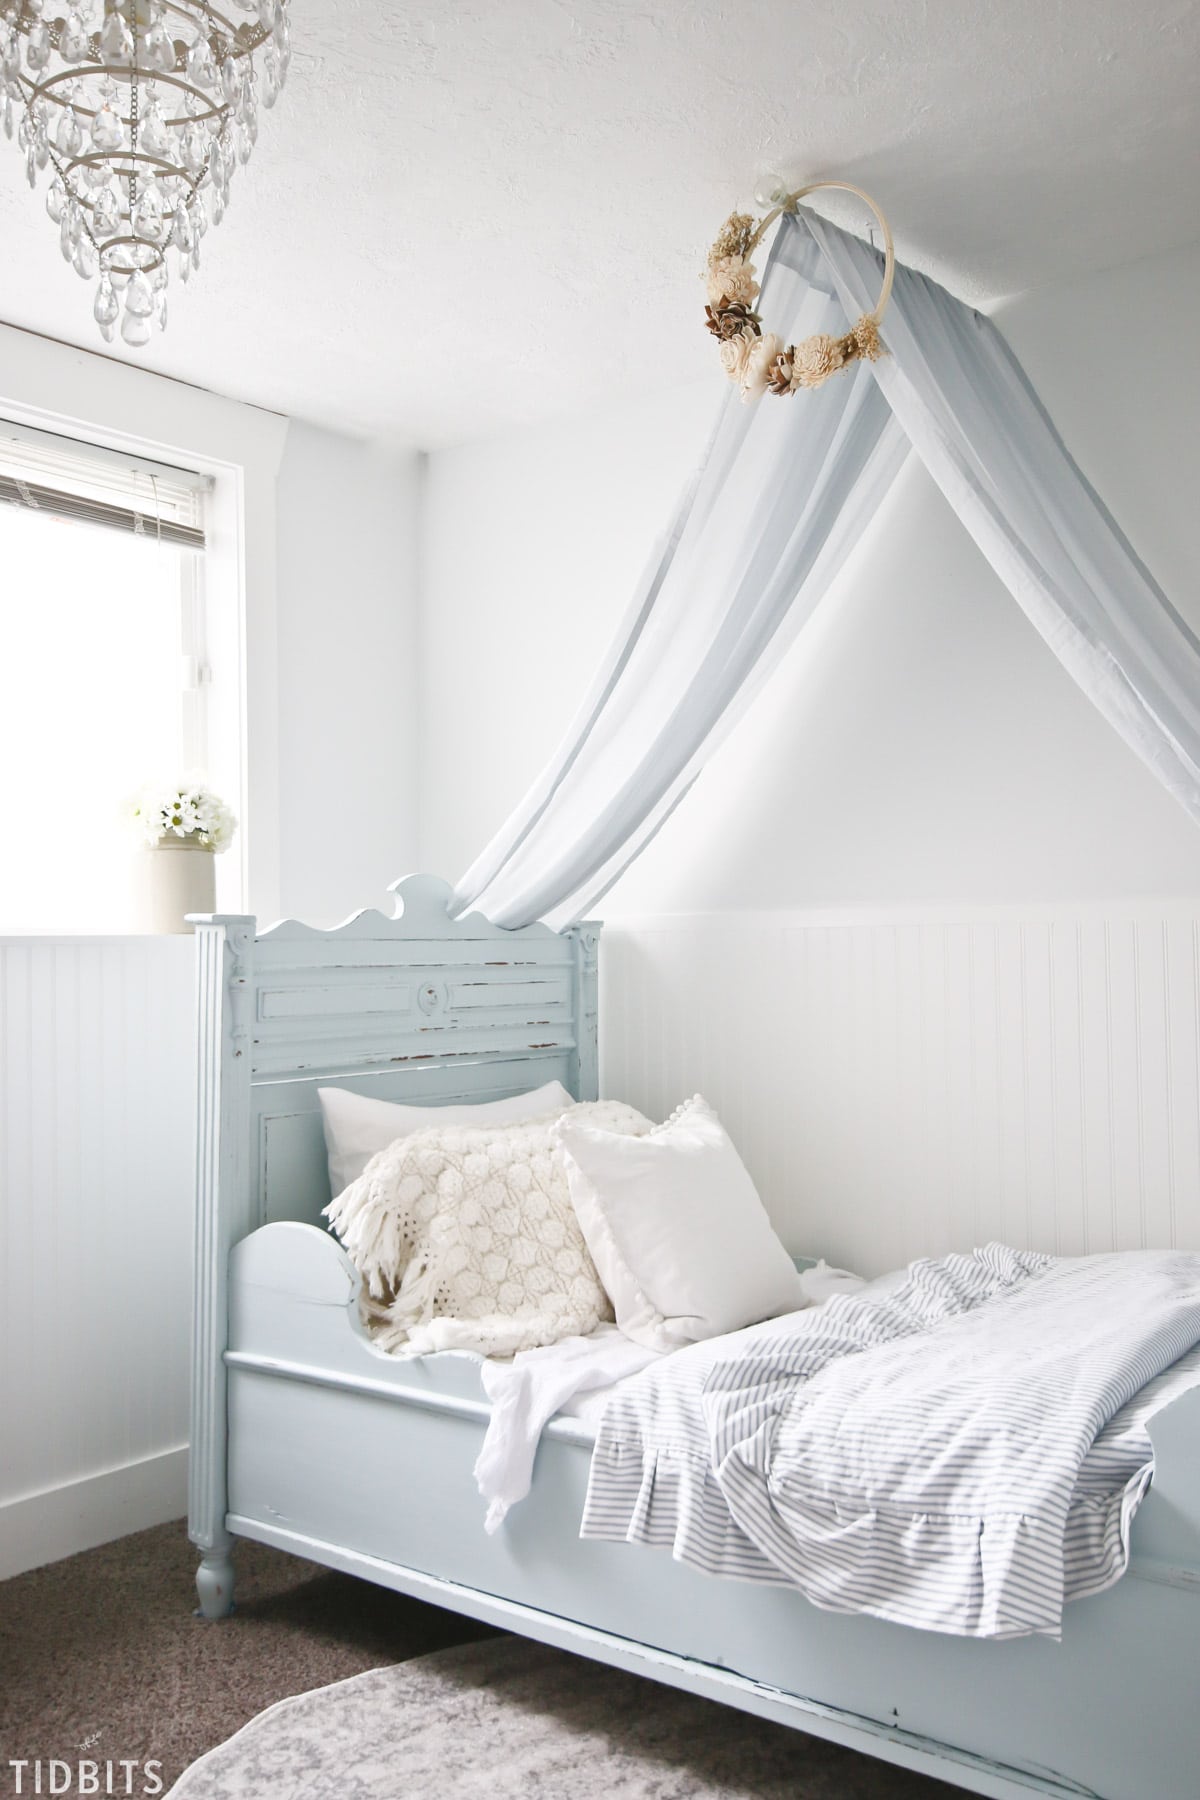
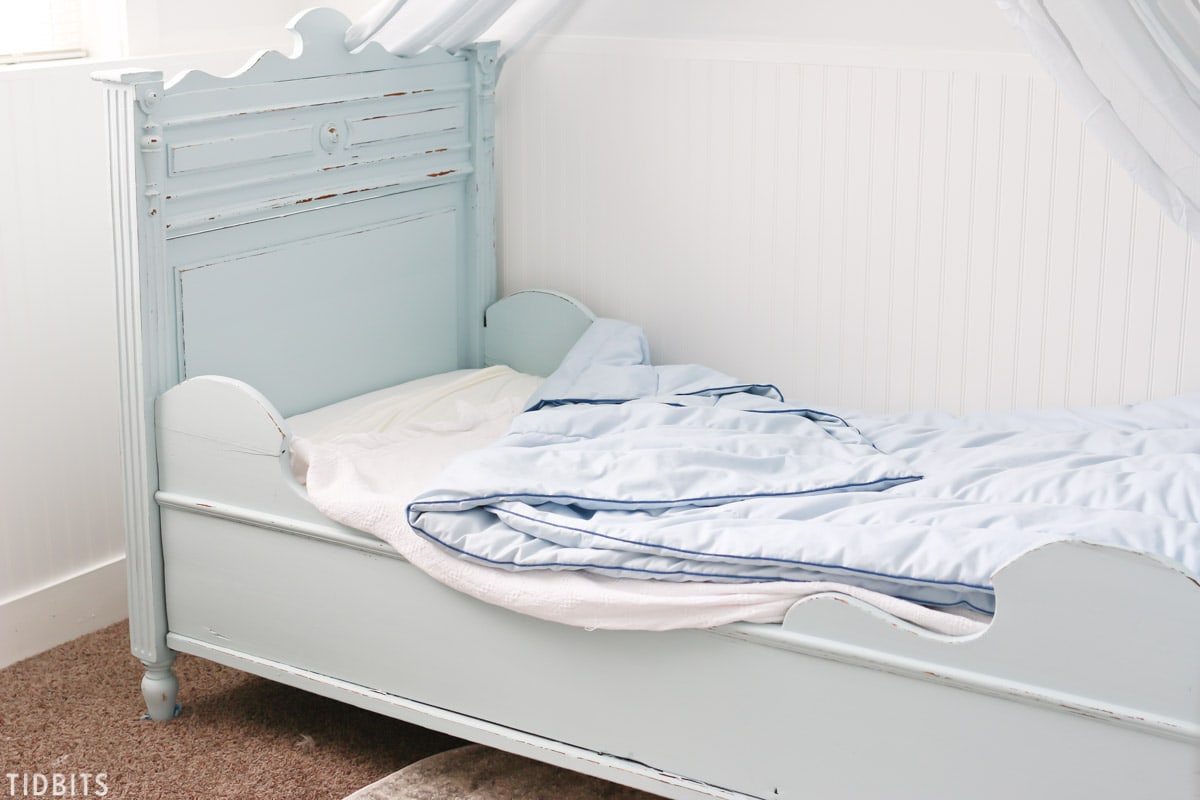
When it came time to dress our painted antique German sleigh bed, I knew the bedding was going to have to be custom if it were to fit the style I wanted and the unique fit of the bed. I had also really splurged on bedding for our other girls French Cottage bedroom makeover, so I needed to pinch some serious pennies for this project. But I never shy away from a good ol’ DIY challenge, so I was up for busting out the sewing machine and seeing what I could come up with.
I ended up doing an up-cycle on the duvet insert, which I found at a thrift store, and buying yards and yards of ticking fabric which I found at Hobby Lobby.
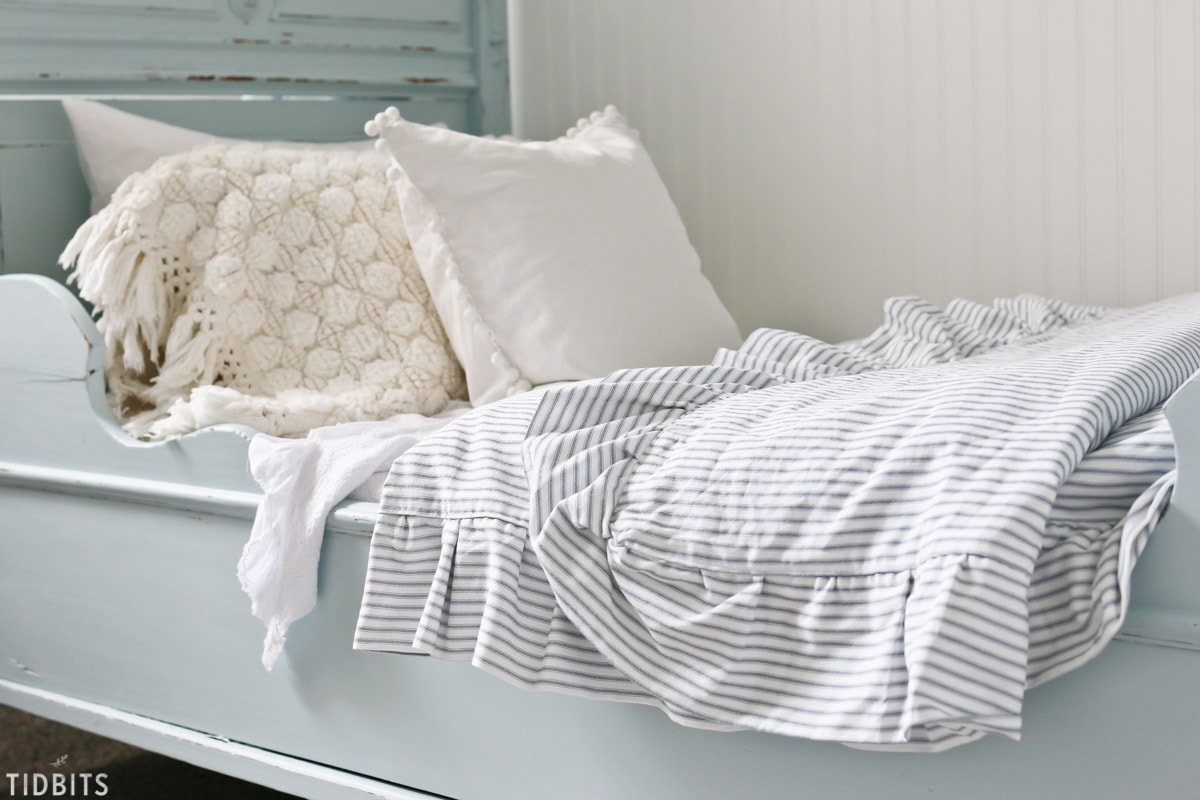
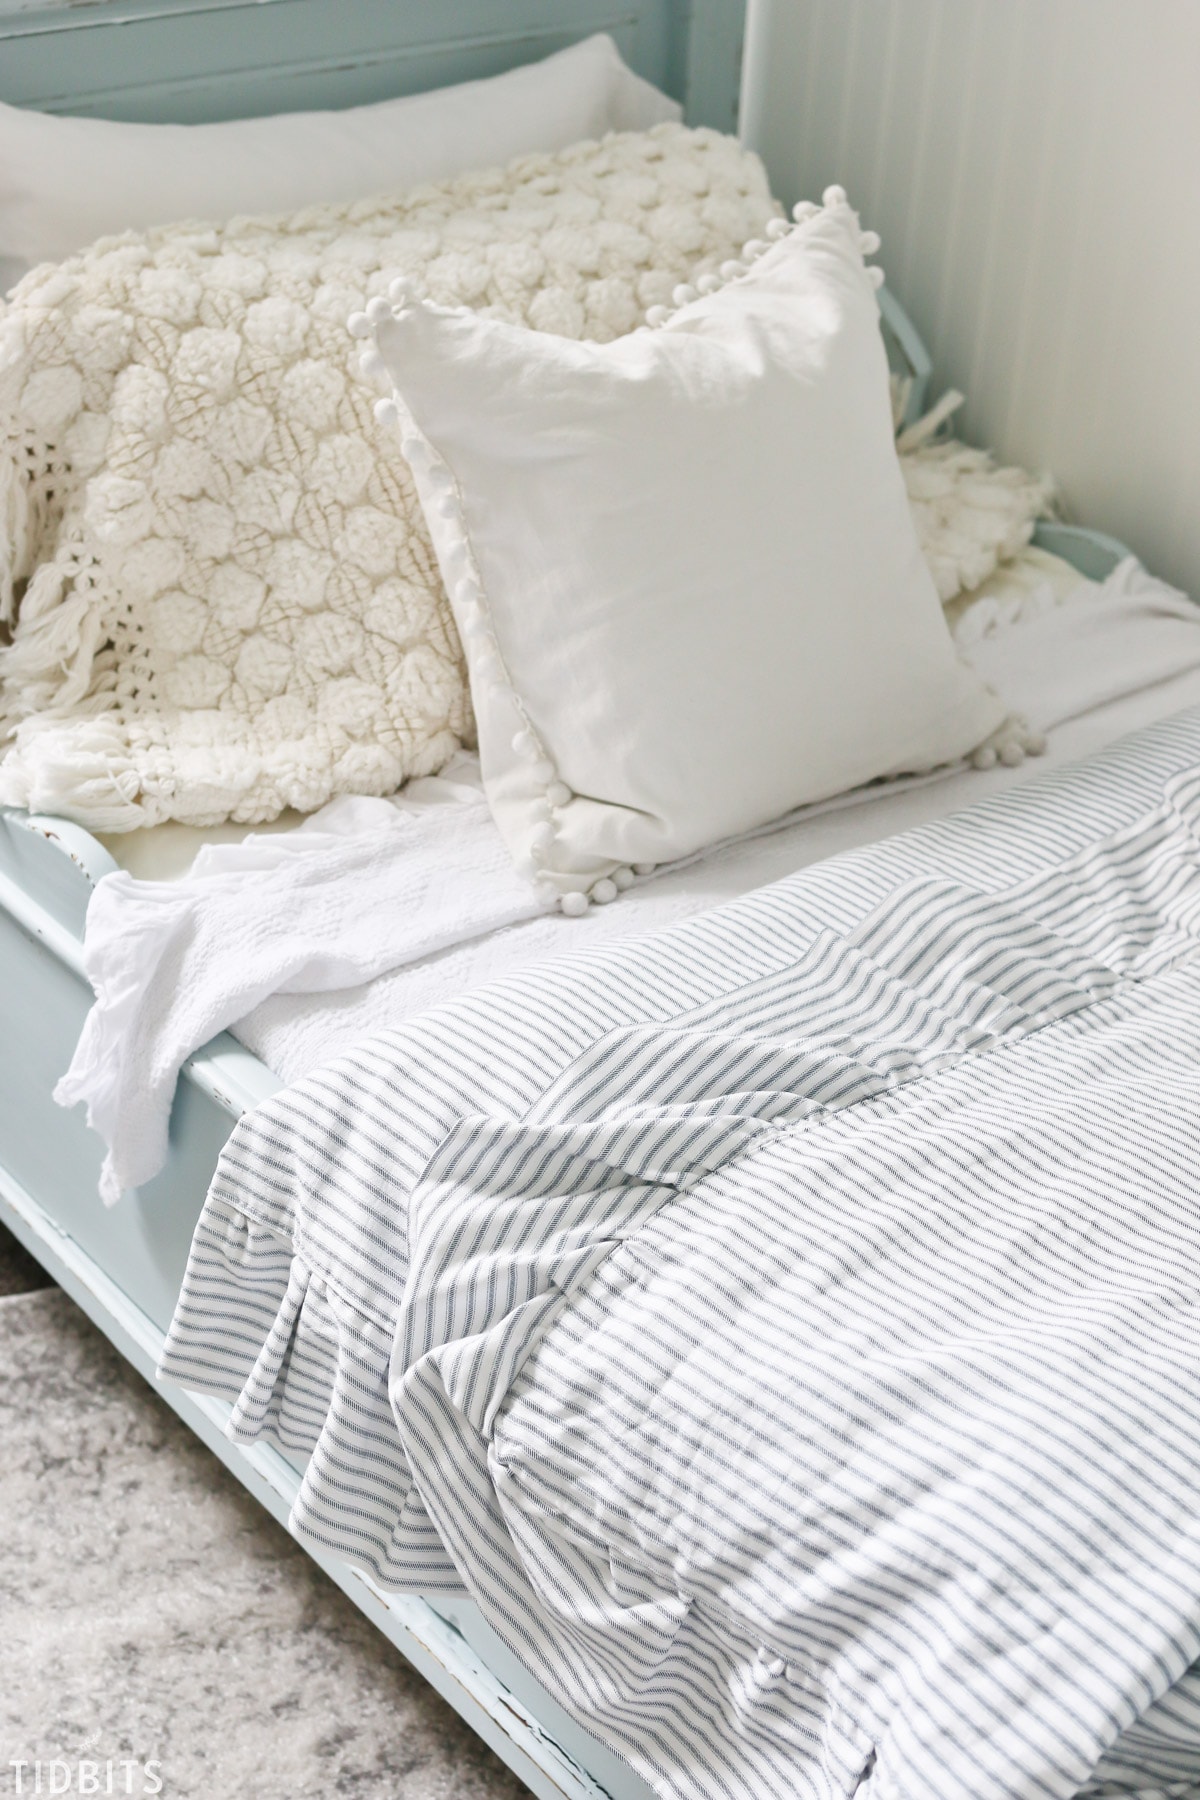
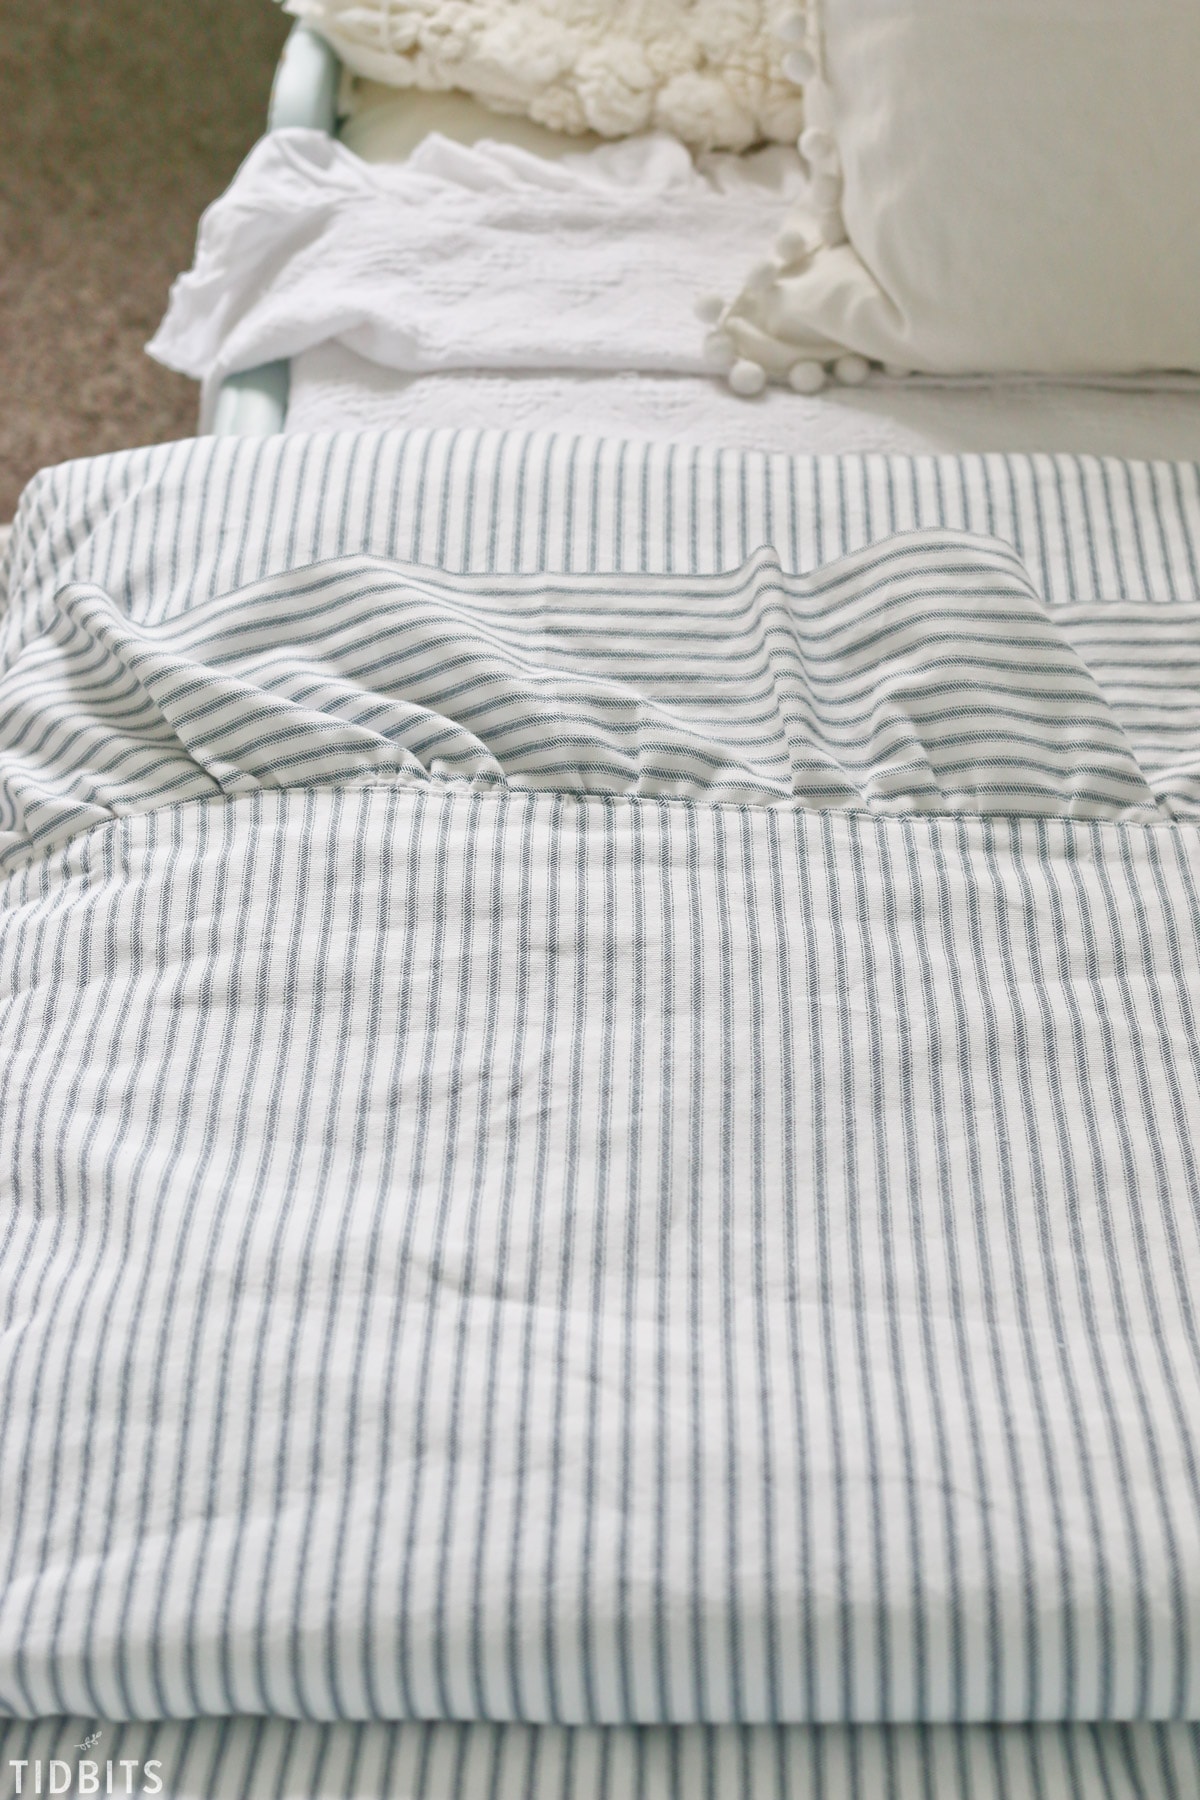
Ticking fabric will always have a nice minimalistic farmhouse vibe, in my opinion, but adding the ruffled edge really added just enough character and made it better fit for a girls room without being too frilly.
A bit more on that comforter/duvet insert up-cycle –
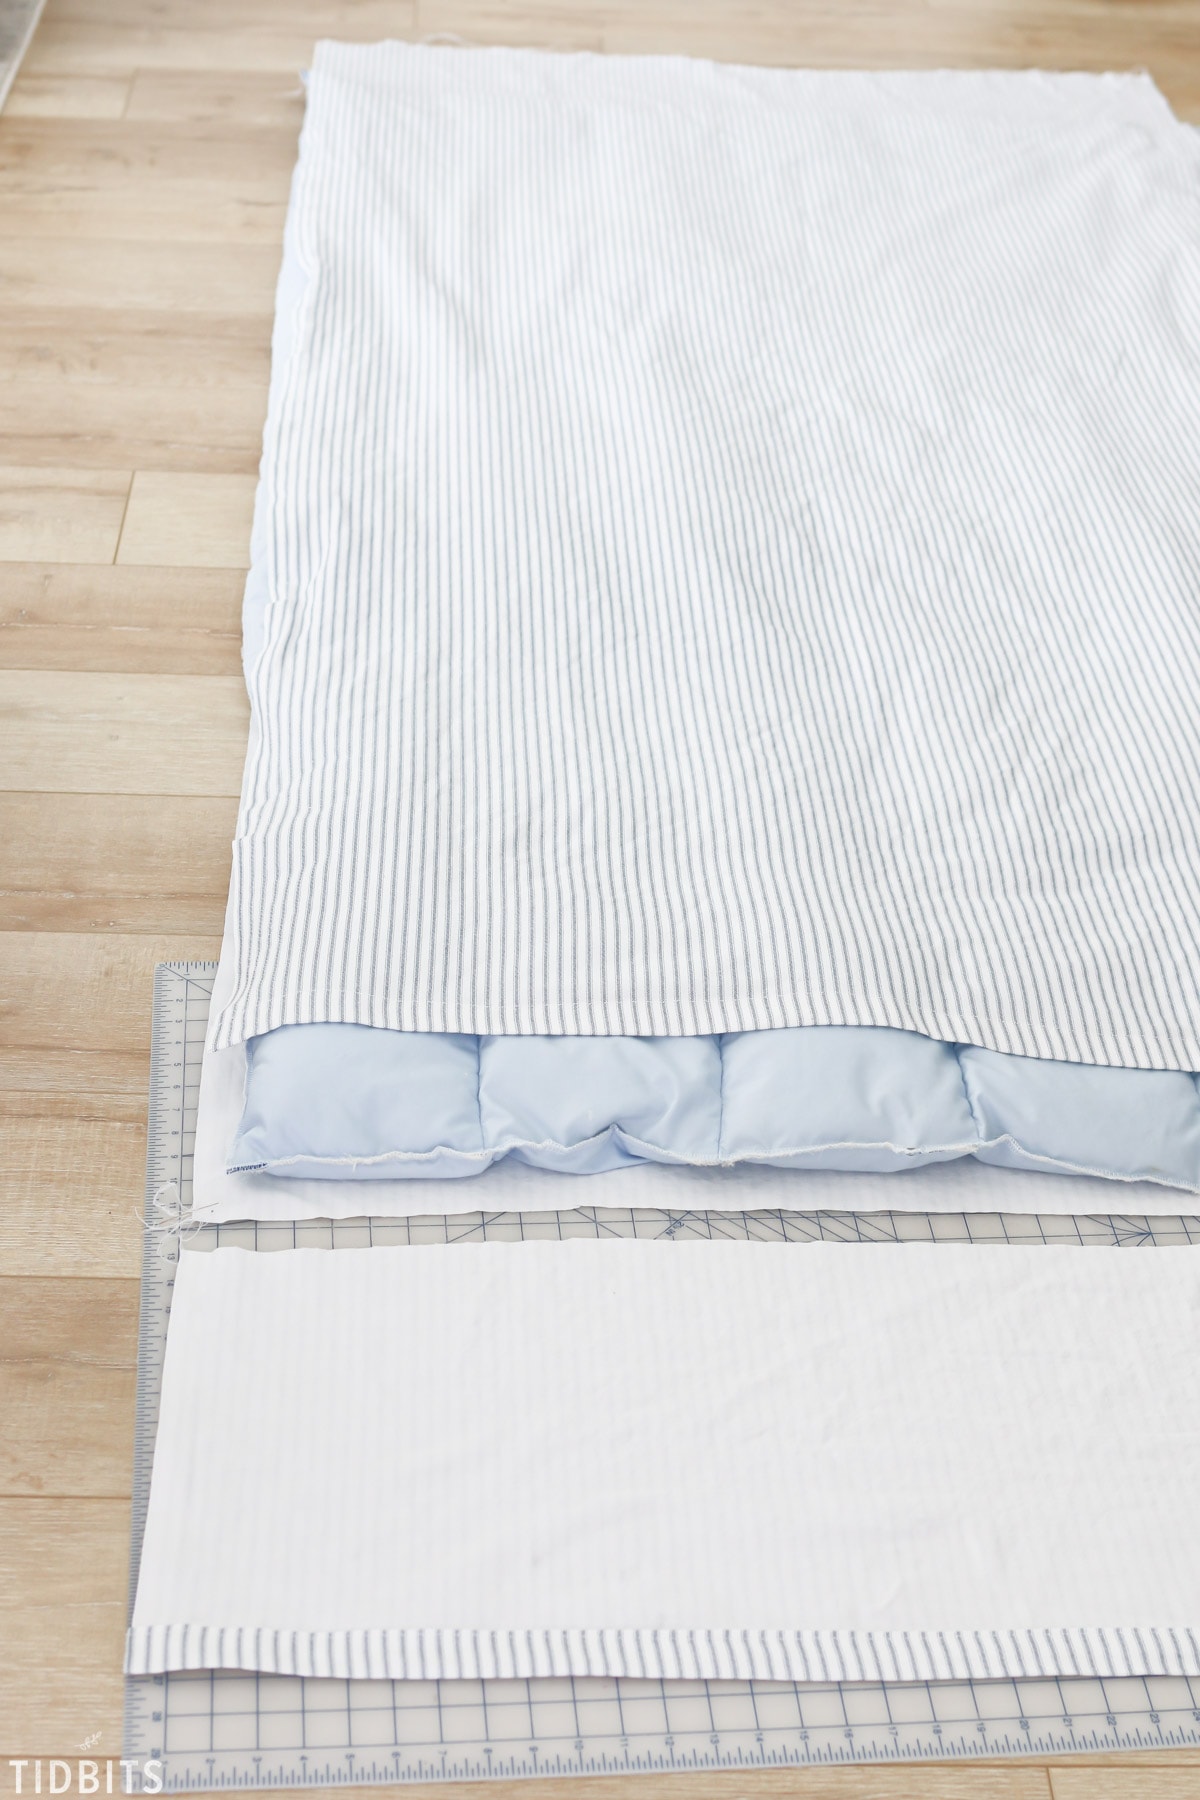
I had found this down feathered blue comforter at a thrift store for just a few dollars. It was so cozy, I knew it would work perfect for a duvet insert. However, it was a full sized comforter, and I needed it to be even smaller than a twin size, so it would just fit the inside of this sleigh bed.
I found that when I folded it in half lengthwise, it was the perfect size and was much fuller on the double.

To make it work, I simply serged the edges together when folded, which made it appear like one perfectly fitted piece.
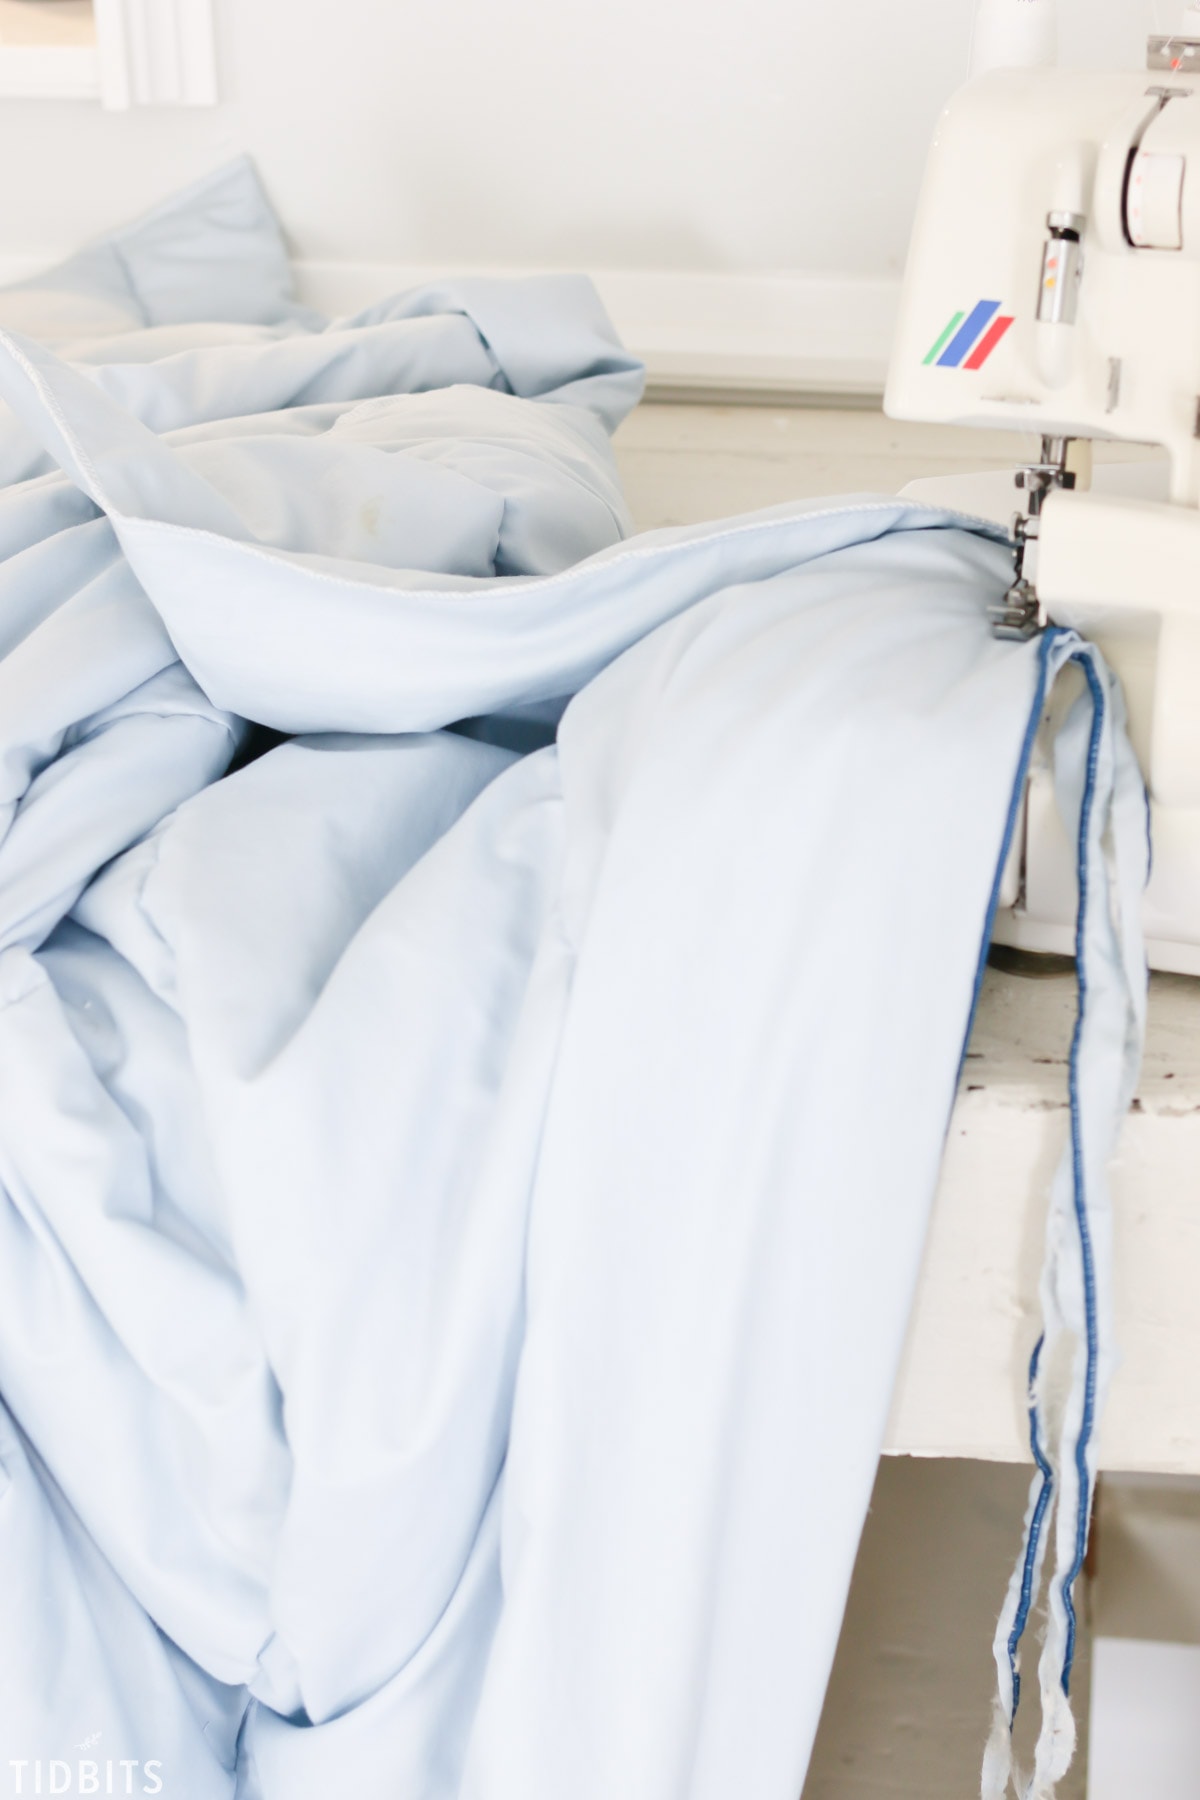
I thought it was a brilliant solution for a perfectly fitted duvet insert that only cost me a few dollars!
Now let me show you how I made the ruffled duvet cover, which you can then use these same steps to create a duvet cover for any size of comforter which you may have.
STEPS FOR MAKING A RUFFLED DUVET COVER:
I first measured the duvet insert and bought enough fabric to cover both sides plus a generous overhang for the envelope closure section. I then laid it all out with the insert inside, so I could get the cuts in the right place. I could see the width of the fabric fit perfectly to my custom made insert. If you had a larger size to accommodate, you might have to add in some seams.
I opted for an envelop closure type duvet cover, so at the top I left approximately 10 inches of overhang.
I cut this overhang off, leaving roughly 2 inches for seam allowance.
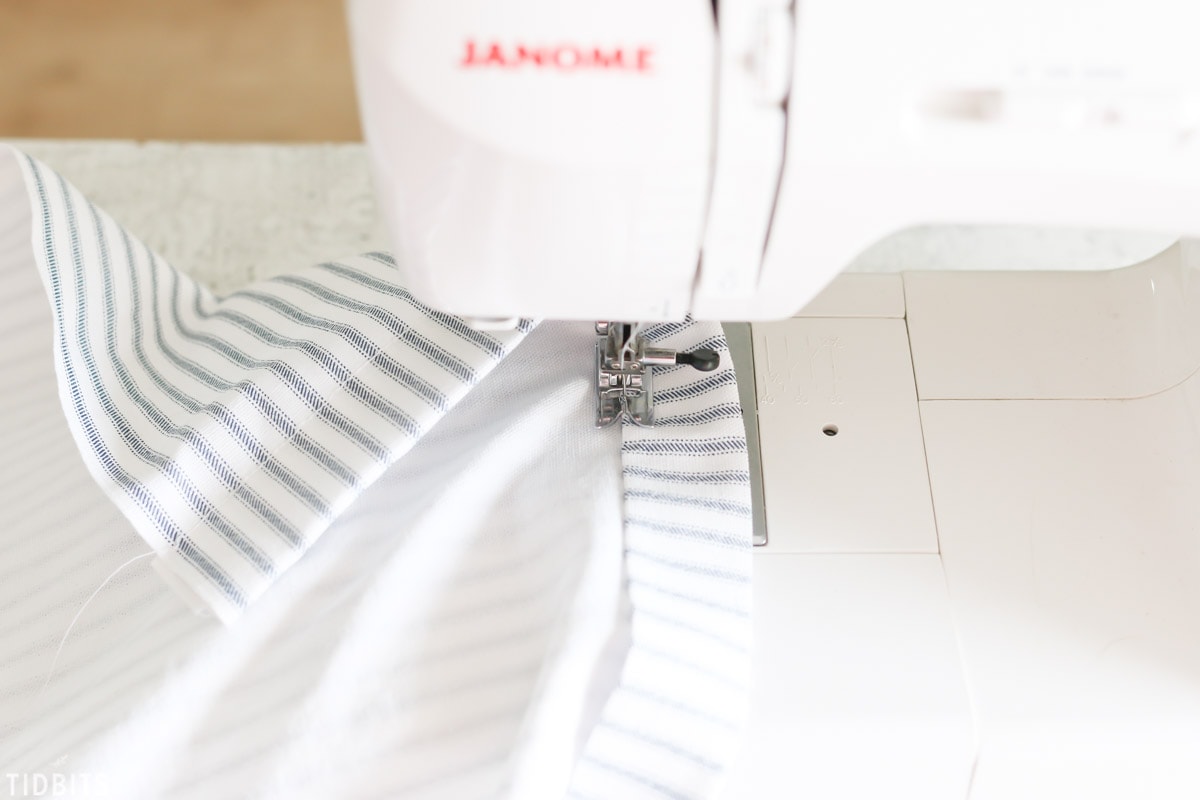
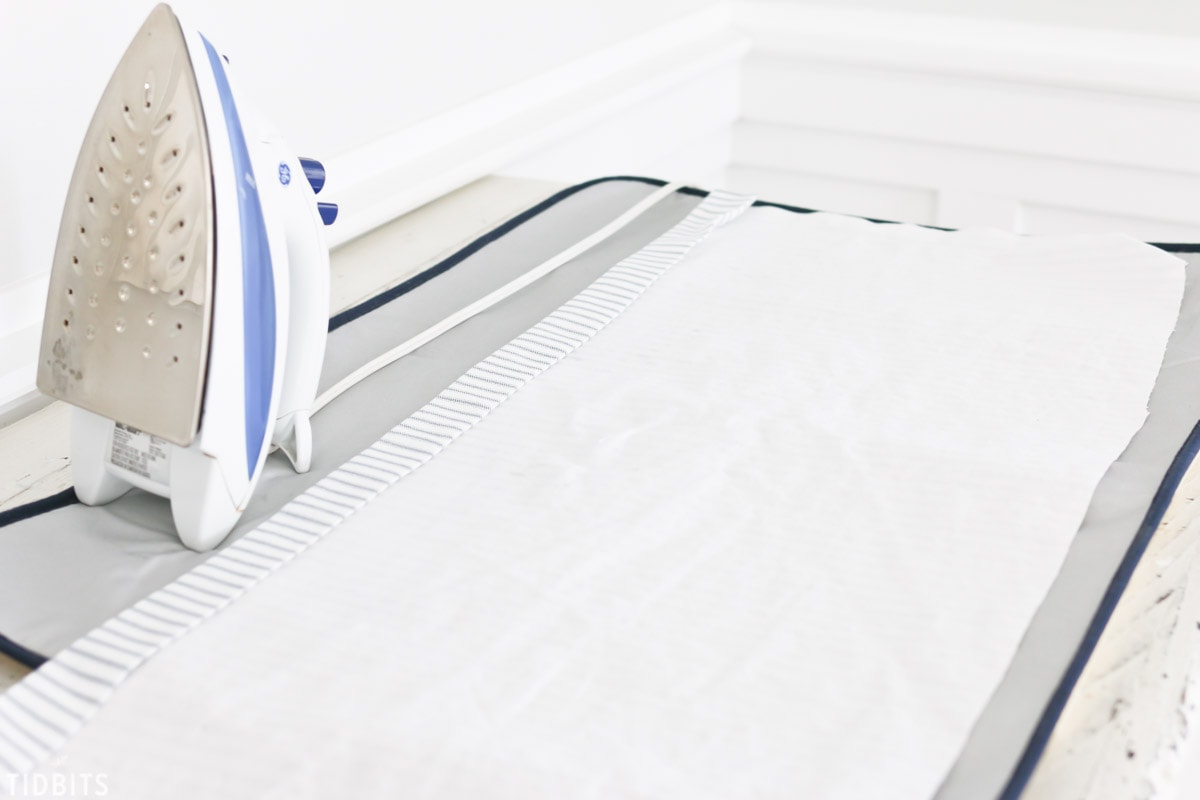
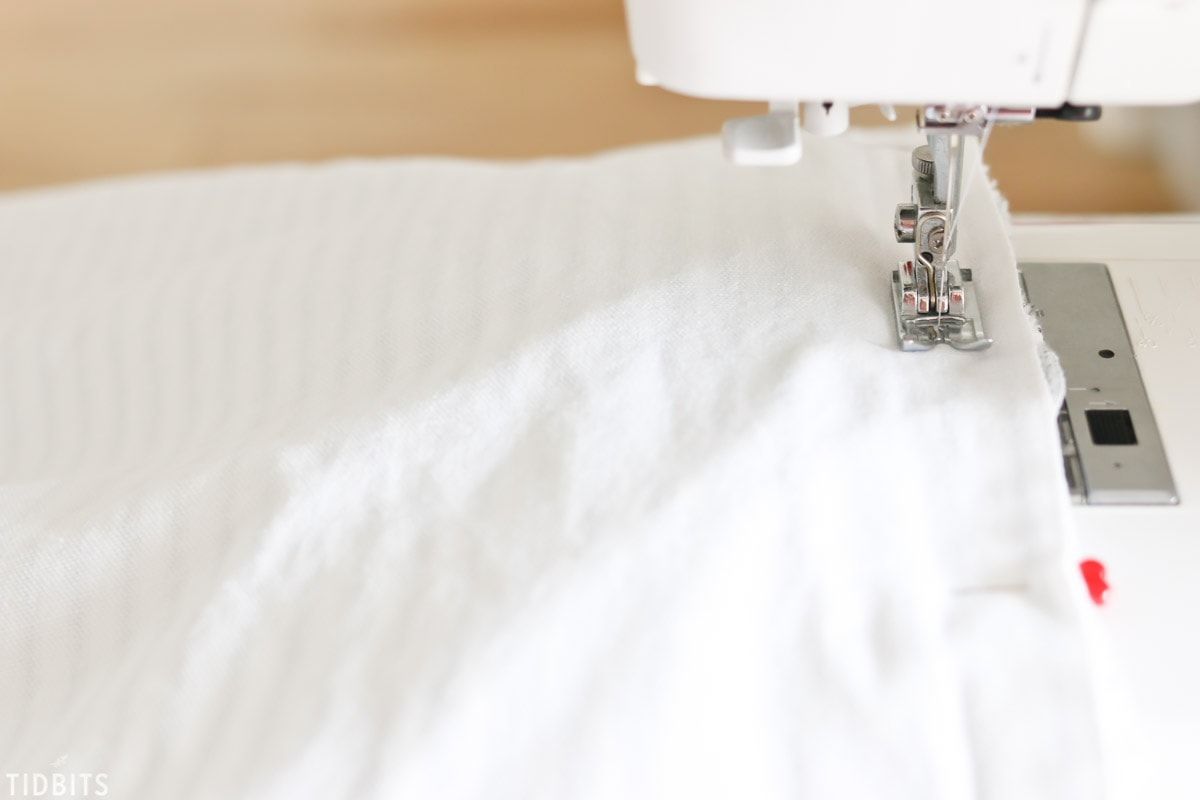
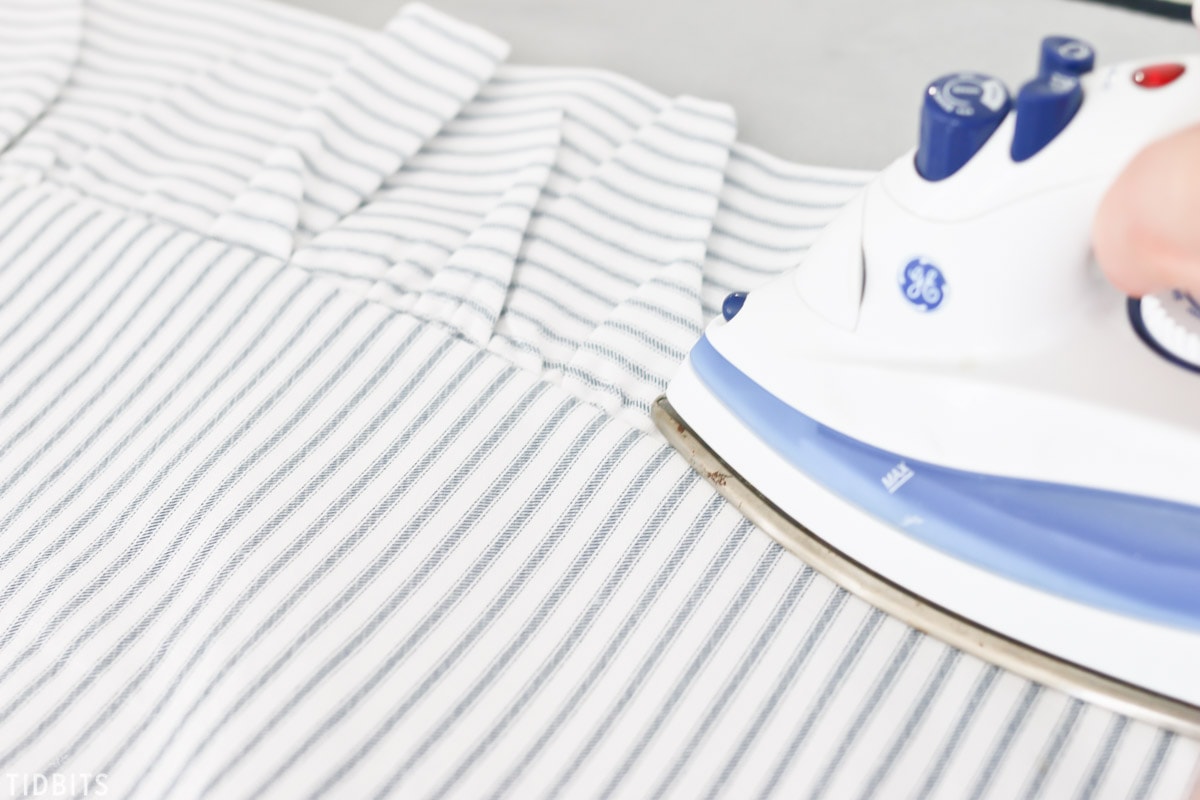
Before stitching the sides closed, I knew I needed to hem the opening of the envelope closure, so I folded over and pressed the top edge of the main long top piece . . .
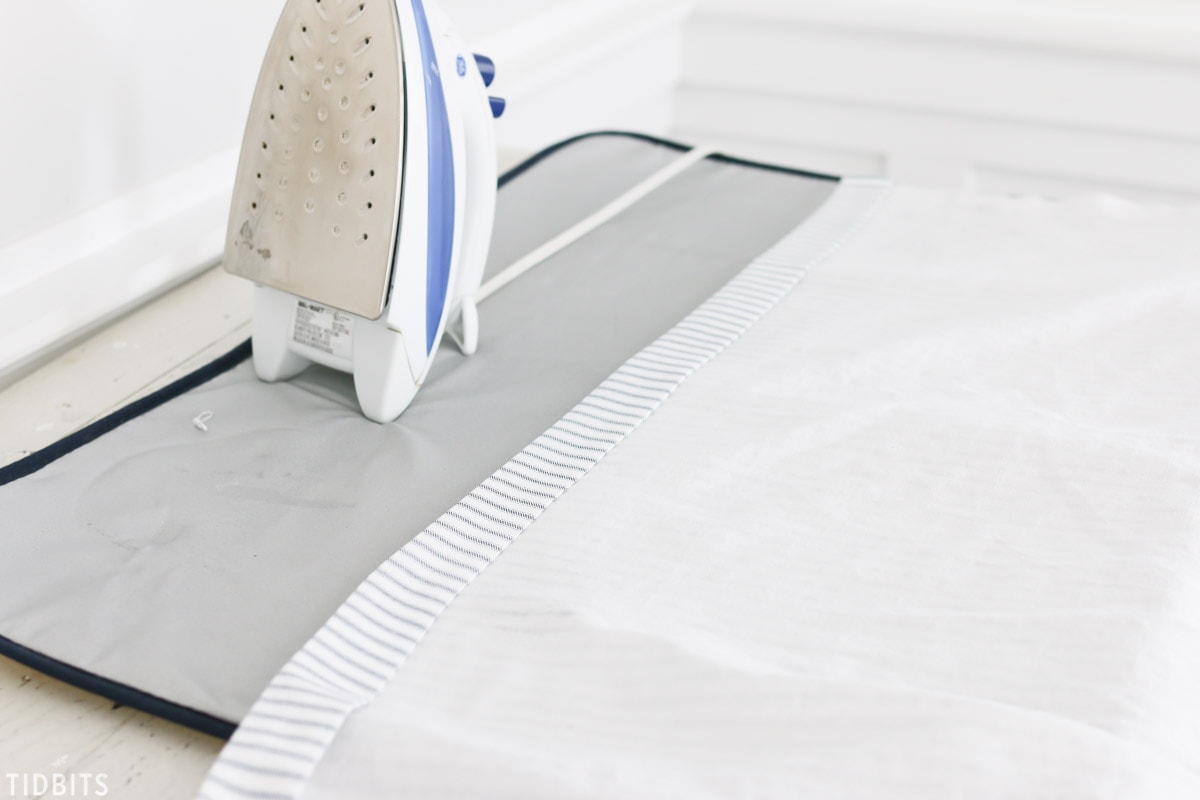
. . . and stitch the hem in place.
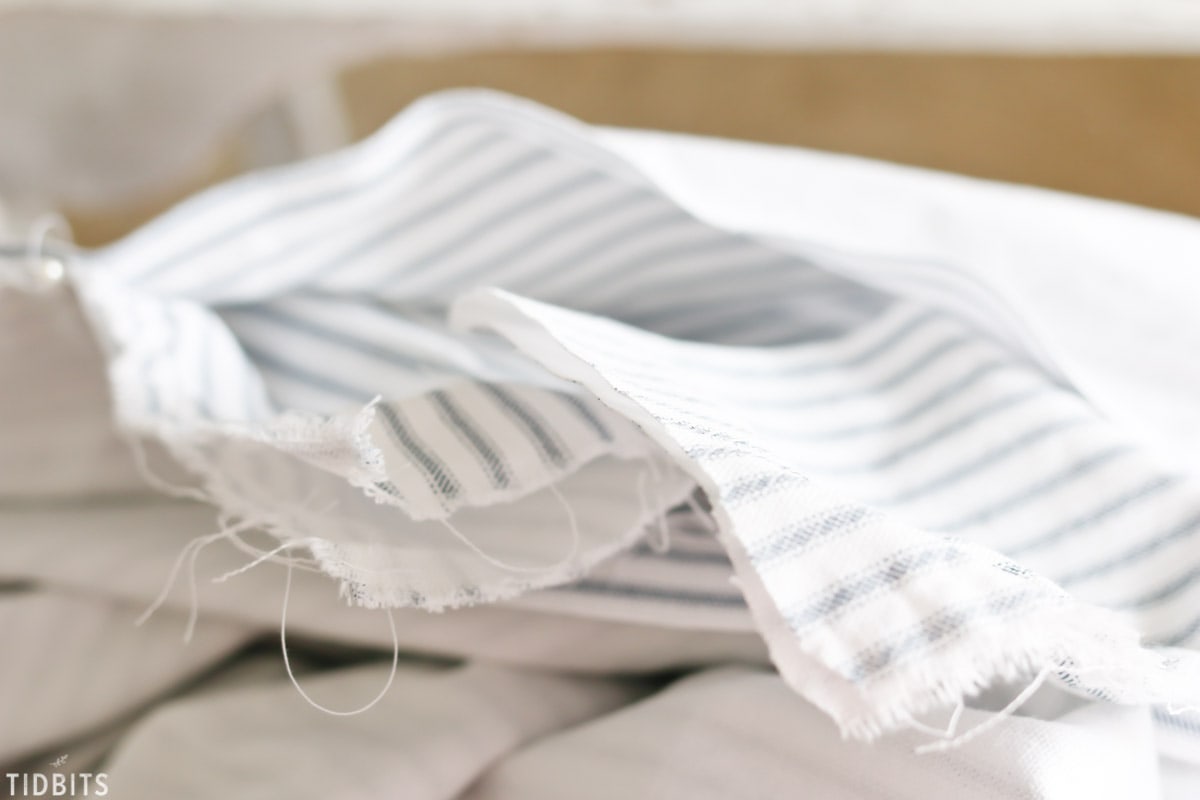
And the images below will help you see which part on the envelope closure needs to be hemmed as well.
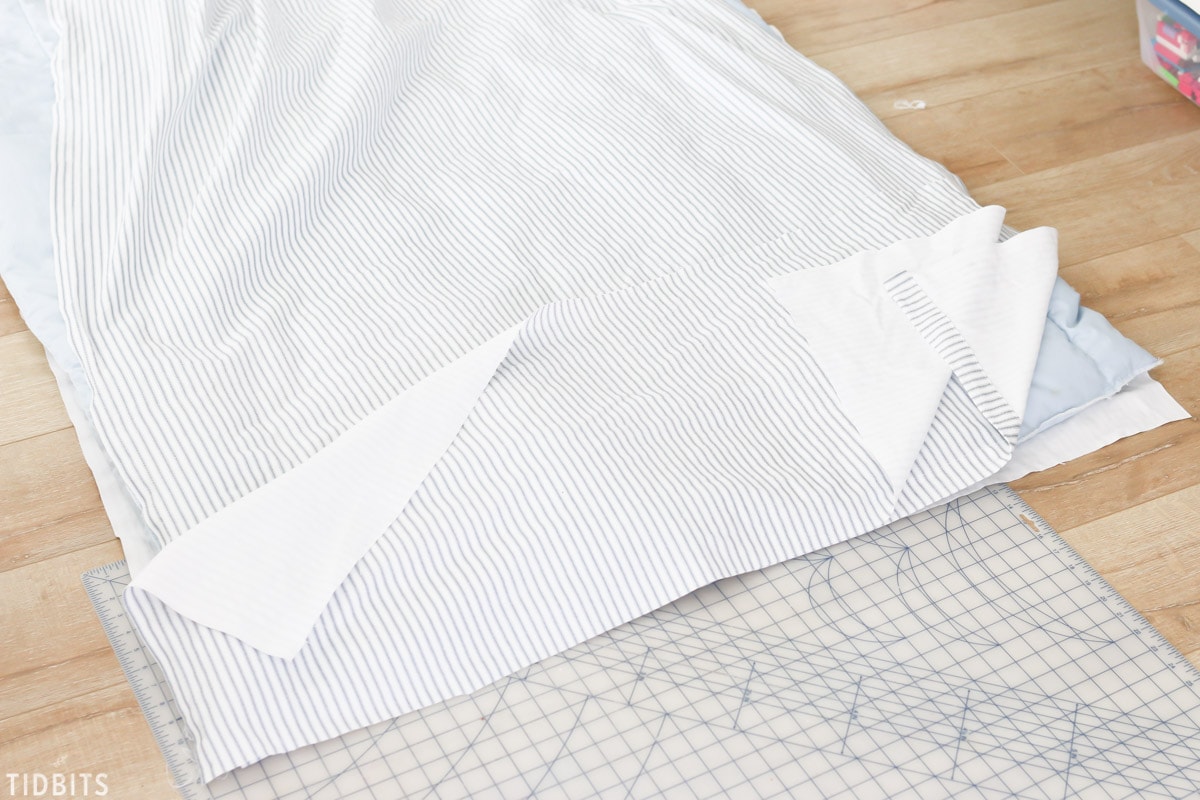
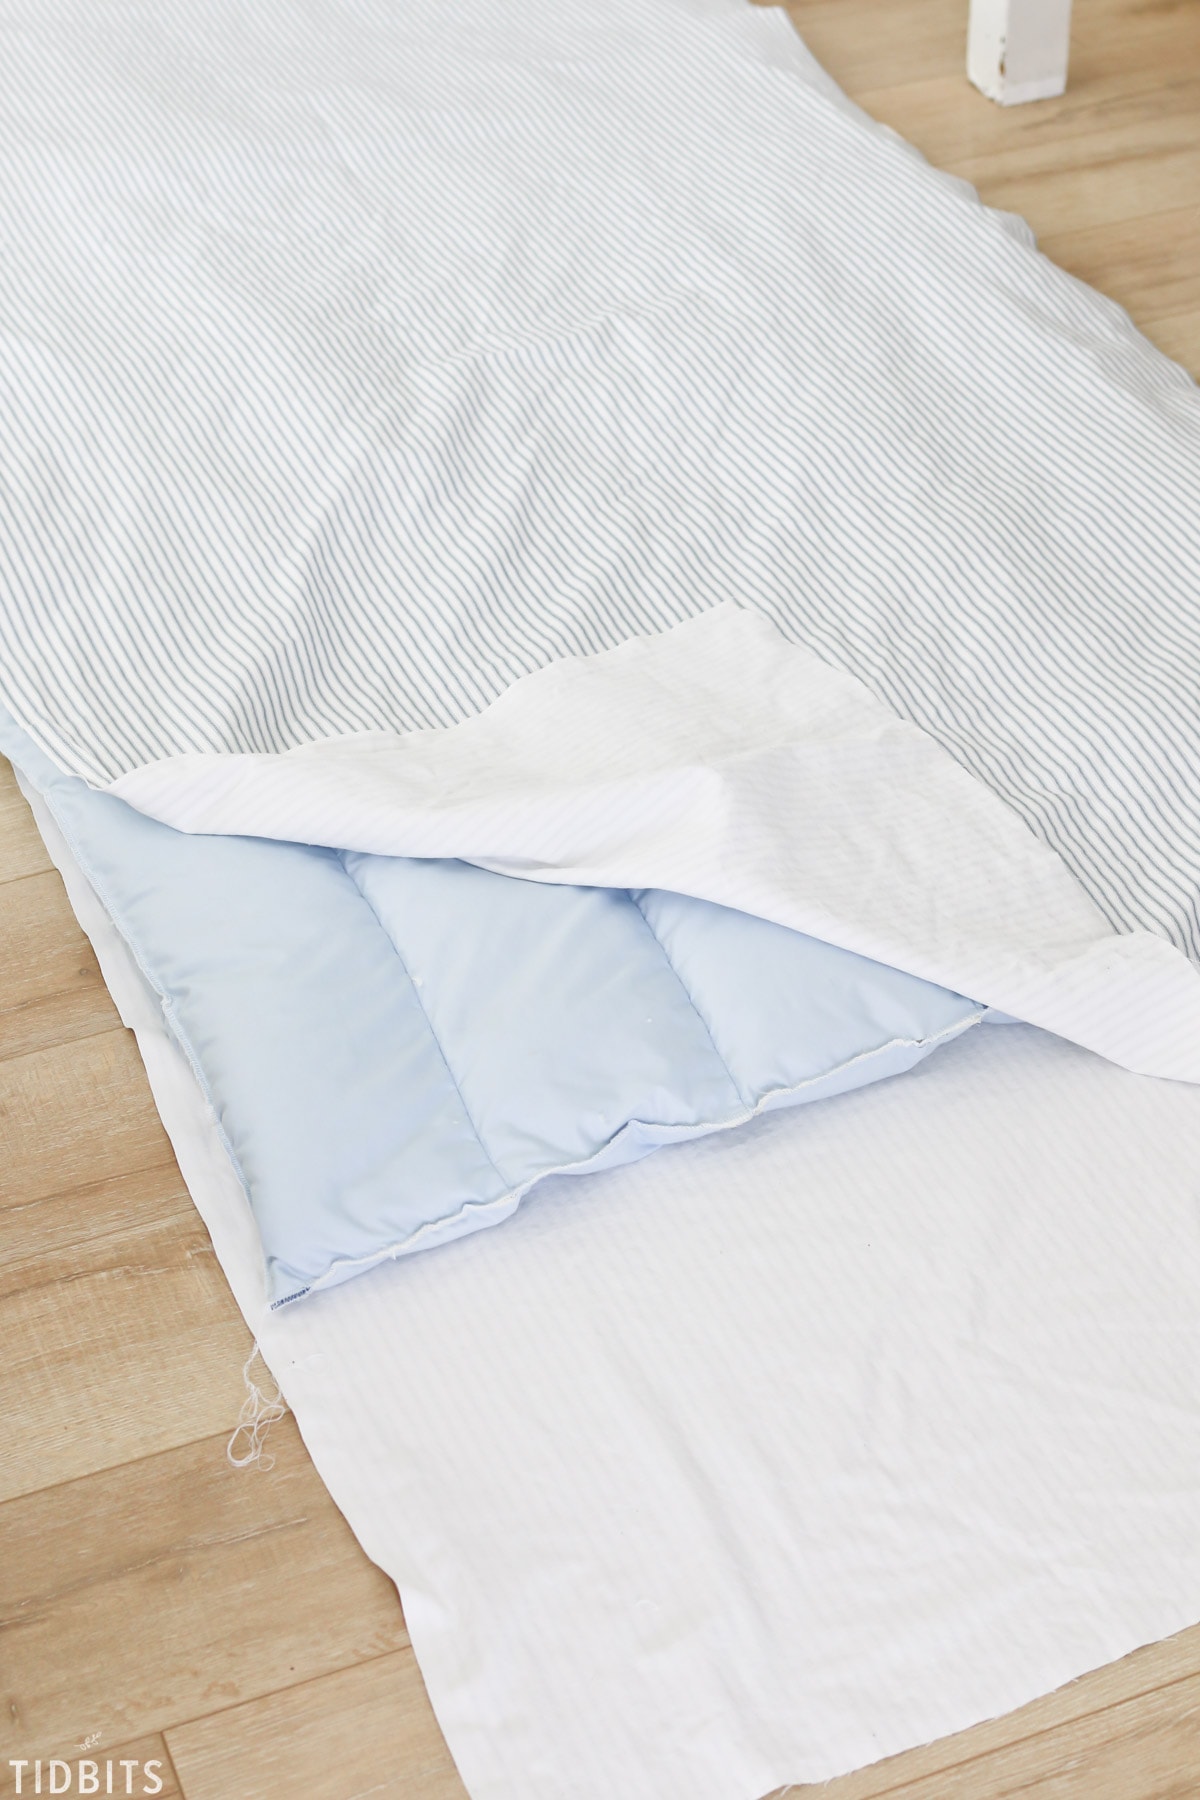
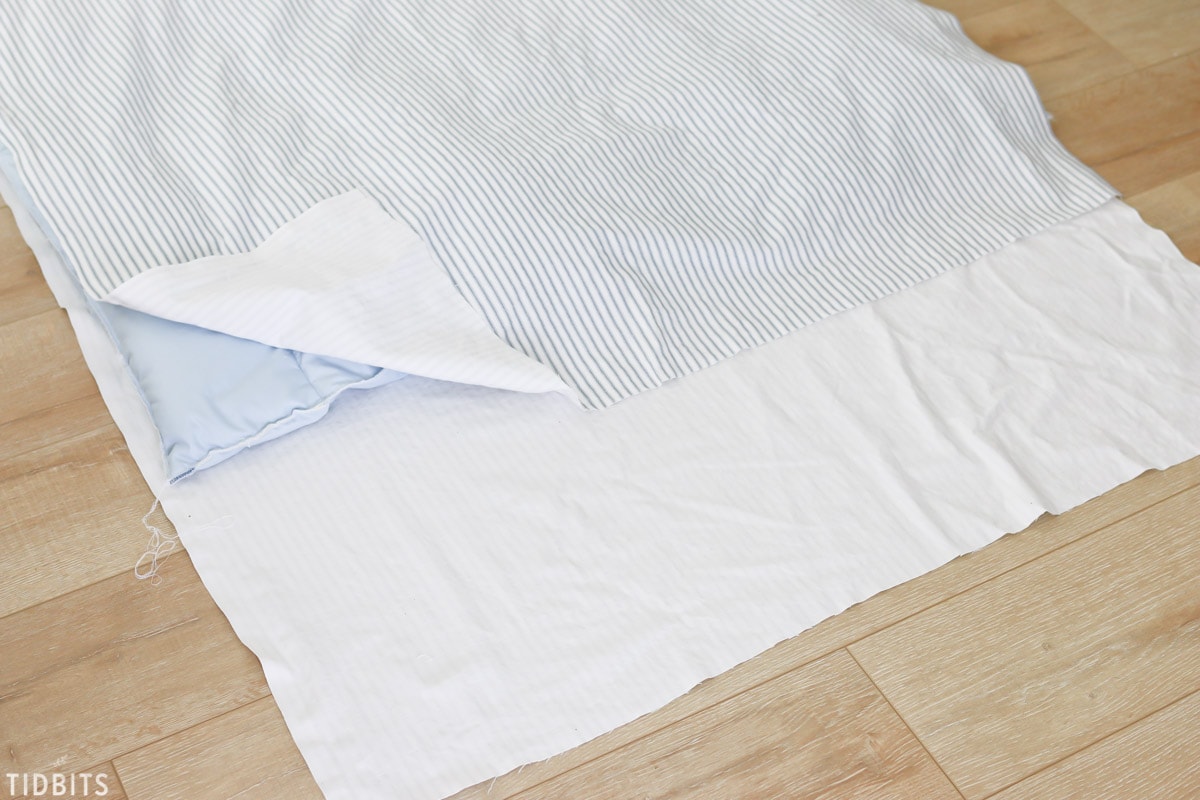
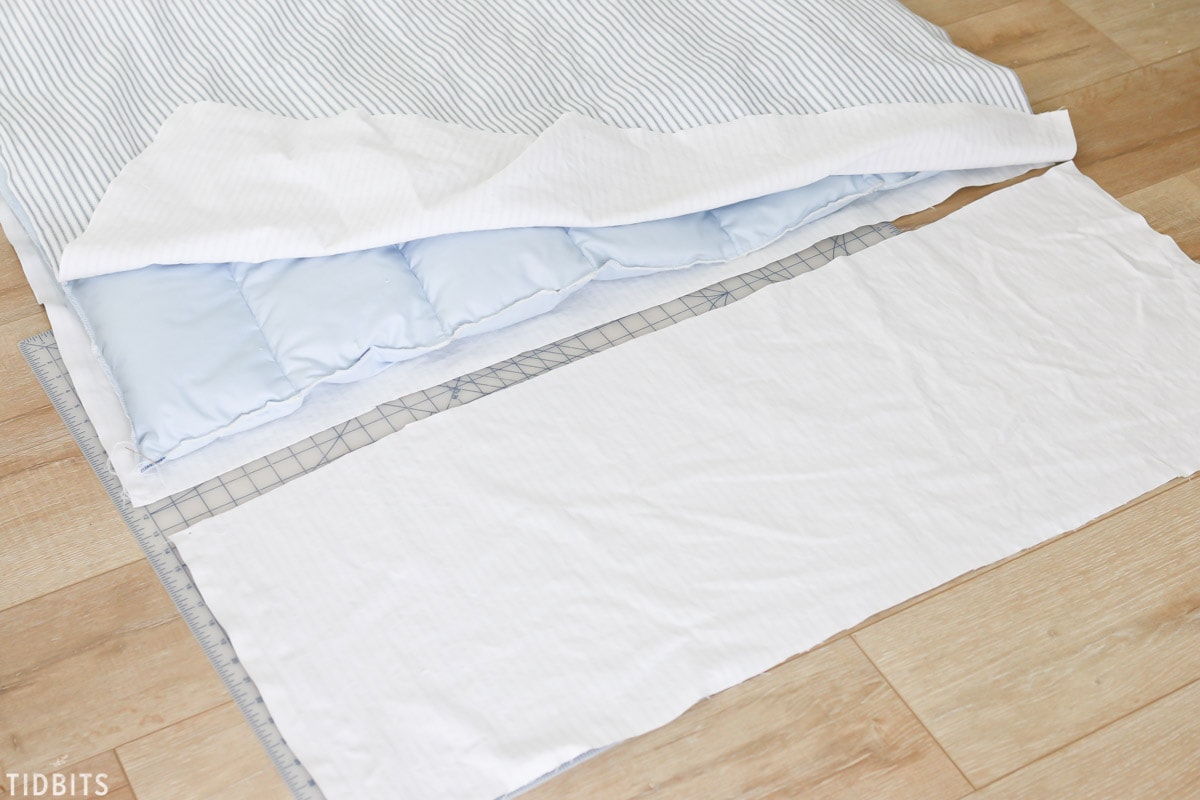
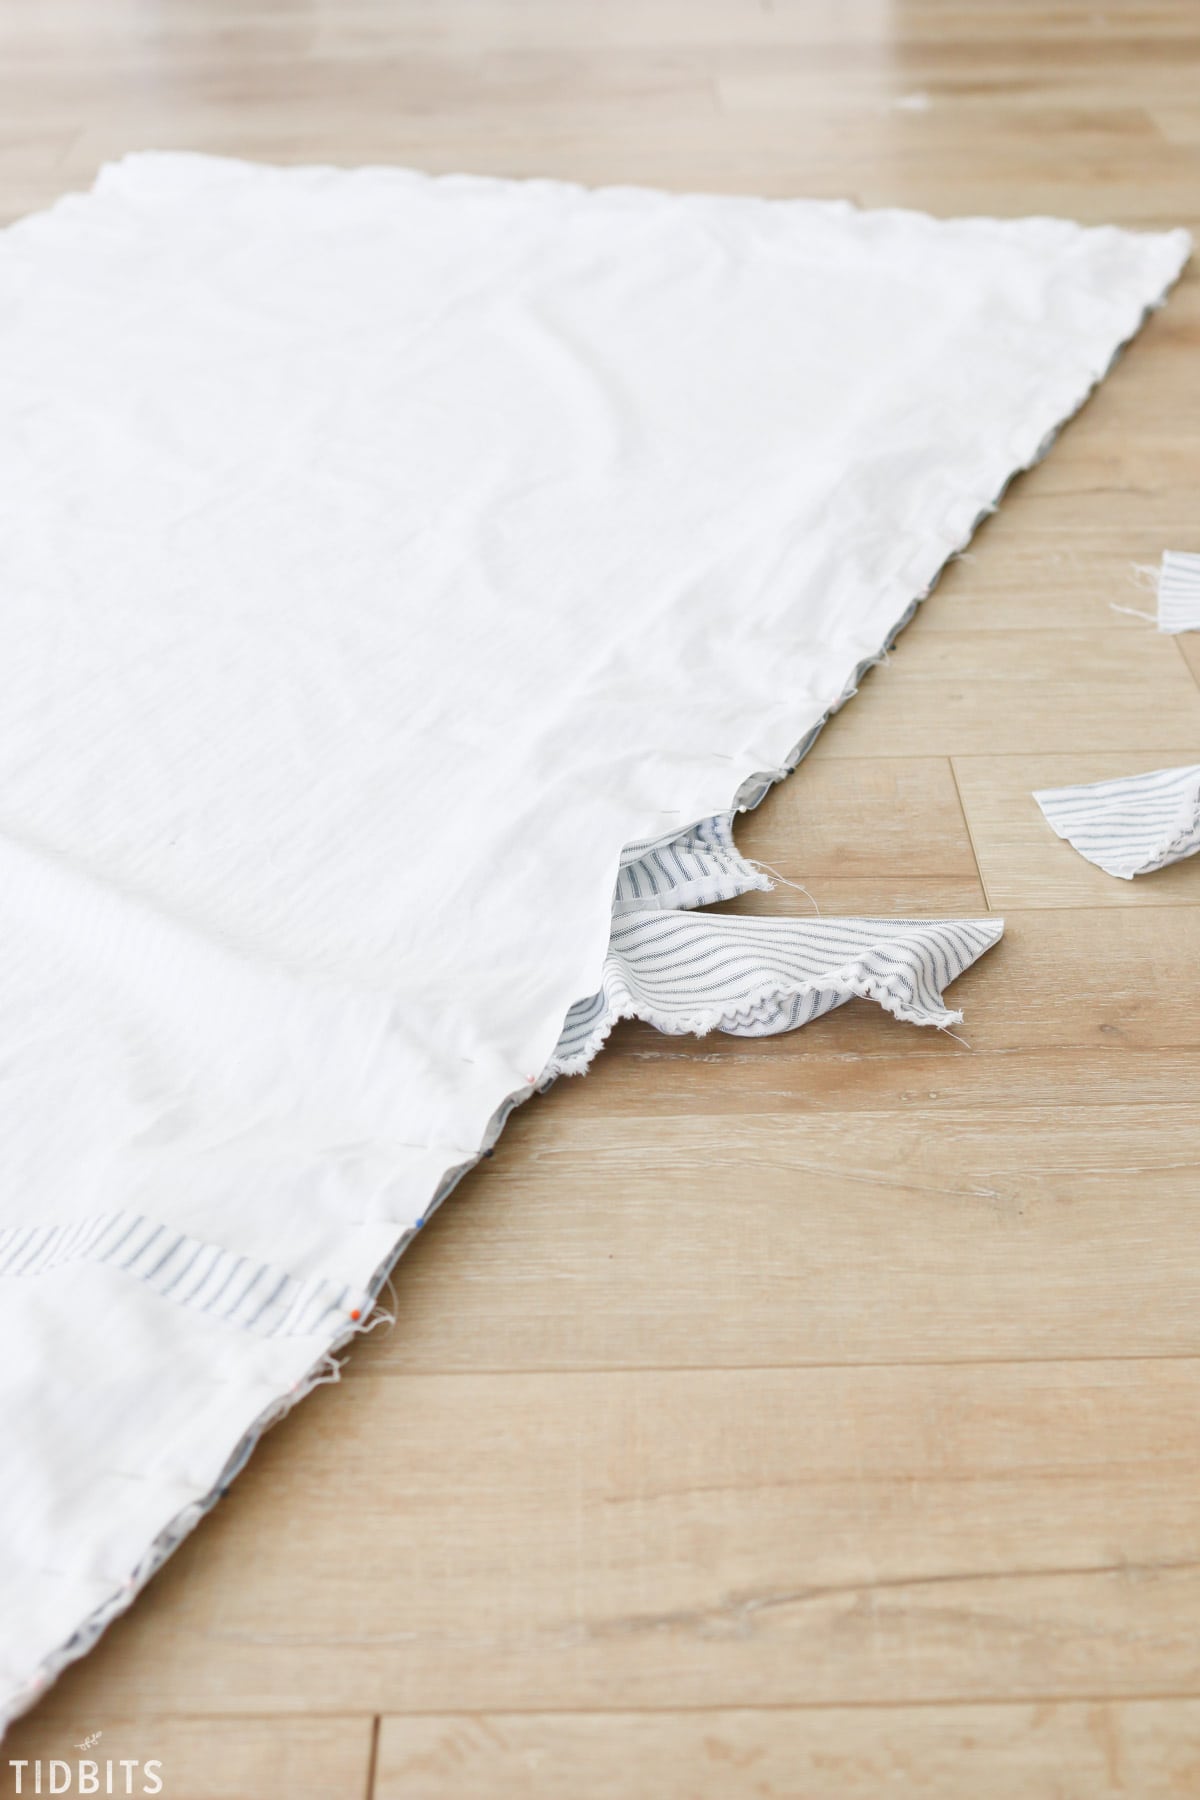
With both pieces hemmed and laid out, I also found I needed to trim some additional fabric off the bottom to give me a consistent seam allowance around all the edges.
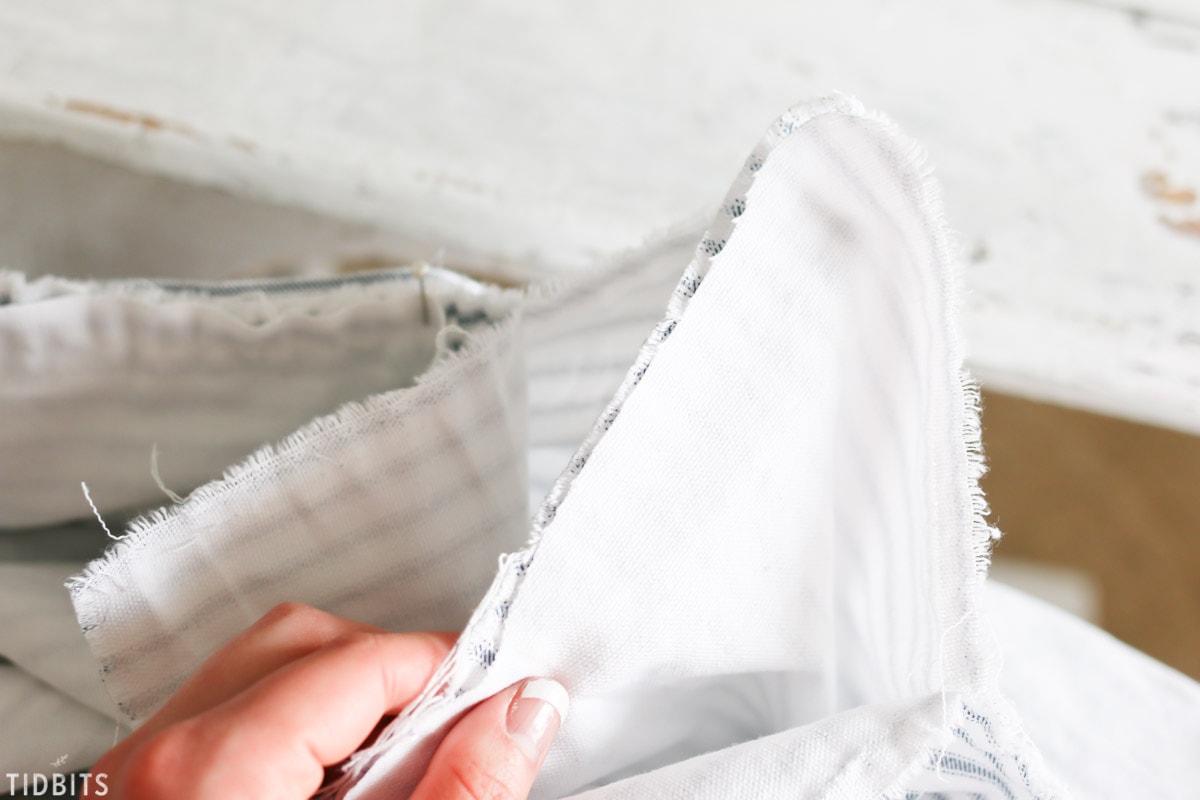
I removed the duvet insert and laid the bottom piece down, with the rough side of the envelope closure lined up on the top edges, right sides together, and pinned in place.
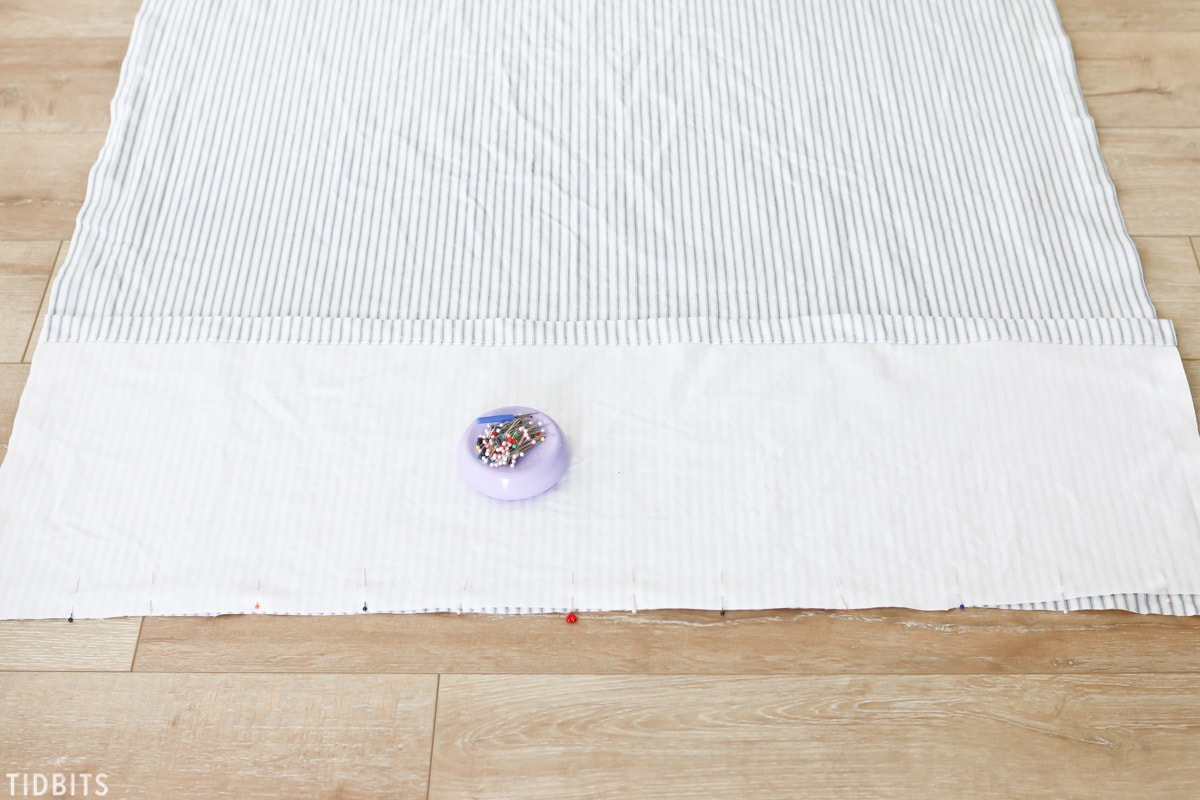
Then I laid the top piece over it, right sides together, but ensuring the topped hemmed edge was a few inches down below my pinned edges.
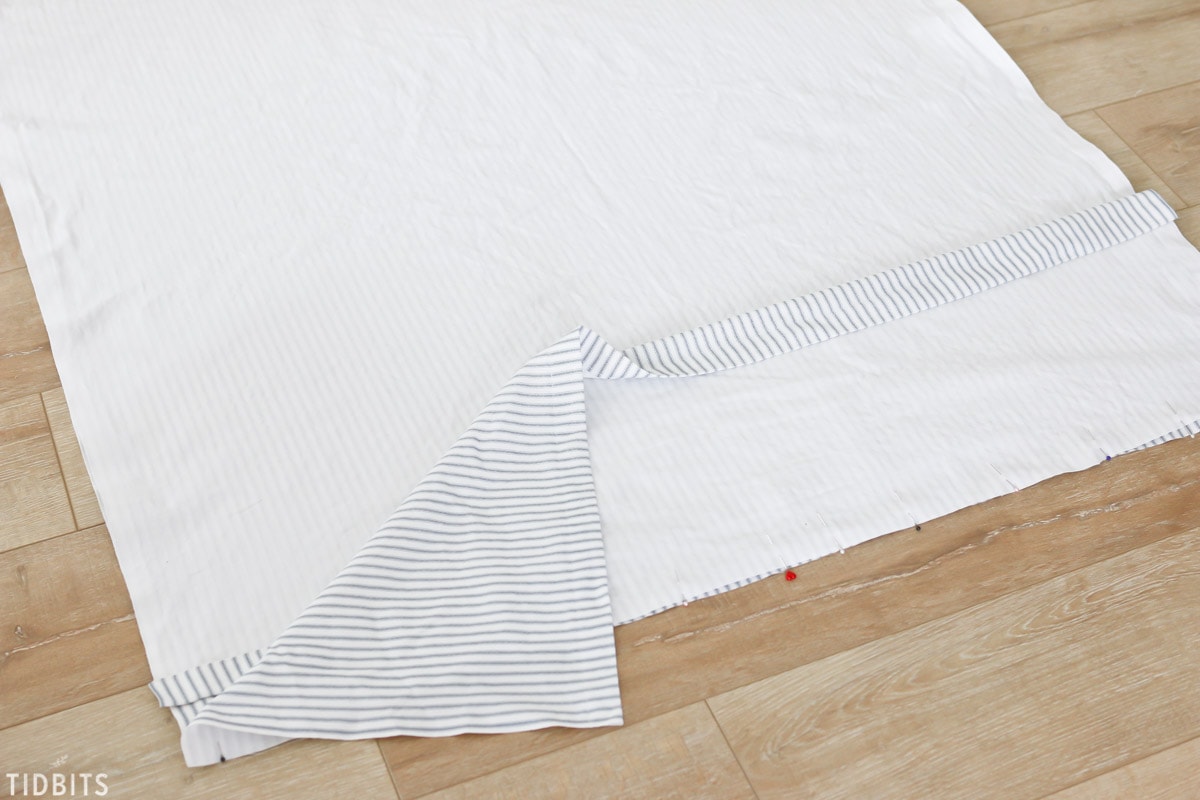
*Important to note: I figured it out after my images that the envelop closure needs to be tucked inside and sandwiched between the 2 layers, not laying on top of the top layer – not like pictured below. So be sure to keep the top flap between the two layers when pinning and sewing.
HOW TO MAKE THE RUFFLE
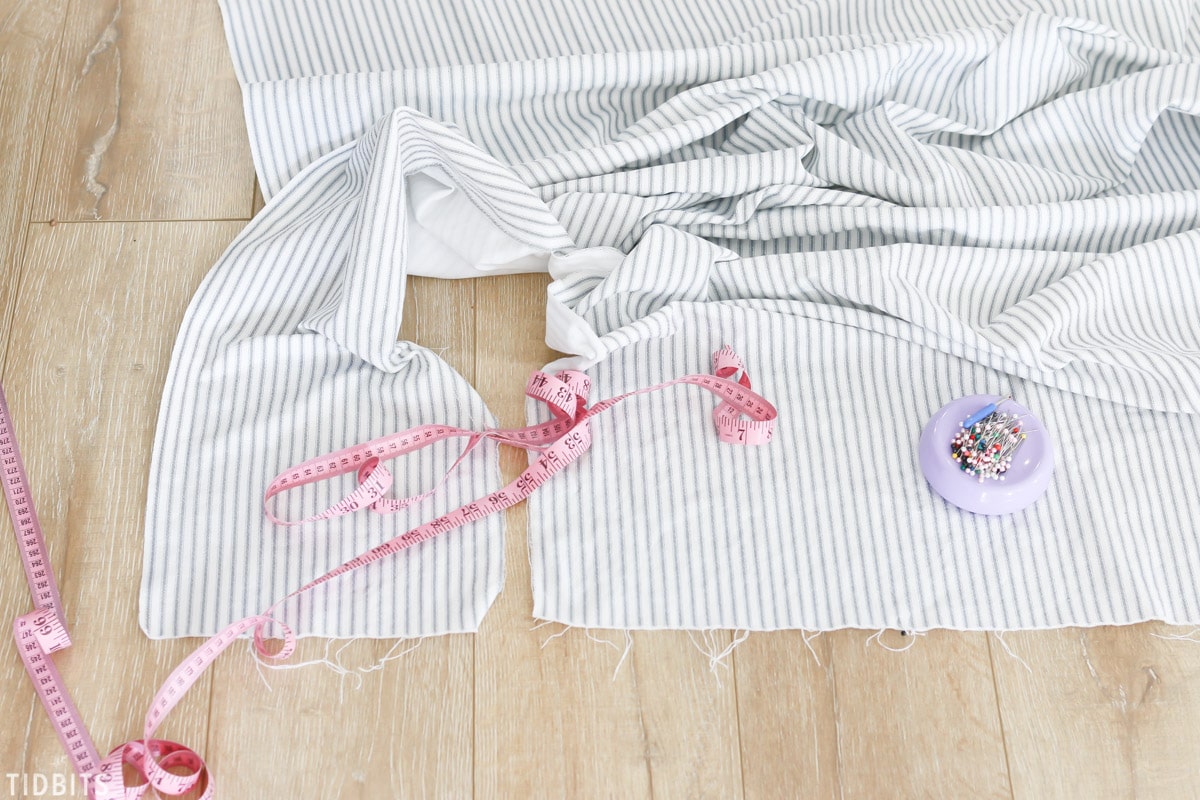
I bought an extra 2 yards to make my ruffles, but wished I’d had done an extra yard so I would have had enough to make tighter ruffles. Either way, you’ll need some fabric to make enough ruffles for the outside of your duvet cover.
I didn’t want any wrong side of the fabric to be seen in my ruffles, so I planned to fold the fabric in half to make my ruffles. I started out by cutting 10 inch strips. If you get your fabric on grain to start with, you can easily snip and rip these 10 inch strips.
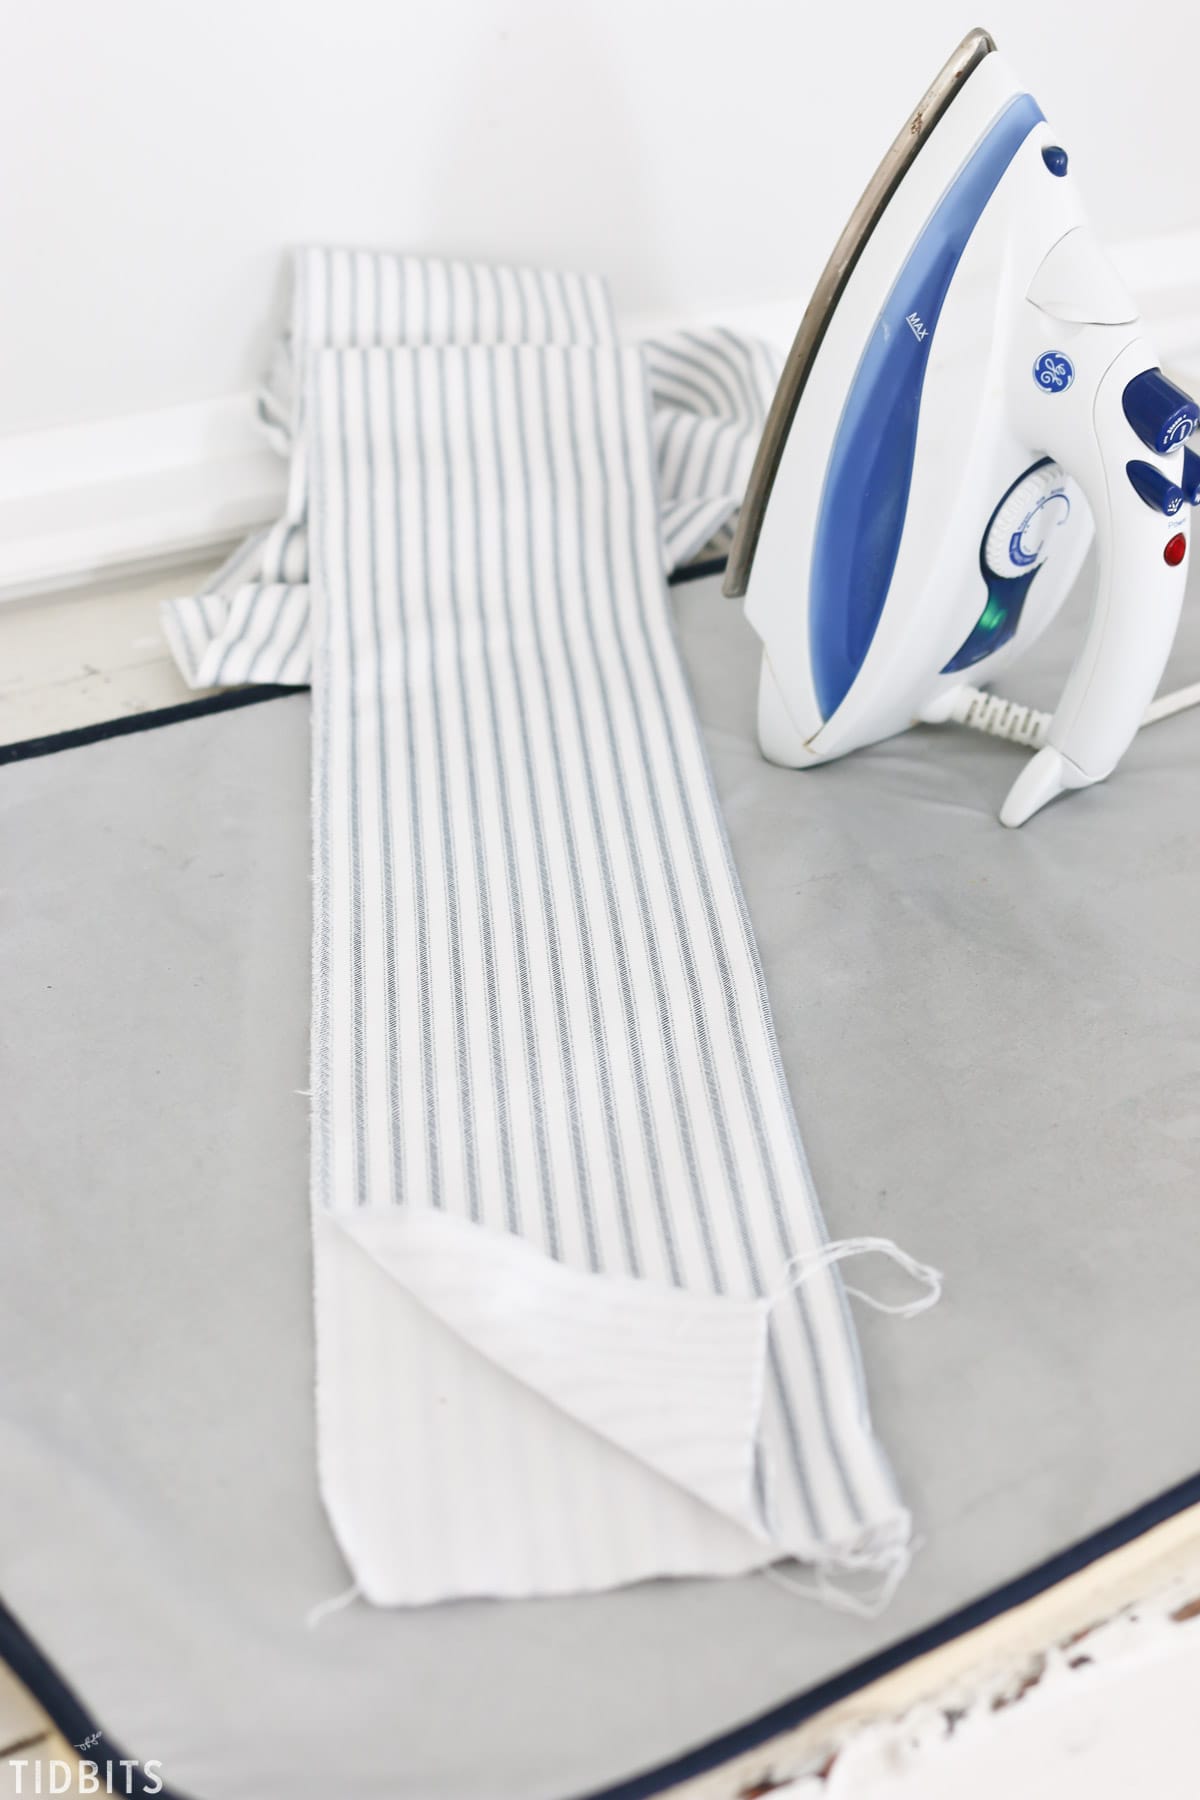
Before ruffling my strips, I folded and pressed them in half.
Making ruffles is really easy with this simple trick. You don’t need a special machine foot or thread. I made this video years ago, so it is poor quality, but it will give you a better visual idea of how I make ruffles fast and easy. Then I’ll walk you through this method with images.
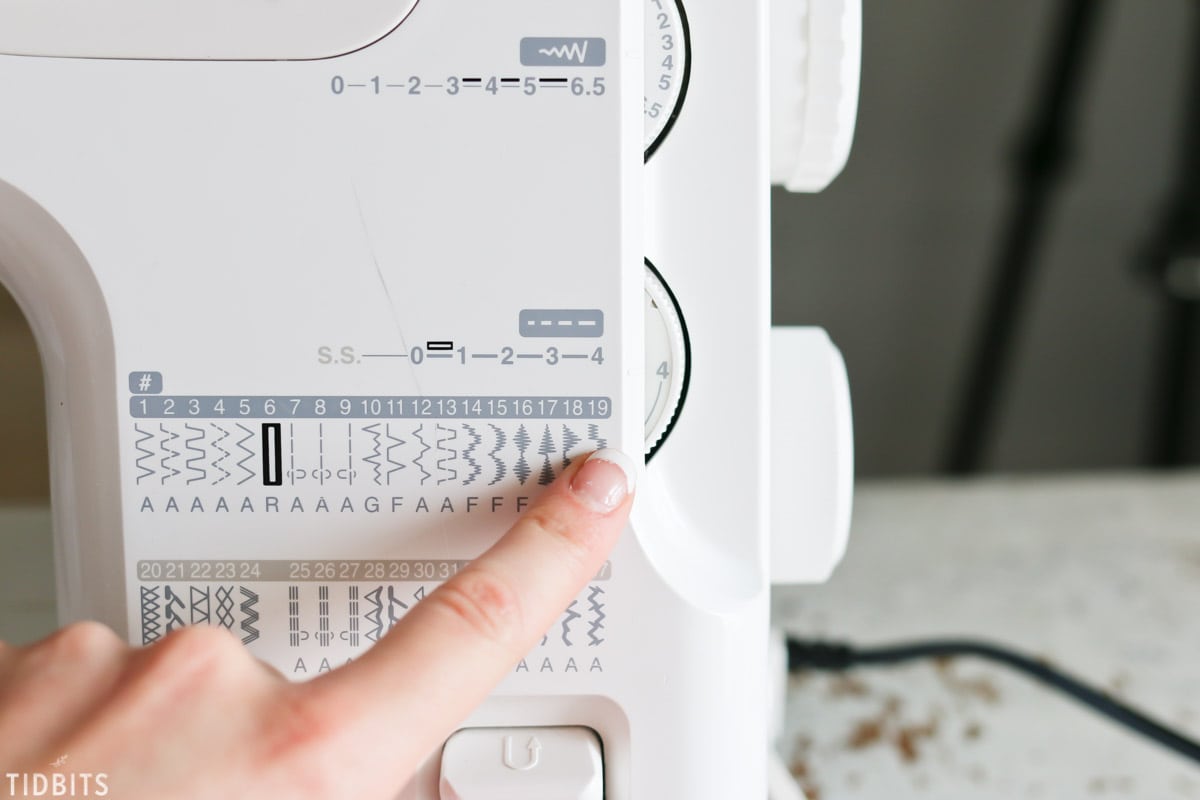
The first step to making ruffles is to increase your tension as high as it will go.

Then increase your stitch length as high as it will go.
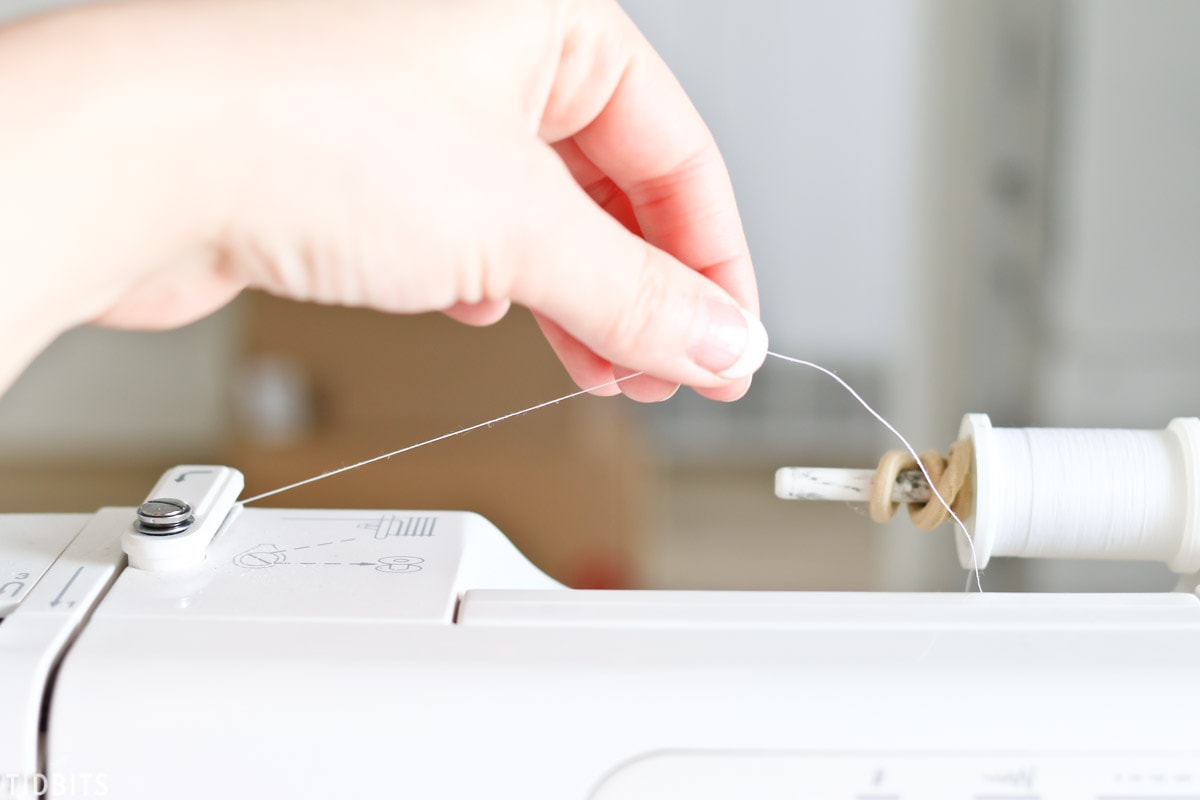
While you are sewing, you’ll keep some finger tension on the top thread as it feeds through. Enough just to make it pull against your fingers, but not so hard that it won’t stitch at all.
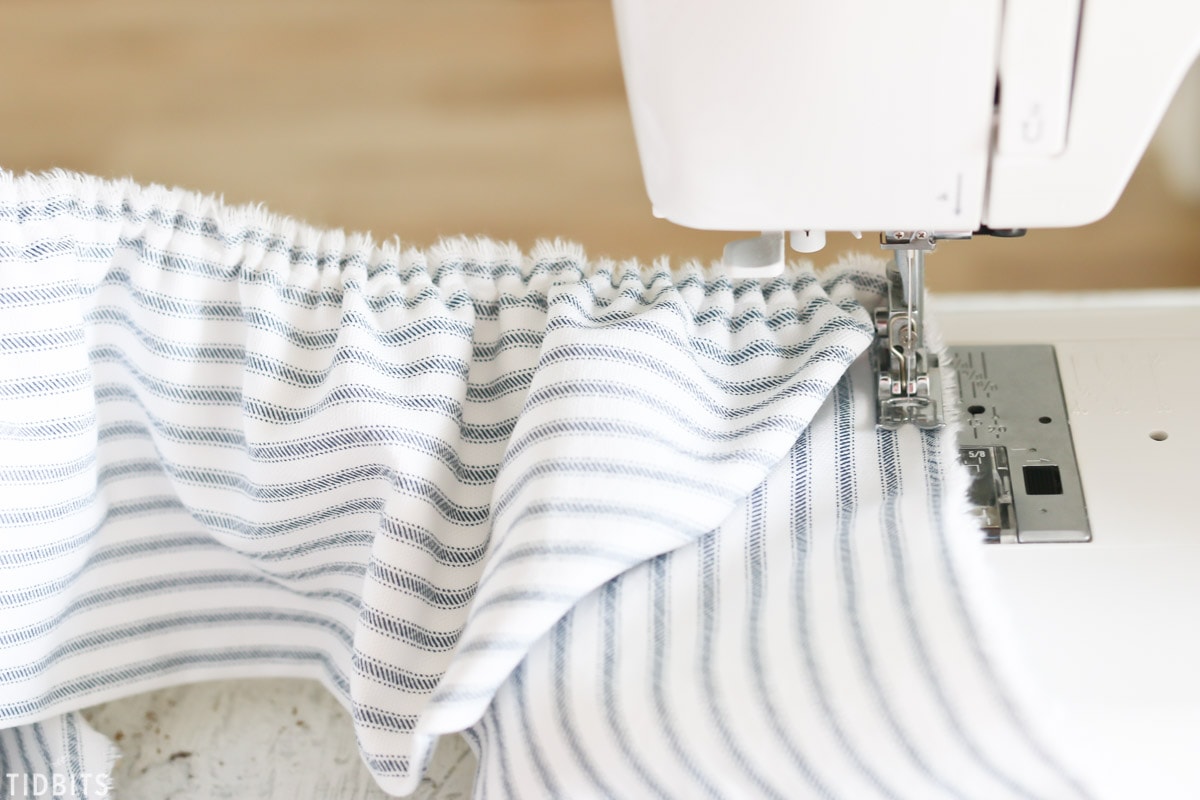
Those 3 things will feed your fabric through the machine with a perfectly spaced and beautiful ruffled edge.
For a continuous ruffle to fit around the entire duvet cover, you’ll need to stitch all the ruffle pieces together. I’ll show you how to finish off where the ends of the ruffle piece meet.
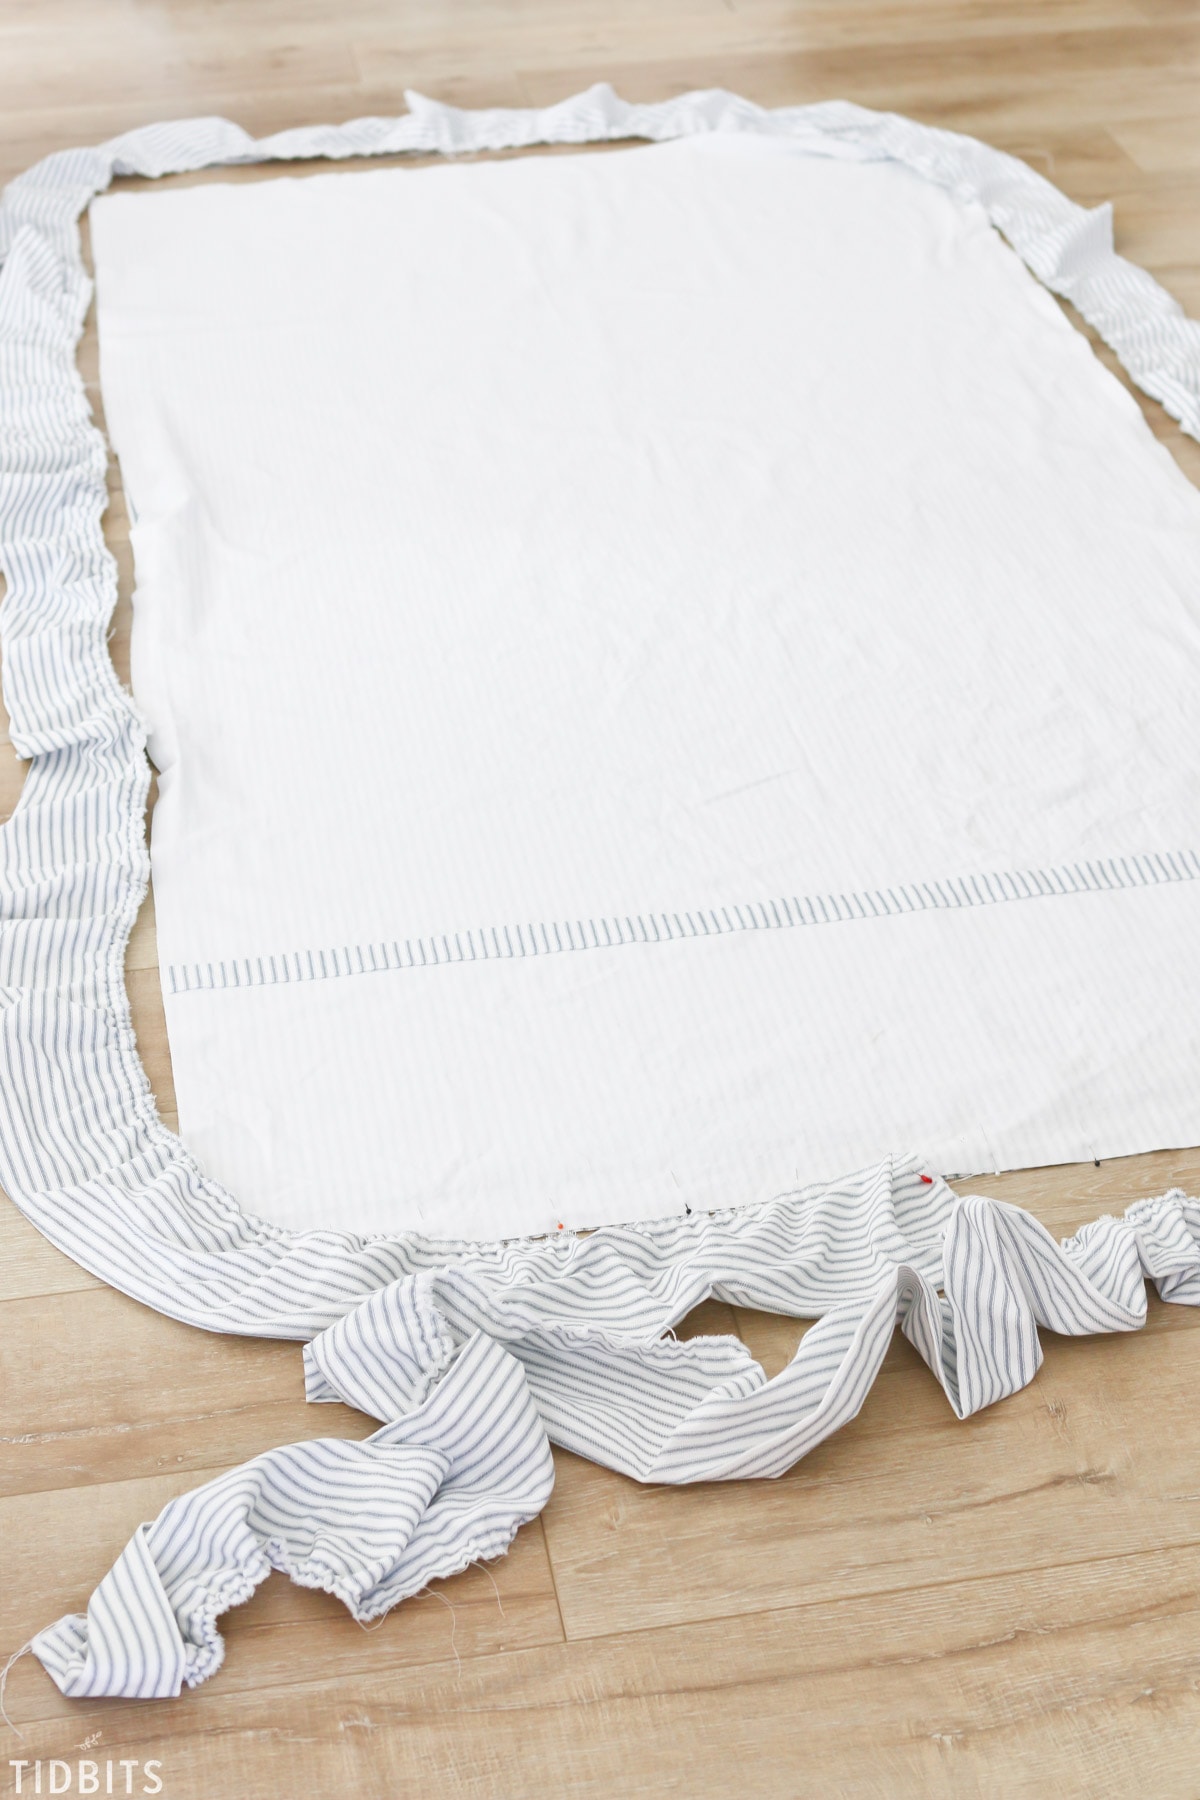
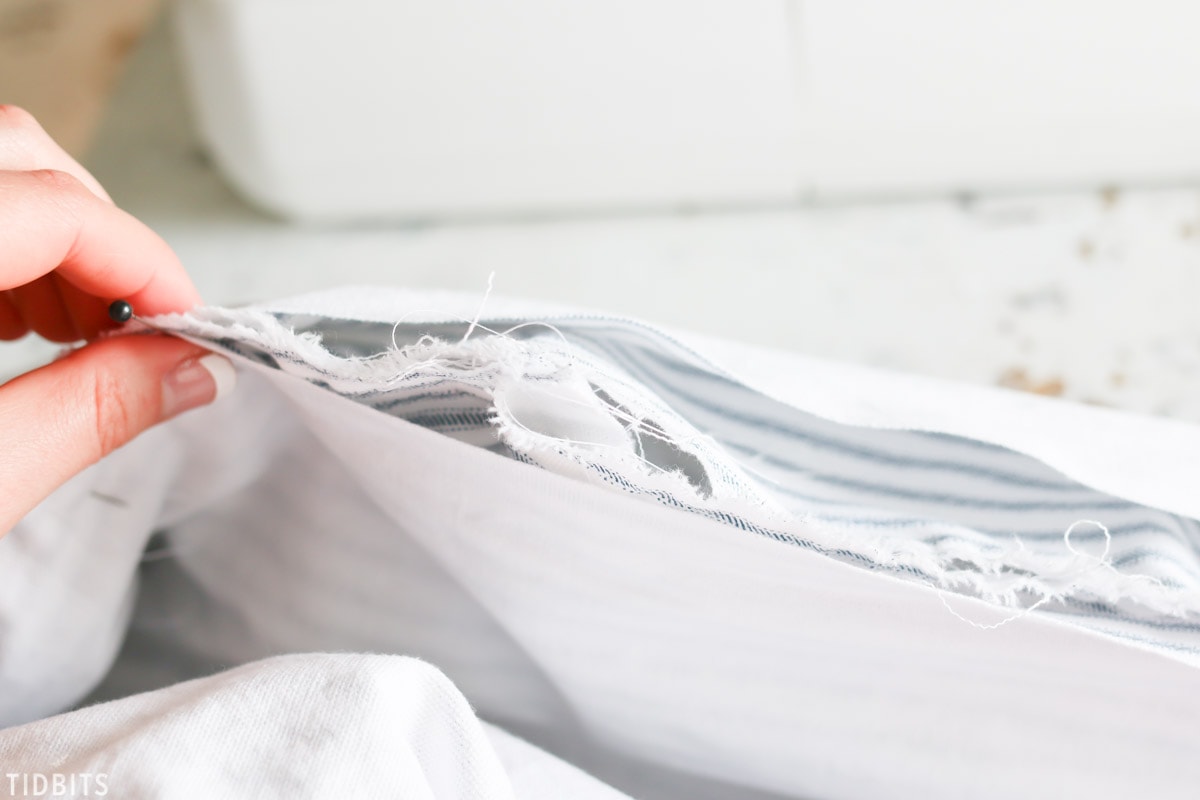
First begin to pin the ruffle inside the 2 layers of the cover, all the way around.
Where the ends meet, leave an opening with the ends poking outside the covers.
Stitch around the entire duvet cover, leaving that opening with the ends.
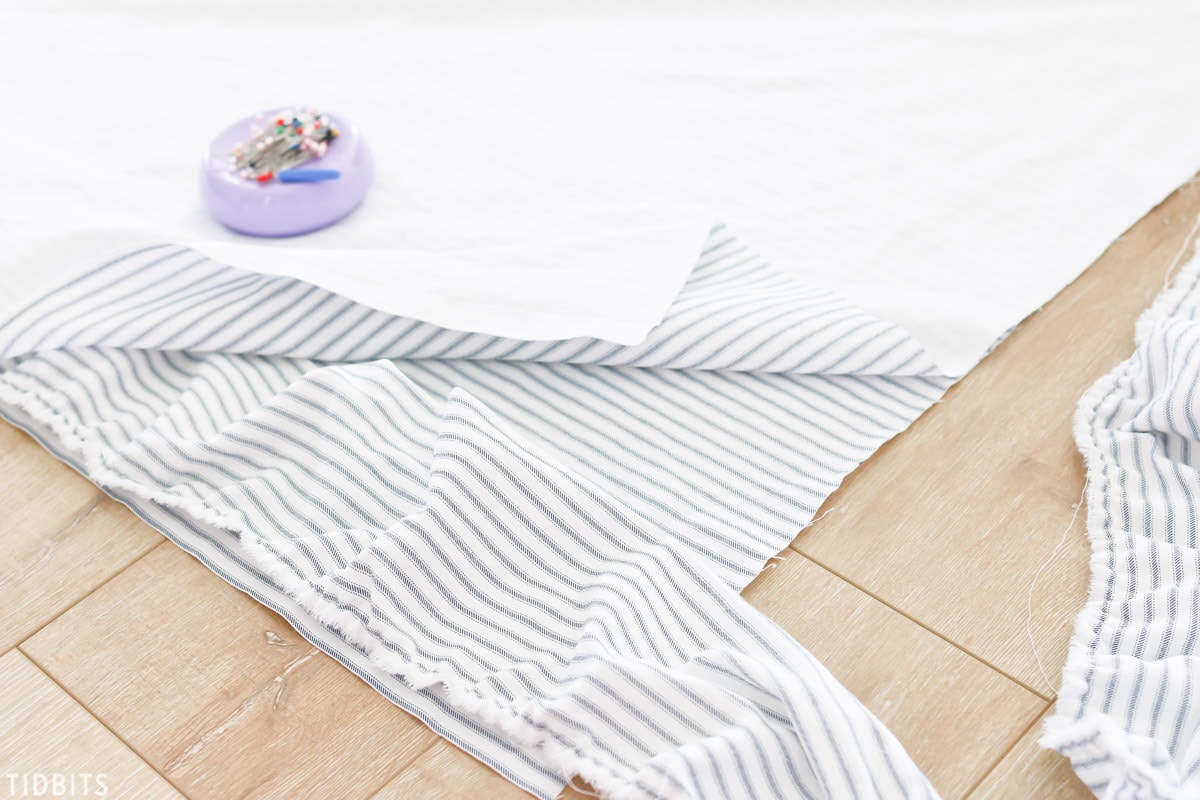
Before closing, open up those ruffle pieces and stitch the ends together, right sides together. You may find you need to cut some extra length off before you do this.
Then you can fold the remaining ruffle again, line the edges up, and stitch that opening closed.
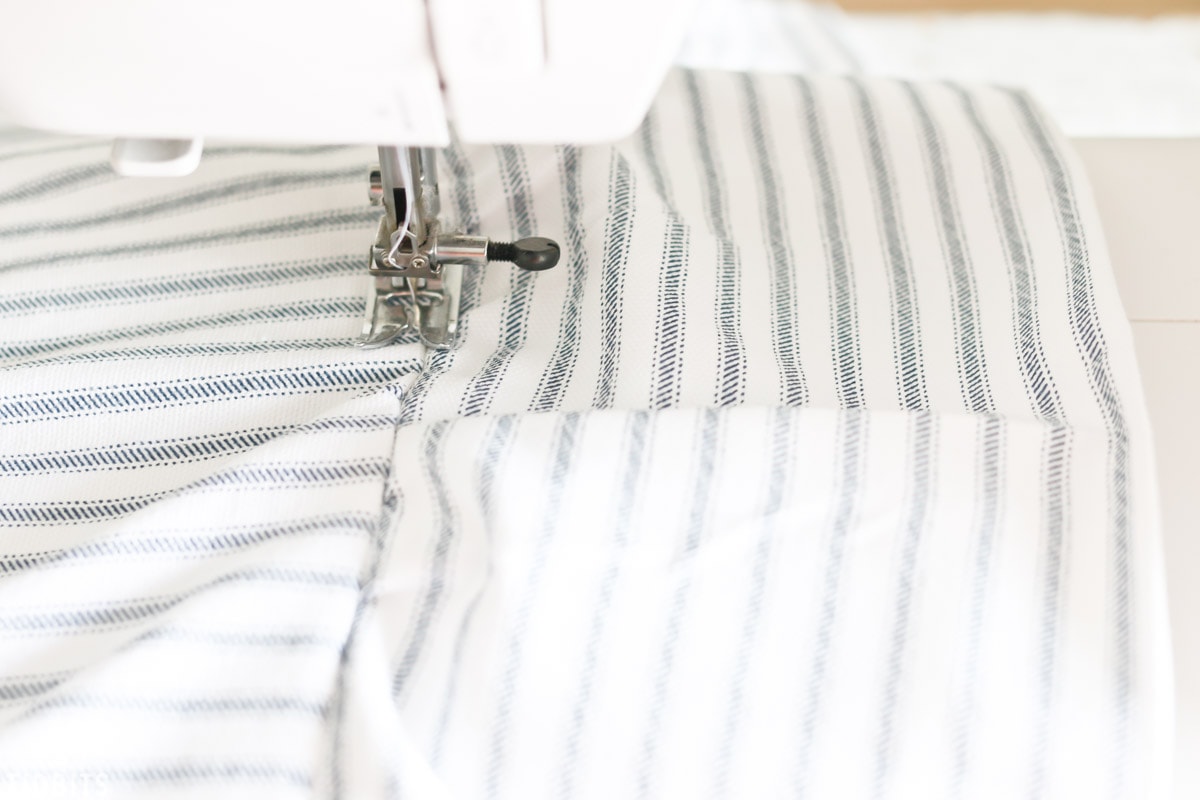
Using the envelope closure opening, turn your duvet cover right sides out. For the best results, press around all the seams and ruffles.
For a finished off look, add a topstitch around the entire edge.
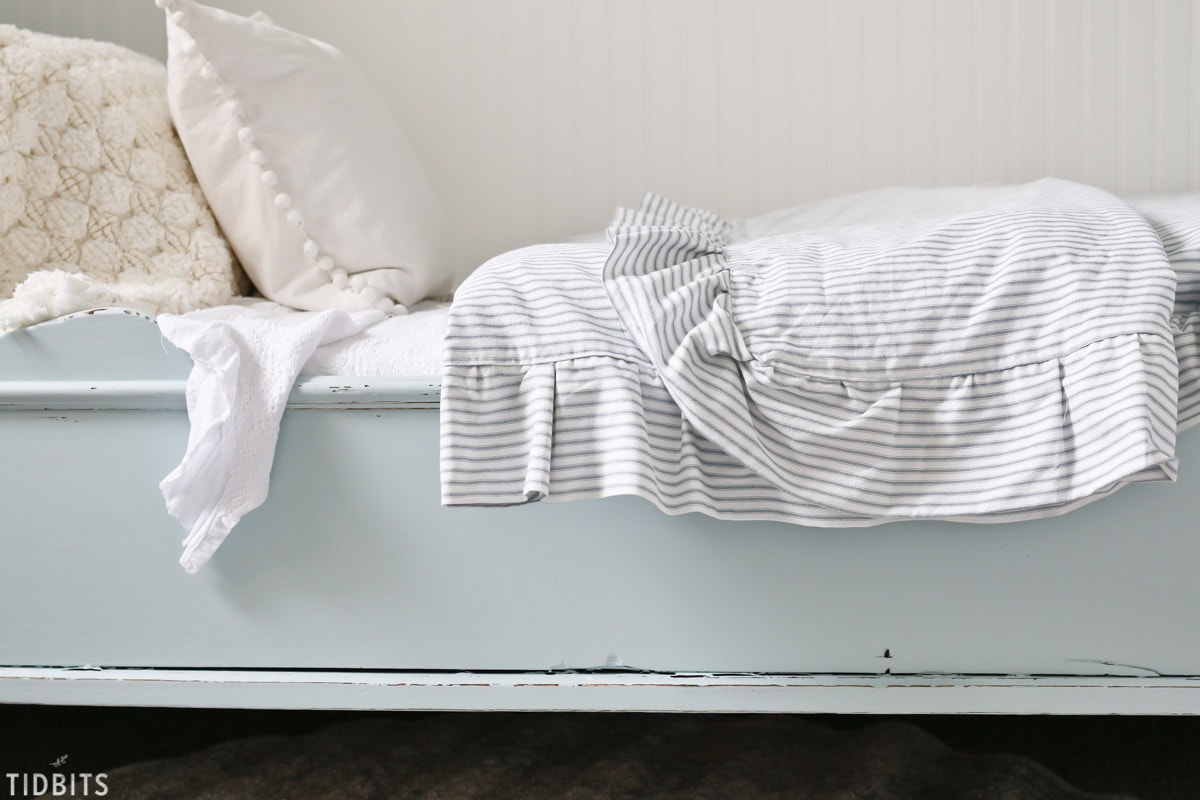
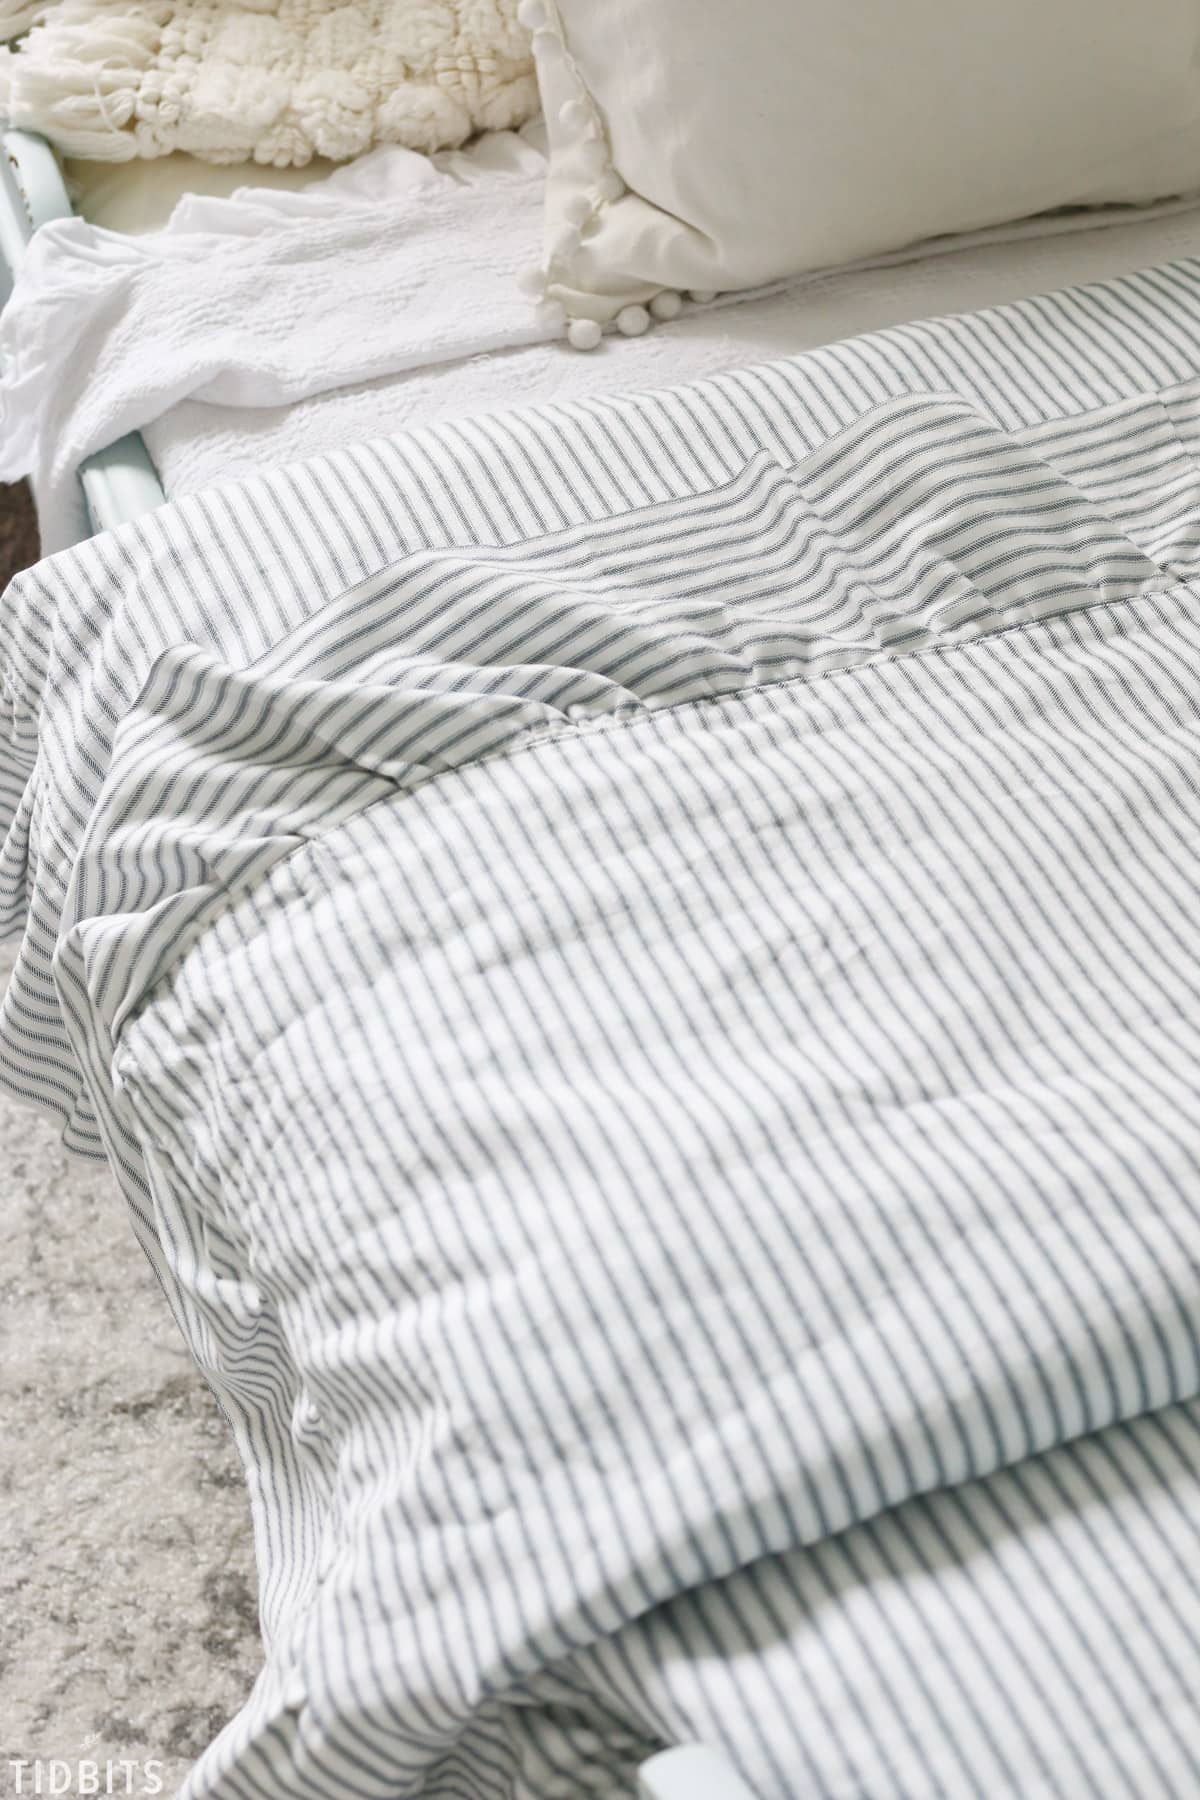
Finally, you can insert the duvet insert and admire your work!
This project definitely takes some time, and is probably suited to the more intermediate to advanced sewer, but the custom results are well worth the effort!
I also shared a zippered duvet cover tutorial, without ruffles, so if it may be helpful for you to review those steps as well.
For more sewing projects here at TIDBITS, start cruising around HERE for more ideas. I’m so grateful I took the time to learn this skill. Sewing isn’t my favorite kind of DIY, but it comes in handy on so many occasions to get the custom look I want in my home. How about you? Do you love to sew, or is it also somewhat of a means to an end? Would you like to learn more sewing basics around here? I’d love to know how I can best serve you!
I hope you enjoyed this sewing tutorial!


Thank you for posting your sewing instructions for the duvet cover again! I inherited my MIL’ s sewing machine and I would love to make something like this. You are so good at so many things. Thanks for your blog.
Marsha
Thank you Marsha! I loved your comment!
Okay, adorable. But that crochet or knitted pillowcase. Where do I get a pattern for that. ?
OMG I love that duvet cover! I wish I could sew. That bed is dreamy!
Ticking and ruffles . . . they are just meant to be 😉 . So glad you enjoyed it!