How To Make A Niche Wall Shelf
If you've been following along over on Instagram for the last couple of months, you'll know I transformed a beat up bookshelf I salvaged up at my local tip shop into a DIY Niche Bedside Table. I’d had the idea of making my own Mediterranean slash Moroccan inspired niche for months and it was a fun project that involved cardboard, expanding foam, joint compound and paint. It went a little bonkers on Instagram and I knew I had to make a version for the wall on our front deck.
For this version of the DIY Niche, I didn't have a base structure to work with like I had for my the bedside table. I had to build it from scratch, but honestly, it couldn't have been easier. This time it involved MDF and packing peanuts - no expanding foam. I wanted to experiment with an alternative to expanding foam to keep the structure sturdy and the voids in-between the niche's strong. I found that the expanding foam tended to alter the shape of the niche's and it's quite heavy when it's dry, so I spent a long time trying to figure out what else I could use. I was in my studio one day and started staring at a large bag of environmentally friendly packing peanuts that I use to pack orders for my little online store. And then it clicked! These would be the perfect replacement for the expanding foam. And as they say, the rest is history. Read on to find out how to make a Niche Wall Shelf. As always I have included all the materials with links and steps. And make sure you watch this video (which went a little crazy over on Instagram) to see how it all came together! Hint: Lots of fun!
Materials
2 x MDF sheets (1800mm x 450mm)
Wall brackets from Bunnings
16mm screws for MDF
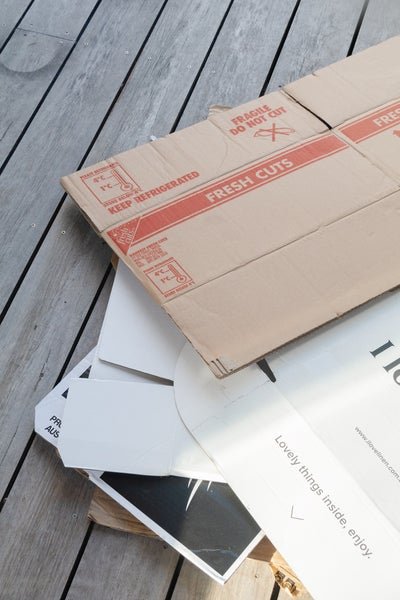
Cardboard boxes (old ones are great but you can also buy new ones from Bunnings or Officeworks)
Painters tape from Bunnings
Packing peanuts, which you can get from Officeworks or any packing/supplies business. You could also repurpose bubble wrap, or lots of shopping bags.
White paint (I used Lexicon Quarter by Dulux, which is available at Bunnings)
Paint brush (for corners) from Bunnings
4.5kg joint compound from Bunnings
Selley's Spakfilla from Bunnings
Microfibre rolling brush from Bunnings
Safety gloves, disposable gloves, goggles and a face mask
I also used a detail sander, jigsaw, clamps and a drill for this project.
How To
1. Using a pen and paper, draw out the design of your Niche Wall Shelf. I found this really helped visualise how I wanted it to look like.
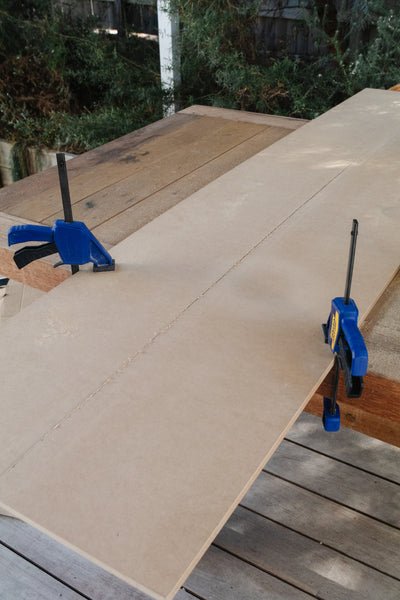
2. Measure and draw a line down the middle of one MDF sheet lengthwise. Fix this to your workbench or table with the two clamps. Cut the MDF down the line using the jigsaw. You will now have two pieces of MDF.
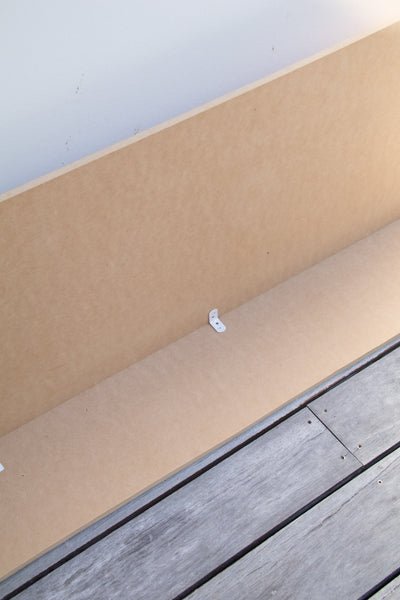
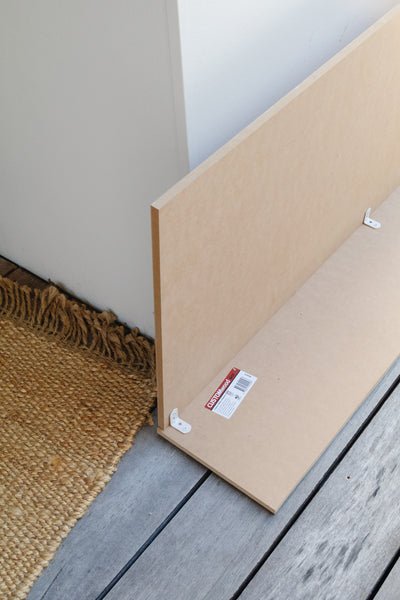
3. Fix one cut sheet of MDF to the other sheet of MDF using the brackets, drill and screws. Repeat with the remaining cut sheet of MDF. This is the back, top and bottom of your Niche Wall Shelf.
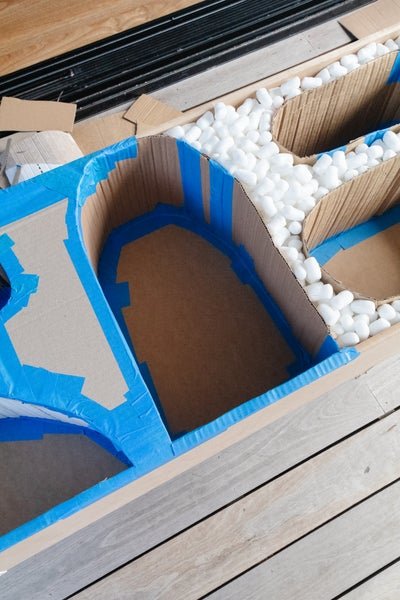
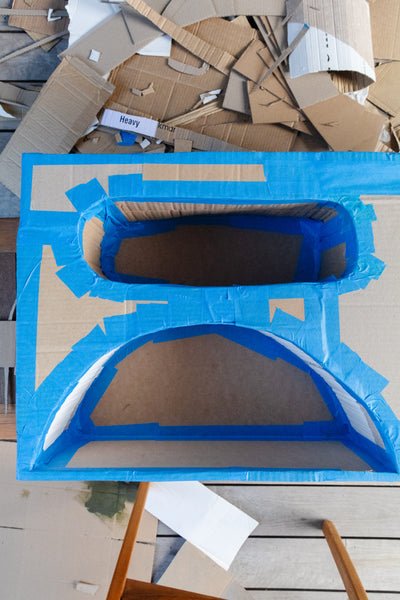
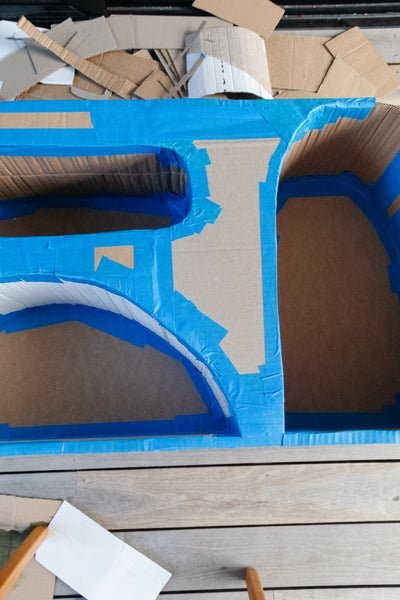
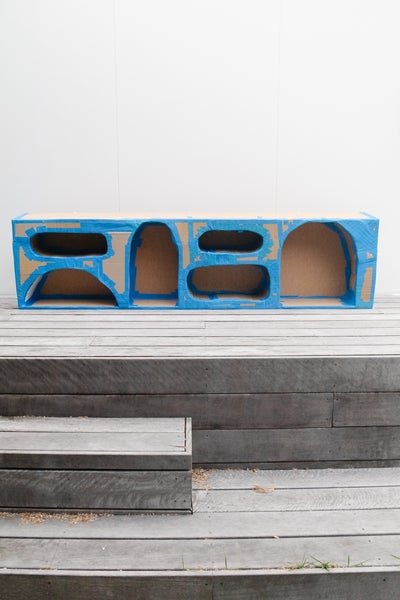
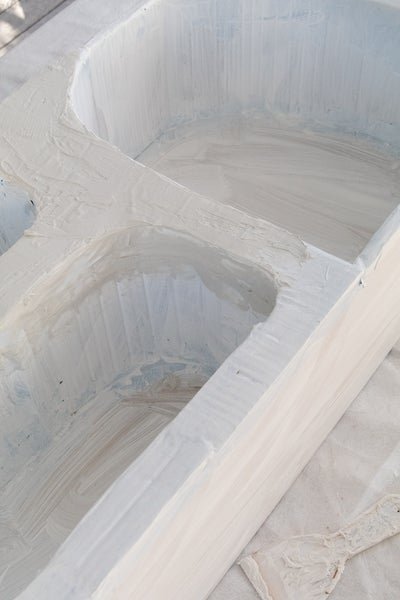
4. Create each niche shape with cardboard and painters tape. Fix it to the structure using more painters tape. Use cardboard to close in the wall shelf on each end.
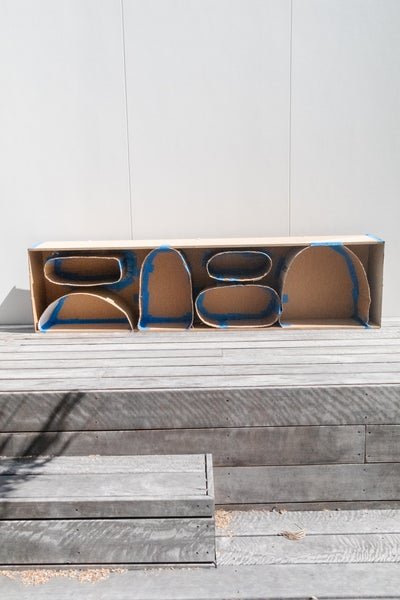
5. Fill the voids firmly with packing peanuts. Enclose the voids using cardboard and painters tape.
6. Lay a drop sheet or an old sheet over your work surface. Paint the entire Niche Wall Shelf with white paint. Set aside to dry.
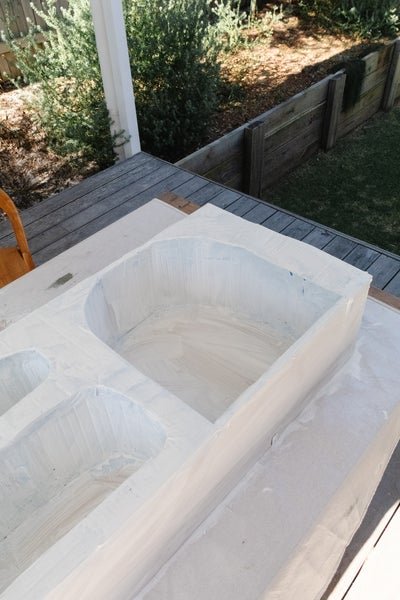
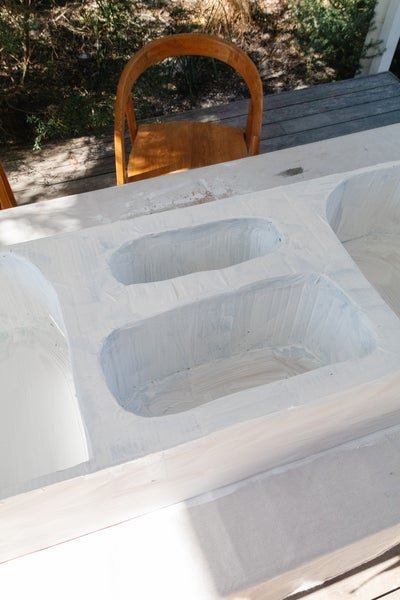
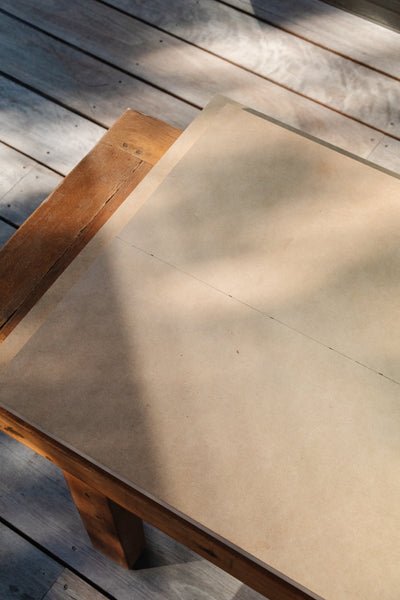
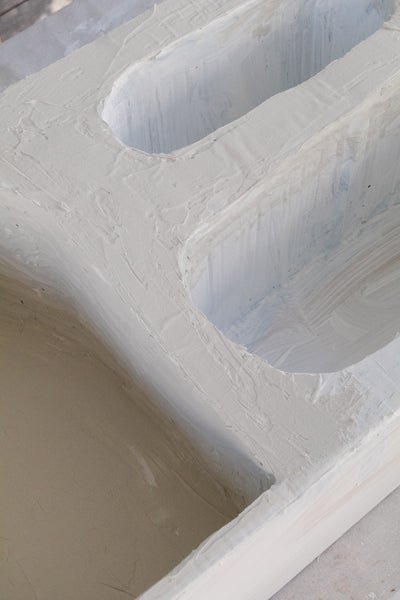
7. Cover the entire surface (not the back) with the joint compound using your hands (wear disposable gloves). Don't worry if it looks scary - you are going to sand it smoothly later on. Set aside to dry for at least 24 hours. The joint compound will dry faster if it's warm, and it'll dry slower if it's cold. Once the joint compound is dry, you may notice some cracks. This is totally ok. Put on some disposable gloves and use the Spakafilla with your hands to fill them in (I found pushing the filling in a diagonal direction worked best). Set aside to dry for at least 6 hours.
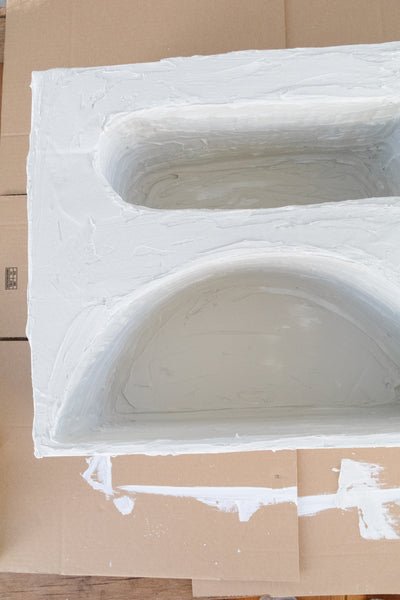
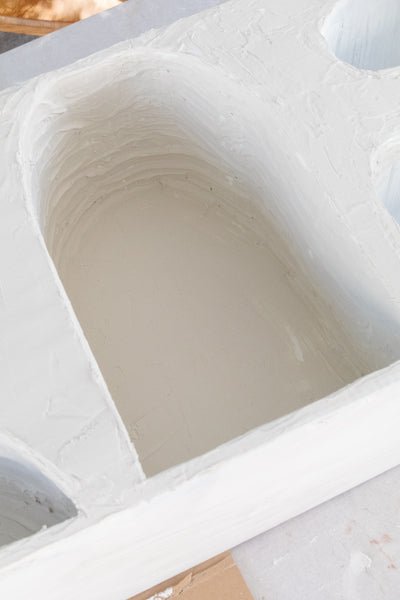
8. When the surface is completely dry, sand it smooth using the electric hand sander. Grab an old rag or a duster to sweep the dust away; this will reveal if you need to smooth it out some more or not. Please wear a face mask for this step.
9. Paint the entire surface with white paint. Set aside to dry. aint the second and final coat. Set aside to dry.
10. To fix the DIY Niche Shelf to the wall, locate the wall studs and use a leveller to make sure the DIY Niche Wall Shelf is straight. Screw at least 3 x 50mm timber screws across the length of the niche into the wall studs through the niche's. Paint the tips of the screws white if you don't want to see the screws.
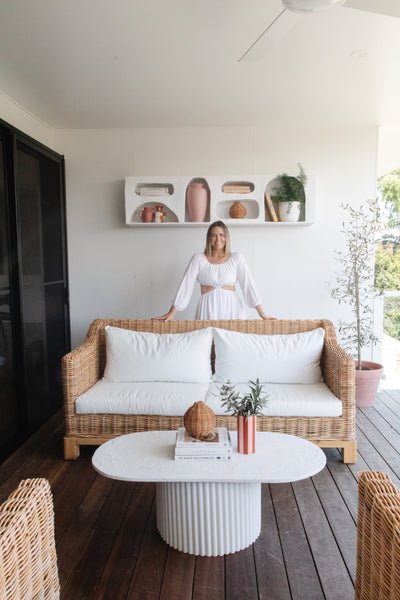
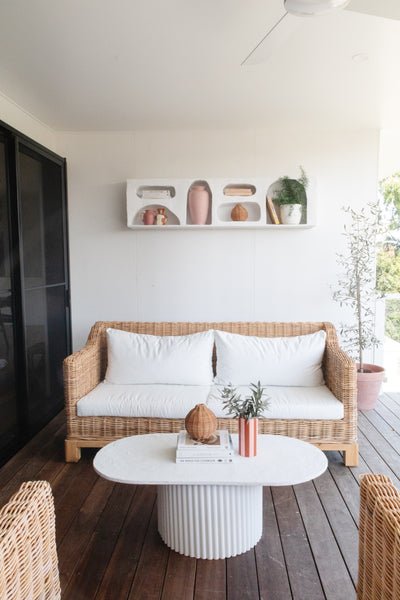
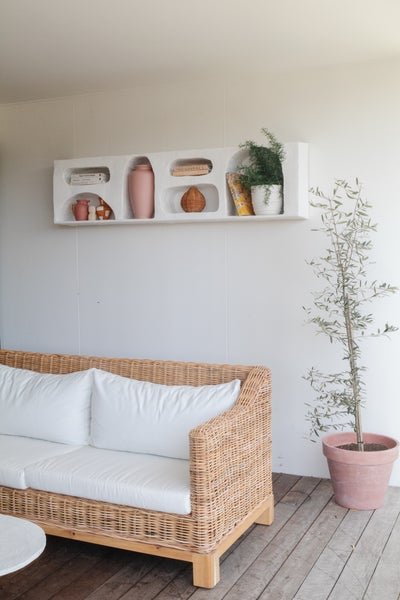
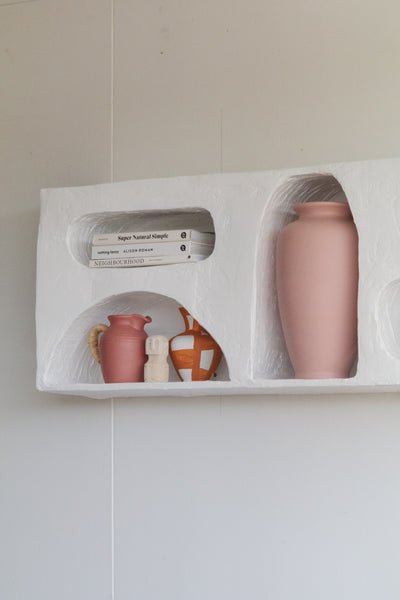
Ta daaaaa! And it's finished!

I absolutely LOVE making this DIY Niche Wall Shelf and I love that I made it from scratch! Being able to use power tools is really empowering and I encourage you to give it a try. I was nervous using my jigsaw for the very first time way back in xx when I made my DIY Wavy Side Table but after one try, I realised it's actually very safe and easy to use. And - not expensive! I feel like there is a misconception that power tools are really expensive, but Bunnings has some excellent entry level power tools for the home DIY'er.
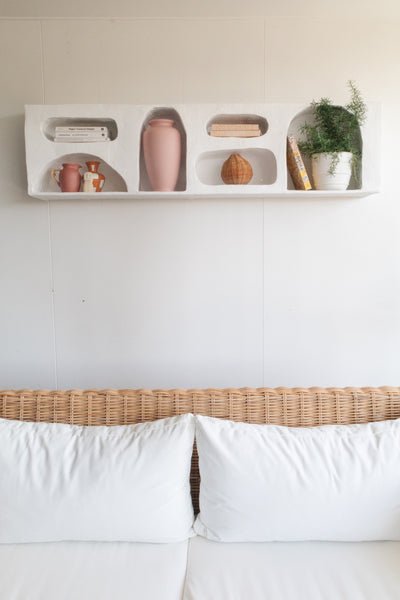
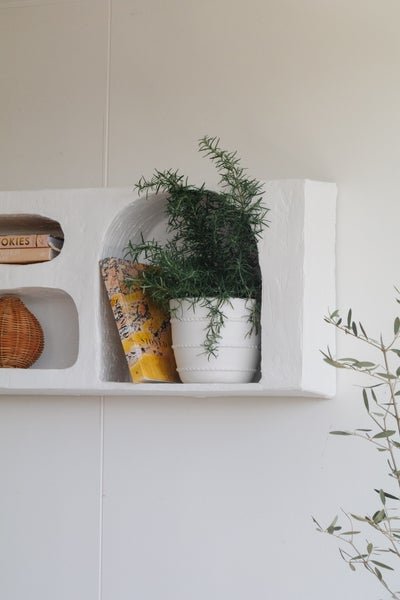
The Niche Wall Shelf has made our front deck look absolutely beautiful and I love it when the sun hits it in the afternoon. It shows off the gorgeous texture from the sanded joint compound. I am also loving the Mediterranean vibes it's giving us day in, day out. I've been having a lot of fun mixing up the styling. My big potted rosemary is a mainstay (and makes our front deck smell utterly delicious), and I've been creating a lot of joy styling with cookbooks, vases, potted lavender, vessels and the like.
Not sure about drilling holes in a wall? Don't stress!
One of the best things about this project is that if we ever want to take it off the wall, it's actually very easy to do. Simply remove the screws with the drill (by turning it on in reverse) and use Spakfilla to fill in the holes left in the wall. Very easy!