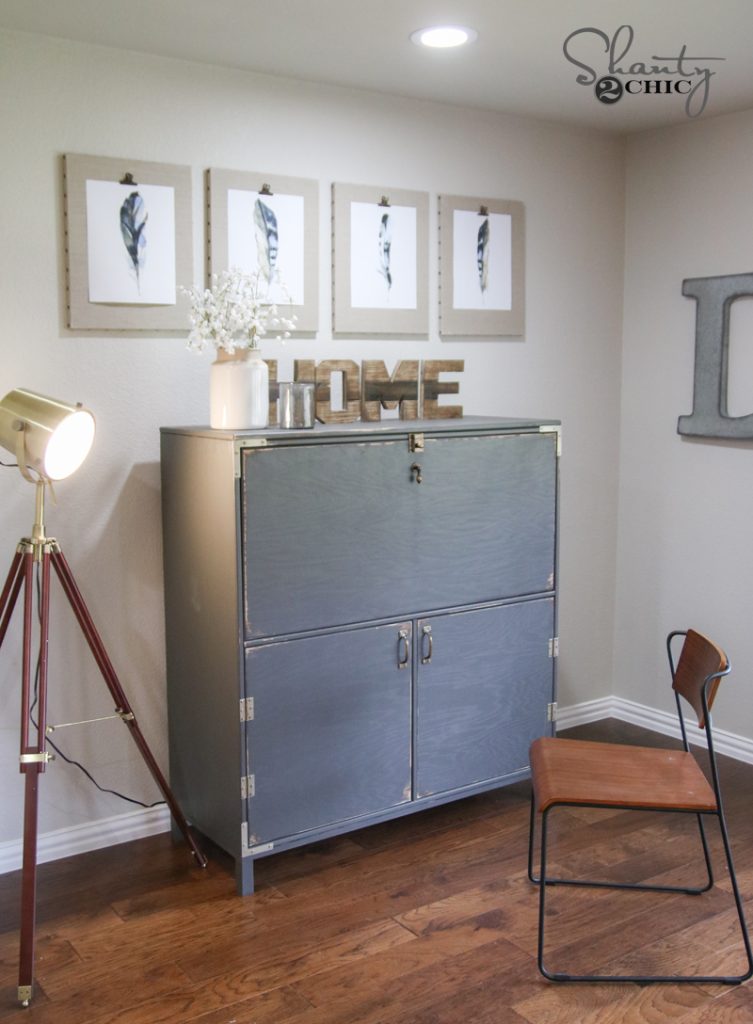
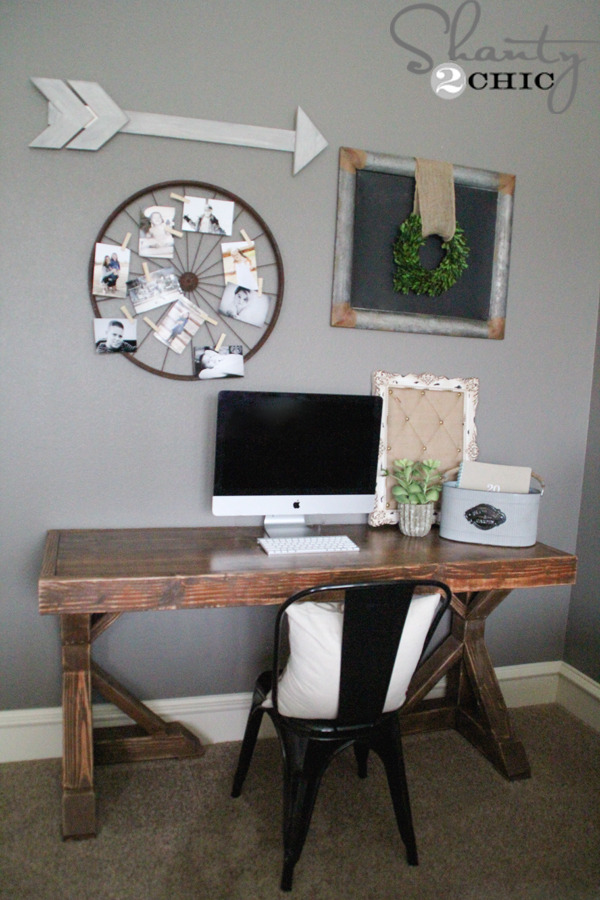
Happy weekend guys! It’s Spring Break here and this mom couldn’t be more happy. I am looking forward to sleep and no teacher emails… And I am sure that they are looking forward to not emailing me! Today I am sharing the AMAZING secretary we designed and built for the Davis family on HGTV Open Concept. Their “office” space was in the middle of their living room, and we wanted to give them a way to hide the papers and stuff and really have a beautiful functional space. So, check out our solution! Here is the DIY Flip Top Secretary we designed!
How pretty is that?! It’s a beast. I love everything about this piece. Before I get started, be sure to download and print the FREE PLANS by clicking HERE!
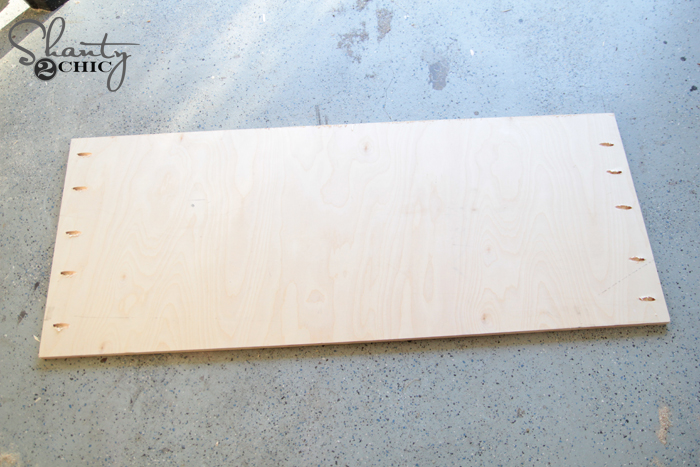
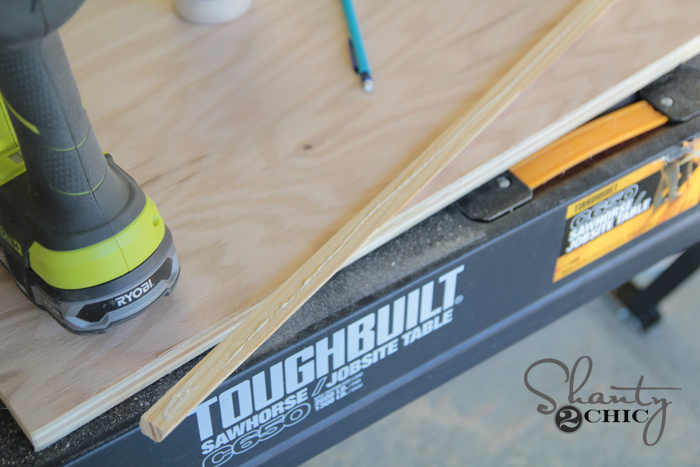
The majority of this pieces uses hardwood plywood. I used PureBond Plywood from Home Depot to build mine. I had the guys at Home Depot rip mine into wide boards as indicated in the plans and I made the cross cuts at home with my miter saw. That allowed me to get it in my car to get it home.
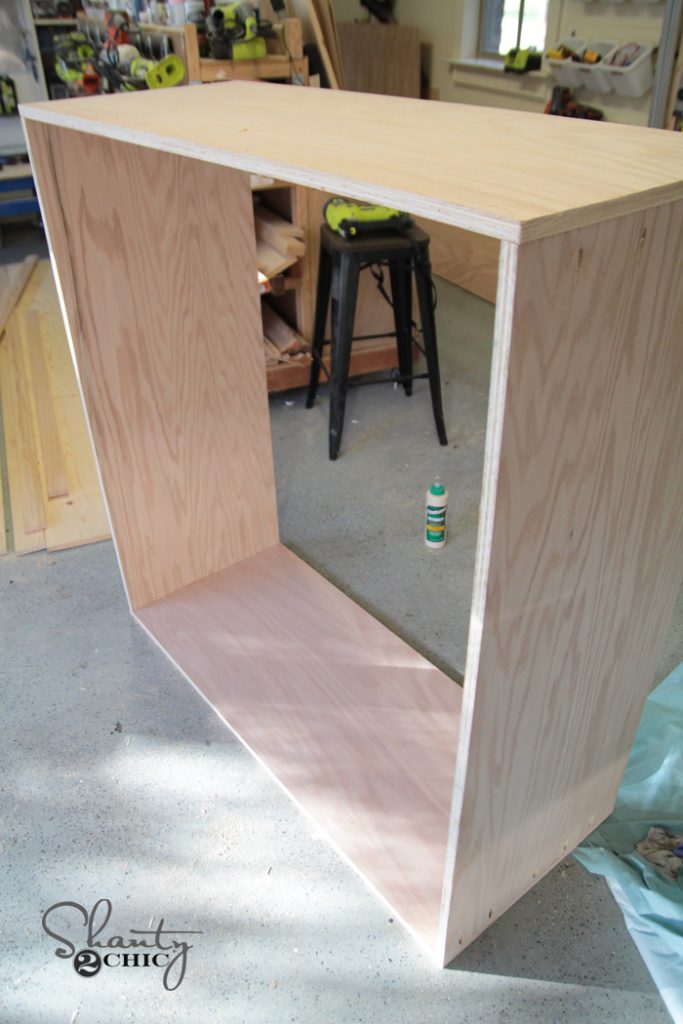
I started by building the box or frame of this piece. This uses 3/4″ pocket holes and I attached everything with wood glue and 1.25″ pocket hole screws.
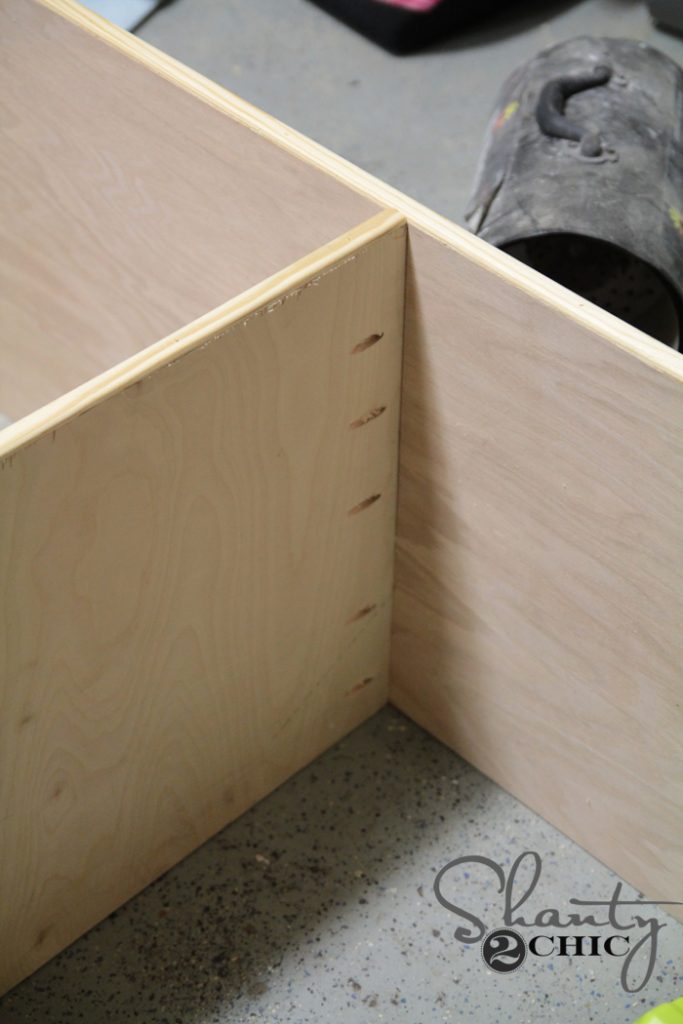
Below is a shot of the piece on it’s side. You can see the pocket holes facing where you won’t see them.

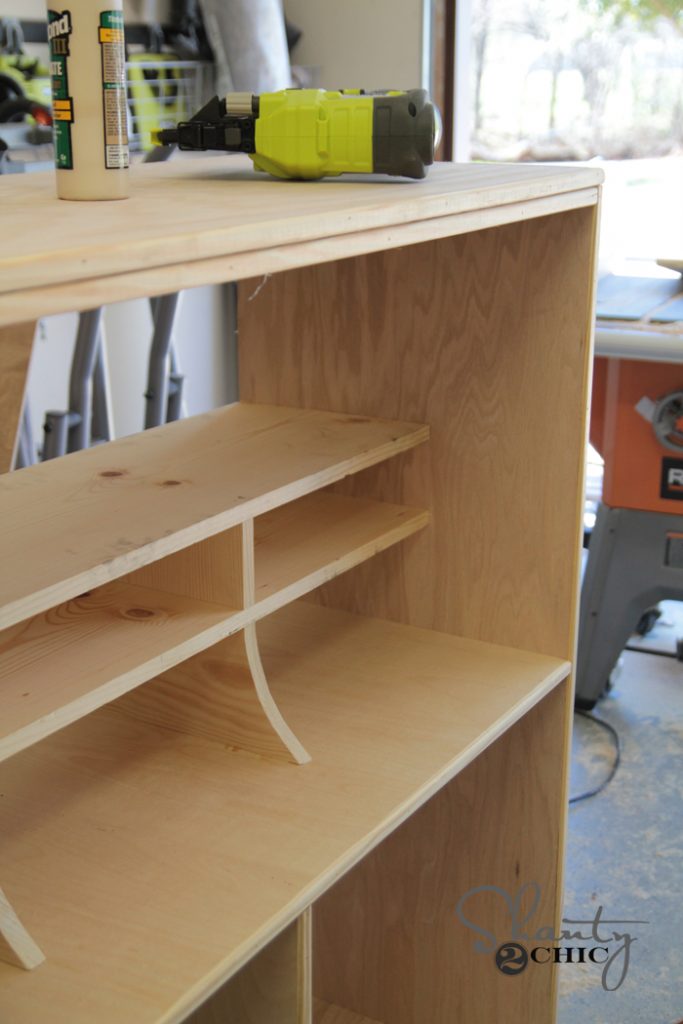
Now for the shelves. These too will be attached using wood glue and 1.25″ pocket hole screws through the pocket holes.
I also nailed and glued the center of this board down to the bottom door divider.

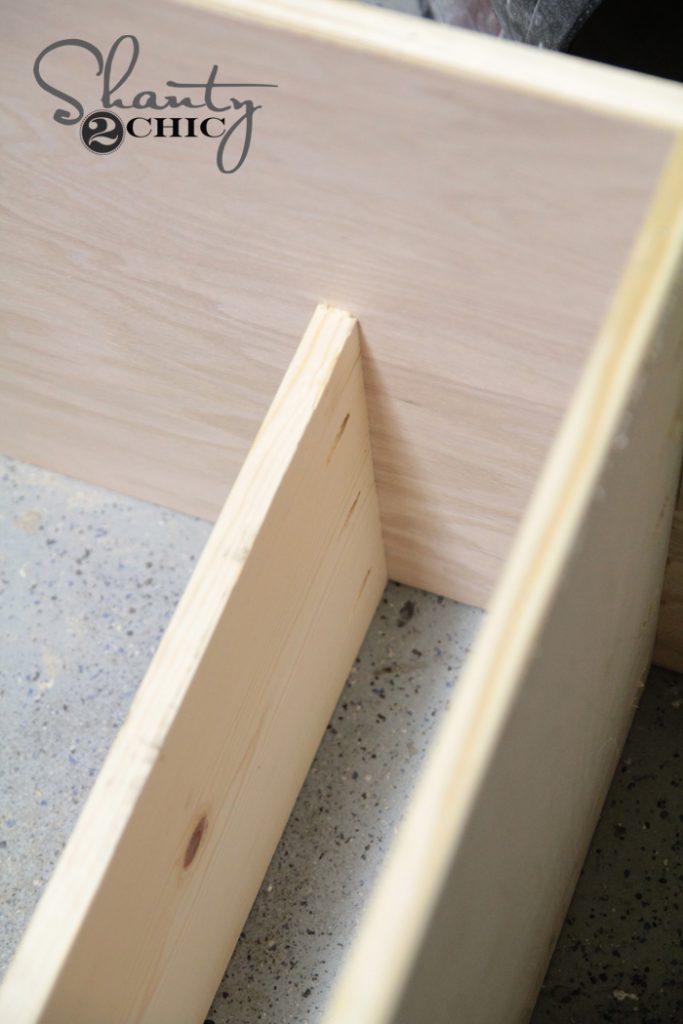
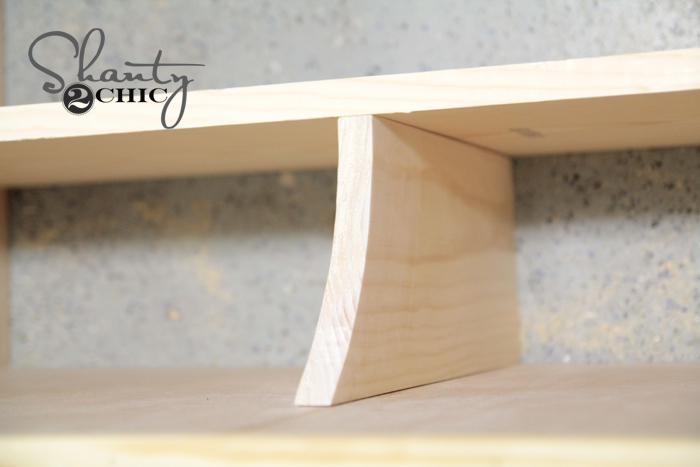
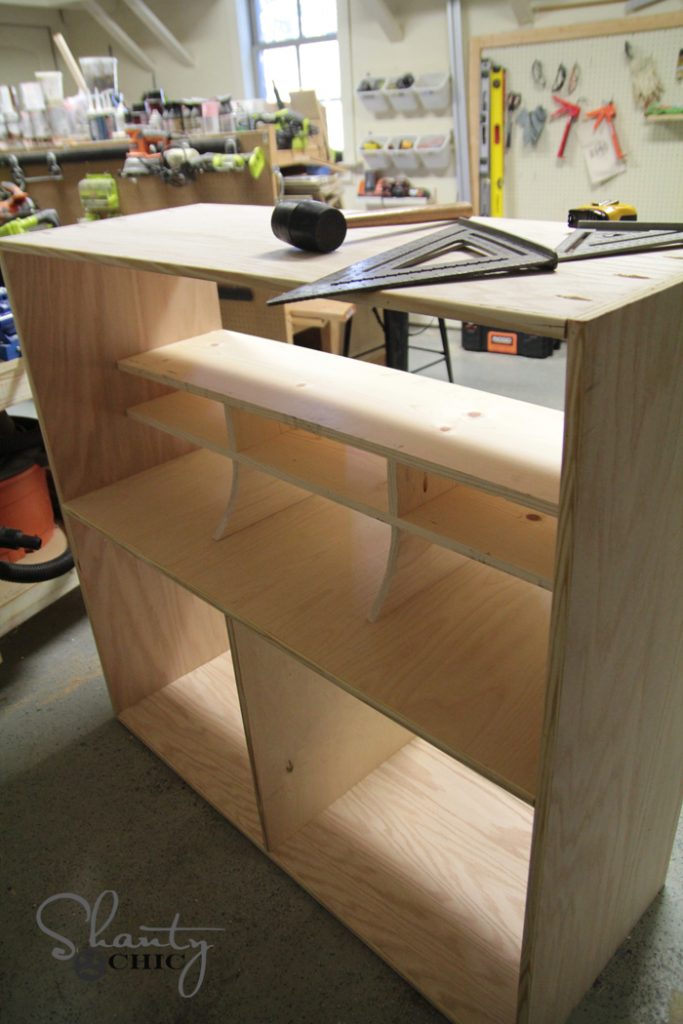
The dividers for this shelf have a fun arched design. This just adds some character to the piece when the door is open. Use a jig saw to cut the rounded edge of each divider. I attached them using wood glue and nails.

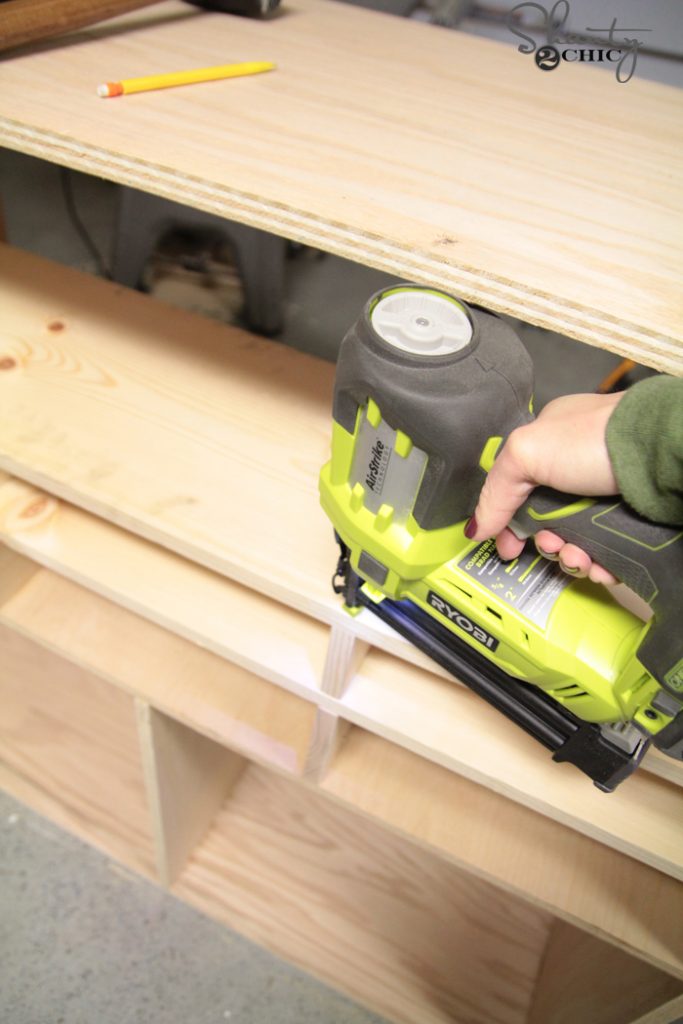
I nailed the top board in place to each divider as well.
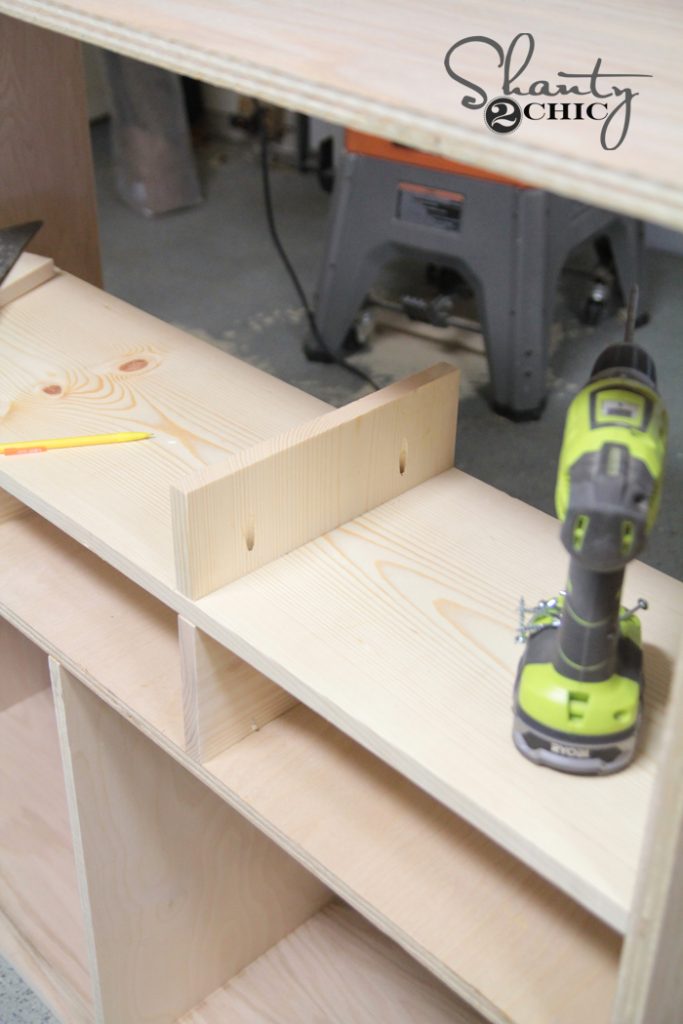
The second smaller dividers are attached with pocket hole screws into the first shelf. You can see these are attached upside-down.
The top shelf board is also attached with pocket holes on each side and nailed to the dividers. Make sure to add glue to all your joints!
At this point, your piece should look like this!
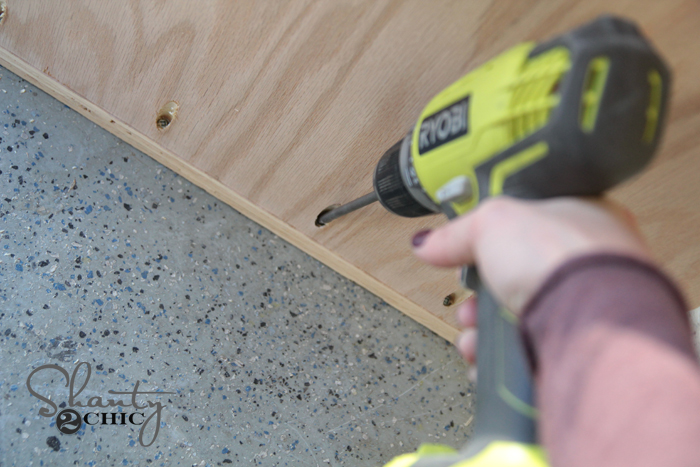
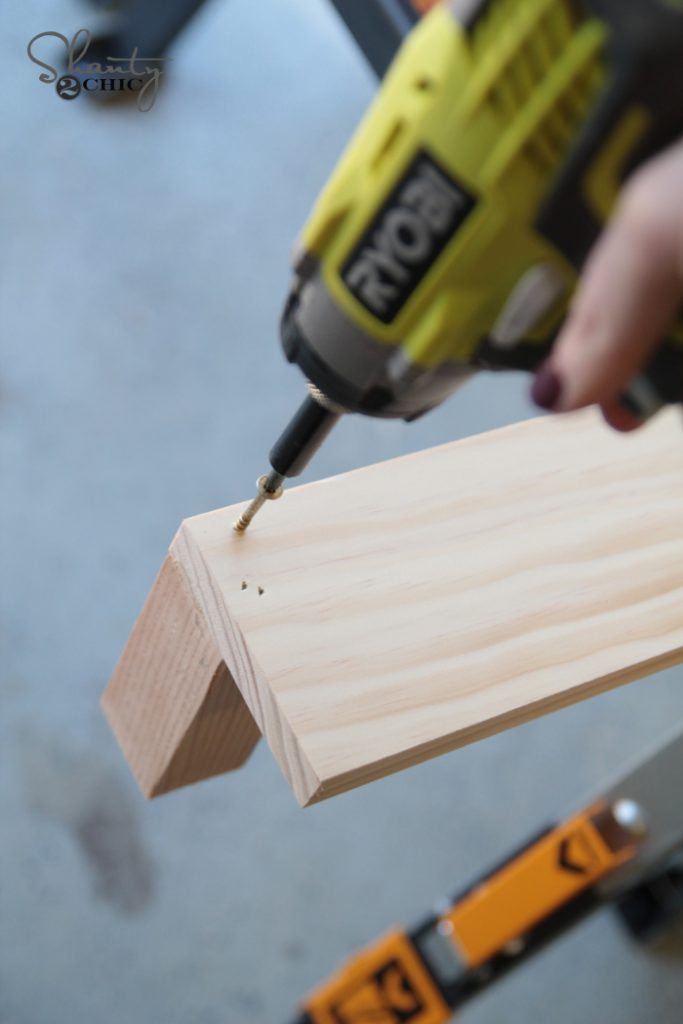
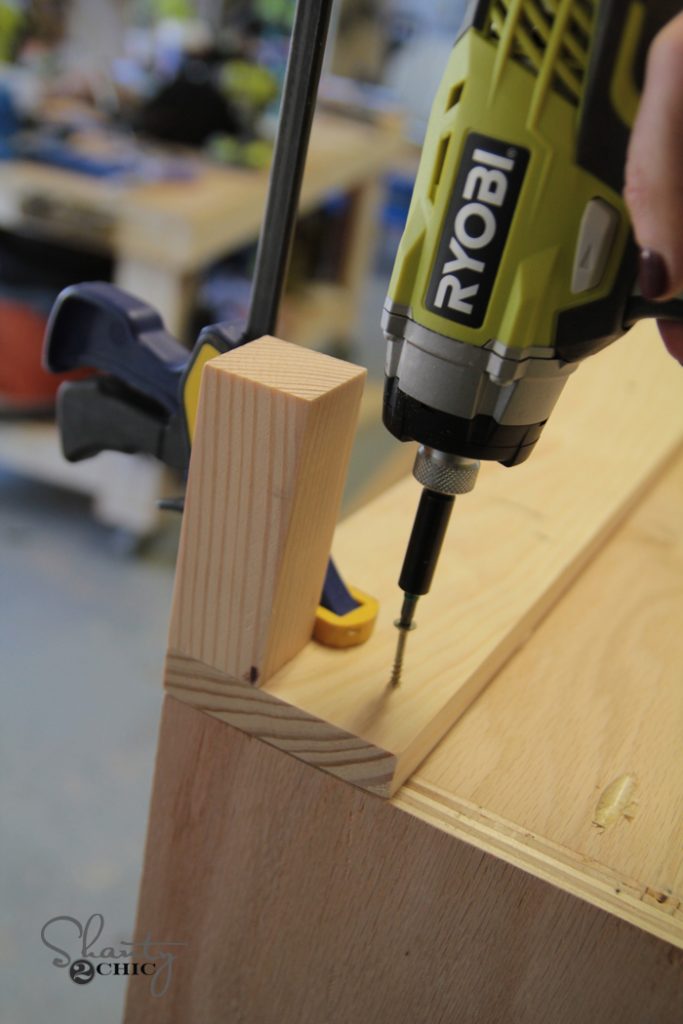
I built the base of the secretary next. This is 1×2 pieces cut to size for the feet and attached to boards. I used my impact driver to make this part easier, but you can also use a drill. Make sure to use wood glue under each foot!
Once I had the leg assemblies built, I attached those to the base of the piece using wood glue and Spax screws.

Finally I trimmed the whole thing out. I used a small thin trim I found at Home Depot for this part. I just glued and nailed everything in place using my 18V brad nailer.

Once I trimmed the piece and the doors, I attached them in place as well.

The plan links to the hardware you will need for the inside of the door.
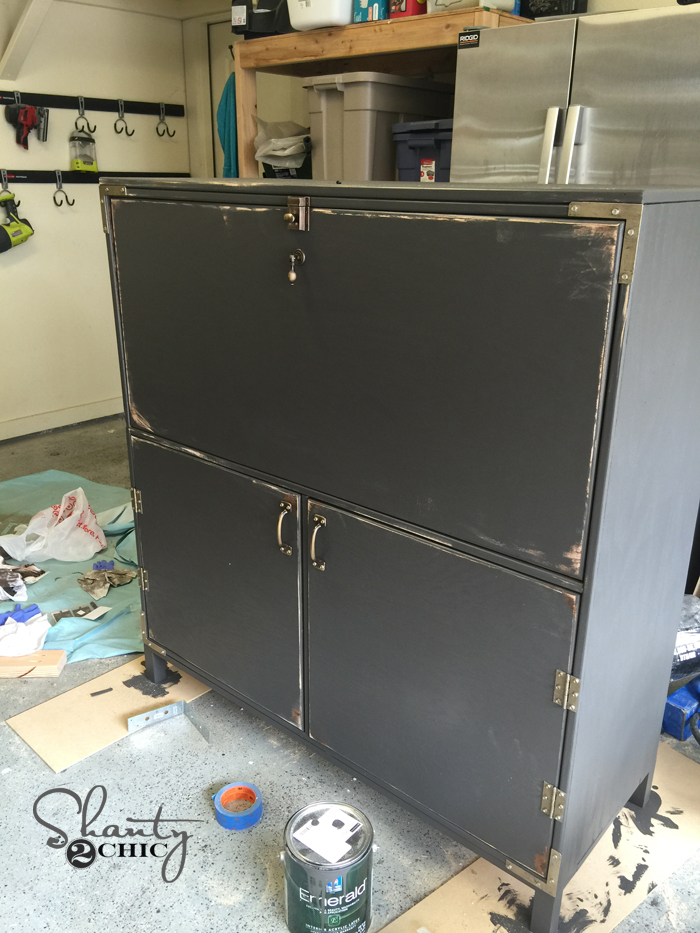
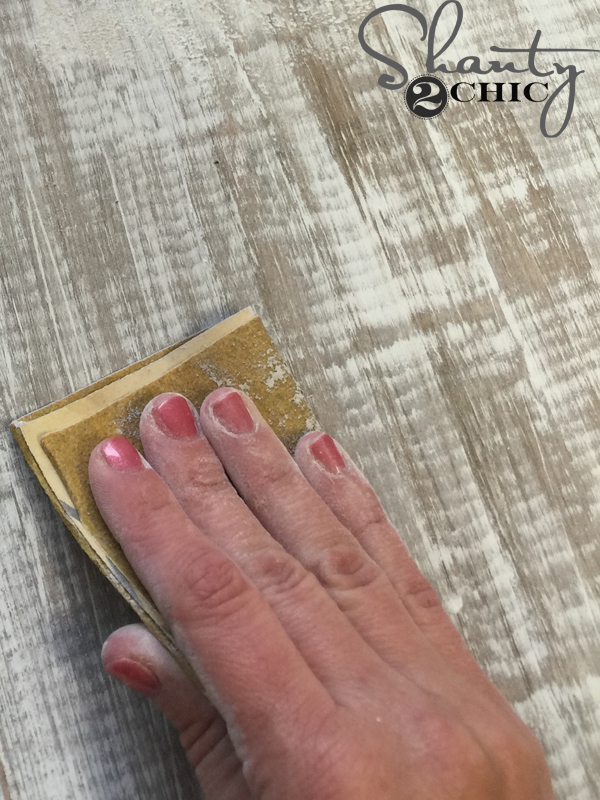
Because I chose to paint this piece, I filled all of my nail holes with wood filler and sanded them lightly before painting everything. I also wanted to distress it just a bit, so I used stain on the edges and corners before painting it with paint. I also stained the inside of the secretary so it would be pretty when you opened the door. After the paint dried, I used a sander to lightly distress around the corners and edges.

I used one of our FAV colors on this piece… It’s called Urbane Bronze by Sherwin-Williams. The stain color is Dark Walnut by Varathane.
The L brackets and strap hinges are all from Home Depot. I bought them in silver and spray painted them gold to match the other hardware.
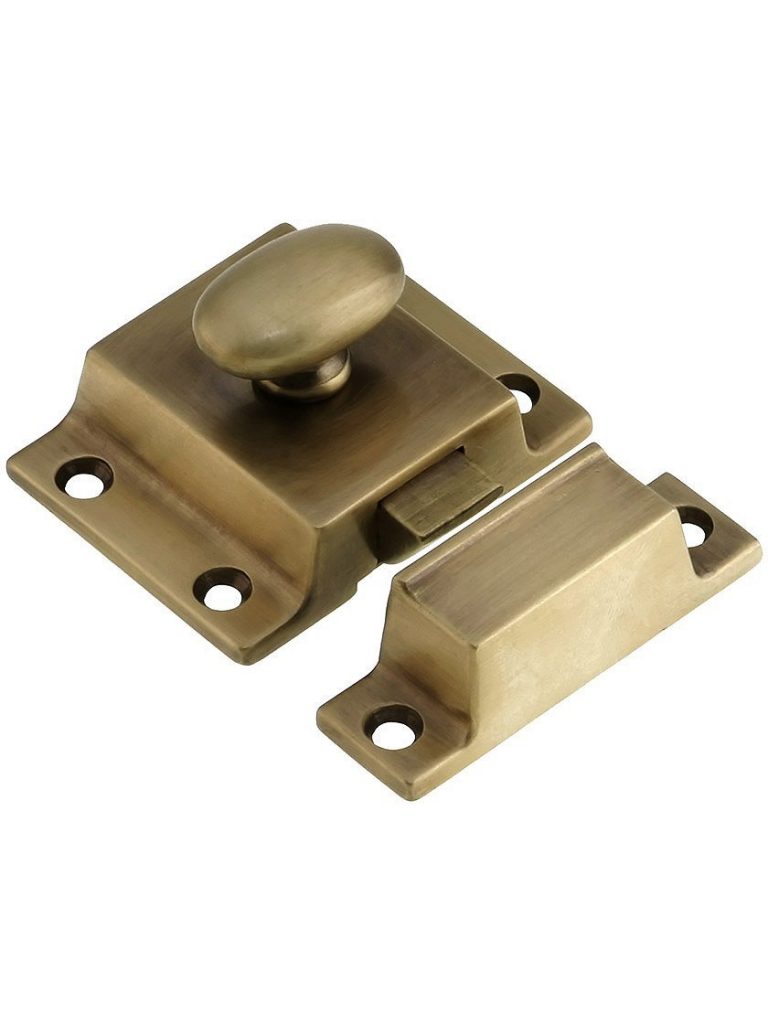
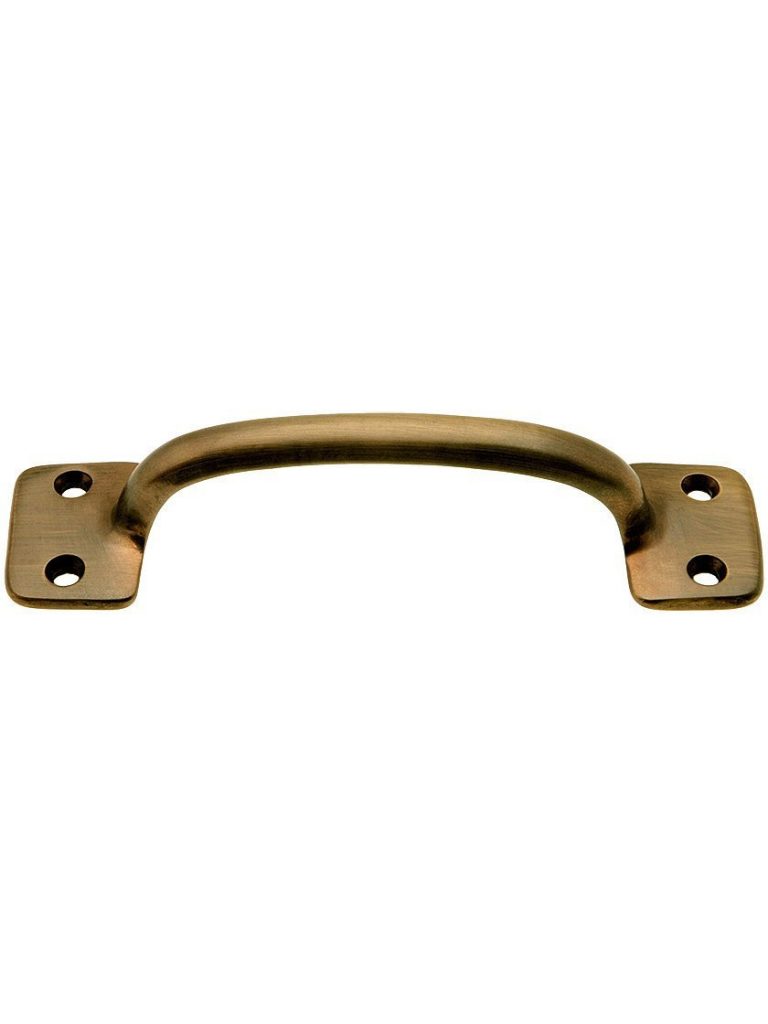
Here are links to the other hardware I used! I found all these goodies at House of Antique Hardware and I am including links to them on Amazon.

And here she is all finished up!


***** Fabulous clear detailed instructions. I have 2 Ikea Besta units that I can create this with. I am looking forward to starting this. Thank you!
This is a very valuable post that you provide. Thanks for sharing it.
Just added to my ‘build’ list… need a new desk now that I’ll be working from home, and don’t want my monitors sitting on my dining room table. Going to forego the insert on this desk and use the space for my monitors, with the ability to hide them when I’m not working. Now I just need to find a couple of days to take off and complete the project when it’s not 110* outside!
You make my dream real. I’ve got a space crisis in my home and looking for the same secretary desk. Your plan on building this makes my task easy. Thanks for sharing it.
Great work! Congratulations.
This was nice when I thought it was just a paint/stain job… then to find out you built it! Wow! Incredible work, it’s so inspiring. =)