
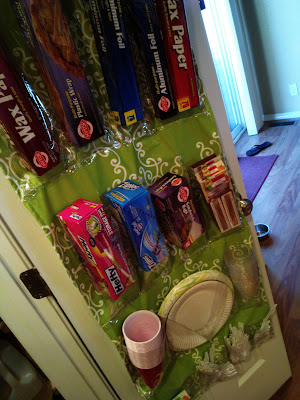

Does your pantry look like this?????
I hope not, but if it does.....this Tutorial is for you!!!

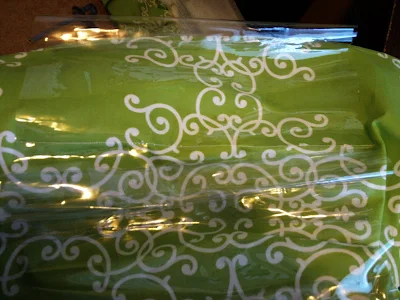
First, pick some cute fabric (you'll need a 2 ft by 3 ft piece. I purchased a home interiors fabric, they are a little thicker.), some thick interfacing, and some thick plastic film.

Iron the interfacing onto the wrong side of the fabric.

Hem the 4 edges. The two sides should be about 1/4 of an inch and the top and bottom about 2-3 inches.
Now grab all your boxed kitchen items. This will help you to measure.

Measure all the boxes and add about 1/2 on both sides.

Take the film and pin it to the fabric. You can also place the box underneath the film to help make sure everything measures correctly.

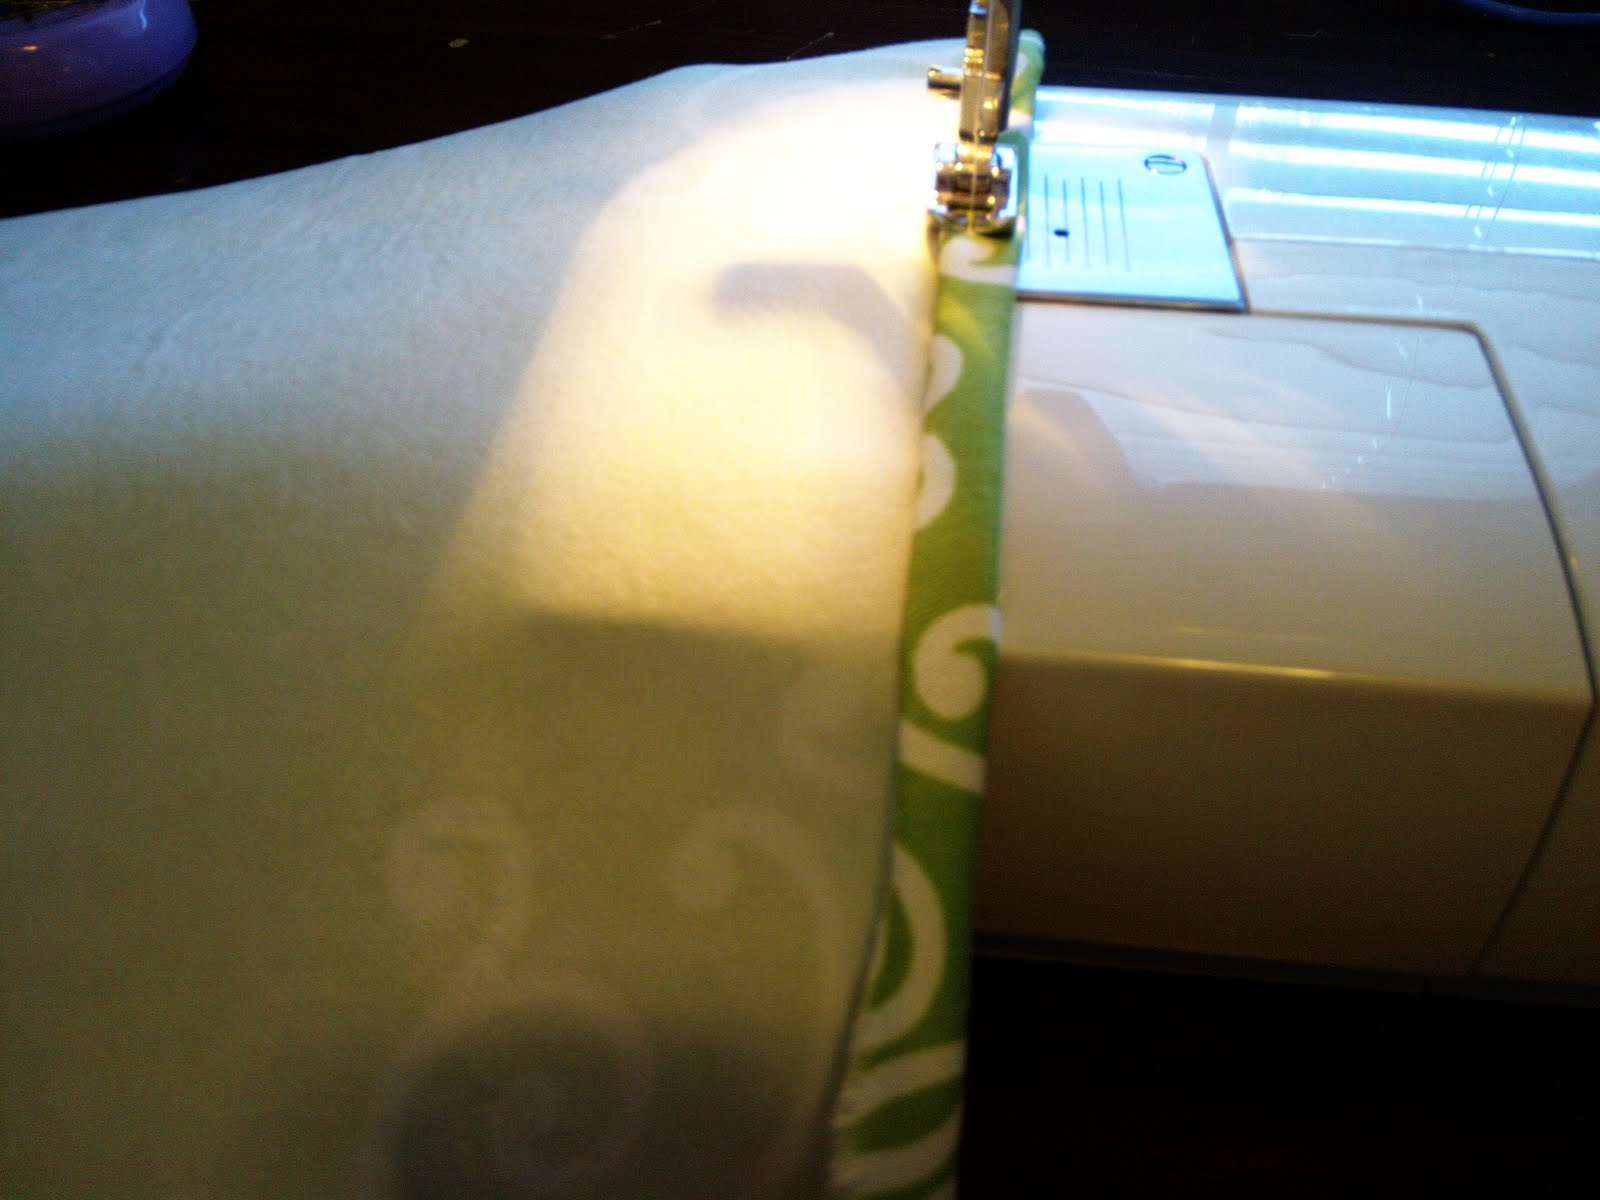
Sew down the plastic film. Your machine may stick, so find some paper to help you push it through.
Now fold the bottom and pin it. Sew across.

Notice the paper on the bottom. I used it to help me sew across the bottom.

Then you just pull the paper off. Continue sewing the film to the fabric until you have all the rows you need.

At the top, sew button holes to hang up your organizer.

Now hang it up on the inside of your pantry door. (Or wherever it fits in your kitchen)

I love that my plates and cups fit in it too!!

It is amazing how moving all this stuff has made some much more room in my pantry!
Now it's your turn! Good luck!!!
Check Out the Link Parties I participate in HERE


