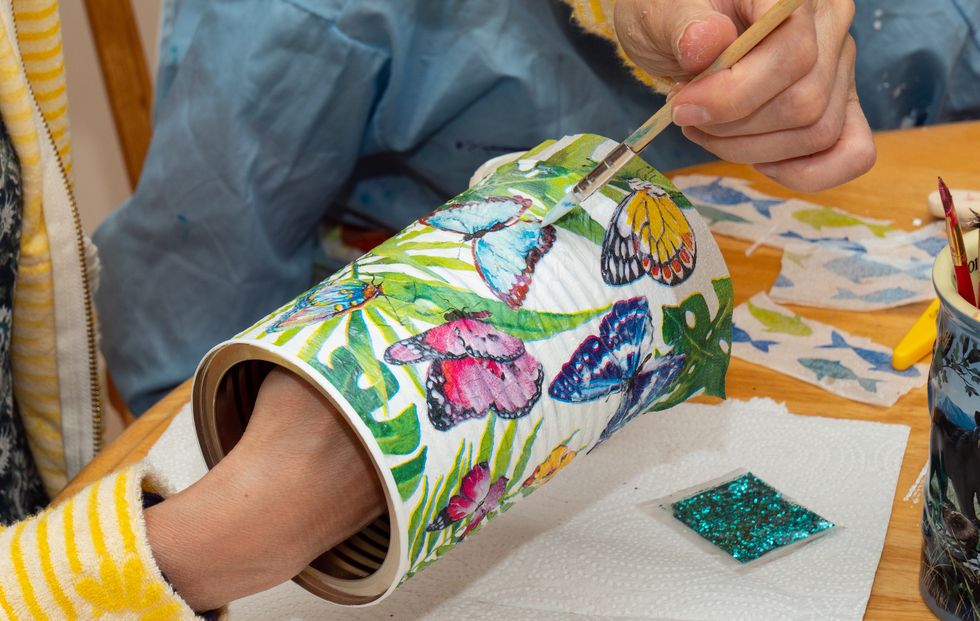
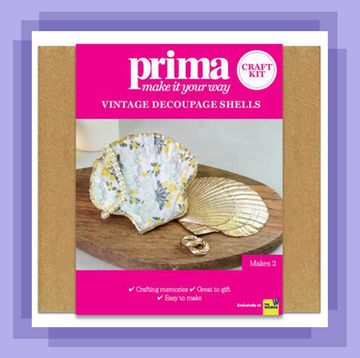
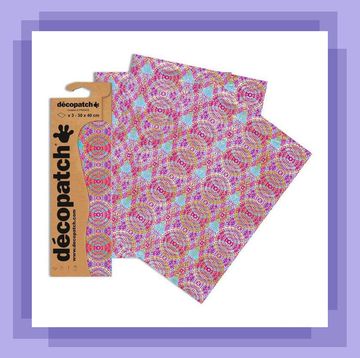
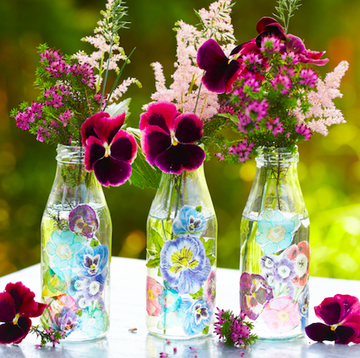
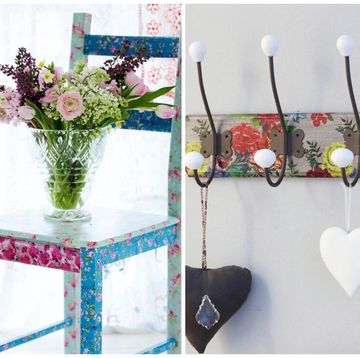
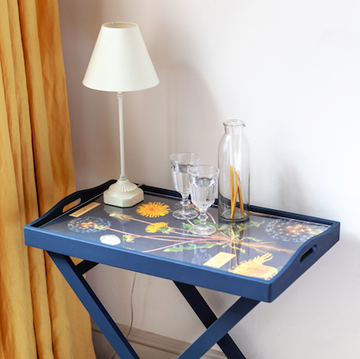
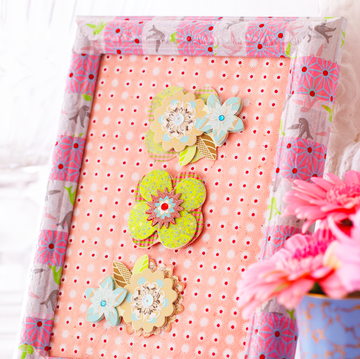
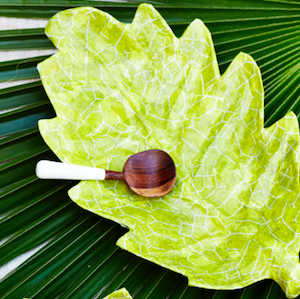
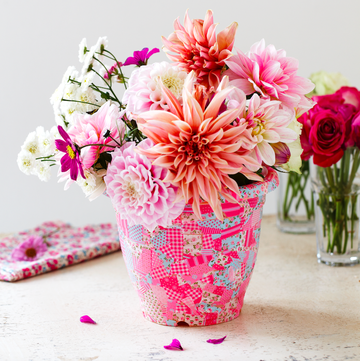
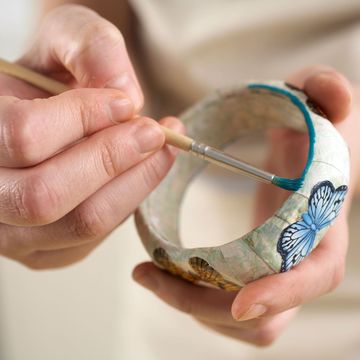
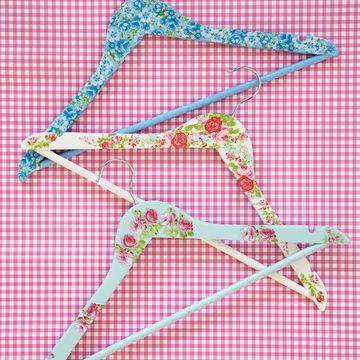
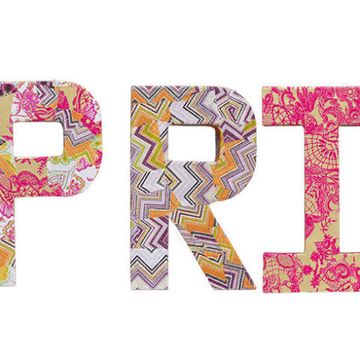
One of the most satisfying crafts around, découpage involves cutting out pictures, gluing them to an object and then coating the pictures and the object with layers of varnish. The finished item can look so beautiful that it appears to be professionally painted.
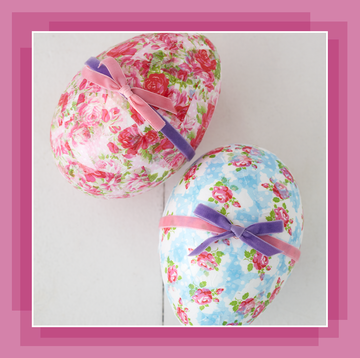
You can découpage pretty much anything around the home – and it's a great way to update or spruce up household furniture that's looking a bit tired and worn. Découpage can also be used to create decorations for special occasions such as Easter by creating designs and patterns on eggs, or Christmas, by making your own decorations for the tree.
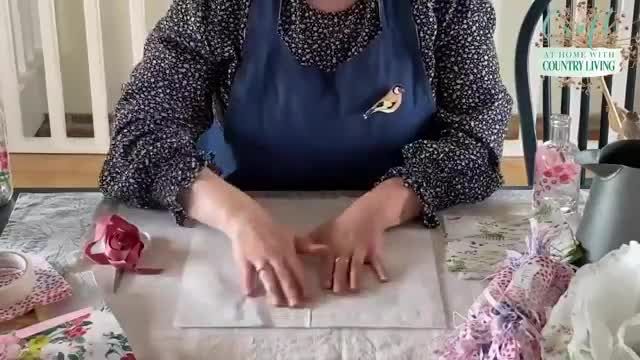
Découpage is a fun, calming and soothing papercraft that anyone of any age and ability can enjoy. It's also an activity you can do together with younger family members.
So, breathe new life into household objects or create something pretty and decorative for your home. Here's what you need to now about découpage, including the papers to choose and tools you'll need below...
What is découpage?
The word découpage comes from the French verb découper, "to cut out". The découpage technique can be used to personalise almost any item in your home and the great thing is that the designs can be as simple or as complex as you like.
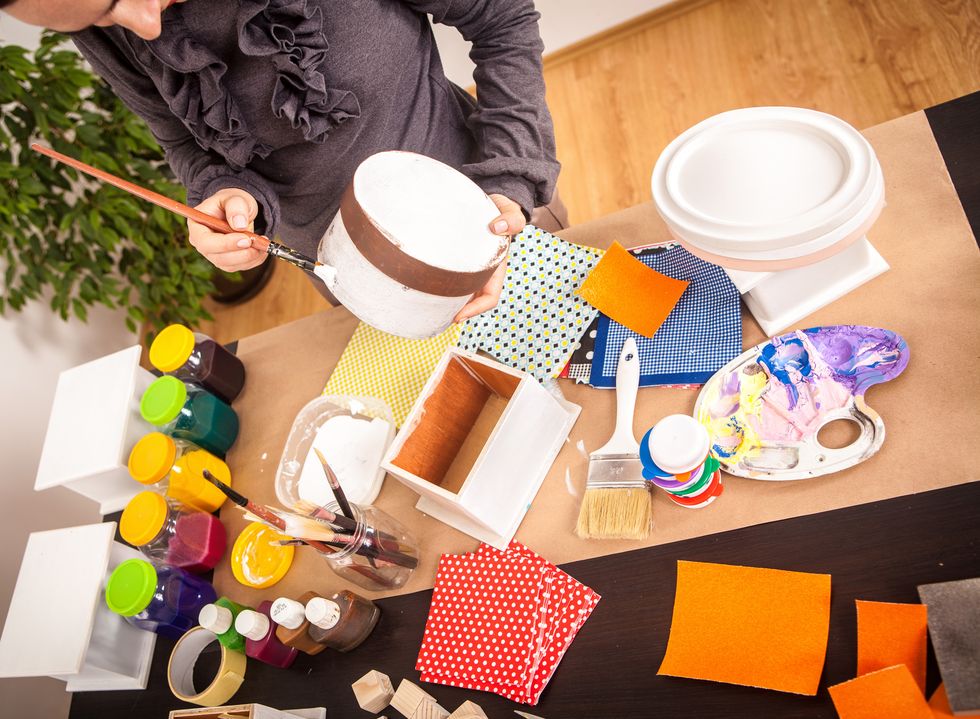
You can buy a large selection of supplies specifically for découpage, but the nice thing about this craft is that you probably have many of the supplies lying around at home to be able to start simple projects right now! The basic tools and materials you'll need are scissors, a crafting knife, wrapping paper, magazines or paper napkins.
All you will need to start with are a few basic materials and tools.
What can you decorate with découpage?
Pictures can be découpaged to almost anything. Popular items include:
These could be items you already own but want to personalise, or items specifically bought for découpage, such as plain simple wooden boxes and frames.
What are the best découpage papers?
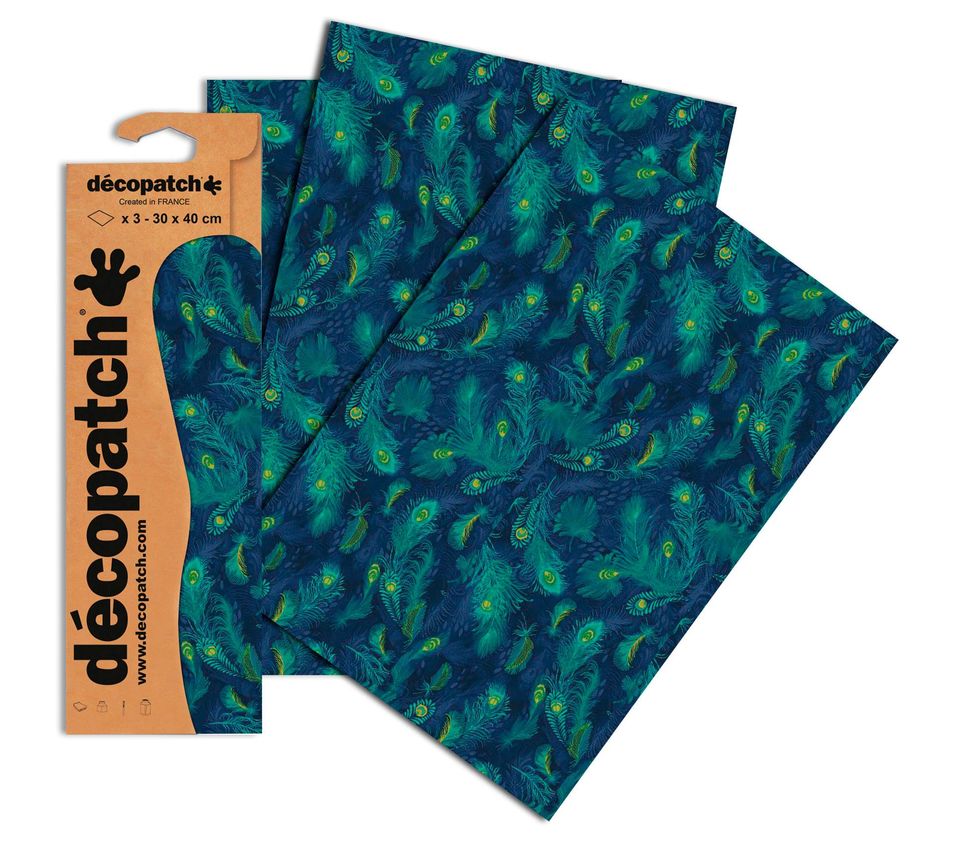
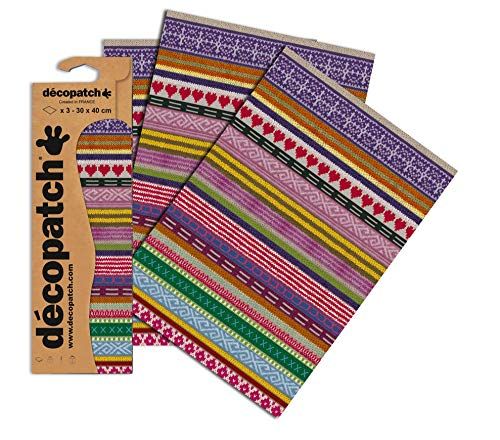
One of the great things about découpage is that you can use any type of paper, it’s all about finding patterns and motifs you love that you’d like to feature in your craft project. You could start with papers that you already own, or you can buy specific découpage papers.
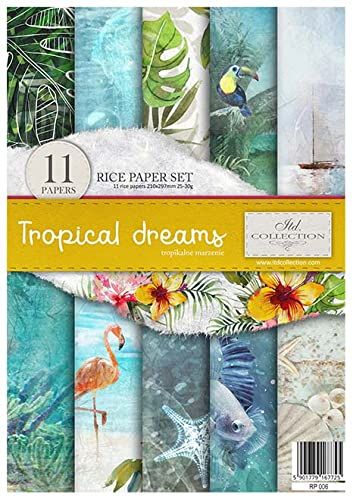
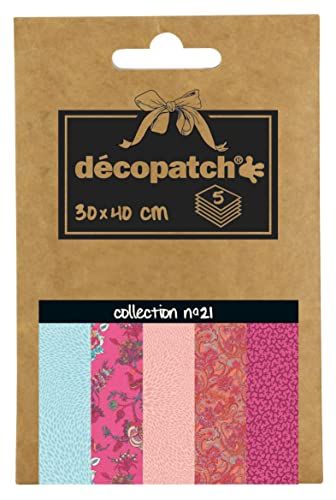
They come in the form of découpage tissue papers, thicker découpage papers, découpage cut-out pictures, découpage napkins and even découpage books where you can tear out the pages and cut them up.
Before you decide on which paper to use for your découpage project, here’s what you need to know about each type:
Découpage tissue paper
There are so many designs of découpage tissue paper from vintage to flower prints. The tissue paper is usually 2 ply or 3ply though the printed design is only on the top layer. When you use tissues, because they are so thin, they can cause wrinkles in your design, so they are often used to cover a surface by ripping up small pieces and patchworking them together.
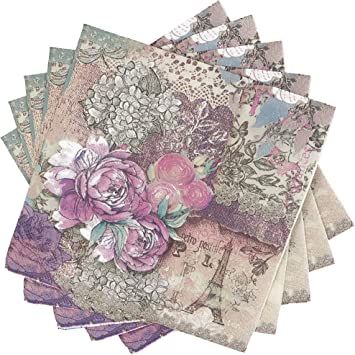
Découpage napkins
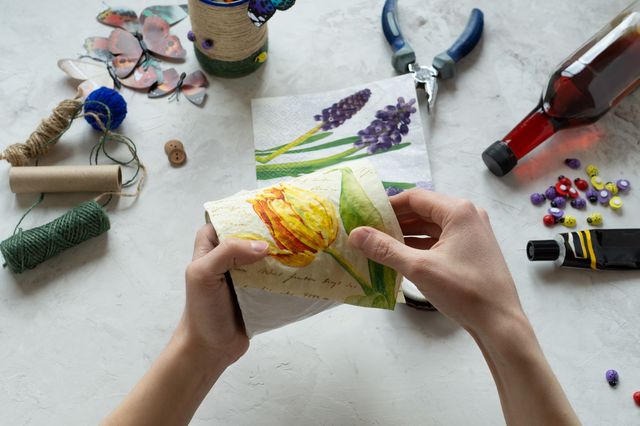
Napkins are a popular choice for découpage papers, like tissues they have several layers but they are slightly thicker so it’s easier to cut out motifs from them. You can use any napkins for découpage though it’s also possible to buy decoupage napkins.
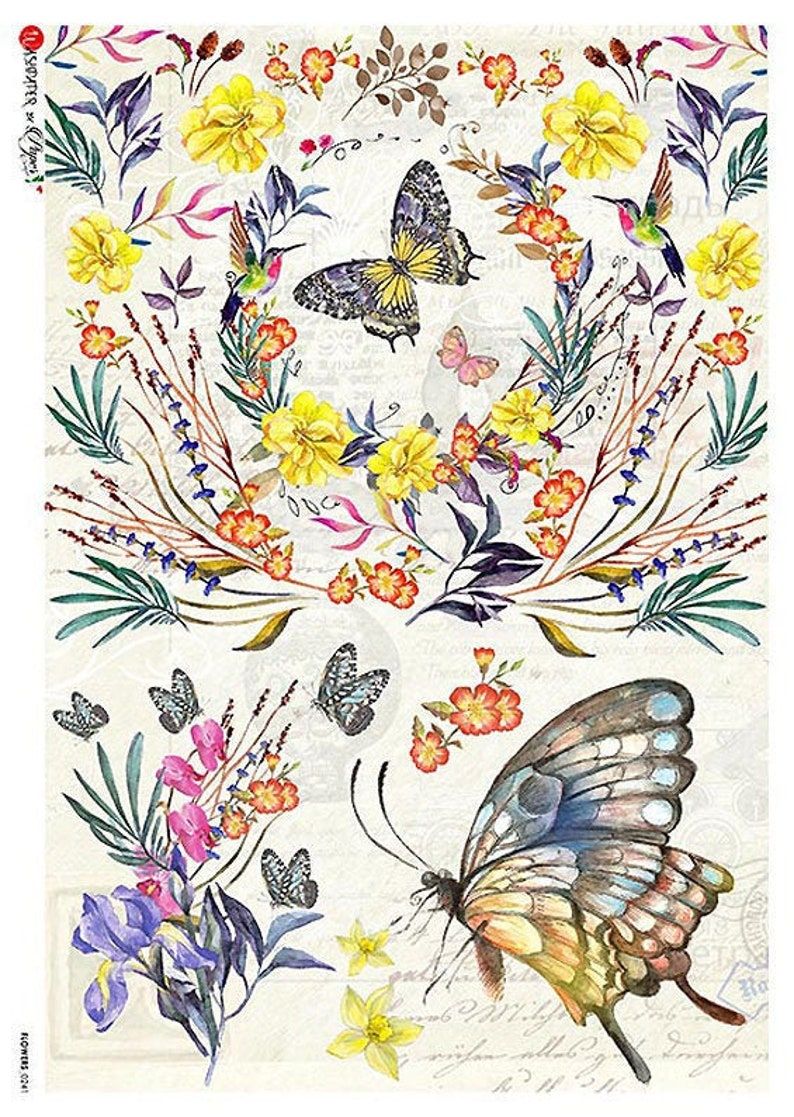
Découpage rice paper
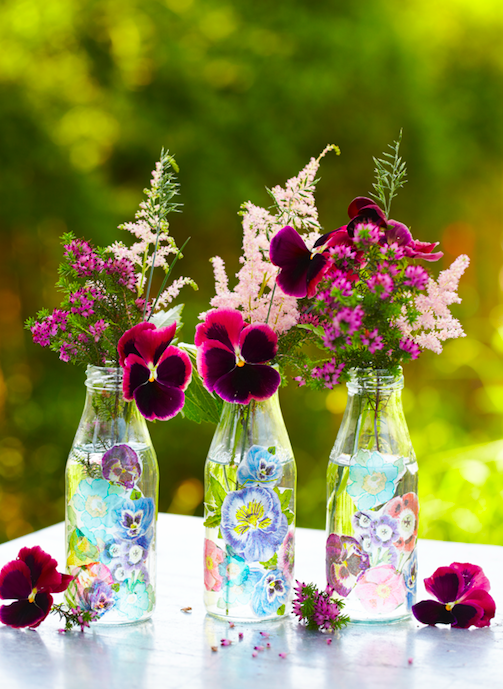
When you start looking at découpage papers you’ll notice that some of them are rice papers. These are more delicate to use and are ideal for découpaging on glass. It’s best to try them once you’ve done a few decoupage projects and built up your confidence.
Découpage paper
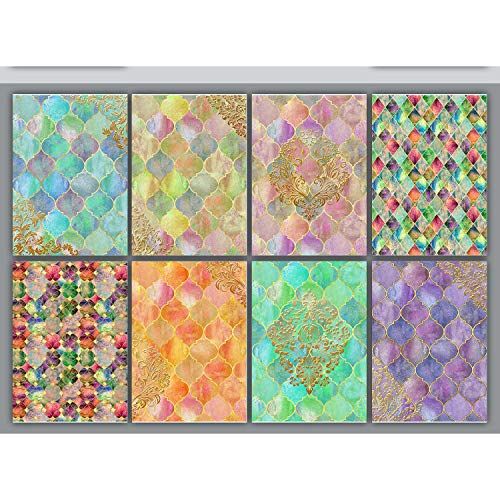
These are thicker than découpage tissue paper and usually come in large sizes allowing you to cover a whole surface without cutting it into smaller pieces.
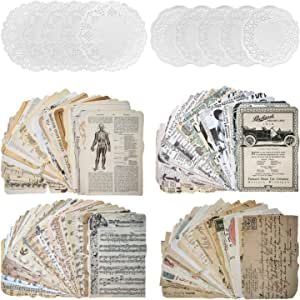
Découpage books
You can buy books filled will pages of découpage papers and motifs which have a theme such as animals or people. These books are great value as you get a lot of choice so you can get really creative with mixing and matching papers and cut–outs.
Wrapping paper
This is one of the most popular types of paper and it’s a brilliant way to be more sustainable with your crafts; rather than throwing away the gift wrap on presents you receive, keep and re-use them. Going shopping for wrapping paper is also fun.
Magazines/catalogues
A great way to use your old copies of Prima! Magazines and catalogues are ideal for cutting out letters and words if you’re keen to incorporate messages into your project.
Greetings cards
Again another great way to be environmentally conscious in your crafting. Never throw a card away without first cutting out any pictures or designs as they can be incorporated into découpage. Greeting cards are particularly good for a 3D découpage effect which is a different technique from classic découpage. It involves using cut-out motifs and layering them up with 3D pads so they stand out.
Fabric
Fabric découpage will appeal to anyone who has a stash of cotton print fabrics, or it’s a good excuse to start a collection! You can cut out motifs from cotton using a rotary cutter and apply them with a découpage fabric adhesive.
Origami papers
These are small square sheets of paper with mini designs and patterns on and they look gorgeous in découpage. There is a multitude of colours and they’re great for beginners.
Wallpaper
Opt for non textured wallpapers - brands like Lick have a great choice of options of prints and patterns.
Copyright-free sourcebooks
These contain pictures and photos taken by others that you can use without worrying about copyright issues which are perfect if you want to sell your handmade crafts.
TIP: If you are new to découpage, choose pictures which have a clear outline as this will make them easier to cut out than those with blurred edges. If you're worried about using original pictures you can colour copy or scan them instead.
What is the best glue to use in découpage?
These are the best types to use for découpage:
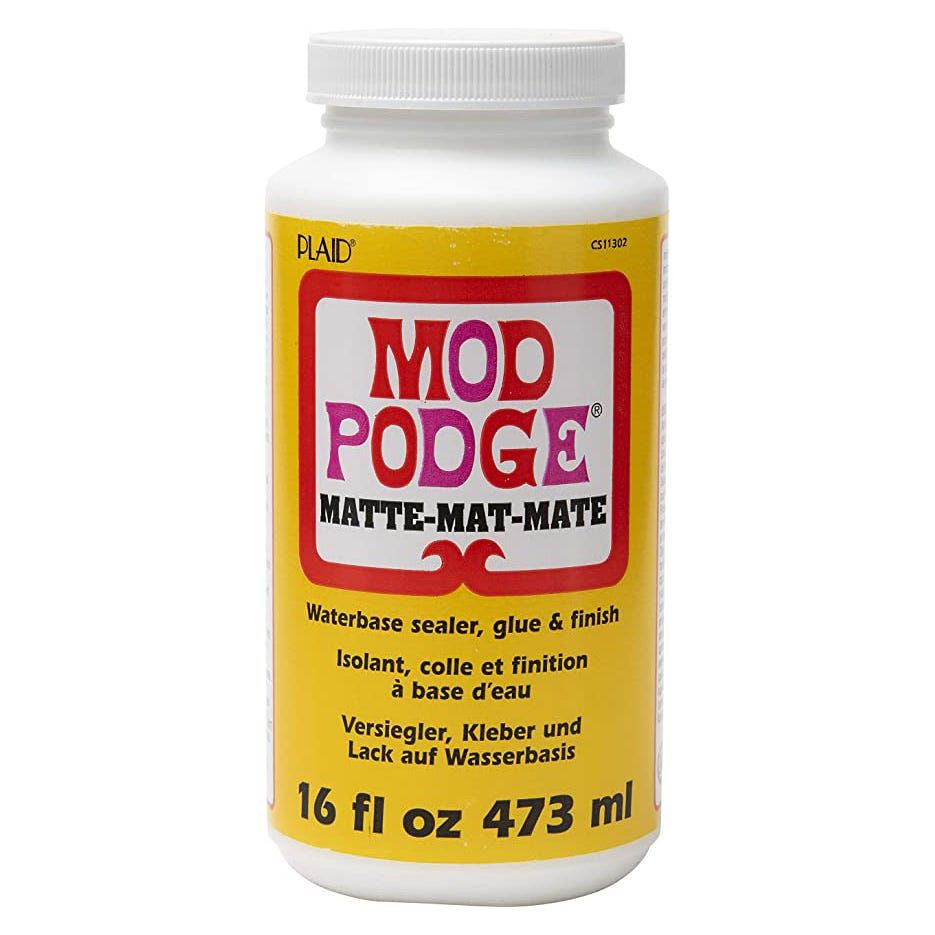
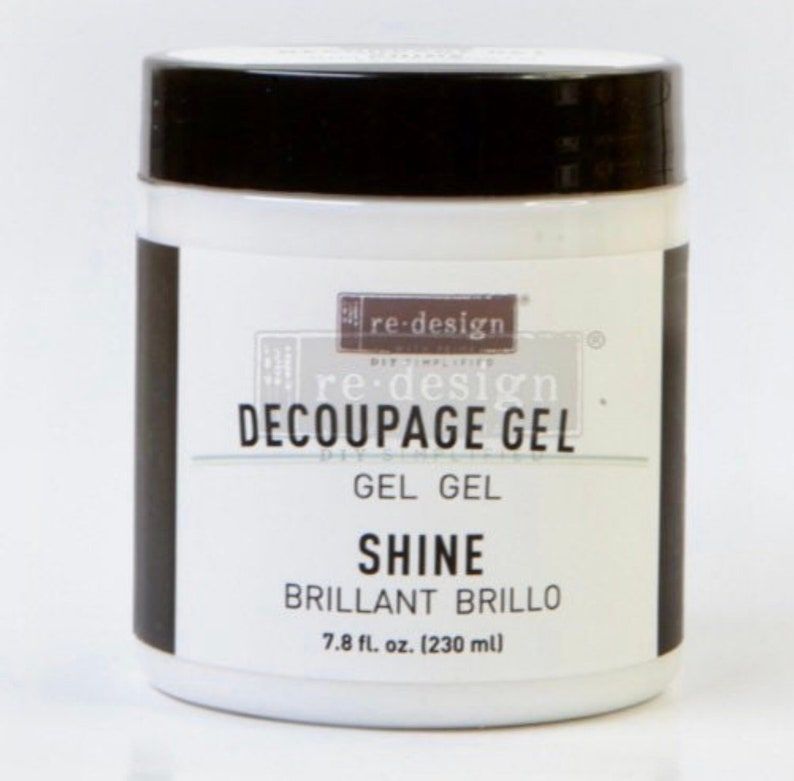
- Découpage glue – specifically for this craft and available from craft shops. It is perfect as it can be used as both glue and varnish.
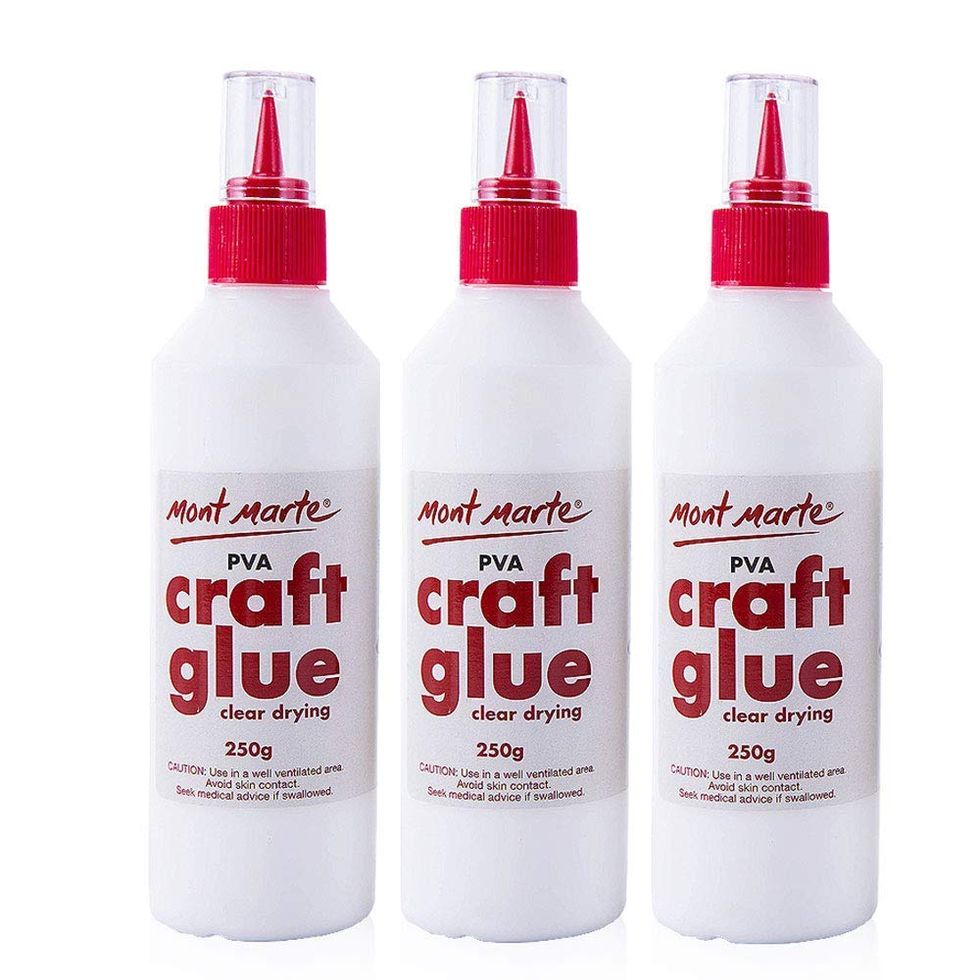
- PVA glue – all round glue which dries clear and sticks paper, card, fabric, wood and metal.
- Spray glue (permanent type) - quick, easy and dries clear
- Varnish – the best varnish to use is gloss as no matter how many coats you use it doesn't go cloudy.
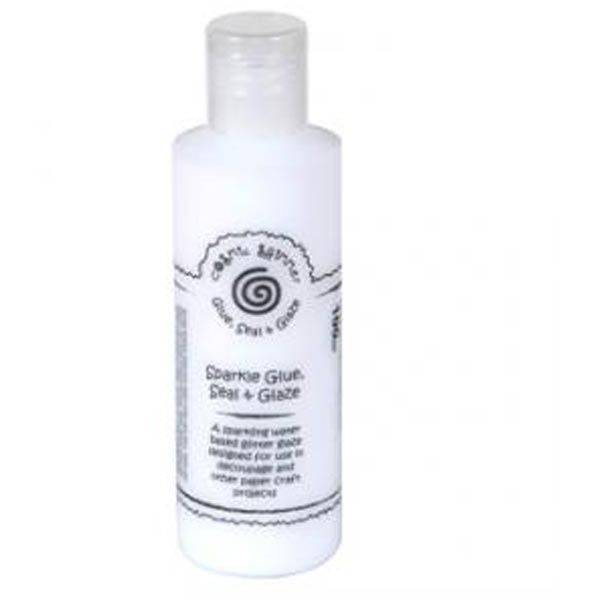
- Glitter glues - these glues have a shimmer in them, acting as a glue and a varnish you can put on top to seal your design - however make sure you're using an adhesive meant for découpage, not regular glitter glue.
If you require a matt finish, use gloss for every coat (to avoid cloudiness) and then use matt varnish for the final coat only.
What tools do I need for decoupage?
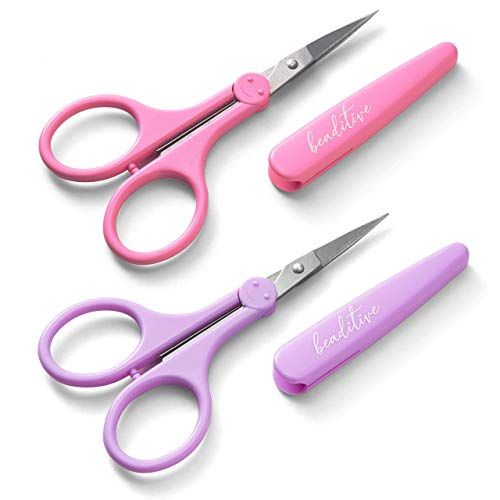
- Scissors – cutting out is a large part of découpage so a really sharp pair of small scissors is important to ensure you cut clean edges.
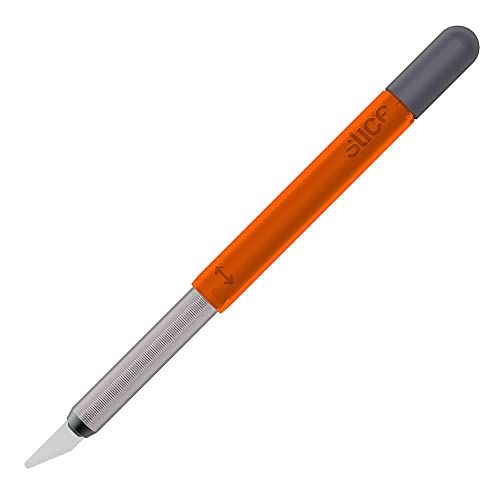
- Craft knife – to cut out detail and intricate areas. Use a really sharp blade with your craft knife as blunt ones can tear the paper.
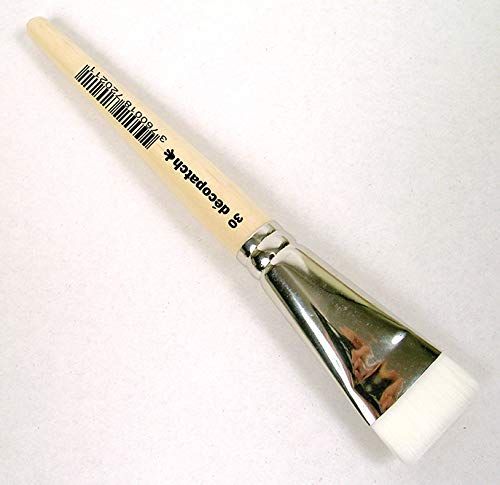
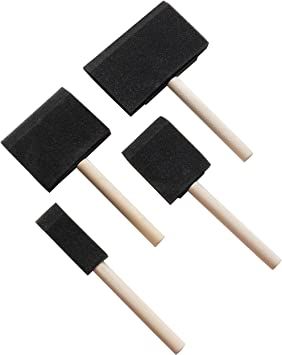
- Brush - a special decoupage or paint brush to carefully apply the glue. Foam brushes also work well if you are trying to cover a large surface area with decoupage glue.
- Soft sponge/cloth – to wipe away excess glue
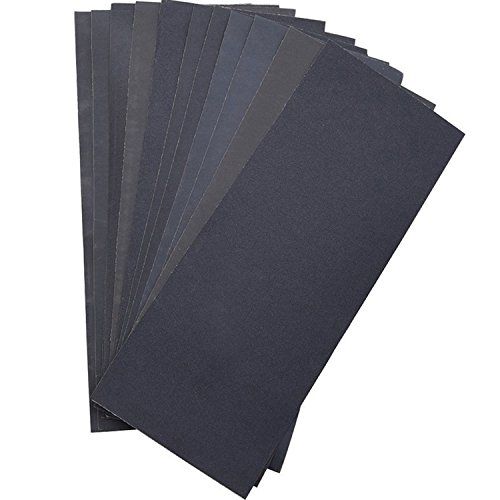
- Sandpaper – for sanding the layers of varnish if required.
- Cotton wool buds to dab away small amounts of excess glue
All the above mentioned materials and tools should be available in your local art and craft shops. You can also order all these items online from your favourite craft store.
Decoupage: the basic technique
1. Prepare surface
Once you have selected your item to decorate, make sure the surface of it is clean and dust free, as the varnish you add afterwards will magnify any imperfections. Dust it down with a damp cloth and then leave it to dry fully before you get started.
2. Cut out pictures
Select your pictures and cut them out. It may be easier to cut out the pictures roughly with scissors first and then cut them out more precisely with a craft knife. If a white edge shows around the picture you have cut out, colour the edge with a crayon/pen that matches either the picture or the background on which it is to be used.
3. Arrange the pictures
Before you glue the pictures in place, ensure you are happy with the positioning. Use tweezers for placing tiny pictures. This is the fun part, don't feel rushed. Some people like to do their decoupage free form with motifs covering a full surface in different directions. Others enjoy making mirrored designs or patterns that are carefully planned. This may be led by the amount of surface you have to play with.
Lay our your cut out decoupage shapes, position them where you'd like to place them and them step away before you come back and check you're still happy, before you make them permanent.
4. Glue the pictures in place
Smooth out any wrinkles and wipe away any excess glue with a barely damp sponge as you glue each piece. The best way is to apply your glue on the reverse side, then lay it flat in position before you use the sponge. Keep going in the same way until your project is complete and leave it to dry.
5. Varnish the pictures
Ensure the glue is dry before starting to varnish. You also need to leave the varnish to dry thoroughly between each coat. Anything from four to 15 coats may be needed depending on how thick the decoupage paper is and how smooth and durable a finish is required. To achieve a finely lacquered finish you will need to sand lightly after a few layers of varnish and wipe away all dust. Keep repeating this process until you are happy with the finish then step back and admire your handiwork!
How to decoupage on wood – top tips
Decoupaging on to wood is a great way to update and decorate all kinds of furniture and household items. Here are our top tips and tricks for decoupaging on wood to help you get a flawless result every time:
- Sanding - When decoupaging onto wood you’ll want to give the surface a light sand before applying any glue or paper. The surface of the wood needs to be as smooth as possible to prevent any air bubbles from forming when you are smoothing down your paper.
- Paint or base coat - Since wood (especially unfinished wood) can be very porous, it’s a good idea to give it a light coat of paint or decoupage glue to prime the surface before adding your first layer of paper. Adding a thin layer of coloured paint is also a good way to hide any dark wood grain that can show through under really thin decoupage papers and ruin the finished look.
- Sealer/Varnish - Make sure to give any decoupaged wooden items a suitable top layer of sealant or varnish. Glossy varnish is great for being easy to wipe clean, if you’re decoupaging furniture then a hard coat is a good option to save any dings or scraps when the furniture is moved around. If your finished project is going to be used outside, pick a waterproof or outdoor-specific varnish to help protect it from the elements.
How to decoupage furniture with fabric – top tips
Fabric is a great medium to use for decoupaging! Firstly it won't tear or wrinkle as paper decoupage can do. Secondly, fabric comes in much bigger sizes than paper, which is especially handy if you are working on larger projects such as upcycling furniture. And lastly, fabric is much more durable than paper - once it is sealed correctly, fabric decoupage can withstand pretty much anything!
Here are our top tips and tricks for decoupaging with fabric:
- Measure twice, cut once – This goes for any project that uses fabric really, you always want to make sure you have your measurements correct before cutting fabric.
- Leave a little ‘seam’ allowance – The last thing you want is frayed edges showing on your finished project so it’s best to give yourself a bit of extra fabric around the edges. Once you have applied your decoupage glue to them and it’s dried they will be stiff and a slightly stiffened fabric is much easier to cut without having it fray!
- Opt for a lightweight fabric – A fabric such as a cotton blend is ideal for using to decoupage as it’s easy to place without being too heavy (heavy fabrics can cause wrinkles) and doesn’t have too much stretch so won’t warp. Plus you can get a wide variety of designs and patterns in cotton blend fabric without it costing you a fortune.
- Base coat – If you are using fabric to decoupage onto furniture as an upcycle project, it’s really handy to give the furniture a base coat of paint first. A light base coat of white paint helps the print of your fabric to really stand out and prevents any wood grain or dark varnish colours from showing through.
- Wait until it’s tacky – It’s much easier to place fabric for decoupaging if you wait until your glue is tacky. That way you can carefully lay the fabric into place instead of having it slide around.
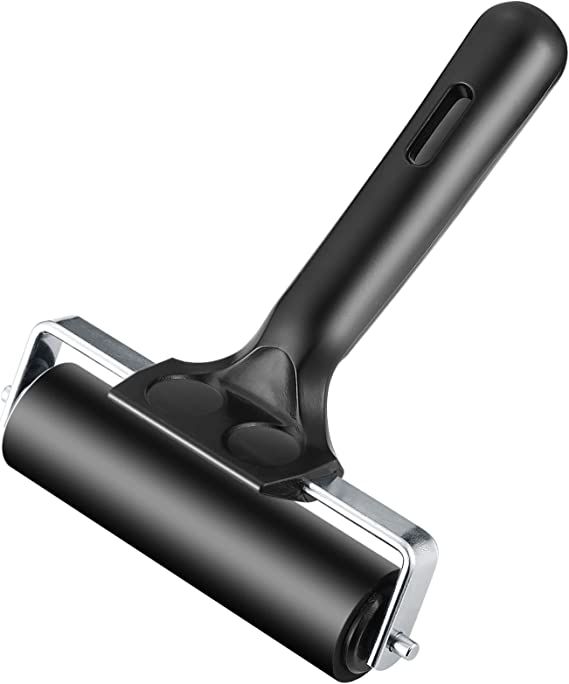
- Use a brayer – Using a brayer (a little solid hand roller, often used for lino cutting projects) is the best way to smooth down fabric onto your decoupage project and make sure you are free from any air bubbles. Make sure to roll fully to the edges of your project and work in one direction where possible to avoid stretching the material.
- Top coat – Since fabric is textured, you’ll need to give your finished piece a good few coats of sealant or varnish to get a completely smooth finish. We suggest using a layer of decoupage glue directly over the fabric, sanding that down slightly so that it is smooth and then using a clear glossy varnish as your final coat.
Now you know how to découpage, be inspired with our how-to guides for lots of different découpage projects.
Have you tried découpage? Share your makes with us by tagging @primamag on Instagram!
