DIY Kitchen Wall Divider
There’s lots to love about my rental house, and I’ve slowly been turning it into a great family home over the past year and a half, but one part that is hard to tackle is the kitchen. I love that it’s open to what the kids and I refer to as the “Art Room” akin to a family room in other homes, but with no walls or enclosures around the range or fridge we were staring at some mid-tier appliances throwing out their worst angle.
The kitchen is also pretty blah, so I wanted to give it a little glow up and create a more sophisticated vibe that felt aligned with the rest of my design choices in the house. With guests now making their way over, I wanted a space that felt enjoyable to be in. Where one could happily perch upon the countertop with a glass of wine while I finish the dressing for the salad.
These were the challenges I was facing…
Installation
I’m technically supposed to avoid putting screws into the walls, so I had to think creatively about what type of installation would be least invasive and work backward from there.
Cost
Whatever I put in there I am likely leaving behind if/when I move, as I may not face the same issue in my next home. The money output had to be somewhat reasonable, so I wouldn’t freak out if I had to move in a year.
Time
After an exhaustive search for freestanding dividers, I couldn’t find anything that would work or had the look/dimensions I needed. This was going to be a custom job, and I knew it would take a minute.
Concept
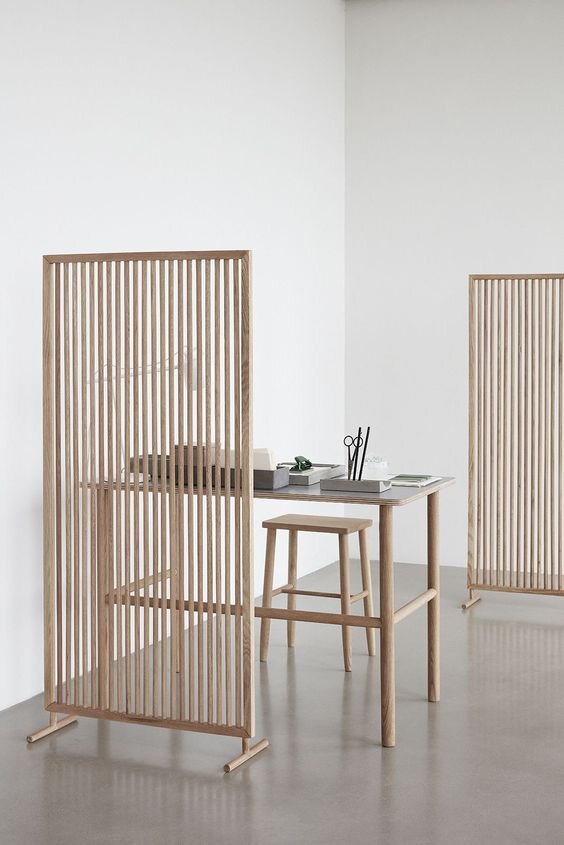
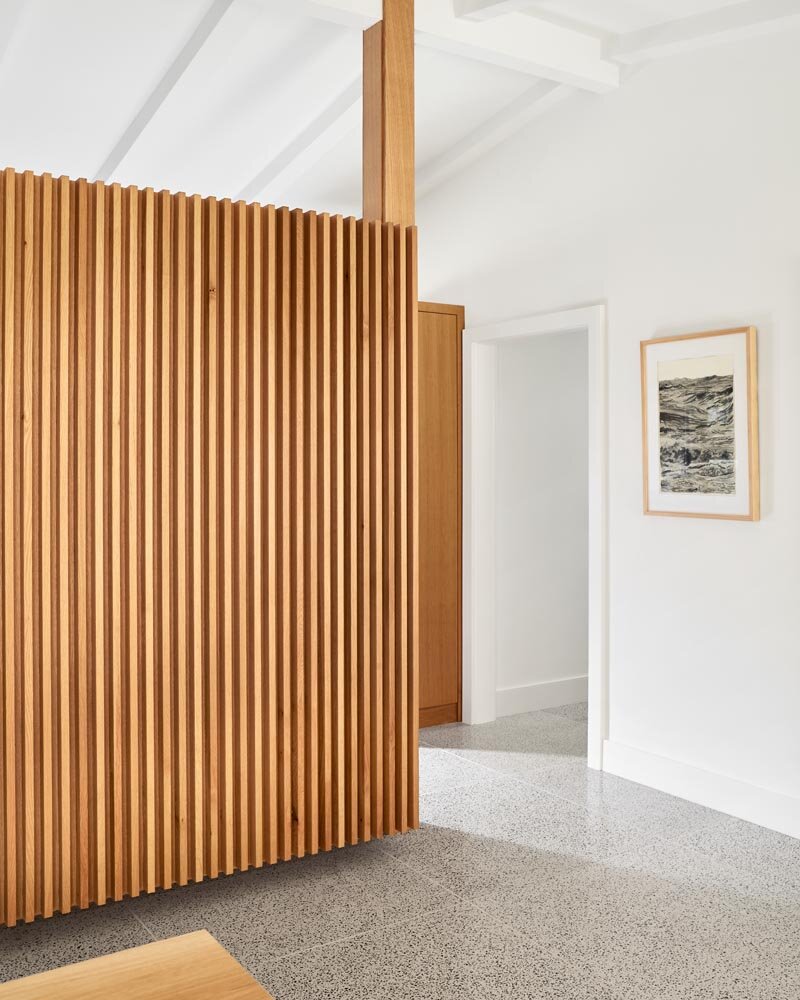
Now that I had my functional scope hammered out and my emotional vibe locked in, it was time to consider aesthetics. I have long been a fan of mid-century architecture and design, so I turned to that era for inspiration. I found beautiful examples of slated stairwells, peek-a-boo living room wall dividers and some gorgeous outdoor fencing that brought clarity to my vision. Once I had a solid idea in mind, I headed to Home Depot to check out materials and work out the cost. Here’s a taste below of my inspiration photos.

Materials
I opted for slim 2x1 pine boards with a smooth sanded finish and minimal knots and graining. I had gone through several installation permutations, but the one I landed on was the most simple. I affixed the dividers directly to the upper cabinets with two screws (shhh…don’t tell the property manager) in about five minutes. So simple!
Materials List
2 x 1 pine boards (number depends on width of divider)
Liquid nails
Ruler
Pencil


Construction
1 / Cut vertical 2 x 1’s to desired length
2 / Cut horizontal support 2 x 1’s to desired width
3 / Mark your spacing with a pencil + ruler (I had approx. 1” spacing)
4 / Starting with the outside pieces, add liquid nails to the horizontal pieces + lay vertical pieces flush with the outside edges - long edge out.
5 / Repeat until your divider is filled.
6 / Wait 24 hours before installing to allow liquid nails to cure.
7 / Installation may vary according to your project, but I ran a screw from the inside of an upper cabinet through the supporting horizontal board.
8 / Repeat with additional screws + you’re done!
You know how some DIY posts talk about how simple their project is? Well, this is not that post. I won’t sugar coat it for you. There was a lot of intense measuring, knee/back pain and cursing. It’s truly not that complex of a project, but it is time consuming, and with boards that aren’t always perfectly straight, it can get pretty frustrating. The upside is that I absolutely love the way it looks and paying someone to do it would have cost five times as much.
Finished project
The final result makes me so happy every time I walk into the room. It’s simple, sophisticated and natural and the space feels bigger now. I feel proud of my little kitchen now and have already had one guest on the countertop sipping a beverage and enjoying some snacks. There are still a few tweaks I want to make in the space, but installing these dividers made a huge difference.

One side installed
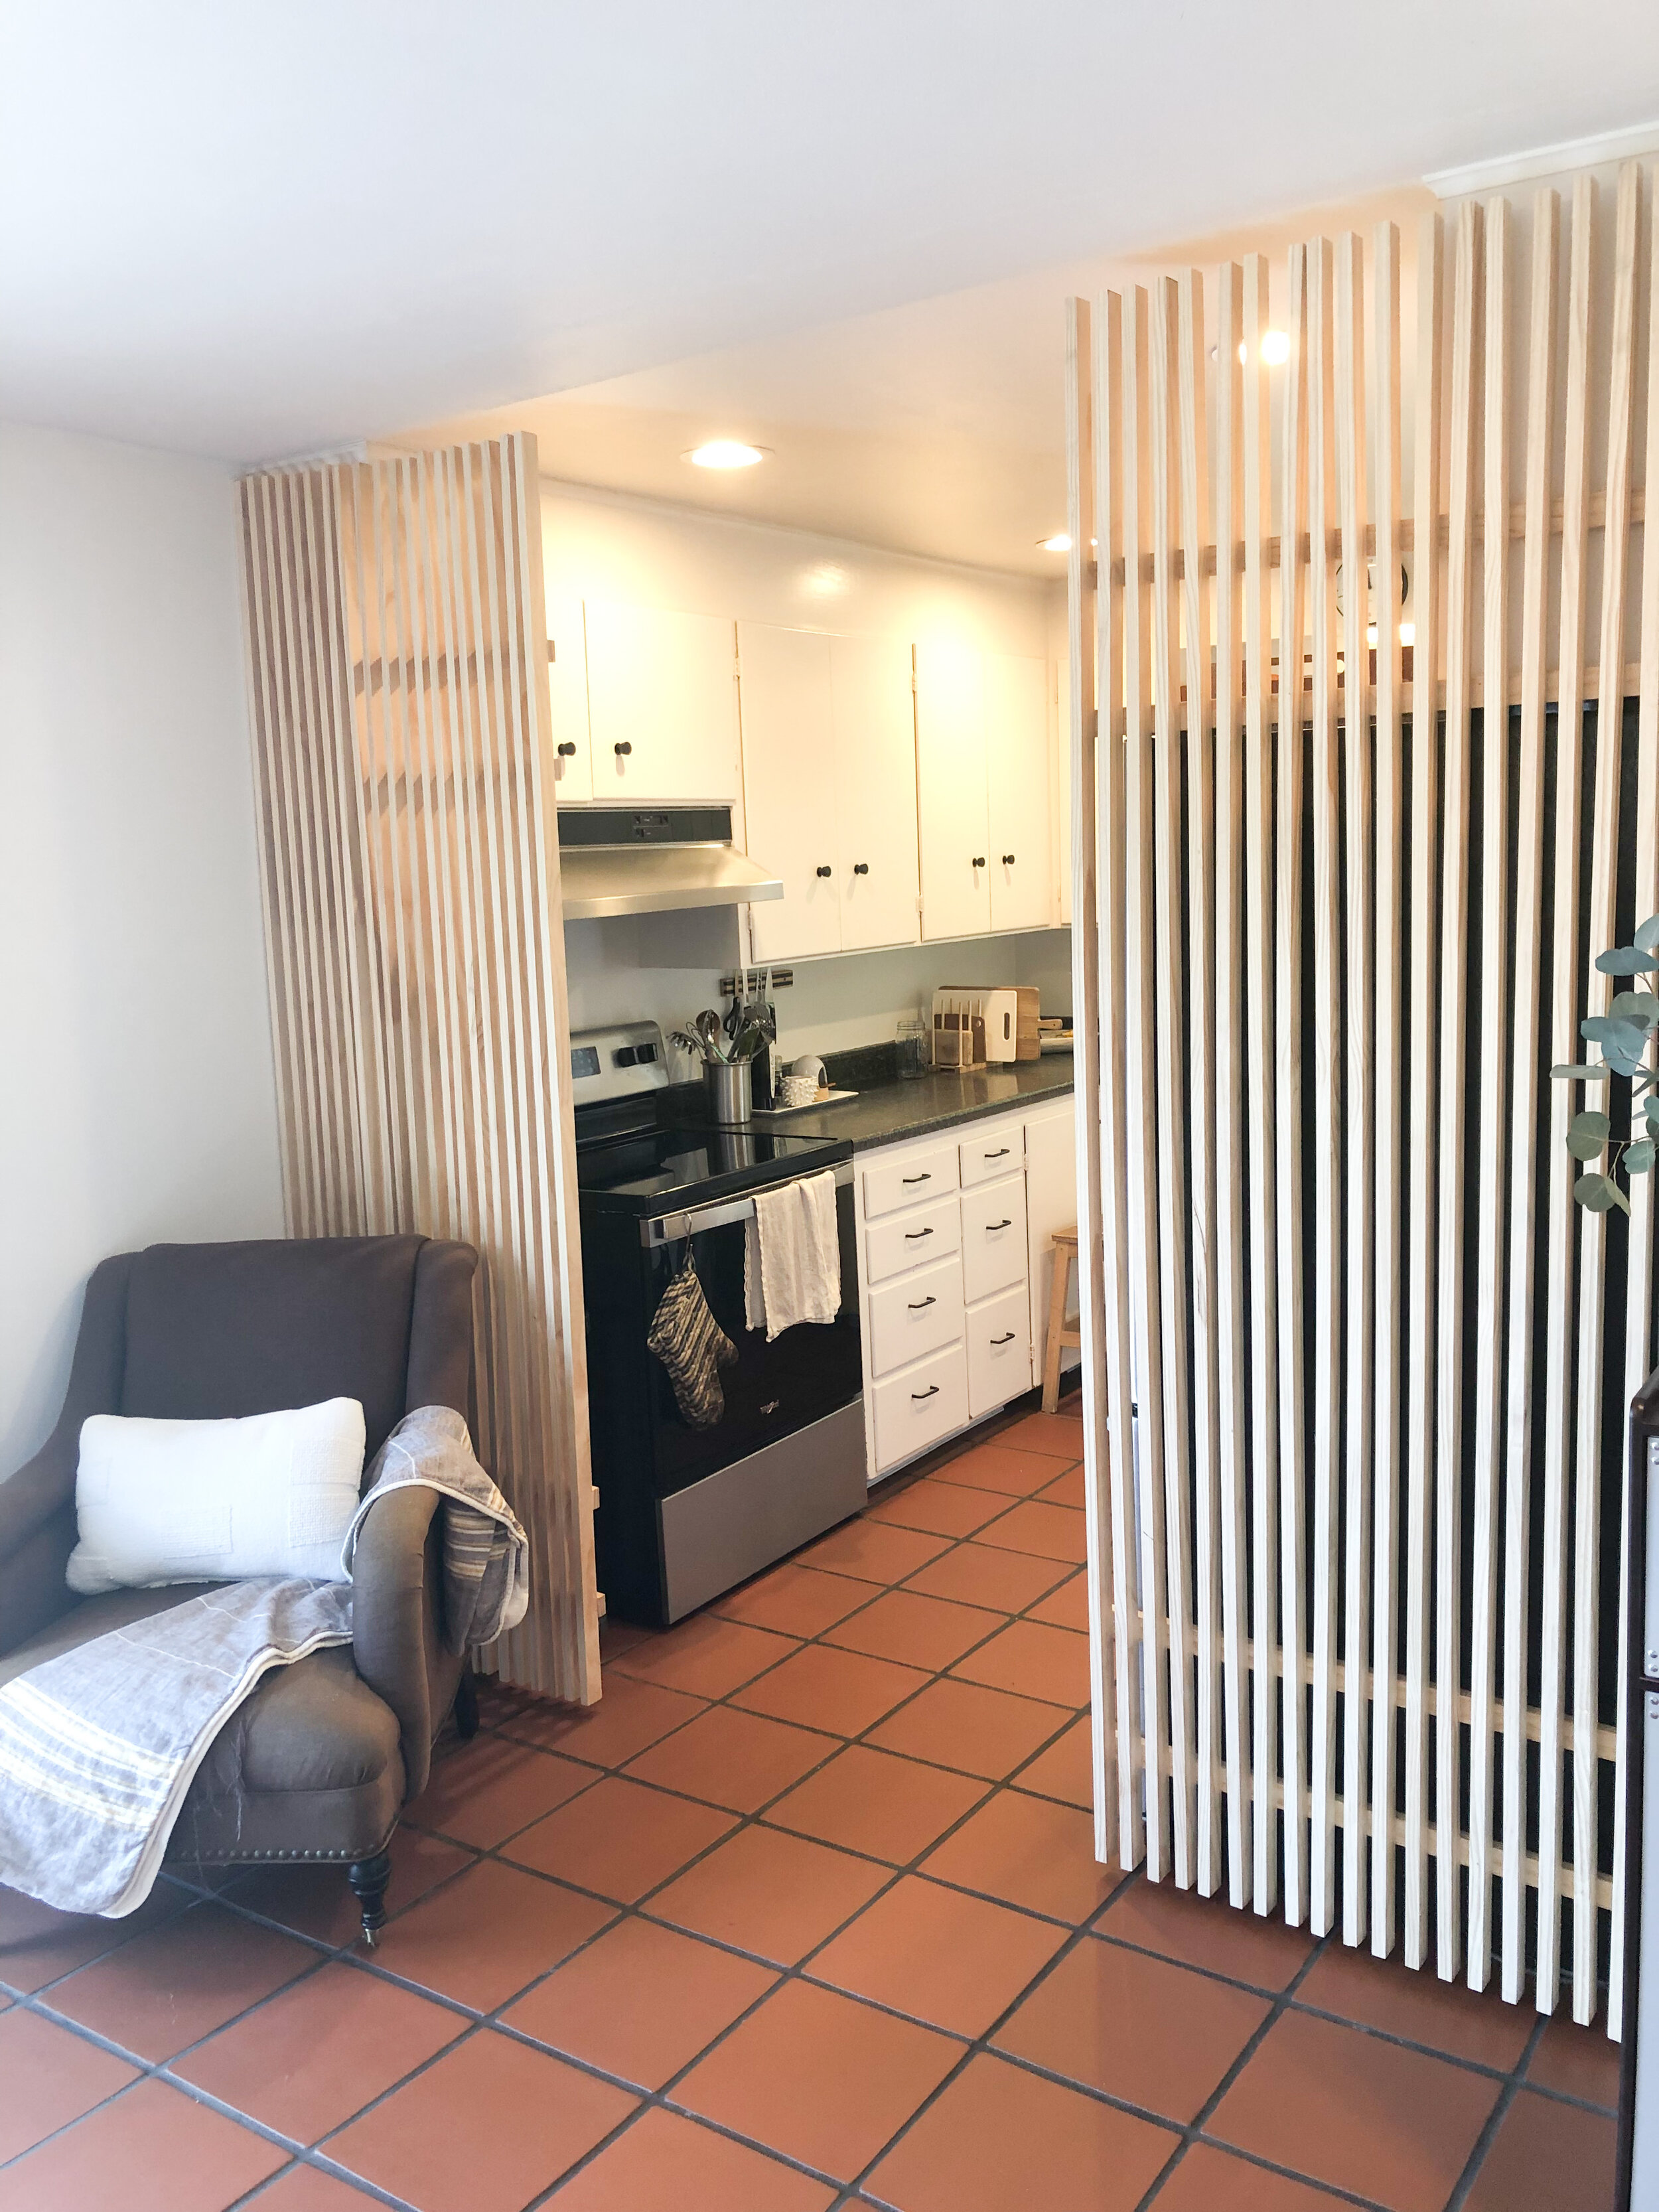
Gang’s all here!
If you’re looking for more design inspiration, check out these previous posts!
My Top Picks for Outdoor Entertaining + Decor