

Introduction: Shoe Rack


I decided to build a Shoe Rack and wanted the design to look slightly different.
Here is how I did it.
Step 1: Make Your Own Design


Firstly, be a little creative and draw your own design on a board and cut it out with a jigsaw and shape it with some sandpaper.
Next step is to mark the other pieces. My board was a little thin so decided to glue two pices together, so for me it was four pieces to cut out. When you cut them, make them around half a centimeter wider than the original piece.
Step 2: Time for the Router


To get all the pieces exactly the same size I used a router with a bearing.
As you can see in the photos I attached them together and then just cut out the larger bits. I then glued them together, 2 and 2.
Step 3: Round Off the Edges and Paint It


To round of the edges I think, gives it a much more professional look.
Paint it before you make the holes. I made one completly white and one with brown sticks. The firs one I painted after I made the holes but it makes it harder because the paint drain in to the holes.
Measure the widht of the sticks and drill holes the same size, preferably slightly bigger. If the holes aren't completely straight, the sticks wont go straight and the rack will get crooked (learning by doing). But if the holes are slightly bigger it's easy to twist it to adjust. The best is if you have a pillar drill for the holes.
Step 4: Assemble the Shoe Rack


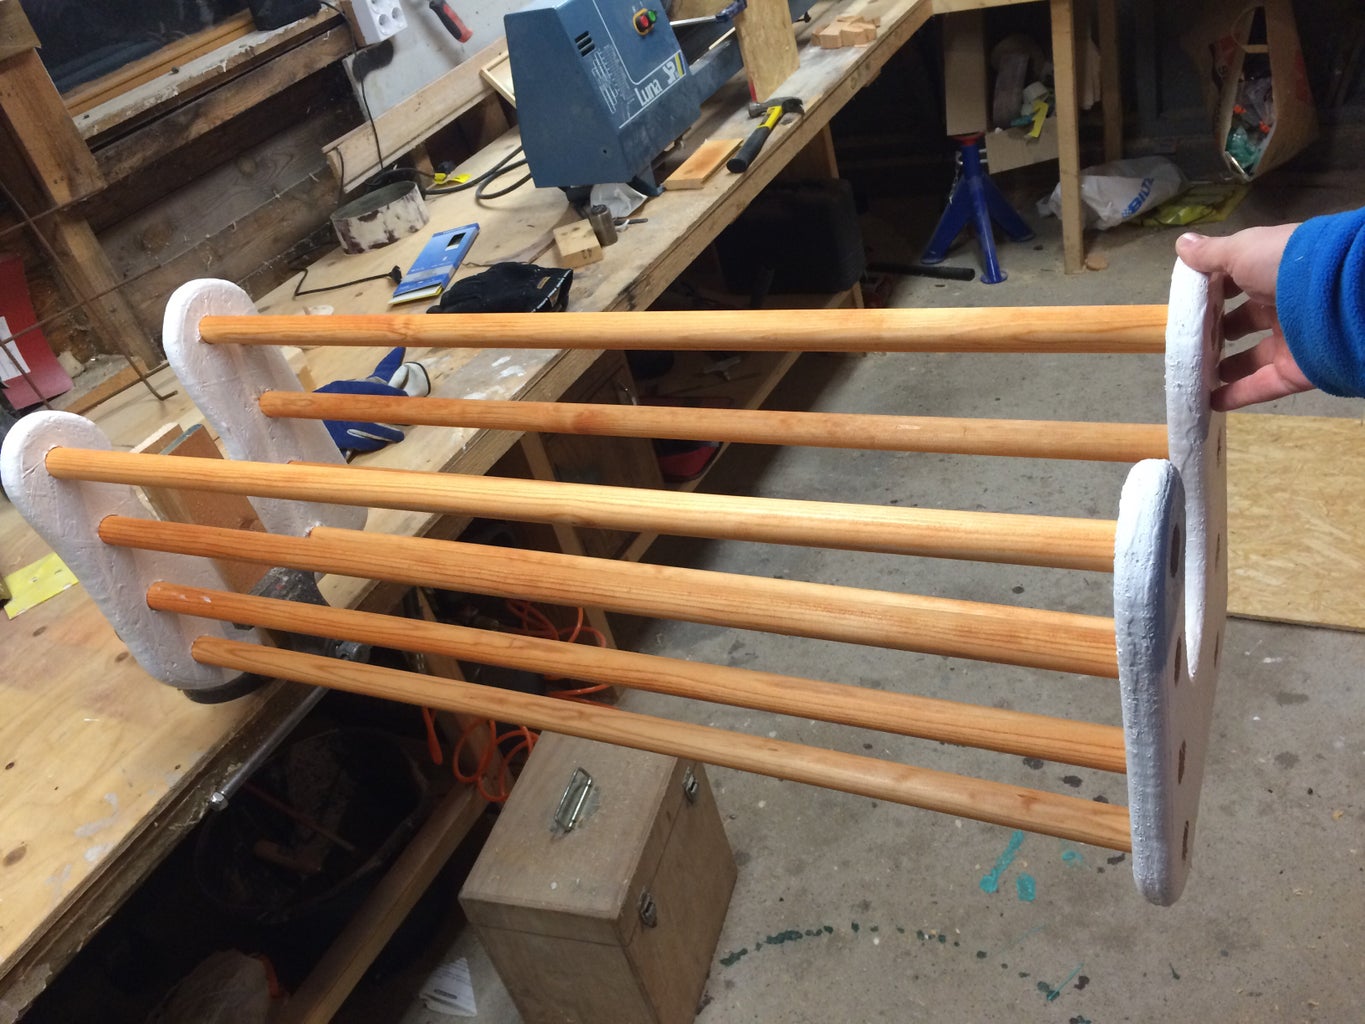
Cut the sticks in the length that you want the rack to be wide. Paint them if you want.
Now, you just need to put the sticks in the holes, if the holes are tight enough you wont even need glue.
Step 5: And Your Shoe Rack Is Done!


Enjoy, and send me photos of your own attempt.


