For those of you who don't own a dishwasher, your kitchen is about to get a serious upgrade. Chances are you have a countertop dish rack. And chances are, it takes up prime real estate, not to mention it's probably harshing on your cute kitchen decor vibe.
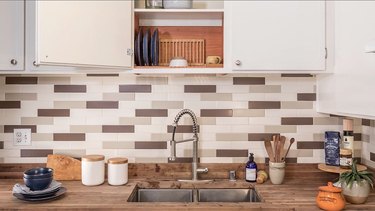
That's exactly the kind of mindset embraced by Astiankuivauskaappi — a Finnish dish-drying method that essentially swaps out the solid bottom of a kitchen cabinet for a slotted rack that allows your dishes to drip dry into the sink below. Perfectly practical for small kitchens but equally convenient for larger ones, the previously taboo act of putting wet dishes in the cabinet actually becomes the objective. Just wash, store, close the door, and done! Mind blown. We decided to put our own DIY spin on it, and turned a bamboo rack from Amazon into an ultra sleek dish-drying cabinet.
Video of the Day
Things You'll Need
Kitchen cabinet
Multi-tool saw
Table saw
Redwood boards
Power drill
Wood screws
Wood glue
Regular hammer
Copper nails
Cedar wood
Clamps, ( 4 )
Boiled linseed oil
Pliers
Tape measure
Rubber hammer
Sandpaper or orbital sander
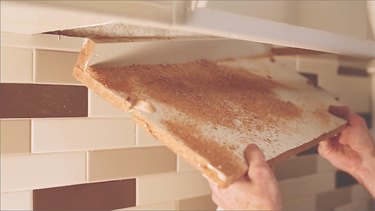
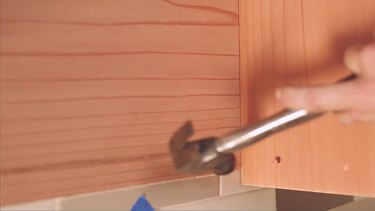
Step 1: Remove bottom of cabinet.
Drill three separate holes into the bottom of your cabinet to create entry points for your saw, and then use the multi-tool saw to cut around the entire bottom perimeter of the cabinet.
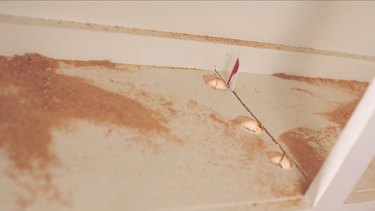
Once you've sawed completely around the perimeter, carefully remove the bottom floor of the cabinet.
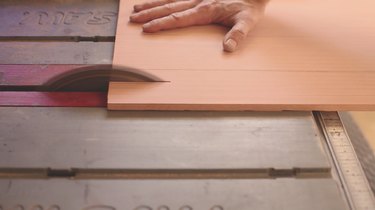
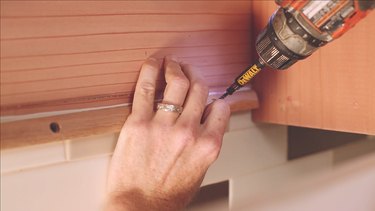
Step 2: Install redwood backing and sides.
Use a table saw to cut redwood boards to size so they fit along the back and sides of the cabinet. This will create a cohesive, water-resistant look.
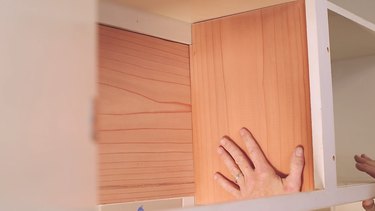
Drill the first redwood board to the back of the cabinet with wood screws.
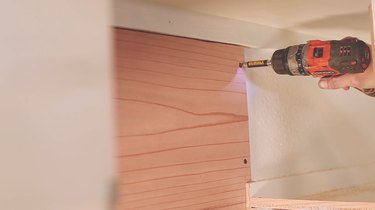
To attach the redwood boards to the sides of the cabinet, first pipe wood glue around the edges of the boards and press them into place on each side of the cabinet.
Follow up by hammering copper nails along the top and bottom of the side boards to ensure they stay securely in place.
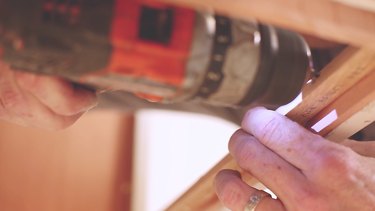
Step 3: Install support beams.
Cut the cedar wood into two support beams that are the same width as the cabinet. These will form ledges on the bottom of the cabinet upon which the dish racks will rest.
Drill one of the cedar support beams along the bottom of the redwood backing inside the cabinet.
Clamp the second cedar support beam onto the backside of the cabinet front — directly across from the back beam you just installed — and drill it in place.
Step 4: Waterproof the cabinet.
Wipe boiled linseed oil on the surface of the redwood backing and sides as well as the cedar support beams to waterproof the inside of the cabinet.
Tip: For best results, reapply the boiled linseed oil once a year.

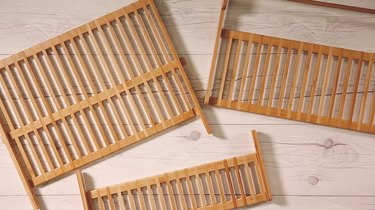
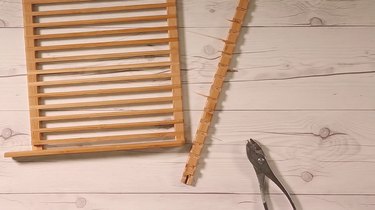
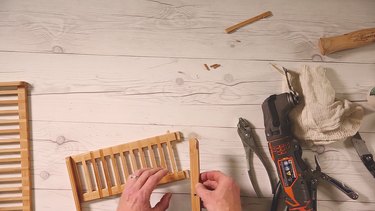
Step 5: Disassemble the dish rack.
Take apart the bamboo dish rack and set aside all of the various parts.
Use pliers to loosen the glue on the center support beam of the largest drying rack segment.
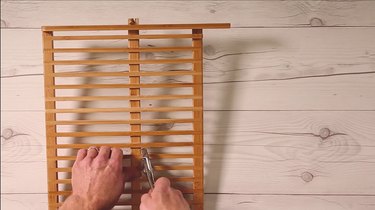
Carefully, pop the center support beam out of the drying rack. Set it aside for later.
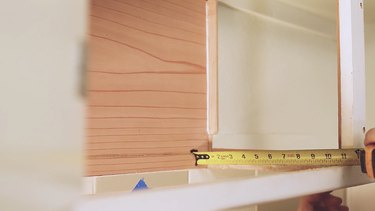
Step 6: Determine size of new dish racks.
Measure the height, width, and depth of your cabinet to determine what size you'll need to cut your dish rack components.
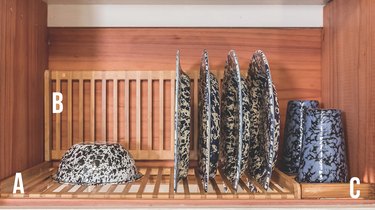
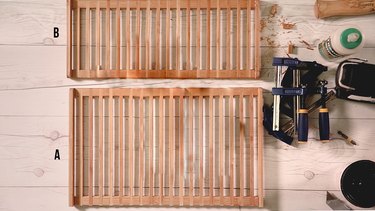
You'll need to cut three components: A) a plate rack for drying plates and bowls; B) a back support for the plate rack; and C) a side rack for drying cups. Depending on your cabinet size, the plate rack and plate rack back support should take up about 3/4 of your cabinet width and the cup rack should take up 1/4 of your cabinet width.
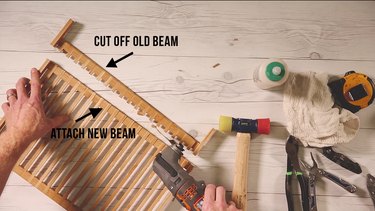
Step 7: Make the new plate rack.
Use the largest segment of the disassembled dish rack to form your new plate rack. Set the dish rack inside your cabinet to determine how much excess wood you'll need to cut off from the end of it. Cut away the excess wood. You'll be left with a rack without a beam at the end. Use the support beam you set aside in Step 4 and attach it to the end of the new plate rack to form the new beam. Sand any rough edges.
Step 8: Make the back support for the plate rack.
Use the second largest segment from the disassembled dish rack to create the back support for your plate rack. Cut off the excess wood from the bottom of the dish rack so that it fits vertically inside the cabinet above the plate rack. The back support (B) will be slightly longer than the plate rack (A), so remove the side supports on each side of the rack, cut it so that it's the same width as the plate rack, and reattach the side supports in their new position. Sand any rough edges.
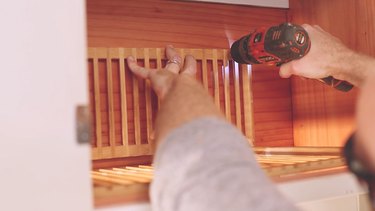
Attach the back support rack to the cabinet backing, aligned directly above the plate rack.
Step 9: Make the cup rack.
Use one of the smaller segments from the disassembled dish rack to create the cup rack that will go next to the plate rack. Use the plate rack as a guide to cut the cup rack to the desired size.
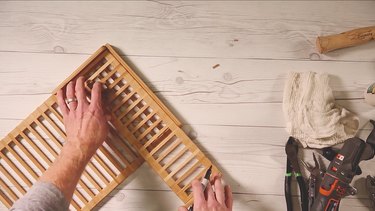
Remove the end support beam from the discarded section you cut off and reattach the end support beam to the end of the cup rack. Sand any rough edges.
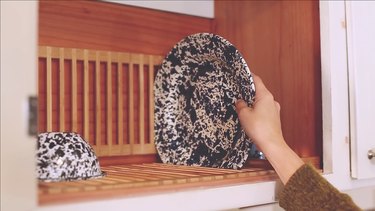
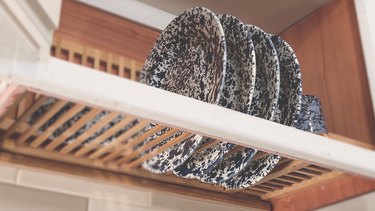
Place the new plate rack and cup rack inside your cabinet.
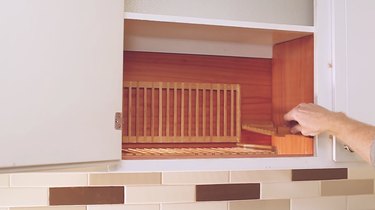
Roll up your sleeves and get going on those dishes, because you are going to be wowed when you realize just how clean your kitchen looks without a dish rack cluttering up the countertops.