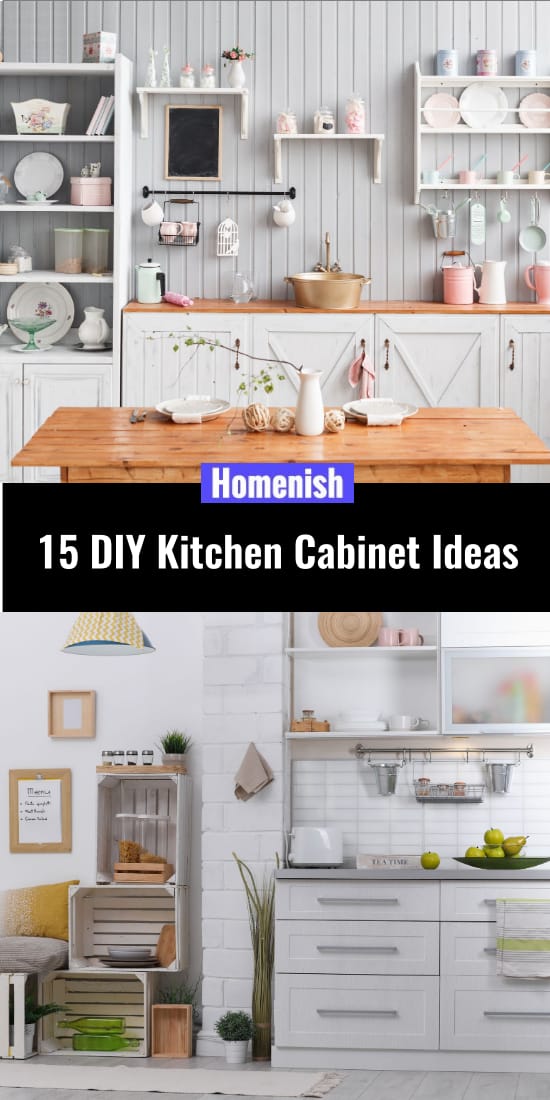
If you have ever been considering remodeling your kitchen cabinet, you probably know how tricky and expensive it can be. It requires either our time or our money – or sometimes both, with the last option being the most unfortunate one.
It is not an overstatement to say that the kitchen is the most challenging space to arrange in any home. It consists of so many components with different tasks and functions. The so-called “kitchen work triangle” includes three fundamental kitchen elements: the cooktop, the sink, and the refrigerator.
But there is more. We need to think of every detail regarding our cooking time, to ease it and make it more efficient. Just as importantly, finding joy in preparing meals should not be overlooked.
Neatly organized and nicely designed kitchen cabinets are there to help all of those tasks run smoothly.
Although DIY kitchen cabinet projects may look too demanding at first, the approach saves you a lot of frustration with the suppliers, retailers, carpenters, and handymen. Who could know your needs better than yourself, anyway?
If you are daring to start the adventure and try yourself in renovating your kitchen cabinet while saving the budget at the same time, here are some DIY ideas to help you out.
Whether you want to recycle the old cabinet or put the brand new one, DIY options are numerous. At least you can use them as an inspiration for improving your solution.
1. Kitchen Cabinet Ideas for Beginners
Supposing you’re on the budget (and who’s not?!), here is a cheap and easy idea for building the kitchen cabinet from scratch. Cabinet framing along with the cabinet doors – all for around $200? Sounds like a mission impossible, but the tutorial proves us wrong. On top of that, its final result looks much fancier than it is. It’s true when they say that sometimes it’s not all about money.
This kitchen cabinet building starts with an uneventful part – building the base cabinet frame. But once you finish it, you can start with the most engaging piece – constructing cabinet doors. One of the most grateful kitchen cabinet styles for the beginners is the so-called shakers style. It is very straightforward yet modern and sophisticated.
The table saw is a necessary tool for this process, so be extremely cautious while using it. You will need it for cutting stiles, rails, and grooves. After applying hinges and mounting the doors, paint them in some pastel color. You will get a unique and fabulous design.
Difficulty Level: Medium
BUILD THIS: https://designingvibes.com/diy-kitchen-cabinets-for-under-200/
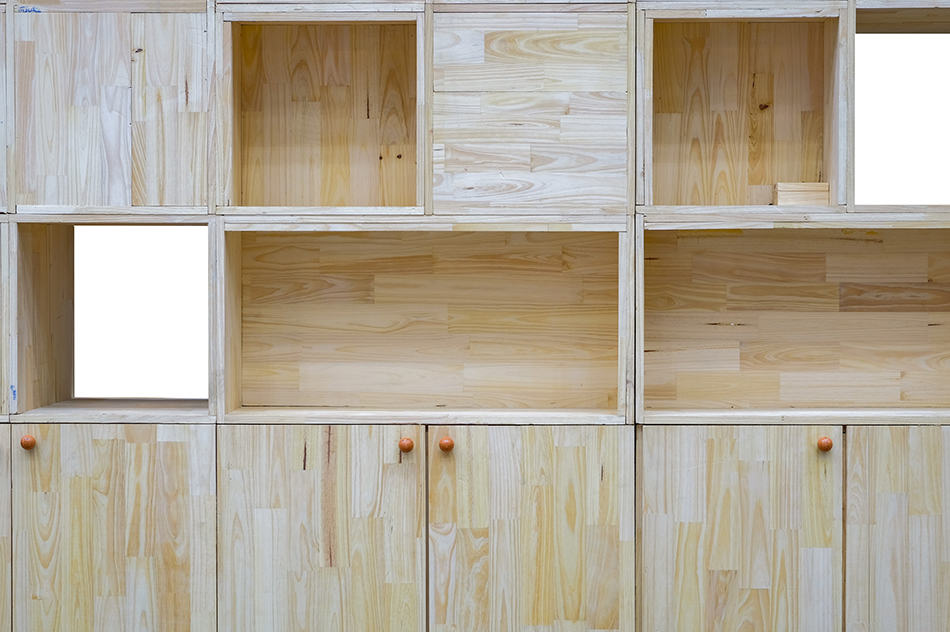
2. Open Kitchen Cabinet
Nowadays, it seems like less is more. One of the most popular kitchen cabinet designs proves it. The internet is overwhelmed by the ideas for kitchen cabinets with no doors.
Here is the ideal option for those who just want to update their kitchen cabinet. It is easy and chip. Moreover, you can always reverse the changes if you want to. Just be sure to keep all the cabinet elements for any future modification.
This process consists of several simple steps, and it takes merely several hours. Finally, you won’t have to work yourself to the bone to get visible results.
After you carefully remove the hinges and the doors, you will have the interiors’ flat surfaces to play with. Clean them, prime them and paint them, and get them ready for the most crucial part.
The whole idea behind this open concept is to have something to show off once you remove the doors. Choose the material with an exciting texture and colorful pattern and put it on the interiors’ surface. You can always change it when you get bored.
Difficulty Level: Very Easy
BUILD THIS: https://www.prettyhandygirl.com/fabric-backed-open-kitchen-cabinets-diy-on-a-dime-the-tutorial/
3. The Chicken Wire Cabinet Doors
Another popular variation for the kitchen cabinet makeover, this open concept cabinet suggests putting the chicken wire on the door instead of wood or glass panels. If you’re into rustic looks, then this might be your choice. If you’re an English-language learner, it might even help you ease the common chicken/kitchen pronunciation confusion.
Making this piece is very easy.
- Remove the panels leaving the door frame.
- Cut the wire and staple it to the frame.
That’s about it.
If you want to add a nostalgic, pastoral feeling to your rustic kitchen, you can add curtains behind the chicken wire. In this case, your open cabinet can be closed anytime you want.
Difficulty Level: Very Easy
BUILD THIS: https://www.thespruce.com/cabinet-door-makeover-1313933
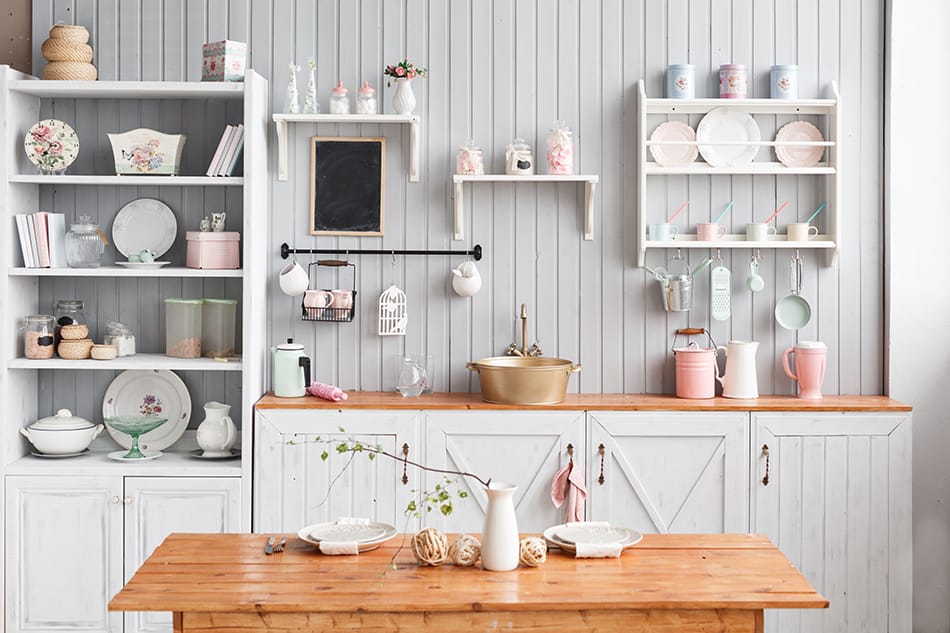
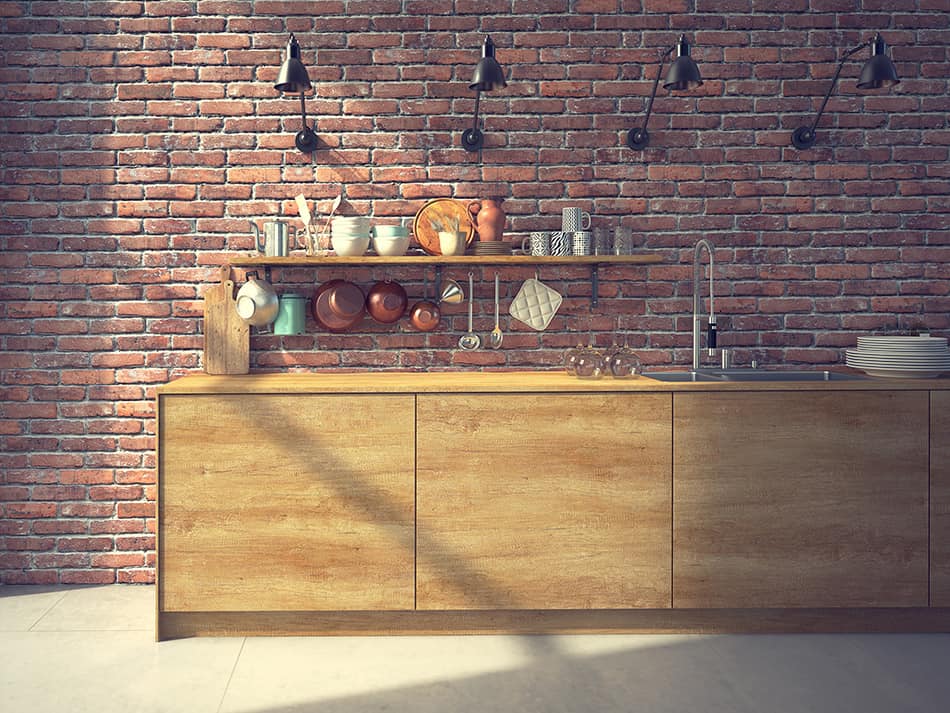
4. Kitchen Cabinet and Wooden Pallets
Here is an excellent option for building the kitchen cabinet with minimal expenses and maximal charm. A bonus to this solution is the fact that it uses recycled materials, namely recycled wooden pallets.
The best part of this kitchen cabinet is that you can design it any way you like. Pallets are suitable for arranging in various ways. After you choose your favorite pattern and decide the measures, get the building tools and material.
Before hanging the cabinet on the wall, sand it and paint it in some natural shading. The best one might be the simplest: just preserve the natural wooden color.
To improve the storage potential of your new cabinet, add the hooks for hanging mugs other kitchen accessories to it.
Difficulty Level: Easy/Medium
BUILD THIS: https://www.instructables.com/id/Kitchen-Cabinet-251/
5. Barn-like Kitchen Cabinet
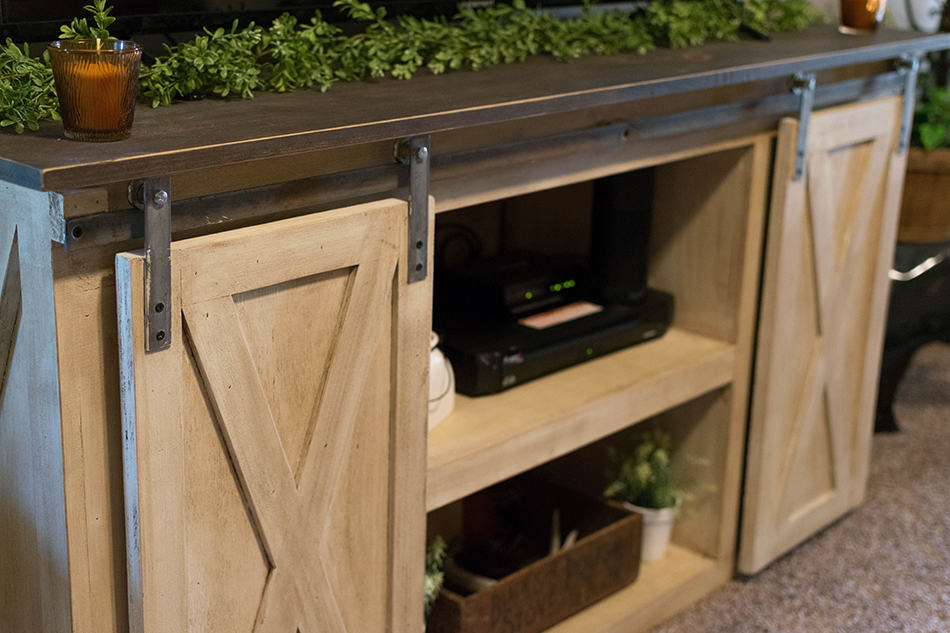
The opportunities to upcycle discarded materials, turning them into new home items, are vast. Here is another kitchen cabinet project that reuses the existing materials.
This tutorial shows the true meaning of the transformation from trash to treasure. Part of the credit for it surely goes to the fact that this barn-like kitchen cabinet reminisces about the ancient treasure chests originating from the fairy tales.
Find the straight wooden boards. The key to this look is to create a “Z” barn-door style. Add some old decorative carriage house hinges and pulls. Finally, paint the doors with perfectly-imperfect color. It doesn’t matter if it’s grey or brown, as long as it fulfills this rustic fashion.
Difficulty Level: Medium
BUILD THIS: https://www.hometalk.com/10534021/upcycled-barnwood-style-cabinet
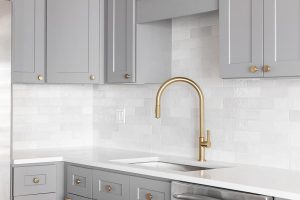
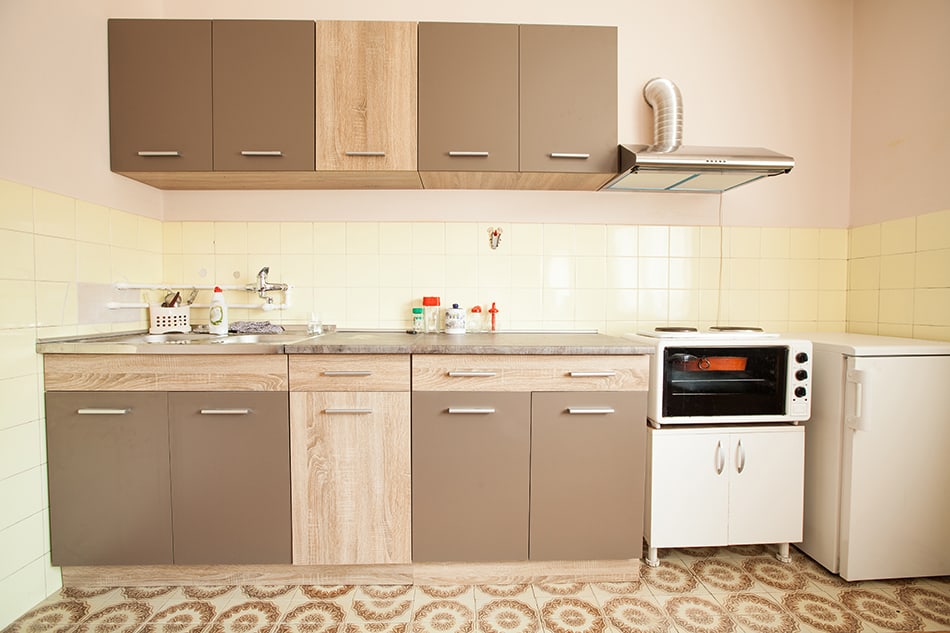
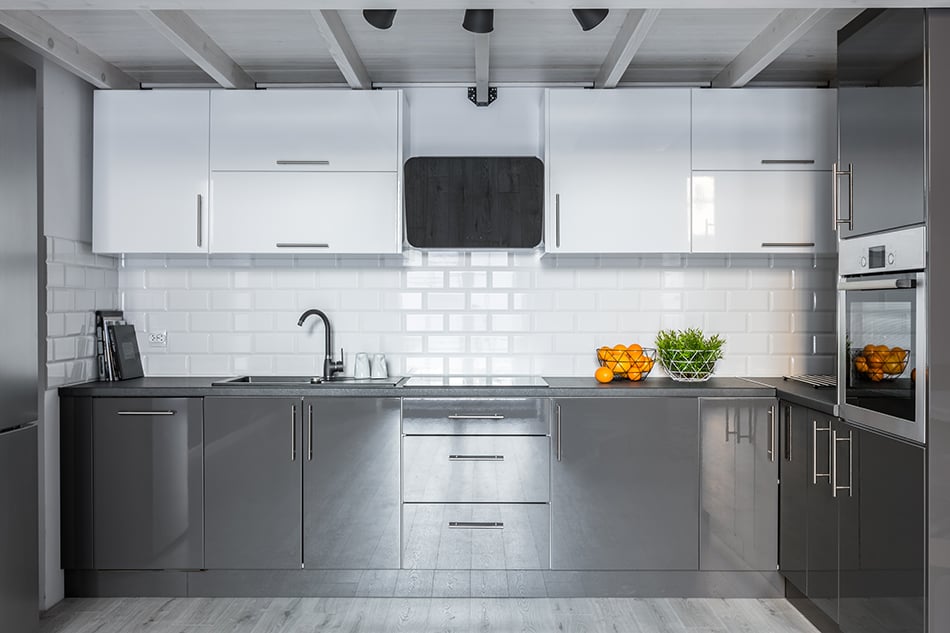
6. Kitchen Cabinet Color Makeover
For those who don’t have to invest in replacing the whole kitchen, but still need a significant change, this tutorial might be useful. If you don’t find your kitchen ultimately inspirational, maybe the simple change of color can help.
However, you should know that painting is not necessarily an easy task. It does take some time, especially if you paint the kitchen cabinets that are already stored. That is why you should prepare yourself and your kitchen first before you get to work. Lastly, prepare for hours and hours of waiting for the painted elements to dry.
After you do this (empty cabinets, remove all the stuff, including drawers and doors, and gather the tools and material), you should start eliminating dirt and buckling. Cleaning and sanding and then cleaning again form the first step.
The next one is painting. Depending on your base coat of paint and your kitchen’s original color, you may need only one or two coats of primer. After the paint, apply the topcoat – since you will use these surfaces, you need to protect them first.
In the end, be patient and let the color dry for at least 36 hours. You will have enough time to enjoy it once it’s done and ready for use.
Difficulty Level: Easy/Medium
BUILD THIS: https://www.instructables.com/id/DIY-Kitchen-Cabinet-Makeover/
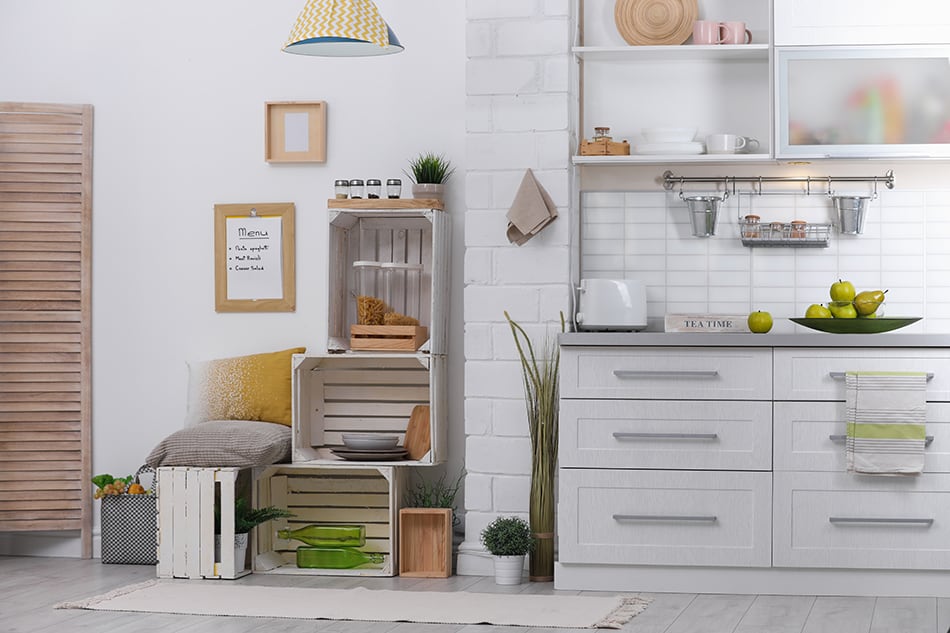
7. Improving Storage in the Kitchen Cabinet

There is an everlasting truism we can all relate to: whether our kitchen is small or big, there is never enough storage space in there.
Fortunately, there are many unconventional ideas out there ready to show us how we can use our space efficiently innovatively. As you will see, some of those ideas are so modest, yet brilliant (and most are zero-dollar). Still, somehow they don’t always cross our minds.
The idea is to define a place for each kitchen item or to group them. In this way, you will have a separate place for cutting boards, for spices, and cans. Use an office organizer to provide space for pots and pans. You should mount hooks inside the cabinet to hang measuring cups and spoons, mugs, or mixer attachments. Use the under-sink cabinet to store cleaning tools. Put a tension rod to the sidewalls and hang spray bottles.
Maybe such improvements are not visible from the outside, but you will know how much it means having an organized cooking space.
Difficulty Level: Very Easy
BUILD THIS: https://www.bobvila.com/slideshow/11-zero-dollar-ways-to-organize-your-kitchen-cabinets-50508
8. DIY Kitchen Cabinet Drawers
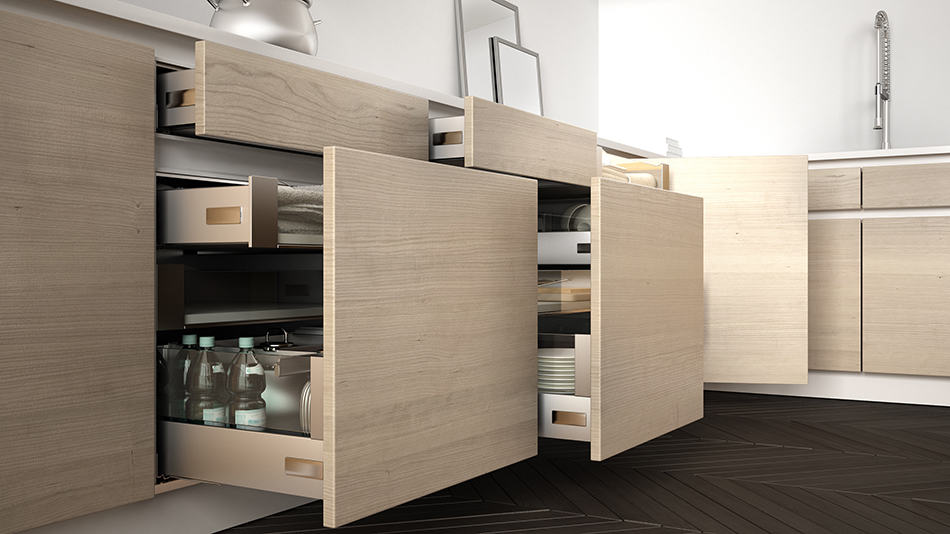
When it comes to storage, drawers are always our first bet. They truly are the holy grail of organizing.
To build the drawers by yourself and save tons of money (since the industrial-made drawers can be quite expensive), you will need a frame for the drawers and hardware rails. For the drawers themselves, use the basic design to put the wooden boards together: you will need four sides and a bottom. Once you arrange it, you can add some plywood to the bottom.
Finally, you can sand and paint the boards or, if you have some fine examples of raw wood, leave them as is. Remember, the possibility to change your mind and take the brush is always at your fingertips.
Difficulty Level: Easy/Medium
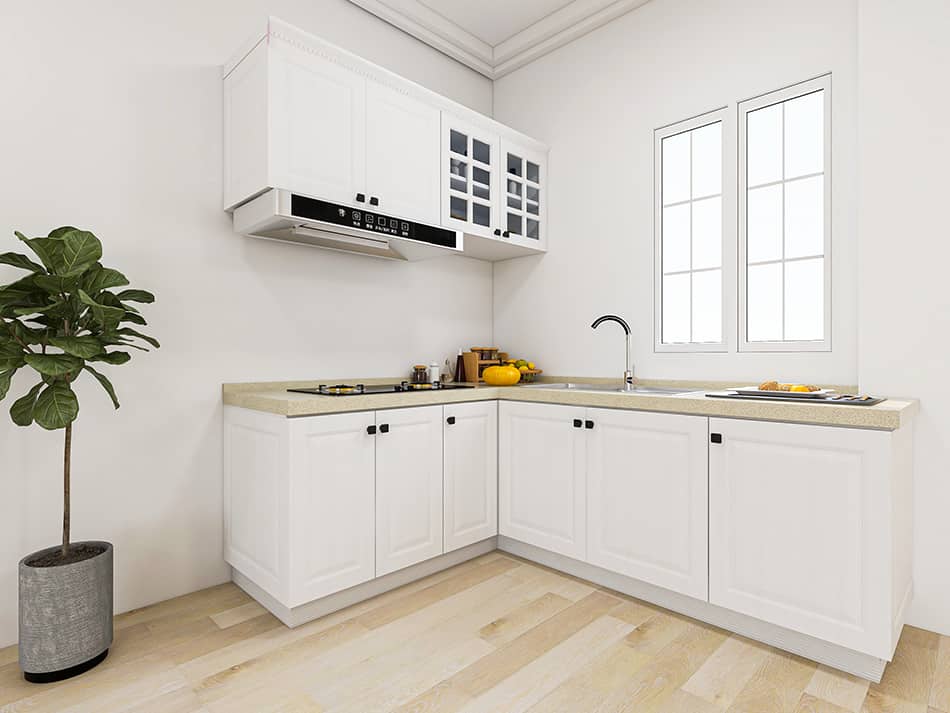
9. Kitchen Cabinet by the Ceiling
For those who have basic wall cabinets, fitting them up in the ceiling can make a huge improvement. The cabinets will look higher, and you will get more storage space.
The goal is to fill in the space between the existing cabinets and the ceiling. First, take those measures and decide whether you want the additional cabinets to fill the entire area, or you prefer to add some heather above them.
Be sure to hang them on the wall, to take the weight off from the old ones. You can leave the upper cabinets open, with no doors, and add the LED lighting inside it.
The final step is repainting both the old and the new elements in the same color. For a complete look, add the crown molding around the heather. It will make your kitchen cabinets look like they’re an organic part of the house.
Difficulty Level: Medium
BUILD THIS: https://www.thriftydecorchick.com/2015/09/building-cabinets-up-to-ceiling.html
10. The Trash Kitchen Cabinet
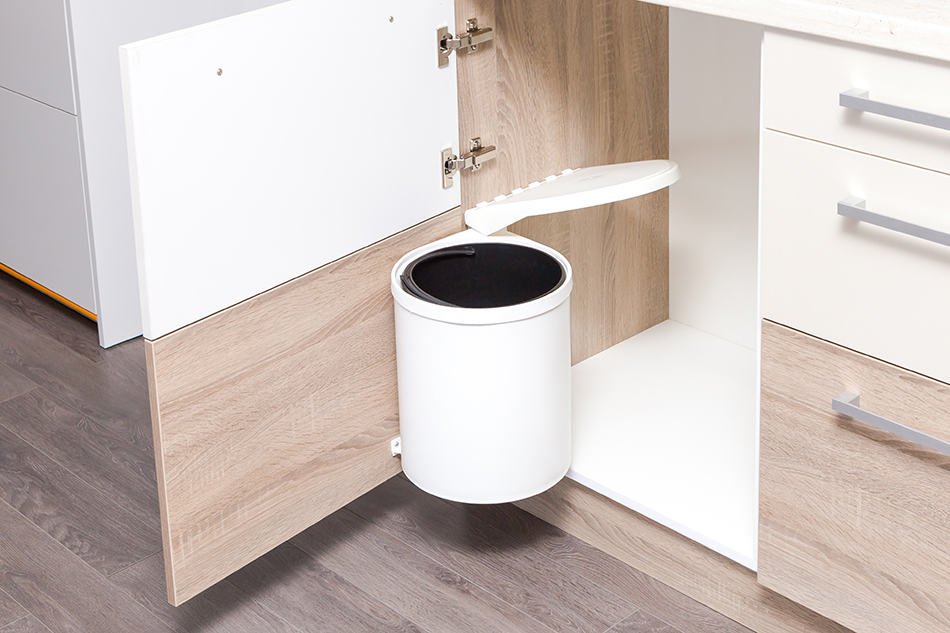
Nobody likes to look at the garbage while preparing food. Trash cans that can be stored away and not visible are an excellent way to maintain your kitchen orderly.
Here is the tutorial helping you to build the pull-out cabinet that serves as a trash can. The proper measures are the most important part of this project, so the number one rule says – measure twice, cut once. This is why the first thing you need to buy before getting to work is – a trash can. It needs to fit perfectly to the cabinet, and vice versa. It’s more of a pocket for a trash can than the cabinet, to be more precise.
You will need both a table saw and jigsaw, plywood panels, wood glue, hardware, and other building material and accessories. For the front door, try to make or find the one most similar to your existing kitchen cabinet doors.
Difficulty Level: Medium
BUILD THIS: https://www.instructables.com/Cabinet-for-Kitchen-Trash-Barrel/
11. Kitchen Backsplash for Wine Lovers
An important part of your kitchen cabinet makeover is surrounding it with an appropriate backsplash. Here are some interesting and smart ideas for this project. The great thing about them is that they will make you reuse your household items. I chose two tutorials to show you how far imagination and creativity can go.
The first one is made for wine lovers. If you are among them, start collecting old wine corks. Depending on the surface beneath your kitchen cabinet, you will need several hundreds of them (author of the tutorial spent 800).
Split each cork in two, to leave them with one flat side. Then you can start making an under the cabinet puzzle, arranging corks one by one until you get a perfect wine lover kitchen. To be able to remove them once they get dirty or merely boring, be sure not to stick them right to the wall, but to the plywood surface.
Difficulty Level: Easy/Medium
BUILD THIS: https://www.createcraftlove.com/diy-wine-cork-backsplash/
12. Upcycle Kitchen Backsplash Idea
Instead of wine corks, you can reuse broken dishes, seashells, pebble stone, or whatever you have, to create the mosaic backsplash. You will have a charming vintage kitchen, while your cabinets will get new looks.
The idea is to have one focal point that would distract from the less glamorous parts of the kitchen. The other simple aim is to boost the contrast between the cabinets and the backsplash to make your kitchen space more vivid. In this way, your cabinets will get more noticeable, and you will improve your recycling skills.
Difficulty Level: Easy/Medium
13. Diagonal Kitchen Corner Cabinet
Corners are always the trickiest part, especially if you need your kitchen to be space-efficient. There is always some unused space around the kitchen corners that you could immediately load it with your cooking accessories. You just need to optimize its design.
There are many solutions to this eternal kitchen problem. It only depends on your preferences and craftsmanship. One possibility is to leave the corner open and fill it with shelves. Then, you can also make a swing-out corner cabinet, with wire shelves installed under the counter and attached to the door, offering you easy access to the content. You can also put corner drawers fitting to the 90-degree angle. However, if you want to avoid such a pointy shape, opt for a more fluid design, building a diagonal corner cabinet.
Here is the tutorial for the diagonal corner cabinet with one door, probably the plainest yet most sophisticated. It requires 46 bevel cuts and a lot of patience. The high-quality table saw is a must for this project.
Difficulty Level: Advanced
BUILD THIS: https://www.ana-white.com/woodworking-projects/wall-kitchen-corner-cabinet
14. Pie-Cut Corner Cabinet
Another kitchen corner solution is to make the so-called pie cut corner with a double folding door.
It is important to keep the cabinet depths matching because it is supposed to work with the surrounding cabinet. Precise measures are the key factor again.
In both cases, those cabinets can be hung on the wall or simply incorporated into the countertop.
Difficulty Level: Advanced
https://www.ana-white.com/woodworking-projects/wall-corner-pie-cut-kitchen-cabinet
15. Refrigerator Cabinet
Maybe you don’t want your refrigerator caught your eye in the kitchen space, but rather to go with the cabinet flow, building its enclosure is a good idea. Still, you don’t need the built-in refrigerator, because you still want to collect all your magnets on its door. While the previous tutorial was to optimize your kitchen space, this one is simply for aesthetics.
The refrigerator should look like it belonged to the kitchen, while the connections should be hidden, which is probably the most challenging part of the project. You’ll need to build a box that perfectly fits both your refrigerator and the rest of the kitchen.
The space above the refrigerator can be left open or closed, but it certainly needs to be the extension of the fridge box. The inner side of the box can be coated with backsplash to fit the kitchen completely.
Difficulty Level: Medium
BUILD THIS: http://fishermanswifefurniture.blogspot.com/2013/08/diy-refrigerator-enclosure.html
Conclusion
If you want to build an entirely new kitchen cabinet, step-by-step tutorials can be of help, especially for beginners. They are even more useful if you only want to give your kitchen a fresh coat or make the cabinet just for a specific kitchen element. Whatever your motive is, a brainstorm is always welcome for turning ideas into creative solutions. On the internet, there are no better tools than DIY inspirations.
While some prefer eating outside, enjoying meals prepared by experienced chefs in fancy restaurants, never cooking at home, others choose to equip their kitchen in the best Michelin tradition. For all of us in between, who are not that ambitious to build a place for fine-dining, but believe that the most exclusive haute cuisine is the one we make in the comfort of our homes, kitchen cabinets makeover DIY ideas listed above are pure gold.
Do you have any experience in building kitchen cabinets or remodeling them? Have any advice to share? What’s your favorite kitchen cabinet design? Let us know in the comments!