


How to Build a Vertical Pull-Out Cabinet

Tools and Materials:
3/4” medium-density fiberboard (MDF)
3/4” bamboo plywood
Brad nailer with 1-1/4” nails
four heavy-duty drawer glides
screw gun and wood screws
wood glue
sander and sandpaper
wood putty
cabinet hardware
shims
table saw
miter saw
drywall square, level and a tape measure
paint, polyurethane, and paintbrushes
Steps:
1. Cut the pieces for the cabinet frame from the 3/4” MDF:
- two side pieces at 24” x 77”
- top and bottom pieces at 24” x 8-1/2”
- back piece at 75-1/2” x 8-1/2
- toe kick at 20” x 3”

2. Cut the pieces for the pull-out insert from the 3/4” bamboo plywood:
- cabinet face at 10” x 77”
- inside panel at 18-3/4” x 73-3/4”
- two pieces of side trim at 1-1/2” x 18-3/4”
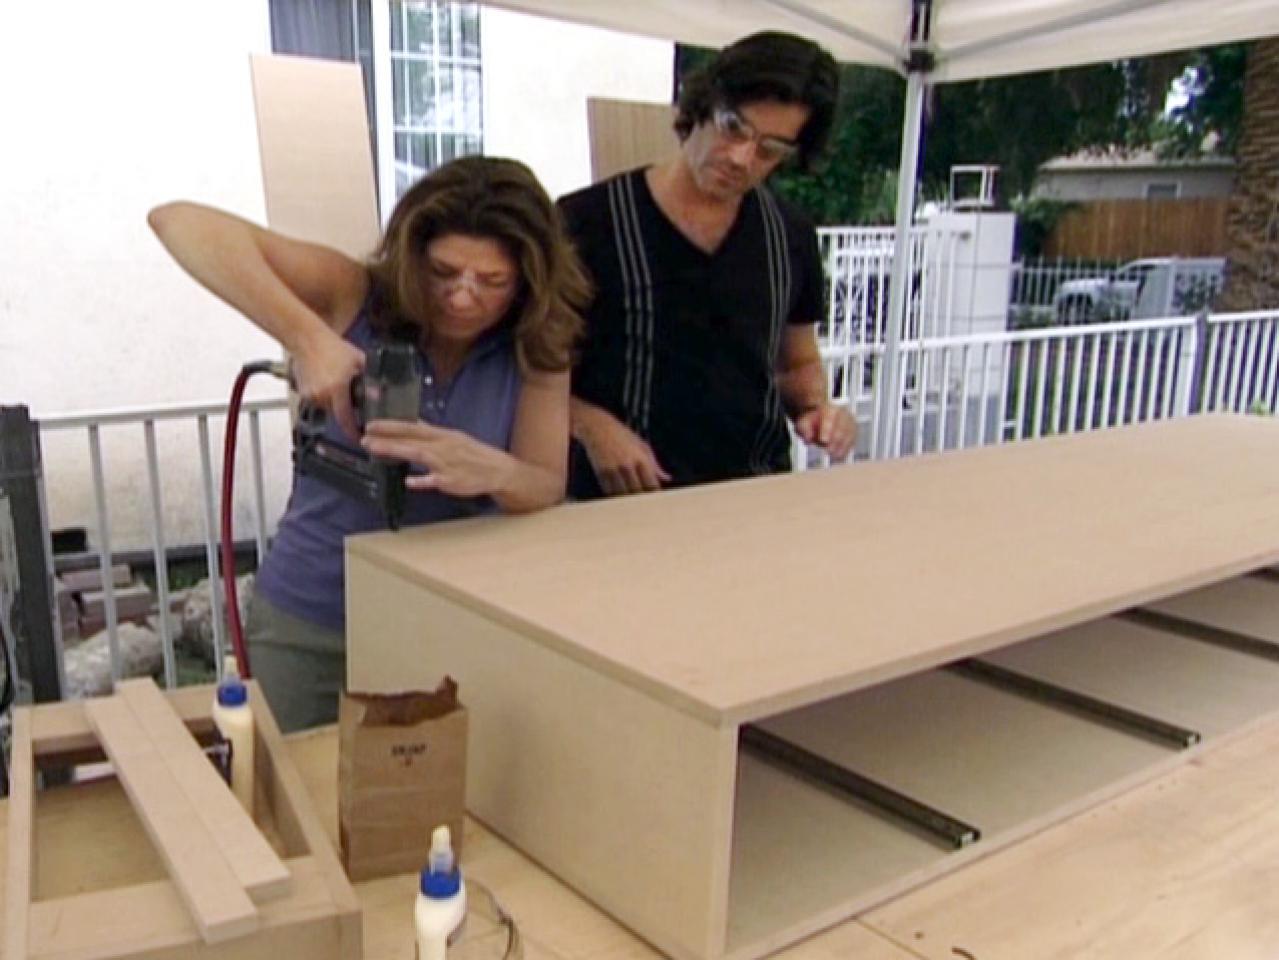
3. Lay down one of the side pieces of the cabinet frame on a table and install the four drawer gliders, ensure they are evenly spaced and level.
4. Assemble the cabinet frame, attach the top, bottom and back pieces to the side piece with wood glue and Brad nails. Then secure the other side piece to the frame. Because the frame is so long, be careful to keep the sides from warping while you are attaching them.
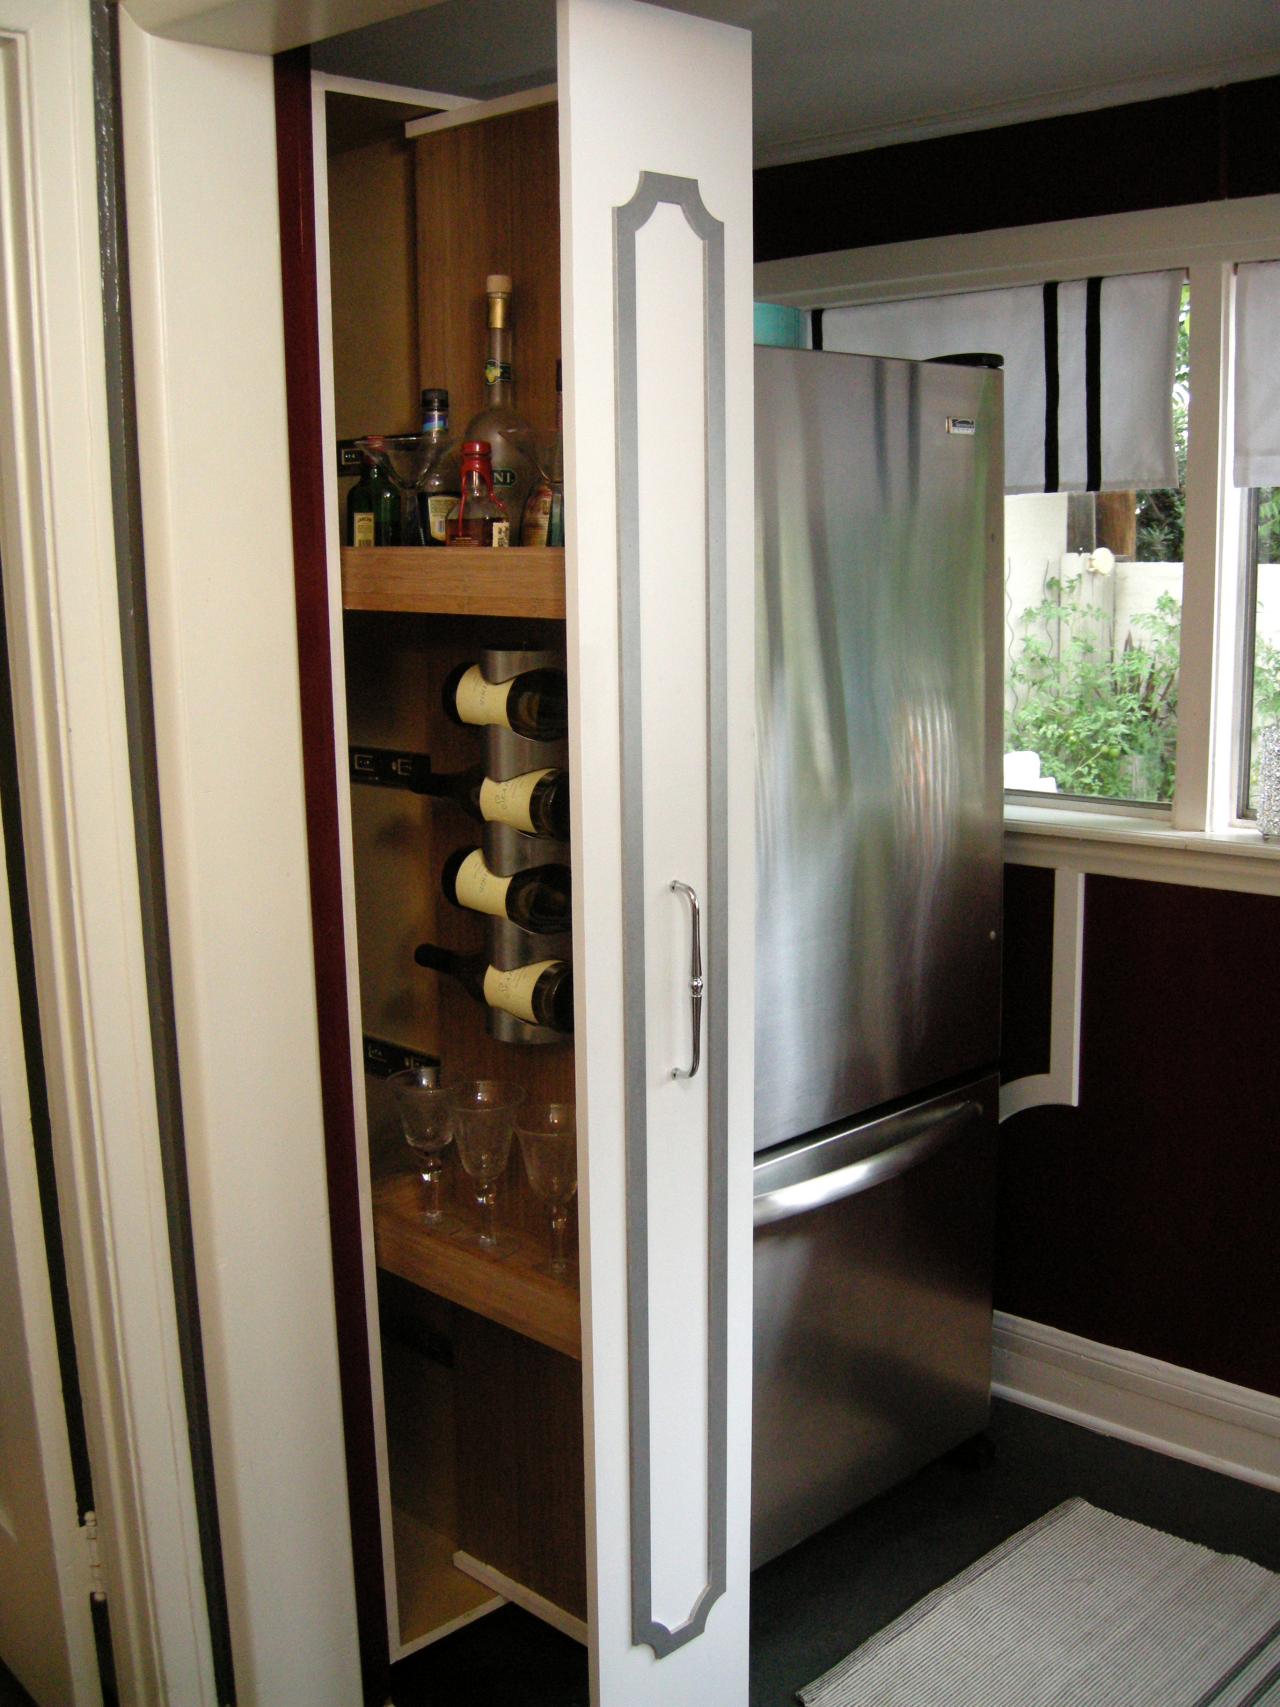
5. Extend the drawer glides all the way and place the bamboo plywood panel onto the glides. Install the panel onto the drawer glides. Attach the face to the inside panel with wood glue and Brad nails. Add trim to the top and bottom of the inside panel.

6. Test the drawer glides several times to make sure they work.
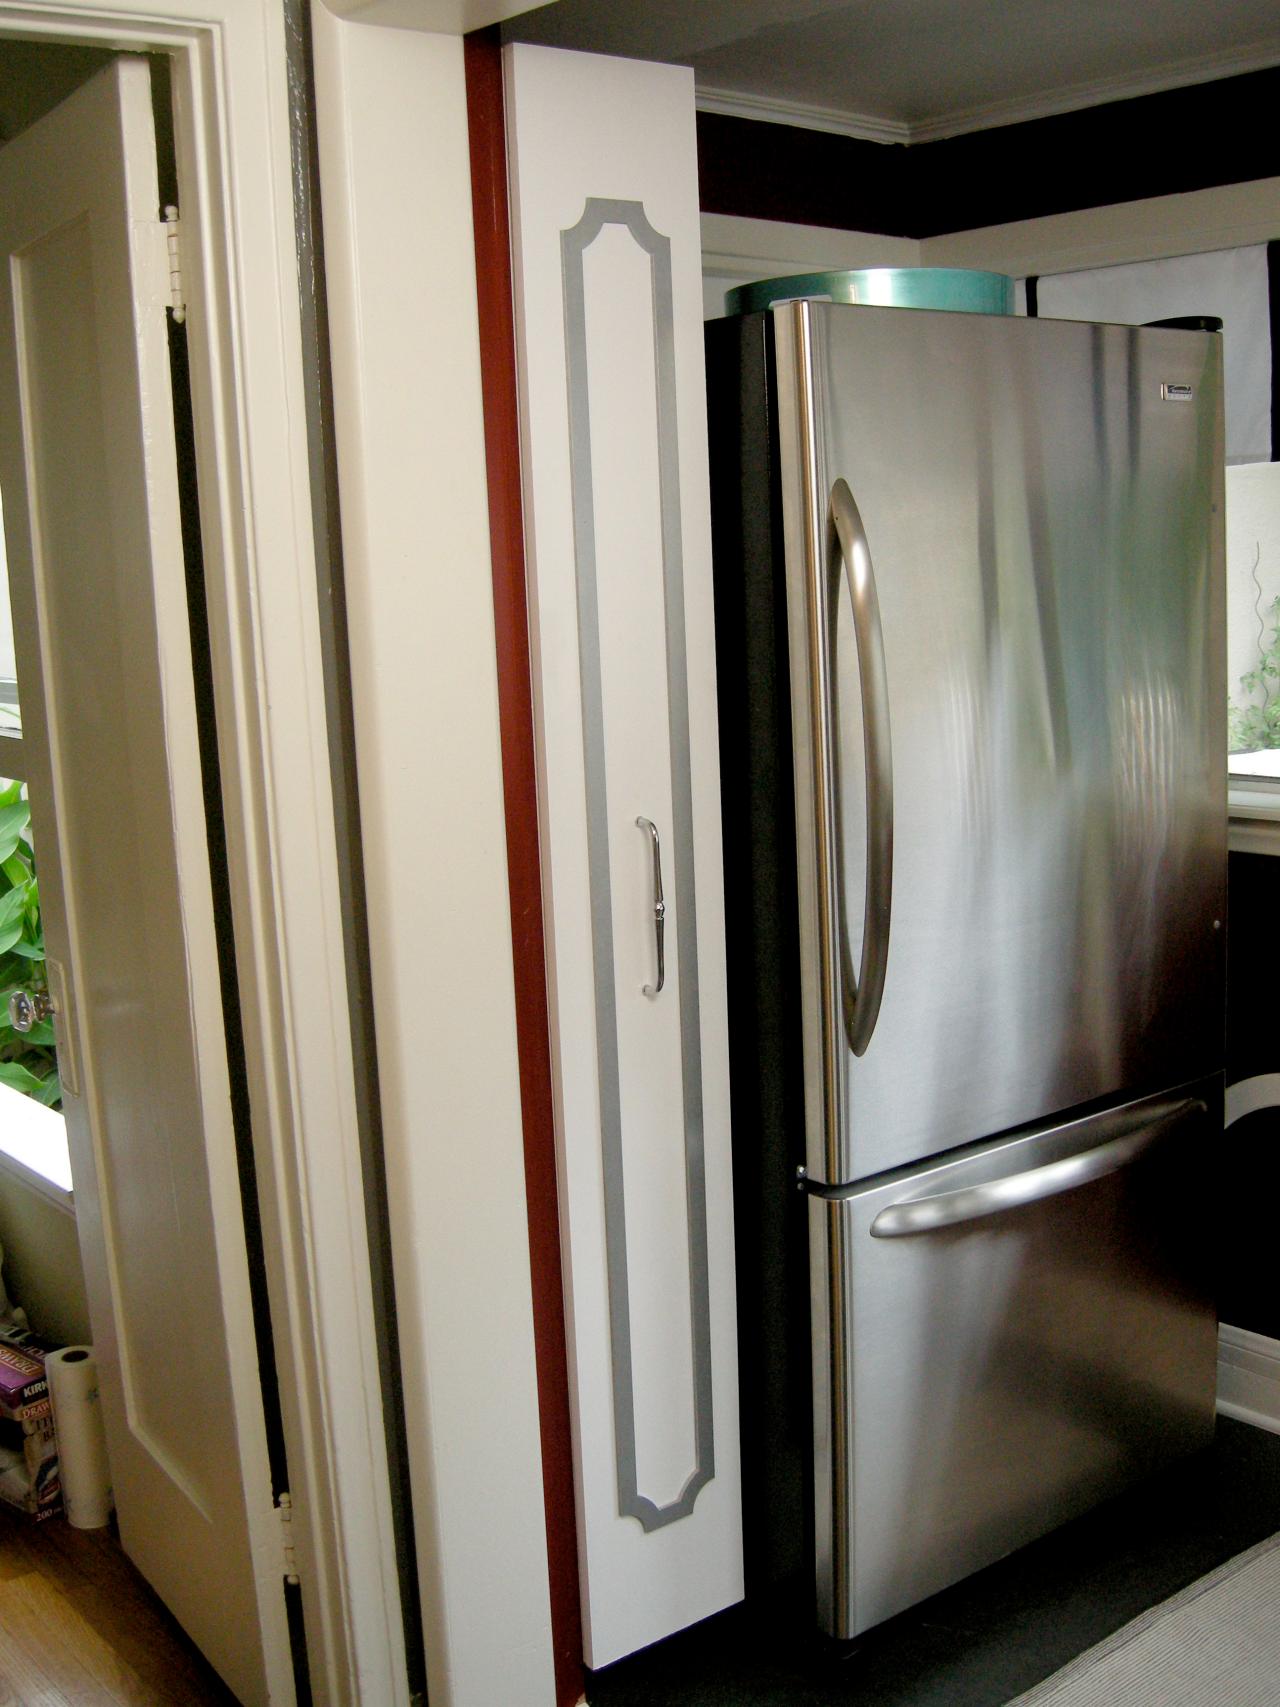
7. Finish the face of the cabinet as desired and add cabinet hardware. We painted ours white and attached decorative trim.
8. Place the cabinet vertically, in place. Shim the bottom if needed and ensure the cabinet is sitting square and plumb. Secure the back of the cabinet to the wall making sure you nail through the studs.


