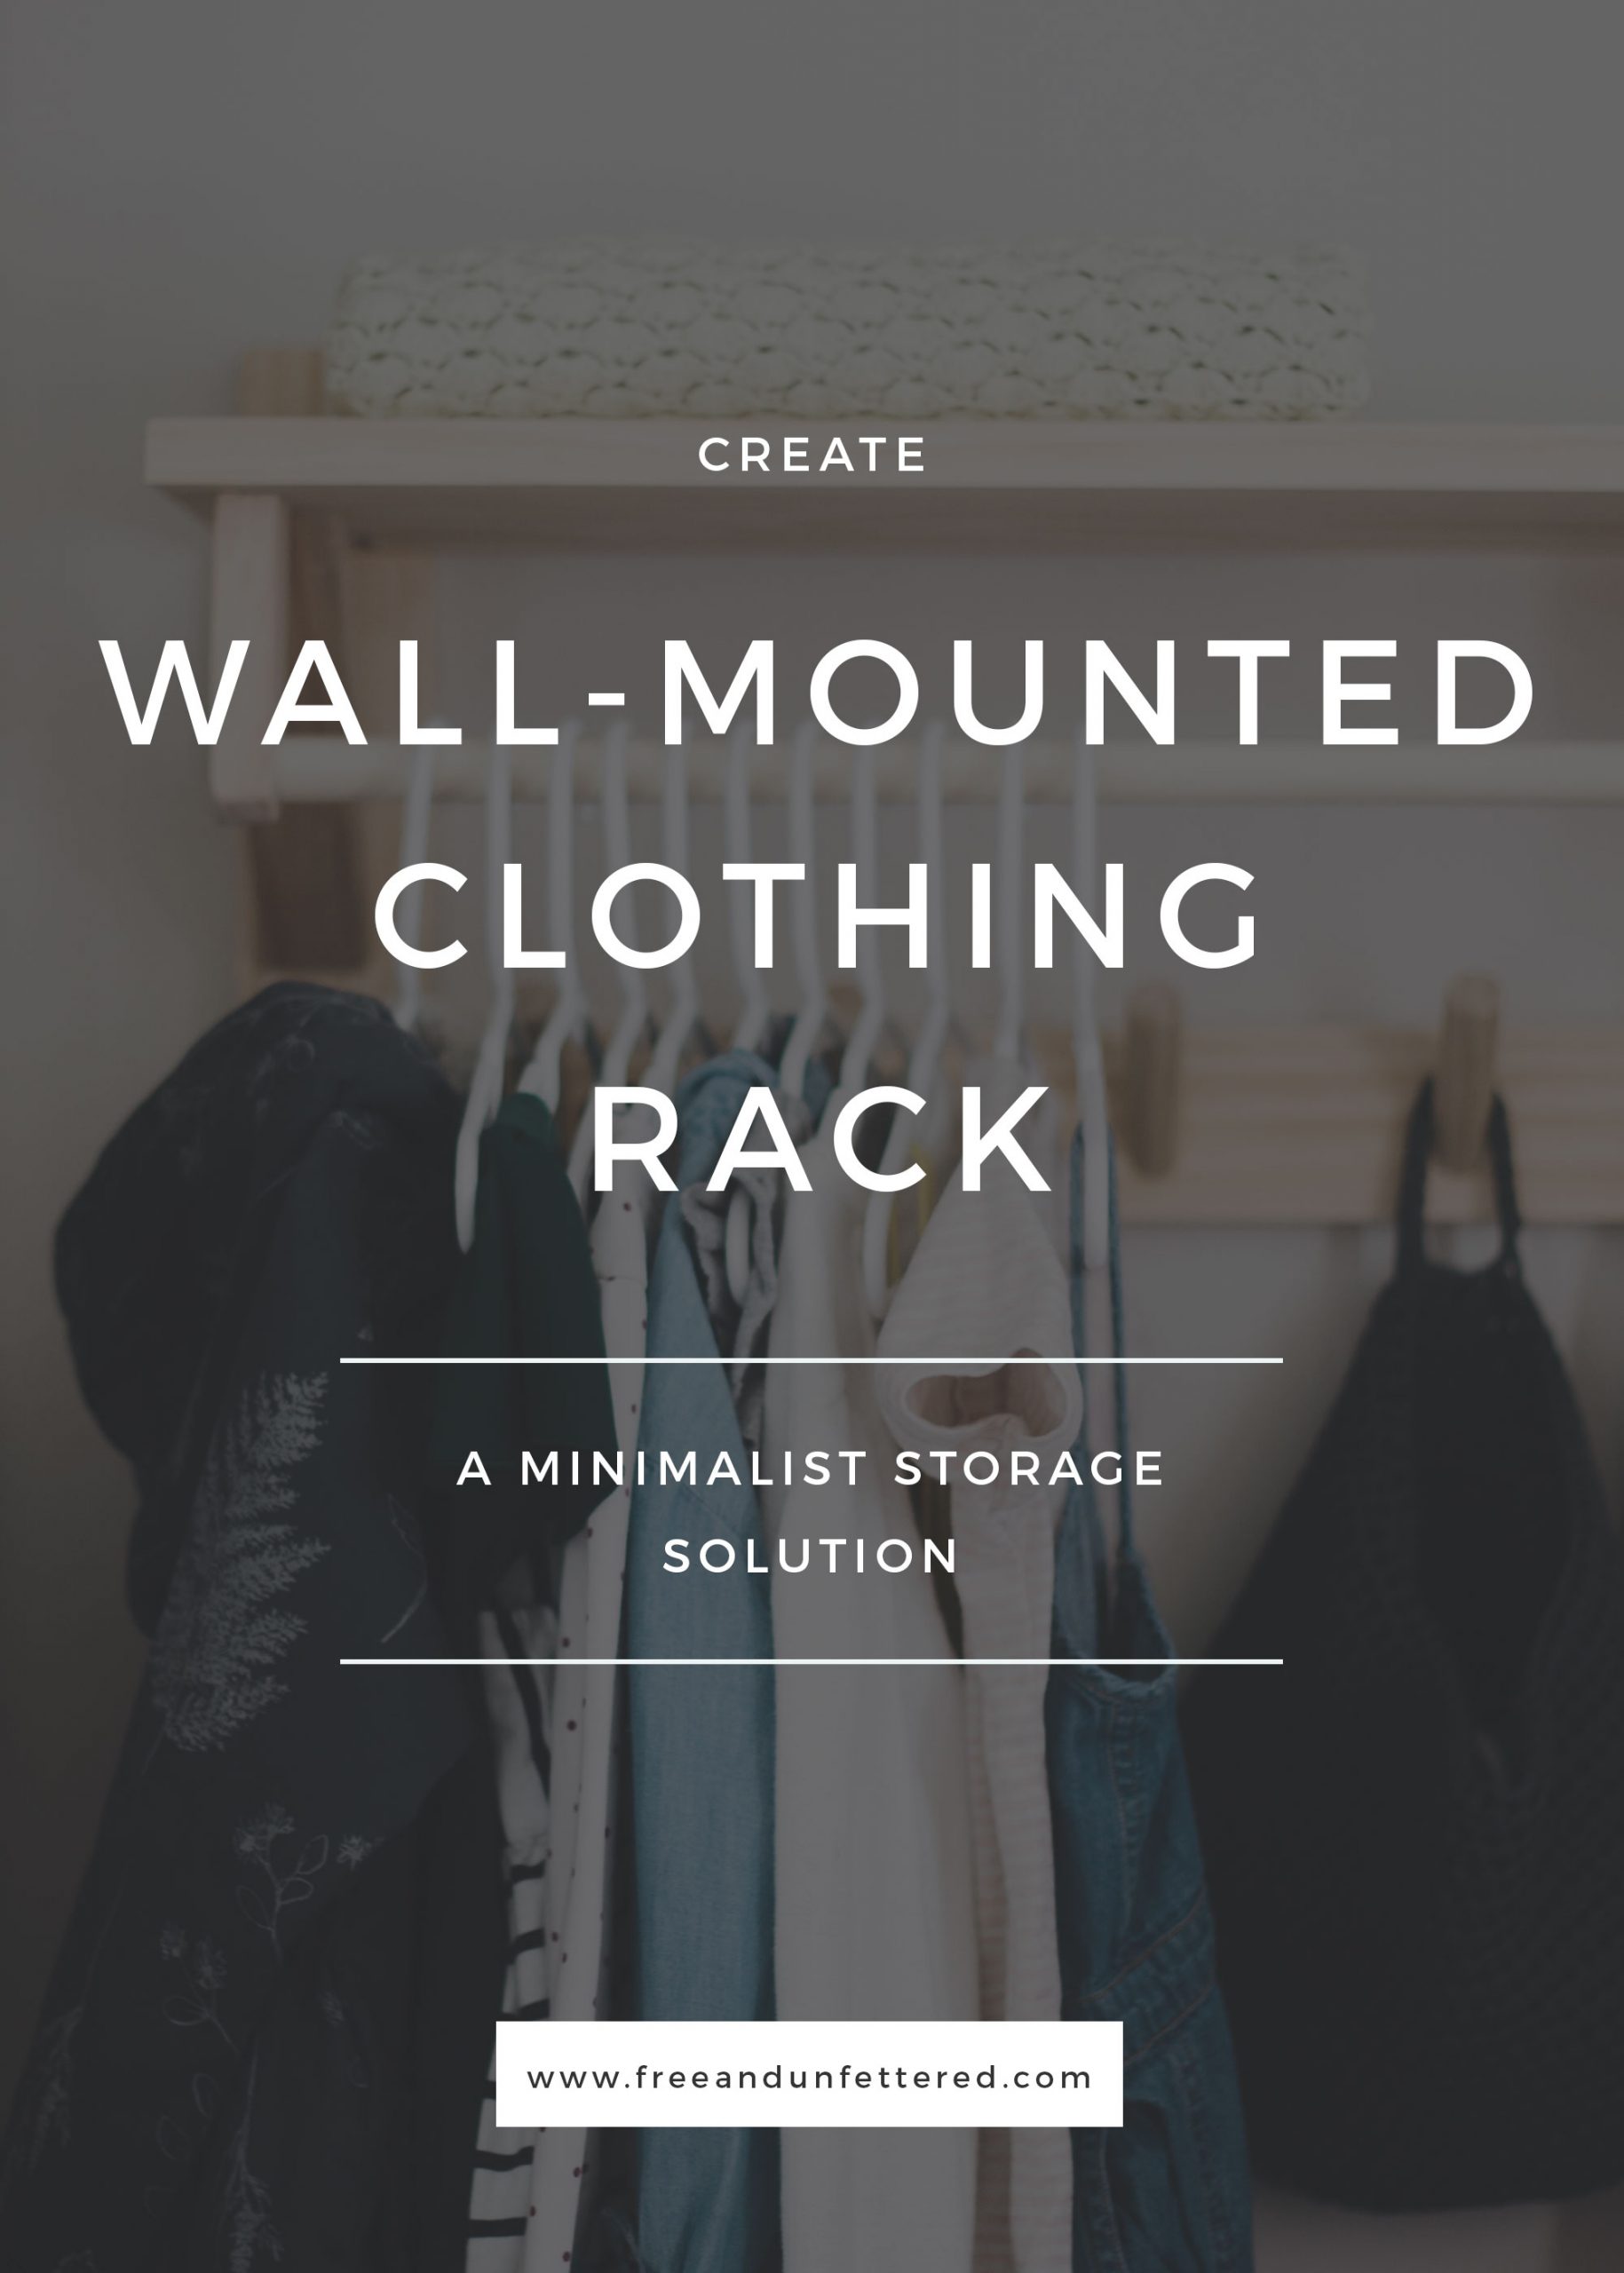
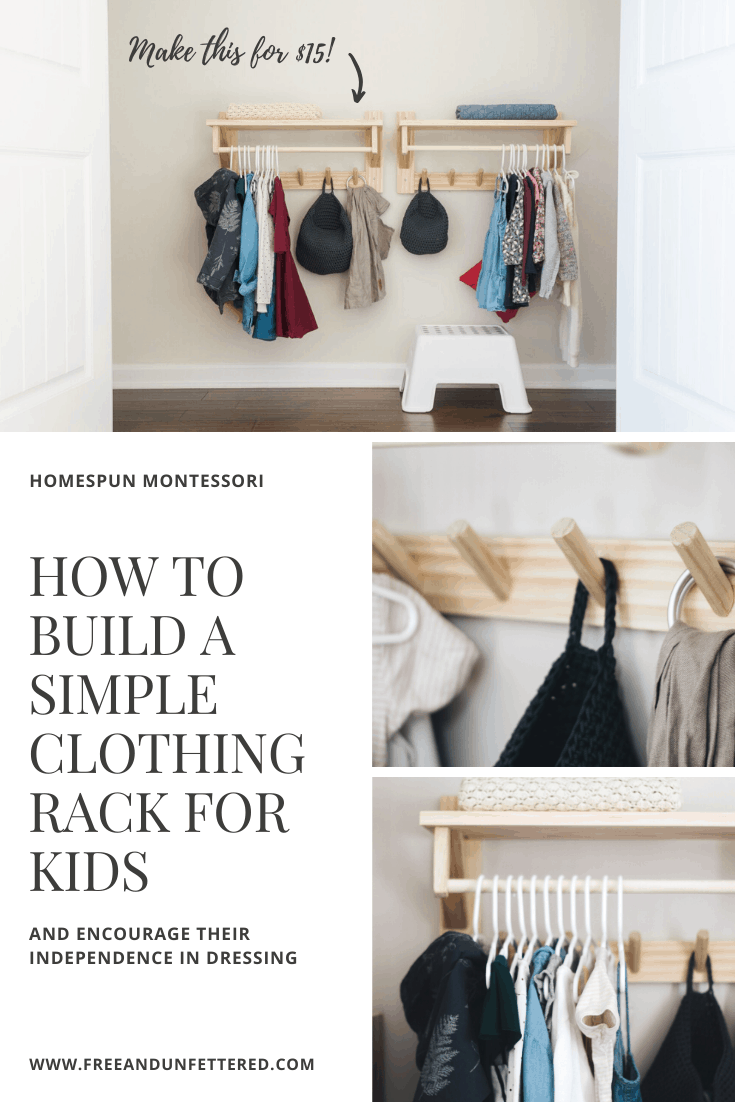
DIY: Clothing Rack with Shelf
When we moved into our new home in August I knew one of the first projects we’d need to undertake was to figure out how to make our kids’ clothing accessible to them. The builder-installed shelving in their bedroom closet currently hangs at 70″ high, most definitely out of reach for a 4-year-old and a 1-year-old. Since they will be sharing a bedroom I wanted a clothing system that would clearly define each one’s space. It also needed to be affordable and have a minimal footprint.

The closet itself has a nook on one side that Eric and I plan to add shelving at some point, so we knew we didn’t want any bulky clothing storage system that would obstruct the opening.
I searched IKEA for a solution since it’s usually my go-to choice for storage and organization items and discovered the MACKAPÄR hat and clothing rack.
 I gave serious thought to just ordering two of them, but upon closer inspection I realized they were a little too long to fit comfortably in the closet and still maintain easy access to the aforementioned nook. Plus, at $30 dollars each they were a little more than I was hoping to spend.
Then I stumbled across this beautiful wooden wall-mounted coat and hat rack and knew I had found our next DIY project. 
Given our closet dimensions and the need for two separate racks, we decided to make each one 24″ wide and space them a few inches apart. Rather than using a slatted top, we opted for a solid shelf figuring it would be less burdensome for the girls. I assume some of their Schleich animals and small dolls will end up decorating the top some day, and I’d hate for them to constantly fall through the slats.

So with our rough sketch in hand, we went to the hardware store to price and purchase the lumber and other supplies needed.
Supply List
1 1×3 @ 8 ft
1 1×2 @ 8 ft
1 1×10 @ 4 ft
(2) 3/4″ dowel @ 4 ft
Wood glue
1 1/4″ Kreg Jig screws
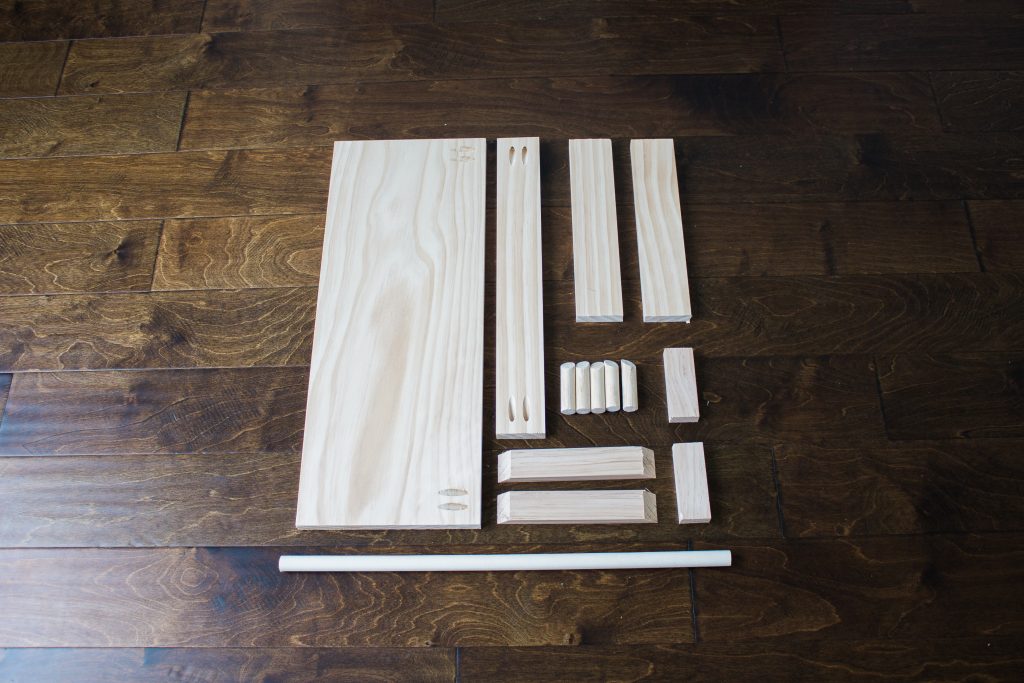
Eric cut all the lumber to size with some assistance from Lilly.
For (1) 24″ wide clothing rack you’ll need to make the following cuts:
Cut List
Cut 1×10 @ 24 inches, QTY: 1
Cut 1×3 @ 19 inches, QTY: 1
Cut 1×3 @ 12 inches, QTY: 2
Cut 1×2 @ 8 inches, QTY: 2
Cut 1×2 @ 4 inches, QTY: 2
Cut dowel rod @ 22 inches, QTY: 1
Cut dowel rod @ 4 inches, QTY: 5
Drill pocket holes on each end of the 19″ 1×3 board. You’ll then need to secure it to the 12″ 1×3 boards, positioning it 1/2” from the bottom of those.
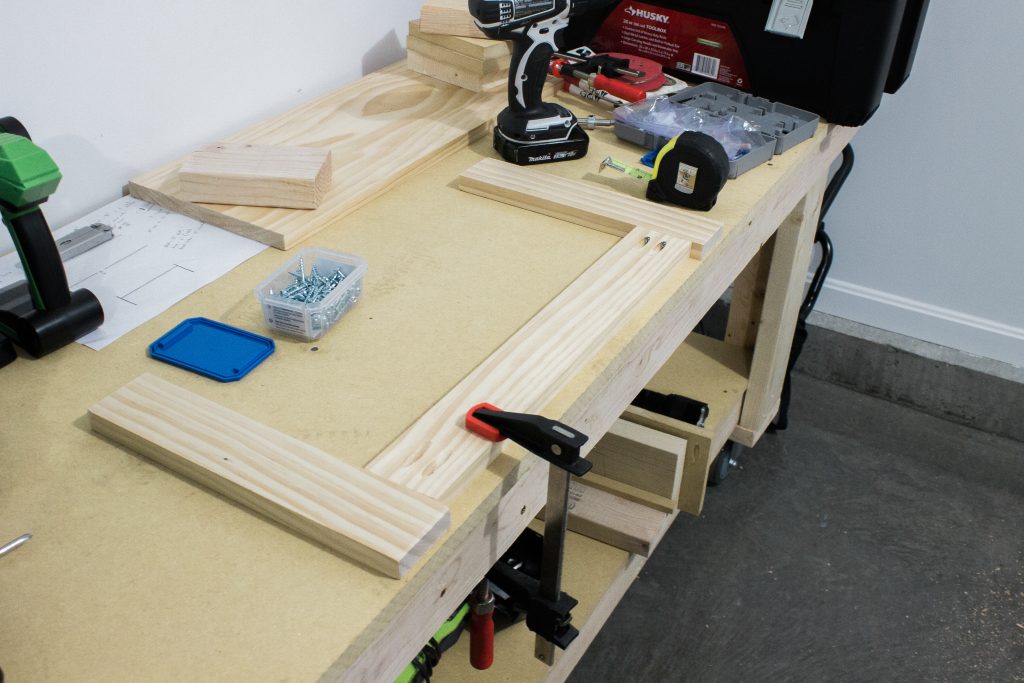
Attach the 24-inch 1×10 board 3 inches from the top using pocket holes.

Next, cut the 8″ 1×2 boards at a 45-degree angle on each end. Position them as braces underneath the 1×10 top and secure with wood glue and screws.

Prepare the dowel holders by rounding off one end of the 4″ 1×2 boards. We used the same technique we used when we built our Montessori baby activity gym, which simply involved tracing a circular outline using what was handy, and then using that line as a guide we sanded the wood down using an orbital sander.

Using a 3/4-inch wood drill bit, drill a hole halfway through the 4″ 1x2s, centered on the curved edge. Here’s what they should look like before attaching the dowel rod in between.

Lightly sand the ends of the 19″ dowel rod. This helps to ensure a cleaner fit. Apply a little bit of wood glue into the holes and then attach the dowel rod. Lay the dowel rod holders flat on a work surface as shown below and then attach screws on each side of dowel rod. Be careful not to overtighten the screws here or you risk splitting the wood.

Then attach the dowel rod to the 1×10 with screws. We pre-drilled the holes here to avoid splitting the wood shelf.
Next, cut each 4″ dowel rod piece at a 45-degree angle on one end.
Find the center of the 19″ 1×3 board. This will be where your middle hook is placed. We then spaced the rest of the hooks 4 inches apart, beginning at the center.
Mark spots with a pencil, and pre-drill holes.
On dowel rod hooks, mark placement of screw. This should be at the thickest point on the mitered edged side. 
Tighten the screw on the backside of the clothing rack until the tip of the screw barely pushes through on the front side.
Line up the pencil mark you made on your hooks with each screw tip and then resume tightening from the rear.
Once screw is fully tightened then you can manually twist the hook for a more snug fit if needed, again making sure not to over tighten here.


Wait 24 hours for the wood glue to dry and then mount clothing rack onto wall.

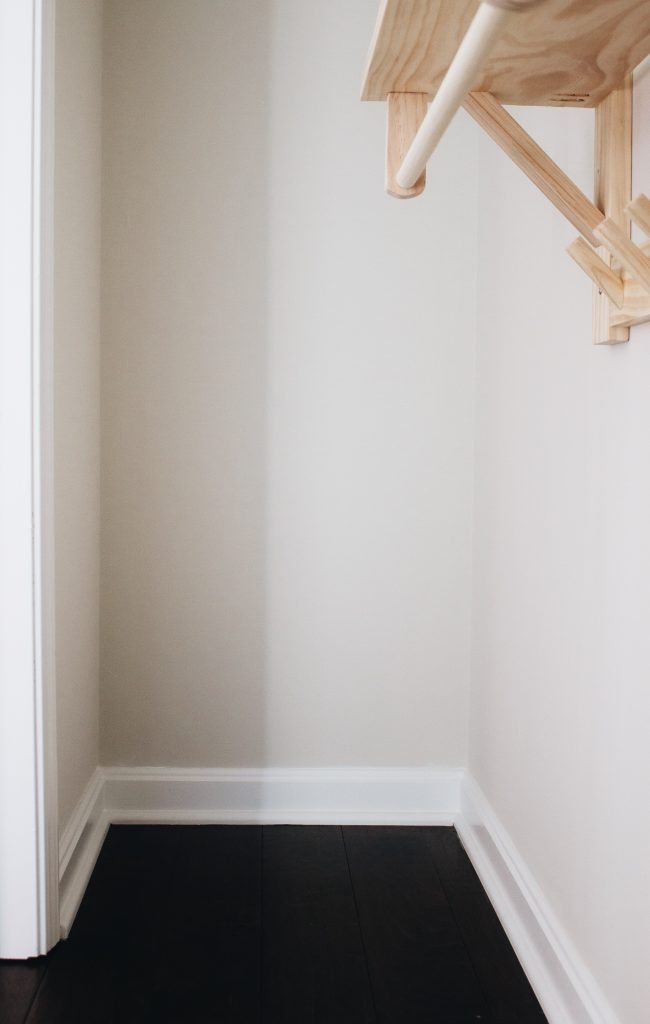
Aren’t they beautiful? I love how open the closet remains!
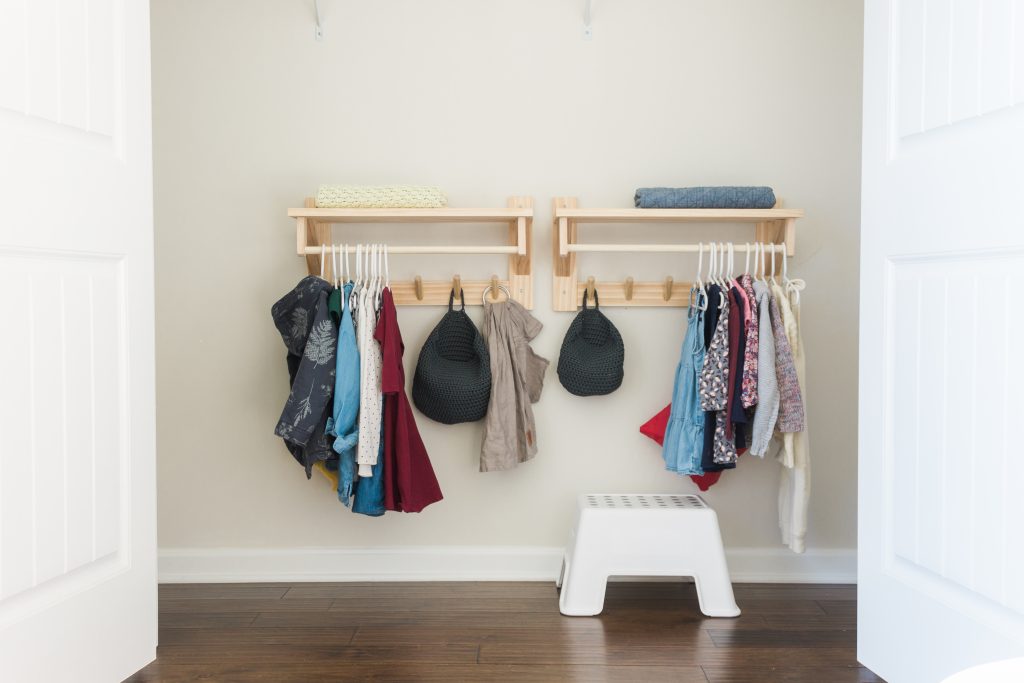
We’re currently using the hooks to hang their rain suits and these simple baskets which store their socks, tights, and leggings. I imagine we’ll use the shelf to place their seasonal items such as winter hats and gloves, or perhaps even add another small basket up there for additional storage options.

Although Alice can remove clothes from the rack independently, she still needs the stool in order to hang her clothes and to access the top shelf. We debated hanging her clothing rack at a lower height, but ultimately we decided to hang them evenly and just keep the stool in the closet for the time being.
I love clean lines and symmetry, so needless to say I’m smitten every time I open up their closet to put clothes away. Anything to make laundry a bit more fun, right? 😉
Love this build? Subscribe to the newsletter below to receive the latest DIY posts and tutorials.
2 Comments
Comments are closed.