1. Turn two $8 Ikea tables into one sneaky storage space.
2. Attach magnets to the bottom of your cabinets to hang your spices.

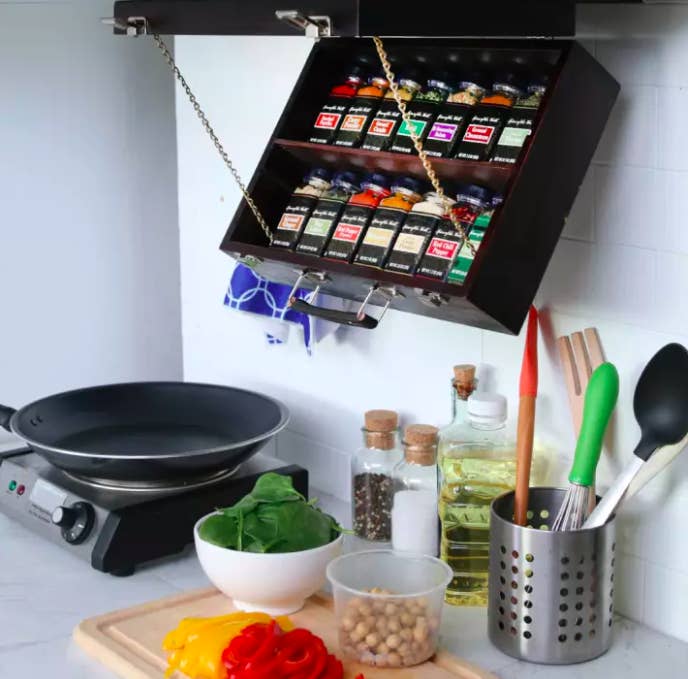
3. Or make a drop-down spice rack out of a small briefcase, if you want to keep them in their original jars.
4. Attach a wooden board and hinges to a chair to stow your stuff in the seat.
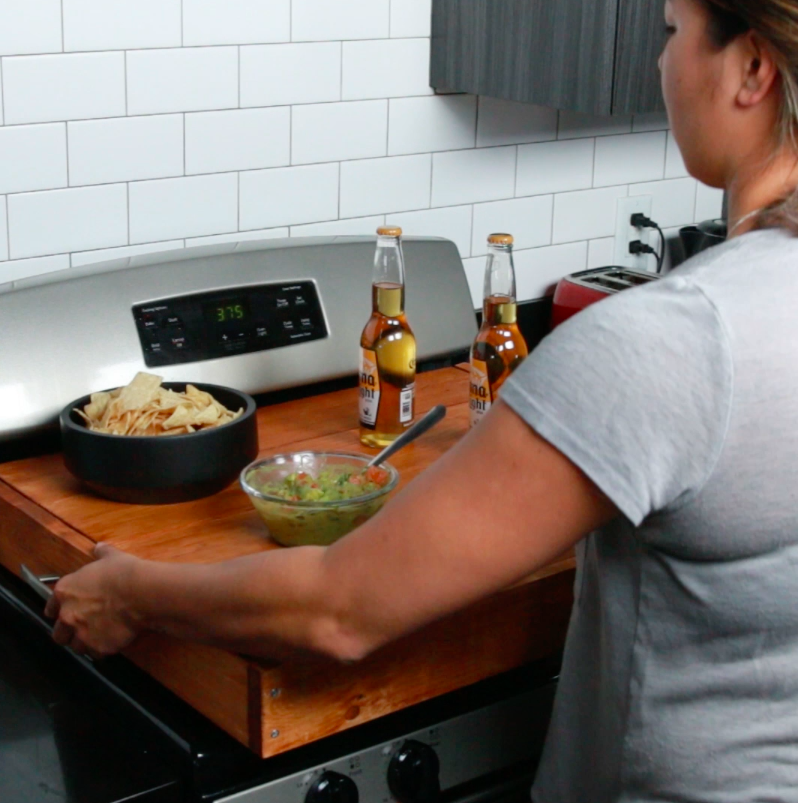
5. Build this stovetop cover to get more counter space for all your prep work.
6. Hide a murphy table behind a painting, so you don't need to clutter the space with an actual piece of furniture.
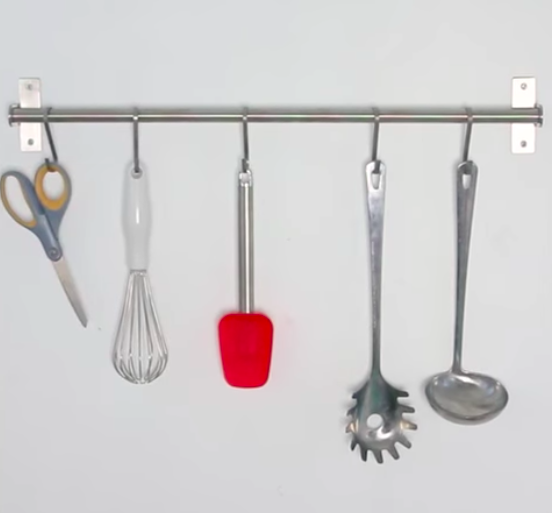
7. Hook your kitchen tools on a towel rod to clear out a messy drawer.
8. Or hide your kitchen equipment on a sliding rail inside an awkwardly sized cabinet.
9. Build a floating drawer with a few boards and drawer slides.
10. Attach a metal rack to a shelf slide so you can actually access the entire cabinet.
11. Turn a bookcase into a storage-friendly countertop with a set of legs and a butchers block.
12. Stash your secrets (or mess) in a false bottom made of a board glued to corks and a sneaky handle.
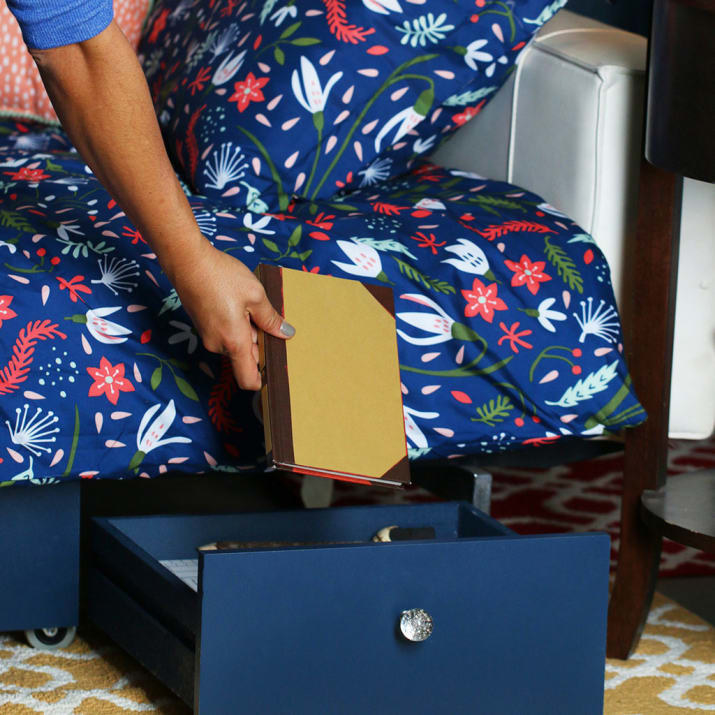
13. Add casters to the bottom of a drawer to take advantage of under-the-bed storage space.
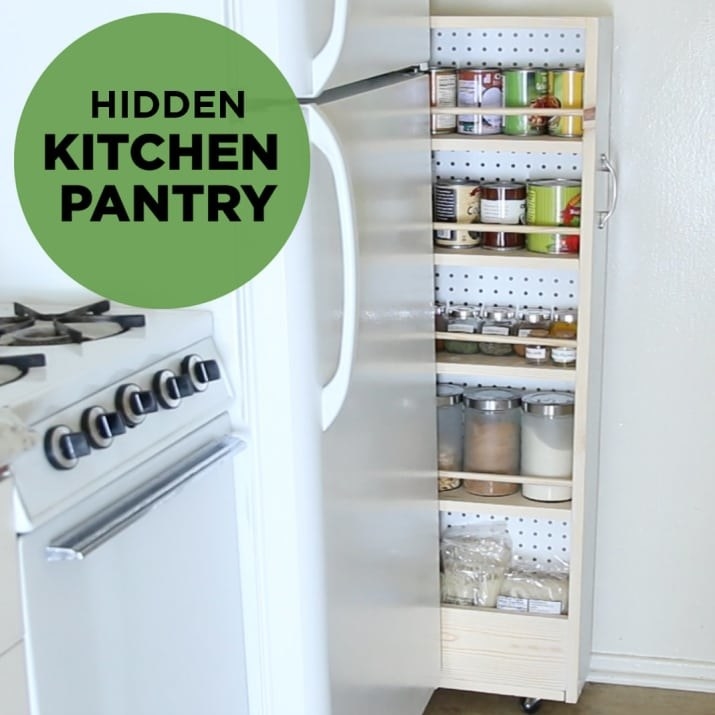
14. Or attach casters to the bottom of a shelf to slide your pantry out of sight.