
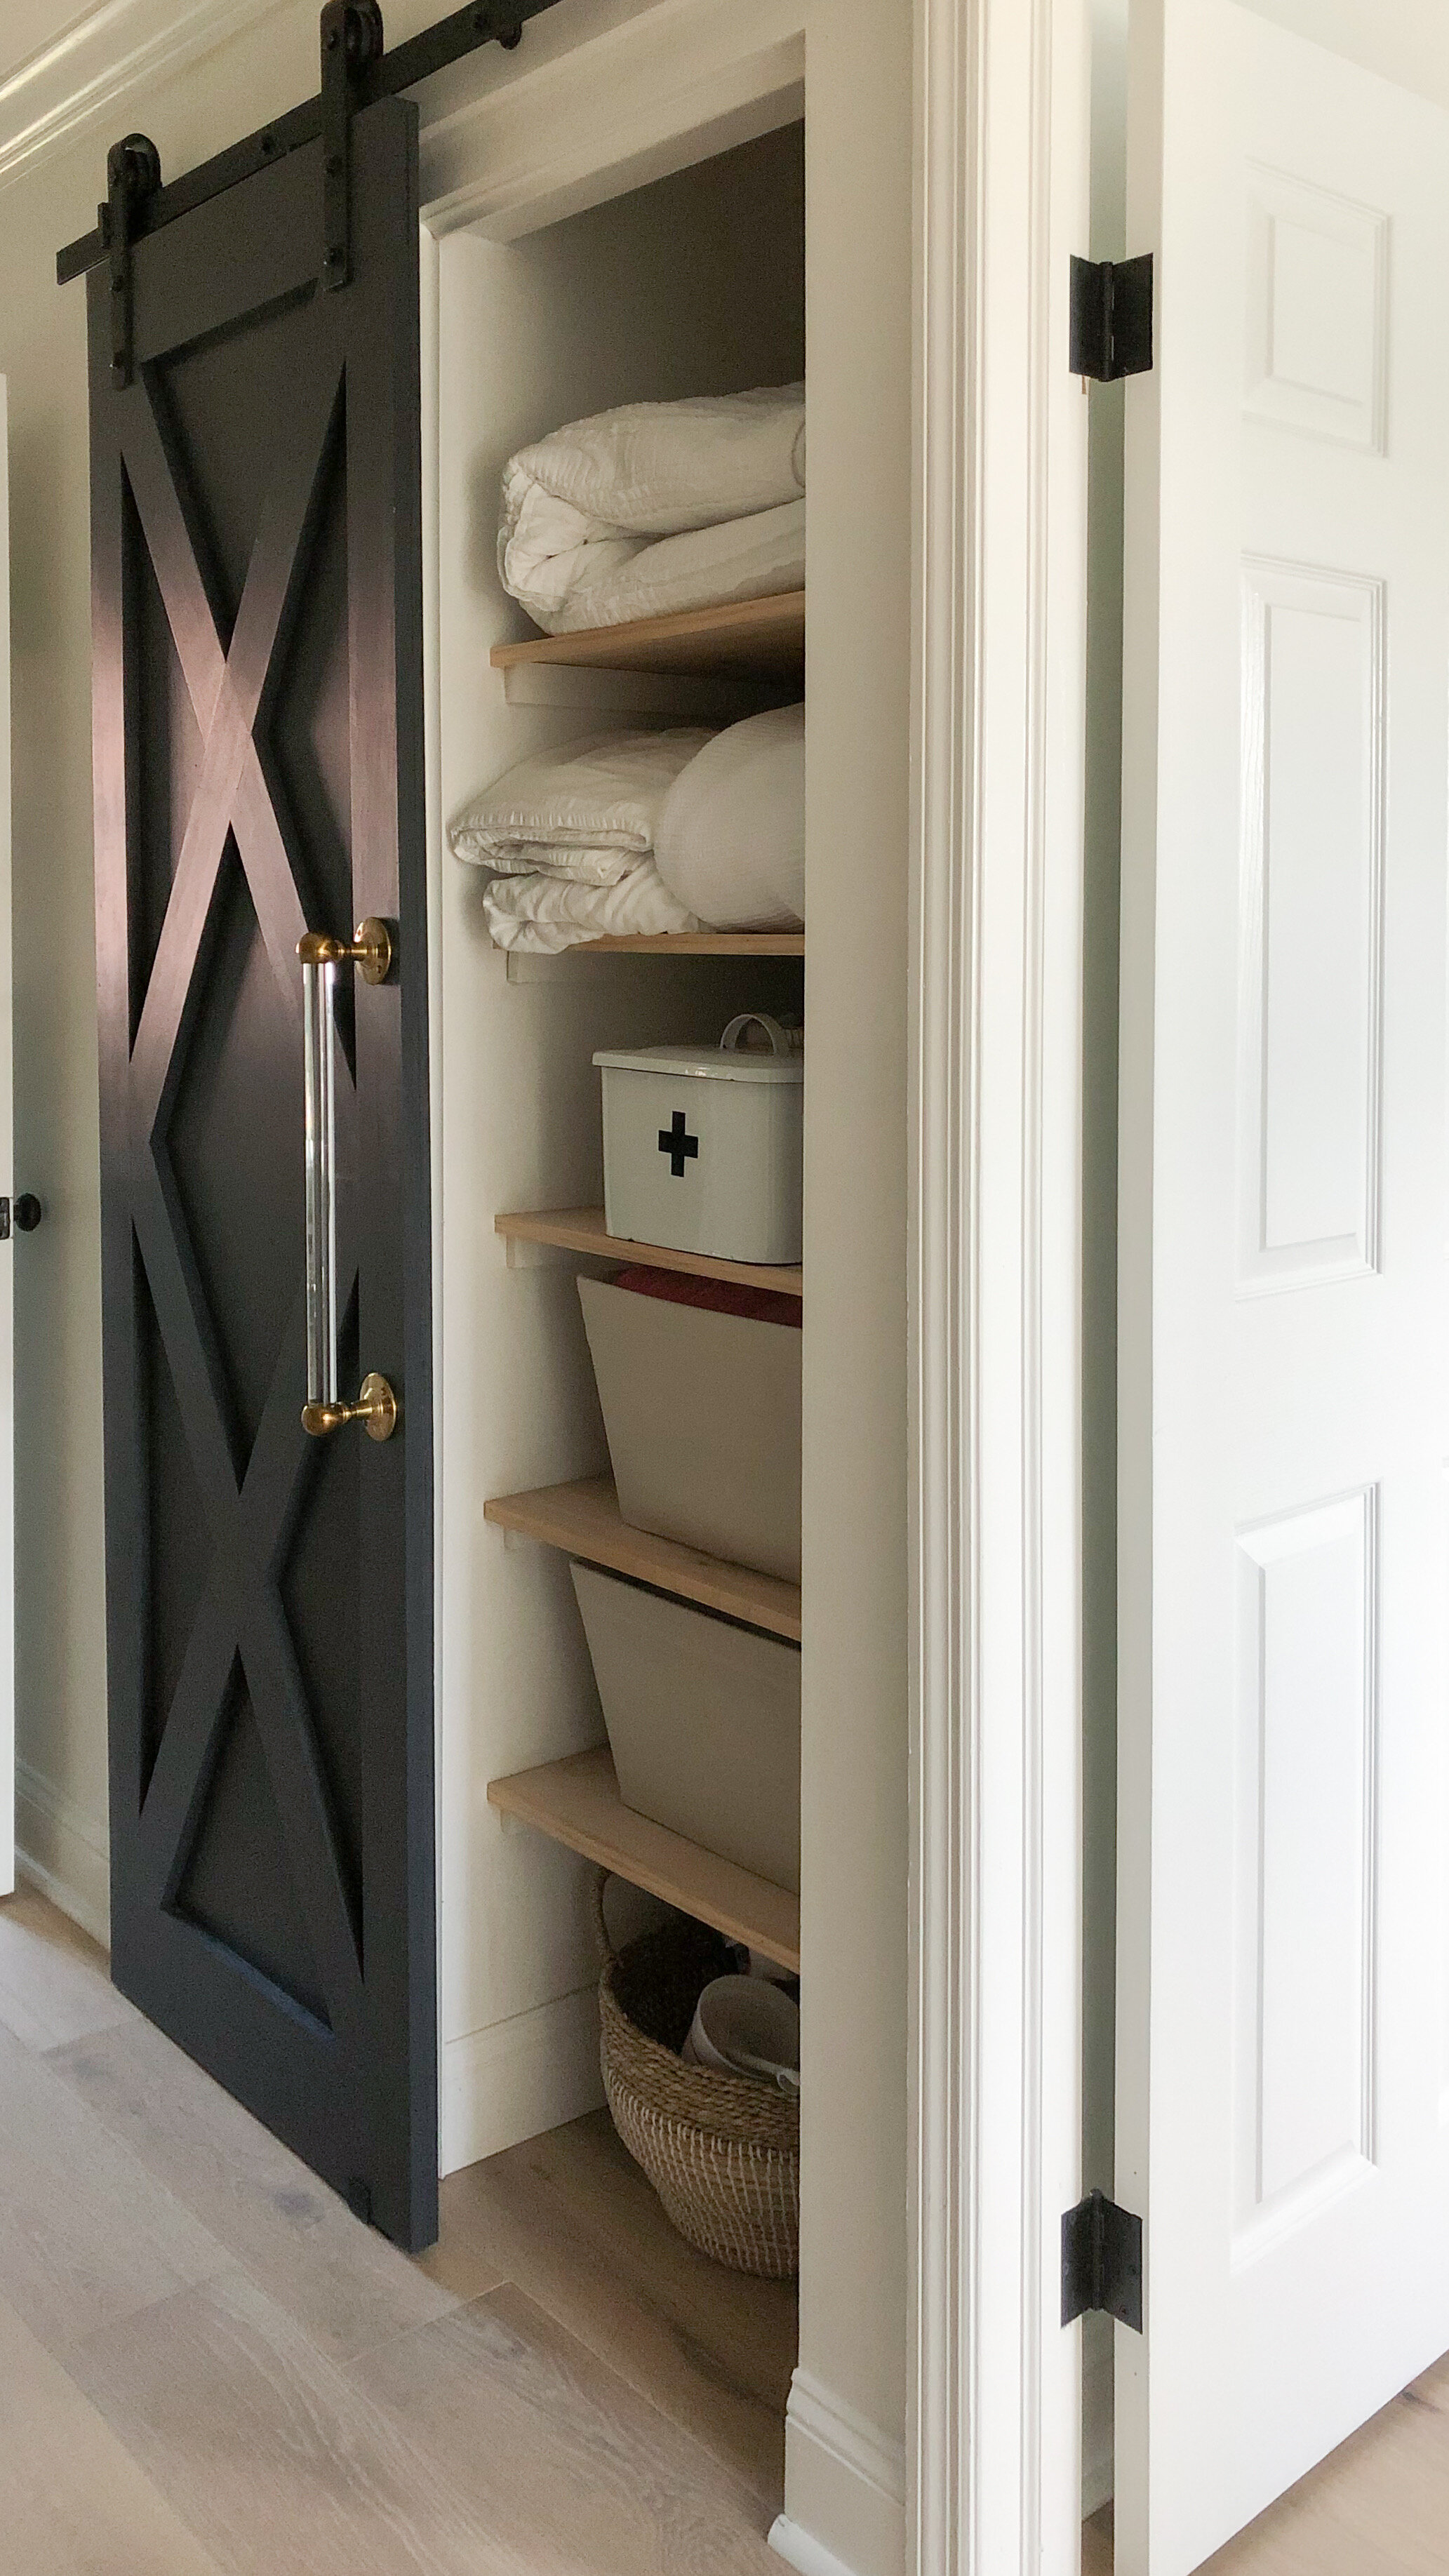
IKEA Pax Hack: Linen Closet Tutorial
Today on the blog I’m going to share the full tutorial for our new linen closet! I used an IKEA Pax unit for the base of the closet, and added some additional trim and hardware to the piece to make it completely built in and custom.

What you’ll need for the project:
IKEA pax unit and accessories in the appropriate size for your space
Basic Tools — tape measure, level, cordless drill
Skill Level: Intermediate
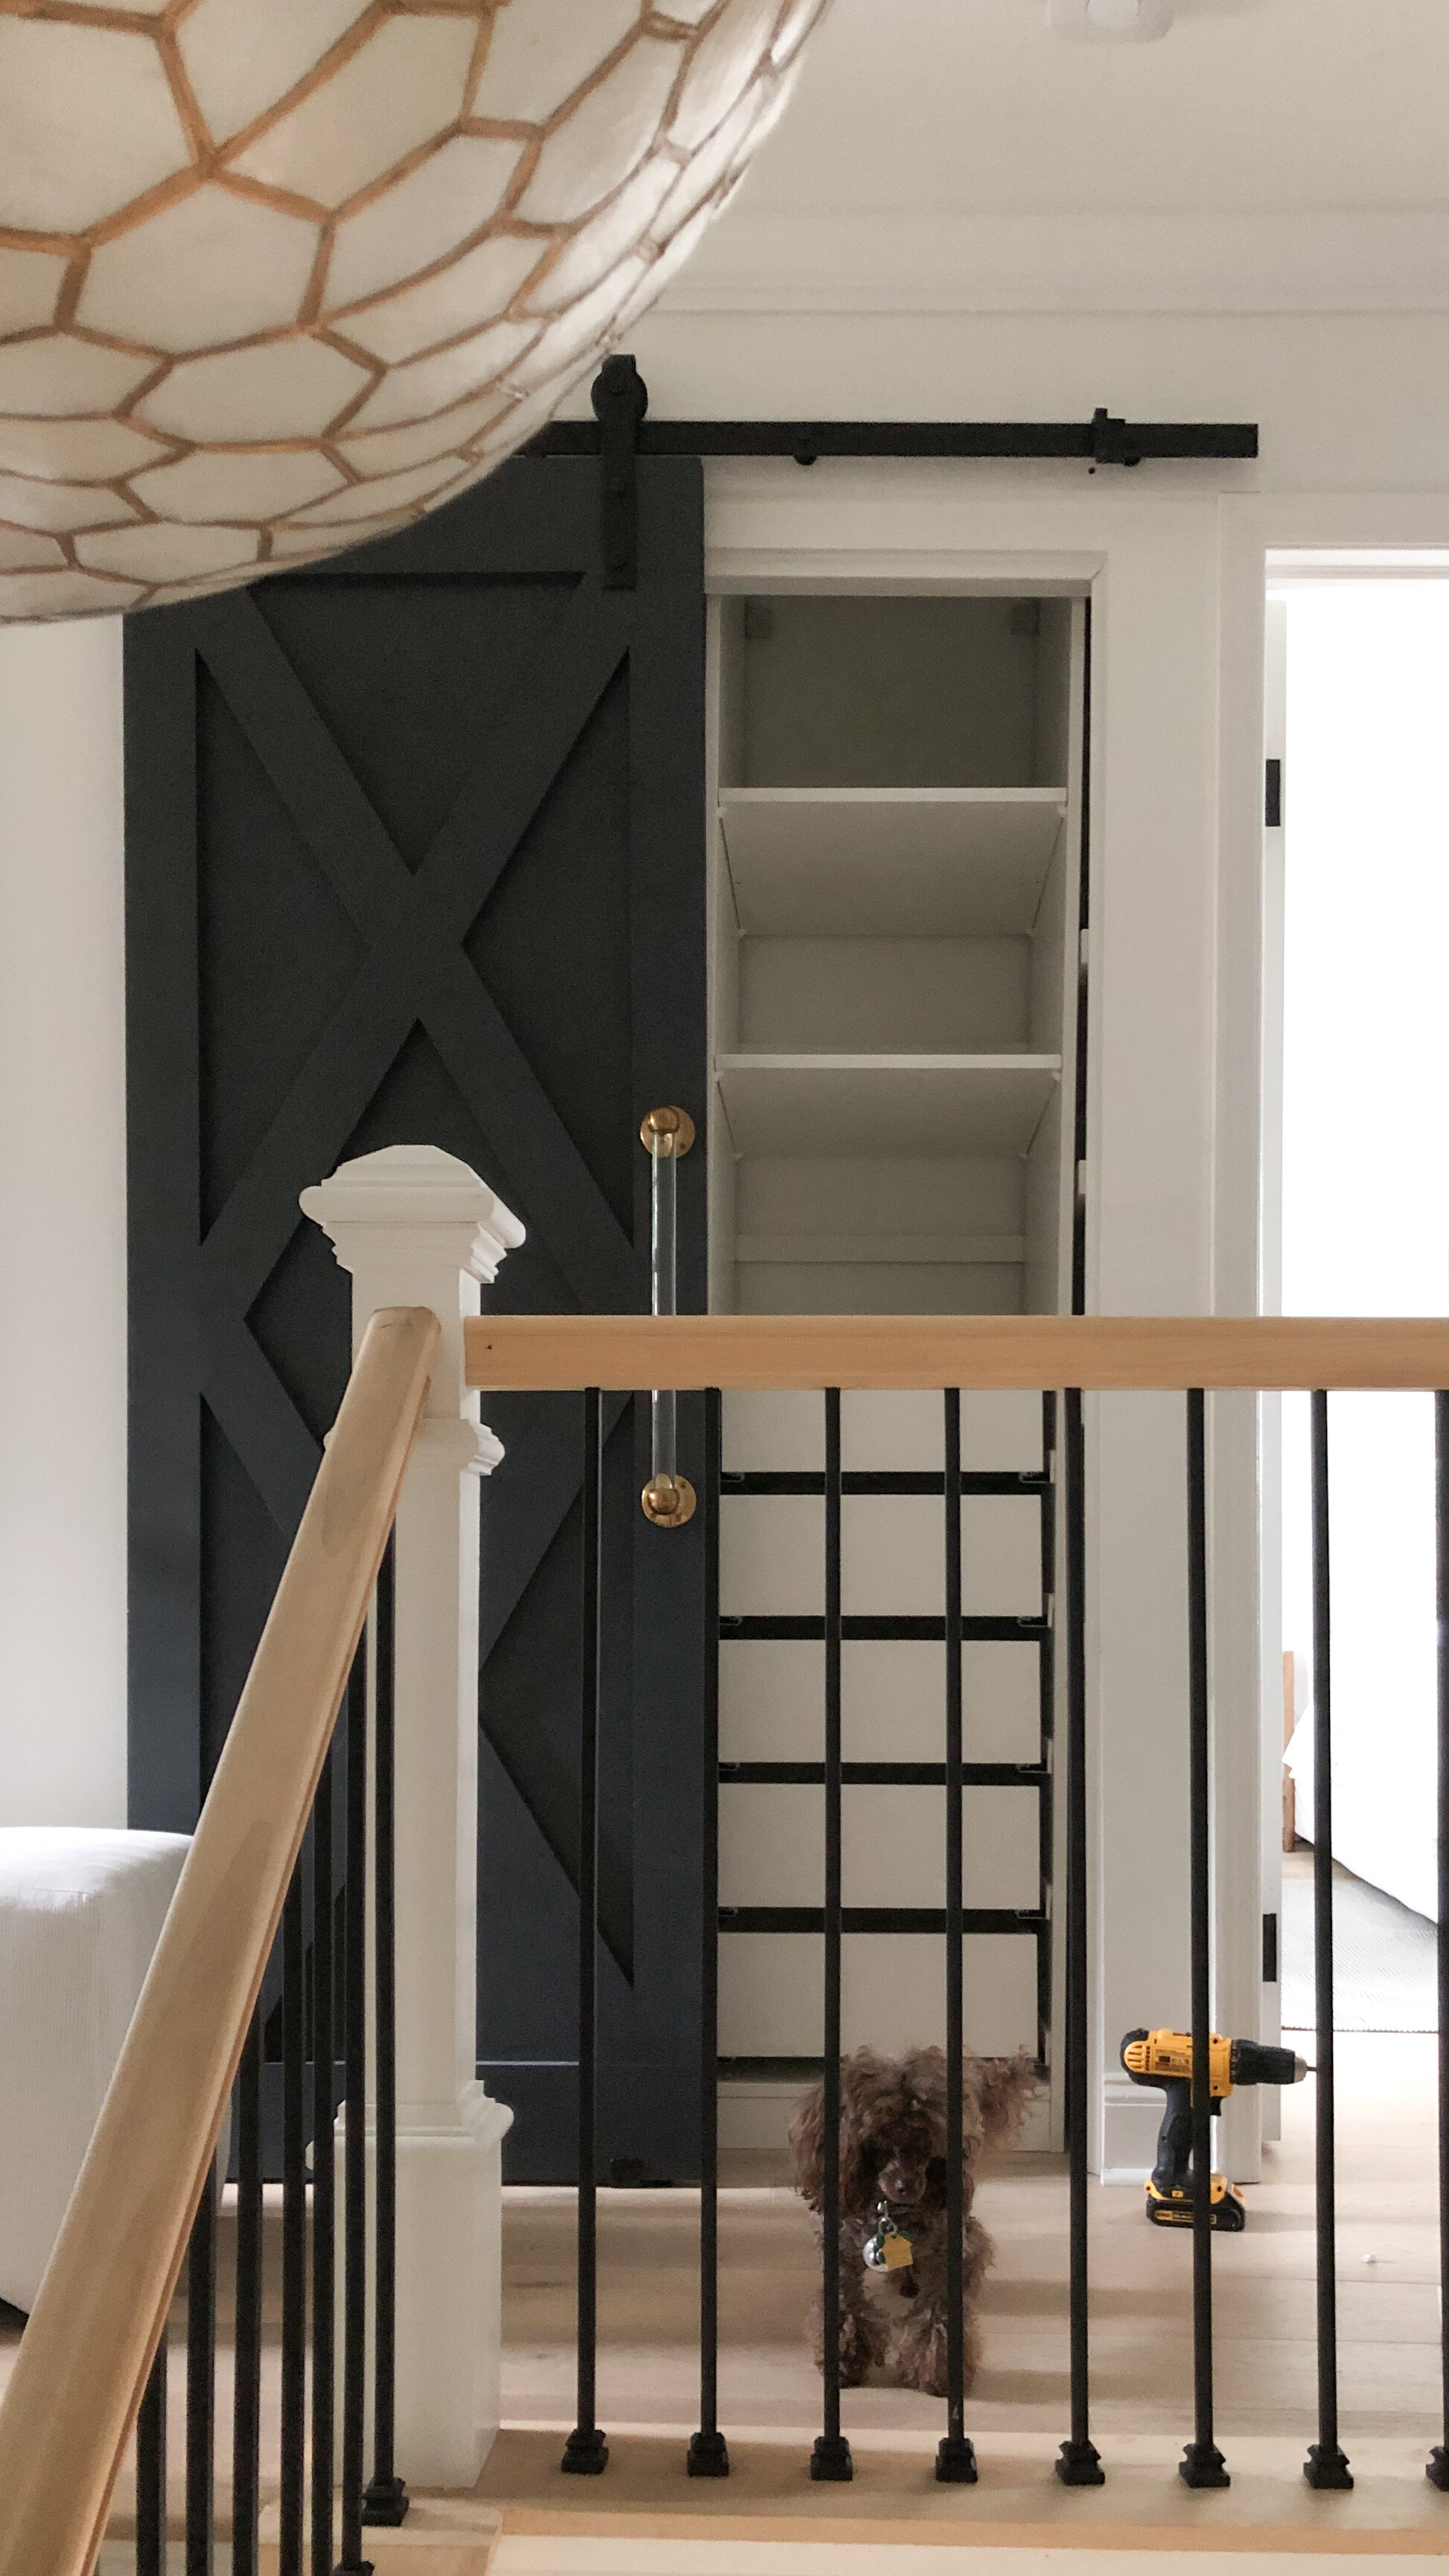
I started the project by clearing out the closet to make space for the pax unit. We have a small closet (about 24”w x 26” d x 8ft h) so I was hoping to be able to build the pax outside of the closet and slide it in. Unfortunately that didn’t work, but I was able to build the unit inside the closet—so if you have a small closet like mine, know that is it is difficult, but possible!
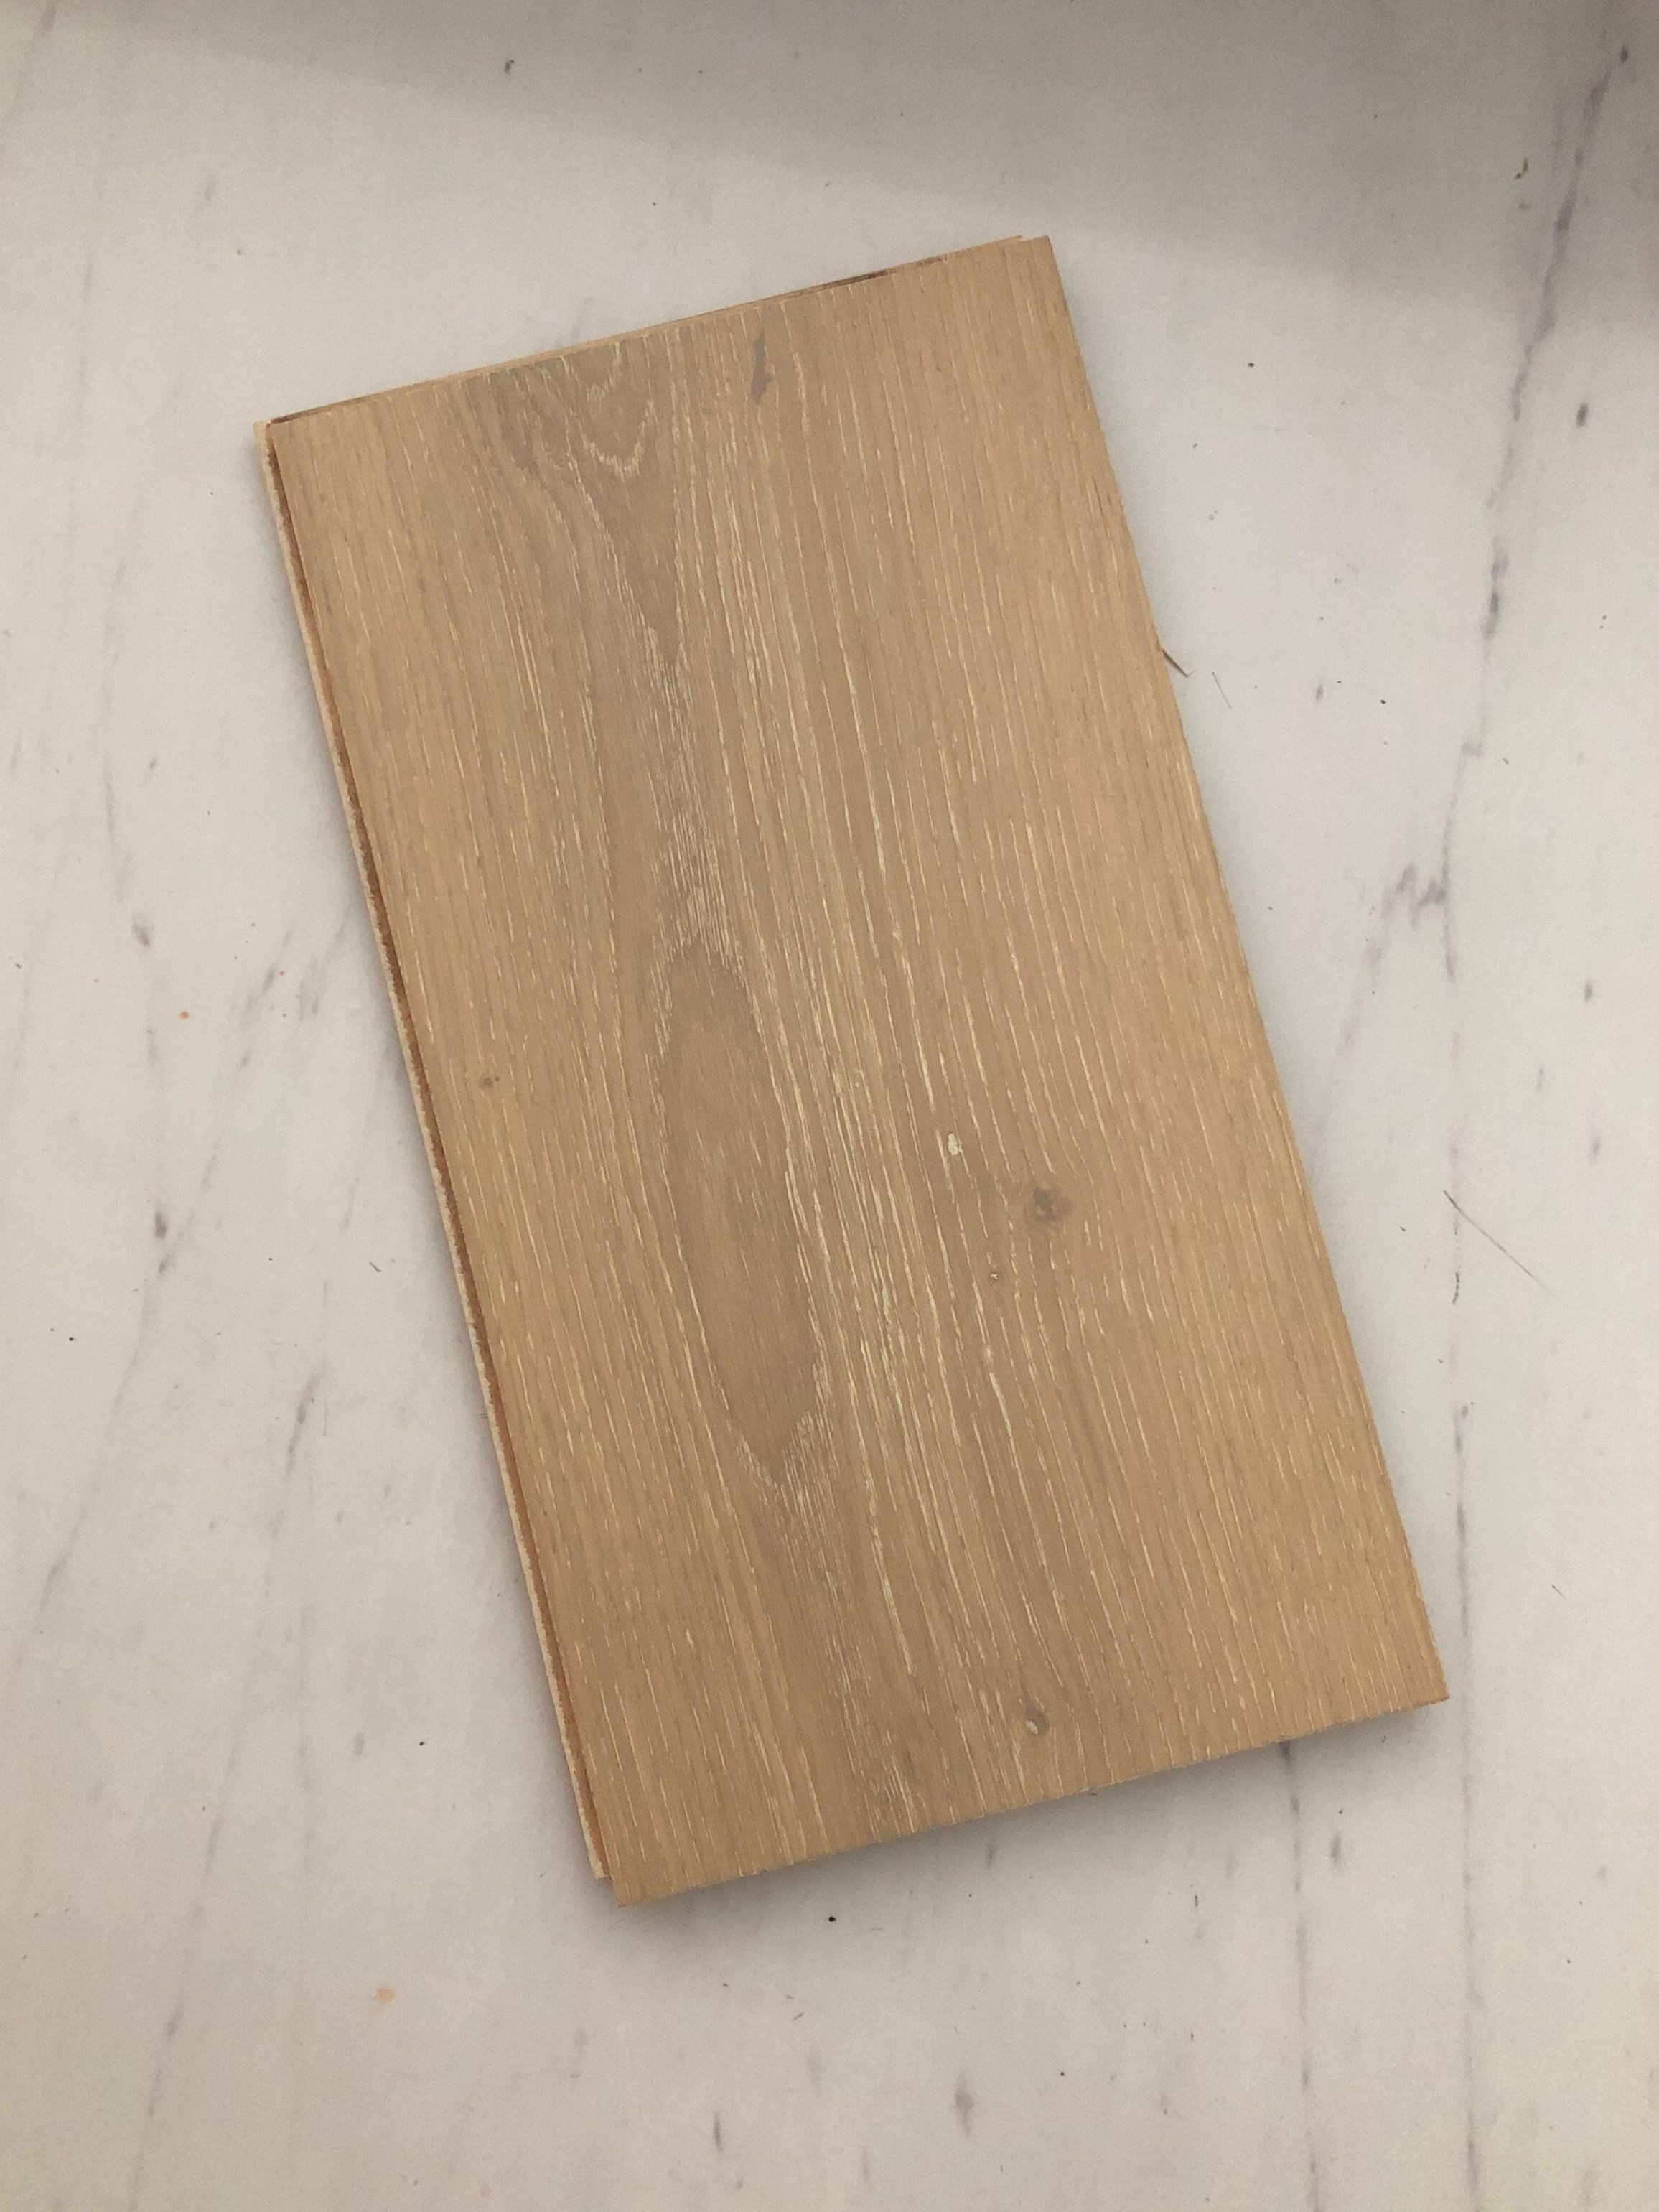
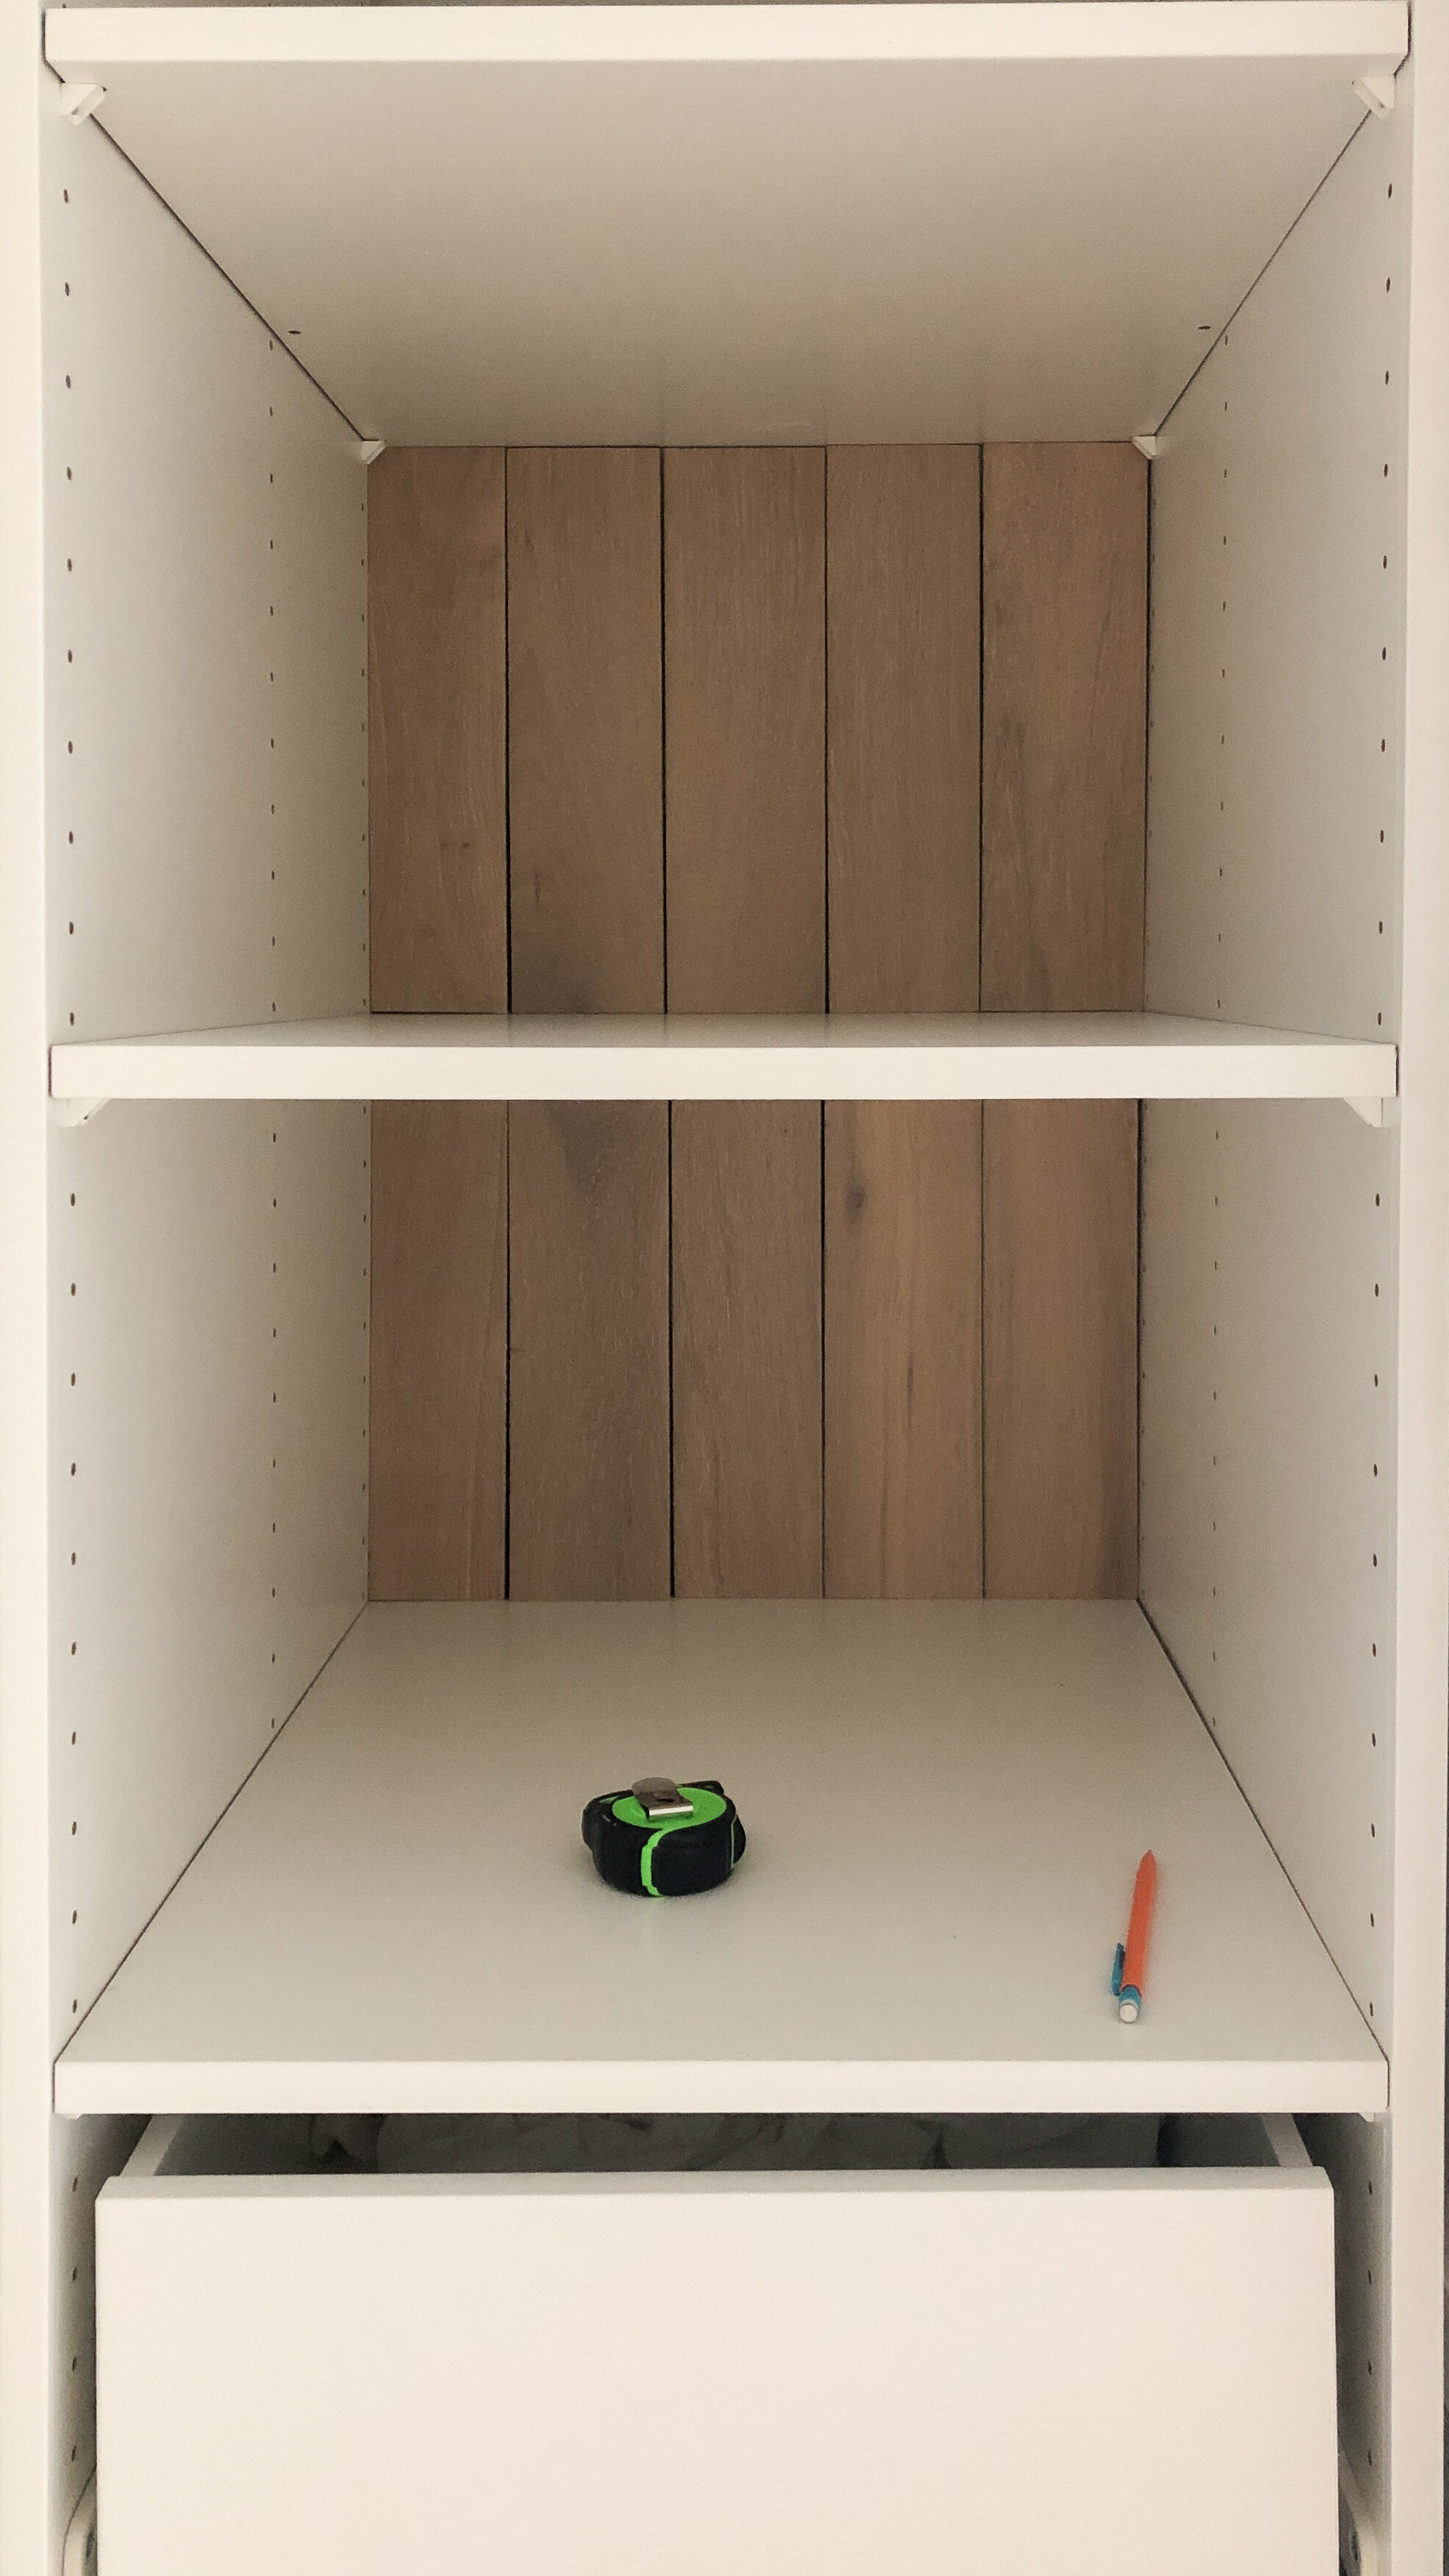
Once I had the unit and the accessories installed, I started to work on the trim for the front of the unit and selected the material to cover the back of the unit. The unit comes with a white plywood backing, which would have worked fine, but I wanted to do something a bit more interesting and textural. I decided to repurpose some extra wood flooring we had on hand, to create a white oak shiplap look. I ripped the 7.5” flooring boards in half and used a nickel to create even gaps between boards. I love that it coordinates with our flooring perfectly, but doesn’t look like I just used our same flooring material in the unit.
Then I used poplar to add a face frame to the front of the unit. I used a 1x2” for the shelves, and ripped down a 1x6” to cover the sides of the unit.

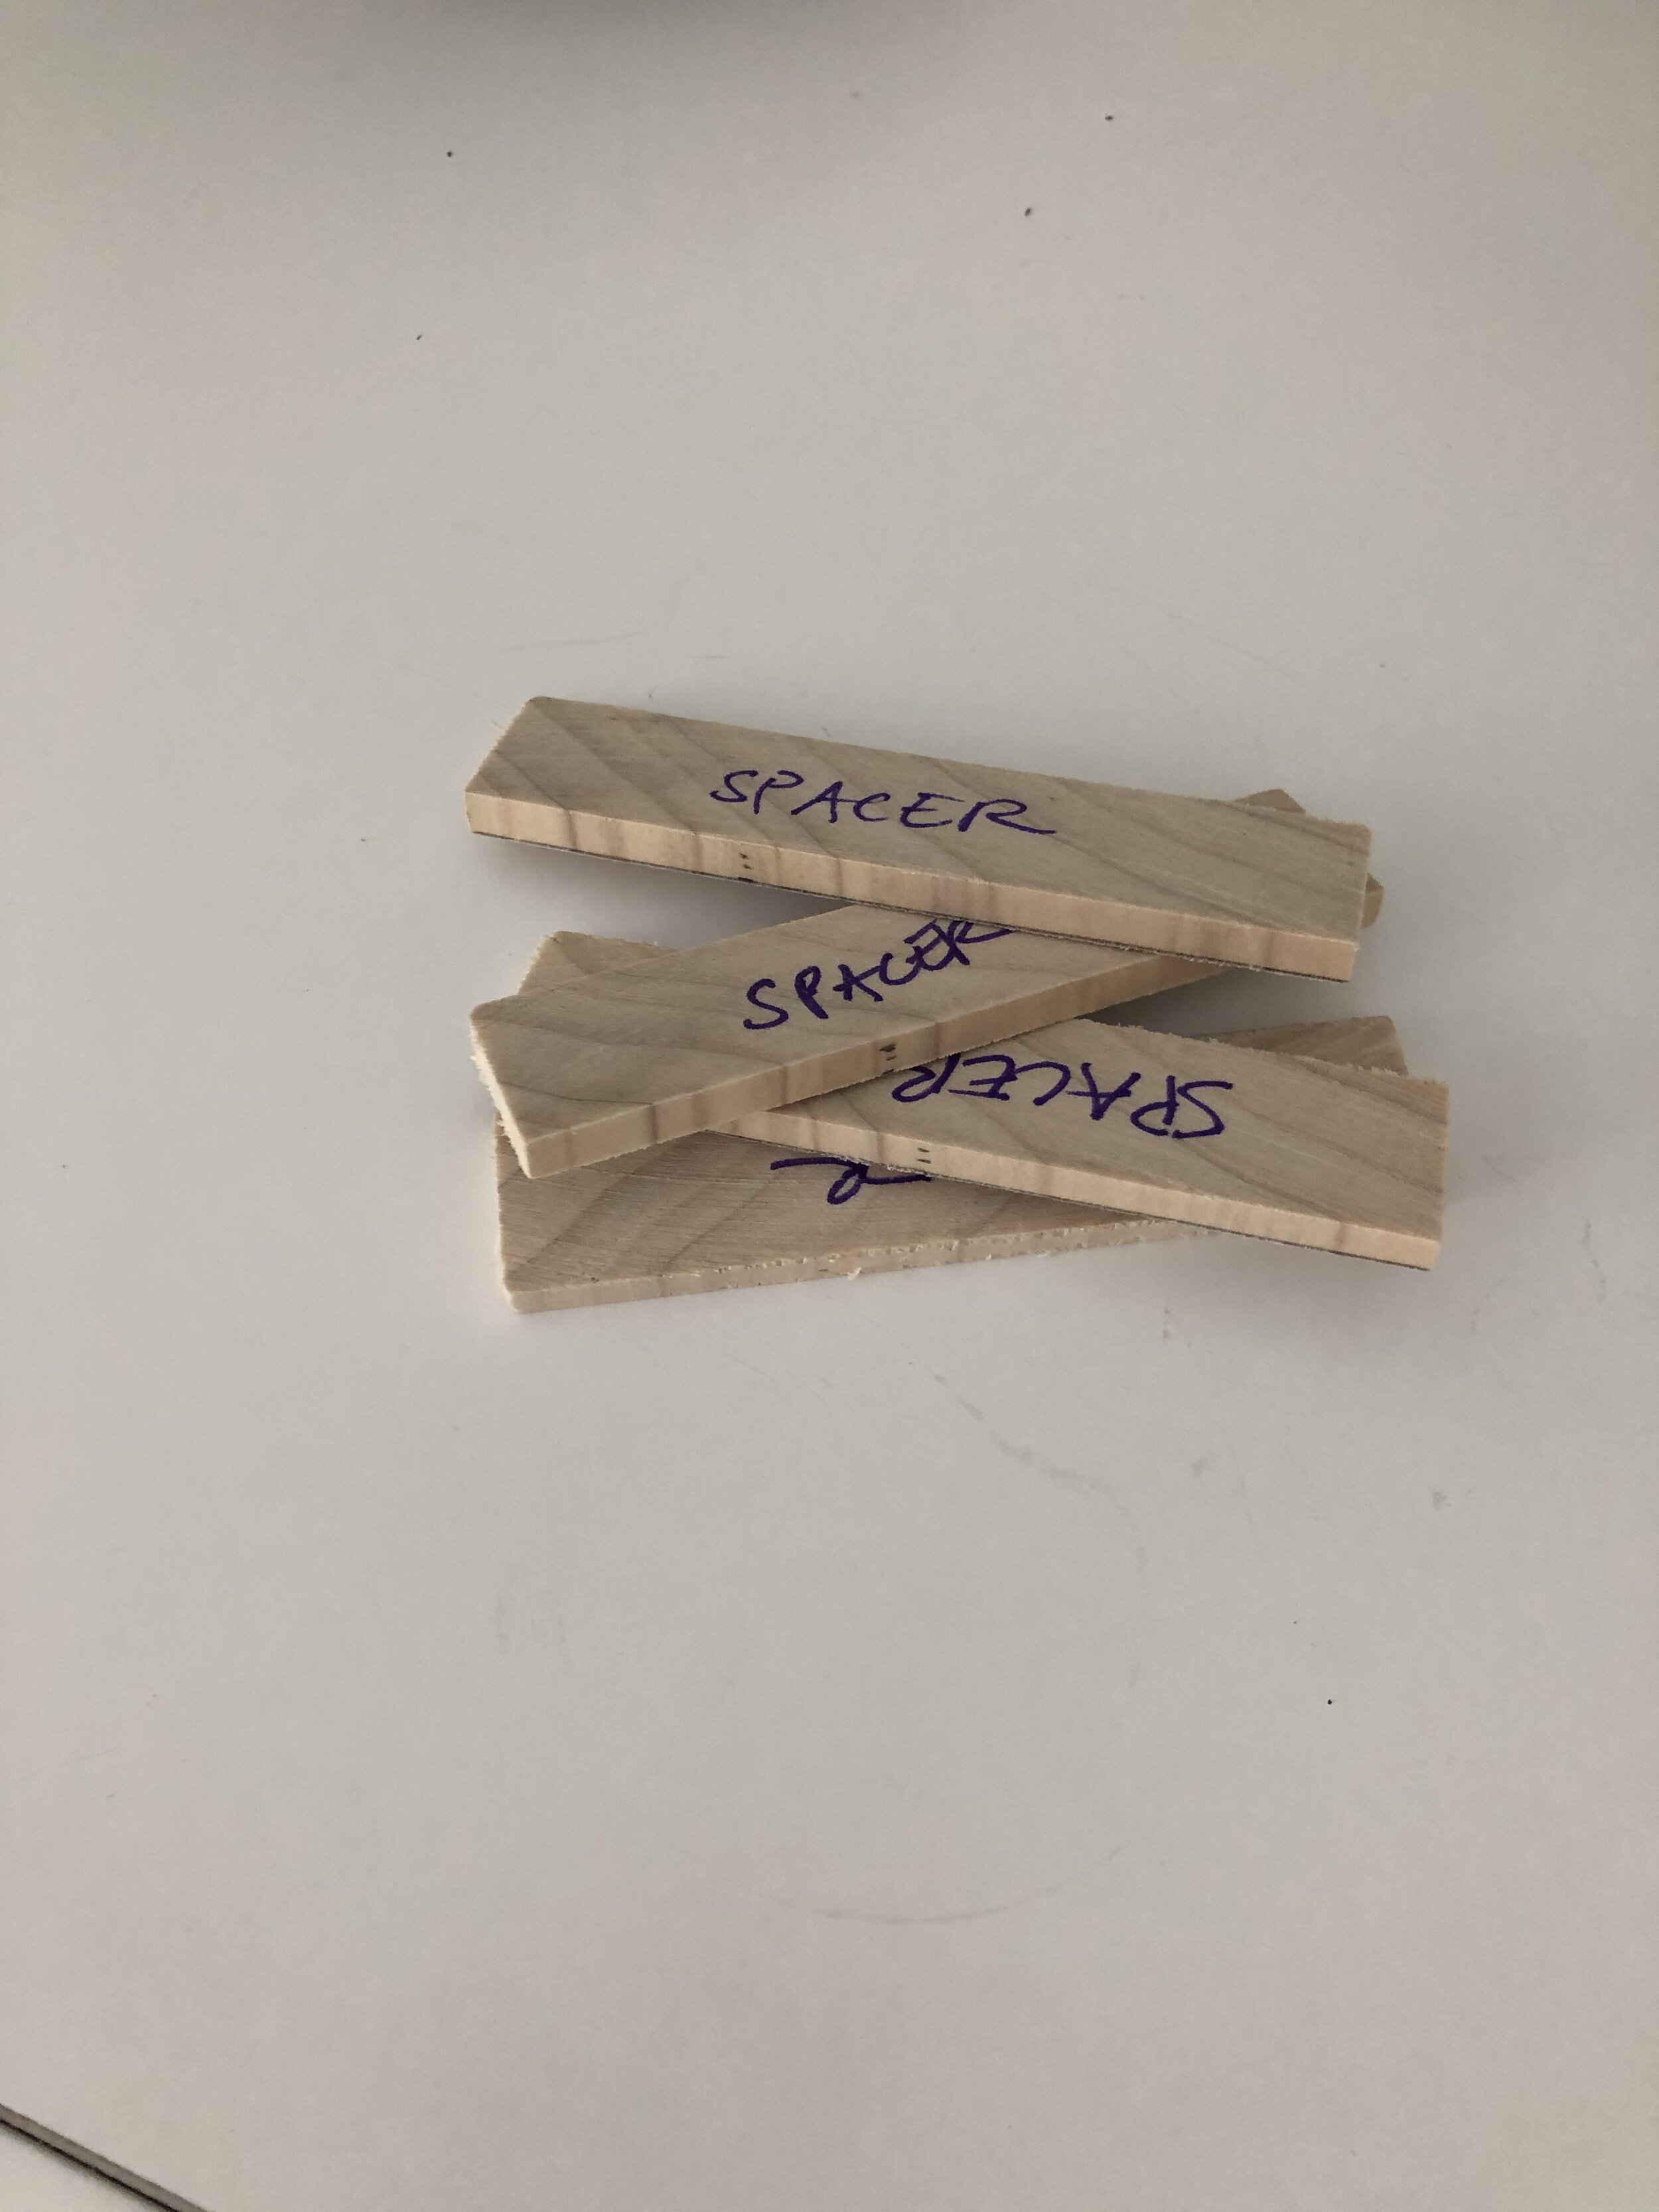
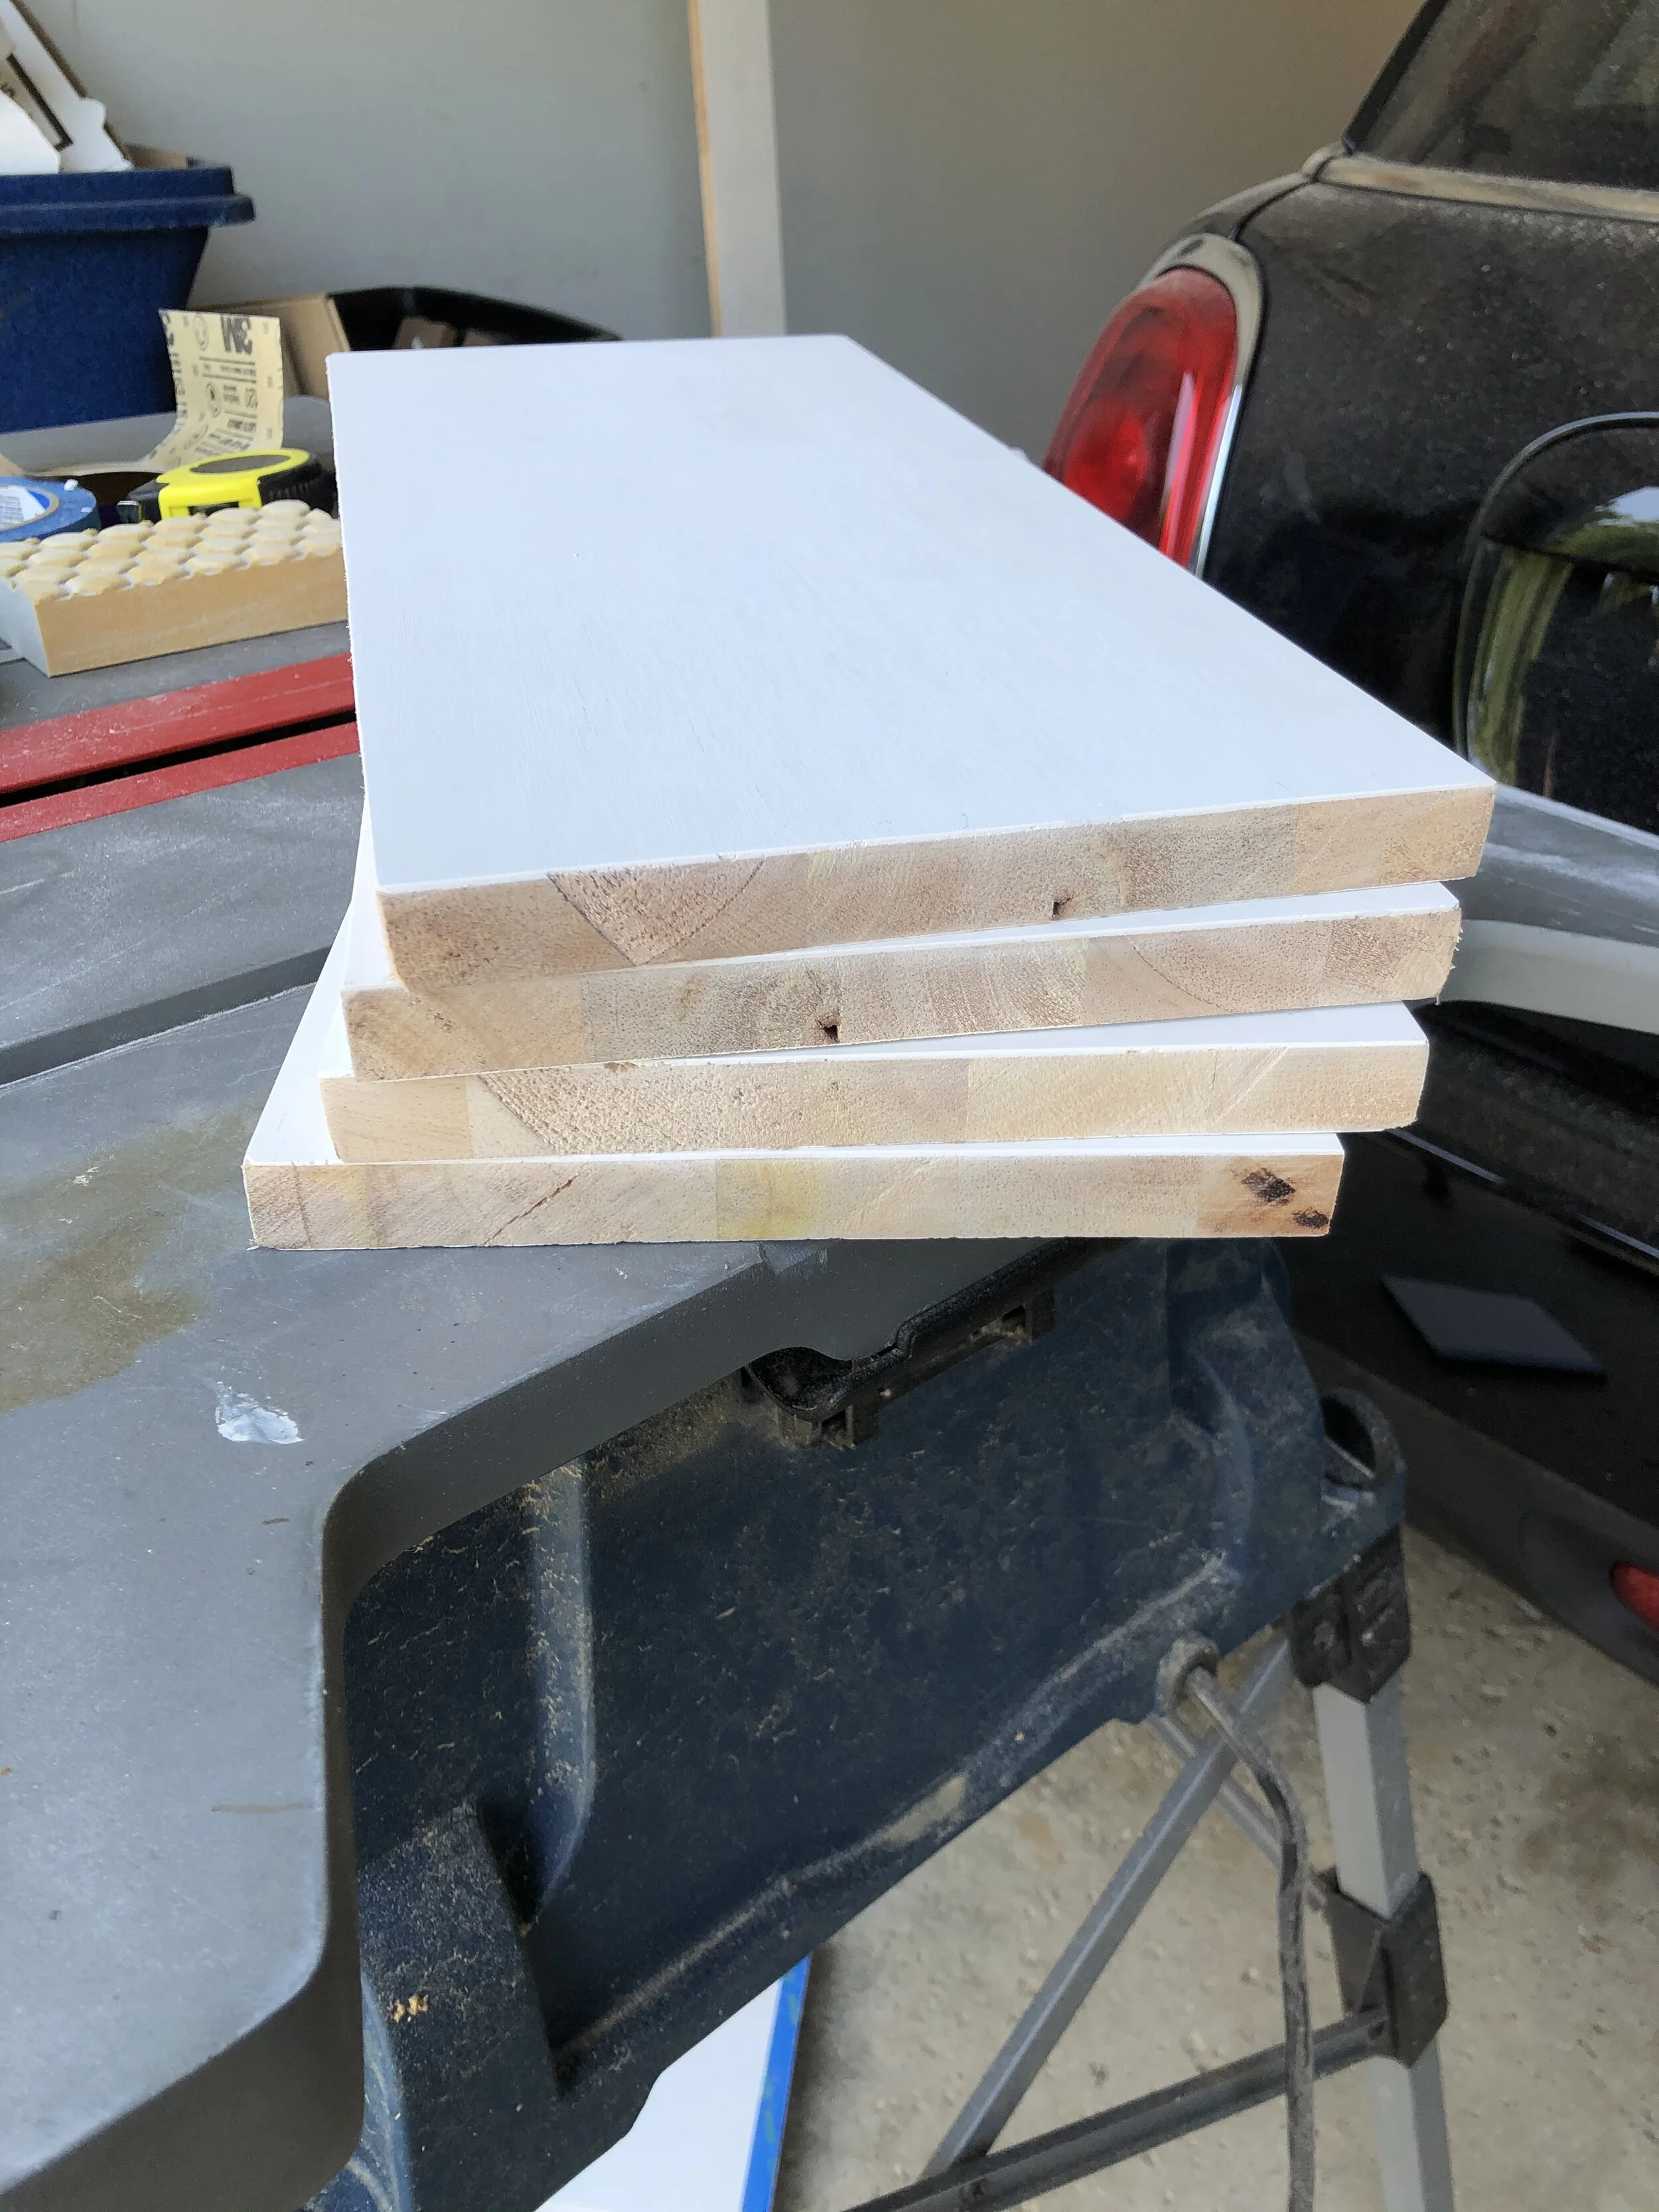
After that I started on the drawer fronts. I decided to do an inset solid slab drawer front with a 3/16” gap all around. I started by making a few spacers to help me position the drawer fronts before installing. Then I cut my primed pine drawer fronts to size with my table saw and circular saw. I decided to make the top four drawers the same size, and the bottom drawer just a 1/4” taller just so that my measurements were easier to work with. In the end you can’t tell there’s a size difference at all! I sanded the fronts with 220 grit sandpaper and rounded the front edges just slightly to give them a more finished look, but was careful not to sand the corners much so that the 3/16” gap remained even all the way around.
I used command strips on the drawer fronts so that I could get the placement right before attaching them, and then I didn’t have to worry about the drawer slipping as much when I screwed them in place. I used four 1 1/4” screws to attach all the drawers. Be careful with your screw placement at this step, as you don’t want them to conflict with the placement of you drawer pulls. I made sure I kept the pull tab exposed so that once the drawer fronts were attached I could easily pull the command strip out.
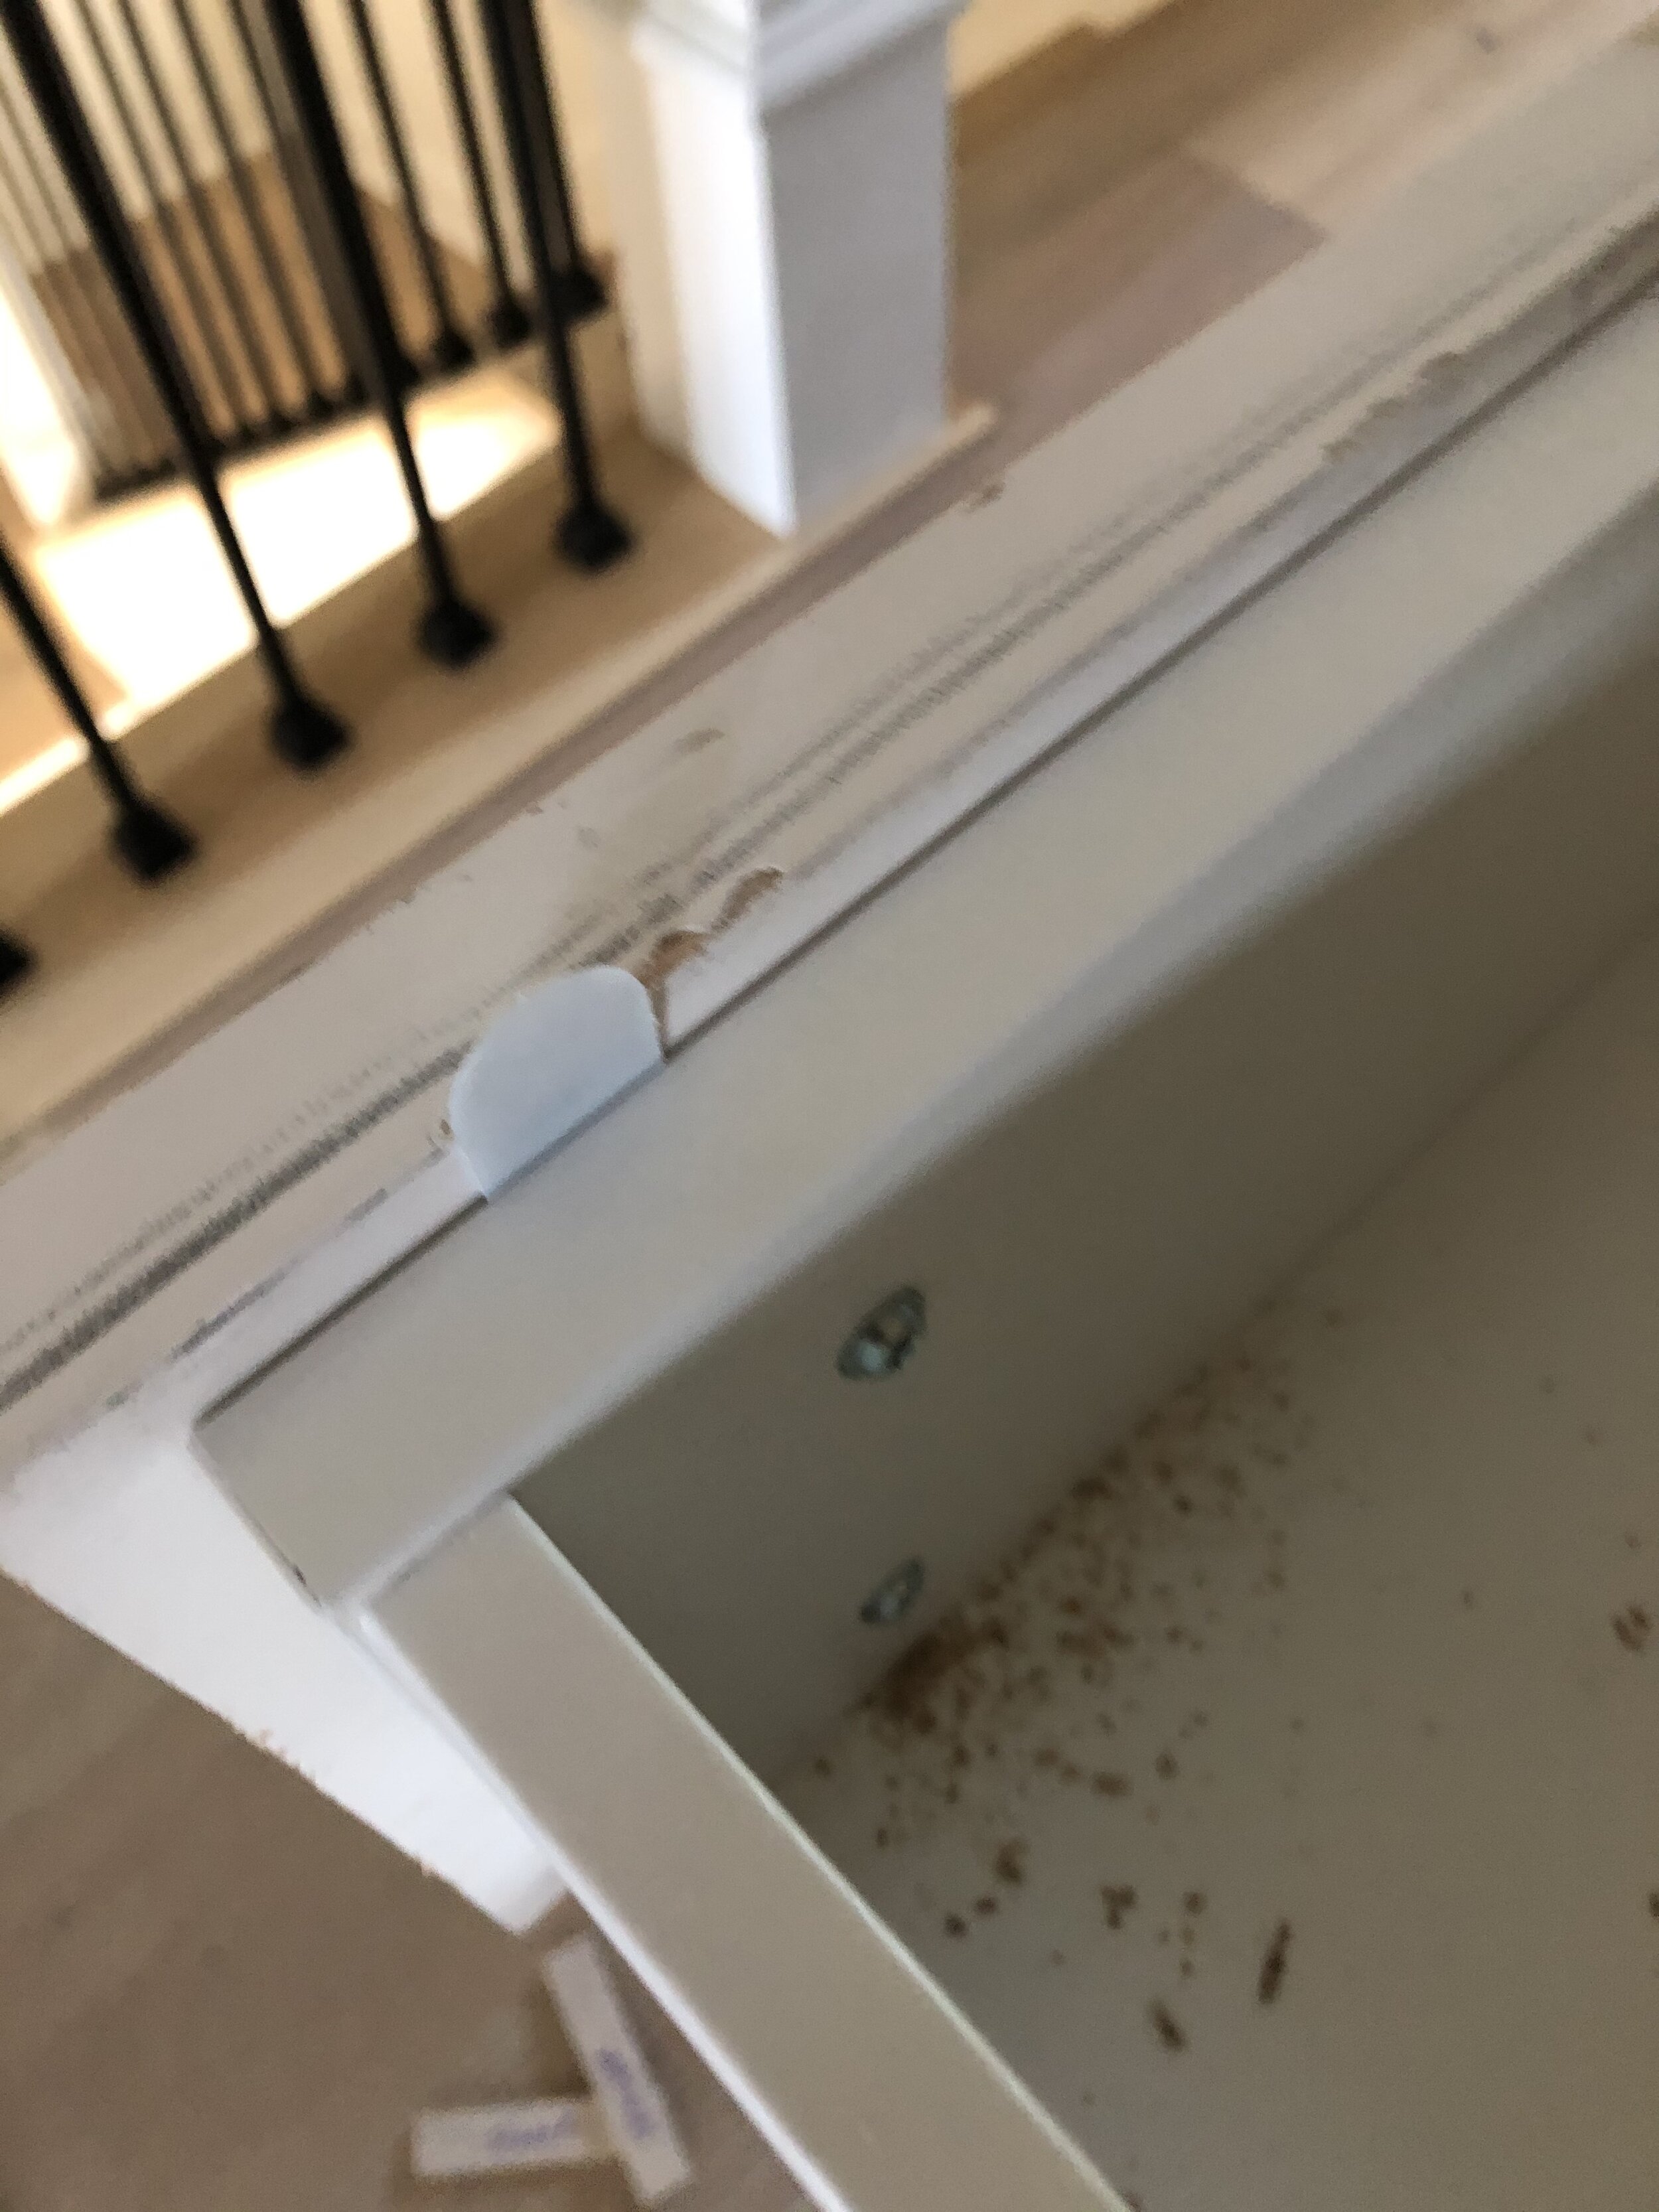

I used painters tape to create a pull on each drawer so that I could still open then before I attached the drawer pulls.
Once the drawer fronts were done, I caulked and wood filled all the extra holes and gaps, and painted the entire piece in extra white by Sherwin Williams. Then I installed these knobs on the drawers, and called the project complete!


