DIY Acrylic Furniture
Acrylic is making a comeback into the world of trendy home decor, but it initially rose to popularity in the 1960’s and 1970’s with midcentury modern design. There are so many possibilities to explore in the world of acrylic so in this post we’re taking a mini deep dive into working with acrylic, learning how to properly bend and cut the material, and learning to make some cool acrylic furniture!
Items used:
plastic cutting knife, heat gun, f clamps, circular saw, cross cut blade,
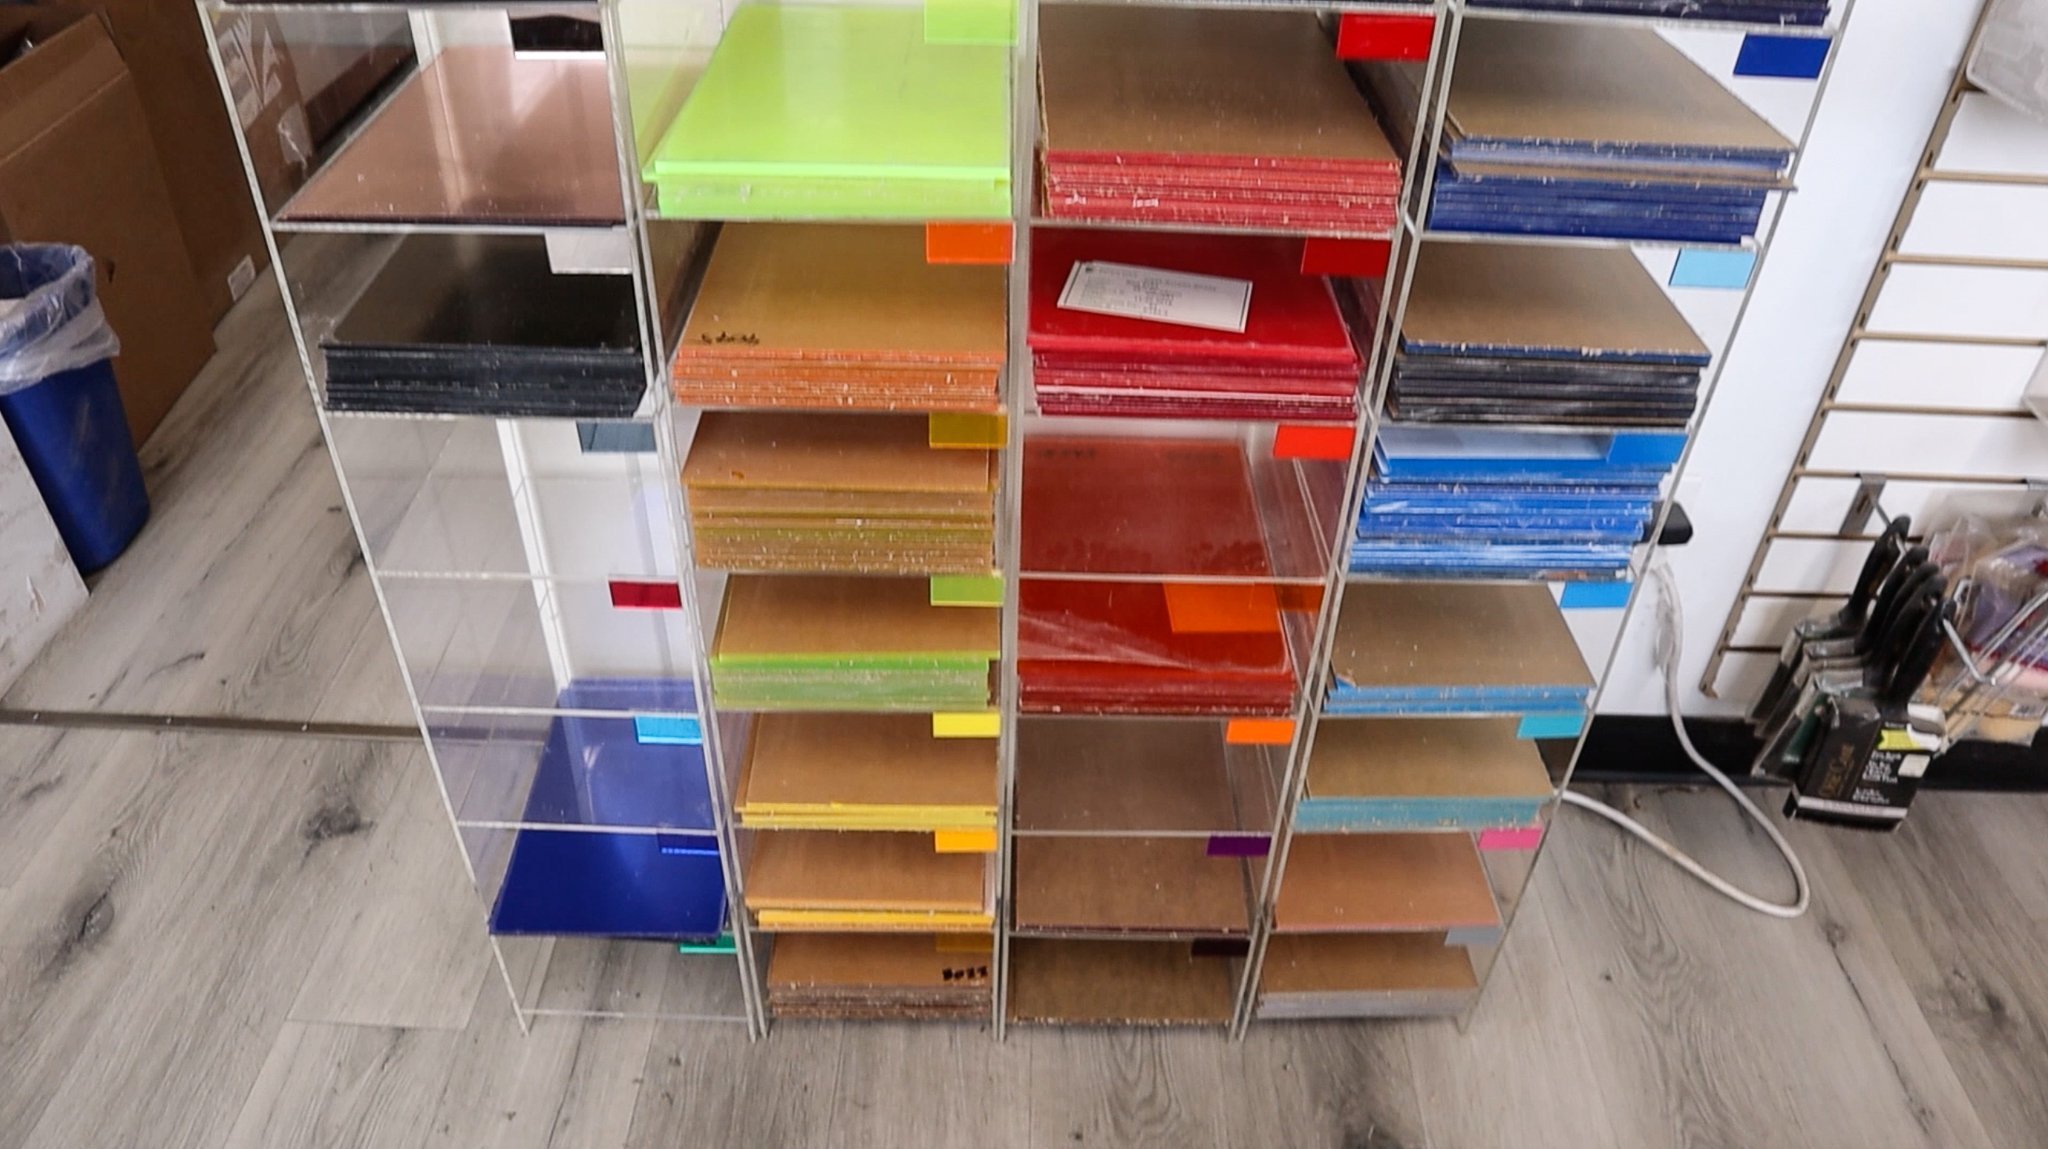
Where to buy acrylic
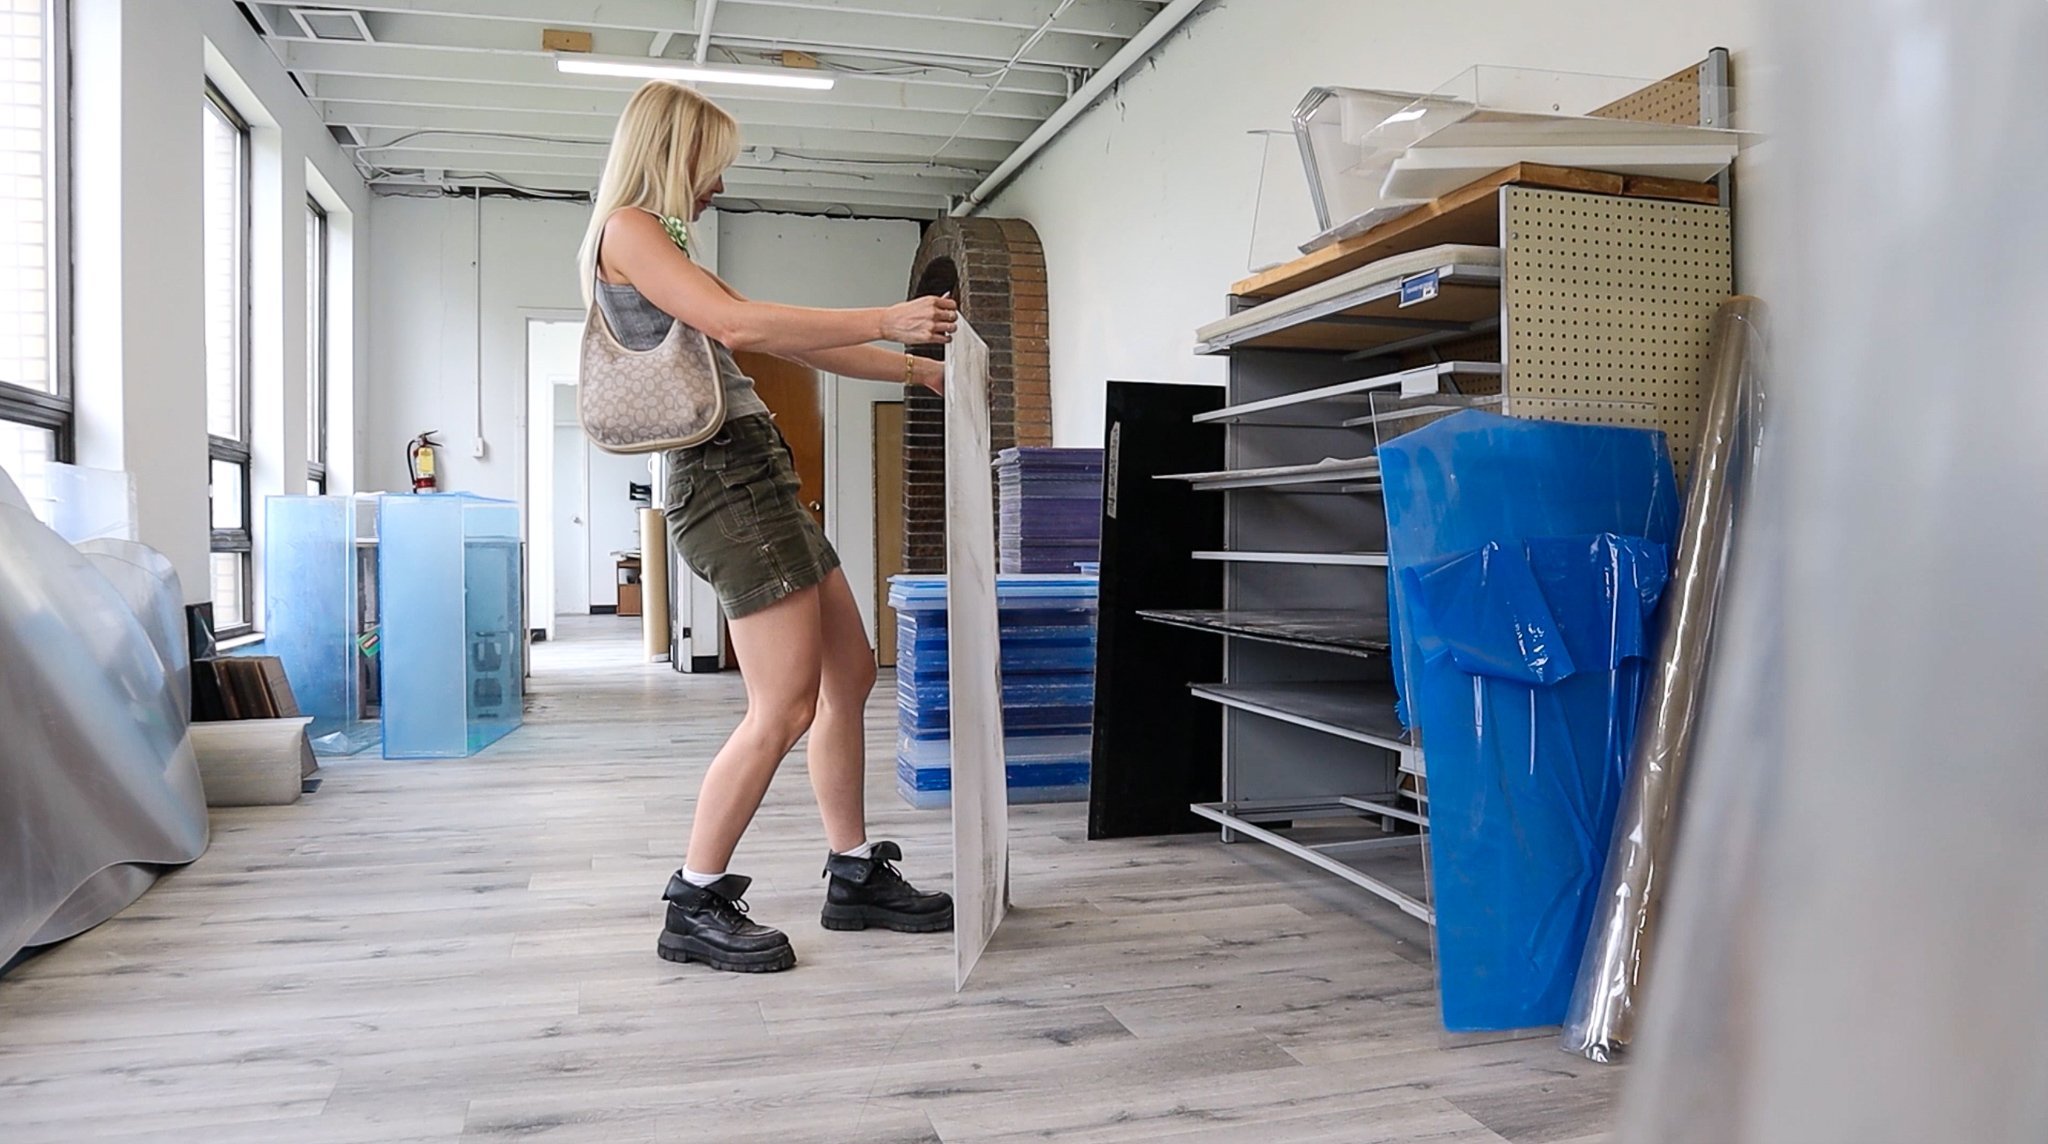
Acrylic plastic (also known as plexiglass, lucite, perspex, and acrylite) isn’t the most sustainable product but my goal to offset that a bit is to only make my decor out of pre-loved acrylic pieces which can be found at a local acrylic supplier or hardware store for a great discounted rate!
A great alternative would also be to check out the local thrift store or secondhand online sellers such as Facebook Marketplace, Kijiji, or Craigslist.
How to cut acrylic
There are many different methods for cutting acrylic, both powered and non-powered, but I’ll be focusing on the most accessible methods in this post:
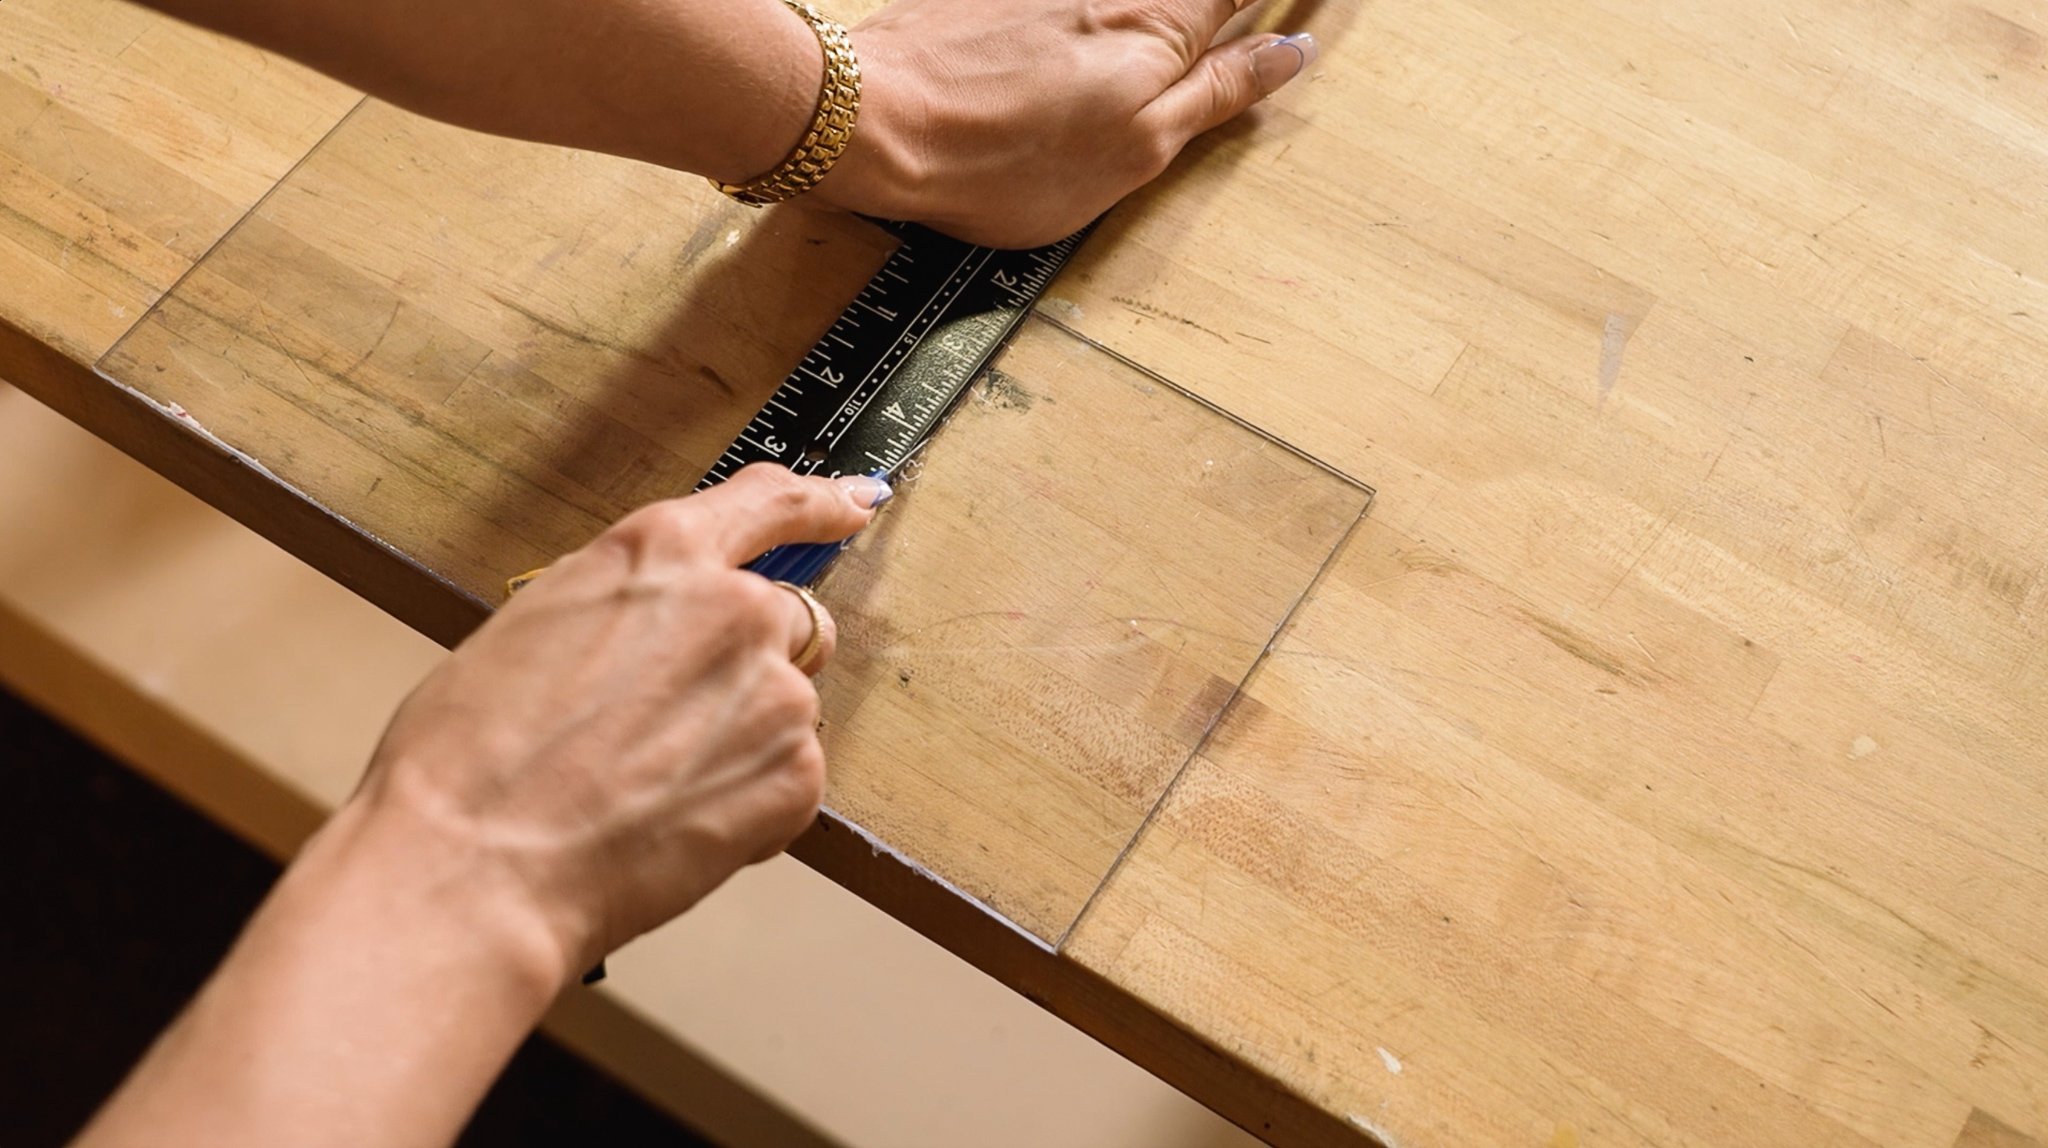
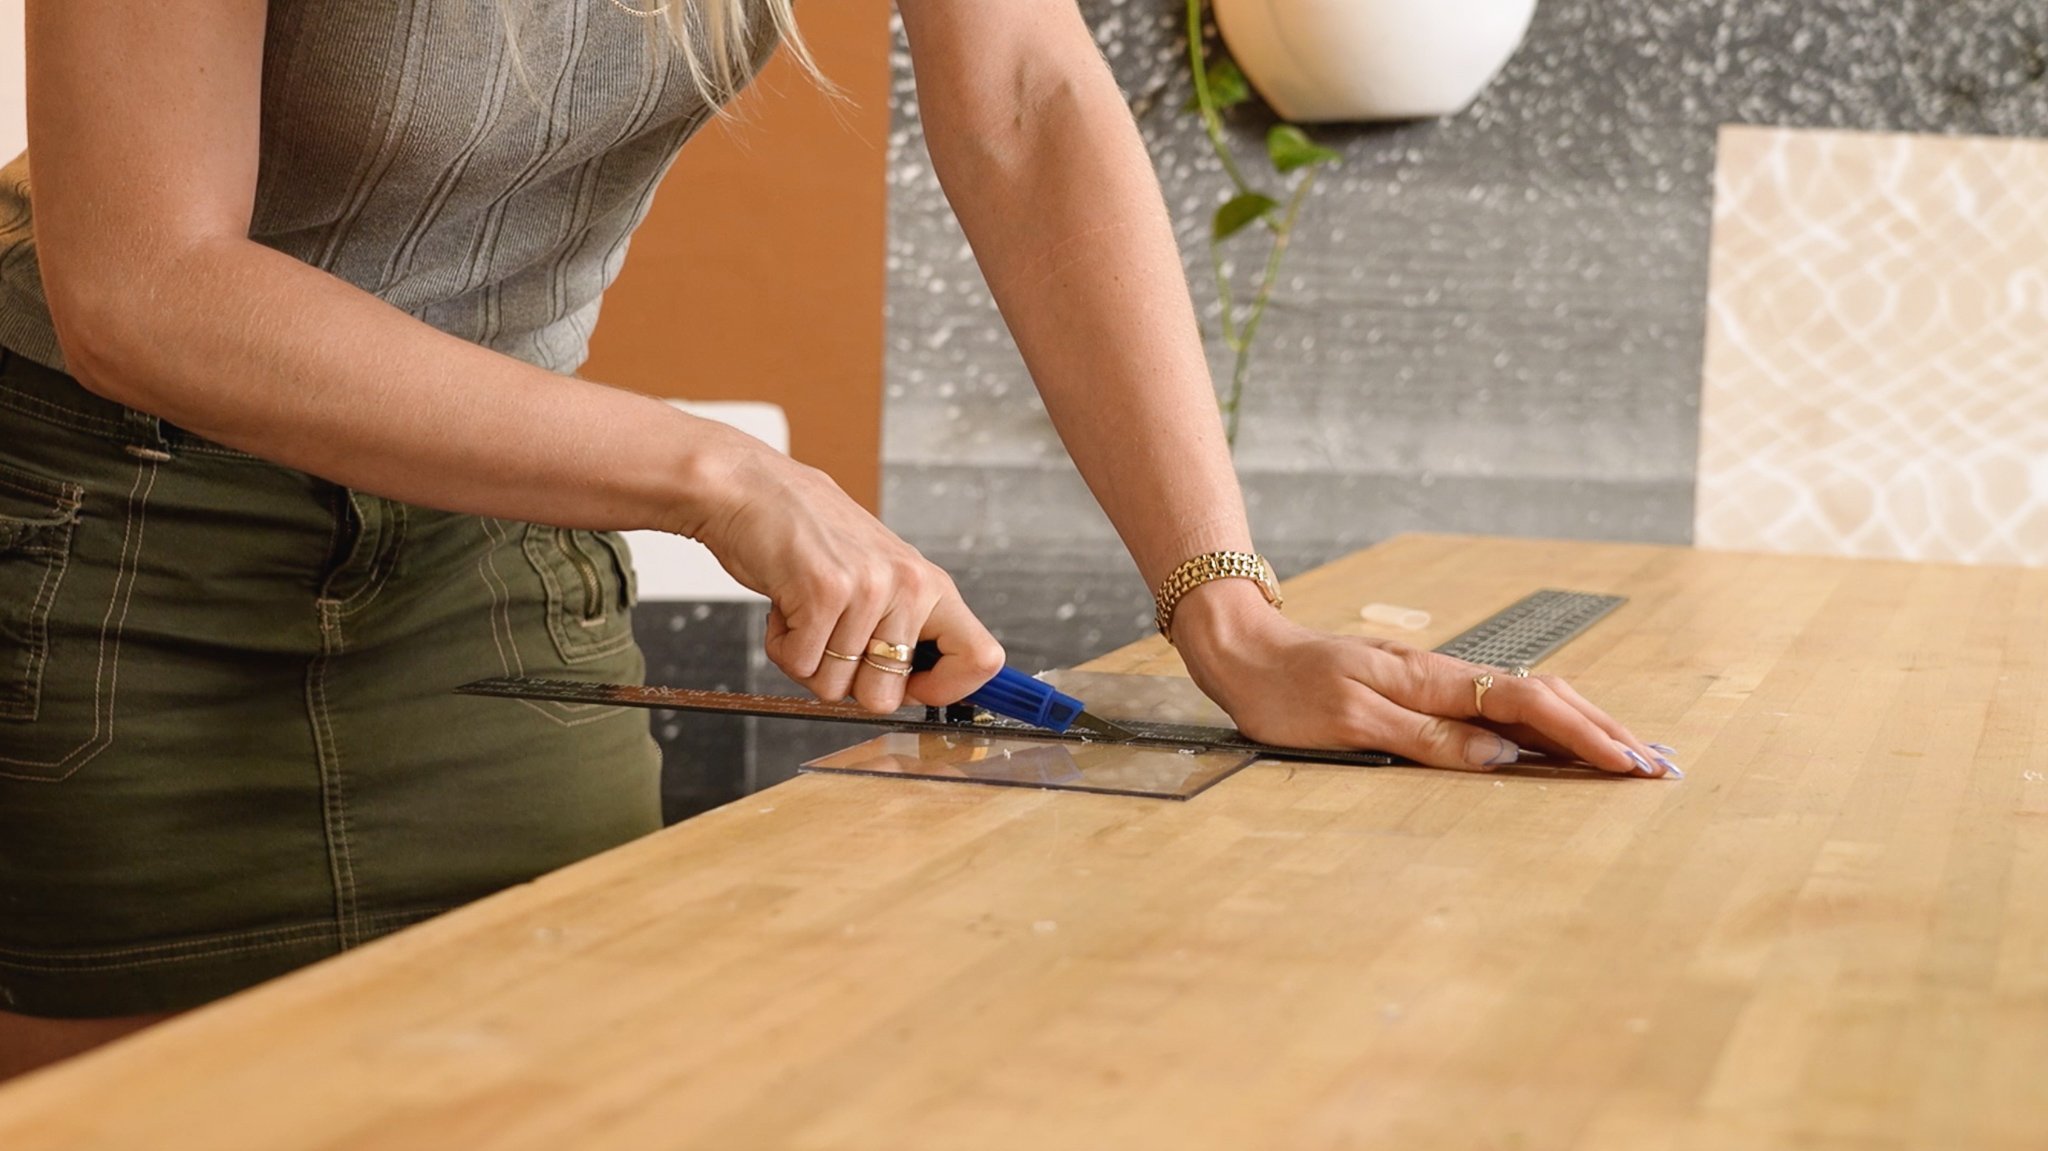
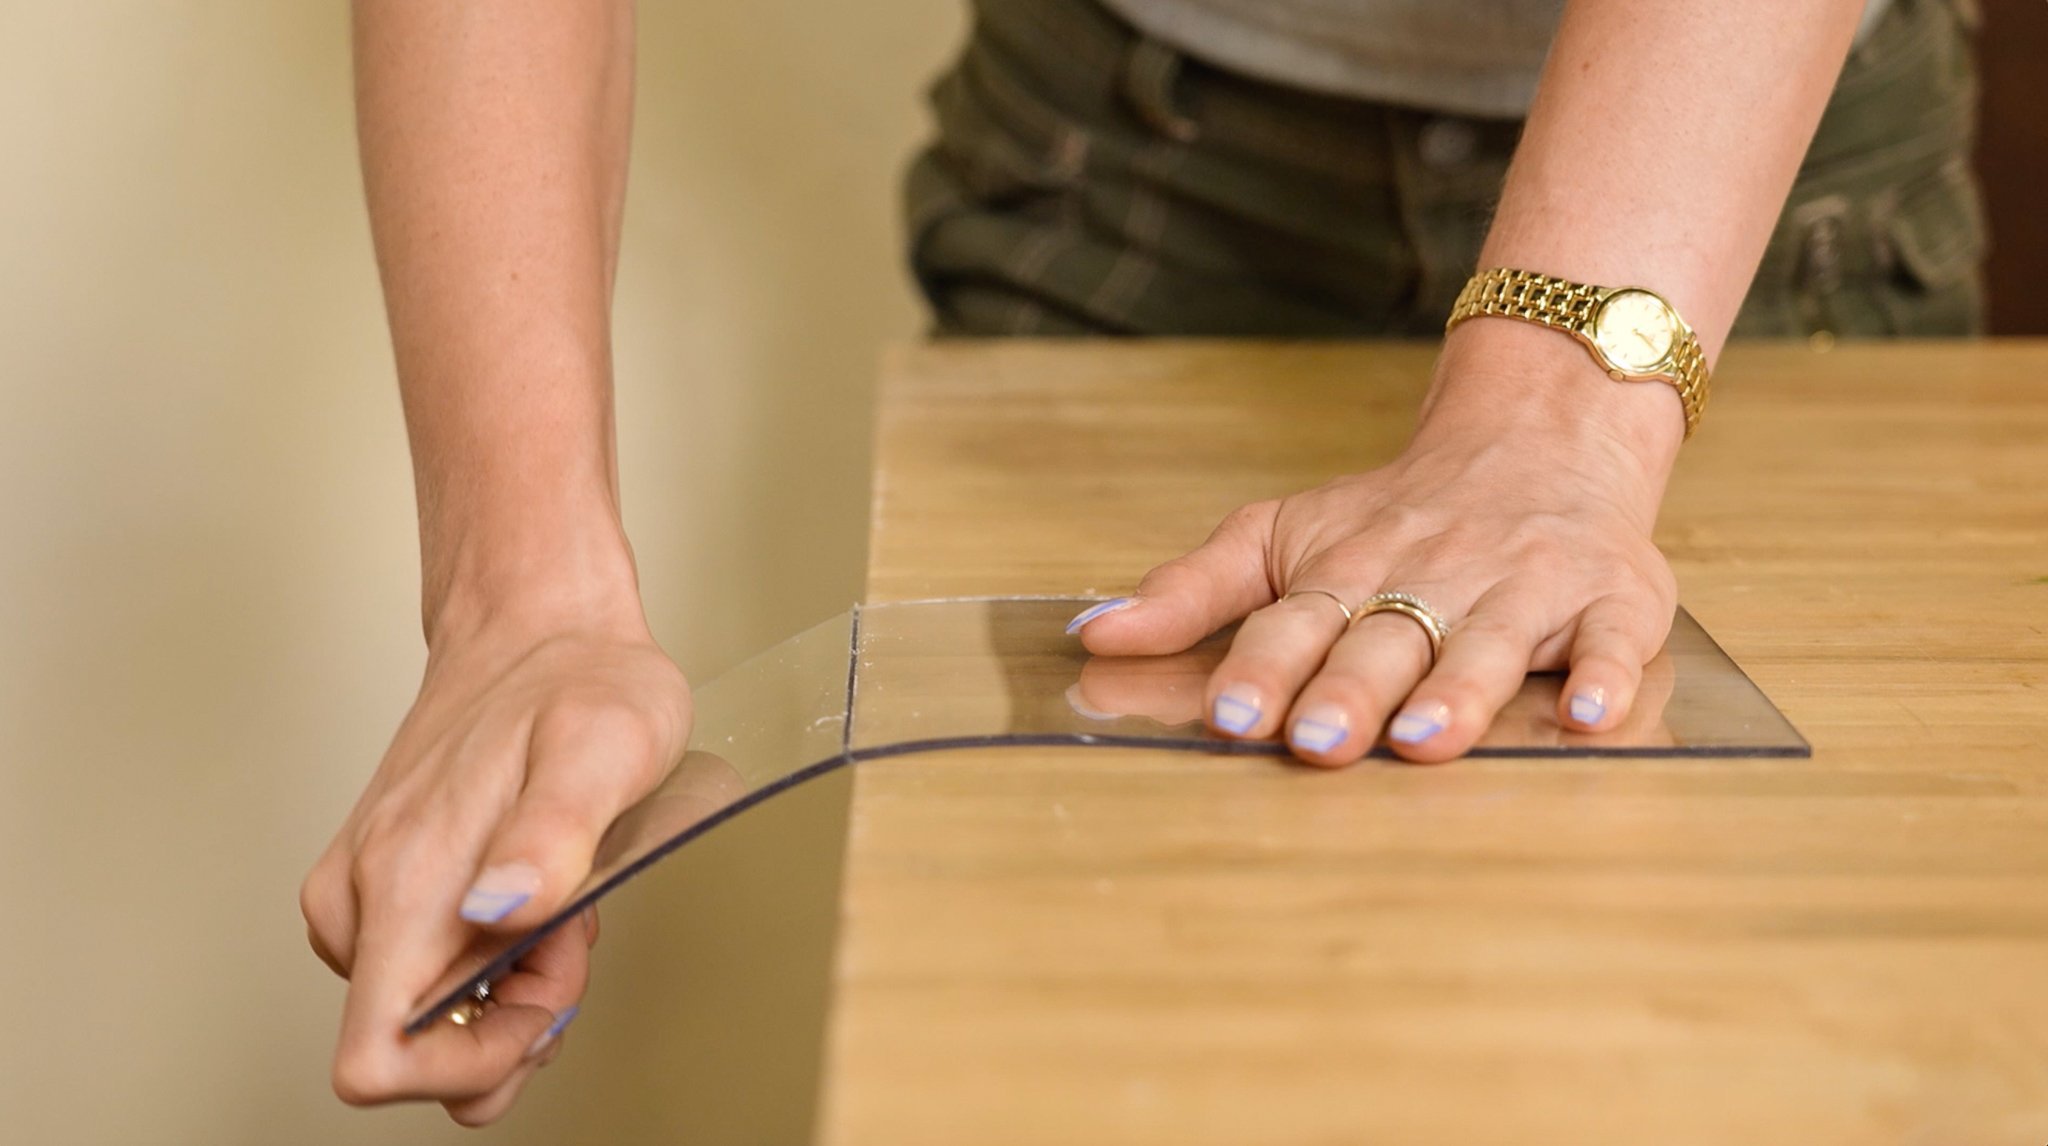
METHOD #1 : SCORE & SNAP
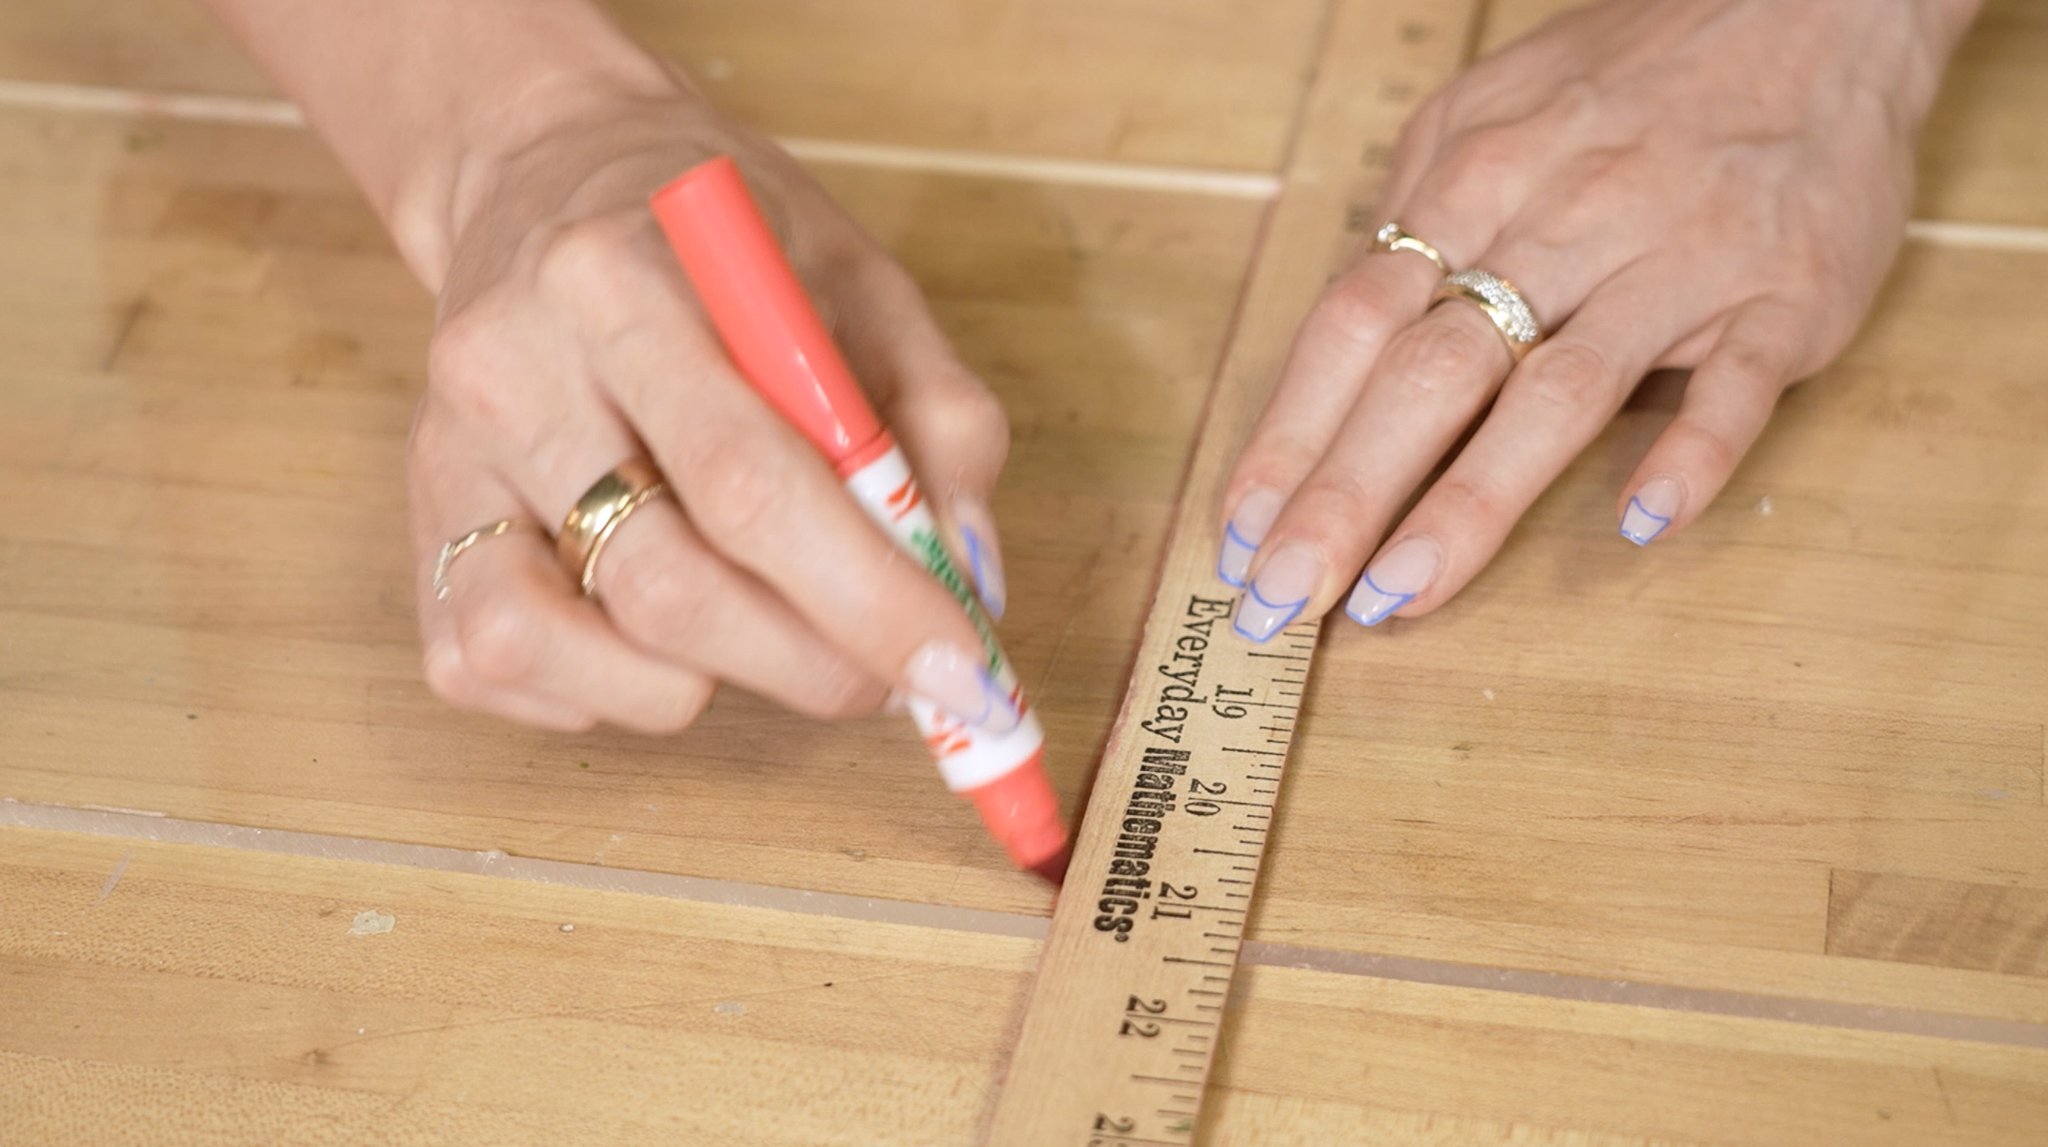
The good old score and snap! For this method, you will need a plastic cutting knife which can be found at your local hardware store.
Take a metal ruler and either press it down to the piece of acrylic or clamp them both to your work tabletop. Then with even pressure on the cutting knife, do about six to twelve passes along the acrylic. This will vary depending on how thick the material is. You want to get just over halfway through the piece before going ahead to snap the acrylic.
By the way, make sure to put on some protective eyewear for the snap portion of this method.
The score & snap method is really useful for thinner pieces of acrylic. Make sure to take your time with this step and if you’d like to use a utility knife instead, just be careful and work very slowly. Don’t apply too much pressure, try to do very shallow cuts at a time, and even consider using the dull side of the razor instead of the sharp side.
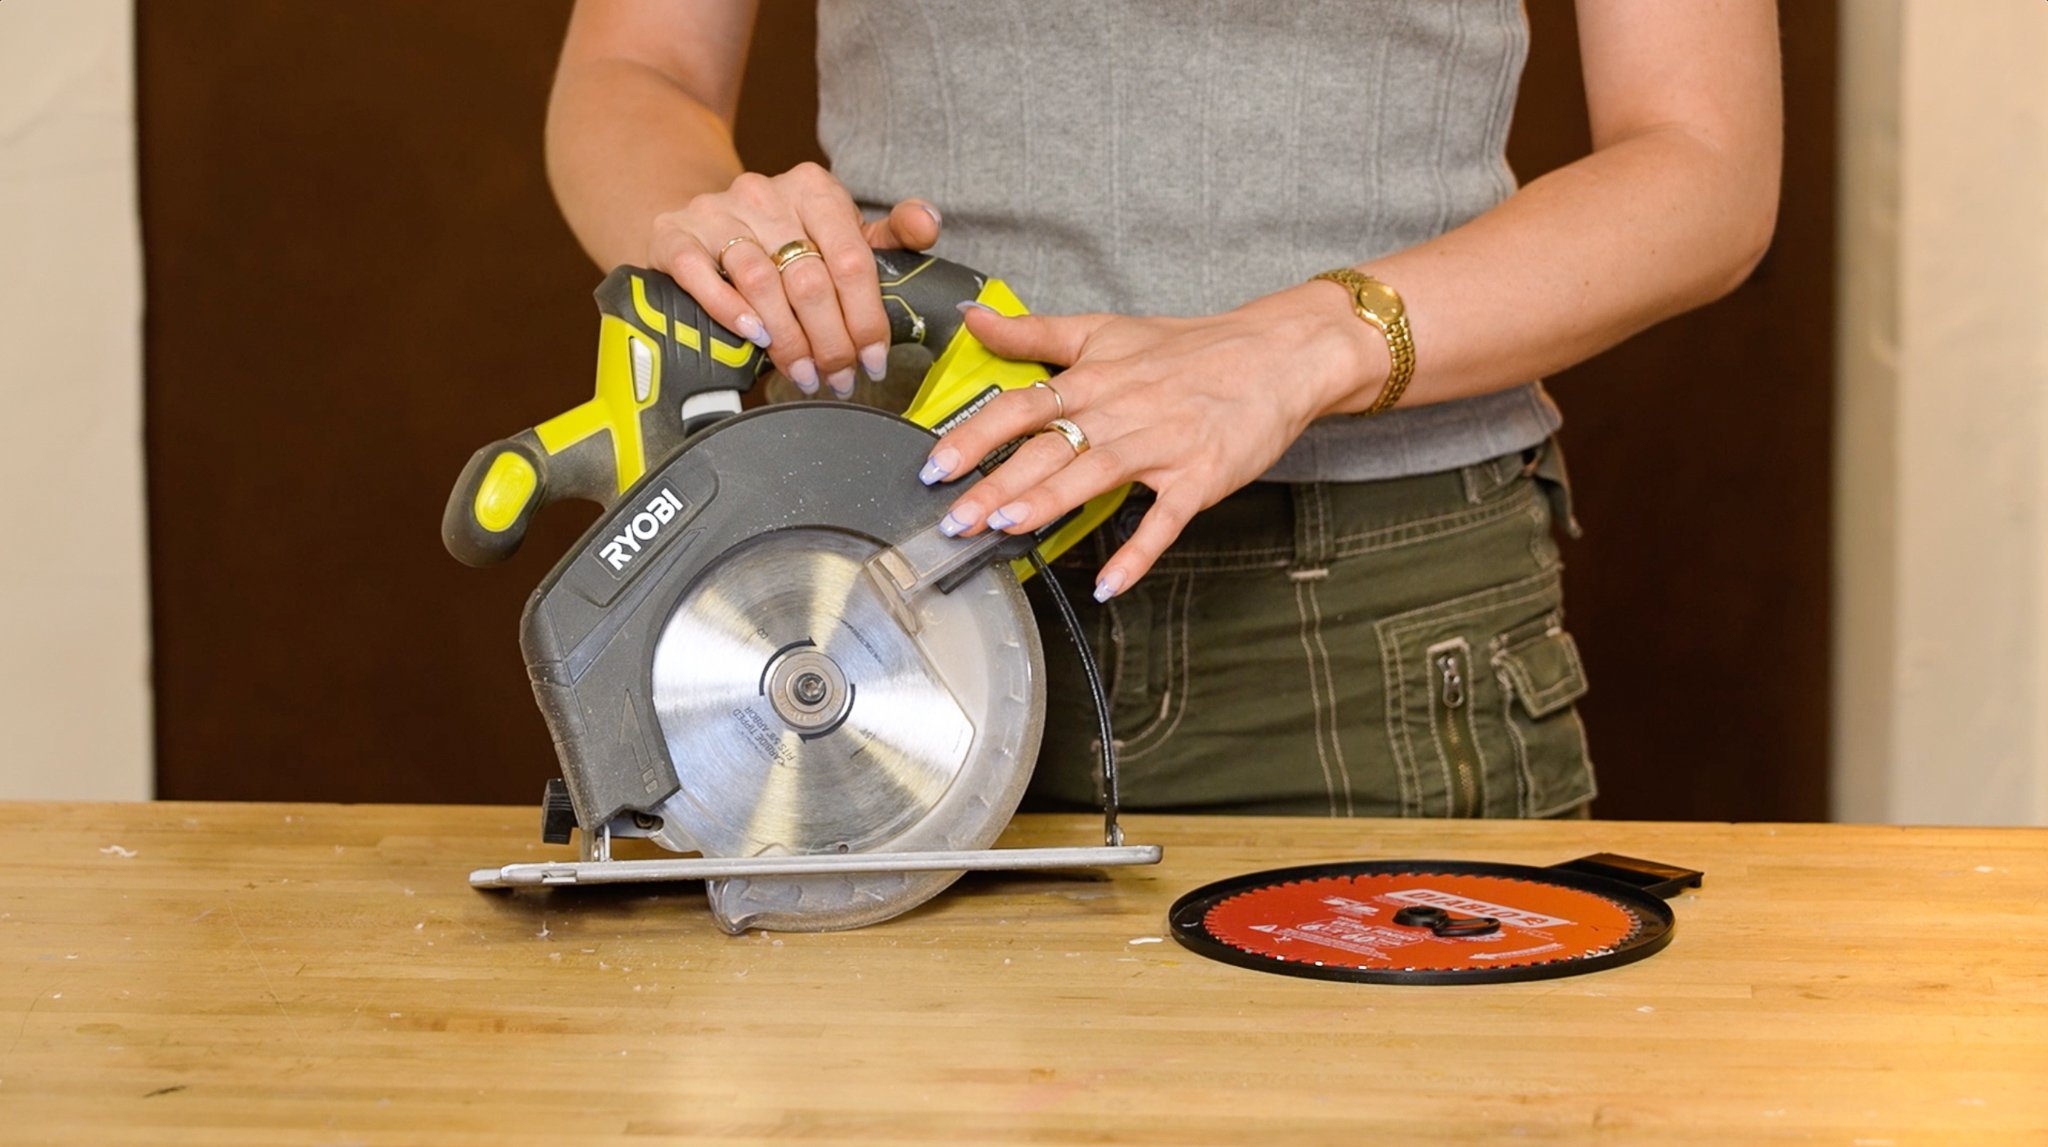
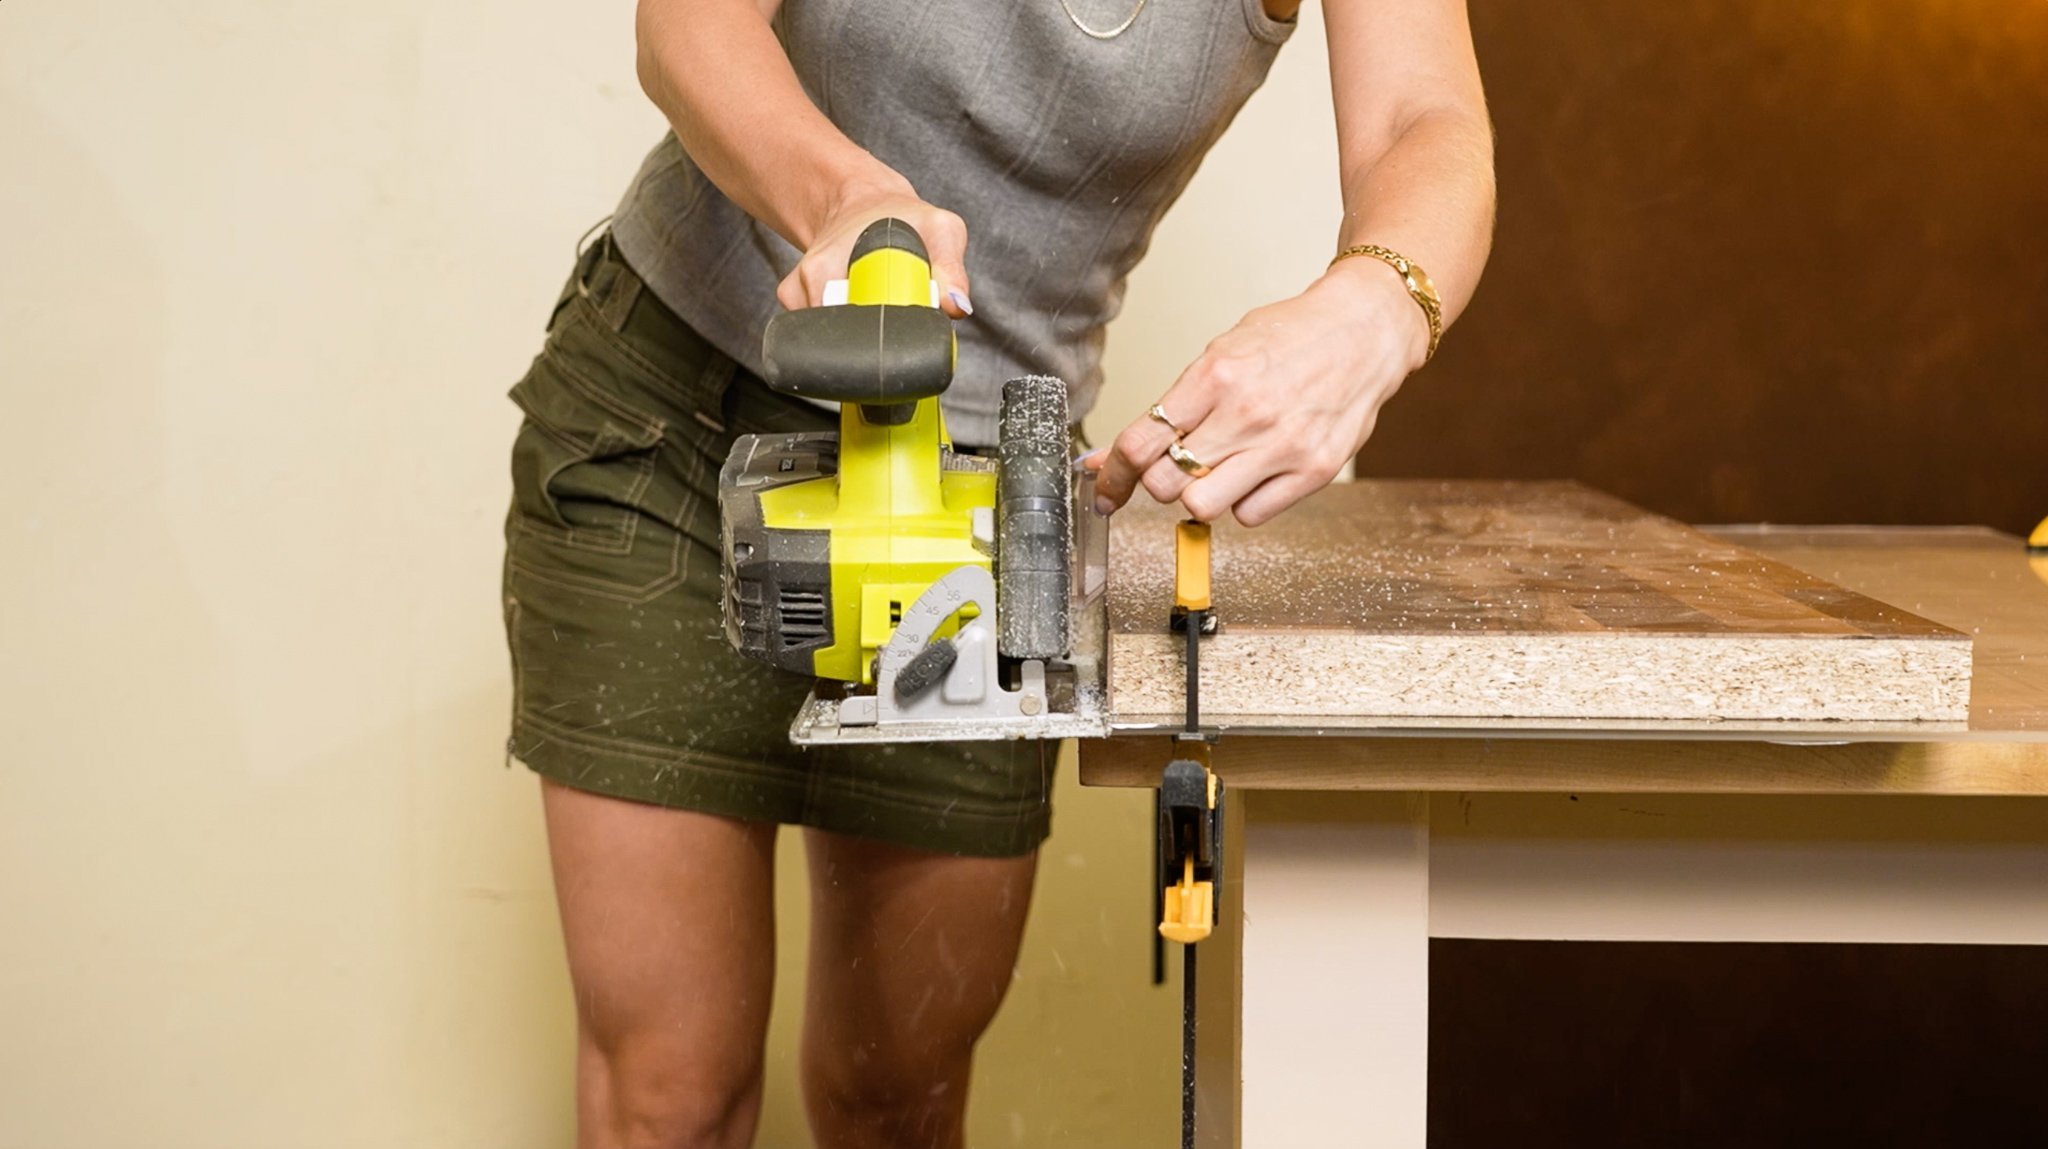
METHOD #2 : CIRCULAR SAW
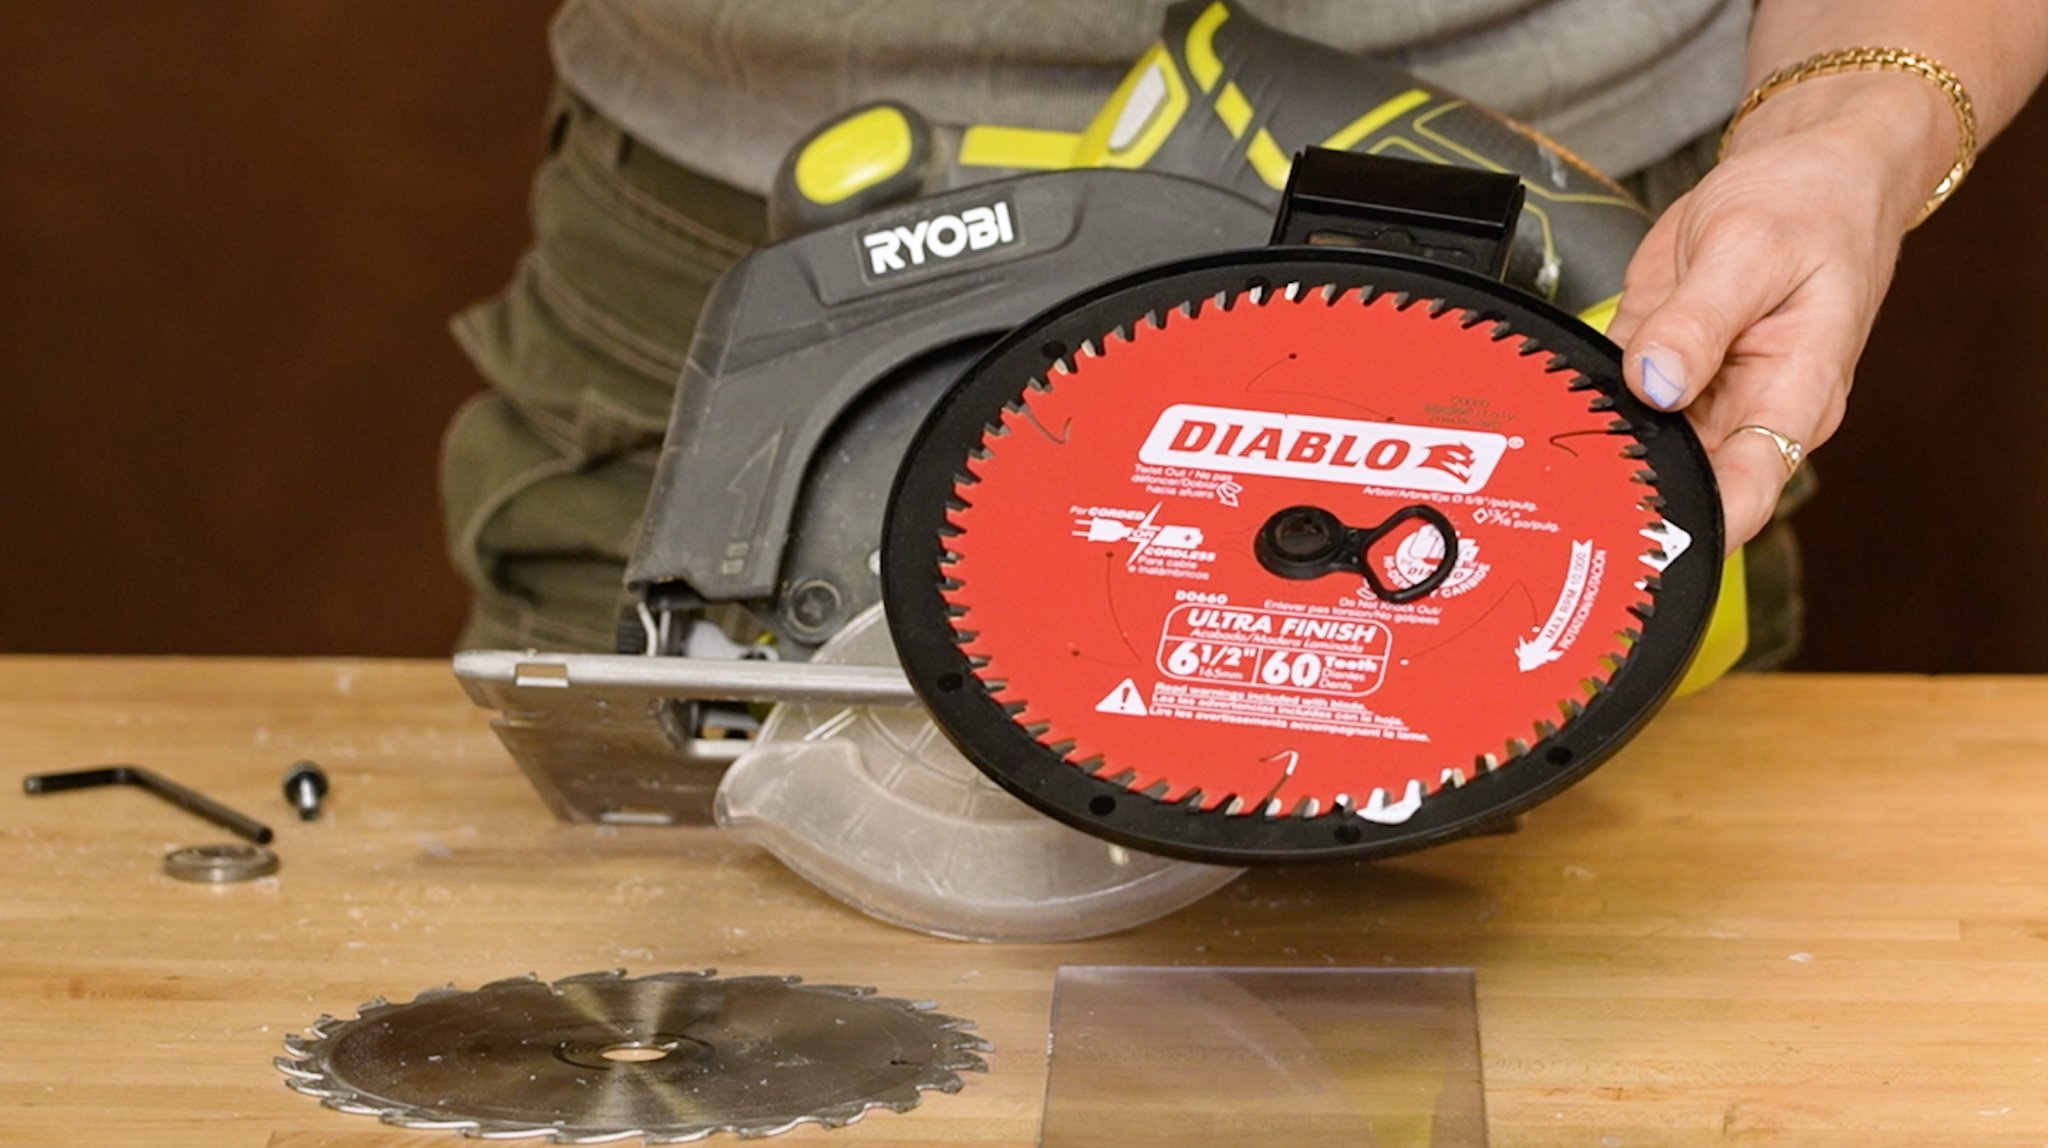
If you’re making longer cuts on thicker pieces of acrylic, you should probably consider using a power tool. One of the main things to consider when using a power tool on your material is that the tool itself causes a lot of vibration. This can be too aggressive for the acrylic and can cause chips and cracks. I recommend using a cross cut blade which is designed to produce a smooth cut without splintering or tearing. This type of blade usually has 60 to 80 teeth and the higher amount of teeth, the less material will be removed.
You can also deal with the vibration from your power tool by placing something like scrap wood on top of your acrylic piece and clamping it down tightly.
KEY TIPS:
Make sure to start your tool before you reach the edge of your acrylic.
If your acrylic comes with protective coating on top, keep it on to help prevent fraying.
If your piece does not come with the protective coating, use a piece of tape as a covering instead.
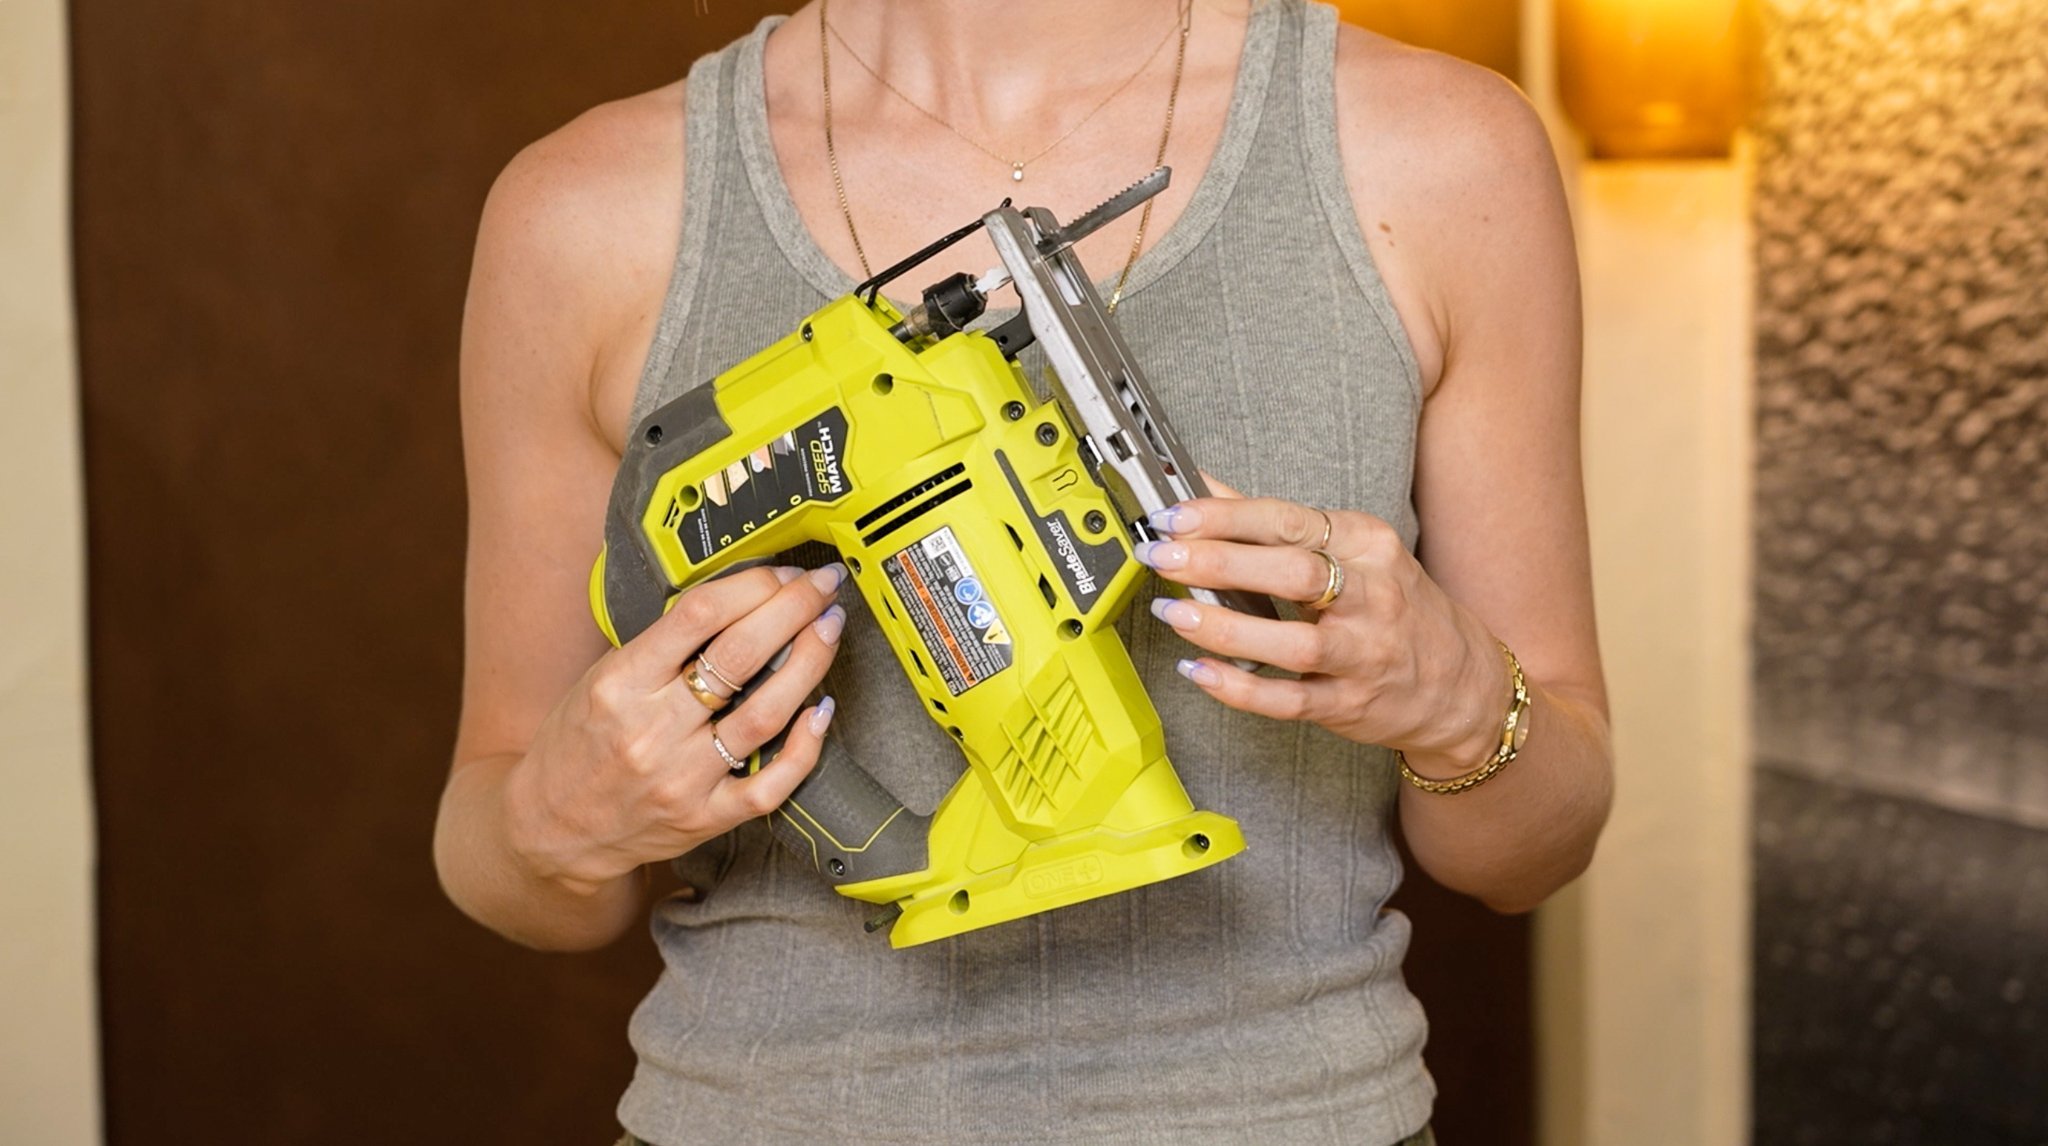
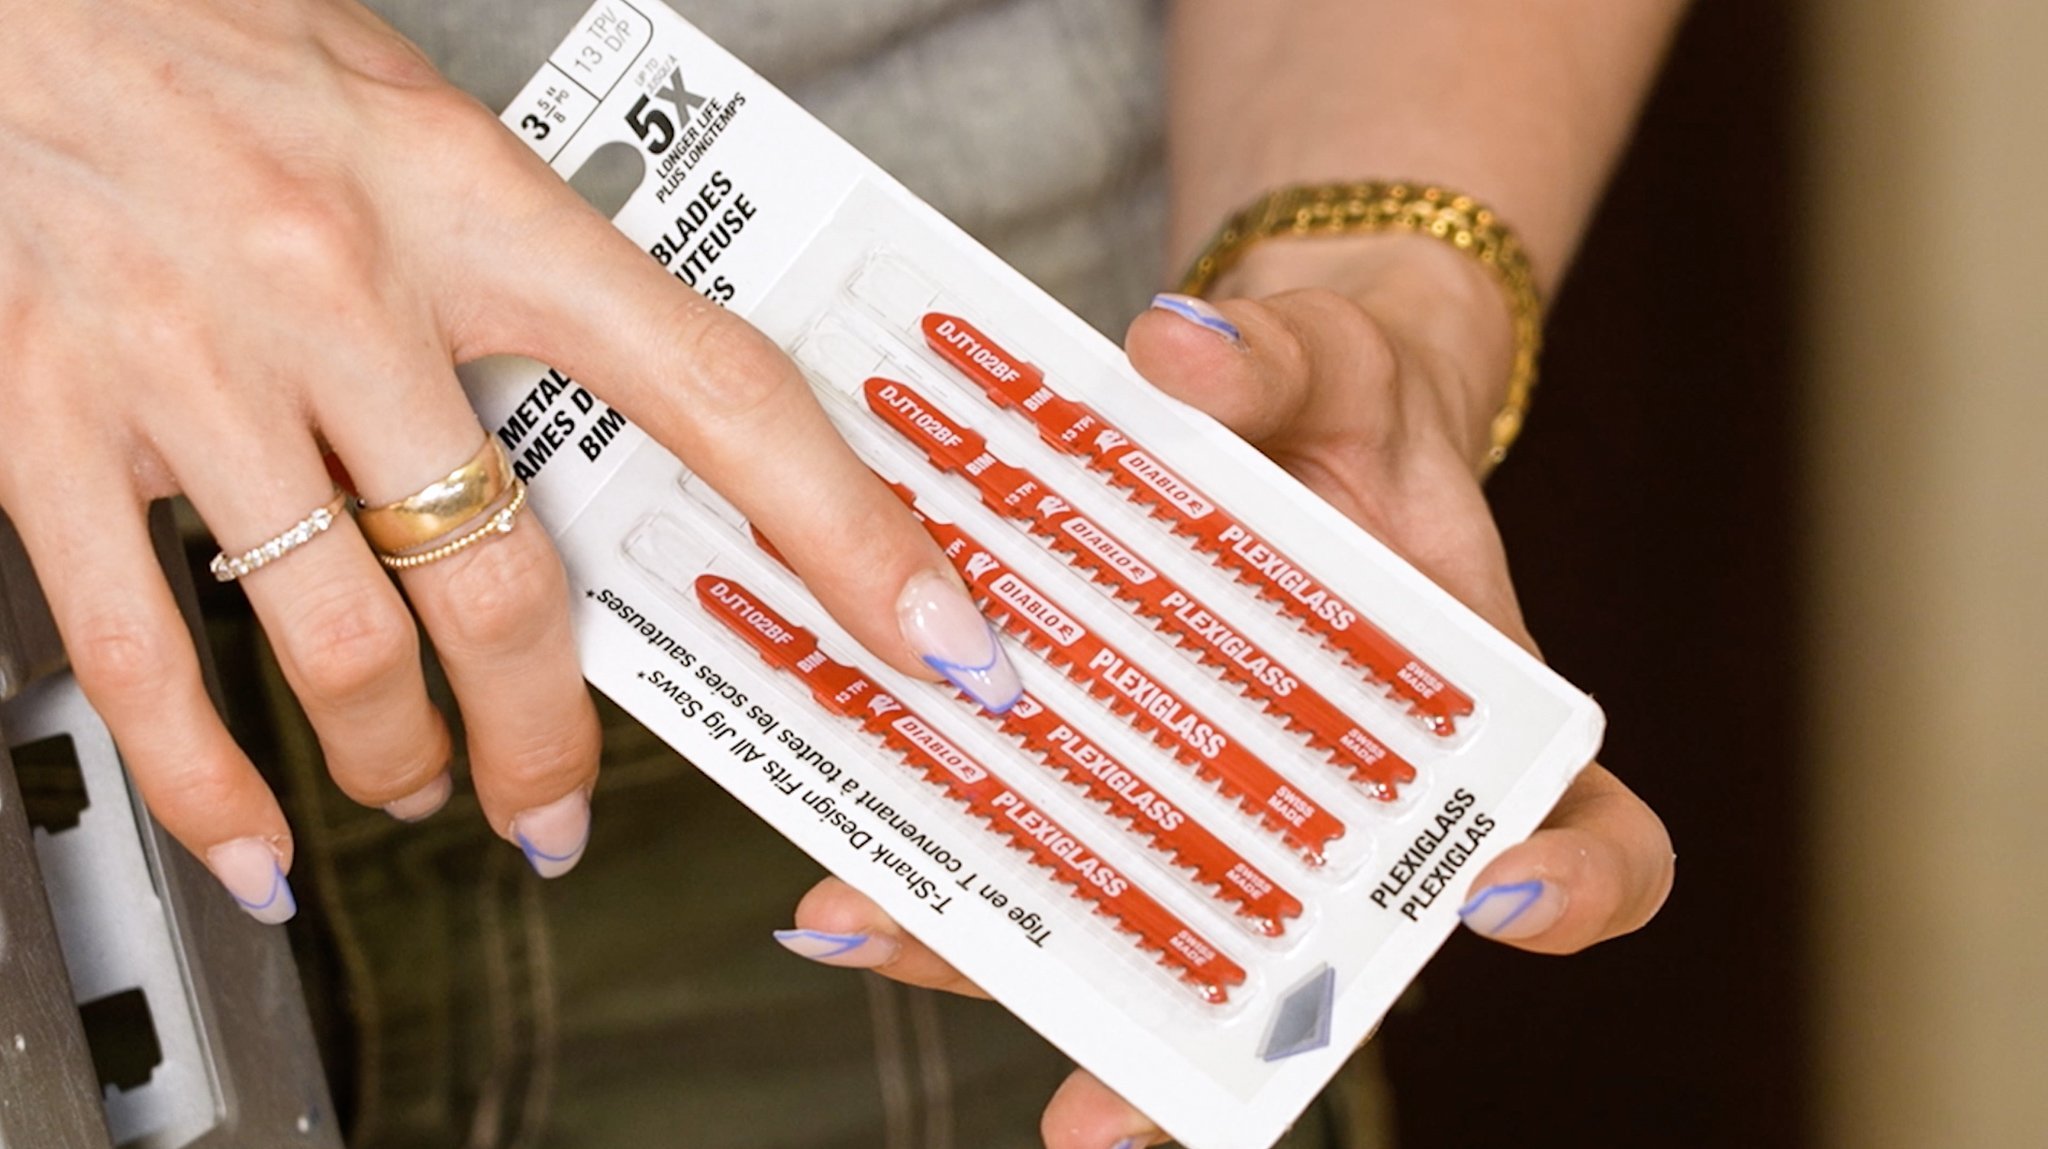
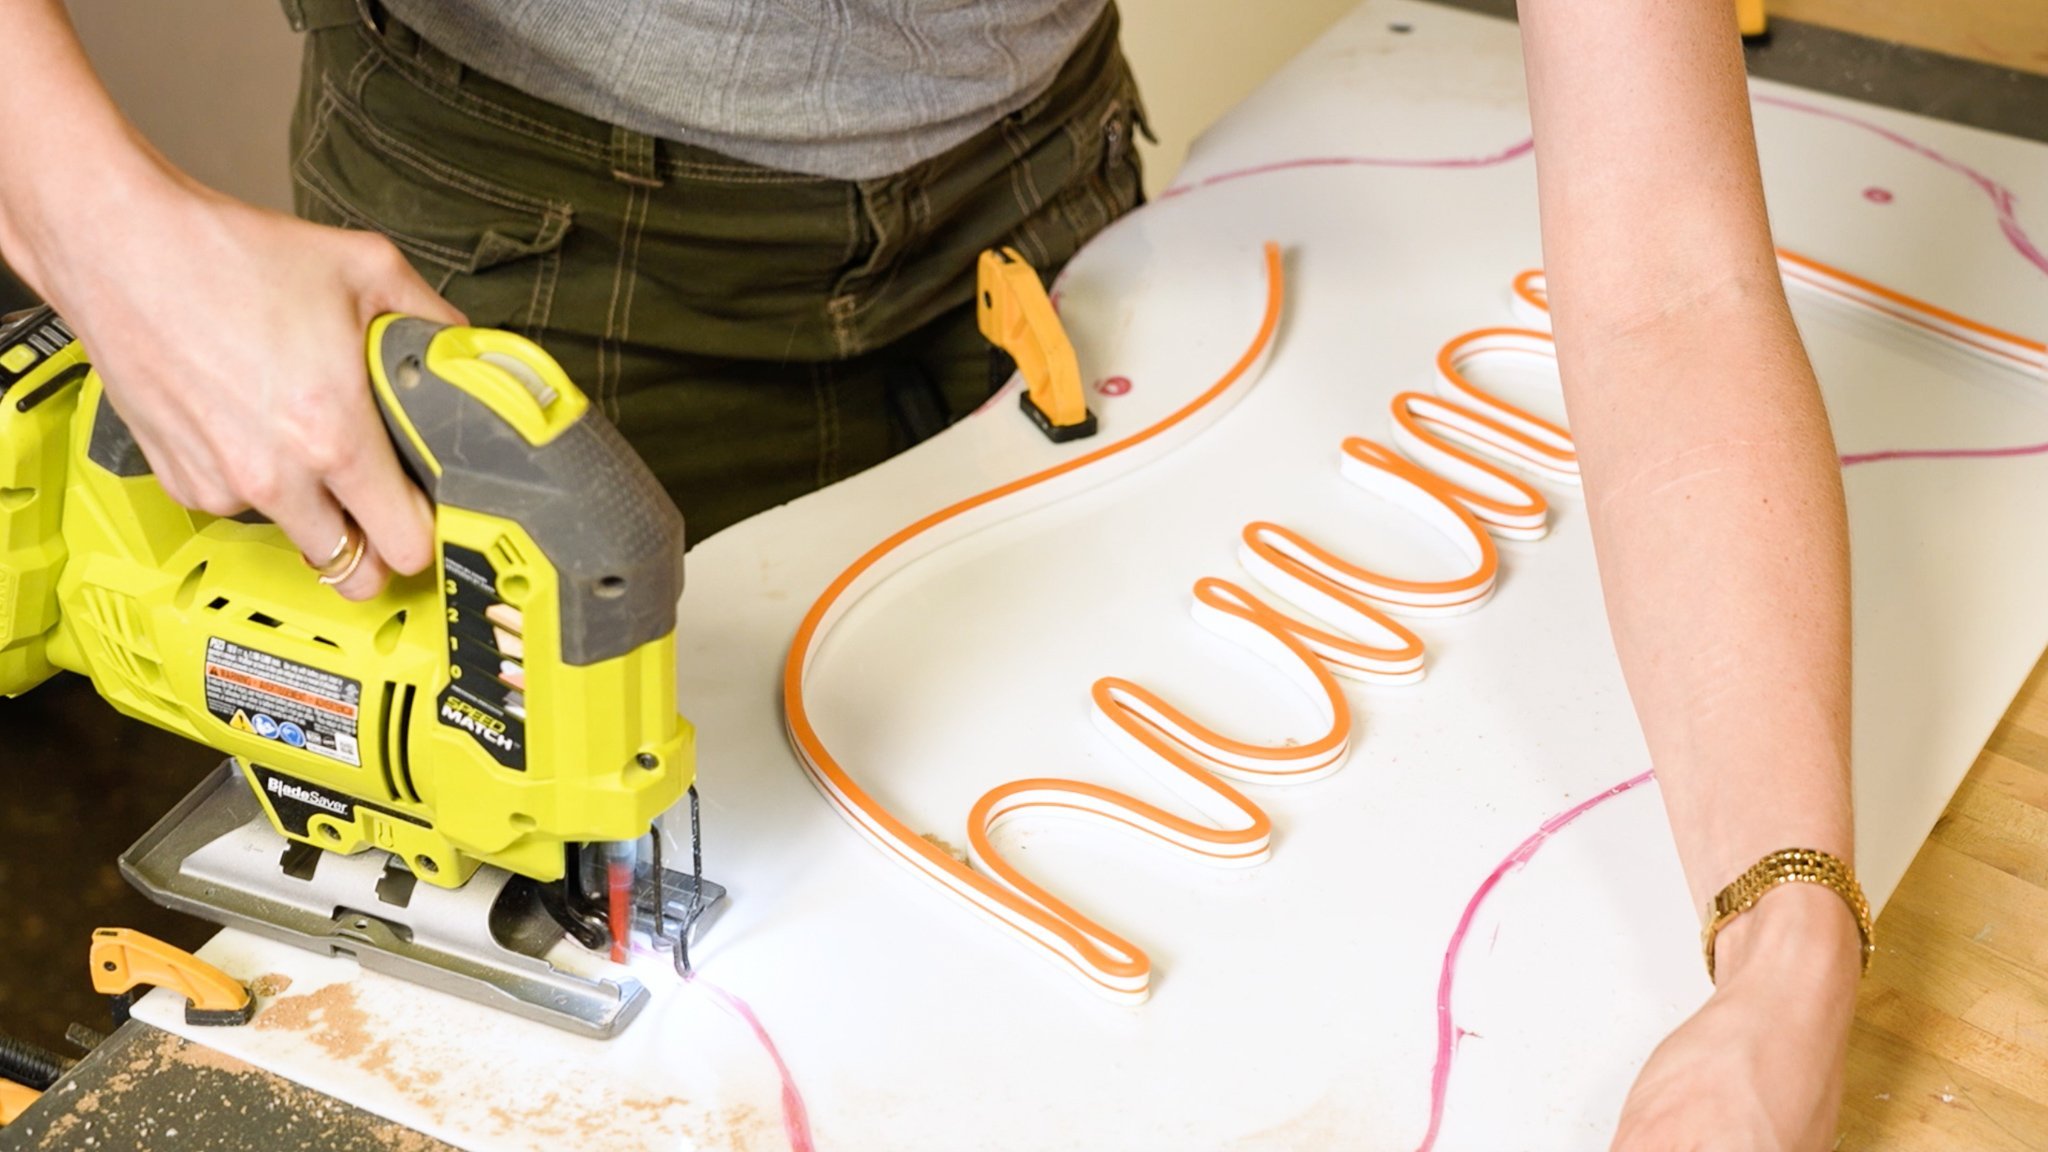
METHOD #3 : JIG SAW
A jig saw is great if you want to do detailed cuts, curved corners or round edges to make your piece more unique. There is actually a specific blade for acrylic that you can install right into your jig saw, and it literally says plexiglass on it (talk about good branding!)
When working with a jig saw, remember that it causes higher vibrations and is going to want to bounce around. If you’re cutting a thicker piece of acrylic, you should be fine just clamping it down to your table but if you’re cutting a thinner piece, consider also clamping it to a scrap piece of wood or MDF.
HOW TO BEND ACRYLIC
Learning to properly bend acrylic is a crucial part of making some fun and interesting shapes with your furniture, and this section is all about learning to do that using heat. So let’s get started!
PROJECT #1: DESK ORGANIZER
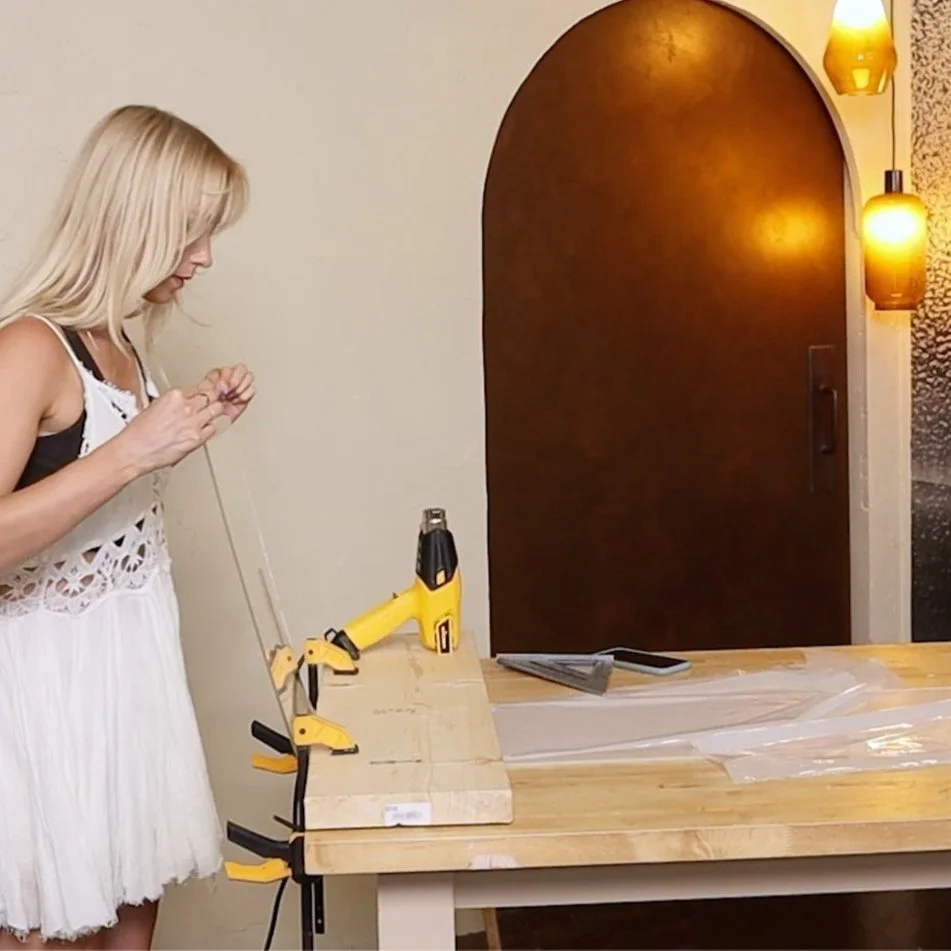
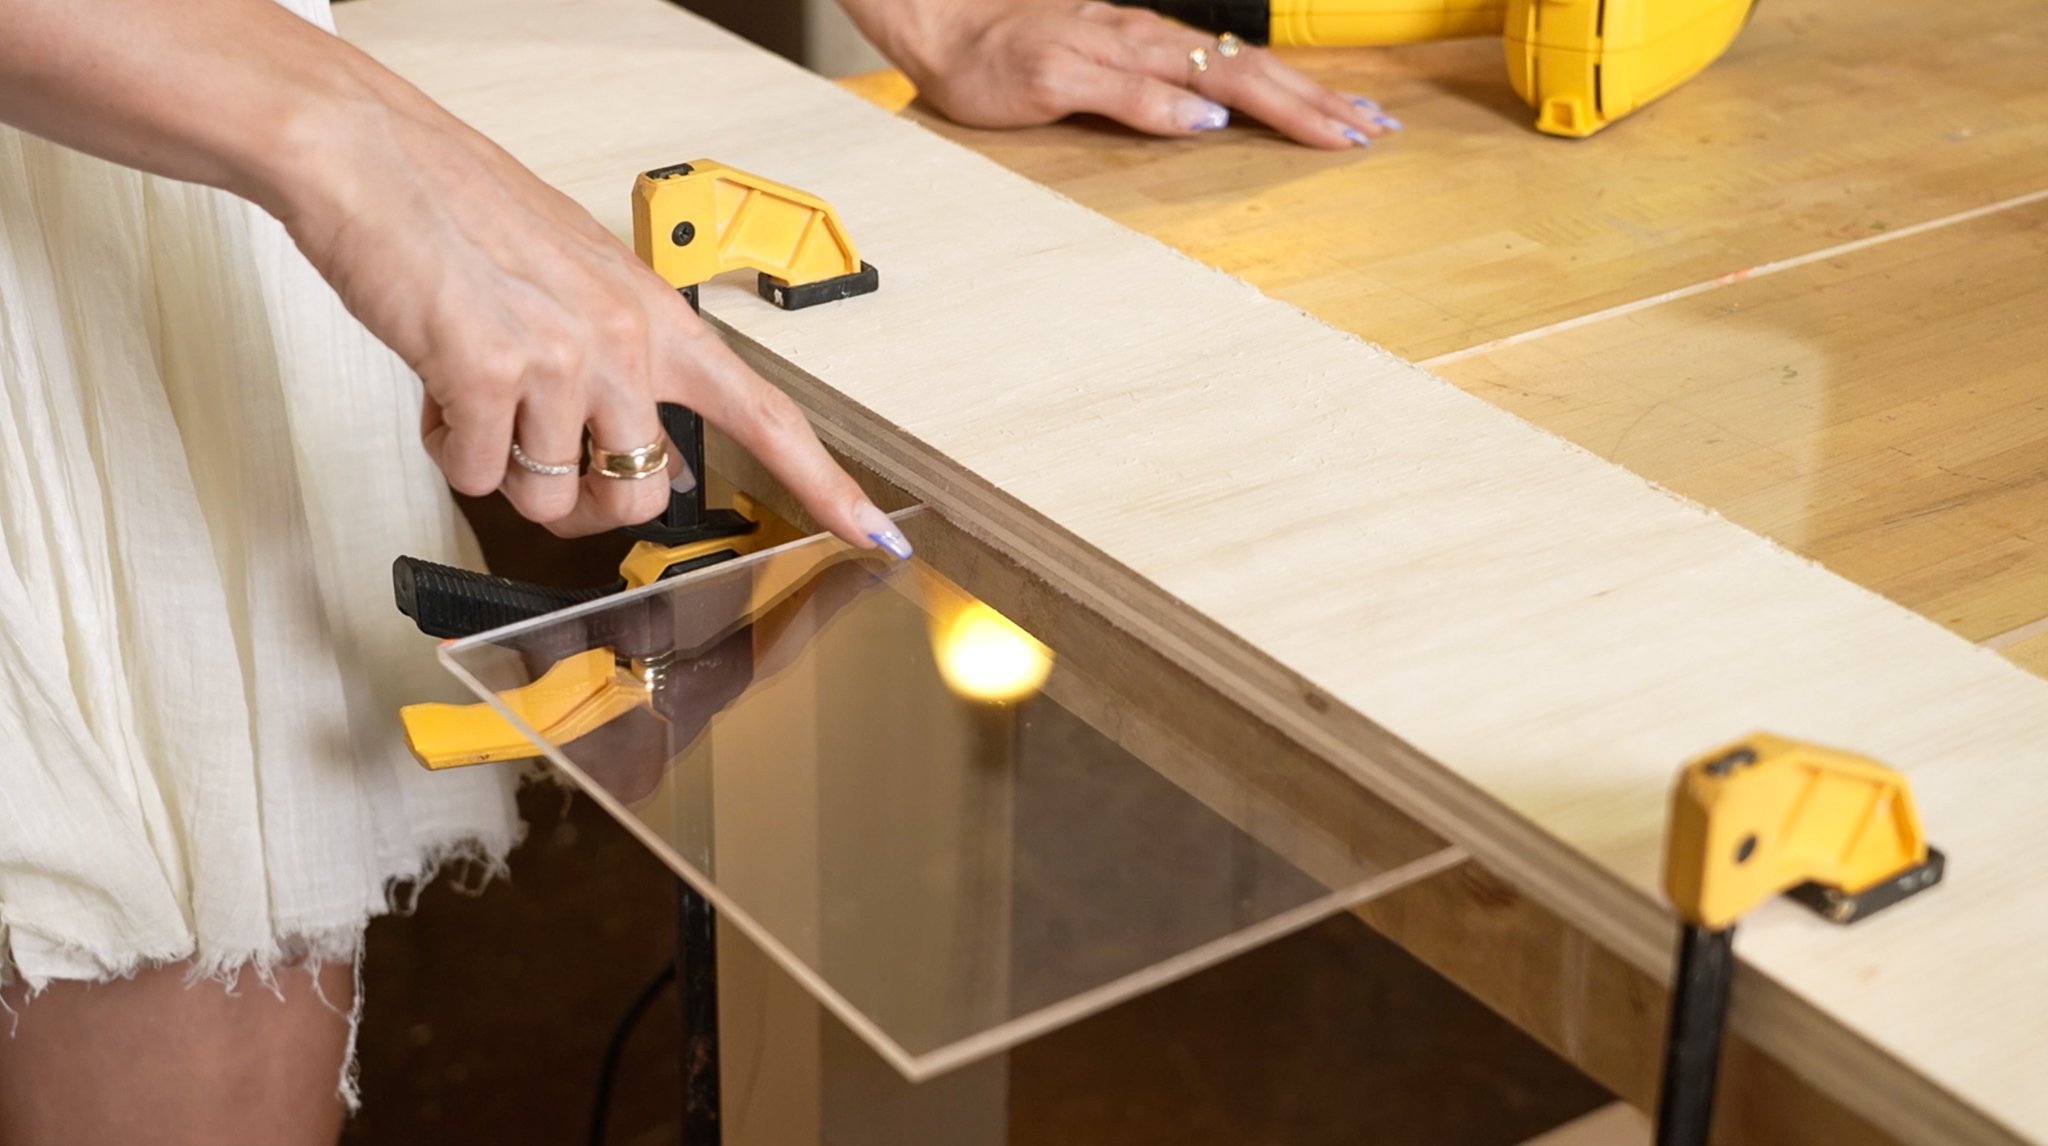
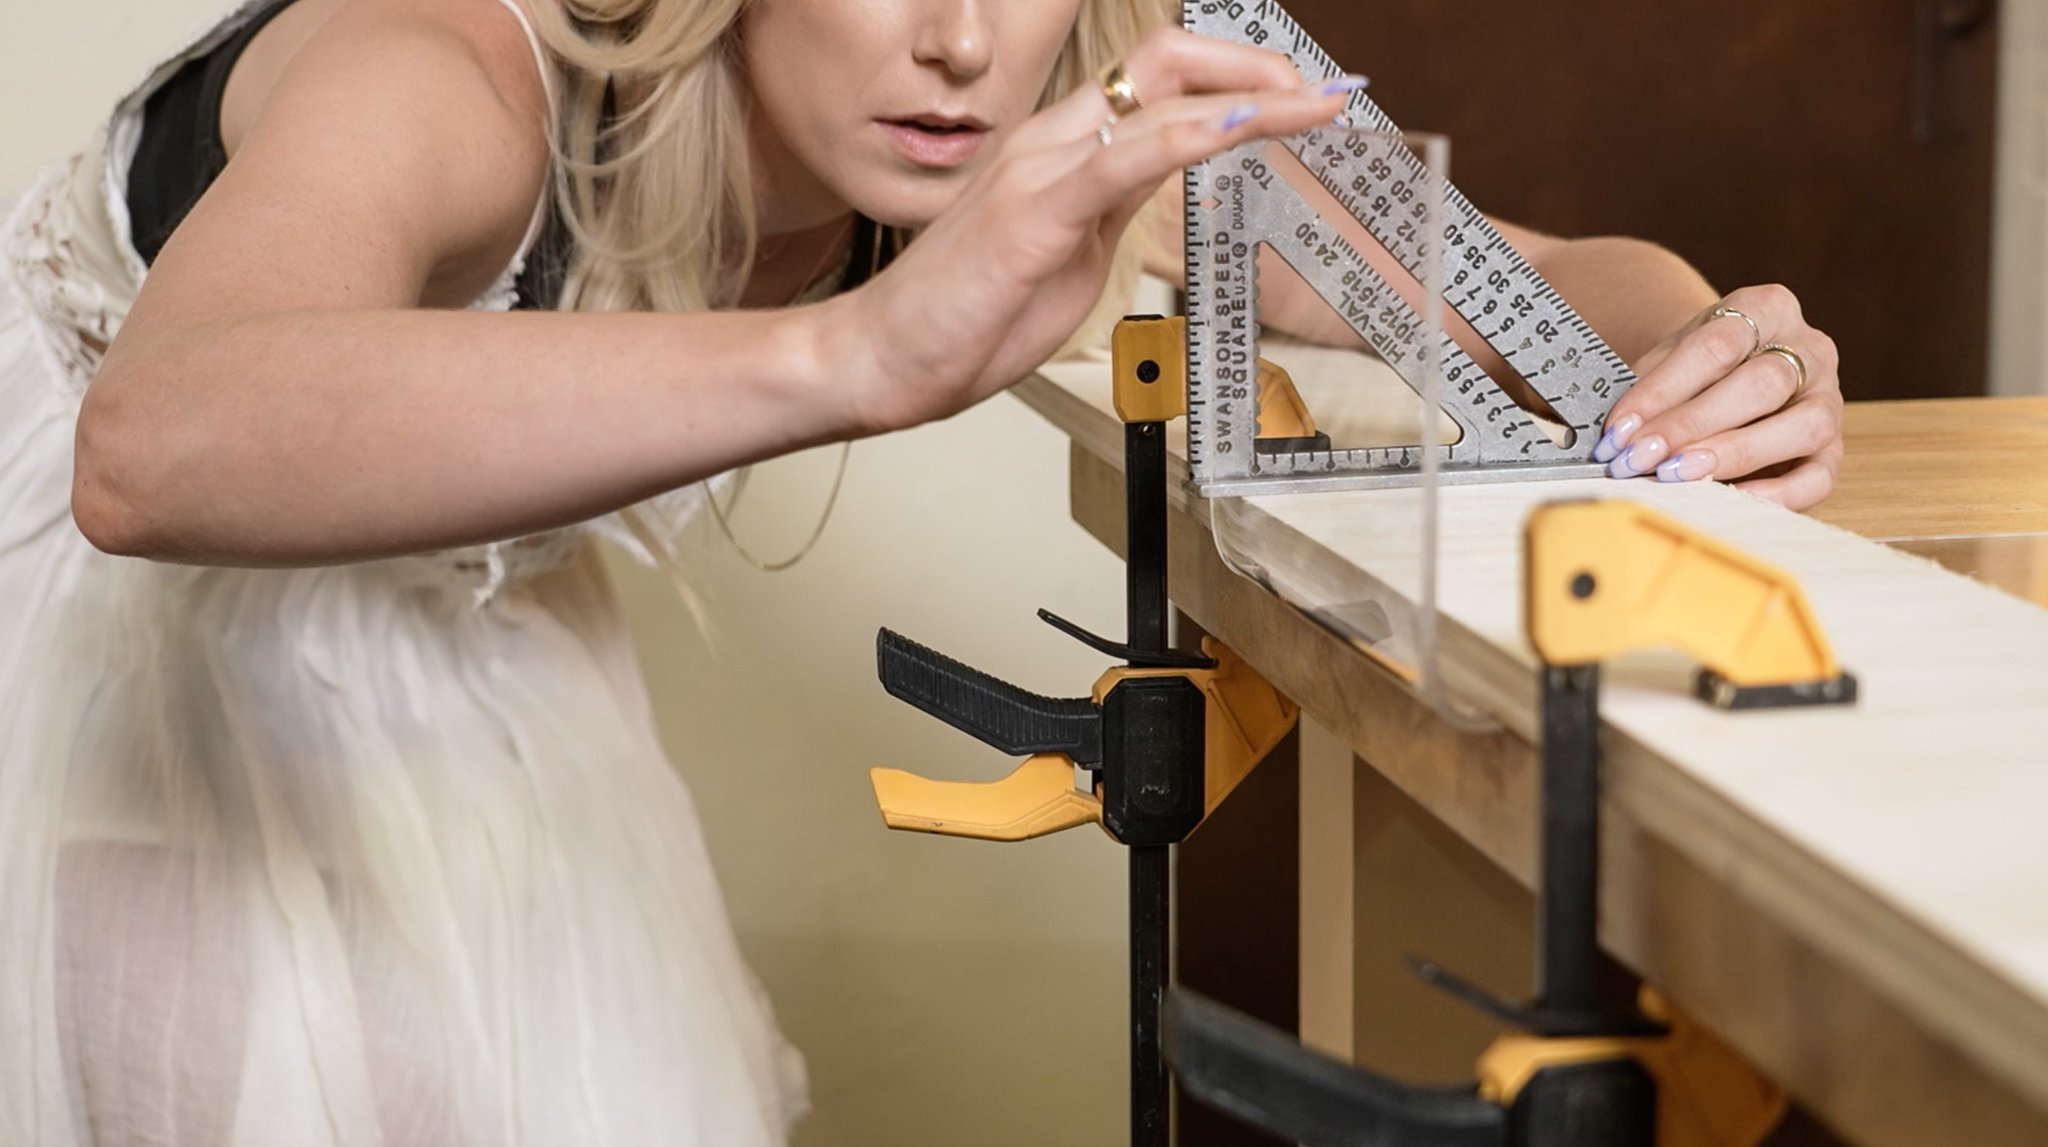
To create my desk organizer, I used a piece of acrylic that was 30 inches long and 9 inches wide.
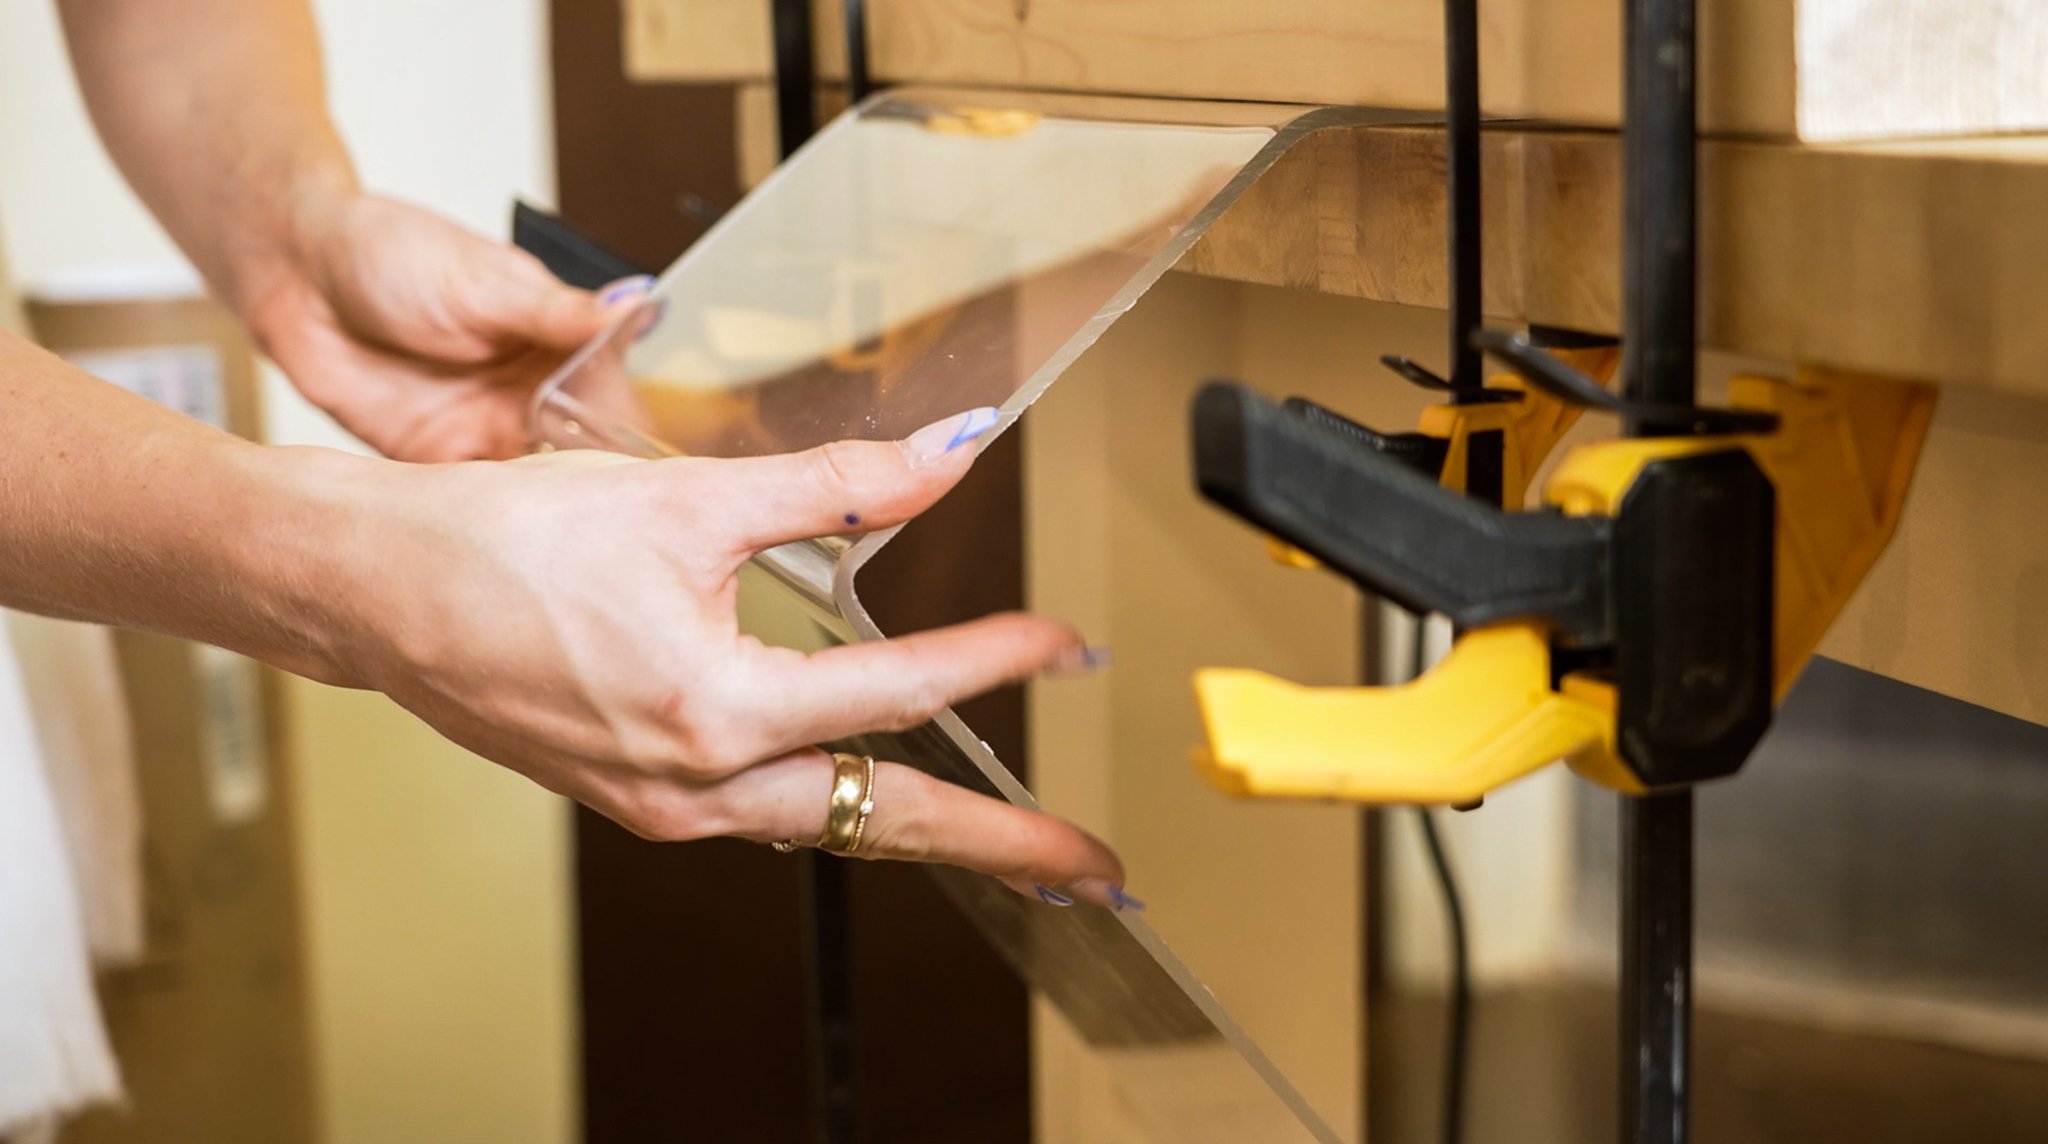
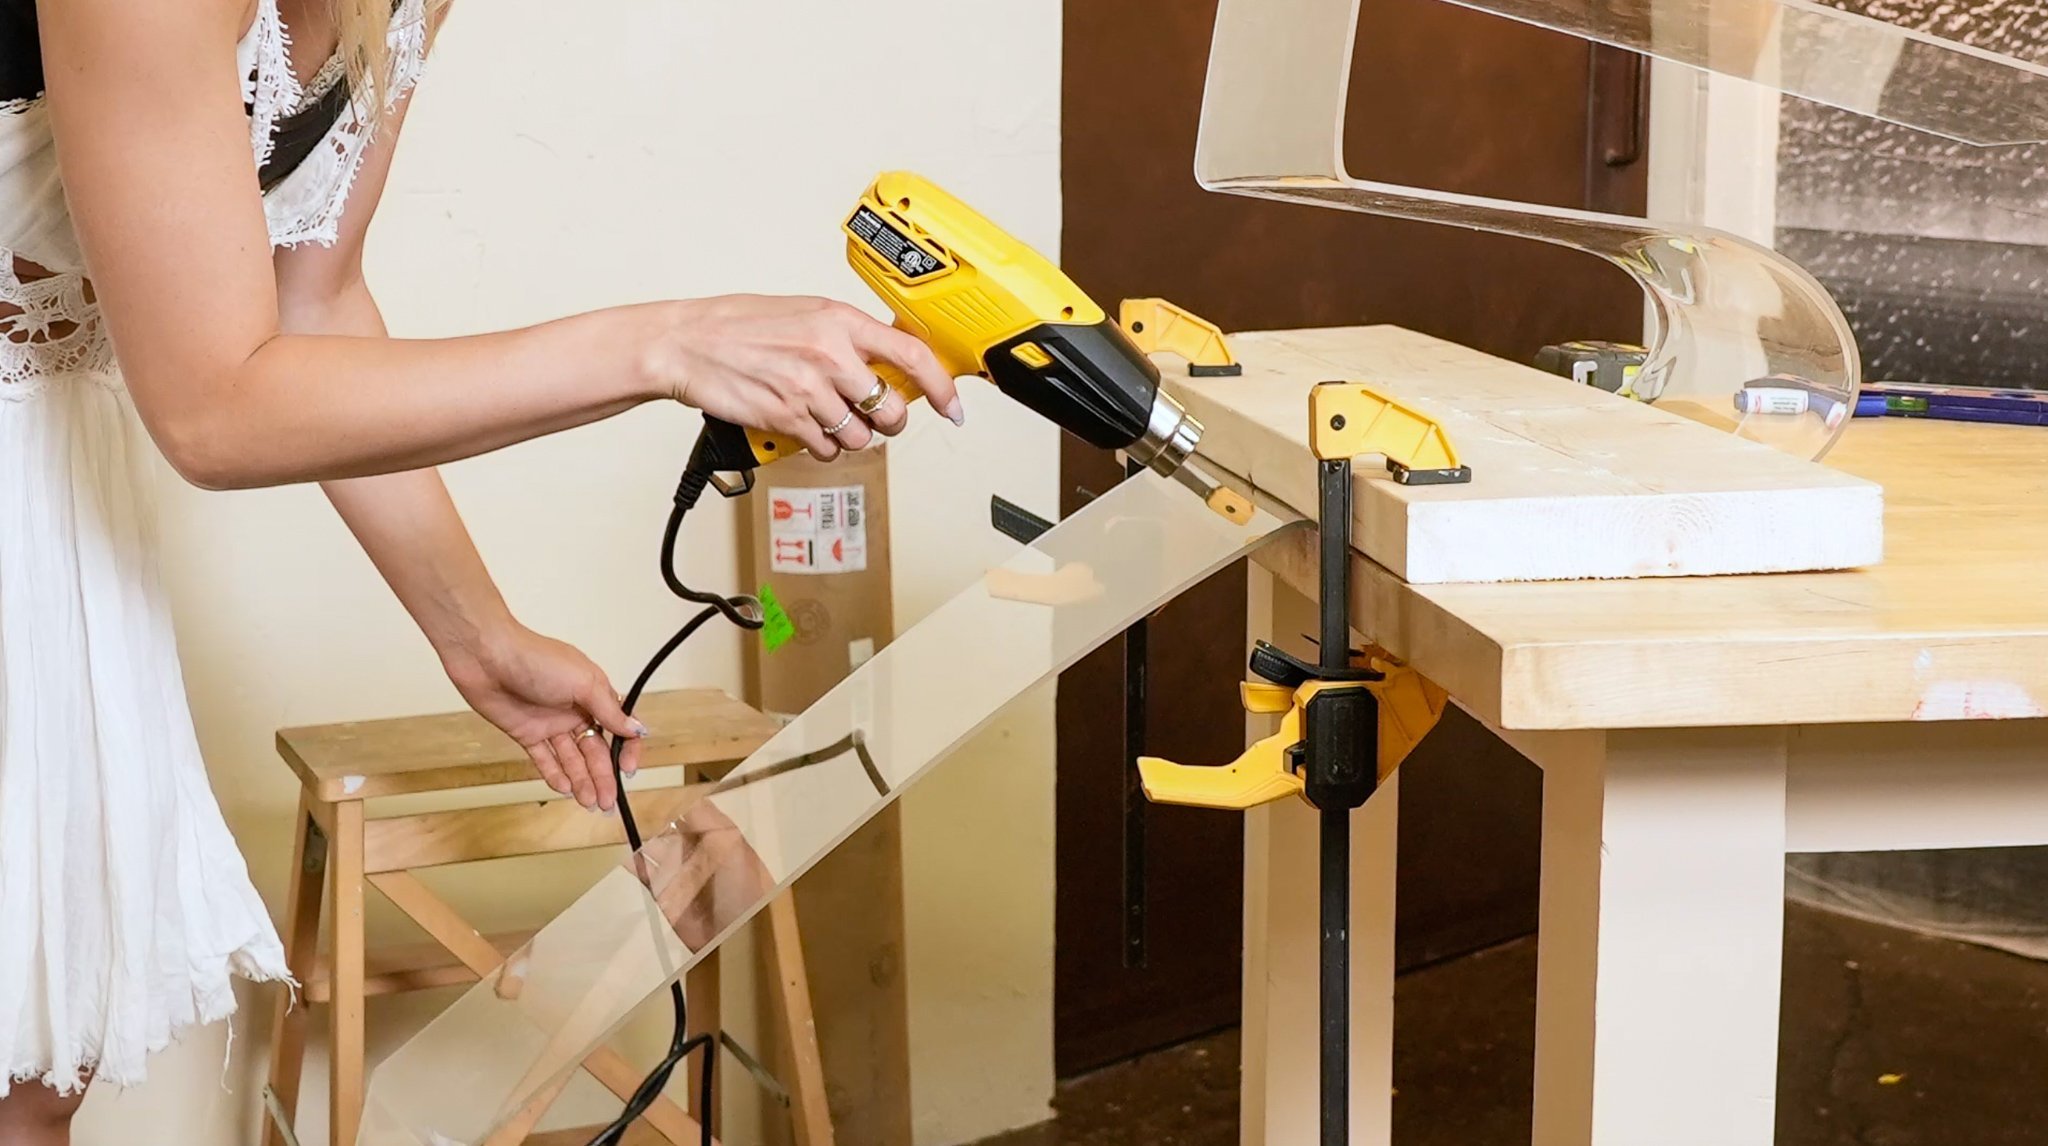
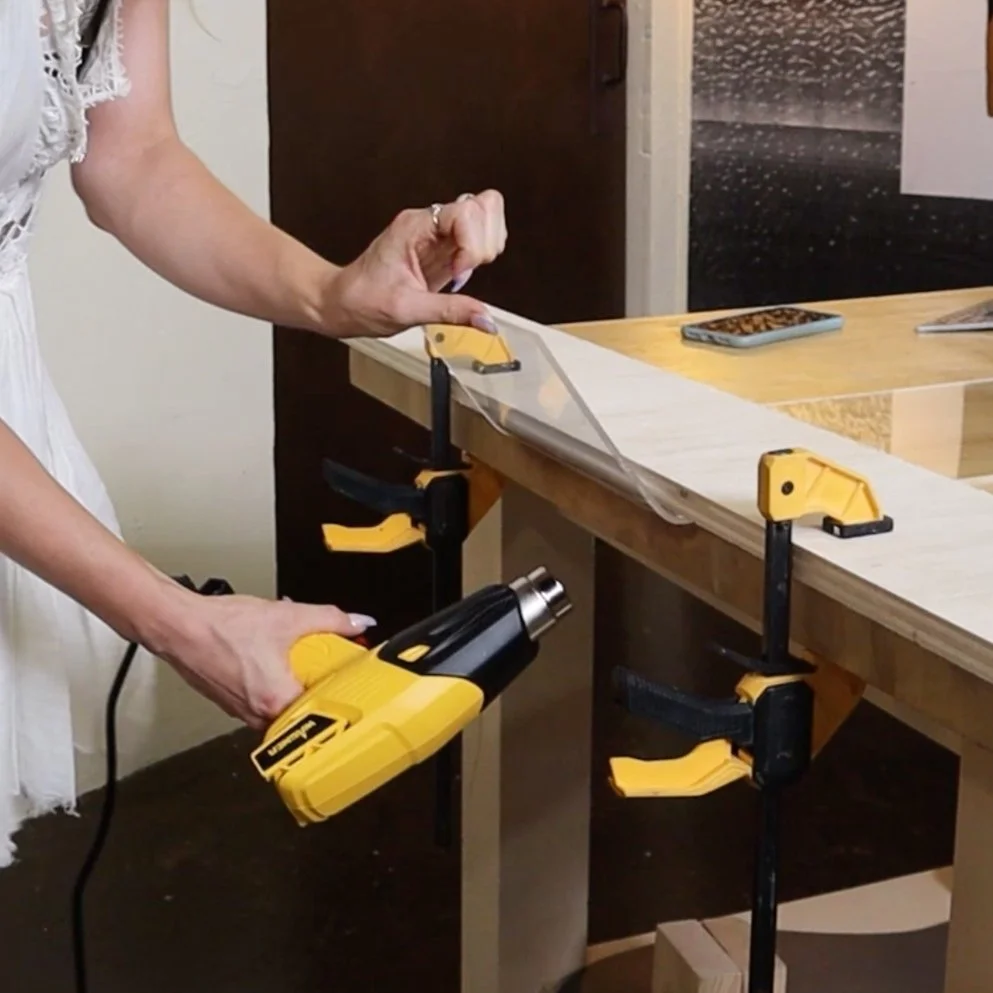
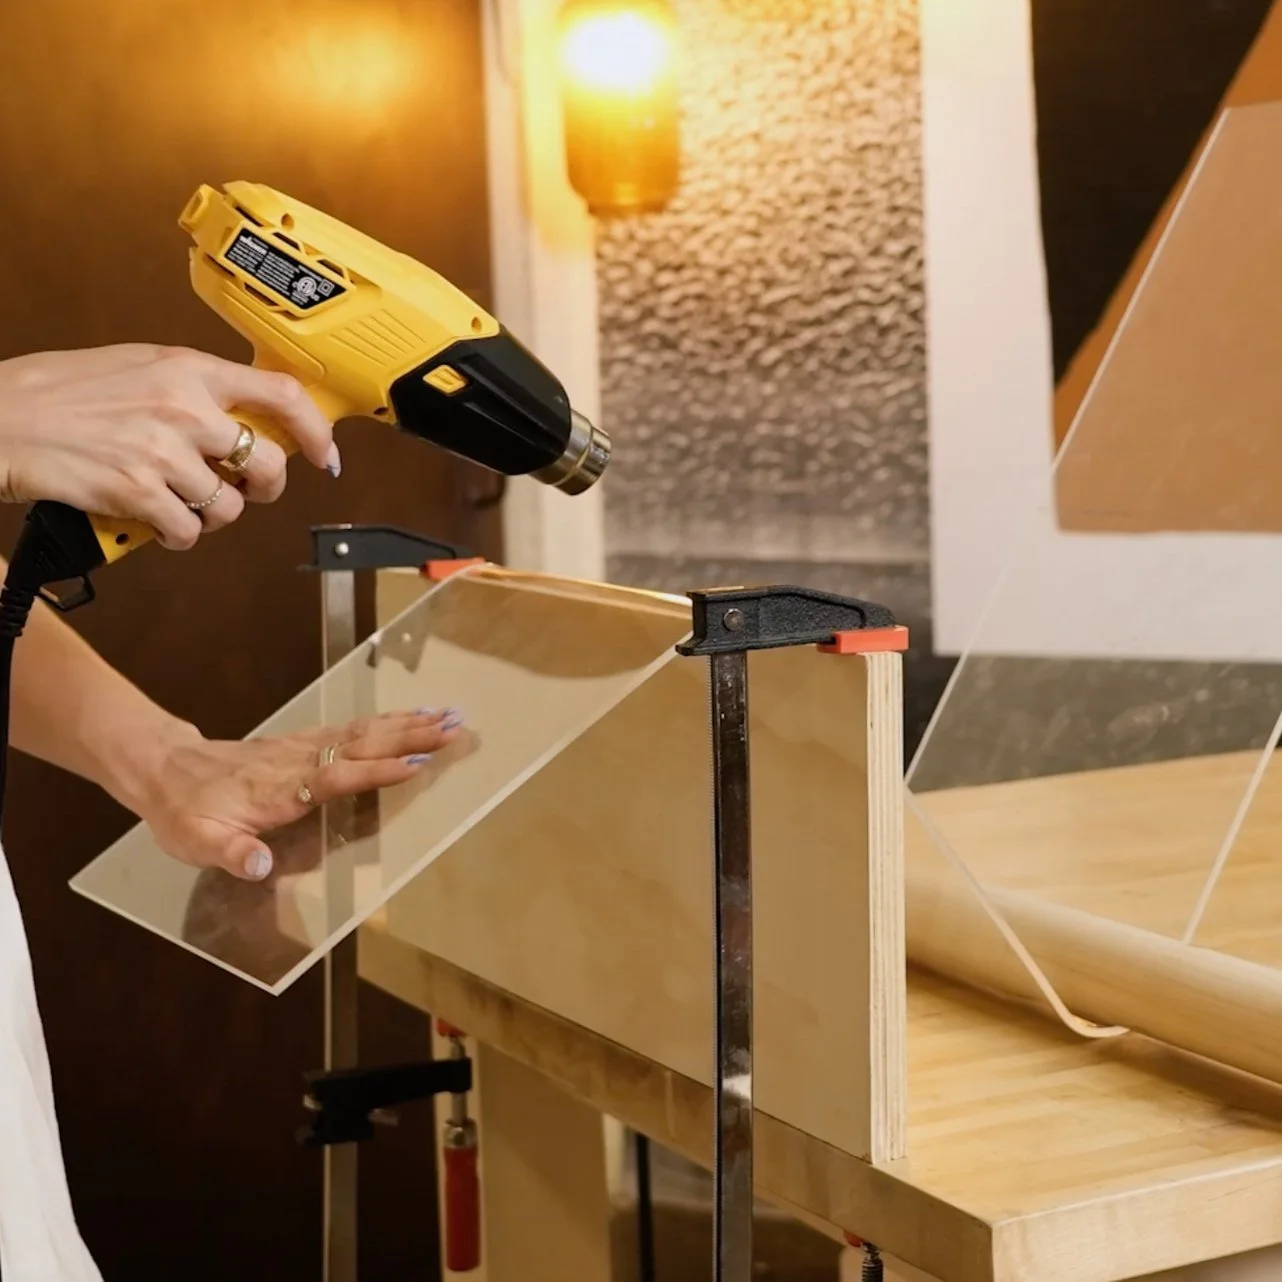
The first step before adding any heat was to remove the plastic protective layer from the acrylic, and then I marked my bend lines to be about 6 inches in on each side before going in with a heat gun. This gun has two heat settings (750 degrees and 1100 degrees) and I used it on the higher setting. Not to worry, this gun is a standard heat gun for DIY projects so there is no risk of melting or emitting fumes from the acrylic. The goal is to get it hot enough to bend ever so slightly.
Tip: Whatever you do, don’t force the plastic to bend. If you wait long enough it will get malleable on its own and you can just ease it along.
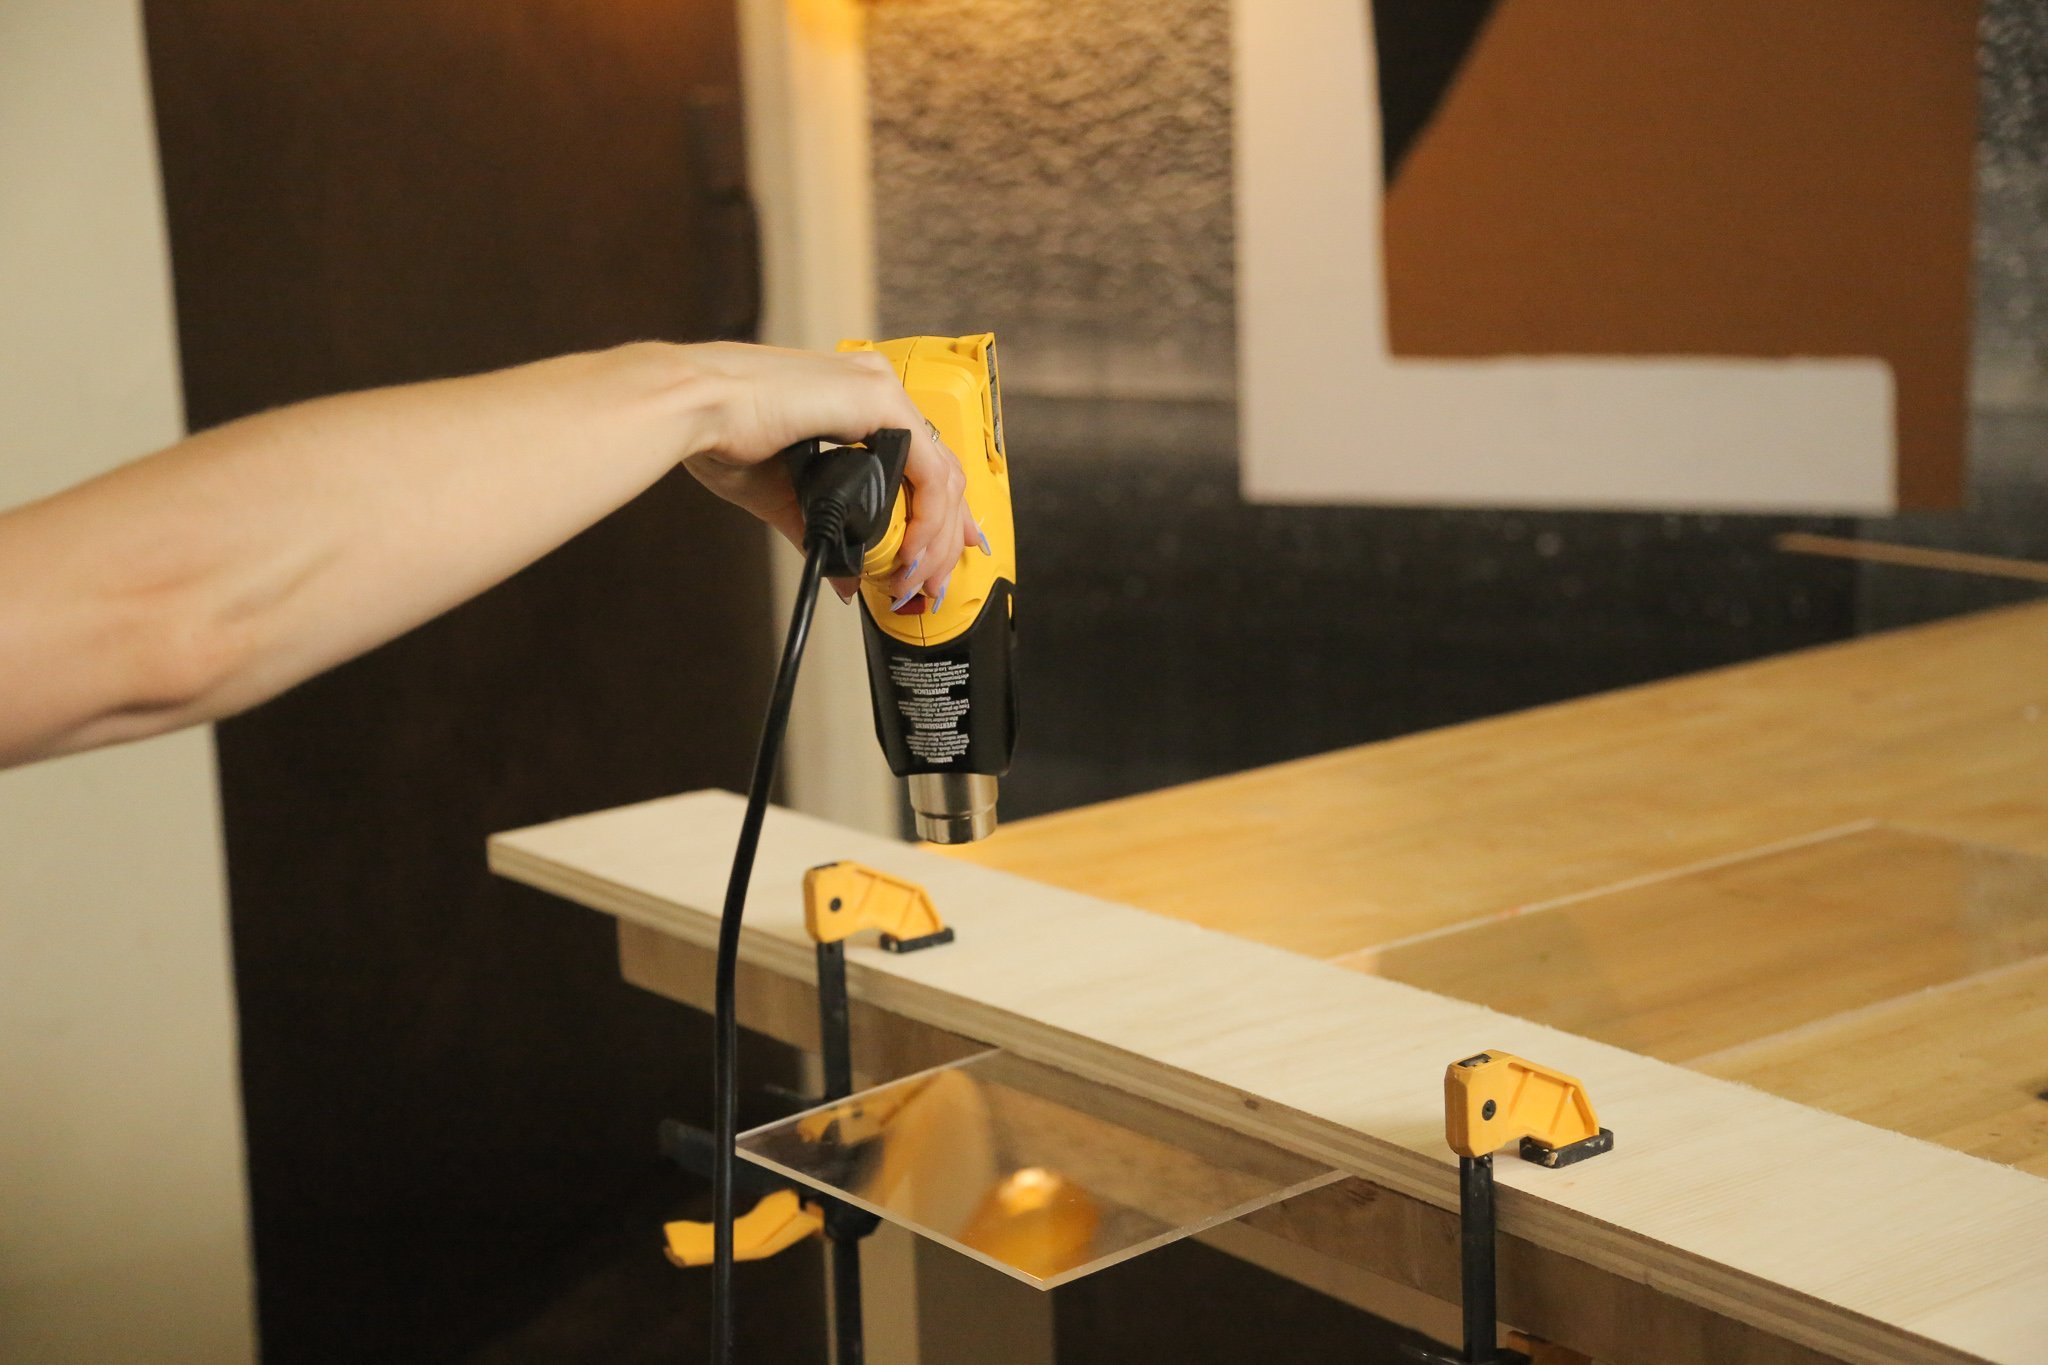
Next I clamped my piece of acrylic to the table along with a scrap piece of wood that had a very straight edge. The scrap wood was lined up with one of the bend lines I previously created.
I went across the line with the heat gun, making sure to hold the gun about 4 to 5 inches away from the acrylic. I made sure to avoid getting the heat too close to the acrylic because that will cause the material to start bubbling on the surface. It takes about 4 to 5 minutes of heating up the acrylic and then I was to bend it pretty seamlessly! Then I repeated the same process on the other side to complete my desk organizer!

PROJECT #2: MAGAZINE HOLDER
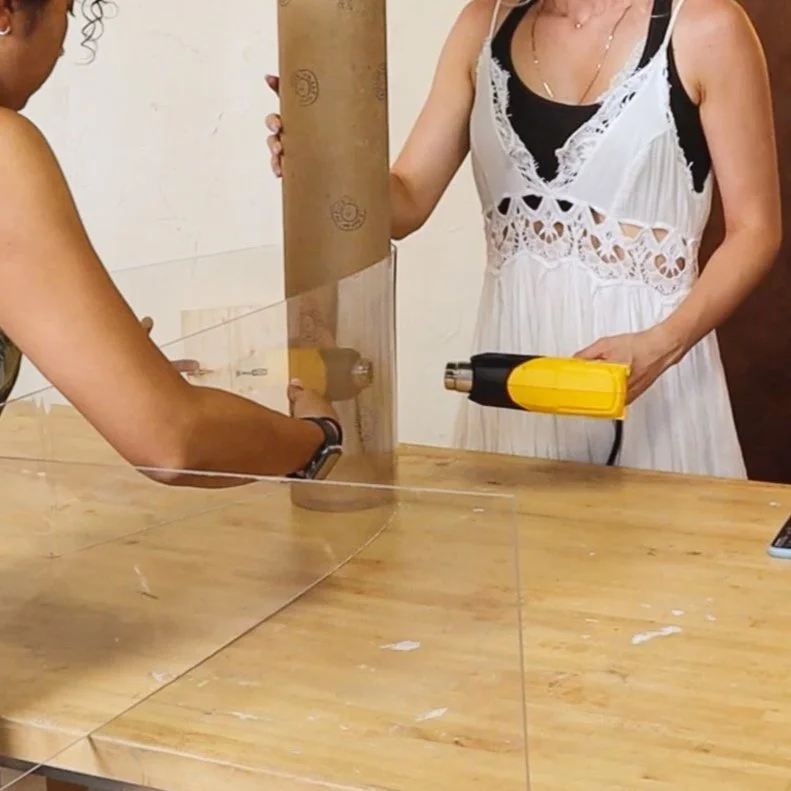
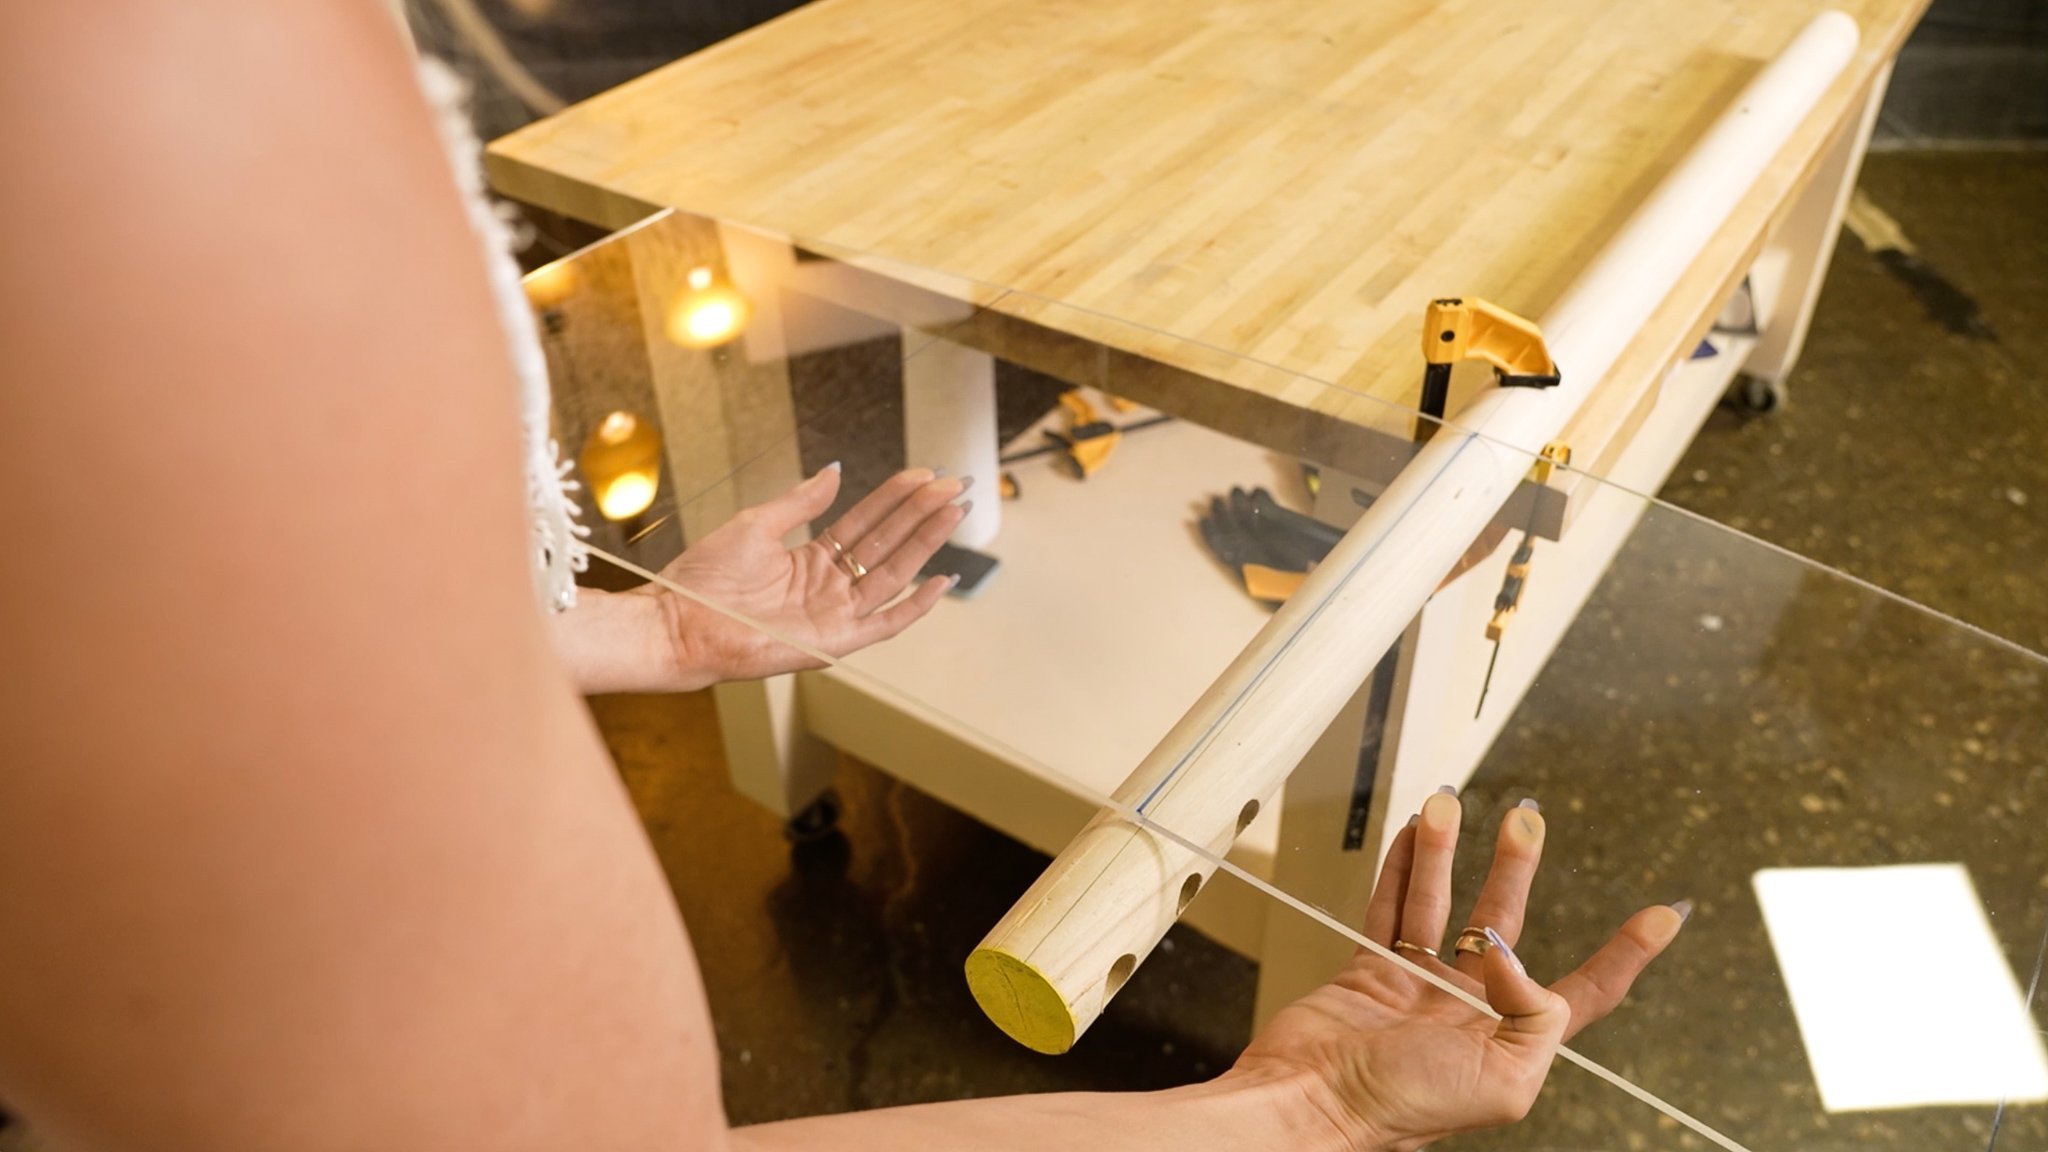
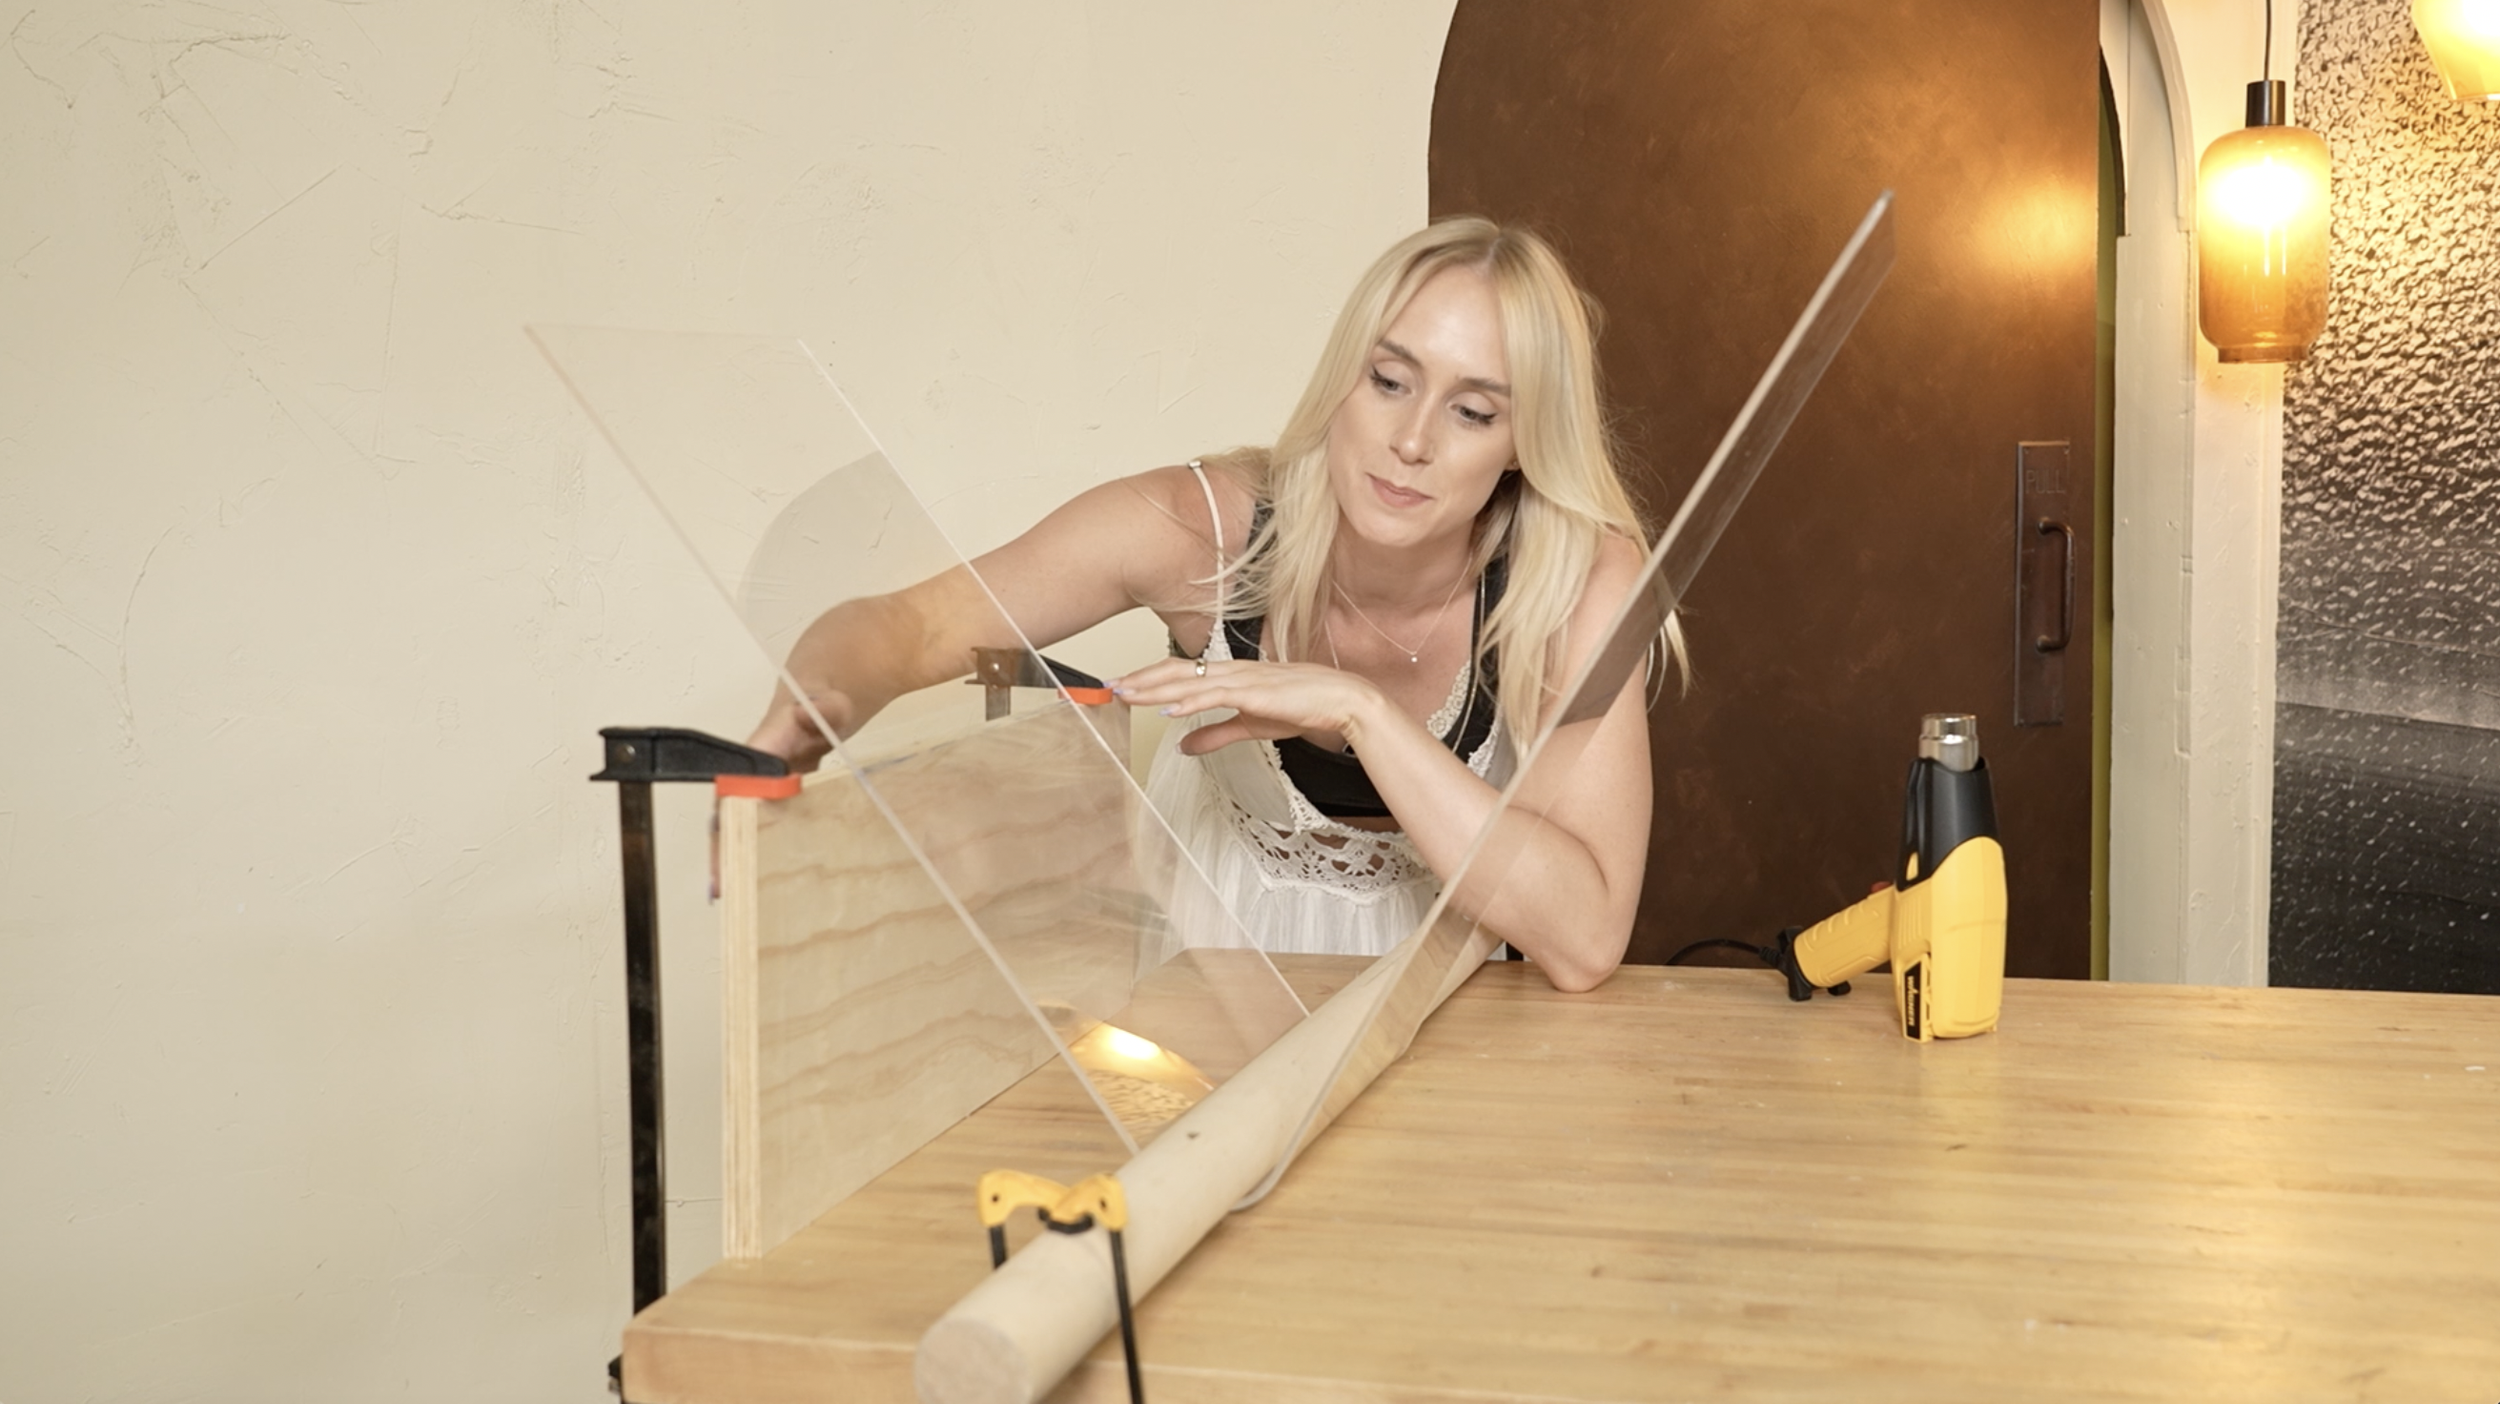
For this piece, I used a piece of acrylic that was 13 inches wide and 48 inches long. I wanted to achieve a more rounded bend in this item than I did previously and so I used a wooden dowel to help create that bend.
I removed the protective plastic layer from the acrylic and then marked some bend lines sectioning the piece into fourths. I chose a wooden dowel that was 2 inches thick, and also drew a reference line down the middle of the dowel where I wanted the two pieces to match up.
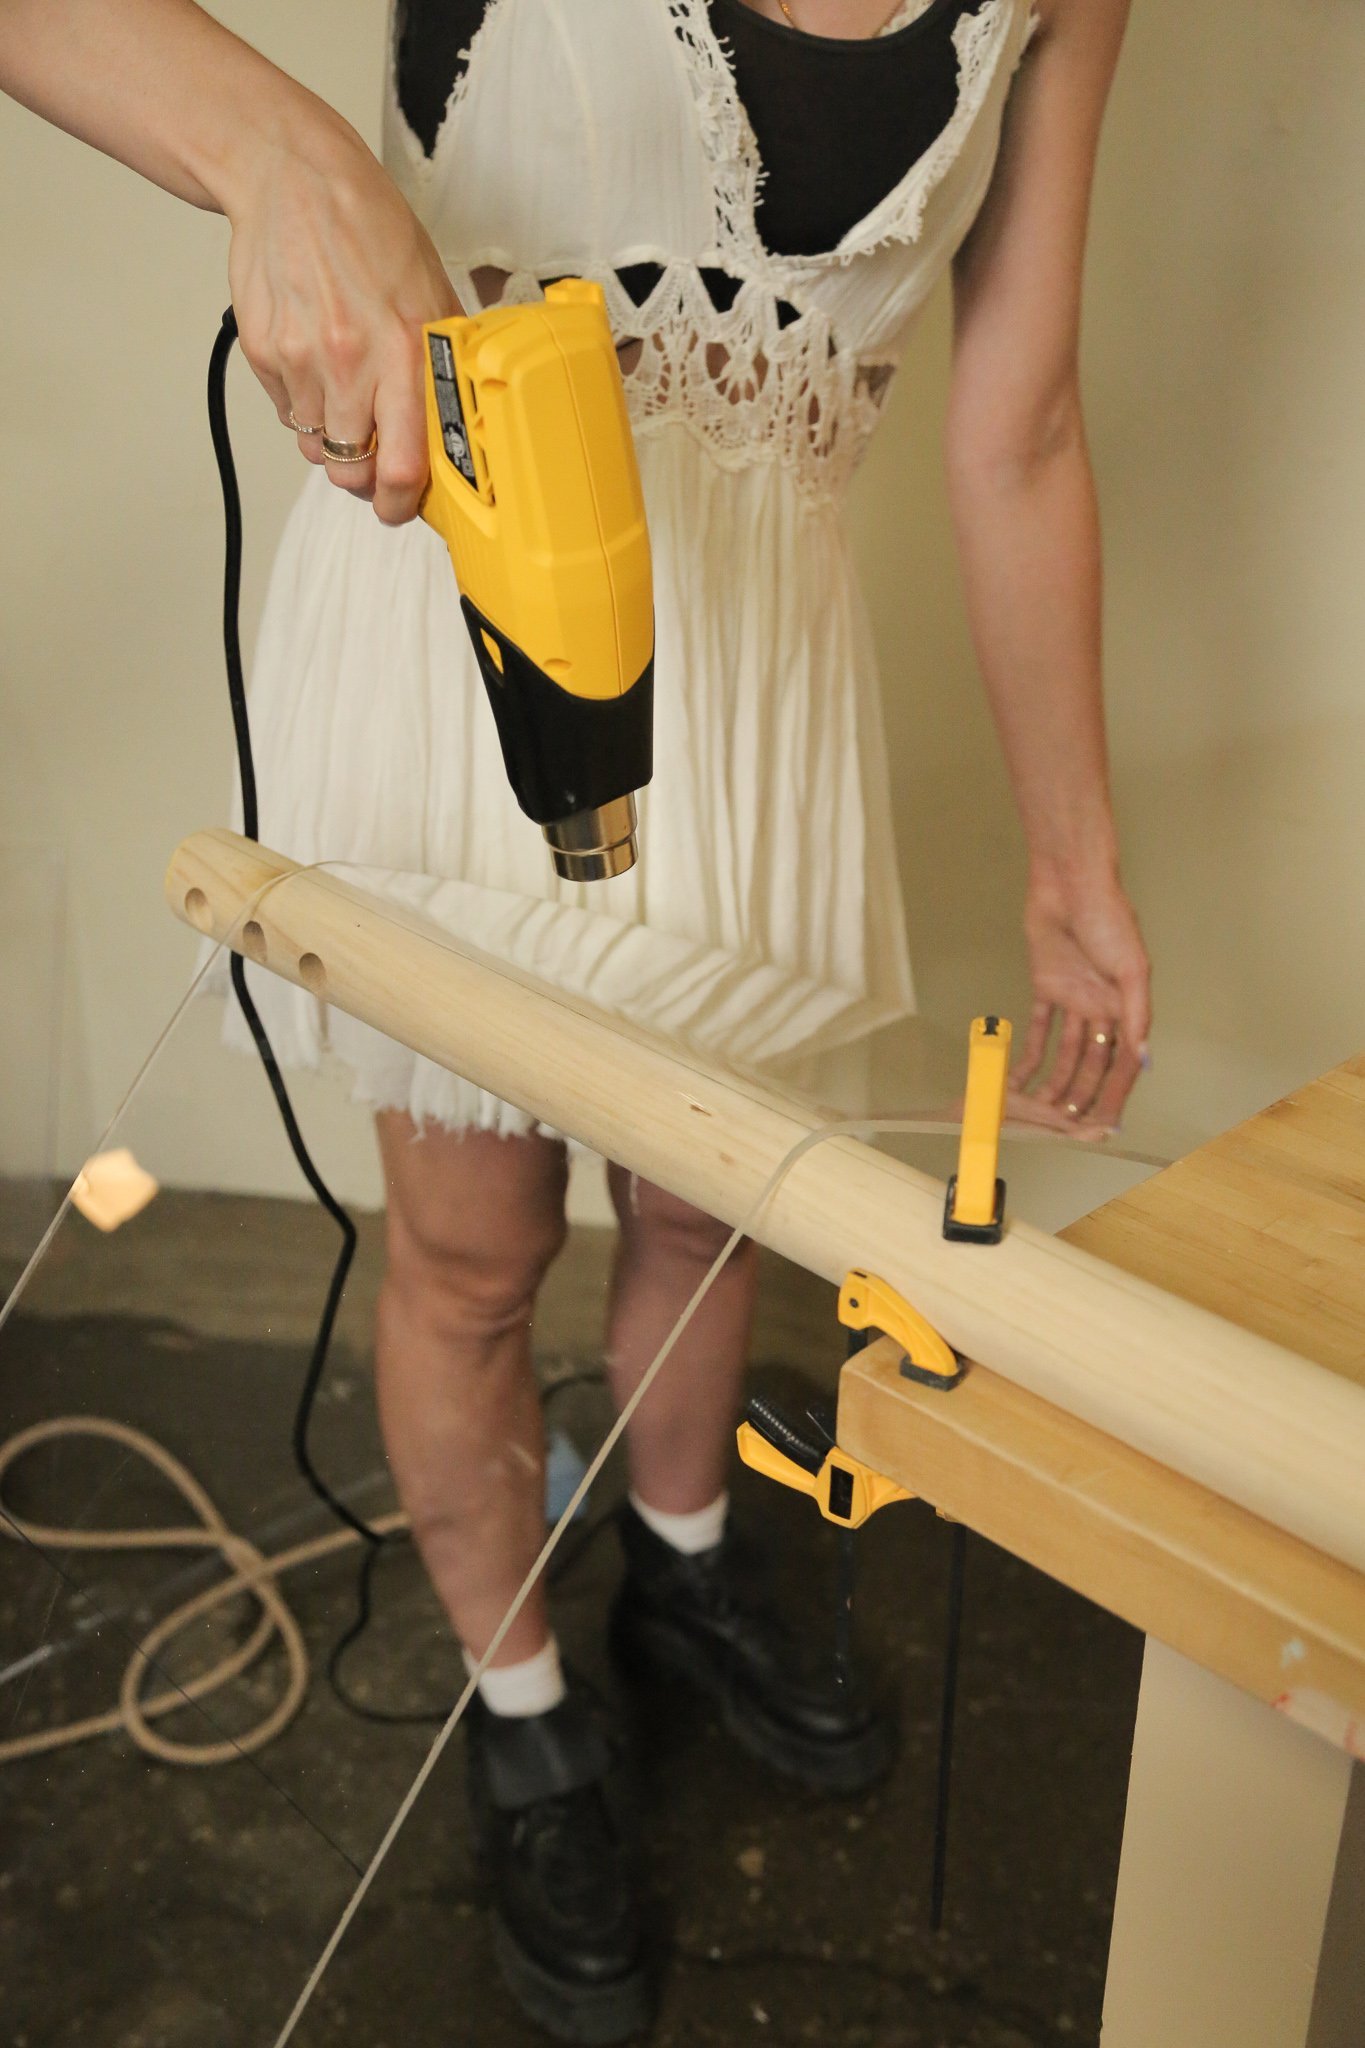
I lined up the dowel with one of the bend lines on the acrylic piece, then applied some heat and let the weight of the plastic do most of the bending naturally.
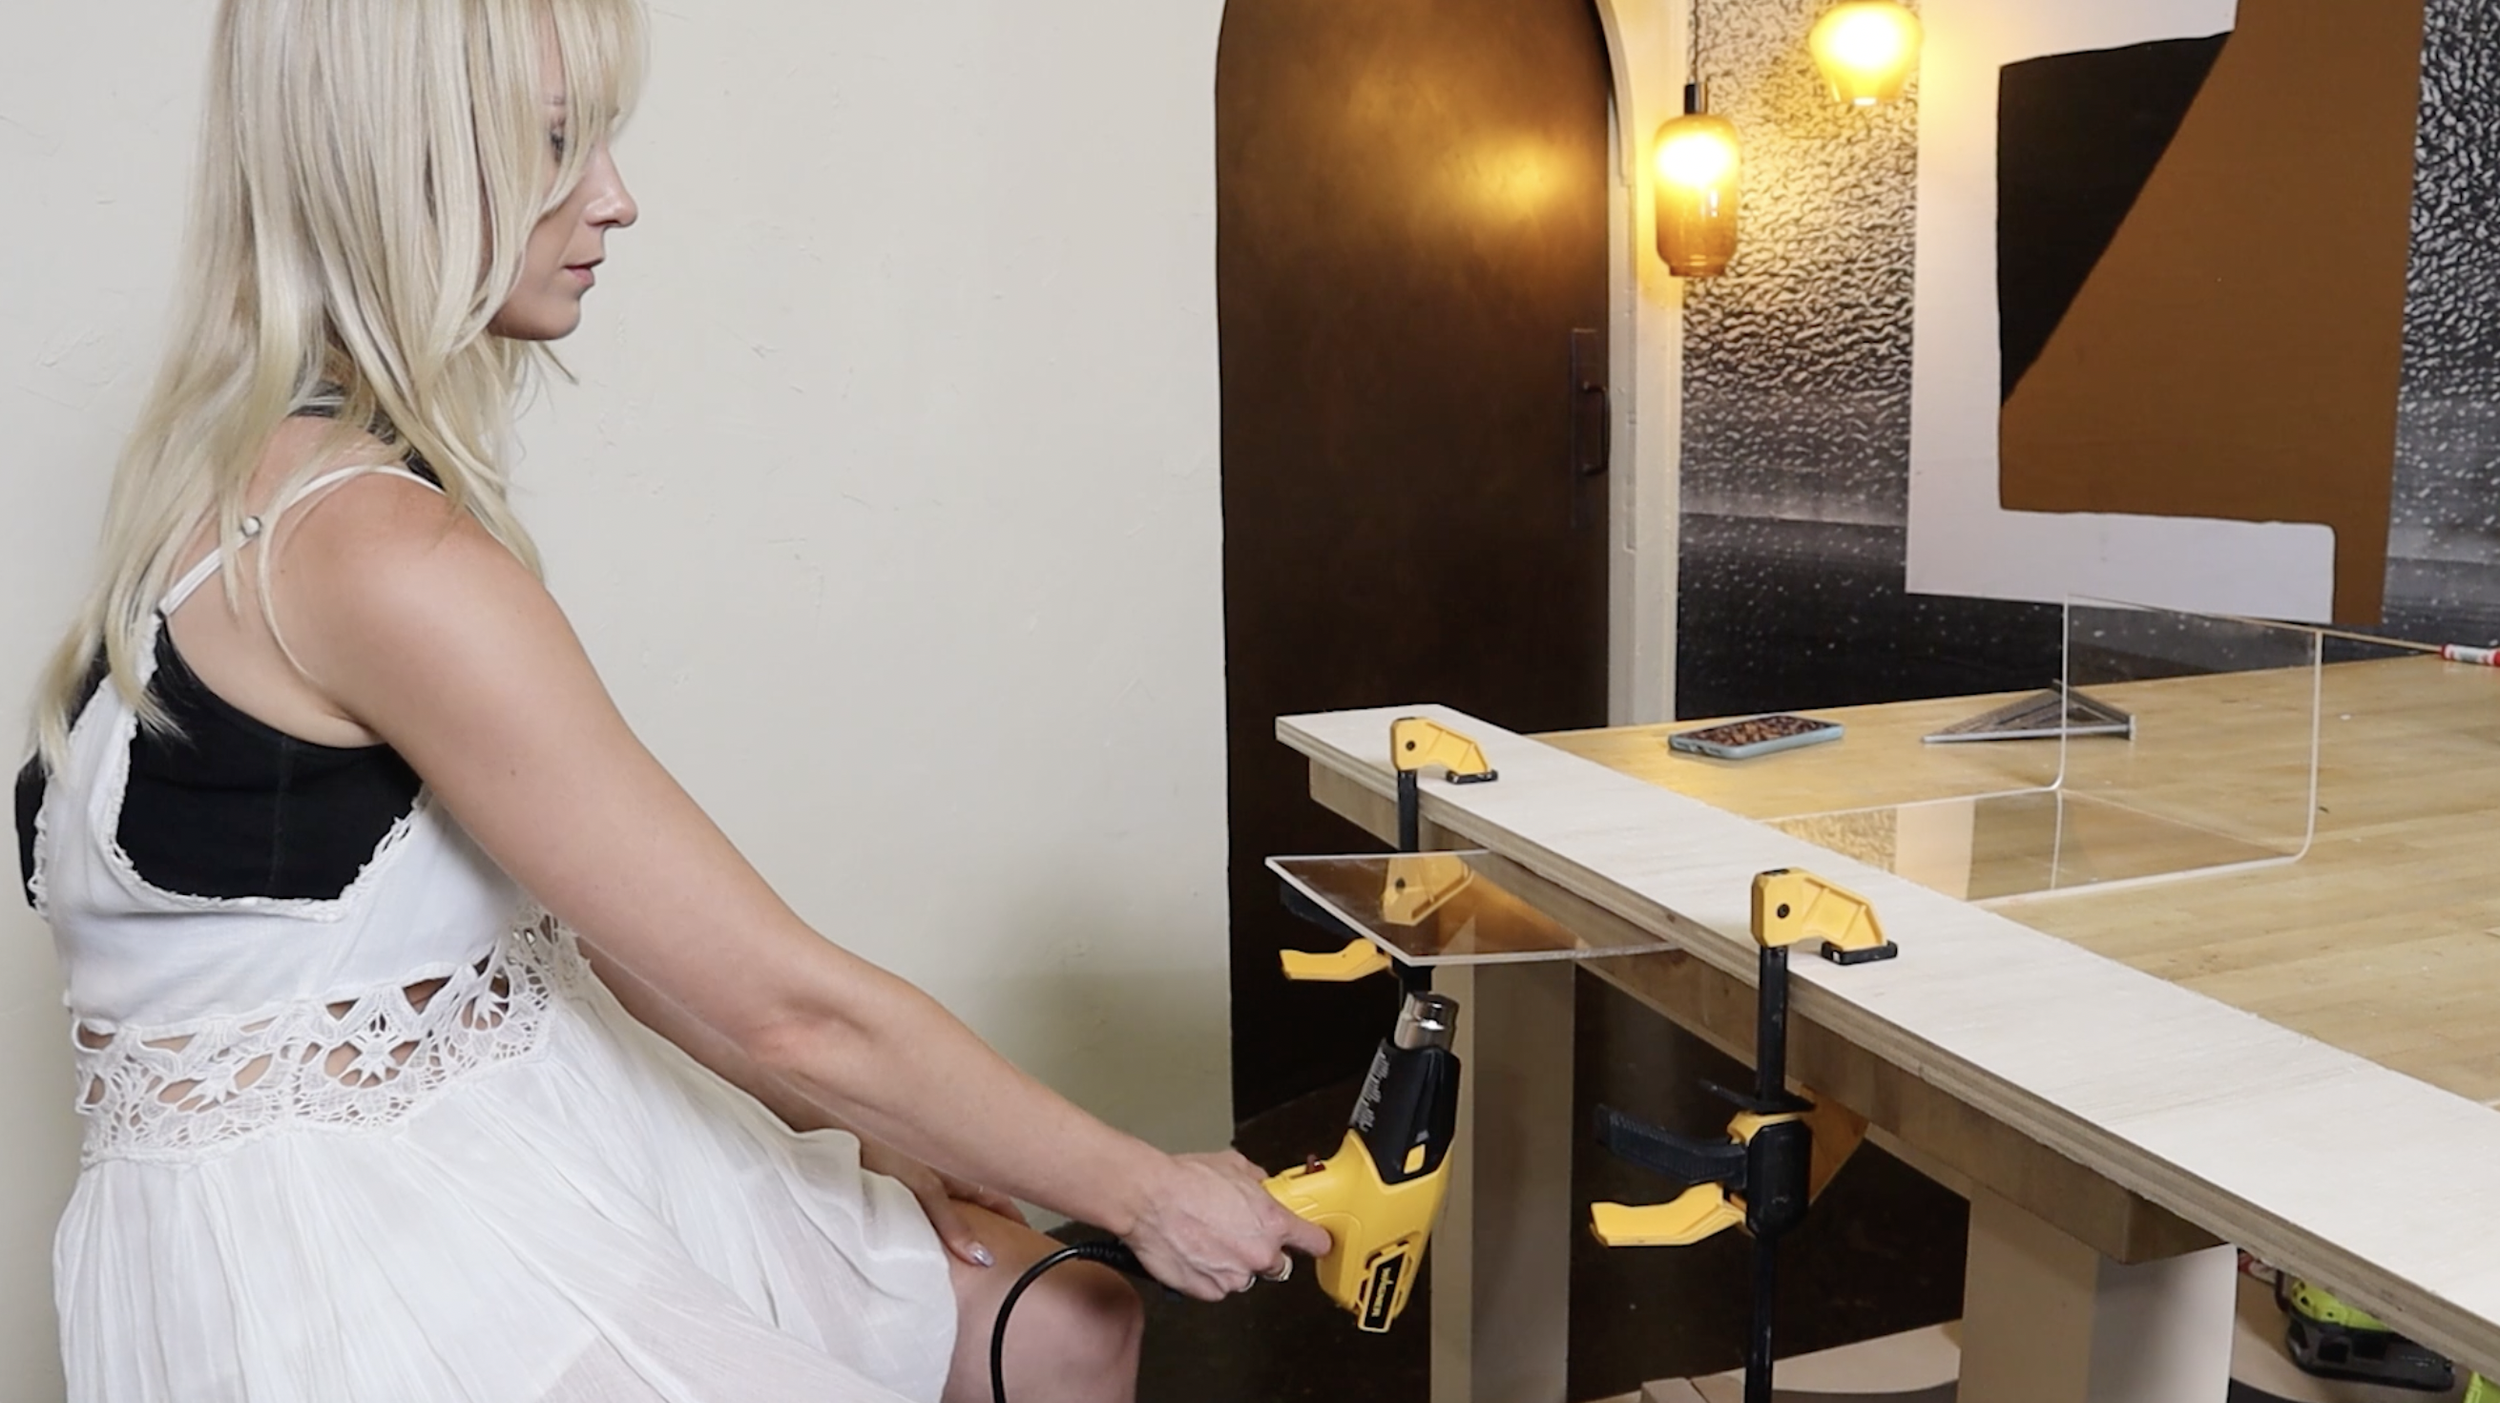
TIP: After bending, turn on a fan to help your acrylic cool down faster.
For the remaining sides, I propped up a piece of wood onto the edge of the table with some F clamps. This made it easier to do a 45 degree bend on each remaining side.


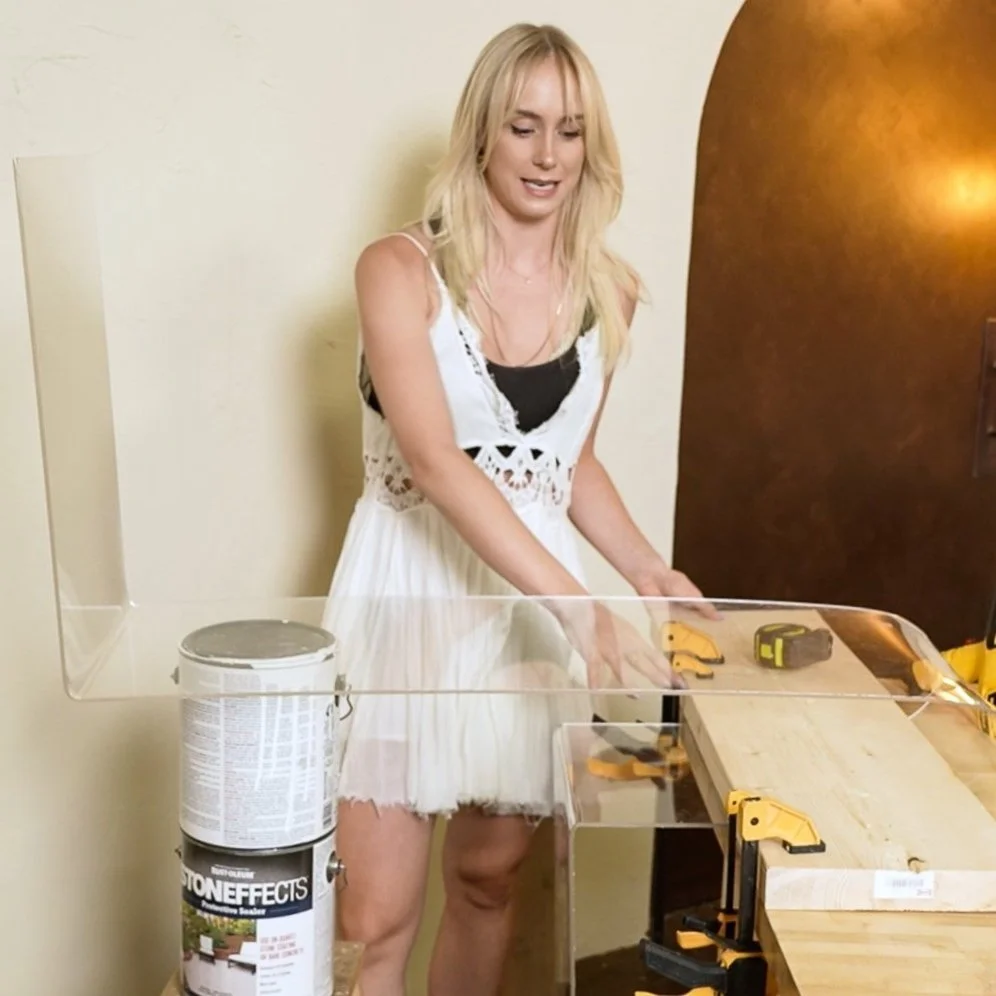
PROJECT #3: CONSOLE TABLE
For this piece I really wanted a nice coffee table that flowed into a waterfall edge. The acrylic that I worked with was 96 inches long, 1 foot wide, and 4.4 millimetres thick (although I would suggest using one that was at least 6 millimetres thick).
I started out as usual by removing the protective layer from the acrylic and marking out my table leg height as 20 inches. Then it was time to heat things up!
The next step was bending the middle portion to create the grooves for a magazine holder. For this I used an old shipping container tube that was 5 inches in diameter but you can use anything cylindrical to help you figure out your shape.
I marked out another line 20 inches in as a guide and then it was bending time. In this step you’ll notice that doing the legs first made it a lot easier to keep the table upright on its side. Similar to before I applied the heat to the inside of the table and folded it around the tube as it became easier to bend.
TIP: Make sure to distribute heat evenly along your bend line because you are trying to target a larger surface to bend seamlessly and you want to avoid warping the material.
Feel free to play around with cylindrical objects of all sizes because they create the fun unique shapes that really bring your piece to life! The last step to finish off the console table was adding two more right angles symmetrical to one another on each side of the bend I just made.
I wanted my first bend to be about 10 inches deep to comfortably fit some magazines so I marked out about that much space to indicate where the two right angles would go. Then I bent to my heart’s content!