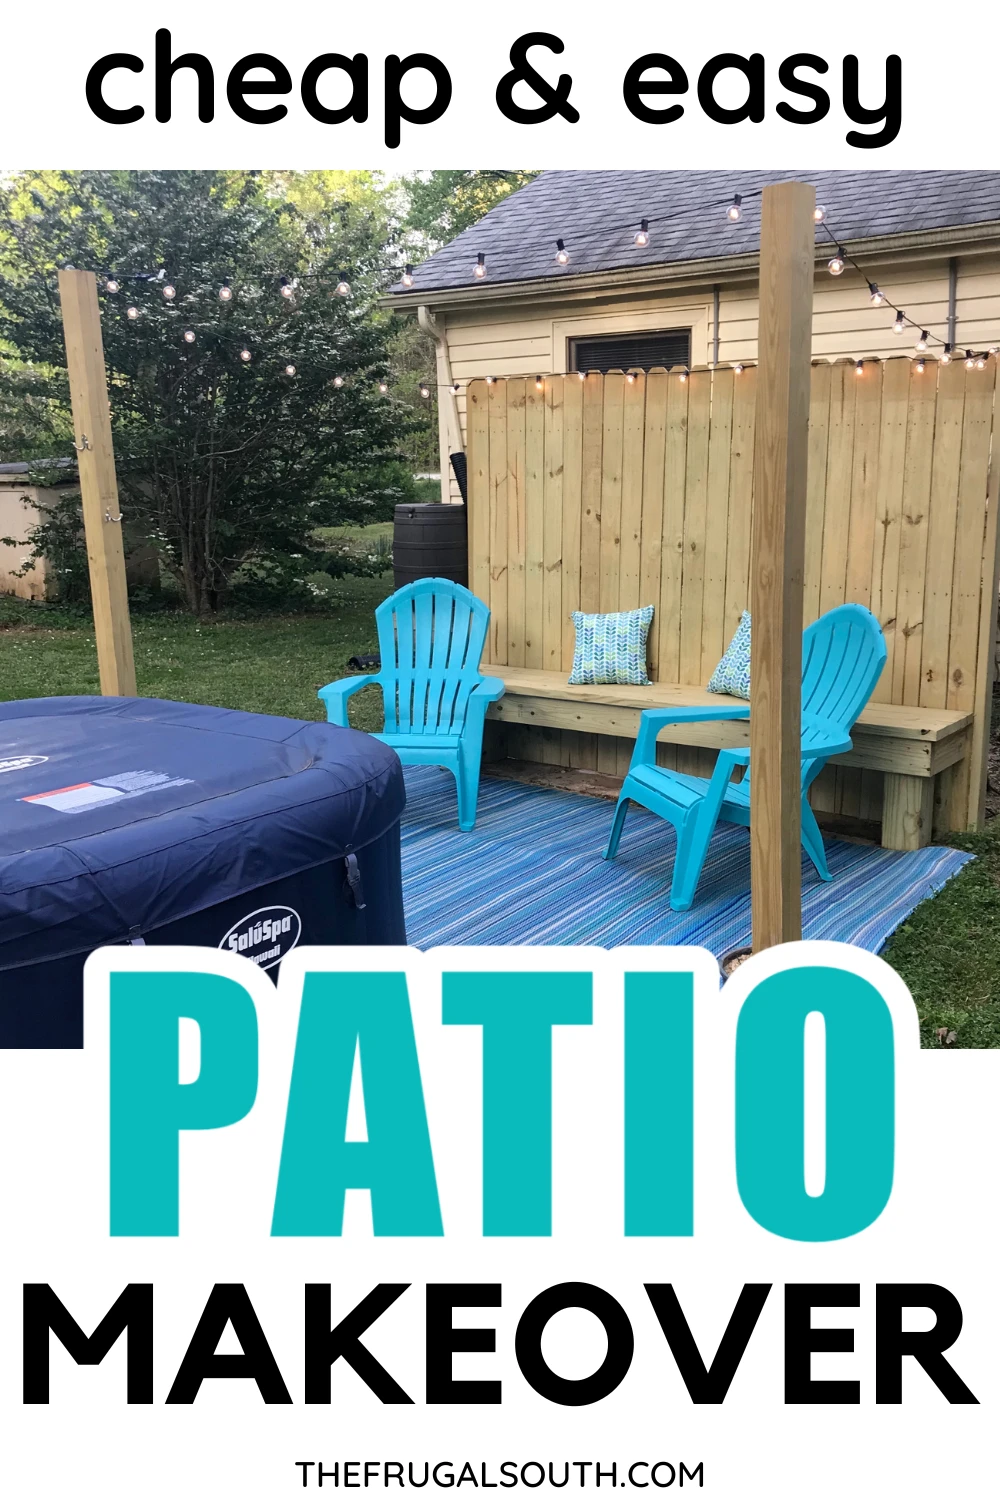
Looking for budget patio makeover inspiration? Here’s how I turned our sad patio from drab to fab for only $160 total.
We’ve been living in our house for almost 10 years now and we’ve never done anything with the old patio area in our backyard.
Well, I finally got us something we’ve been wanting for a LONG time for Christmas – an inflatable hot tub for the backyard – and it was time to makeover the patio next to it.
If you are looking for budget patio makeover ideas you will love this post on how I gave this space a total rehab for $160!
I’ll walk you through each step in this post to give you inspiration for your own cheap outdoor living space.
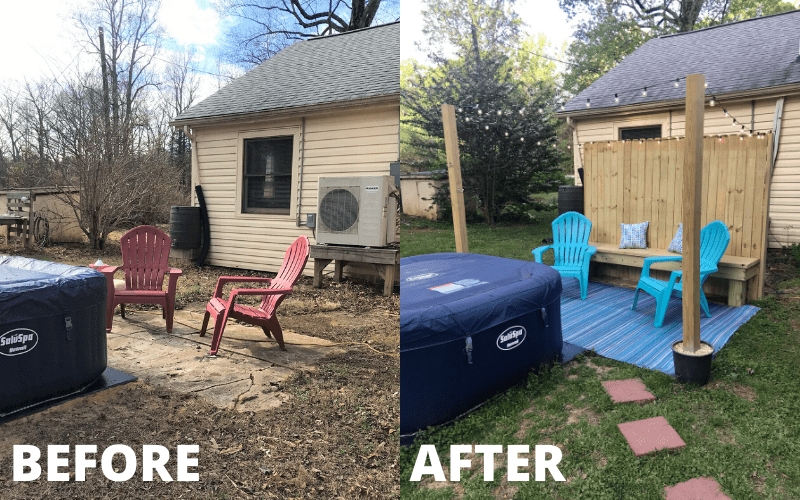
Backyard Ideas on a Budget: Our Sad Patio Before
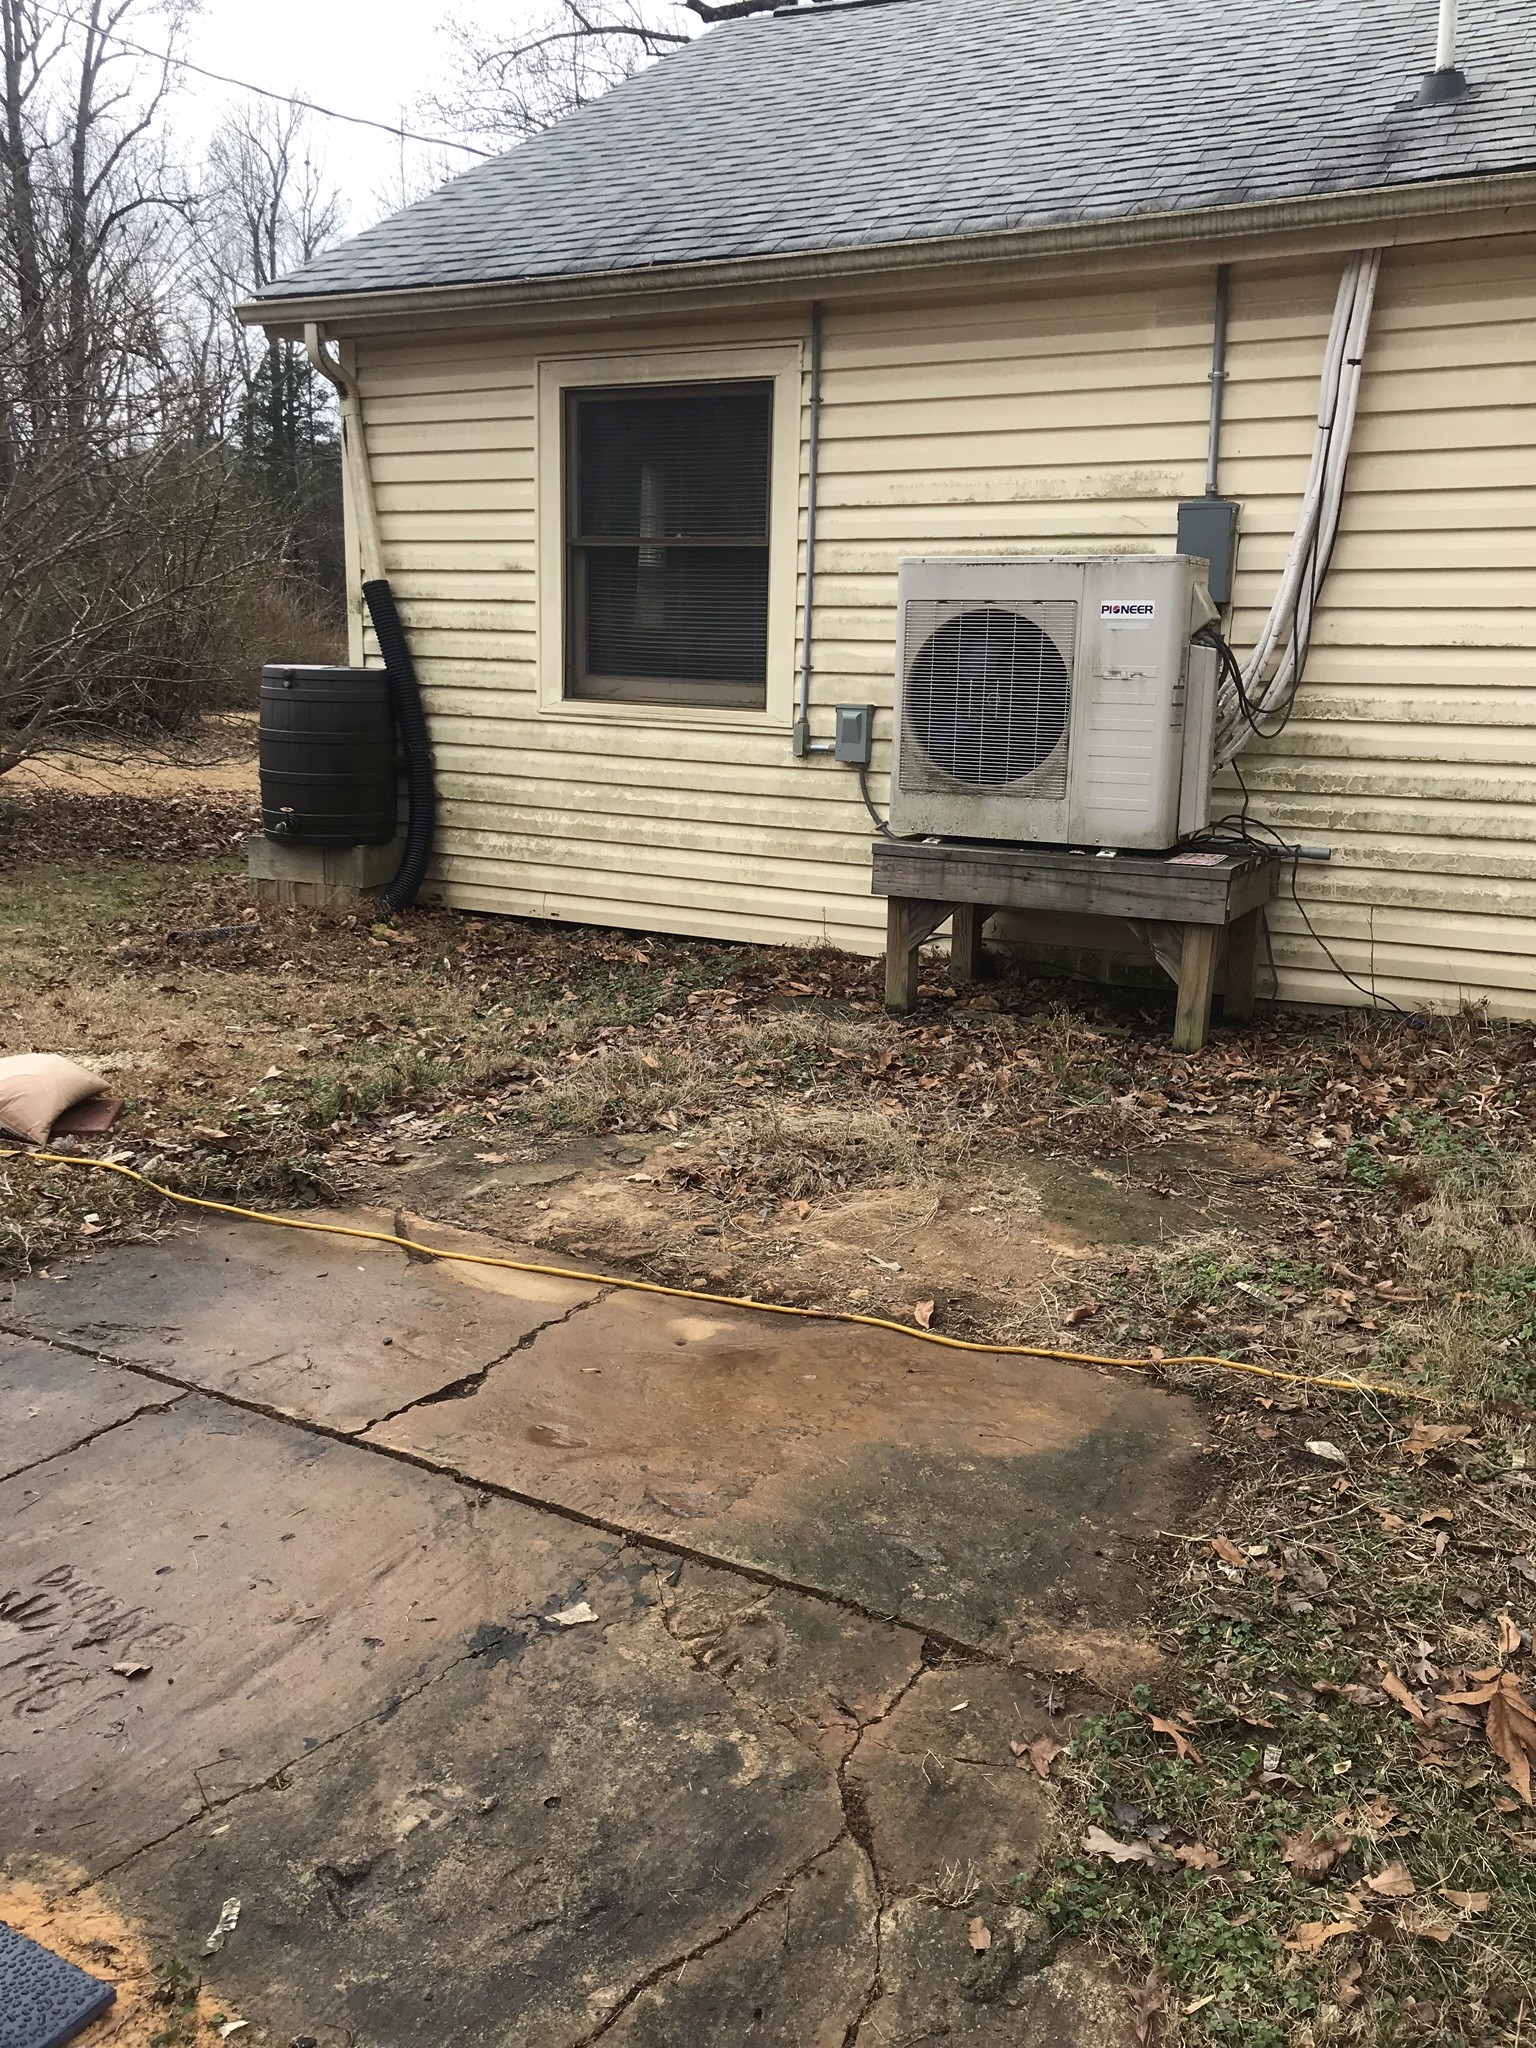
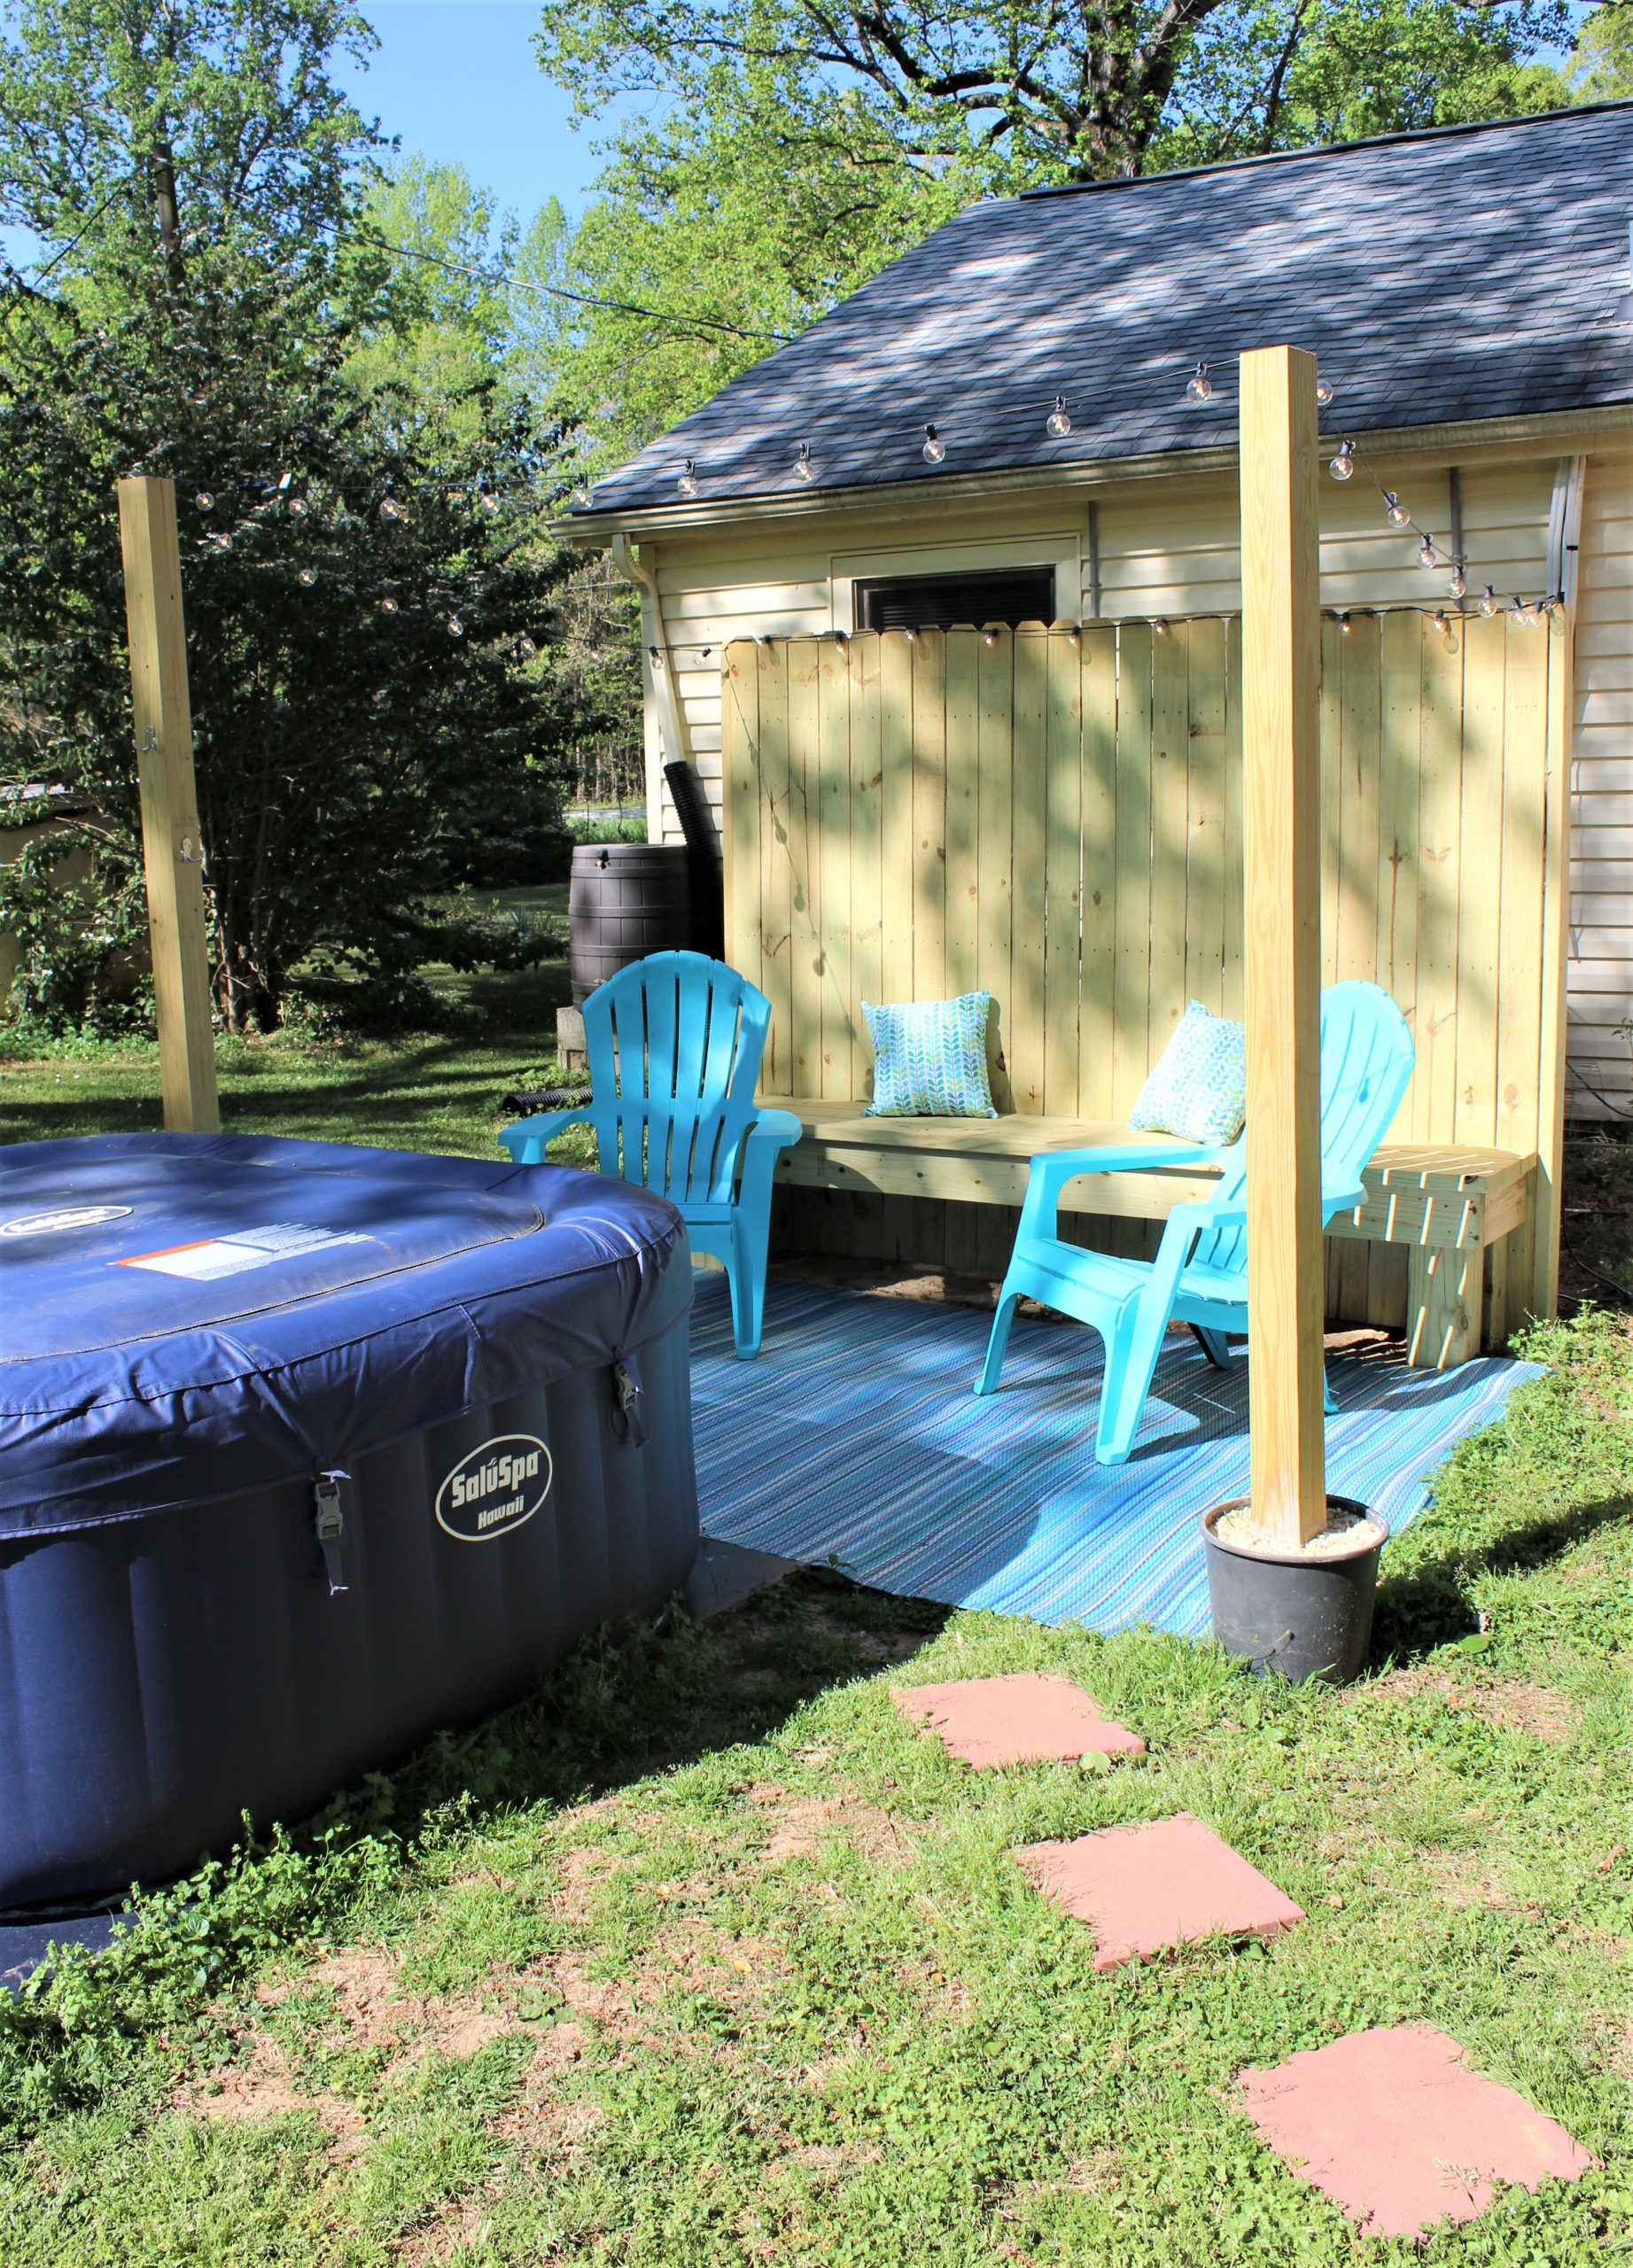
Well, here is what we were working with. It is a neglected patio area with part of the concrete overgrown with weeds and partially deteriorated. The front part of the pad is 6 ft by 8 foot.
It clearly backs up to our not-so-nice-to-look-at heat pump unit. And our house that badly needed power washed! Yikes…
My first thought was that I wanted to block the ugly view of our heat pump but wasn’t sure the best way to do that.
I also had to decide what to do about the cracking ugly concrete.
Last, we wanted something to hang our towels on that was close to the hot tub. We had been throwing them onto a plastic chair but that wasn’t a great solution for long term.
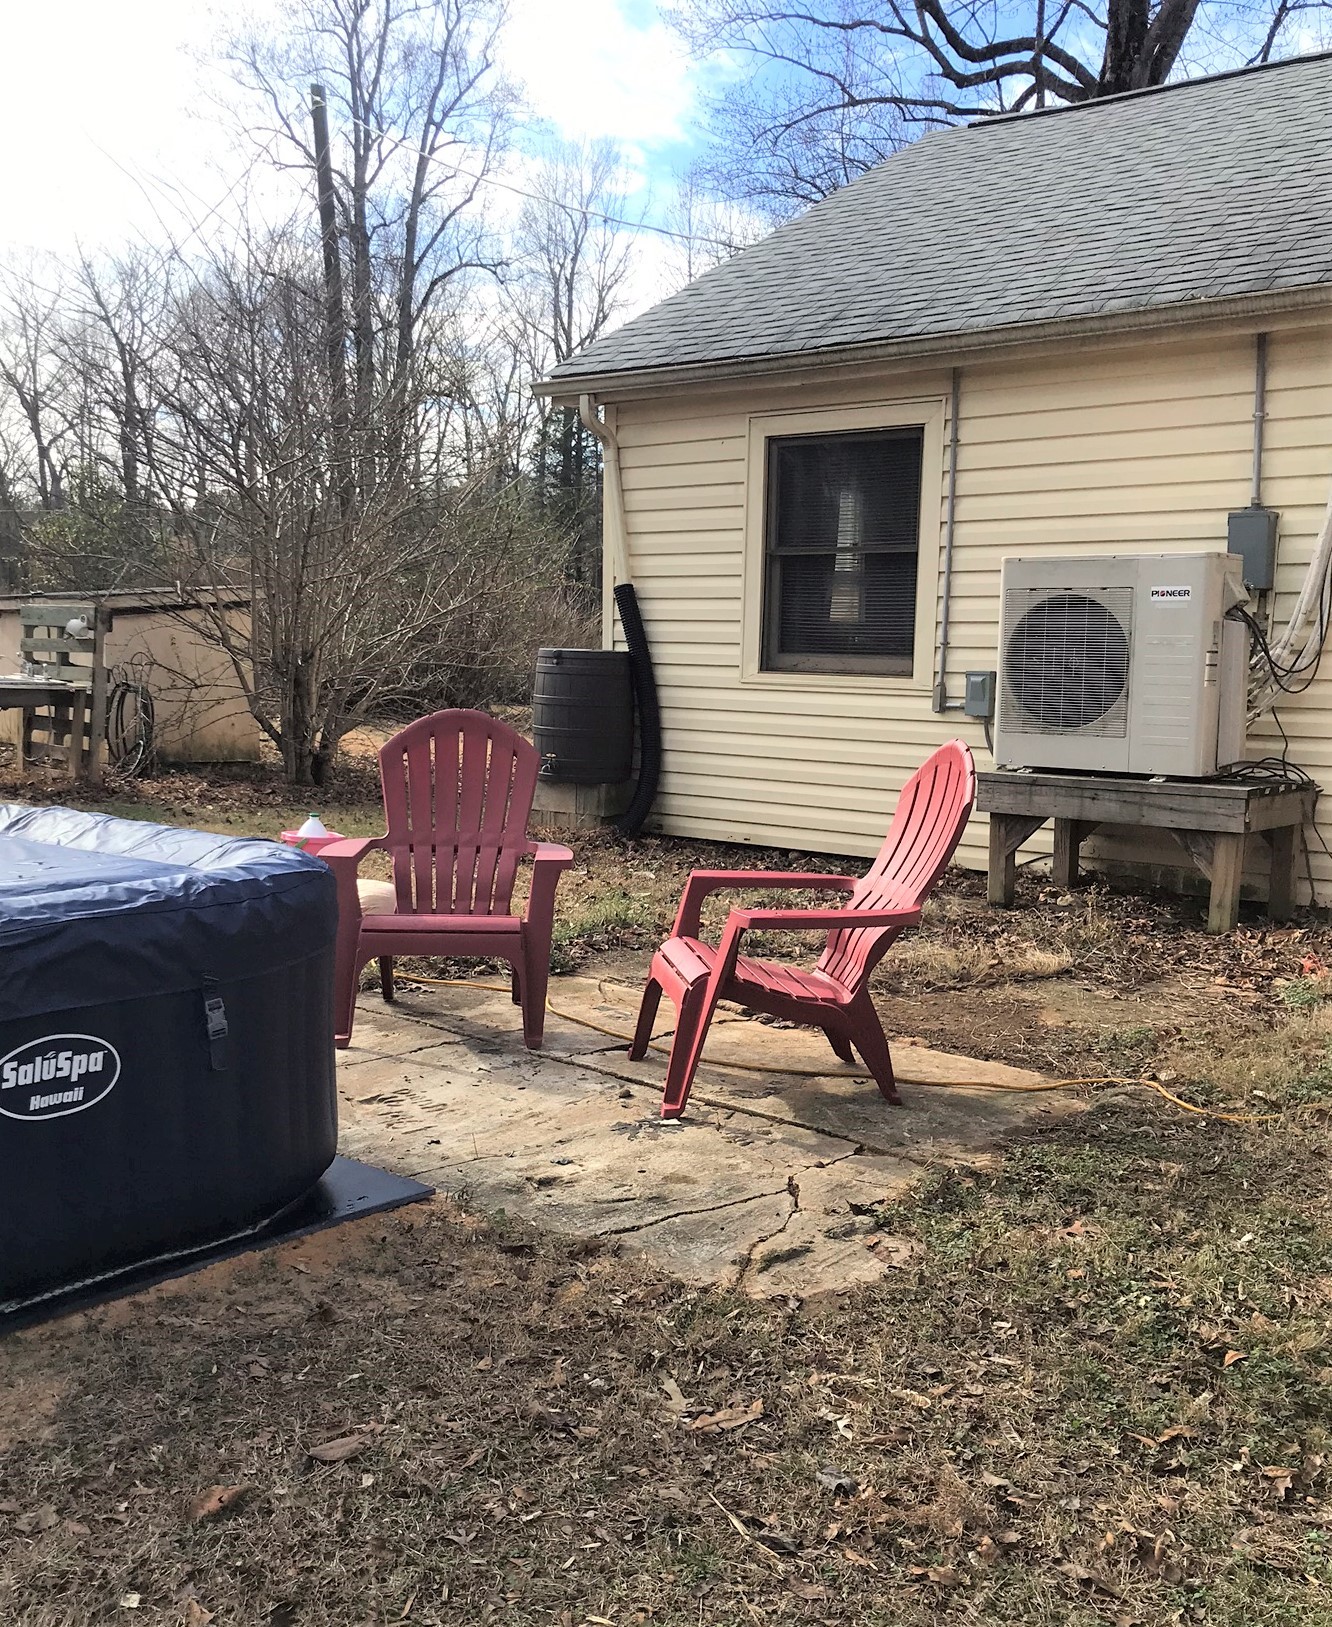
Here are the chairs we had been using. They are about 5 years old but still in great shape.
Now on to how we tackled these problems and the solutions we came up with!
Wooden Bench and Panel

First I tried to figure out some way to block the view of the heat pump. The ground couldn’t take a fence post because there are power lines running underground and there are remnants of the old concrete.
So I needed something free standing to block the view. I came up with the idea of attaching a fence panel to the back of some bench type thing after spending way too long on Pinterest.
I wanted to create something like the planter/bench/screen combo pictured above.
I decided a full bench seat would be a lot easier than the planter/bench combo.
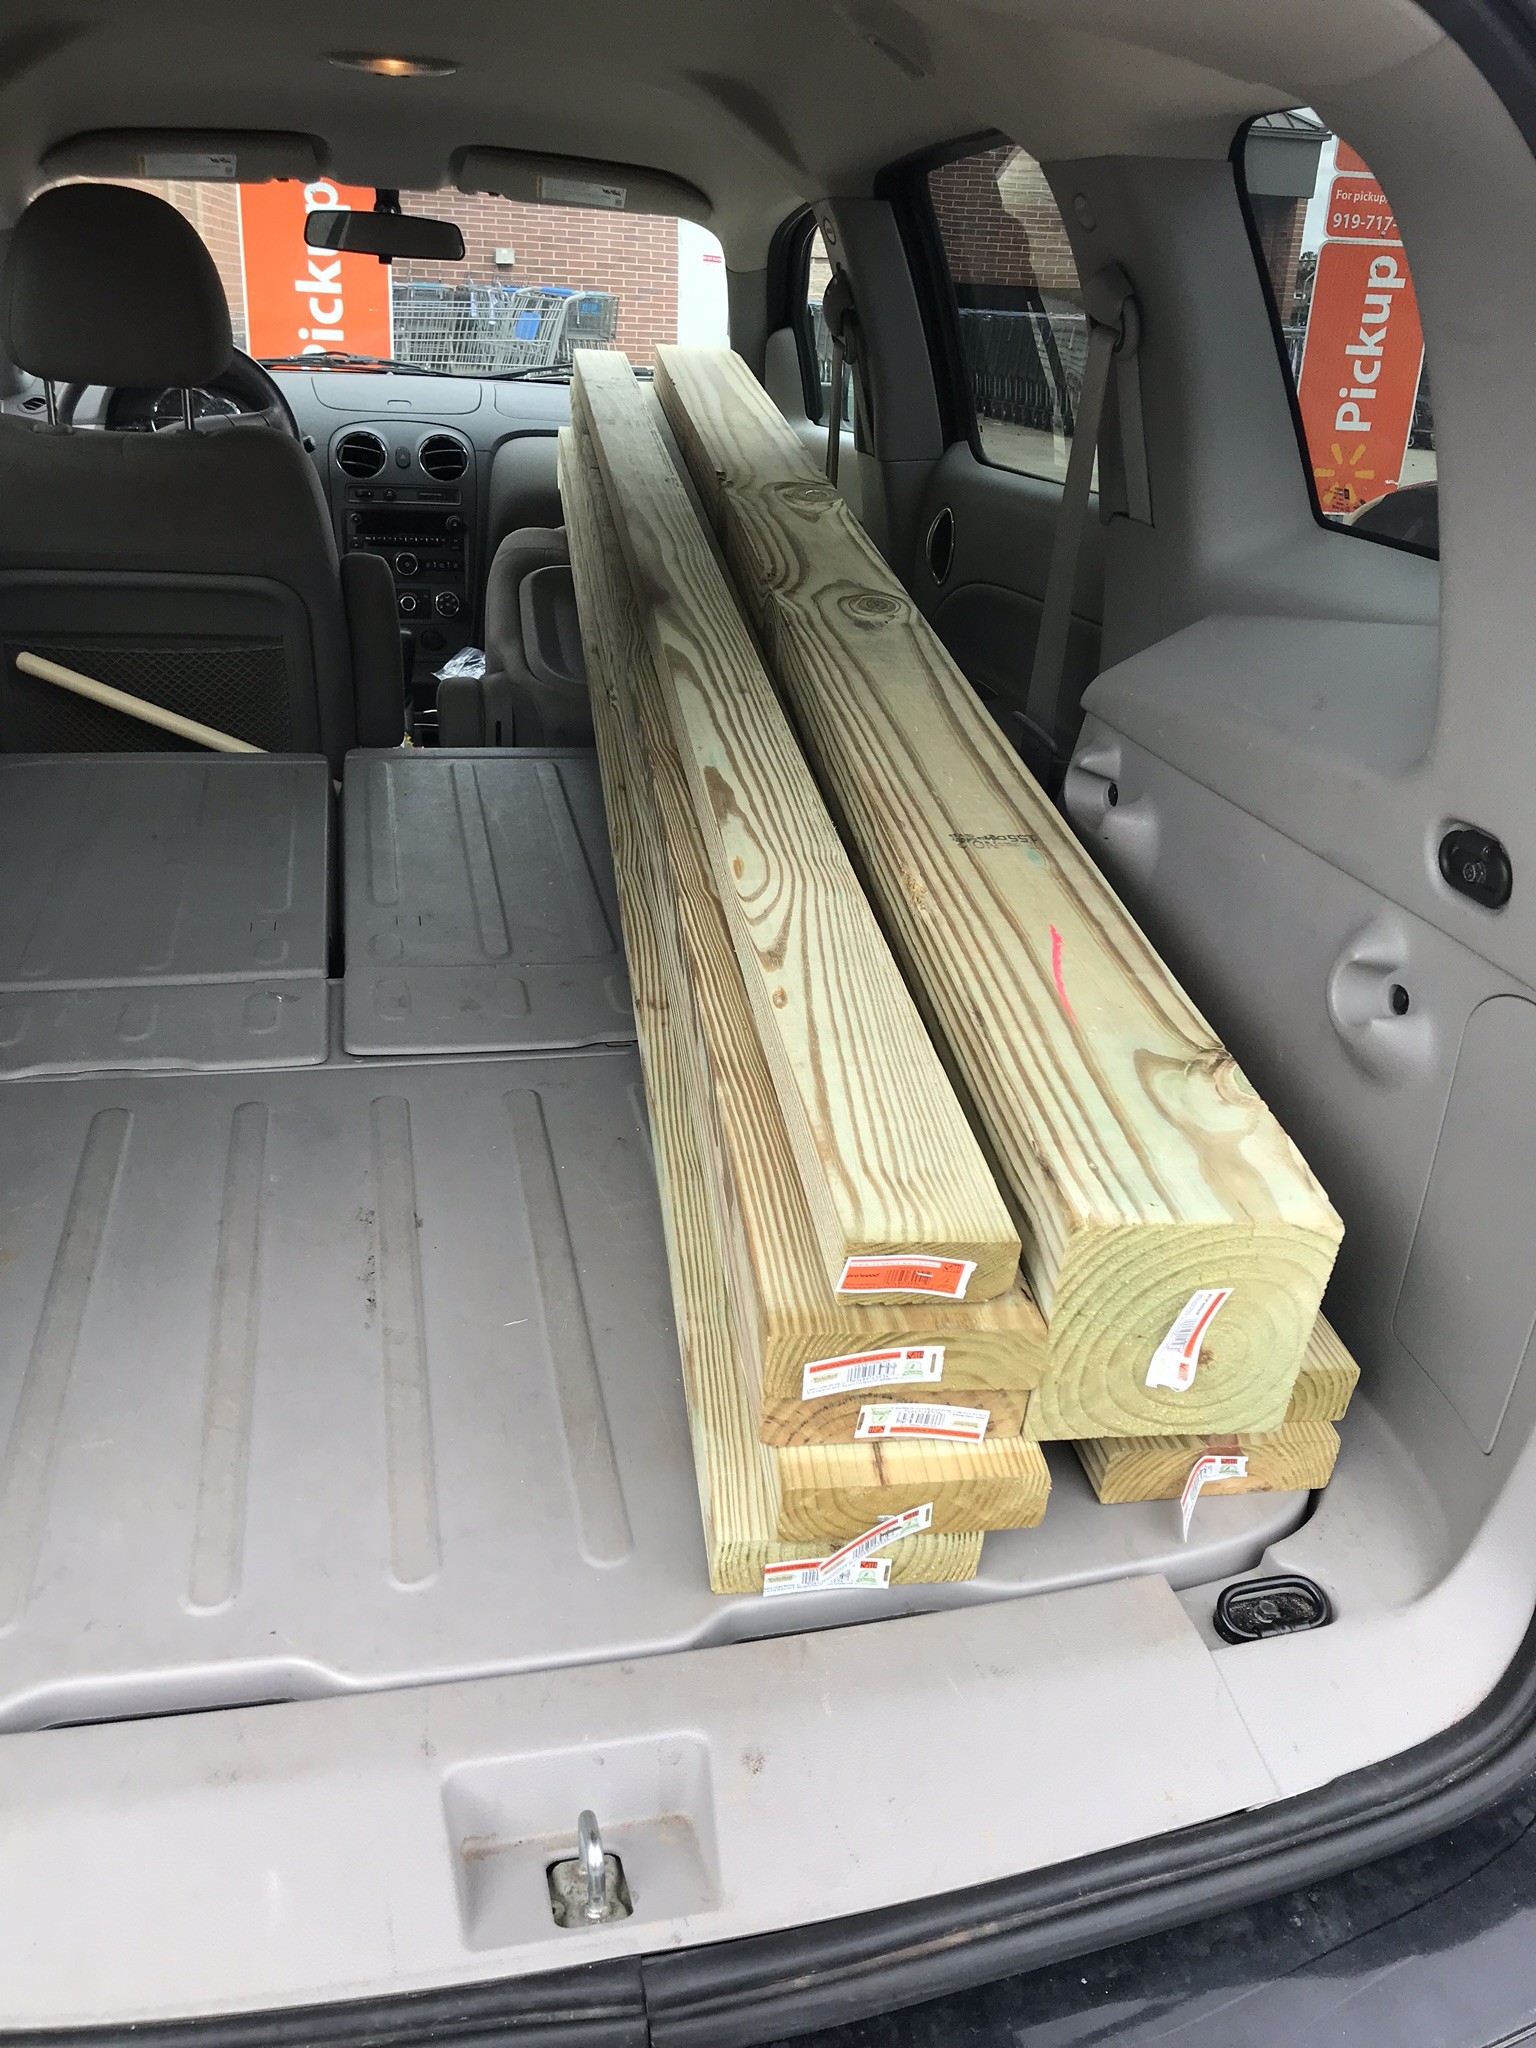
I picked up 6 pieces of 2 x 4 x 8 ft pressured treated lumber for the seat and one 6 x 6 x 8 ft post from Home Depot.
We decided that the 6 x 6 was overkill and that a 4 x 4 would have been MUCH easier to work with! I recommend that if you try this project.
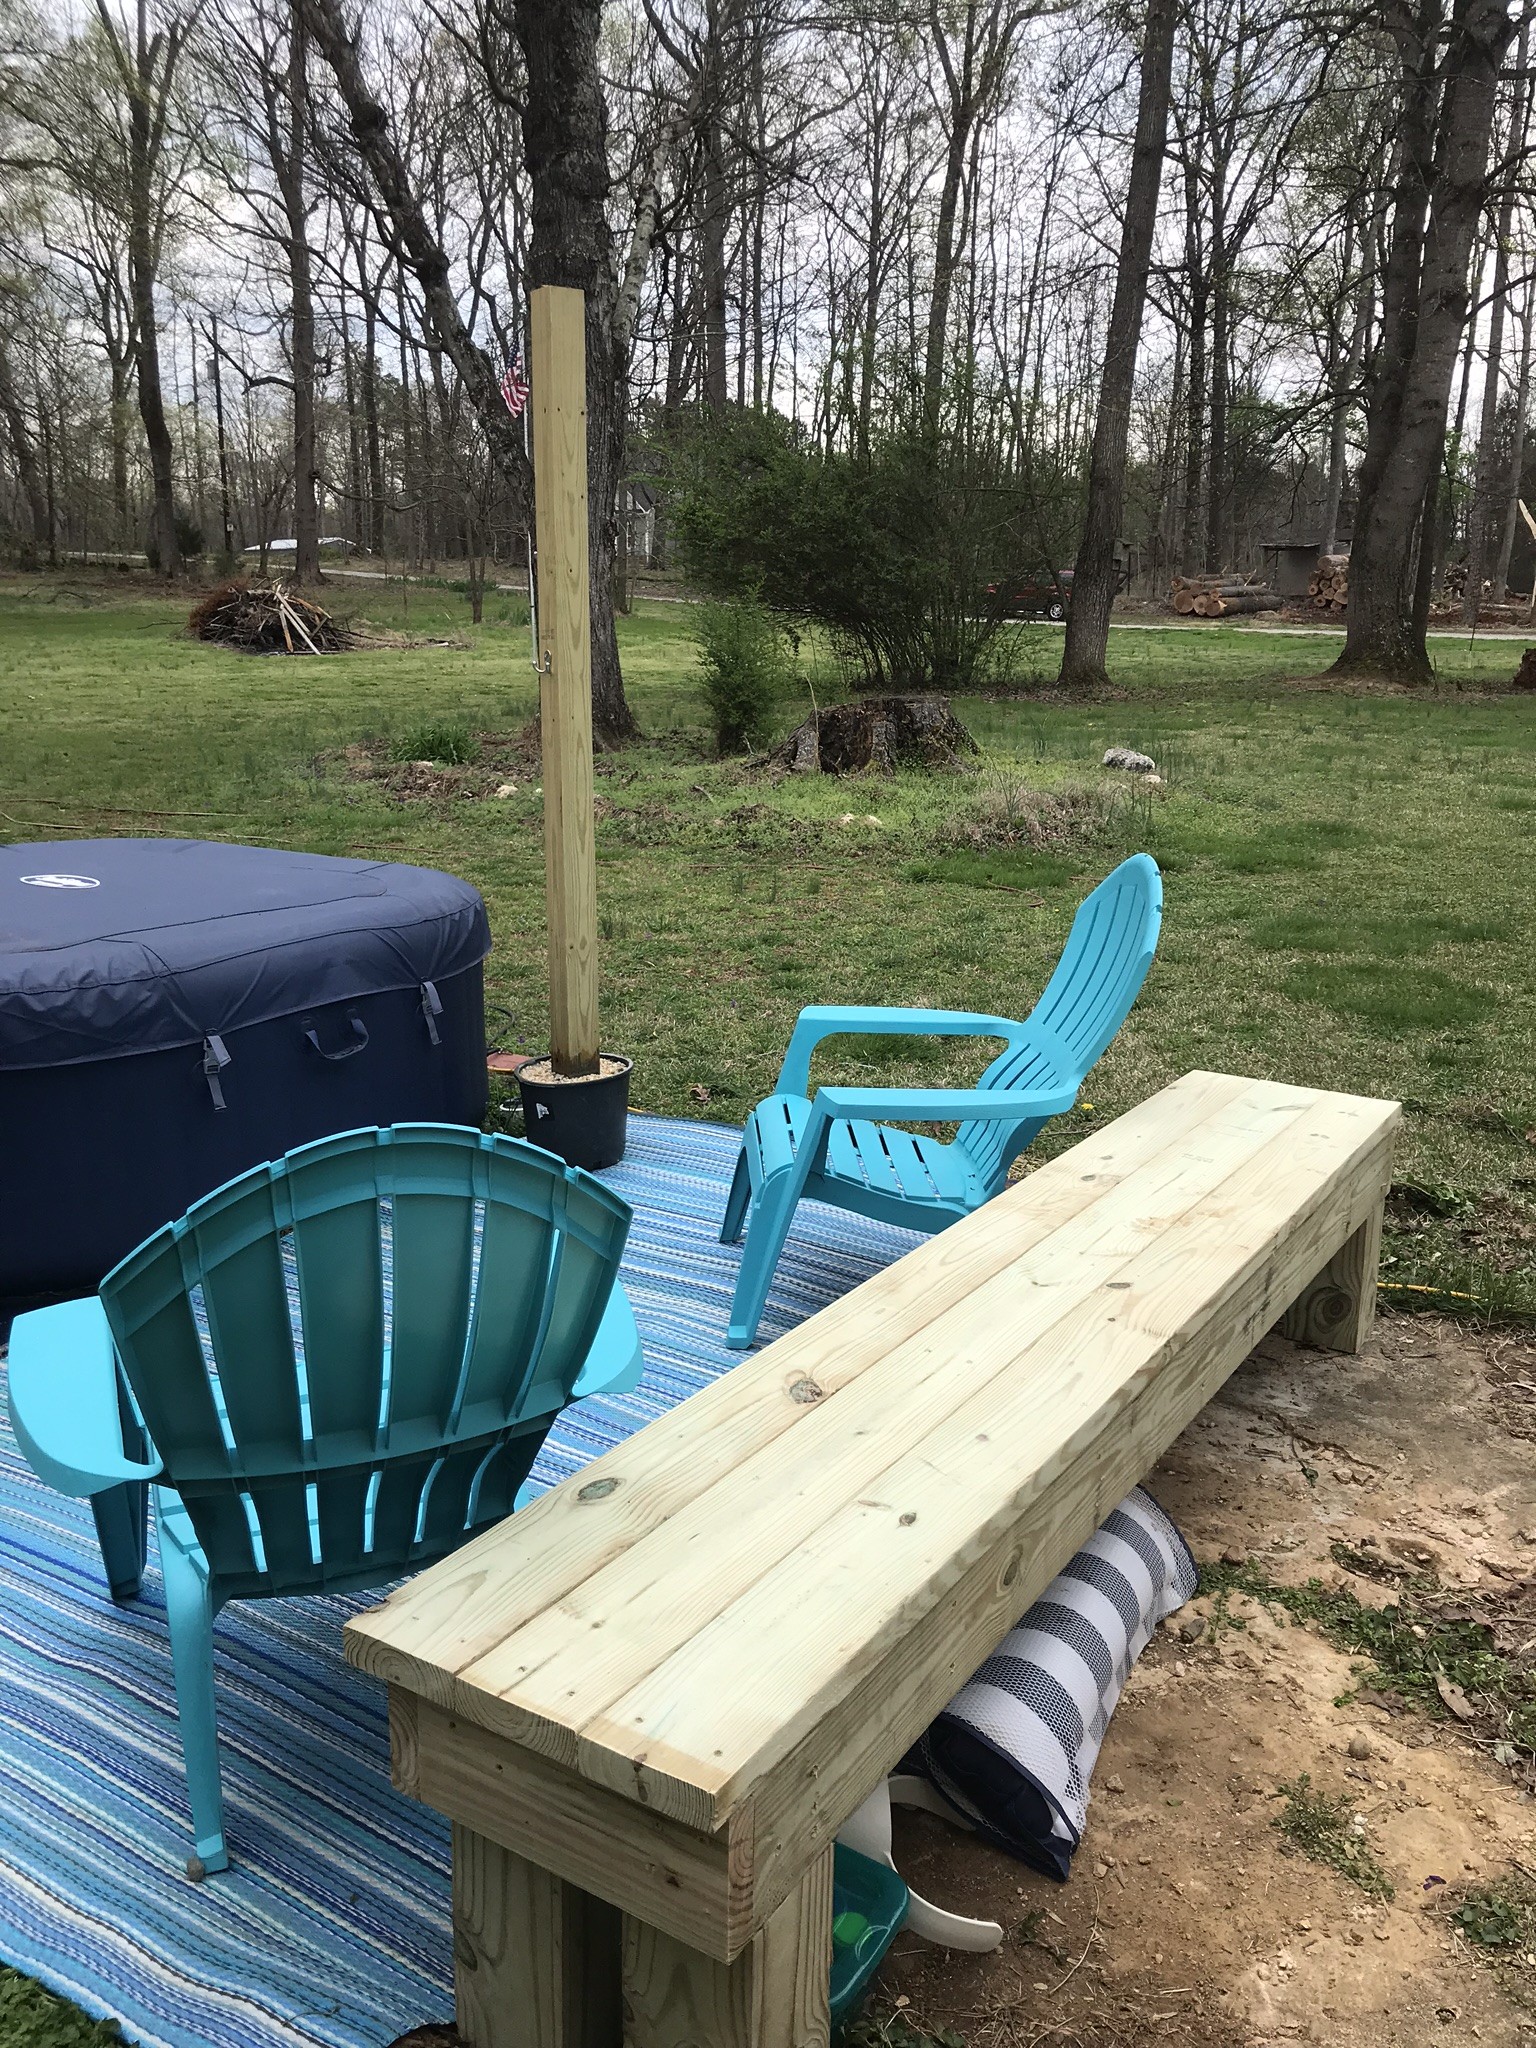
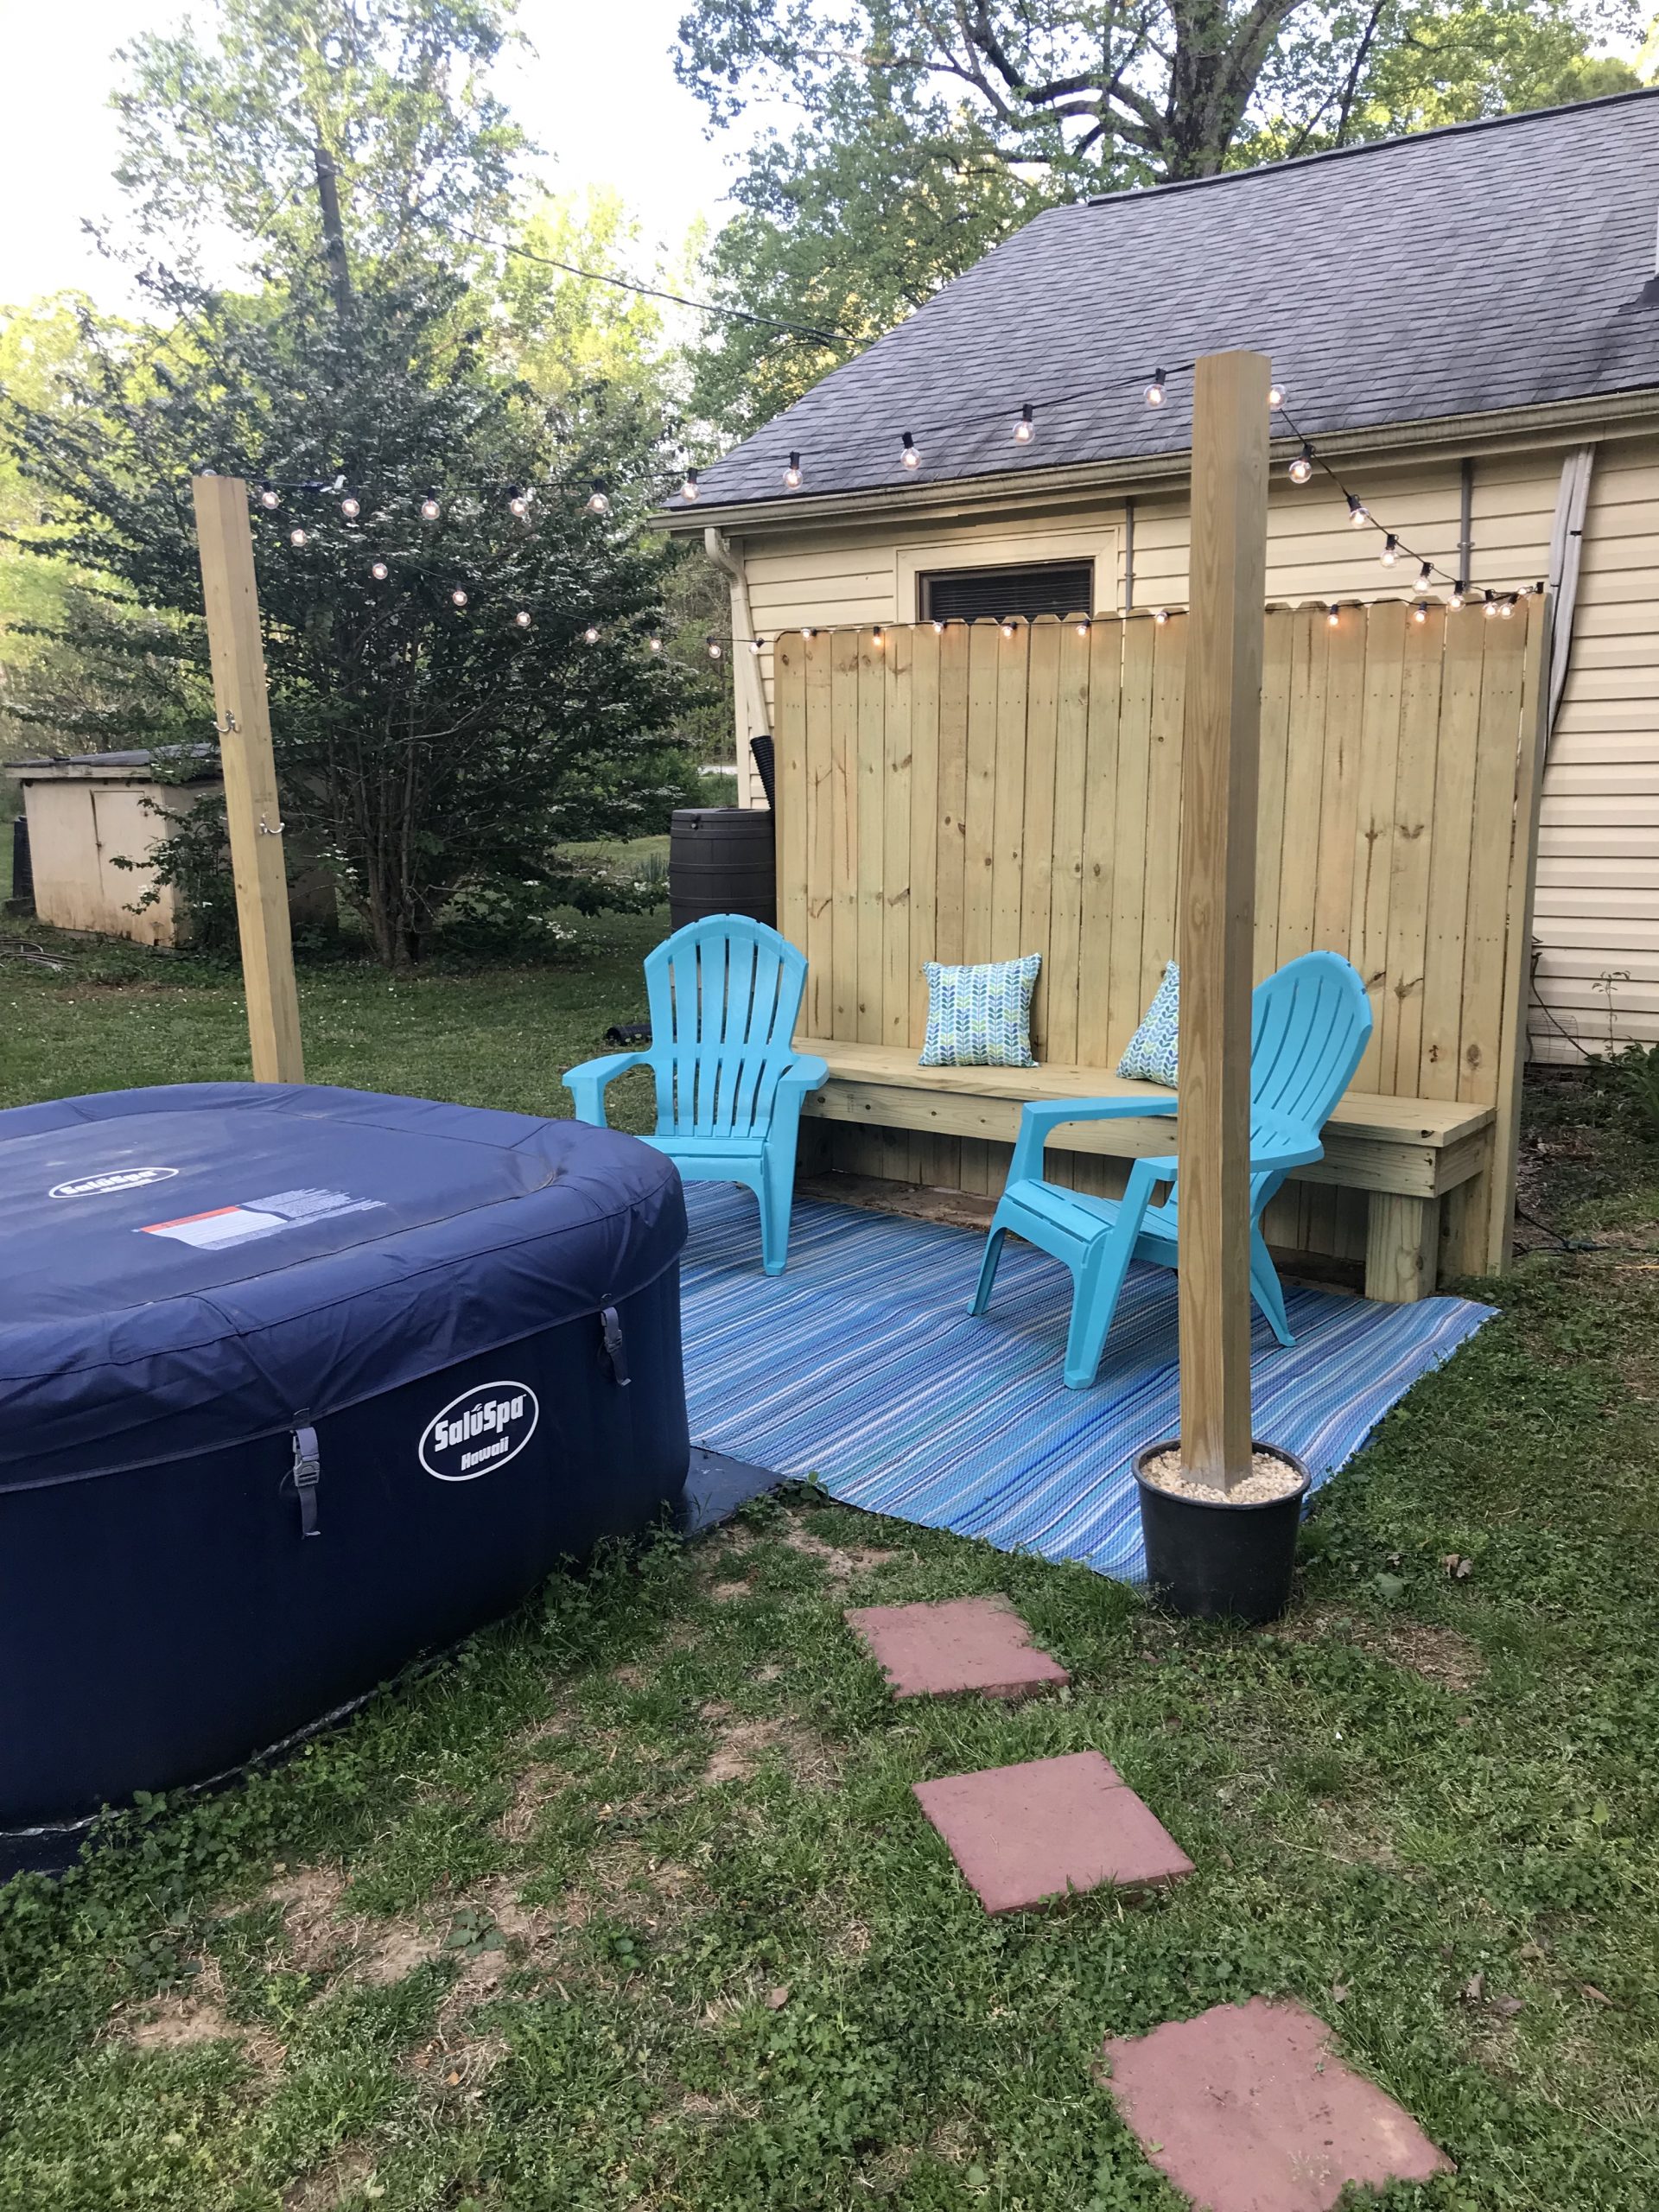
We built this basic 8 foot long bench in place there on the patio. The main consideration was to make all of the back side flat so we could attach the fence panel.
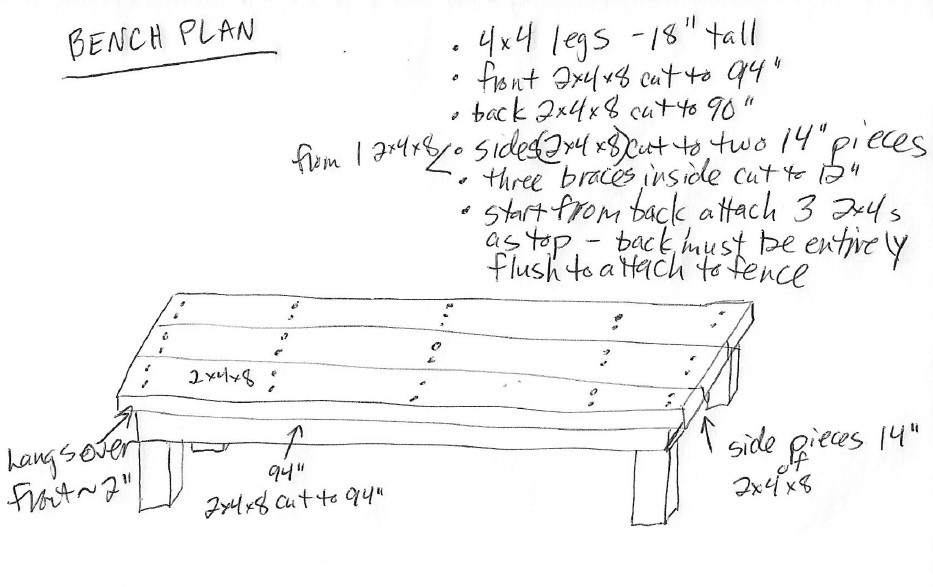
Here is my attempt at a rudimentary plan for the bench. I apologize if it is difficult to use – I’ve never drawn a plan before!
At the very least it will give you the cuts for the 2x4s. 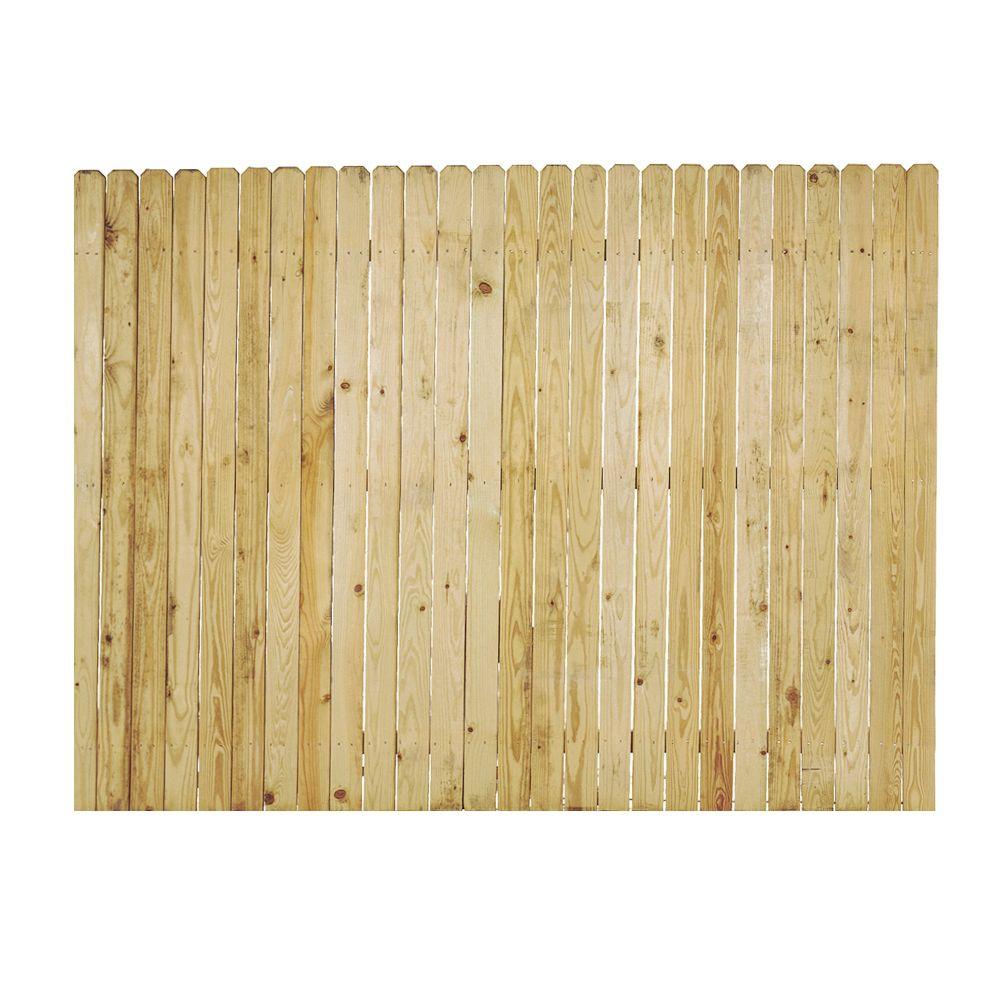
I considered a bunch of different materials for the screen portion but we ended up going with this Pressure Treated Fence Panel from Home Depot.
It fit the bill perfectly and only cost about $42. We ordered it online and picked it up in the store.
Then we screwed the fence panel to the back of the bench. This meant we didn’t have to dig into the ground at all and the panel is free standing.
Another plus is that we can move it if needed at some point! I was super happy with how to bench seat and screen turned out.
Here’s what I recommend for the project.
Pressure Treated Wood For the bench seat & posts:
- Six 2 x 6 x 8 ft boards = $33.42
- One 4 x 4 x 8 ft post = $6.77
- One 6 ft x 8 ft fence panel = $41.47
TOTAL = $81.66
Any benches we looked at buying started at about $200, so building one was definitely the way to go.
Budget Patio Makeover: How To Cover Ugly Concrete
I considered trying to repair the concrete, but decided that was going to cost too much money and be too challenging for me.
So the alternative was to cover it up. I first tried an outdoor rug from Target, but it was way too flimsy and ugly.


Then I found this amazing patio mat from Bed Bath & Beyond.
It is colorful and made of a super sturdy plastic weave. It almost feels like it is made of recycled grocery bags!
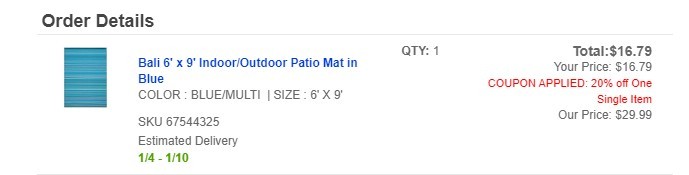
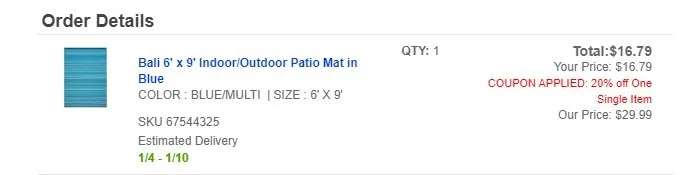
And I was able to get it on sale for only $16.79. It was on sale and I got a 20% off coupon by signing up for emails.
It was definitely the cheapest solution for covering the ugly concrete. It turns out is also super easy to sweep and keep clean.
While this patio mat is no longer available, here is a similar rug from Home Depot that could work.
DIY Free Standing Post With Towel Hook
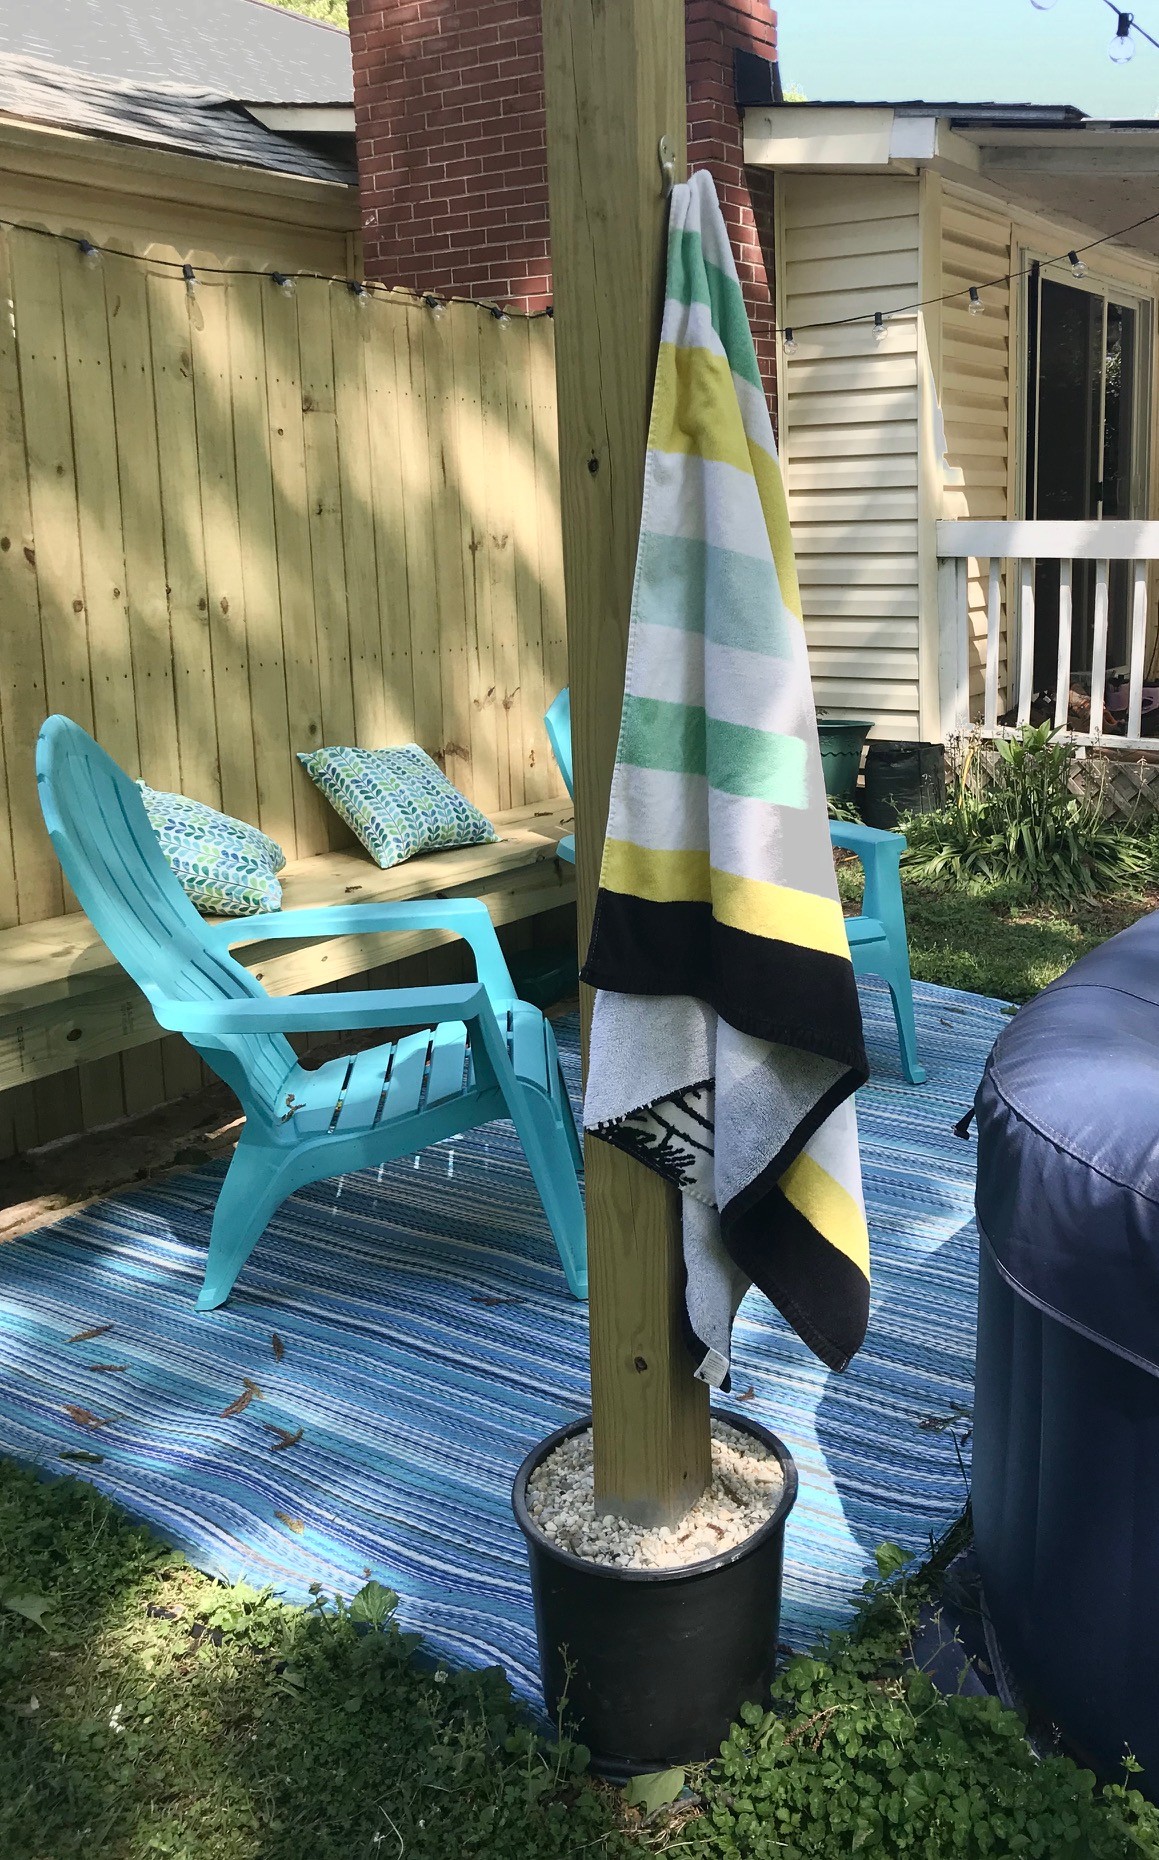
We had been throwing our towels onto the chairs when we used the hot tub but I wanted a better solution for getting to our towels.
I saw some free-standing posts in planters and buckets on Pinterest and thought that might be a good solution.
I bought two bags of concrete and used some old flower pots we had lying around for the base. After we poured the concrete in I topped them with about an inch of gravel we already had as well to make them look a bit nicer.
The posts were 4 x 4 x 8 ft pressure-treated lumber. I think they were the perfect size for this. I screwed a towel hook on that I had leftover from some bathroom work we had done.
Overall I was super happy with how the posts turned out. The only thing I’d do differentlty is to use pots with a flat base. Mine (since they were old and plenty used) have warped bottoms. This makes it hard for them to sit securely on the ground and they are a bit wobbly.
I’d buy a new container for cheap if I were to do this again.
Here’s what we spent on the free-standing posts:
- Two bags of concrete from Home Depot: $5.48
- Two 4 x 4 x 8 ft posts = $13.54
TOTAL: $19.02
Budget Patio Makeover Finishing Touches
At this point, we were on to the finishing touches for the patio.
I could have left the chairs the red color they were but for less than $8 and about an hour of time I got gorgeous turquoise chairs that matched the patio mat perfectly.
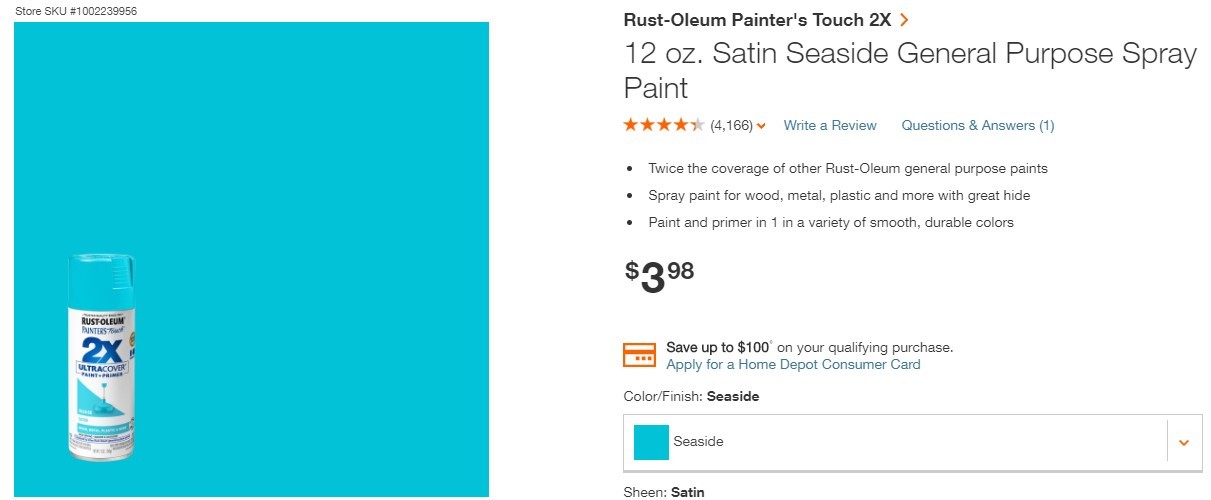

I used two cans of this Rust-Oleum Satin Seaside spray paint and it was just enough to cover the two chairs.
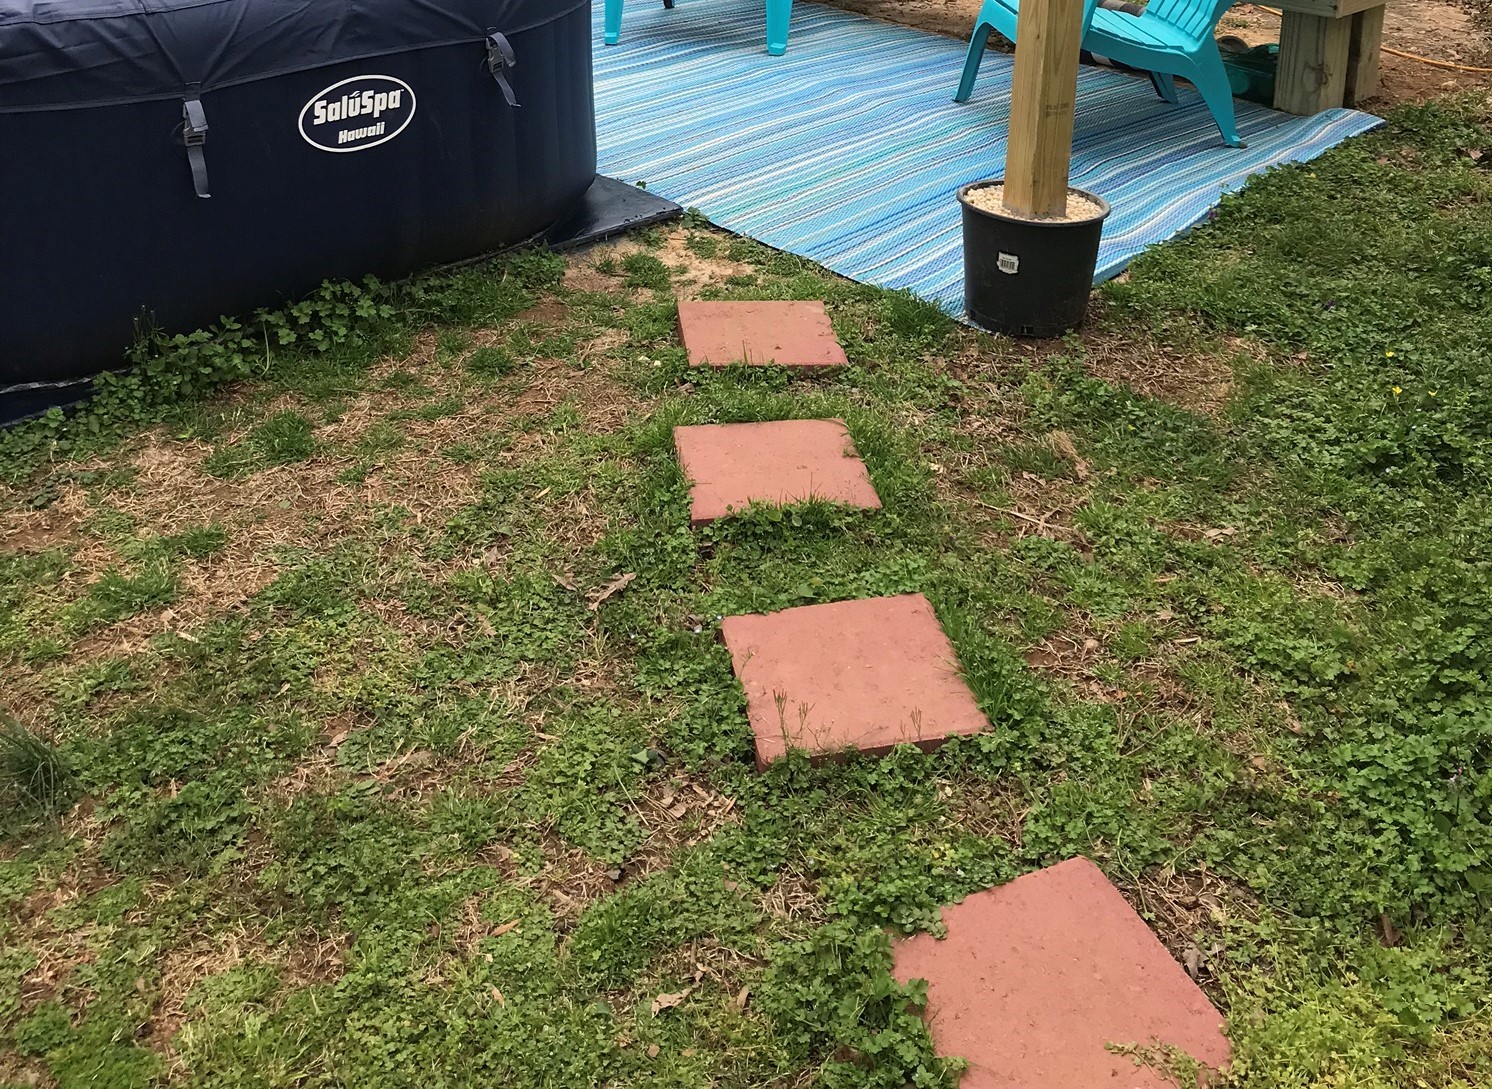
We realized that we would need something to walk on to get to the hot tub to keep our feet clean. So I bought six stepping stones from Home Depot for $1.58 each and have temporarily set them down.
At some point I may add some edging and gravel around them but they work fine the way there are for now. The need the weeds trimmed around them in the meantime!
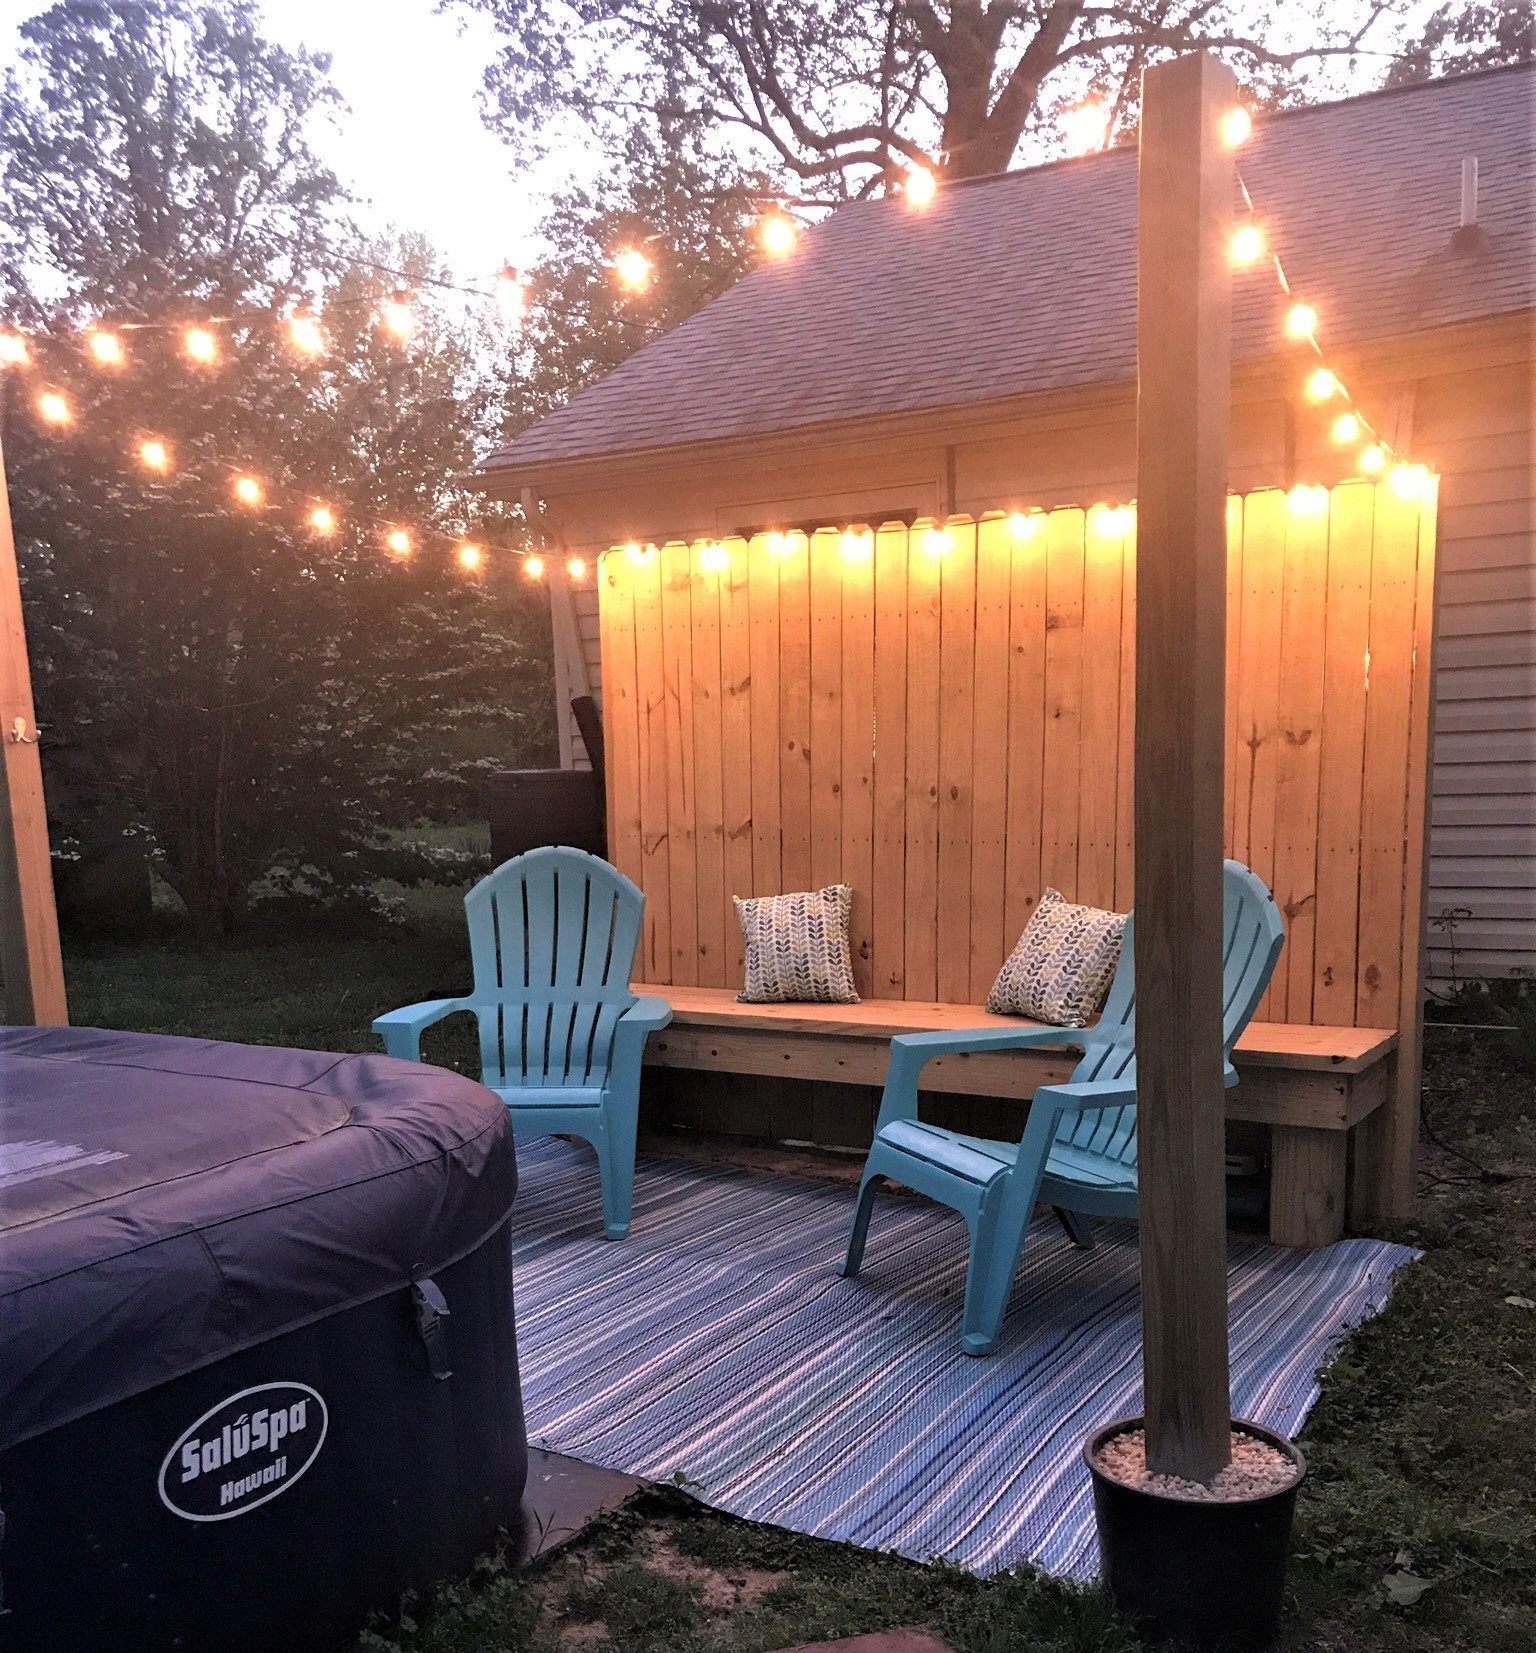
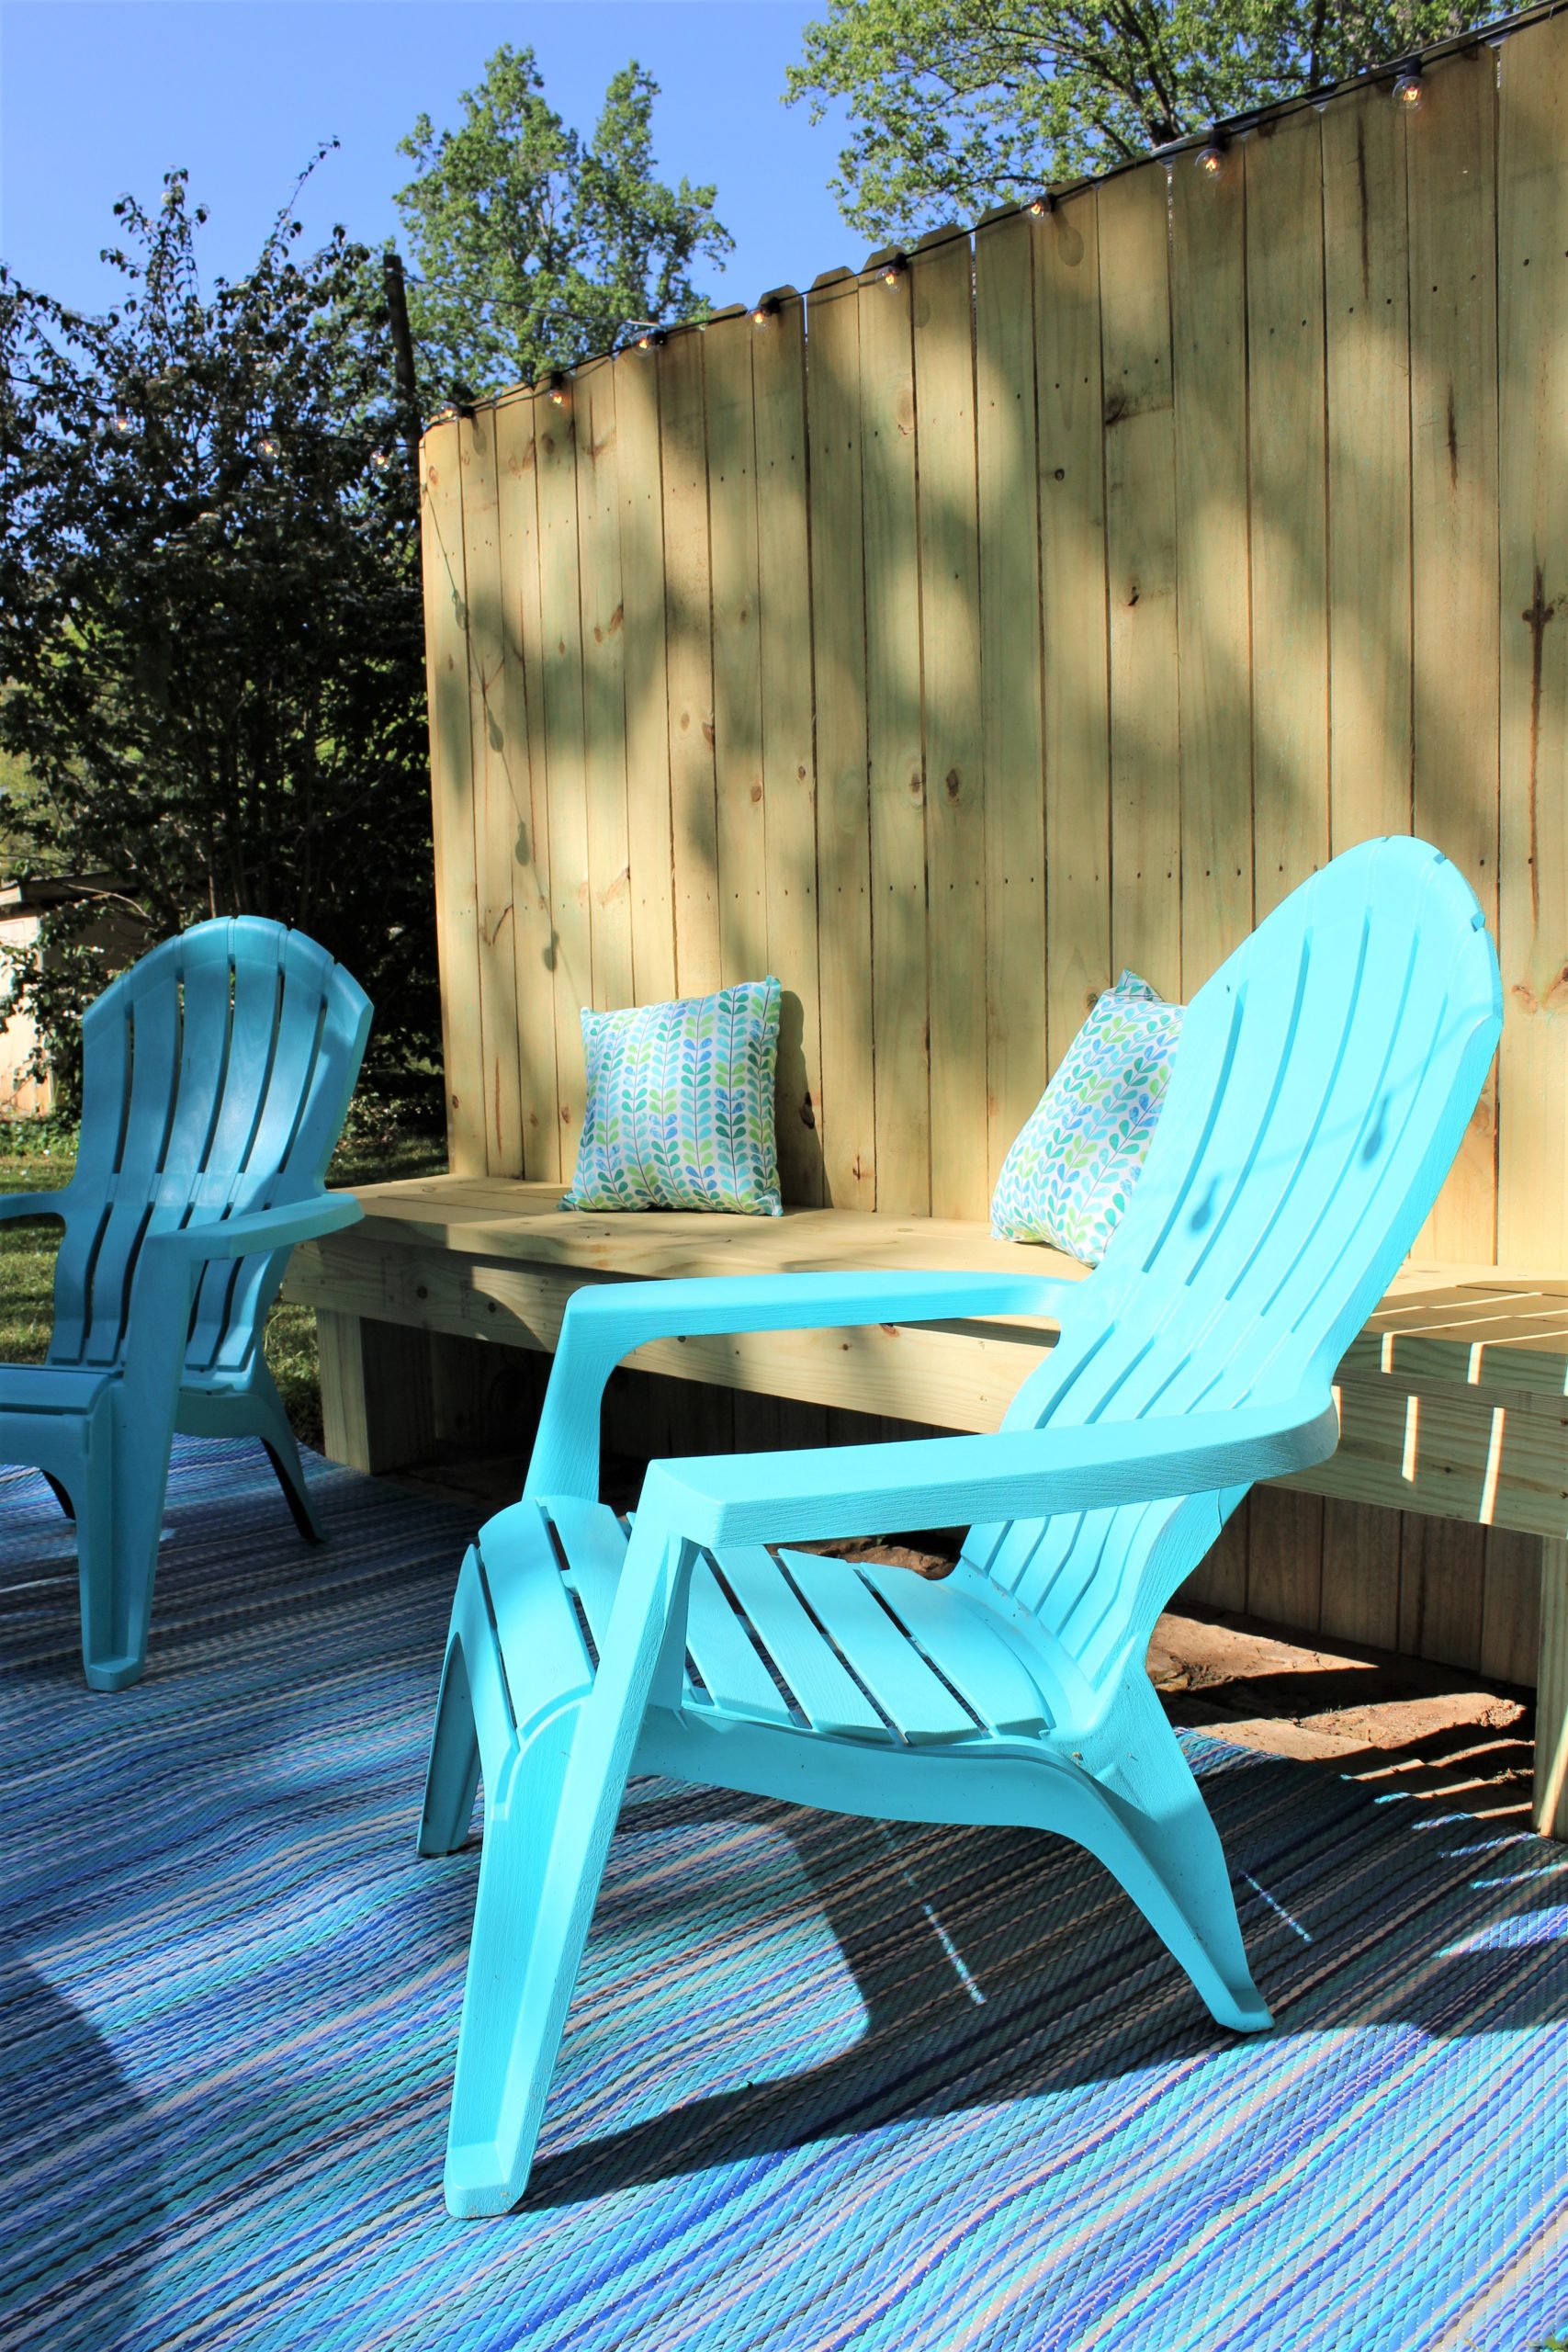
The final touches were string lights and a few outdoor throw pillows.
I am obsessed with string lights and searched high and low for a set that was affordable and would run all of the way around our little patio areas.


Target came through for me in the end with these Room Essentials 20 count Outdoor String Lights.
Two sets of them went all of the way around the 6 ft by 8 ft patio area perfectly. I affixed them with a heavy-duty staple gun and ran an extension cord up the back of the fence panel to plug them in.

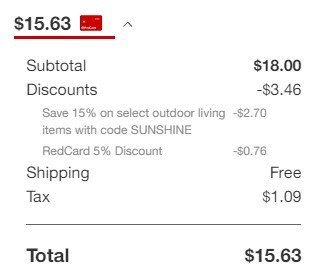
I was also able to get them on sale for only $15.63 for BOTH sets of lights! I caught them on sale but even at their regular price of $12 per stand they are much cheaper than other similar sets of lights.
I was very careful stringing them up since I had read on the reviews they are pretty fragile. But I am happy to report I had not a single bulb break or not work – even after they’ve been through a few storms here!
The last thing I added was two $5 outdoor throw pillows from Walmart.
Here’s what I spent on the finishing touches for the backyard patio area:
- Two sets of Outdoor String Lights = $15.63
- Two cans of turquoise spray paint = $7.96
- Two outdoor throw pillows = $10.00
- Six stepping stones = $9.48
TOTAL = $43.07
Backyard Makeover On A Budget Summary
I absolutely love how our budget patio makeover turned out. I have been spending some time there every day lately.
Here’s a breakdown of what we spent on everything for the backyard makeover:
- Six 2 x 6 x 8 ft boards = $33.42
- One 4 x 4 x 8 ft post = $6.77
- One 6 ft x 8 ft fence panel = $41.47
- Patio Mat = $16.79
- Two bags of concrete from Home Depot = $5.48
- Two 4 x 4 x 8 ft posts = $13.54
- Two sets of Outdoor String Lights = $15.63
- Two cans of turquoise spray paint = $7.96
- Two outdoor throw pillow = $10.00
- Six stepping stones = $9.48
GRAND TOTAL: $160.54
I wanted to stay under $200 for this project so am happy to report it stayed well under budget.
I am so glad I decided to DIY this instead of having someone pour me a new concrete pad, for example. That alone would have cost close to the price of the entire makeover!
I hope this post gave you lots of ideas for your own budget patio makeover.

Any questions? Please leave a comment below or send me a message on The Frugal South’s Facebook page.
Debra
Monday 20th of June 2022
Great job and well done. Super cute, functional and budget friendly! Nailed it.
Leah
Sunday 26th of June 2022
Thanks Debra!
Lisa
Wednesday 16th of March 2022
Love the look
Judy
Wednesday 20th of May 2020
Fantastic job!!! You did great and it looks wonderful, very fun and inviting! You talked about the post pots being a bit wobbly and if you were to do it again, you would get new pots. I say get new fun summer bright pots and just drop these pot inside them! Maybe drill a drain hole if you don't want to empty out after rain.
Leah
Thursday 21st of May 2020
Great idea, Judy!
Patty Bruce
Wednesday 20th of May 2020
great job with the imagination. Only thing different I would do to spruce it up is to put your 4x4 posts in there pots into homemade wooden planters boxes and add some flowers to it.
Leah
Thursday 21st of May 2020
I agree, that would look amazing Patty!
Donna
Wednesday 20th of May 2020
Nice job! looks great! I think the only thing I might have considered doing differently would have been to use 2 X 4s in the pots, rather than 4 X 4 posts. Those things weigh a ton and might be more prone to topple over since they aren't in the ground. Since there is no weight on the posts, except for lights and the occasional towel, 2 X 4s might have been fine. But, that's just a thought, and you did a wonderful job on a small budget. Is the paint holding up well on the plastic chairs? I've never used the spray paint made to use on plastic and just wondered if will hold up. I've thought about painting some of my large plastic outdoor flower pots with it.
Leah
Wednesday 20th of May 2020
Hi Donna! I agree - 2x4s would have been fine in the pots for sure. I am impressed with how well the spray painted chairs are holding up. The 2x Rustoleum paint is amazing. It covers anything and it lasts.